Mike's
Woodworking Projects
Continued
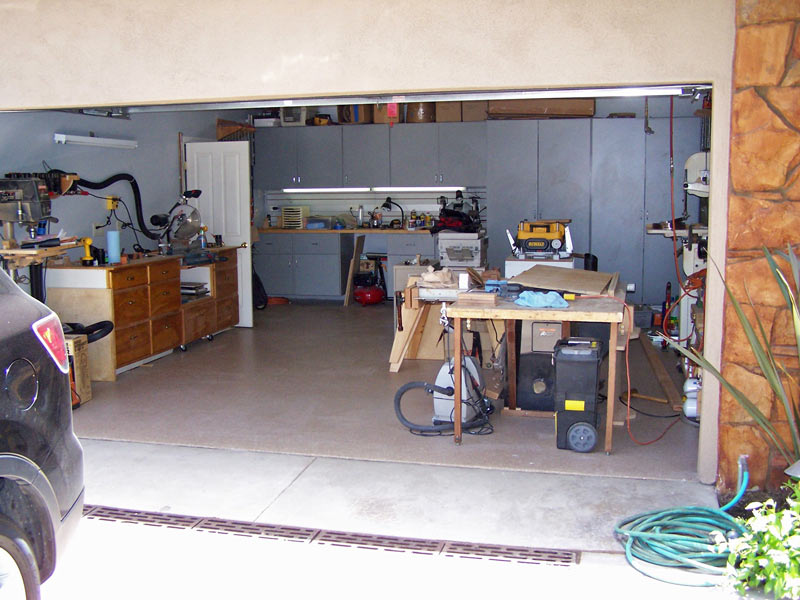
06/18/2011 I'm making some progress on getting the shop set up. I'm not just moving the shop, I MOVED, which means moving all the furniture, clothes, etc. and getting the old house ready for sale. Hasn't left much time for woodworking. There've been a lot of projects on the new house, other than my shop. Anyway, here's where I am now.
This is a view of the shop from the open garage door.

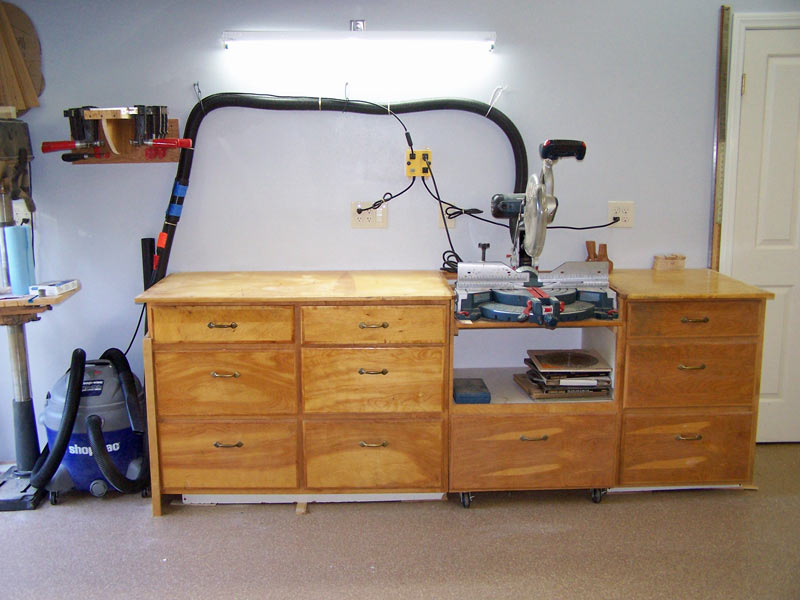
Here's my miter bench with drawers for storage. I took the cabinets from my old shop. I'm adding dust collection. My old shop was so small that there was no room for any dust collection, not even a shop vac. Here, I have a shop vac connected to my miter saw and plugged into an iVac which turns the shop vac on when I pull the trigger on the miter saw. Works well but dust collection on any miter saw is only partial so I still have to manually clean up occasionally.
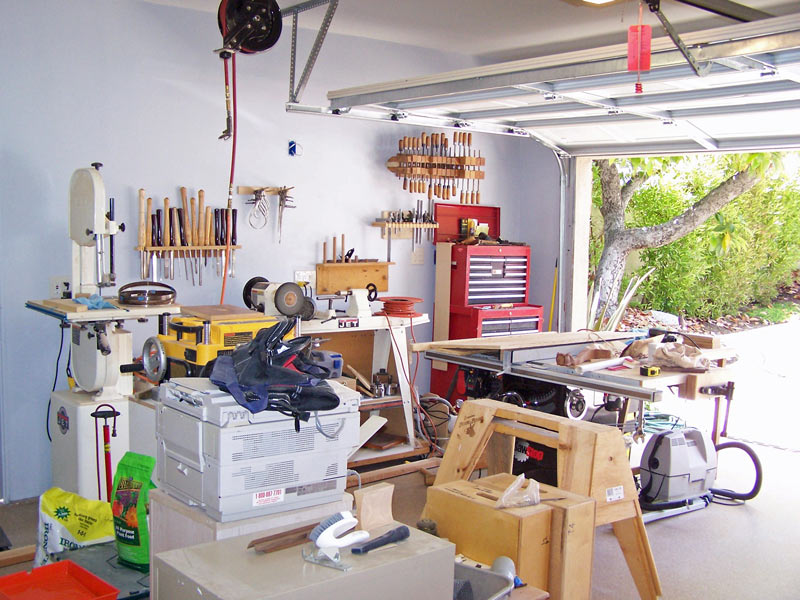
Here's the other side of the shop (unfinished). I still have house stuff in the shop but hopefully, I'll get it put away soon. I also plan to buy a real 2HP dust collector to connect to the table saw, planer, band saw, and Ridgid (brand)sander.
I'm working on a tutorial on making a rectangular serving tray. It's still in process but you can see where I am here.
04/17/2011 It's been quite a while since I posted anything here. Judy and I bought a house together. The house has a three car garage and I get the two car side for my shop, while Judy gets the single car side. That's a lot more space than I had before. I'm building a wall between the single car bay and the two car bay to keep the dust away from Judy's car. My hope is that I'll be able to leave enough room to put my car in at night - that is, I'll put things on rollers so I can roll them over at night to park and then roll them into the space when I back the car out. Here's a few pictures of where I am now.
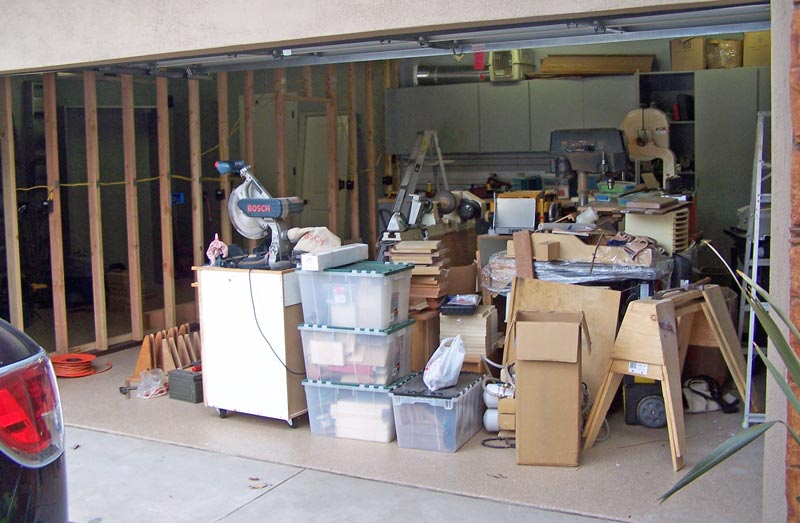
This is a picture of the two car bay with all my stuff piled in the center.
Here's a couple of shots of the new wall and the electric wiring running through it.
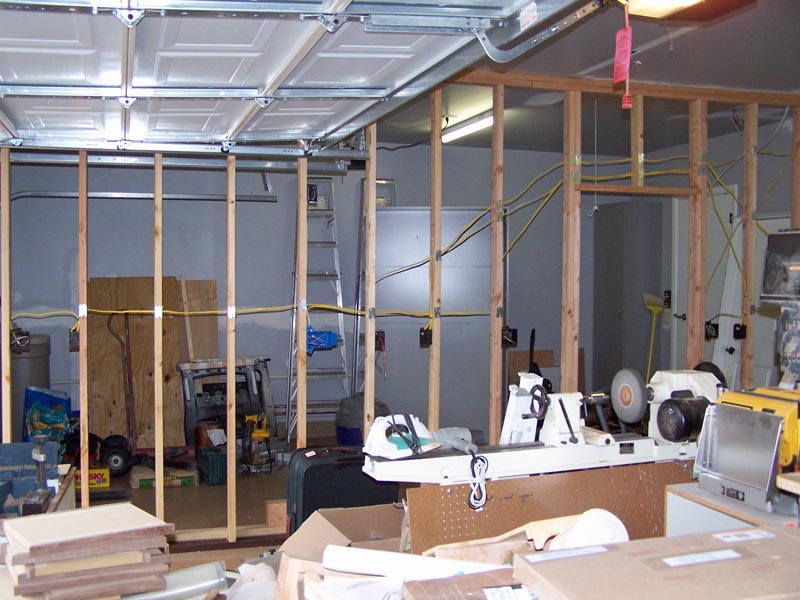

On the other side of the garage, I put a 60 amp subpanel which feeds essentially all the outlets in the garage. You can also see some of the outlets I installed in that wall. I have three 230V circuits and four 115V circuits. I staggered the outlets so that outlets next to each other are on separate circuits. The wiring is 12 gauge for both the 115V and 230V circuits, with 20 amp breakers. I can't imagine using any motors greater than 3 HP so that should be sufficient. Actually, the only 230V units will likely be the table saw and the dust collection.
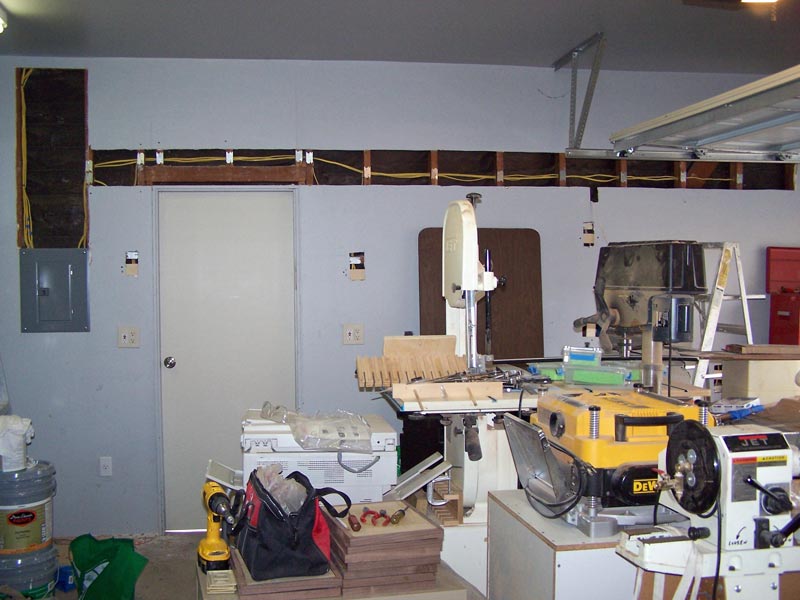
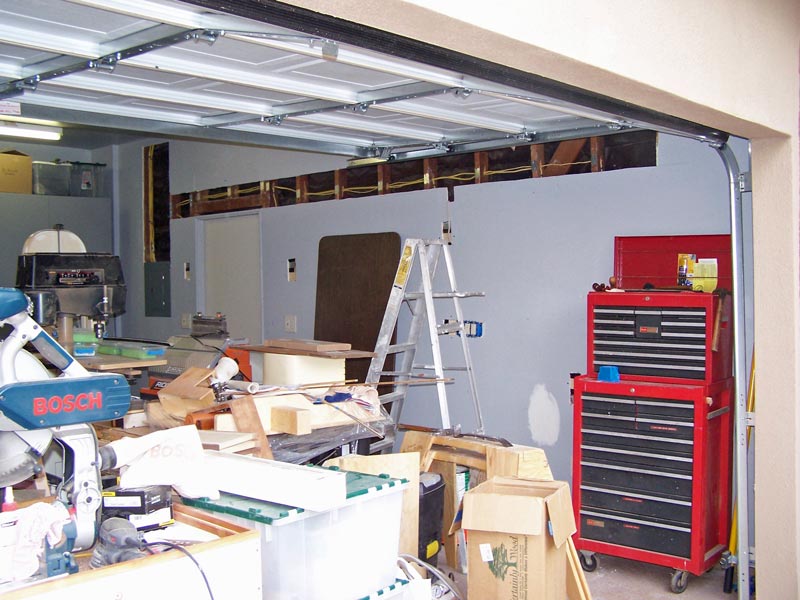
It's a LOT of work getting a shop set up again. Building the wall and running the electricity is just the beginning. There's so much to build and organize before I can start doing fine woodworking again. I set up and organized my old shop over the several years. I'm trying to duplicate that in this shop in a few months. I don't ever want to move again!
02/19/2011 I've been contacted by people who want me to make a tray for them. I put together a web page on the trays which you can see here.
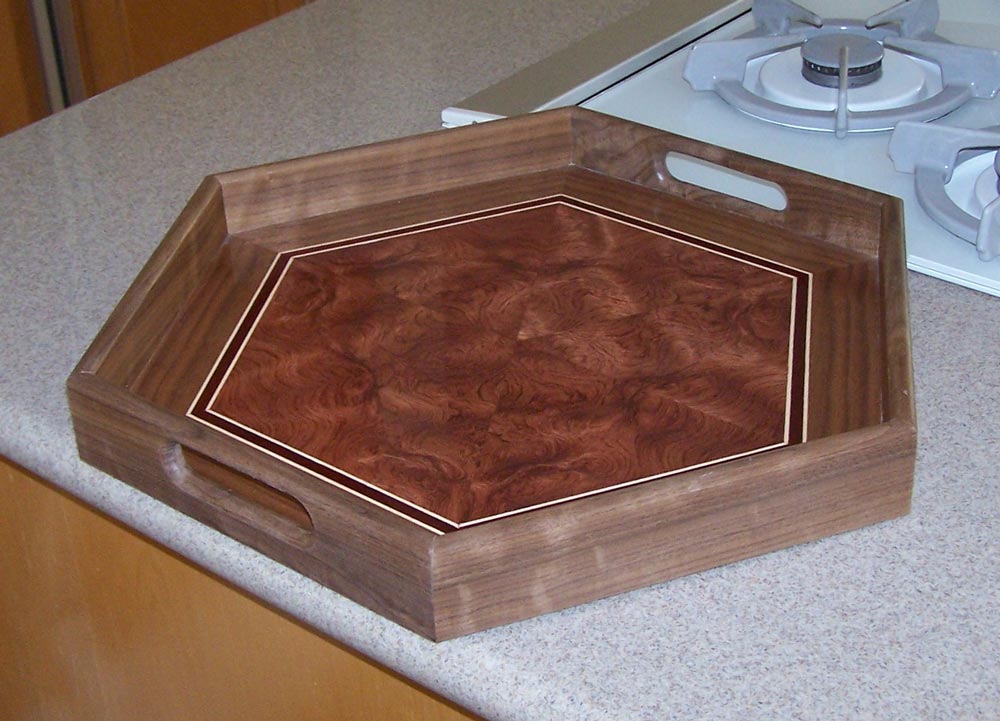
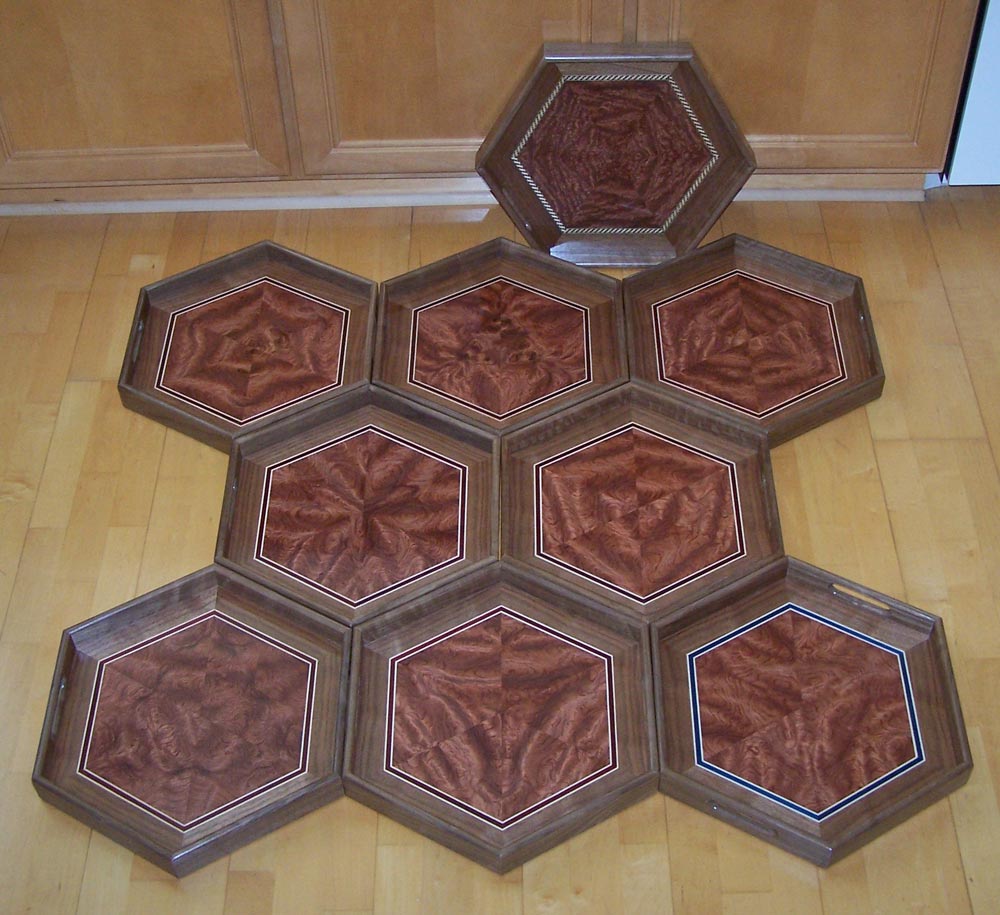
09/15/2010 I've been working on some trays as gifts for family and friends. I did nine of them, although I don't have all nine designated - I wanted at least one extra in case I messed up one. The pictures below show one representative tray and then all nine.
I did them six sided, not for any particular reason but as a compromise between a rectangle and an eight sided one. The center sunburst is six sided and of waterfall bubinga, with an accent strip of bloodwood (most of them), and walnut edging. Although not shown, the backs are done in a 12 piece sunburst of claro walnut.
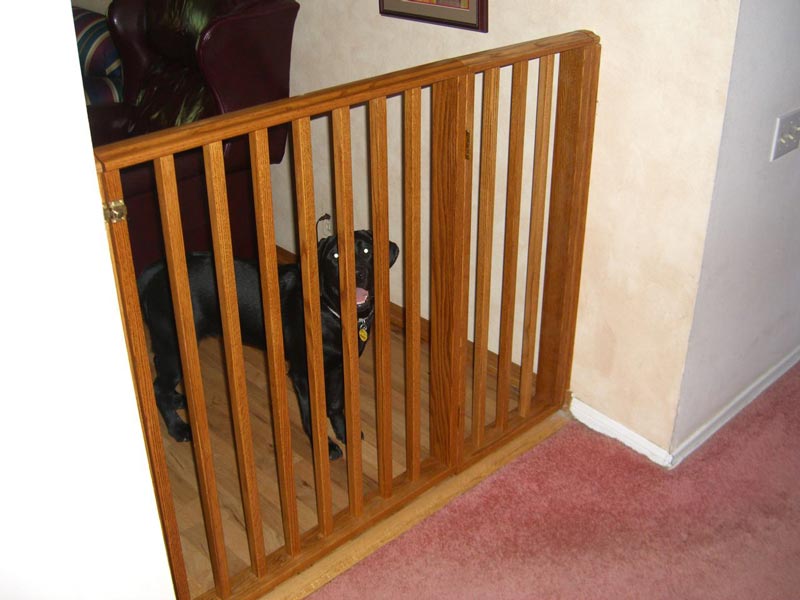
09/12/2010 I occasionally get some unusual requests for woodworking. Just recently, I was asked by Tony and Cindy to build a "Puppygate" - the equivalent of a baby gate but to keep dogs out of (or in) a room. The opening is 51" wide and the gate itself is 32". Puppygate is 42" high to prevent large dogs from jumping over the fence. It's made from red oak with "early American" stain, and finished with lacquer. I forgot to take my camera when I did the install but Tony and Cindy sent me one with Tosca looking forlornly through the gate.
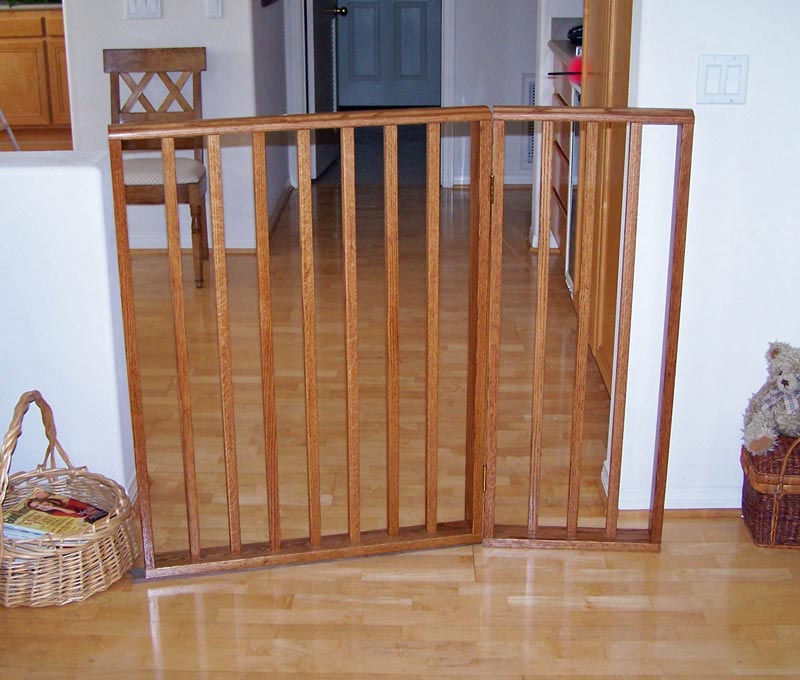
Here's another view in my house, before I installed the gate, just stretched across an opening.
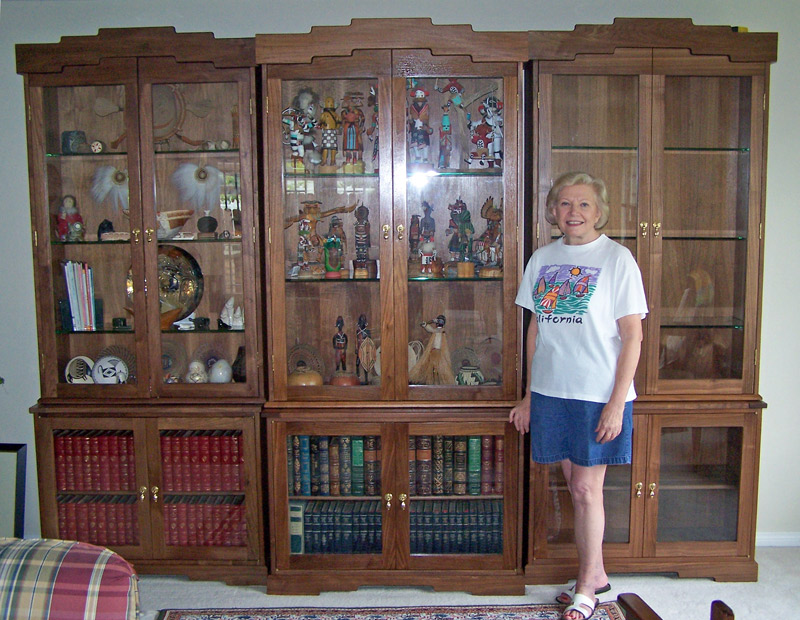
07/02/2010 I completed the third set of cabinets for Judy (this is client Judy and not my wife, Judy). You can see the process of building the cabinets here.
02/28/2010 My friend, Jay, and I picked up the SawStop today using Jay's pickup truck. The saw is HEAVY. Woodcraft loaded it into the truck with their fork lift, but I was very concerned about how we were going to get it out of the truck. When we got home, we opened the box and took everything we could out, then took the tailgate off the truck and slid the saw down. I was just amazed that he and I were able to get it into the garage without any damage. I now have to take my old saw out, and put the SawStop together. I'm going to use the Biesemeyer fence I have on my old saw so I didn't buy the SawStop fence. I also have to figure out how to fabricate a router table on one wing, and install my vise on that same wing. My shop is so small that I have to be very inventive about the use of shop space. I'll document my progress, but in the meanwhile, here's the saw sitting in my garage.
Click here to see the setup process.
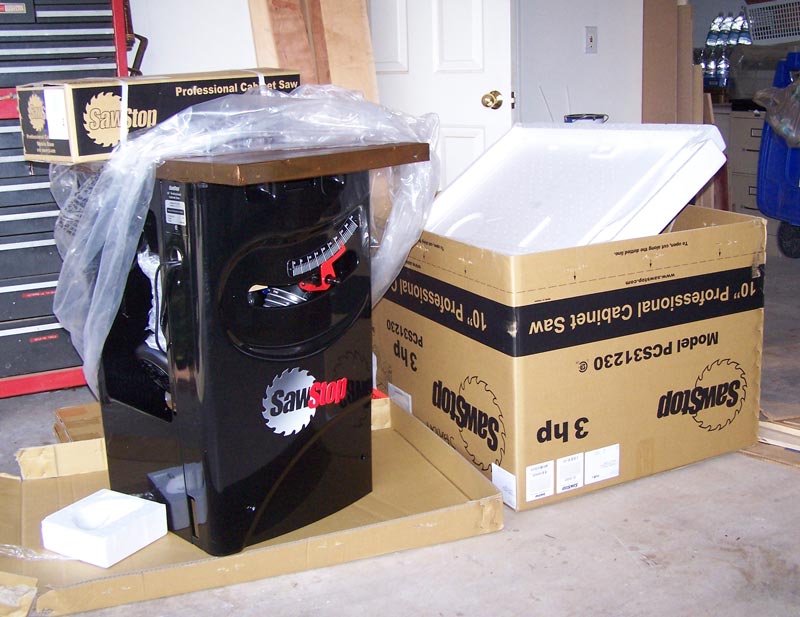
02/24/2010 I've been wanting to upgrade to a cabinet saw for quite a while. Two weeks ago, I went to Woodcraft and ordered a SawStop professional cabinet saw. While expensive, in my mind I broke the cost into two components - one part for a high quality cabinet saw, and another part for insurance against blade injury to my hands. The insurance payment is a one time thing for the rest of my woodworking career. I plan to pickup the saw on Sunday, Feb 28, with help from my friend Jay (who has a pickup truck). I'll post pictures as I set it up.
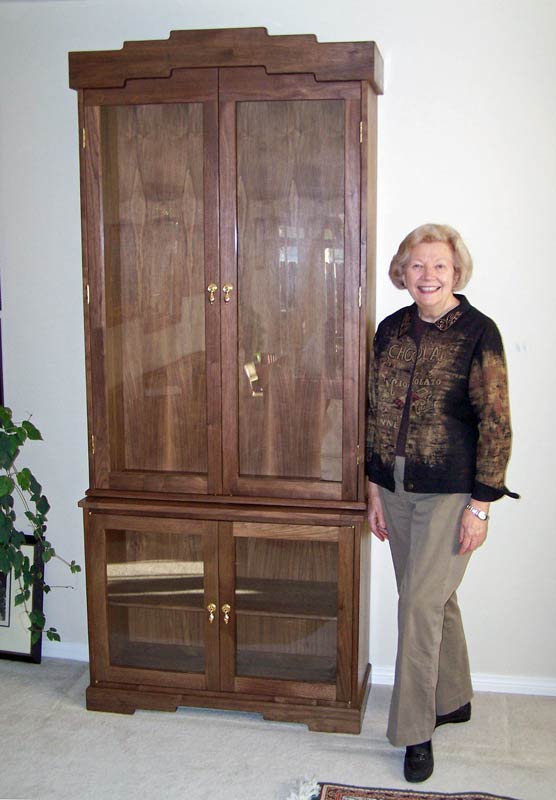
11/07/2009 I completed and delivered the cabinets to my client, Judy, today and installed them in her home (see pix). You can see the details of building these here. I now have to modify two existing cabinets she has.
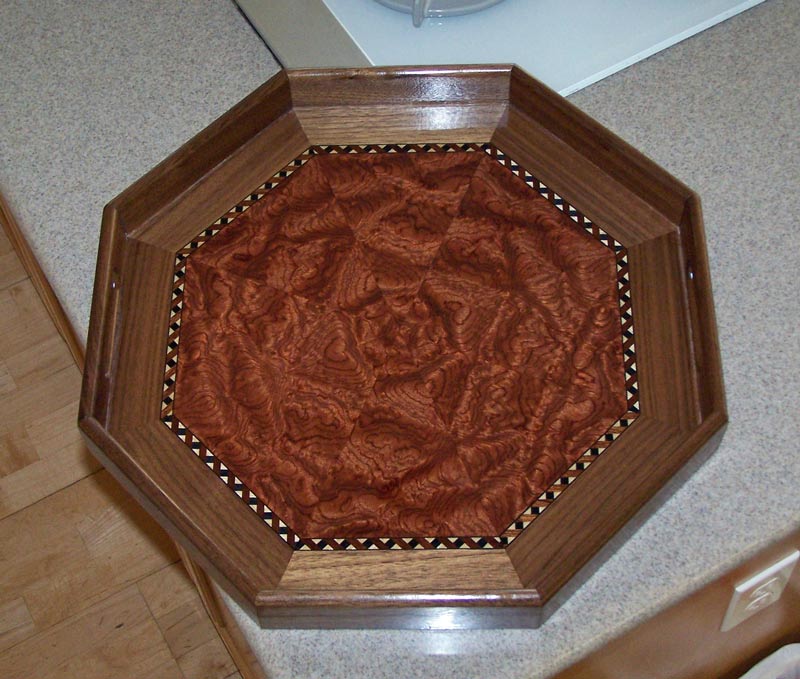
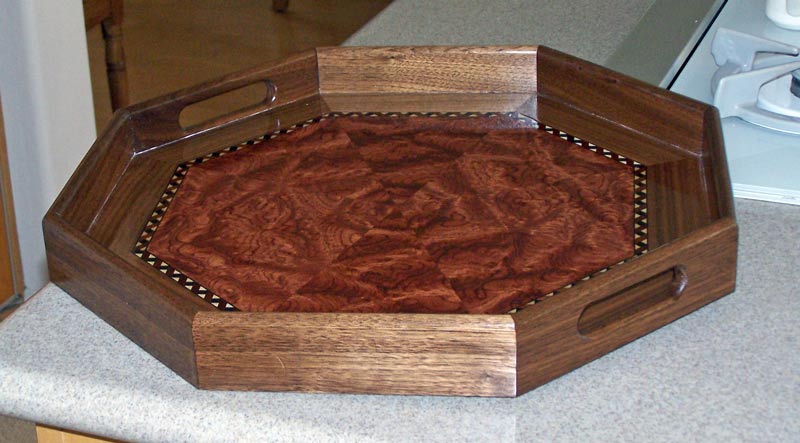
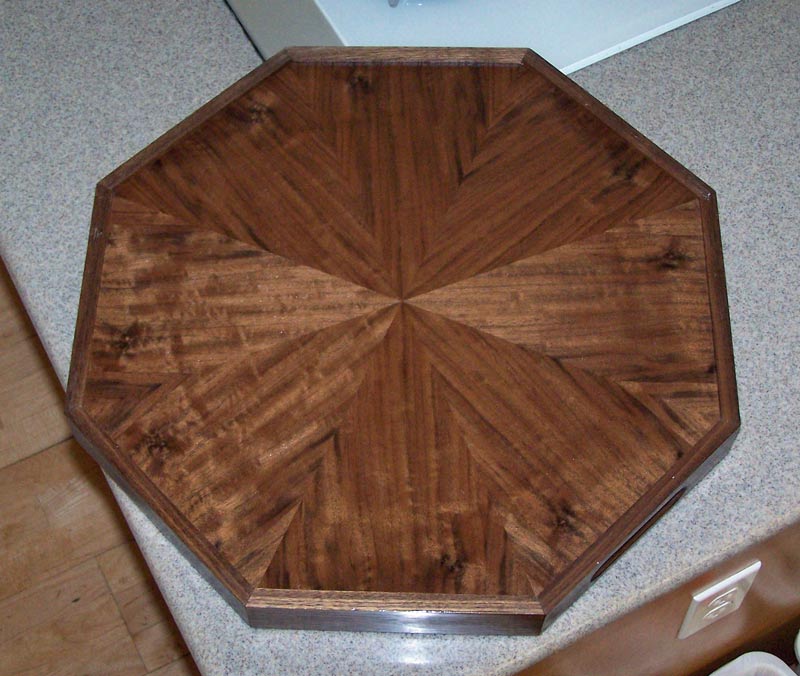
08/27/2009 I finally finished the two trays I'm making for Nancy, a client from Chicago. She found my web site and contacted me to make two trays for her. One is an octagonal tray with curly bubinga laid in an 8 segment sunburst, a walnut border, and walnut sides. The banding is commercial. The back was laid in claro walnut in an eight segment sunburst.
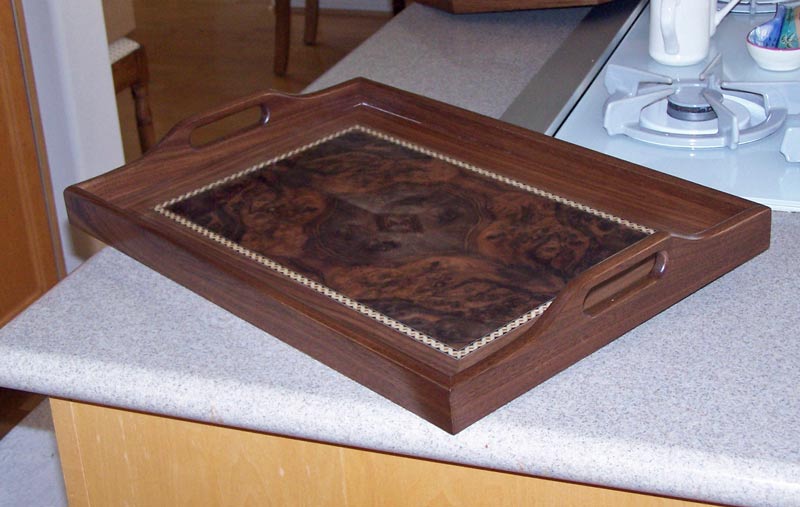
The other is a rectangular tray with walnut burl laid in a four way match, with a walnut border, and walnut sides. The back is regular walnut, same as the border.
I rubbed out the lacquer to a glass finish on the panels so they were hard to photograph - I kept getting reflections in the finish.

07/10/2009 I'm working on building some cabinets for a client. You can track my progress here.
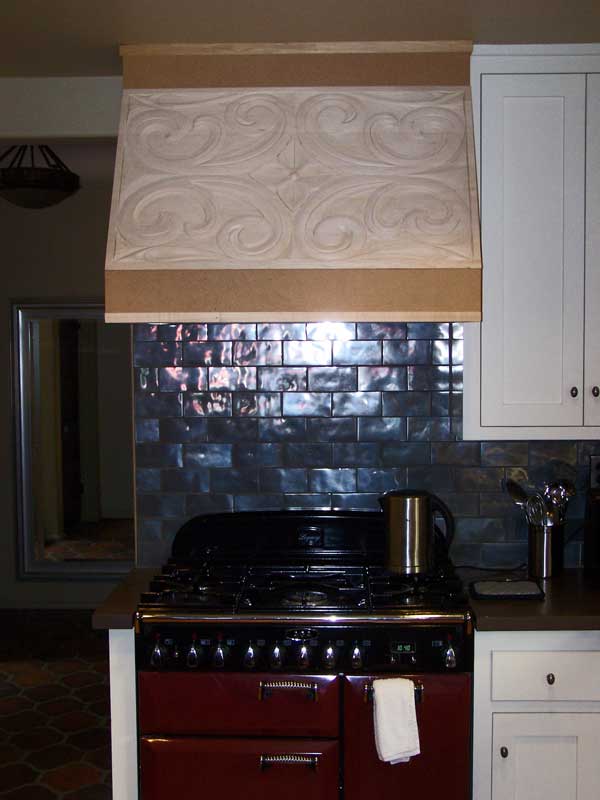
06/14/2009 Below is a carved panel I did for a client to go on the vent hood over their stove. They will have it "antiqued" by a professional finisher. The second picture shows the panel installed over their stove, but not finished I'll try to get the clients to send me a picture of it after they have it finished.

05/19/2009 Here are two Windsor chairs that I did in class at Cerritos. The first is a sackback, and the second is a New York style bowback side chair. The finish is black milk paint, with shellac over it to give it a bit of gloss. I left the spindles "natural" (just shellac) to give a bit of interest to the chairs. I thought "all black" would be too much.


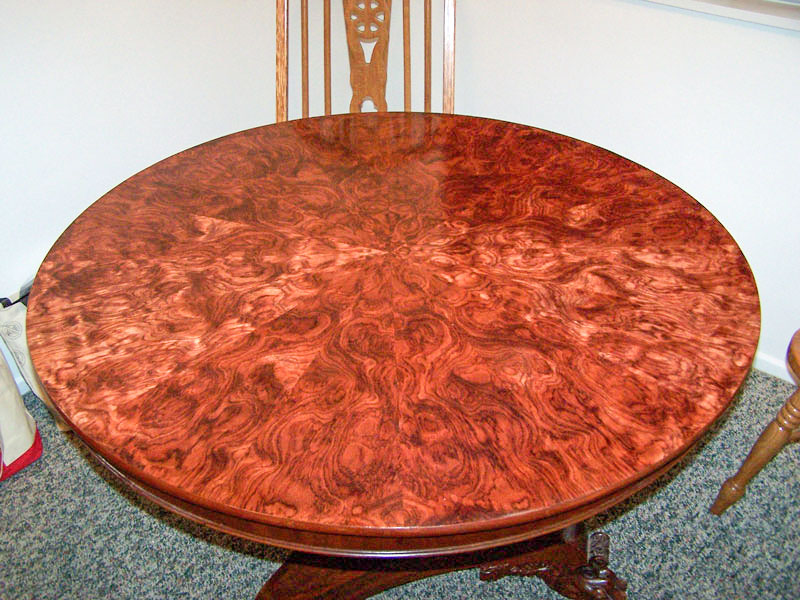
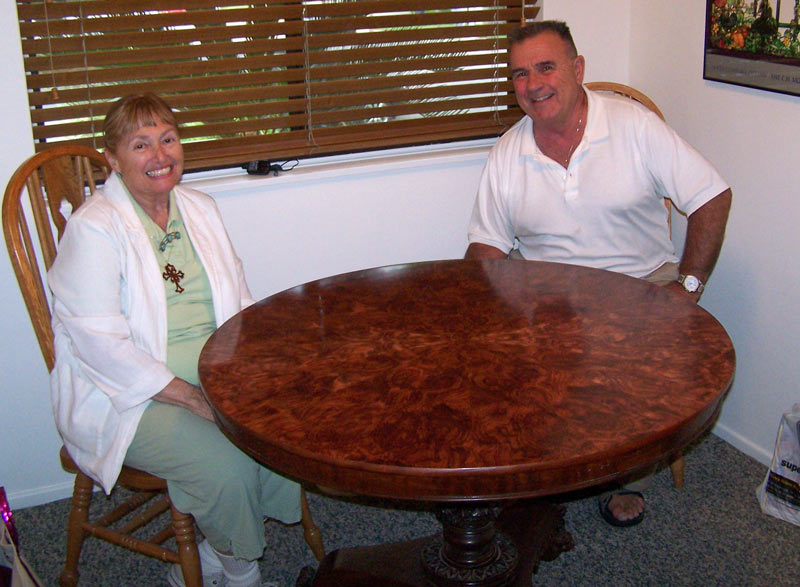
05/02/2009 Here's a table top that I did for clients Jack and Penny (see second picture below). They had an antique tilt top table that they really liked, but the old veneer was damaged and stained. I replaced the veneer with a 16 segment sunburst in curly bubinga. I think it looks pretty nice, don't you?
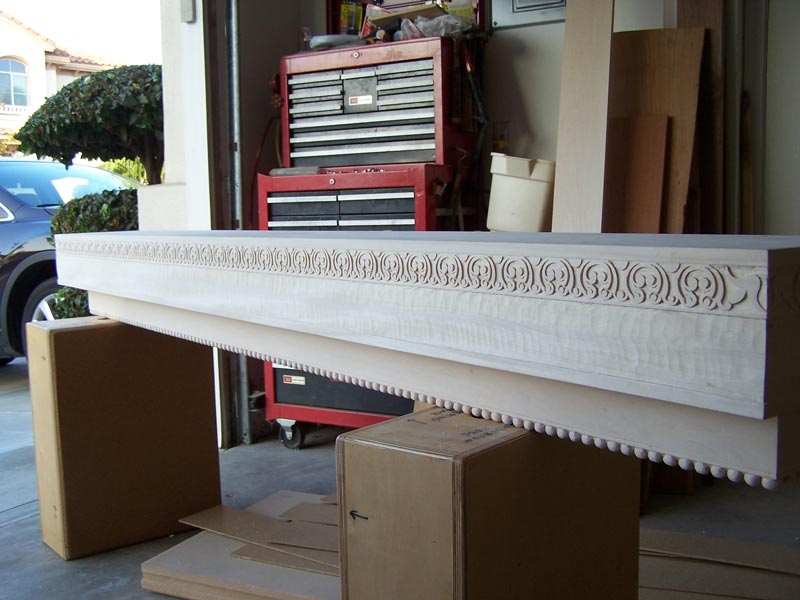
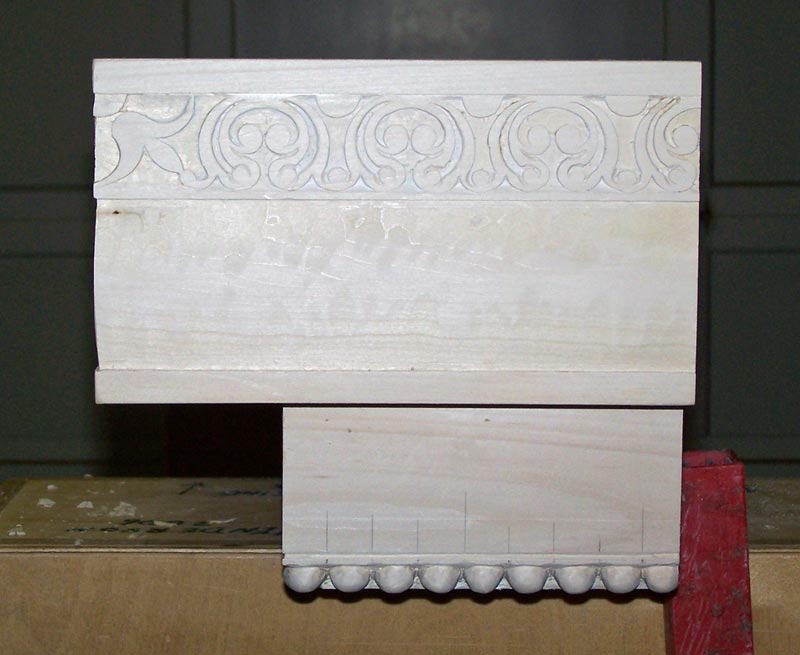
12/22/2008 Here's a mantel that I carved for a client. It's actually not finished but the client wanted to install it for a Christmas party. I'll get it back after the new year and I'll complete the work on it - mostly just clean-up needed. The picture on the left (or top, depending on how your browser formats things) shows the full mantel, while the one on the right (or bottom) shows the detail a bit better.
There are about 45 elements along the top and maybe 125 balls along the bottom - so the work is a challenge in carving things the same. It's especially difficult when the elements are side-by-side in a row, as these are, because the eye notices slight differences when it can compare them side by side. I was please with the top row but the balls need more work - they're somewhat irregular.
11/19/2008 - These are not new, but I'm just getting around to posting a picture of these chisel handles. The picture only shows exotic wood handles - I've also made handles out of pecan (which works very well), maple, ash and other woods not shown.
The woods in the picture are as follows (from left to right):
Wenge - makes an excellent handle and looks good
Bloodwood - makes an excellent handle and keeps its color
Walnut - Works okay - not great for a handle
Zebrawood (2 shown) - good handle material but the wood varies quite a bit which
is why I included two samples.
East Indian Rosewood - okay as a handle material - probably not the best handle
material
Rosewood with sapwood - good and nice looking to my eye. Hard to find the
wood with sapwood.
Ebony with sapwood - a bit fragile but nice looking. Hard to find and
expensive.
Cocobolo in paring chisel length - beautiful wood, expensive and oily (hard to
keep in the socket without epoxy)
Ebony in short length - beautiful but fragile. I like this short handle
for narrow, short chisels. Gives better control. It's about the size of
the standard Lie-Nielsen chisel handle.

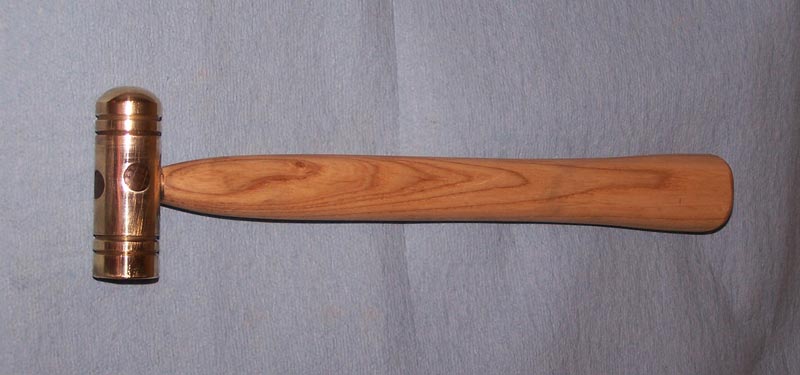
10/30/2008 I wrote a paper describing how to make a small brass hammer, like the one shown below. You can find the paper here.

10/10/2008 I have a very small shop so I can't fit many floor or bench tools in it. I bought a Ridgid oscillating spindle/belt sander a while back but I did not have a disk sander. Someone suggested that the lathe could be adapted as a disk sander and I took that idea and made a disk sander for my lathe. I put two adjustment knobs under the work surface which allows me to adjust the work surface square to the disk. To attach the work surface to the lathe ways, I made a round piece out of plywood and then cut the sides off so the piece would fit down into the way. To fasten the work surface, I turn that round piece and clamp it with the lever clamp.
When making the disk, I took a cut across the face to true it up. Then used a piece of MDF with sandpaper glued to it to sand the face. This removed any ridges and assured that the face was flat. I put shellac on the disk so the psa disk would adhere better. I made two disks - I put coarse sandpaper on one and somewhat finer on the other. See the pixs below.
It works well. The disadvantage is that I have to set it up and tear it down, but that's better than no disk sander.


10/9/2008 Here's two carved fans (early American style) that I carved the other day as a sample for a carving class I'm teaching.
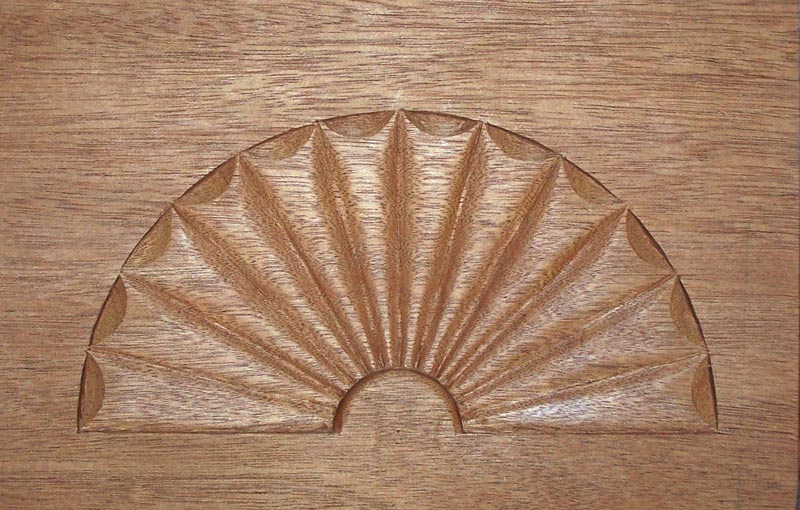
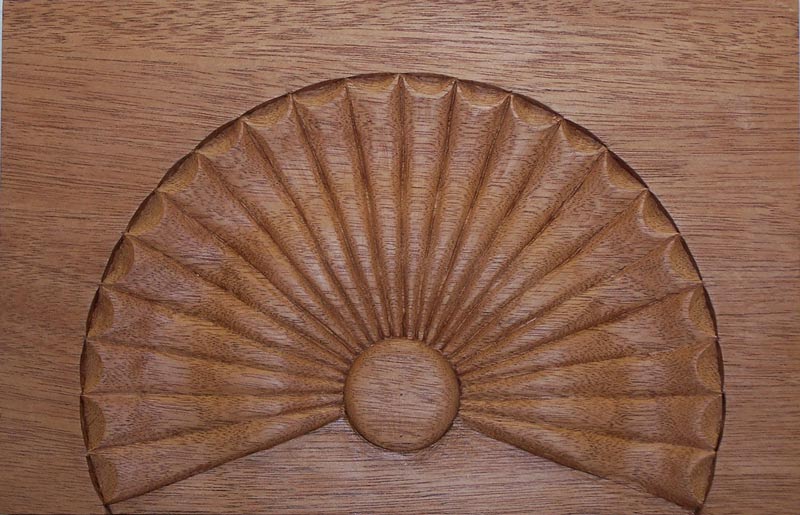
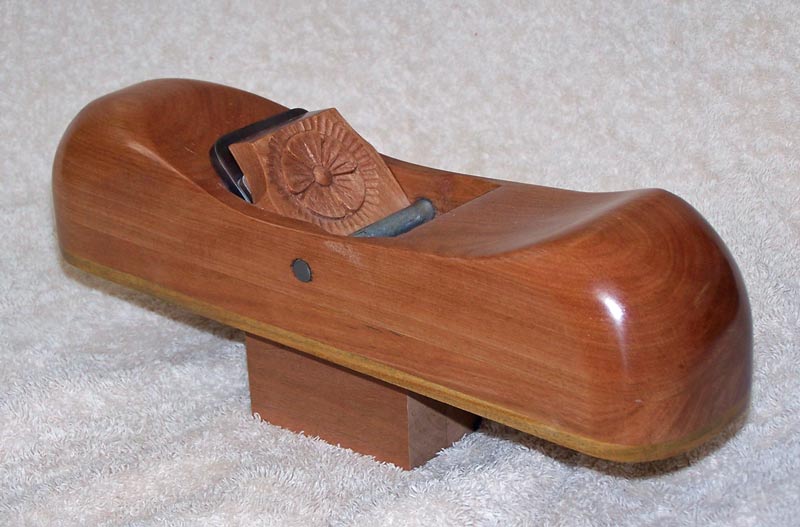
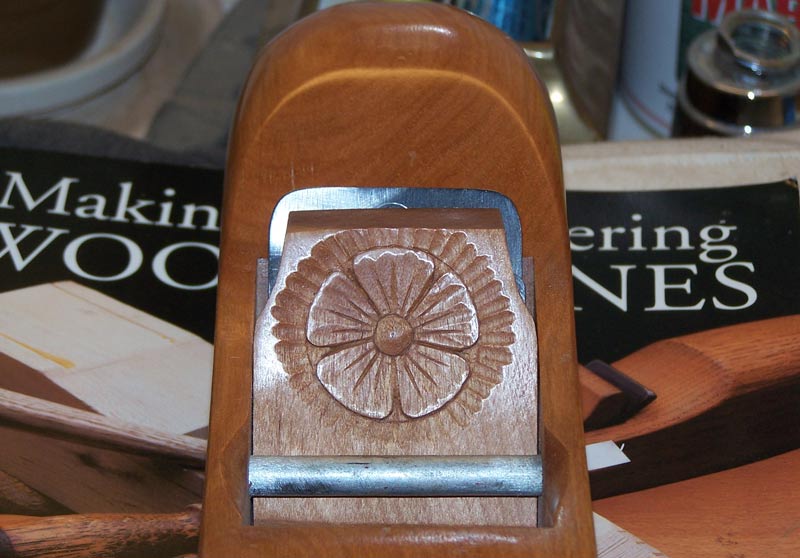
9/25/2008 I'm taking a class - "Advanced Topics in Handtools" - and made the wooden plane below. It's made from red birch with a lignum vitae sole. The iron is bedded at 45 degrees. I added an ebony plug on the back to tap on and carved a flower on the wedge.

8/24/2008 I posted a tutorial on how to do a different compass rose on this web site. You can see it here. And someone asked me for a tutorial on the sand shaded fan, which you can find here.
8/21/2008 Here are a few veneer sample boards that I made to show the veneer classes I teach. Some of these are advanced techniques but they show beginners some of the decorative effects that can be done with veneer.
.jpg)
.jpg)
.jpg)
.jpg)
.jpg)
.jpg)
6/12/2008 My article on making a veneer compass rose was published in Highland woodworking's "Wood News" today. If you'd like a pdf of that article, you can find it here. I have a related article which shows how to make the templates here. And there's an Excel spreadsheet that goes with that article which you can find here.
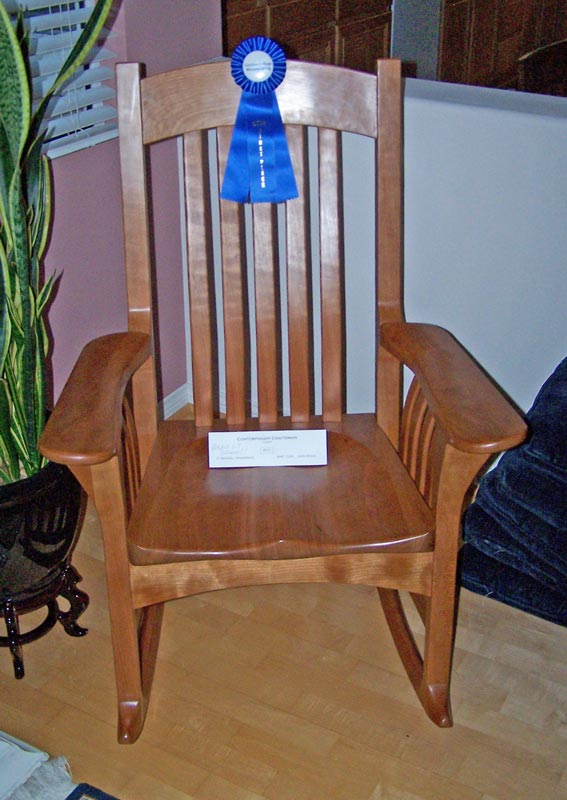
5/17/2008 I won first place in the chair making competition at Cerritos College today. I forgot to take a picture at Cerritos so the picture below was taken after I got home.
3/24/2008 I completed an expanding dining table in walnut for a client. The table is smaller than normal, being 41" wide - it's the size she wanted to fit a smaller area she had. The two leaves are 12" each. I turned the legs based on a picture she gave me of some legs she liked. Those legs had a bit more fluting but I convinced her to go a bit simpler with the long tapered section in the middle.


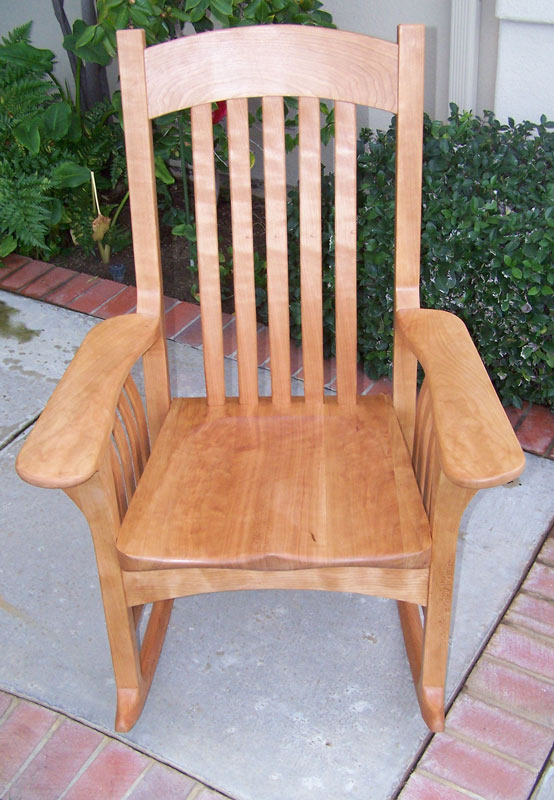
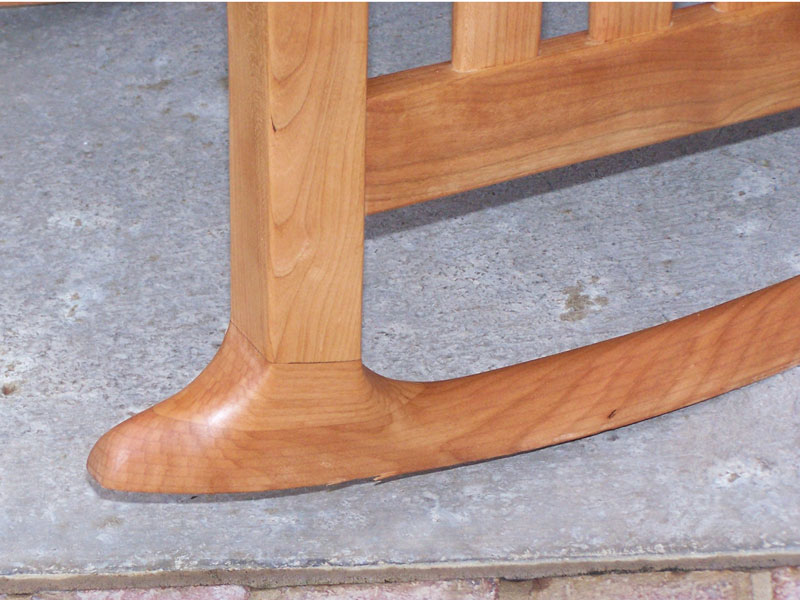
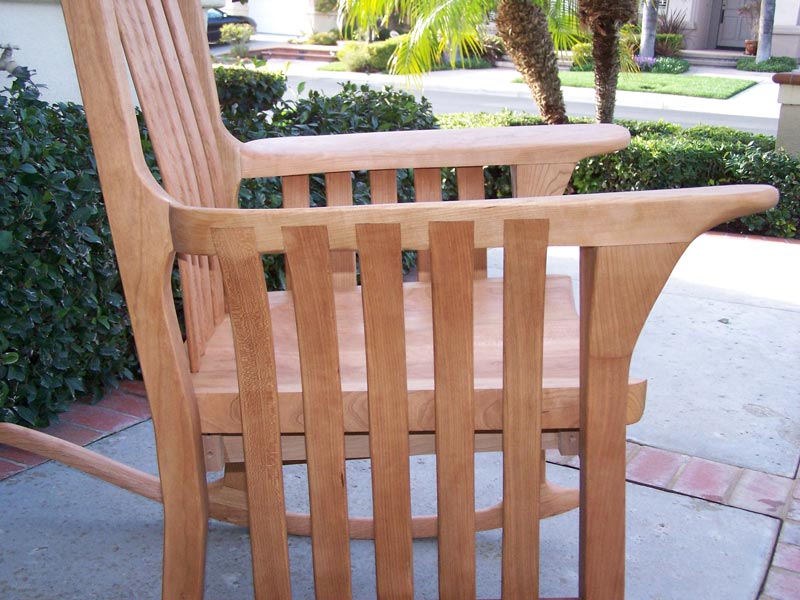
2/28/2008 Here's some pictures of a rocking chair in cherry that I built for Norma (my wife). It's pretty much the same design that I did earlier but with a lower back and shorter rockers (as specified by Norma). It's basically an attempt to take a Craftsman design and update it.

12/21/2007 I built a Longworth chuck for my lathe. I haven't had anything to finish the bottom of a bowl and this seems as if it will work. I'm also working on building some vacuum chucks - I have a vacuum pump that I use for veneer work and can use it for the vacuum chuck. Added note 10/10/2008 - I find the Longworth chuck doesn't really work well. If you don't use the tailstock to hold the bowl in the chuck, it will often come out when you're finishing the bottom of a bowl. My next approach is to make a set of Cole jaws for my SuperNova2 out of Baltic birch. Perhaps the extra force that can be exerted with the SN2 chuck will hold the bowl in when cutting on the bottom of a bowl.
You can find the basics of building a Longworth chuck here. That paper describes a four jaw chuck but it's easy to lay out a six jaw chuck by taking advantage of the fact that the perimeter of a hexagon is six times the radius of a circle that is scribed just outside the hexagon. So, using a set of dividers, scribe a circle along the outside edge of the chuck, then use that setting on the dividers to step off six segments along the edge. The follow the directions in the paper referred to above. To cut the arcs, I used a circle jig from MicroFence and my PC 890 router. The MicroFence is easy to use and accurate - an excellent tool.

My projects continue here