Making a Rectangular Serving Tray
P. Michael Henderson
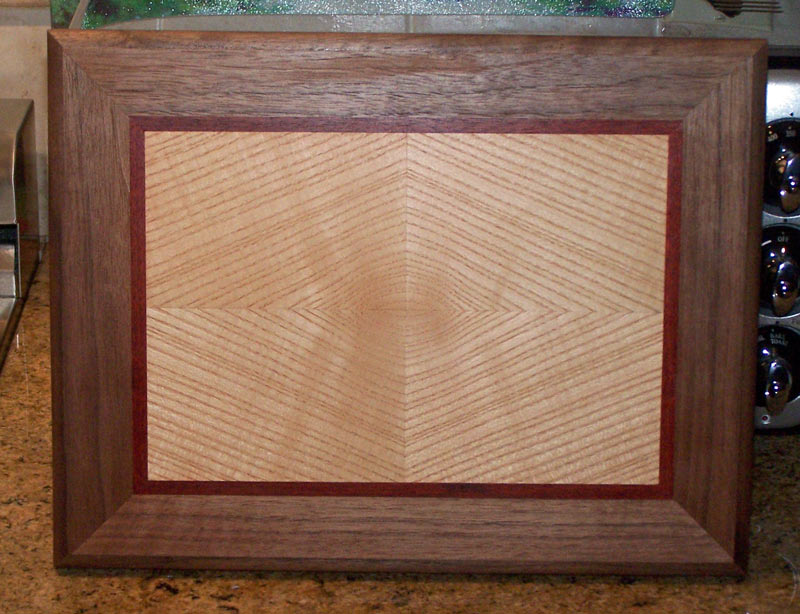
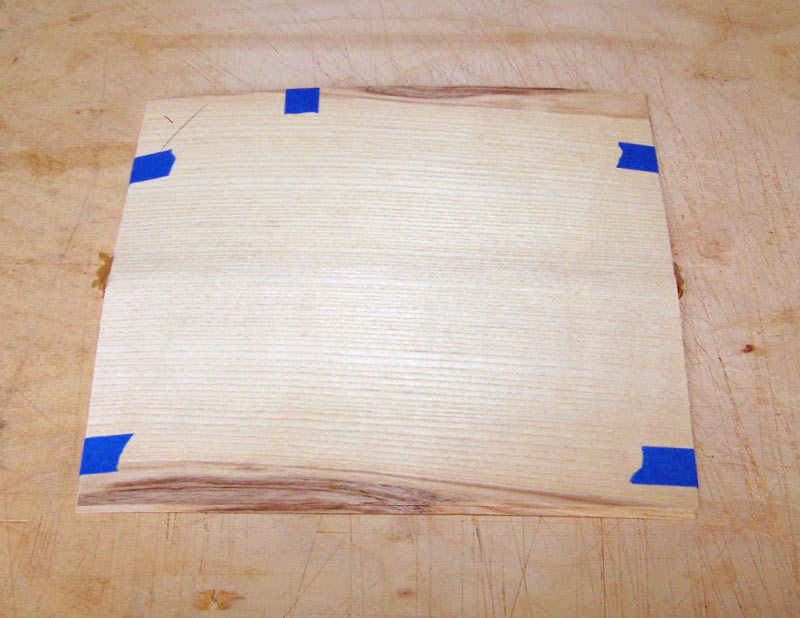
I teach veneering, and for years I had my beginning students make a veneer "panel," maybe 9" by 12," as their first project. Recently, my wife, Judy, took my beginning veneer class (she did very well, by the way) and suggested after the class that I teach my students to "make something useful" rather than just a panel. The picture below is her panel and shows what I have my students do in the beginning class. They create a four piece match of some veneer (here, it's quarter sawn ash), put a decorative banding around it (here, bloodwood), and a border of walnut veneer. The finishing and the cutting of the profile around the outside was done later, outside of class.
I often make serving trays for friends and clients, using some decorative veneer on the main part of the tray. Judy suggested that the panel of a serving tray is very much like the student panel, and if the students made a panel for a tray, they could take it home and complete the tray - leaving them with something useful instead of just a "student panel". I liked the idea and will introduce it in my classes. This tutorial covers how to make a rectangular serving tray, from laying the veneer on the substrate to making the sides and applying the finish.
This project is somewhat long. There are a lot of steps, and you have to wait between some of the steps (such as letting the veneer tape dry). After doing your own serving tray, perhaps you'll appreciate this story. I had a woman contact me about my trays. She wanted several as gifts for friends. After I told her the price, she was aghast - "I thought they'd cost about $35 each" she said. Needless to say, she didn't buy any trays.
If you find this tutorial valuable, I'd appreciate if you'd send me an e-mail at mike@mikes-woodwork.com just so I can know that people are using the tutorial. Just put a subject line of "Rectangular Tray".
This section of the tutorial covers laying the veneer for the panel.
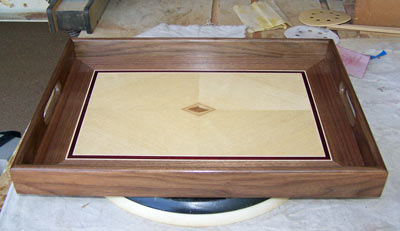
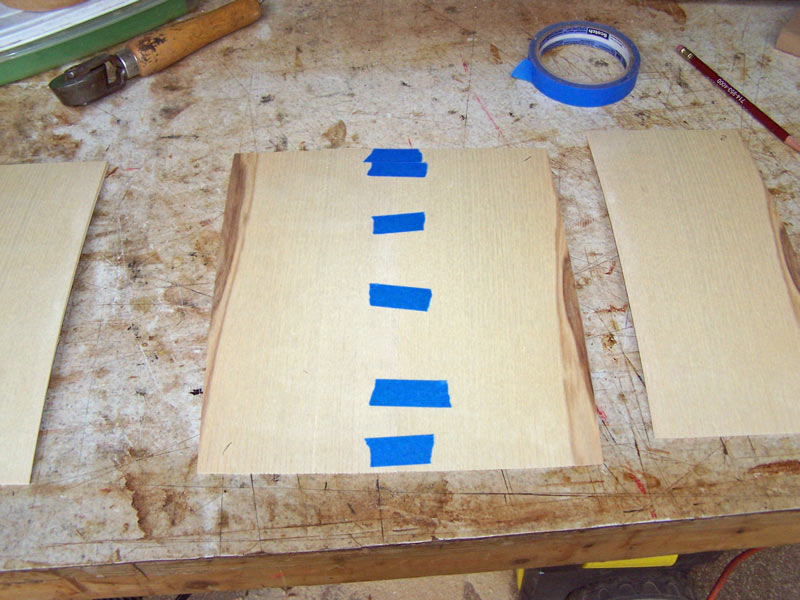
To start, let's see where we're heading. The picture below shows the panel that I'm going to demonstrate how to make. I'll also demonstrate how to make the sides of the tray after the panel is completed.
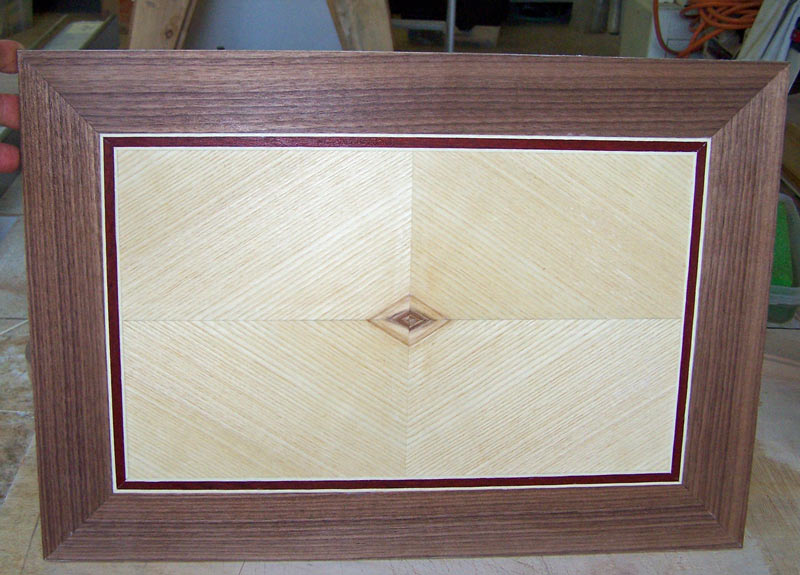
Like the student panel, it consists of a four piece match of quarter sawn ash, banding of bloodwood (and holly - students will not be required to include the holly), and a border of walnut. One thing that doesn't show in the pictures is that the student panel is laid on a 3/4" substrate, while the tray panel is laid on a 1/4" substrate. The tray panel is also larger, close to 20" by 14".
Just as a note, quarter sawn ash is very easy to work with, and that's why I use it for the beginning veneer class. If you're experienced in working with veneer, you could use a more difficult veneer, such as a burl or waterfall bubinga. Both make a beautiful tray.
Let's get started!
You'll need the following tools and supplies for this project:
1. 1/4" MDF for the substrate, approximately 20" by 14".
2. Four consecutive pieces of field veneer. Here I'm using
ash.
3. Veneer for the banding. I used bloodwood and holly.
4. Veneer for the border and back. I used walnut.
5. 3/4" blue tape.
6. Veneer tape.
7. A sponge in a container of water to wet the veneer tape.
8. A 24" rule. If you use a "center finding" rule some of the
measurements will be easier.
9. A straight edge about 24 inches long. Used when cutting the
veneer.
10. A filleti guide for cutting the banding.
11. A 45 degree triangle, about 10 to 12" long, with a scribe line down
the middle.
12. A veneer saw.
13. A knife or knives for cutting the veneer.
14. A sharp chisel about 1/2" wide.
15. A sanding block.
16. A small combination square is valuable for laying out the pattern.
17. A pencil.
18. A hinged mirror is helpful.
19. Glue to attach the veneer to the substrate. I used regular white
glue.
20. A veneer pressing system. I used a veneer bag and a vacuum pump.
Before we get started, let me remind you of the two rules of veneer work:
1. Always work (cut) from the glue face.
2. Veneer tape ONLY goes on the show face. When you go to glue
the veneer, there should not be ANY tape (blue
tape or veneer tape) on the glue face.
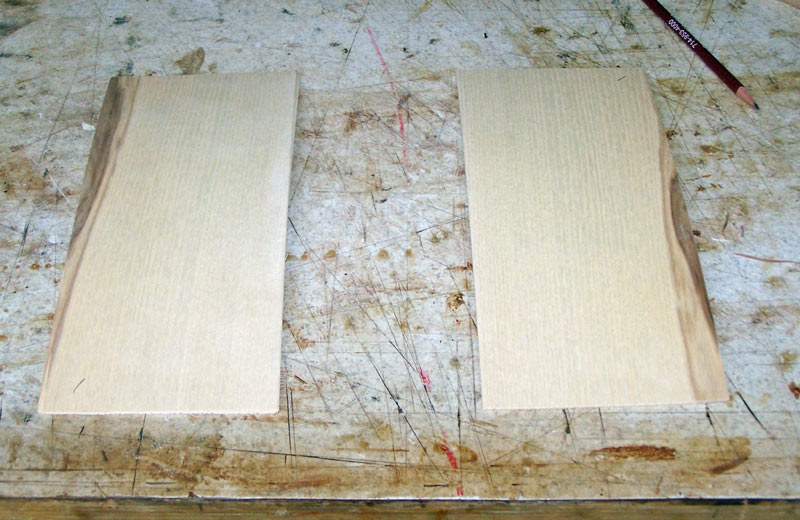
I didn't have any ash that was wide enough for the tray panel so I made up pieces by putting two pieces of veneer together. A four piece match requires four pieces of consecutive veneer. This picture shows only one "layer" of two pieces, which will be joined together. I arranged the two pieces of veneer to get the best grain match between them so that the joint will not be noticeable.
I sanded the edges to get a good joint, then taped them together. I also applied veneer tape to the show face, but I'll discuss that later.
I did the same for all four pieces. When finished, I had four pieces of consecutive veneer .
Next, I took a piece of 1/4" MDF that I had in the shop and cut it to 19 1/2" by 13 1/2".
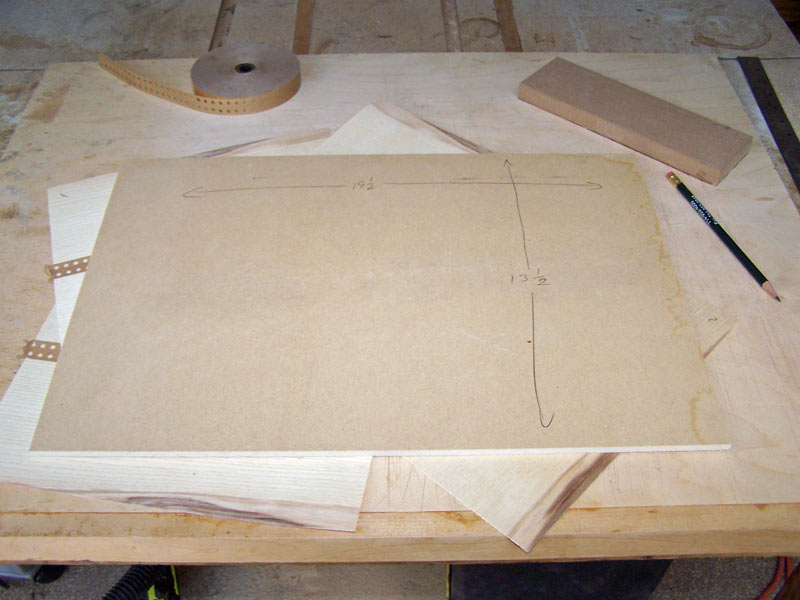
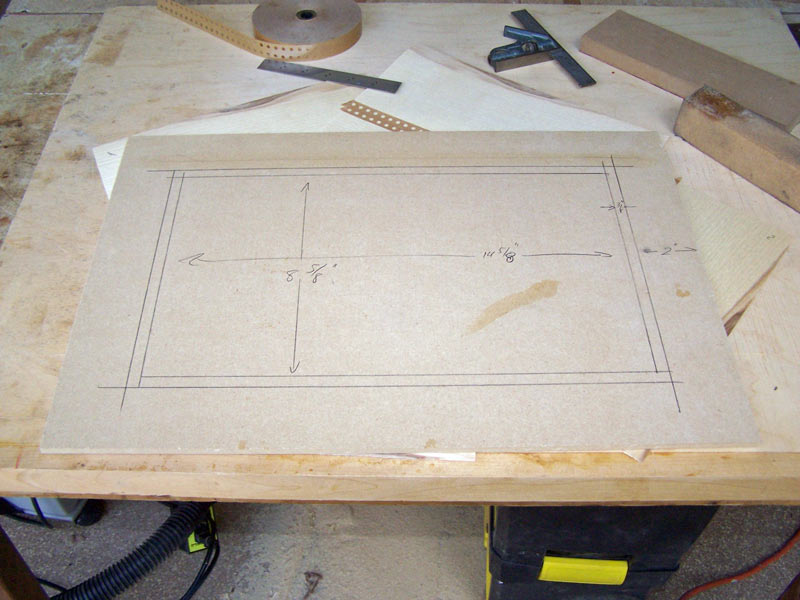
Then I laid out my pattern on the face of the MDF. I used a 2" border, 3/8" banding (you should use 1/4" if you don't add the holly), leaving me with a field of 14 5/8" by 8 5/8".
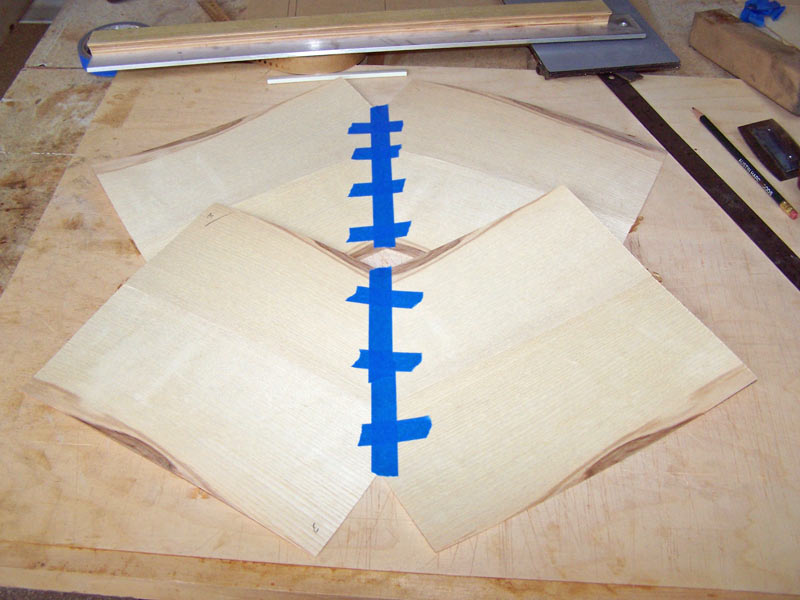
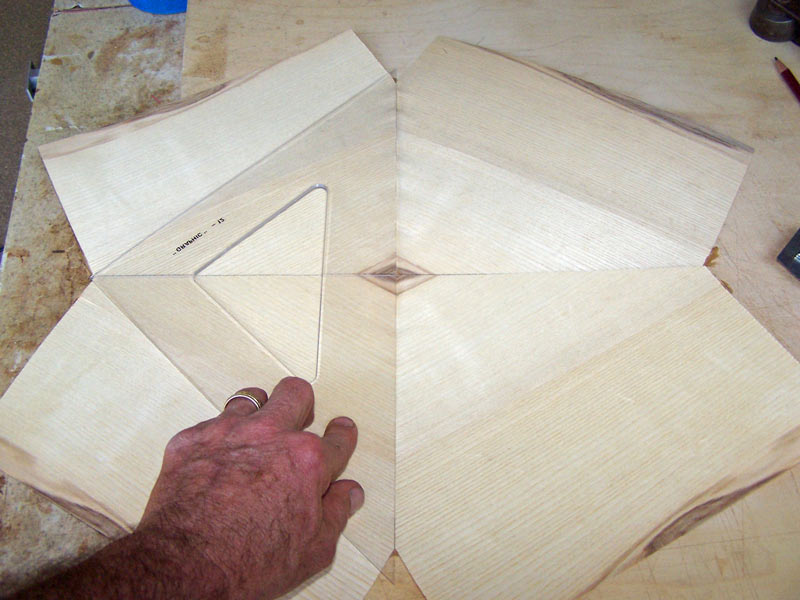
Next, I need to prepare the packet of veneer for cutting. Here are the four pieces of veneer. Note that I've put the veneer tape on alternate sides of the veneer. This is because I know how the veneer will "open out" after I cut it and I want the veneer tape to wind up on the show face. If you don't need to join veneer for this project, you won't have to worry about this.
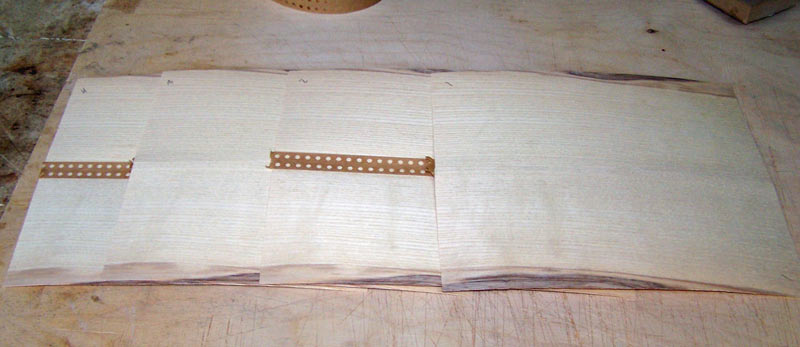
I carefully align the four pieces of veneer so that the grain structure is the same from top to bottom of the packet, and then tape the packet together.
Note that this veneer has some dark portions on the outside. This might ordinarily be considered a defect, but I'm going to try to use that dark section to add some interest to the four-piece match. To see what the panel will look like after I cut the veneer, I use two mirrors hinged together, and held at 90 degrees (since there are four pieces of veneer). By looking into the mirrors, I can see a close approximation of what the final panel will look like. When I find a location that looks good to me, I draw a line down the mirror that's going cross grain.
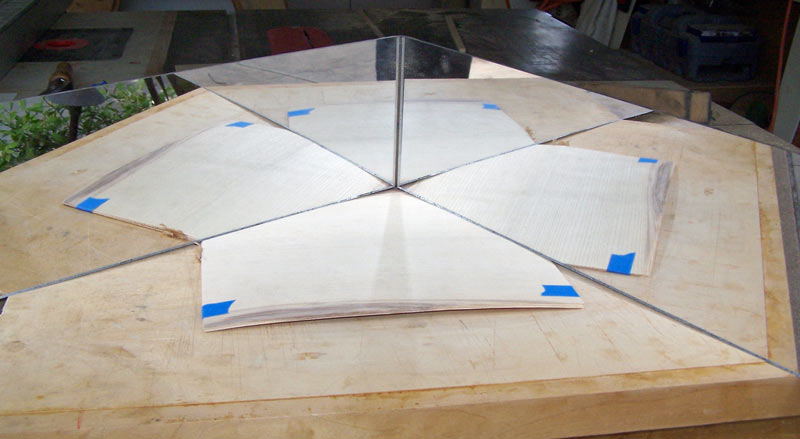
A set of mirrors is a very valuable tool for the veneer worker. You might be able to lay a four piece match without it, and get acceptable results, but when you work with more complex woods, such as burls, or more complex patterns, such as a sunburst, a mirror set is absolutely necessary.
I want to use that dark part of the veneer so I align my mirrors to include that part of the veneer.
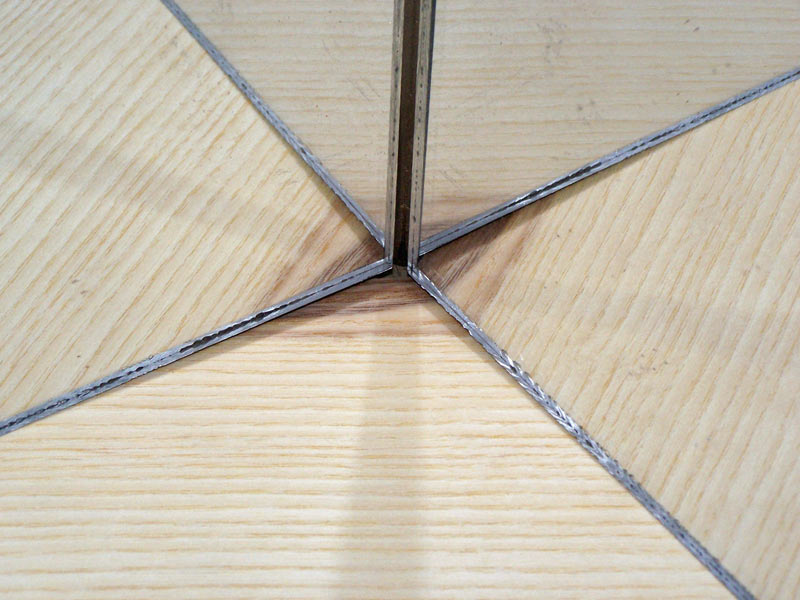
I draw a line along the mirror on the right side of the picture.

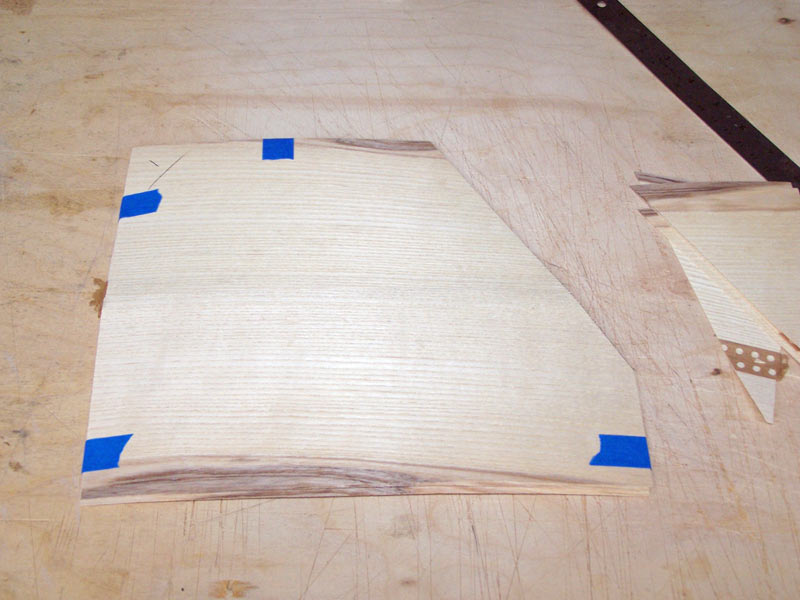
Compare the above picture with the earlier picture of the veneer packet. Note that I've removed the blue tape from the waste portion of the packet (the part I'll cut off). That way, the pieces of veneer will fall away as I cut through them. If I leave them taped, the ones I've cut through will be in my way as I cut the lower layers of veneer.
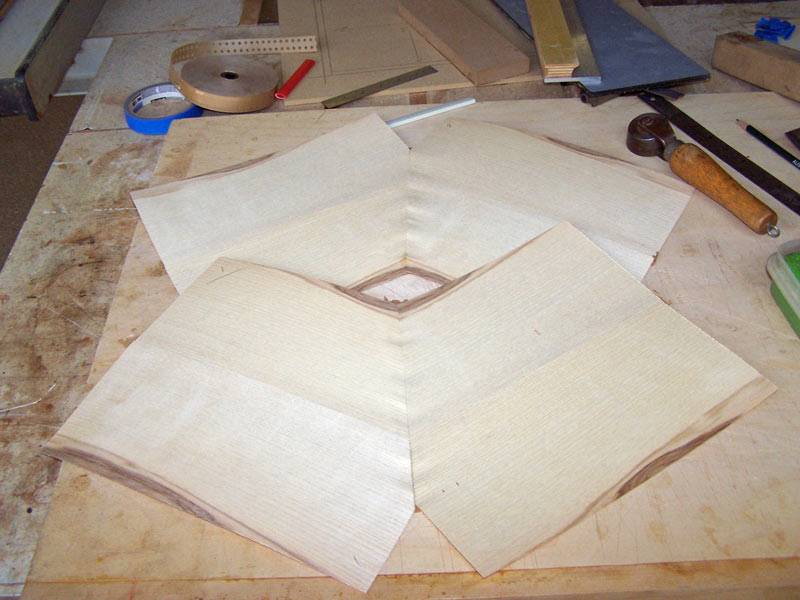
This next picture shows the packet with the waste cut away.
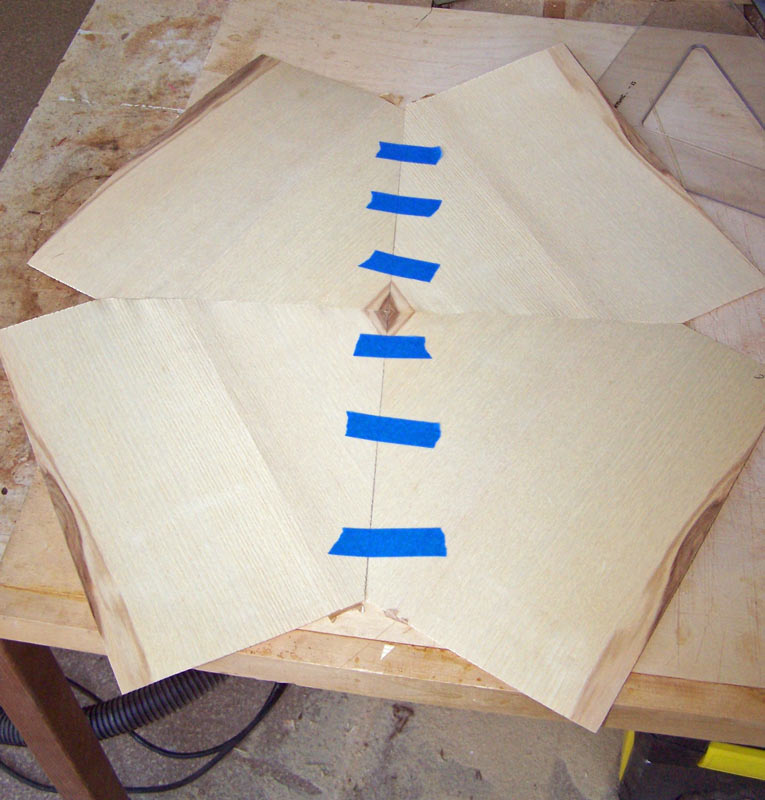
Now, untape the packet and take the top two pieces and fold them upwards. This will give you two piles of two pieces. Take the top piece of each pile and fold them over to the right. Sand the edges to get a good joint and tape the pieces together.
Turn both pieces over and apply veneer tape on the joints. You also see the veneer tape from where I joined the two pieces of veneer together, earlier.

Put the two pieces of veneer under a caul - I put them under my bench protector (the piece of plywood I'm working on) - to let the veneer tape dry. You can't hurry when working with veneer. When you apply veneer tape, you need to let it dry very well before you take the blue tape off the back. Otherwise you'll have a mess. Go do something else for a while. When the veneer tape is good and dry, remove them from press, and place them with the blue tape up (glue side up). Remove the blue tape.
One problem with veneer is that when it gets wet, it tends to expand across the grain. You can see some slight puckering of the veneer along the joint line.
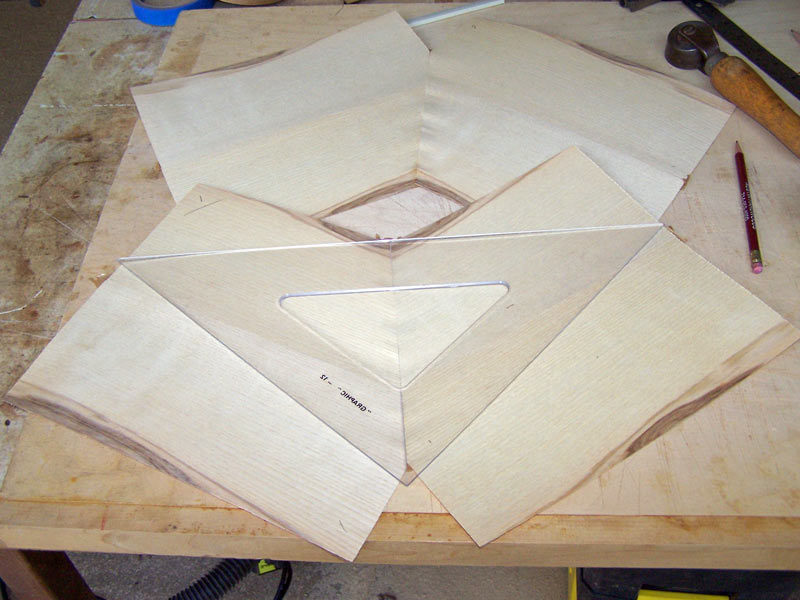
I now want to cut the first piece of veneer (it doesn't matter which one) perpendicular to the joint we just finished. I'll use a 45 degree triangle with a line scribed down the middle of it. I align the scribe line with the joint and slide the triangle along the line until I get the look I want. Since I want to keep the dark part of the veneer, I put the triangle very close to the outside of the veneer. When I get the placement I want, I draw a line along the triangle, then cut along the line.
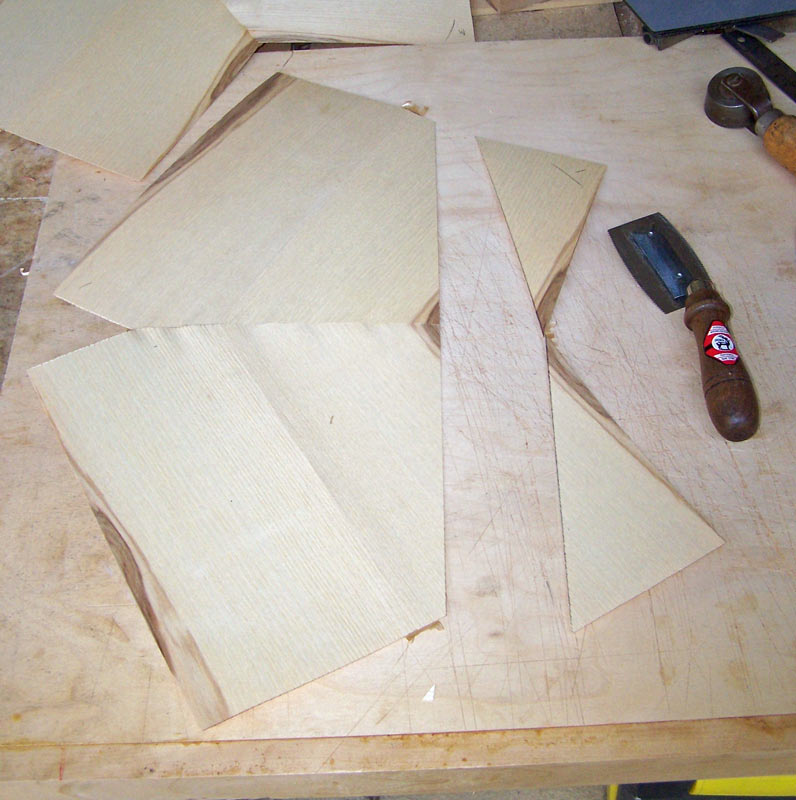
Then I slide the cut piece of veneer on top of the uncut piece and, while using the triangle to keep the vertical joints aligned, I slide the lower piece up and down until I get the best match of the grain on the pieces. When I've found the best match, I draw a line along the top piece of veneer and cut the other piece along that line.
You may be able to see that I was able to get a good match in the grain structure, but the dark wood portion didn't match as well. The dark wood changed quite a bit over the four pieces.
When I complete the cut, I sand the joint and then tape the two pieces together.
Turn the veneer over, apply veneer tape, put it under your bench protector and let the veneer tape dry well. Go do something else for a while.
The tutorial continues here.