Carving a "Square Flower"
P. Michael Henderson
June 25, 2009
I carved a panel for a client a while back. In the center of the panel was a four petal flower. After carving it, I was impressed with how simple it was to carve and how nice it felt to the hand that I decided to do this tutorial to pass along the design.
If you find this tutorial useful, I'd really appreciate if you would send me an e-mail with the subject line of "Square Flower" so I can get some indication of how many people are reading it.
Note that I use the Swiss system to describe carving tools in all of my carving tutorials.
I'm going to be working in basswood. I have a piece of basswood that's about 7"
wide. You certainly don't have to make your flower the same size, just scale
your work to the size wood you have.
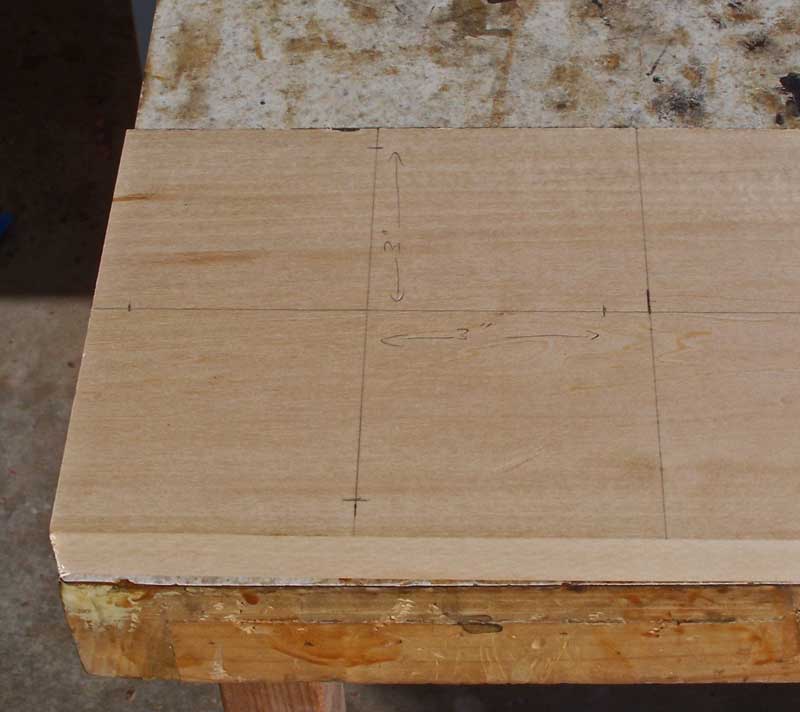
I called this a "square flower" so the first thing I'm going to do is draw a
line about 7" from the end so I have a square. Then, I'm going to divide that
square into four quadrants by drawing a horizontal and vertical line half way -
at 3.5"

Next, I put a "tic mark" on the vertical and horizontal lines at 3" from the center and then connect those points with straight lines to give me a square.
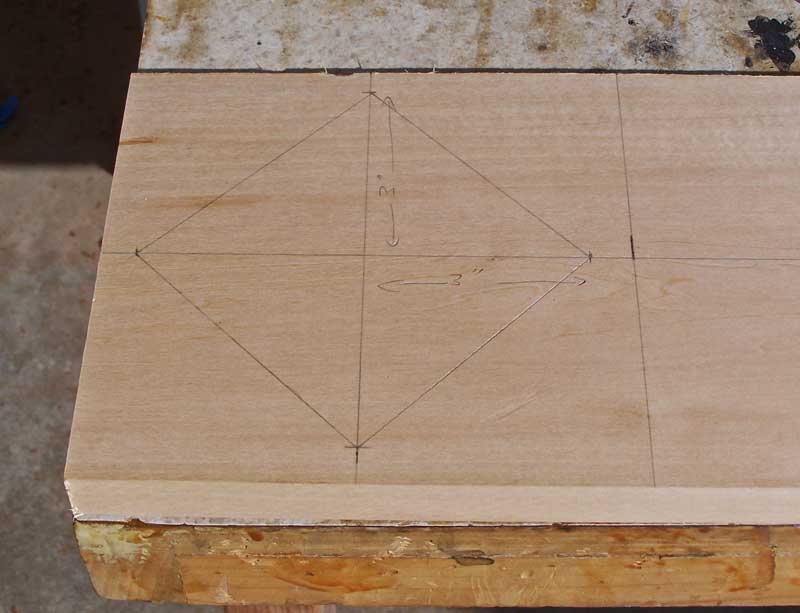
Then, I subdivide that square into four quadrants, as shown in the picture below.

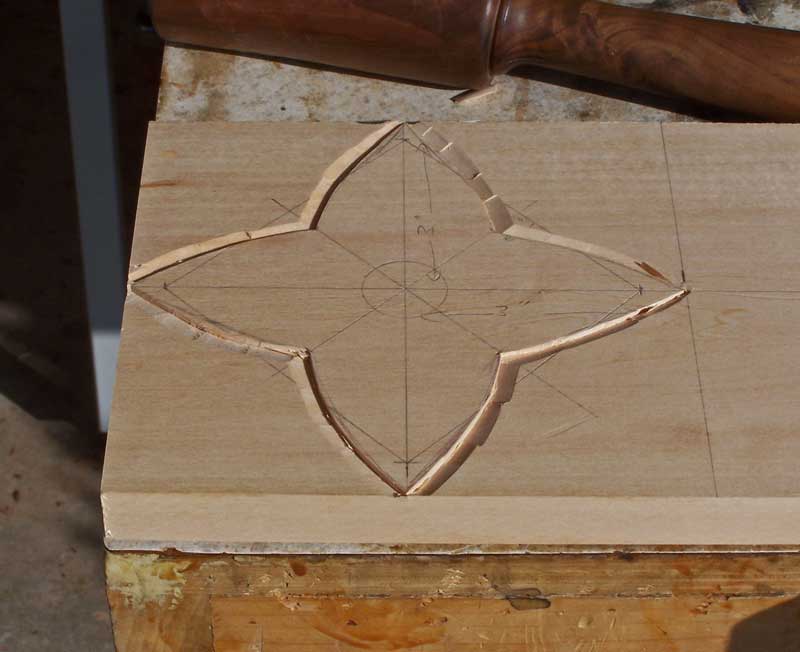
I now want to sketch in the flower petals, which I do by hand. I come in 1/2" from the square and just draw the shape of the petals freehand. If you want the petals to stand out more, just come in more (closer to the center).
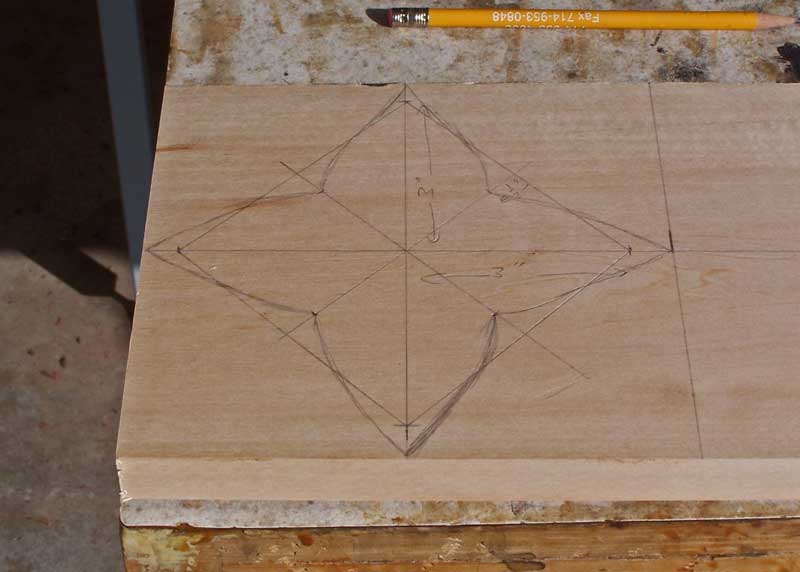
I next draw the center of the flower - here I'm using a circle of 1" diameter but you should scale it to look good for the size of your flower. Using a 2/19, I make stop cuts along the edges of the petals.
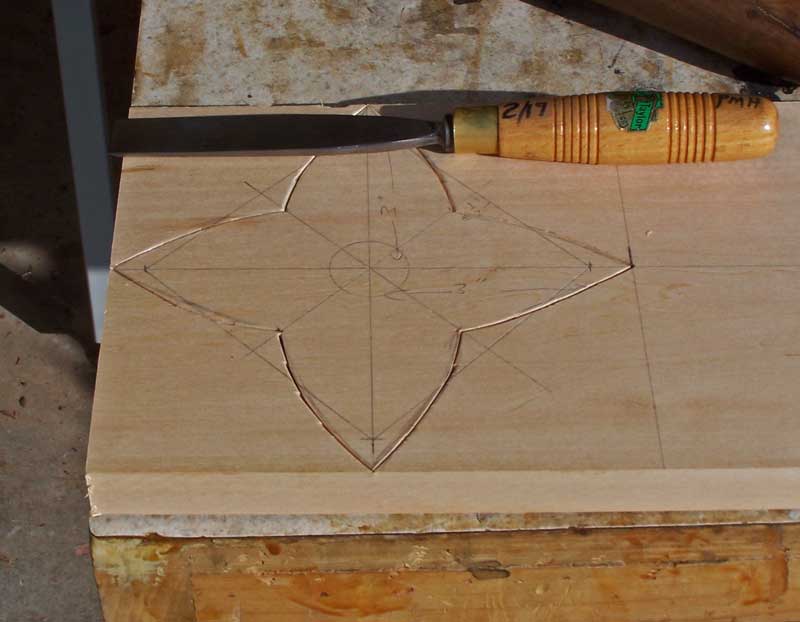
And then cut inward to give shape to the flower.
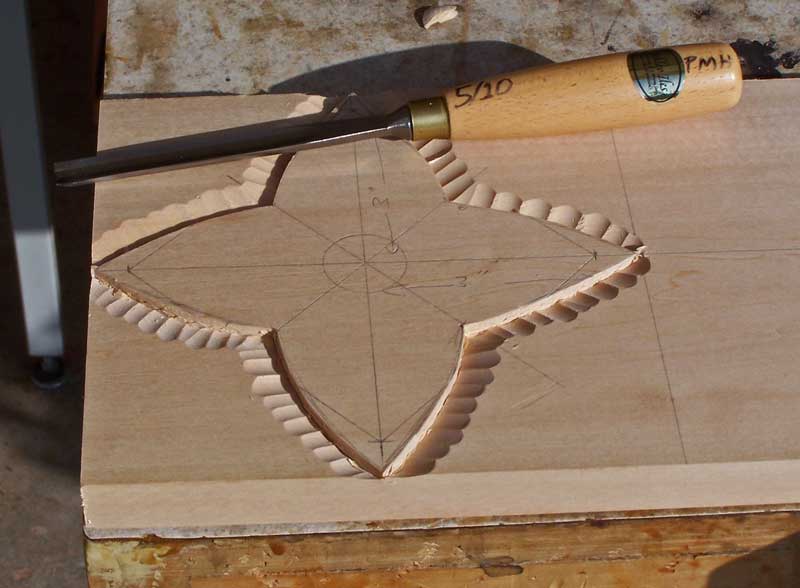
I deepen my stop cuts and then use a 5/10 to give a fluted effect around the flower.
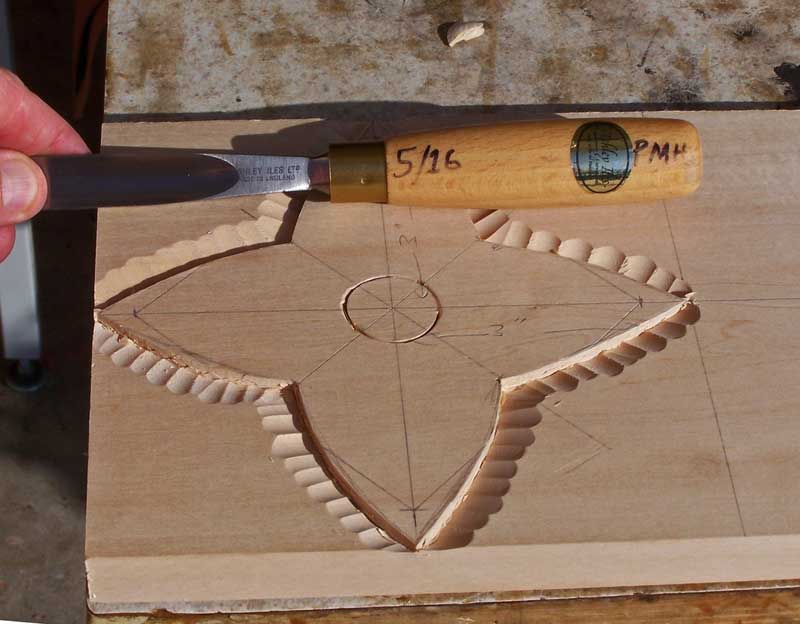
Using a 5/16, I make stop cuts around the center of the flower.
The tutorial continues here.