Carving a "Square Flower"
(Continued)
P. Michael Henderson
June 25, 2009
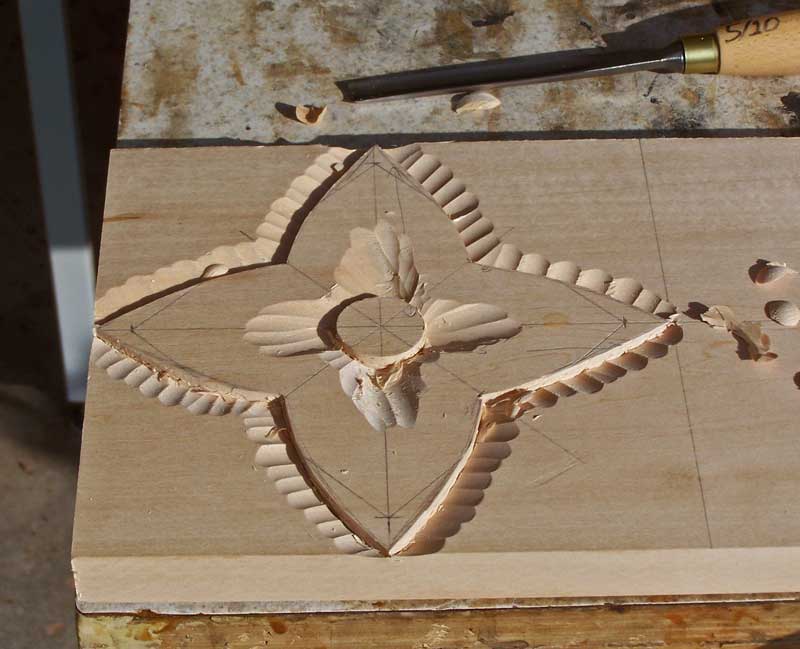
With the 5/10 I begin to shape the petals and highlight the center of the flower. Note that I don't cut in the area between the petals - I'm going to shape the petals and want that are to be high.

I next used the V-tool and made a cut between the petals, then using a 7/20 I continue to shape the petals. Note how I've hollowed out the petals with a slope towards the center. You want the center part of the petal (where it touches the center dome) to be fairly deep. This flower looks good with high relief.
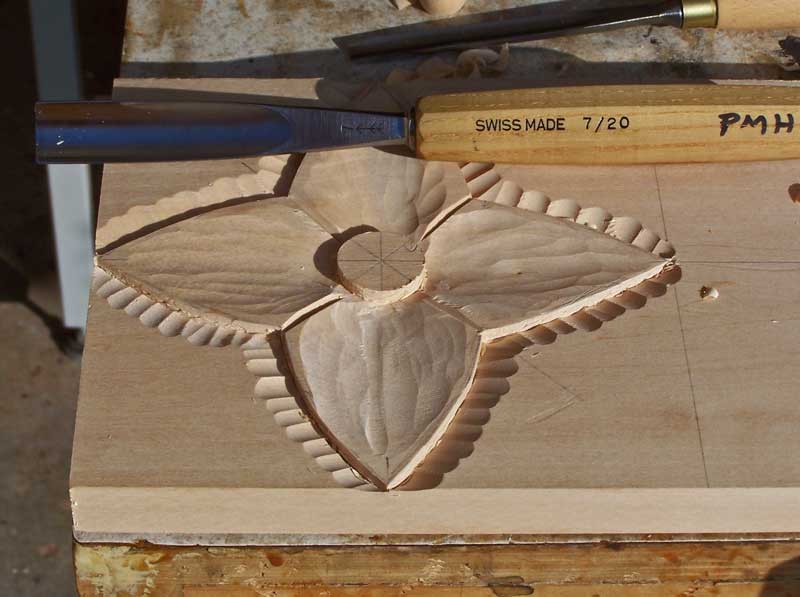
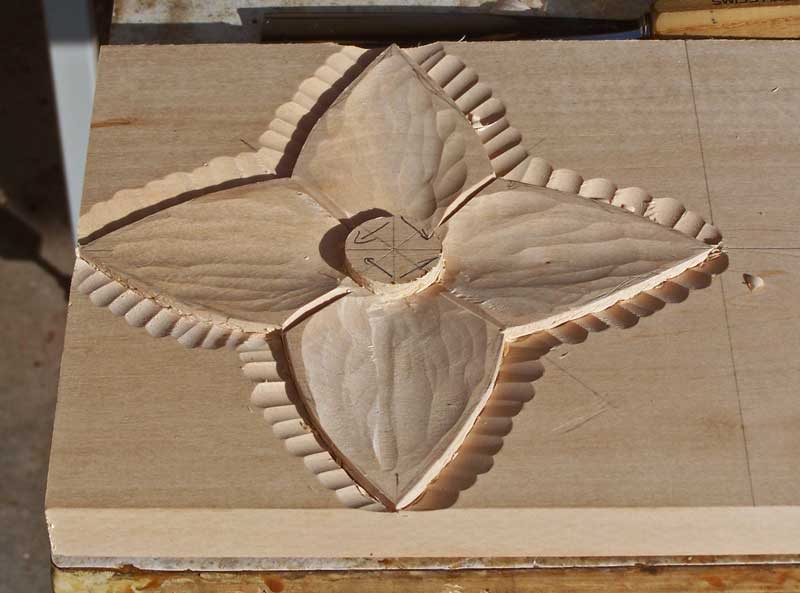
Next, I'm going to shape the center of the flower into a dome. When you make the cuts on the center, always go in the direction of the arrows. If you do not follow the arrows, the wood will chip out on you.
I used a 2/12 to dome over the center
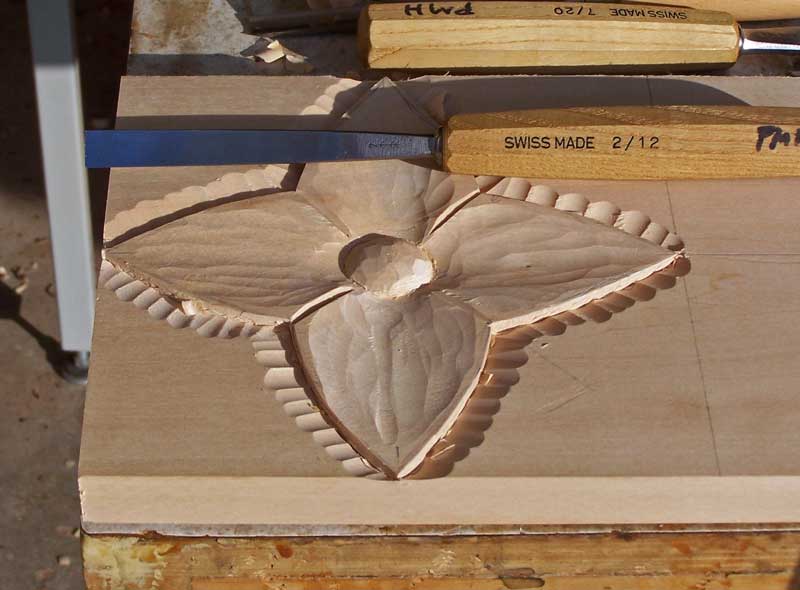
I then sanded the petals and the dome with P150 sandpaper.
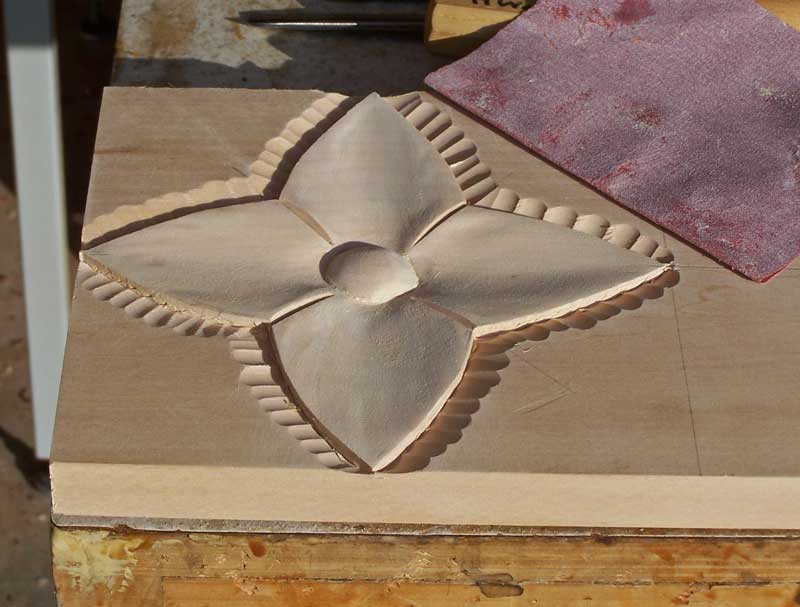
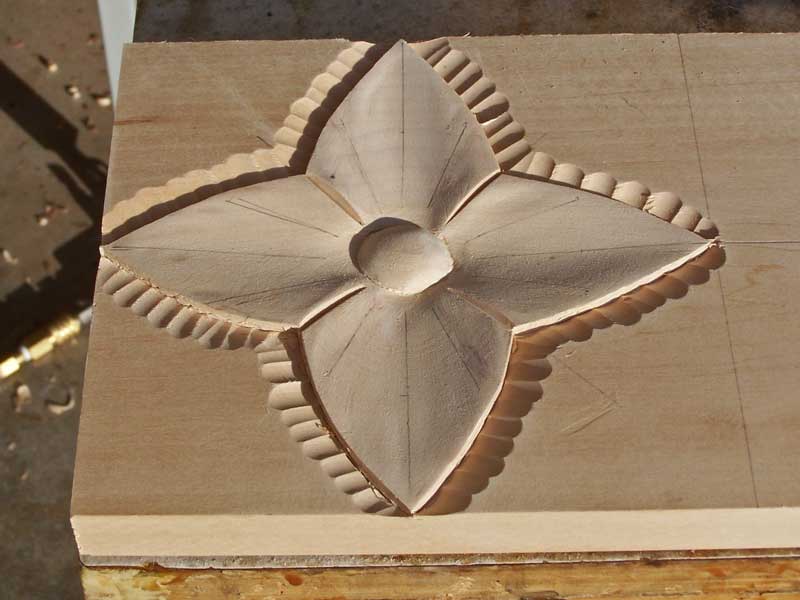
I want to lay out the lines for the accent marks on the petals. The center lines are simple because you can use the tips of the petals for alignment. The other two must be done by eye. But there's almost no bad accent marks. Just use your judgment.
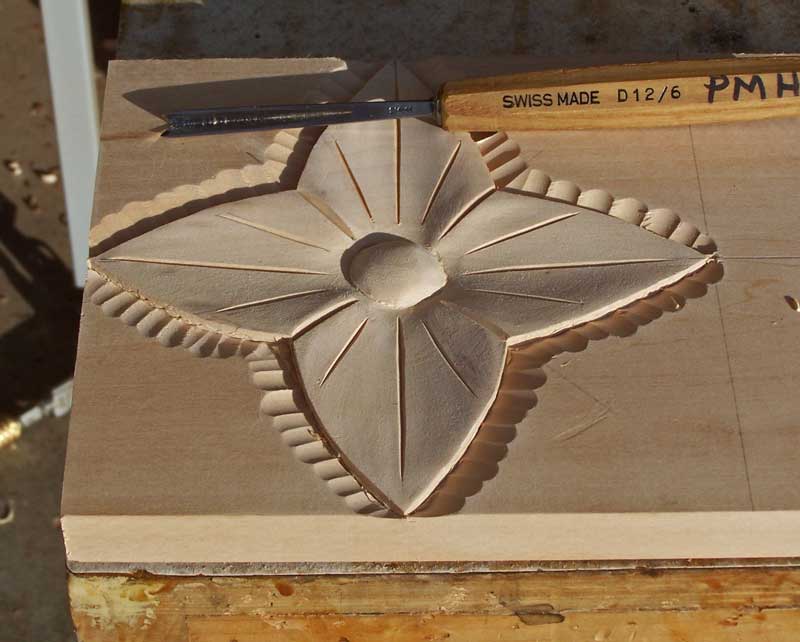
Use your V-tool to cut the accent marks into the petals.
Do some finish sanding with finer sandpaper and that's it - you're done!
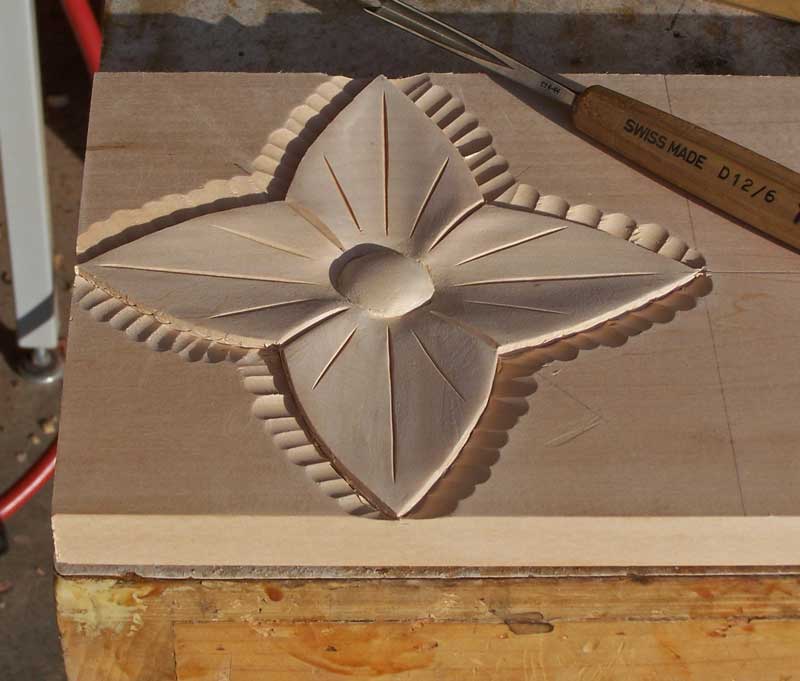
If you don't like the center plain, as I have it here, you can crosshatch it, or take a brad and punch random holes in the dome to add some additional interest.
You can return to my woodwork here.