Carving a Simple Shell
Continued
P. Michael Henderson
January 1, 2009
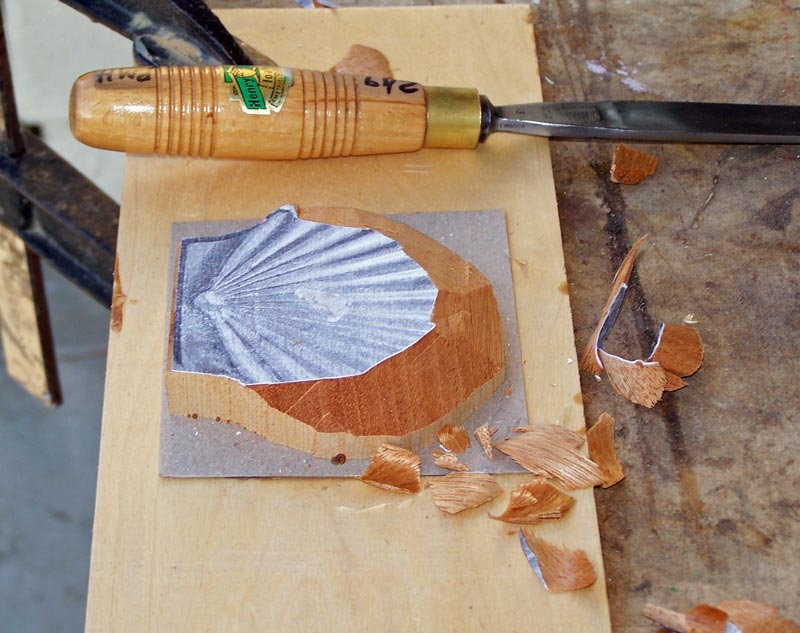
Using a #2/19, I begin to rough out the shape of the shell. Note that the grain is running side to side, so you need to be careful about your cuts. You don't want your gouge to get "under" the grain because the wood will split. So you should be cutting downward towards each side and being careful at the top of the shell. Make light cuts until you get the feel for how to cut without the wood splitting on you.

Keep working your cuts toward the hinge. I've put a mark on the template which
shows the approximate location of the highest point of the "shell". That is, a
scallop shell rises upward from the hinge to a high point, then gradually tapers
down towards the outside. This mark is just approximate and I'll adjust my cuts
by eye as I work on roughing out the blank.
You want to take the wood down until it's about 3/16" thick at the top of the
shell. It'll be thicker as you move towards the hinge - we'll work that part
down later.
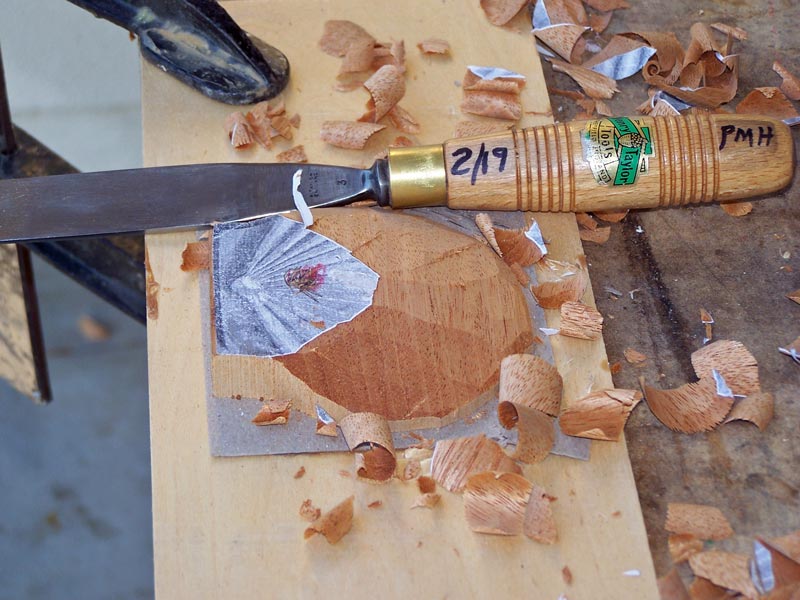
I'm now going to start carving the hinge. I use my #2/19 to cut along the template where the hinge is indicated. You can go by your eye, but the template is a good place to start and you can adjust from there. Don't use your mallet and pound on your gouge - you'll break off the wood - just use hand pressure and make relief cuts into your downward cut.
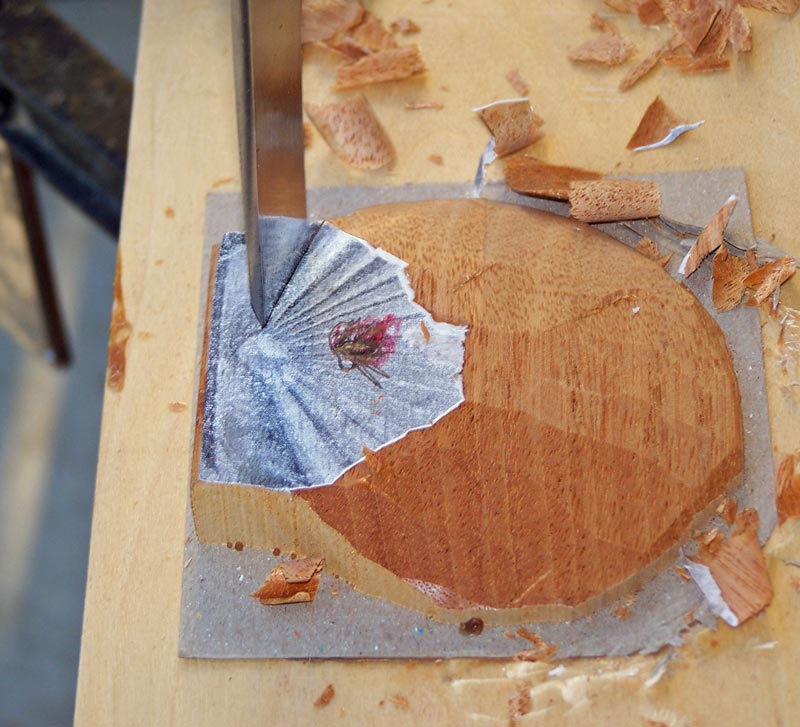
Next, use your #2/5 to outline the little bump in the middle of the bottom of the shell. I find a lot of beginners have problems cutting this round feature for some reason. You might cut it large to begin with and then trim back to the size you want. It's just a decorative feature so if you mess it up, just cut it off and continue.
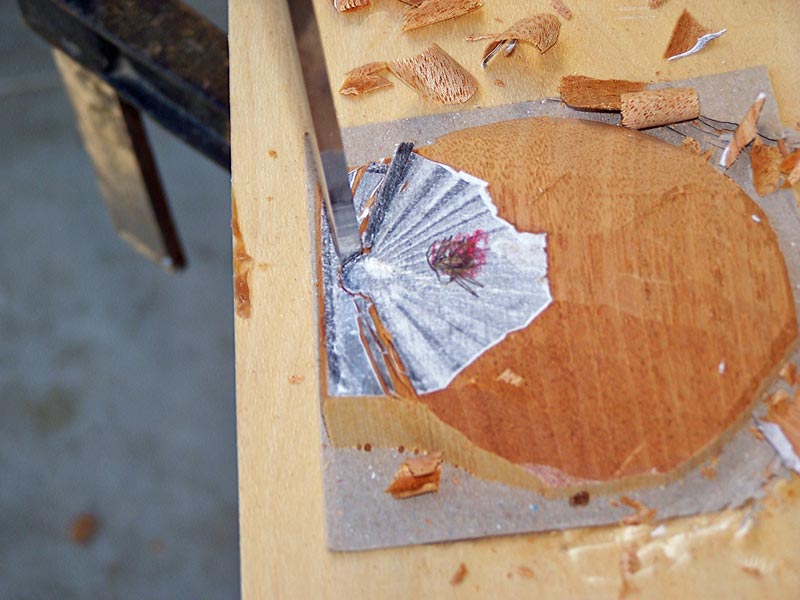
Use your #2/19 and your #2/5 to cut away the wood and rough out the hinge of the shell.
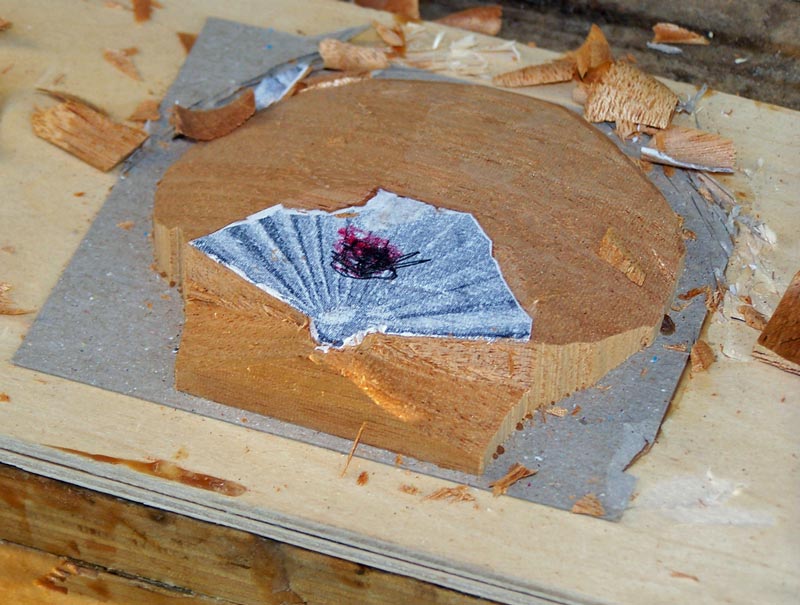
Keep cutting until you have the hinge roughed down to about as shown in this picture.
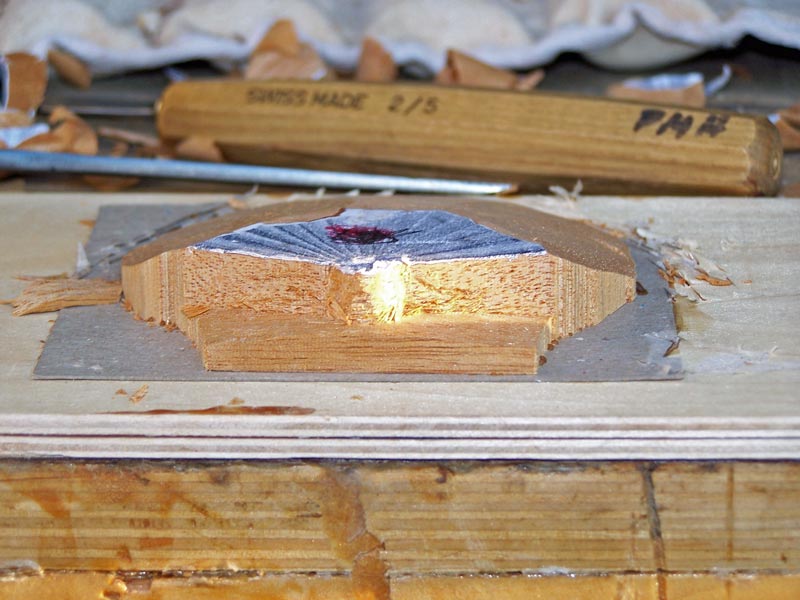
Now, cut the bottom part of the shell so that it tapers downward from the high
point we marked earlier. I said that point was just rough - in making my cuts, I
decided to move the high point upwards a bit.
To carve this shell, you need to have in your mind an image of what a scallop
shell looks like and carve to that "vision" or "image". Carving is the
mechanical process of shaping the wood to the image in your mind. Some people
can translate with their hands from a mental image to wood and others have a lot
of problems with the concept. You'll get better and better the more carving you
do but you have to work on that aspect of your skills. You can't just "carve to
the line" - you must carve to what you see in your mind. Of course, you must be
able to visualize the object - and I can't help you much with that. Look at
things in nature and get to know what they look like and you'll be able to
translate that to wood.
Remember that you're not trying to create a photographic reproduction of a
scallop shell - you're trying to create a carving which has the important
elements of a scallop shell - what I call a stylized scallop shell.
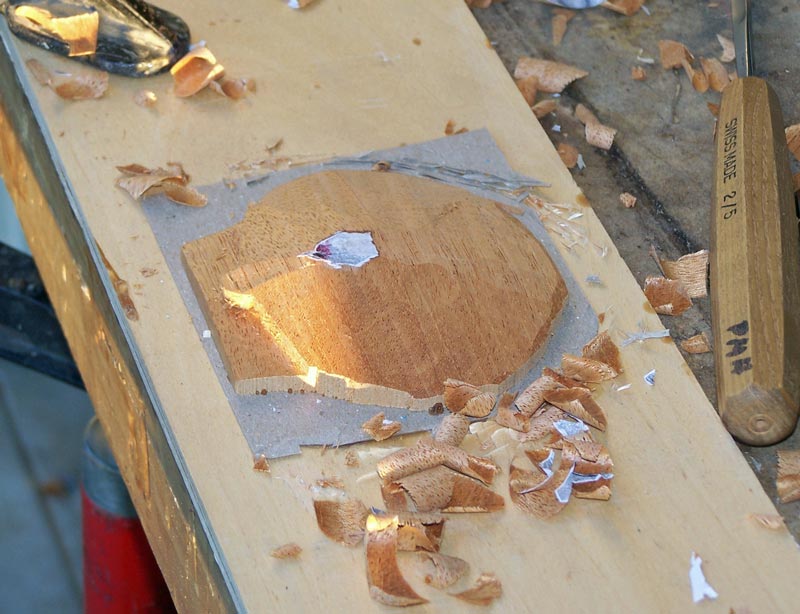
The final thing I did here was to shape the outside of the shell to my mental image of a stylized scallop shell. I used my #2/19 and cut downwards around the outside of the blank to get a shape that I liked. Actually, I left it a bit large so I could trim it more as I went along.
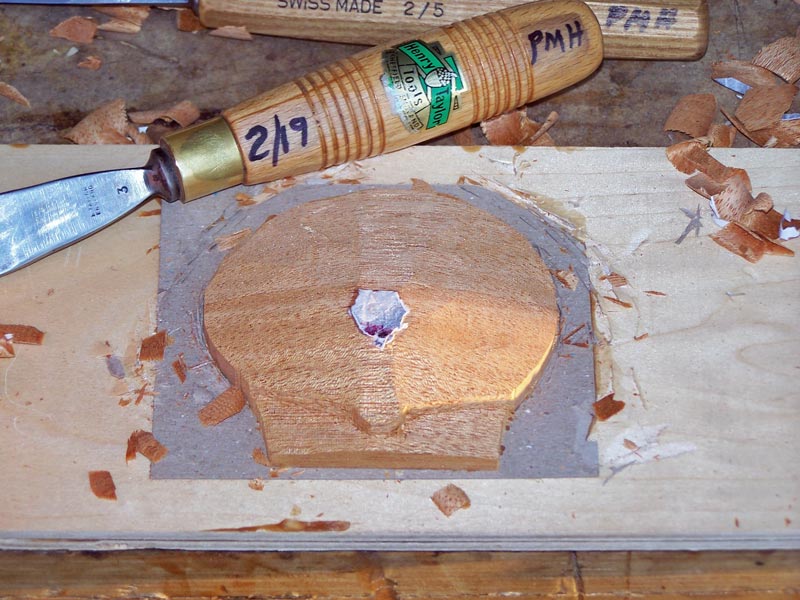
The next thing I do is to carve off the rest of the paper, just to get rid of it. Then I use a flexible straight edge - a piece of cardboard works well - to draw a vertical line on the shell. Just eyeball that line - you should be able to tell whether it straight up and splits the shell in two. If you don't like it, use some sandpaper as an eraser and draw it again.
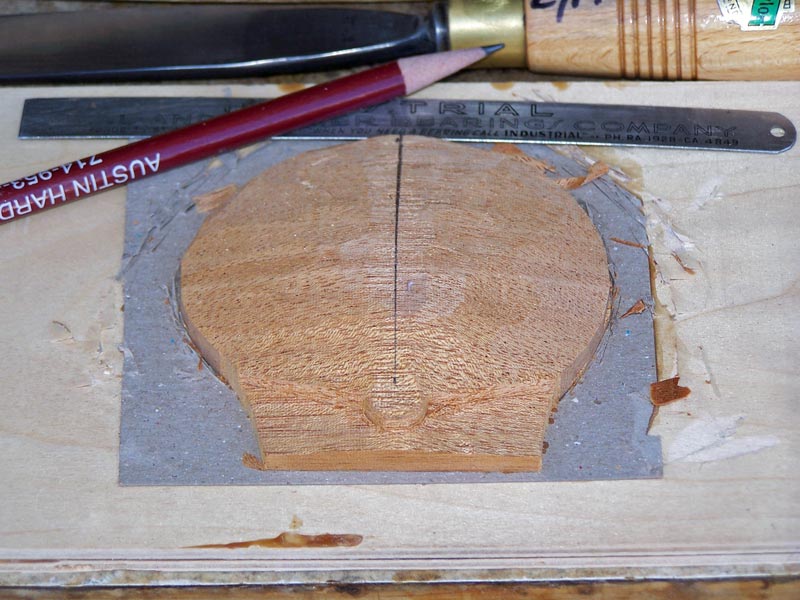
Then get your dividers to step off the flutes. Every shop should have a good set of dividers. This one is a Starrett that belonged to my dad, who was a machinist prior to and during WWII. You should buy one that has an adjustment wheel - not one that just comes apart with nothing to hold it in place.
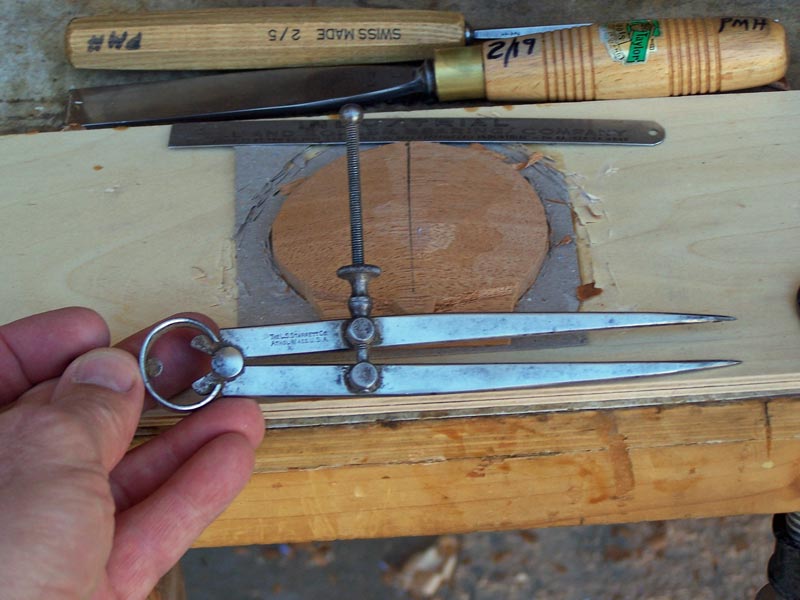
Use the dividers to step off six points between the vertical line and the bottom of the shell. The tricky part here is to leave enough on the bottom to make a flute. A lot of beginners leave too little to be able to carve a flute on the bottom. It's better to leave too much because you can carve up to make the flute smaller, but you can't add wood to make the flute larger. See some of the later pictures to see how much I left.
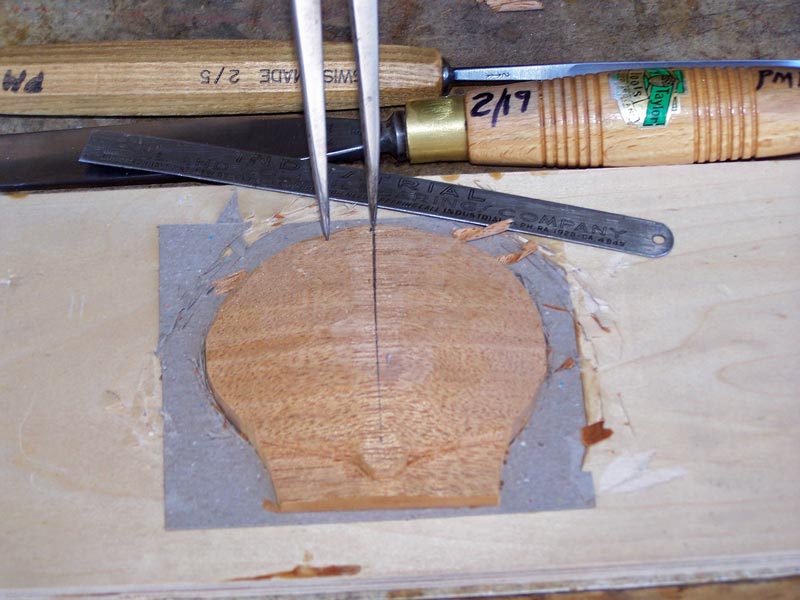
Put a pencil mark at each landing site of the dividers and then use your flexible straight edge to draw a line from the center to your pencil mark. The "center" is not the lowest spot on the bump at the bottom of the shell. If you draw to that point, the bottom flutes will not work. Put a pencil dot about in the middle of an imaginary circle made by that "bump".
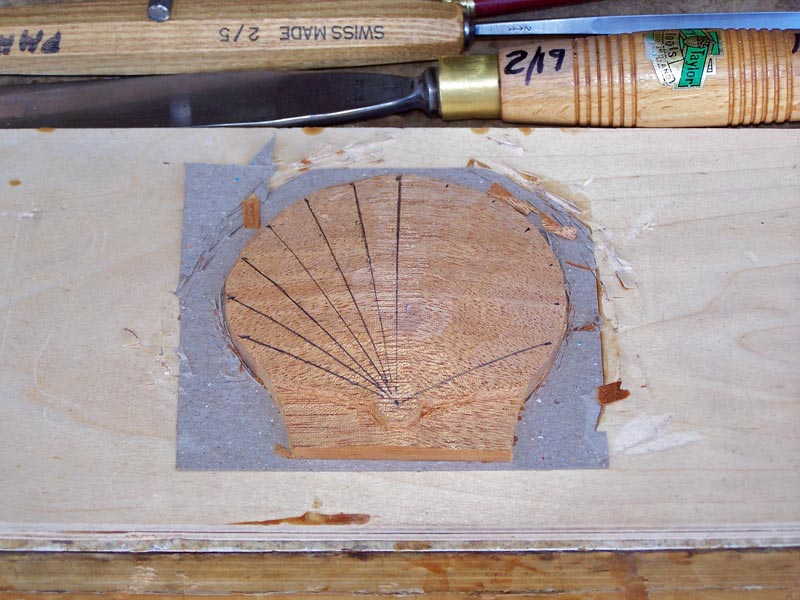
Here's all the lines drawn.
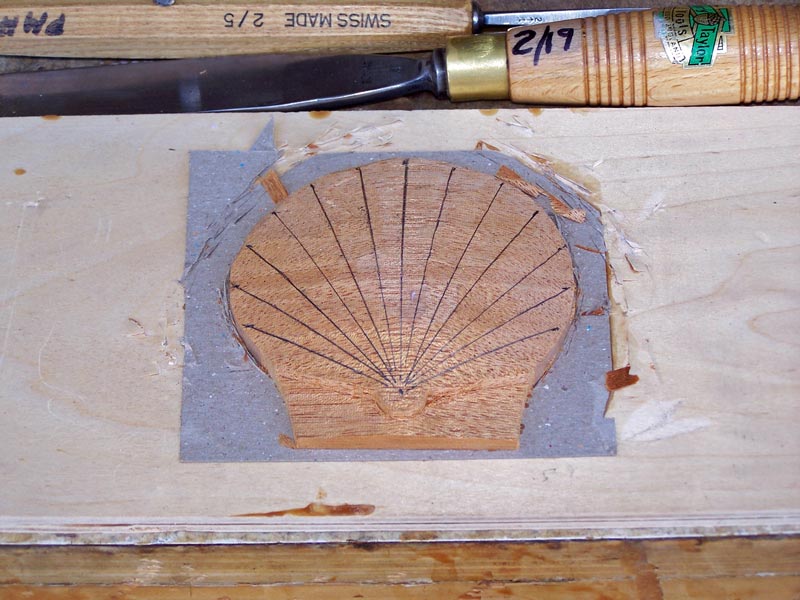
Now, use your #12/6 V-tool to carve along the lines. Don't make your first cut very deep - especially back towards the bottom of the shell. You can't cut deeply at the bottom of the shell because the lines are too close to each other. If you cut deeply, there won't be room to place all the lines. And you can't cut your lines all the way to that center spot - again, the wood won't support lines that fine. Start your line maybe 1/4" away from the center spot. Go too far away from the center spot - you can always come back and make the line longer. If you find you make a mess here, just sand it down and re-cut the lines.
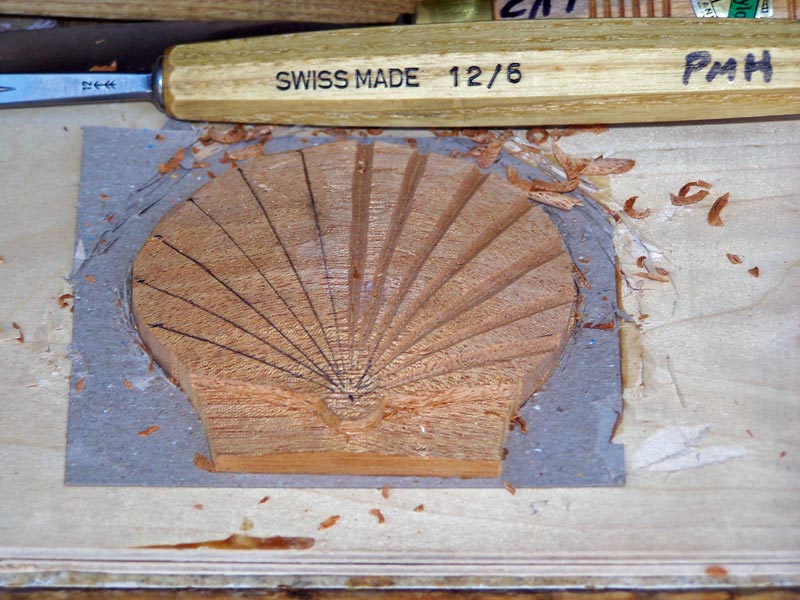
Your lines should be cut deeper towards the outside of the shell.
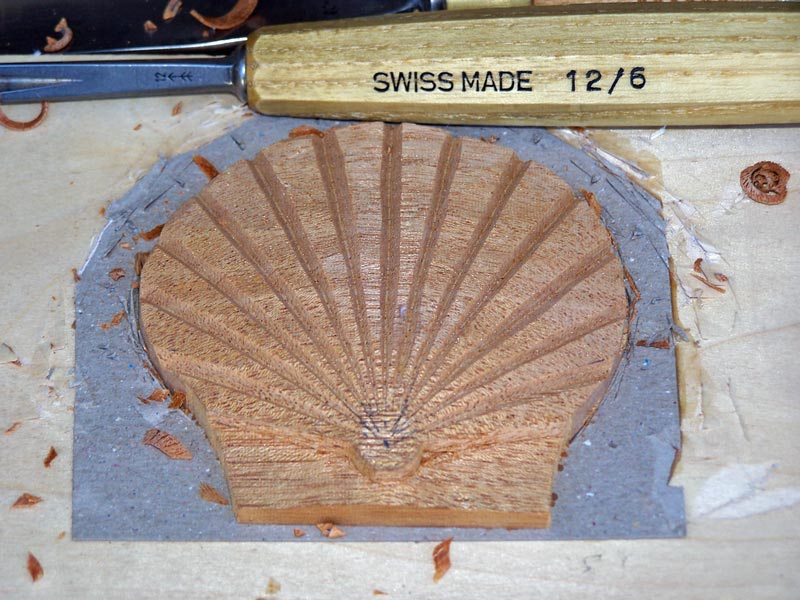
Once you have all the V-cuts done, take your #2/5 and round over the flutes. You'll have to be very careful on the flutes towards the sides. It's easy to get under the wood and split it out. Take very light cuts on those flutes and watch how the wood cuts. It you have to, cut "downward" on those flutes instead of along the flute.
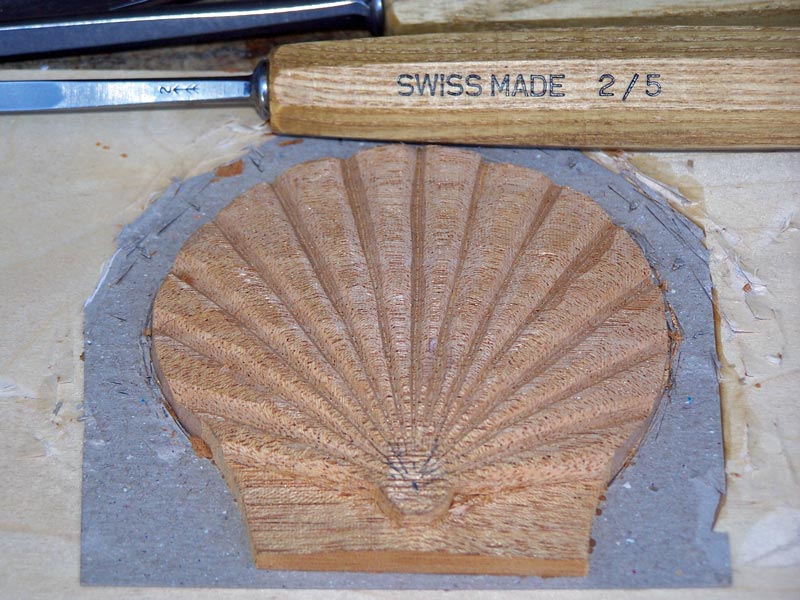
The tutorial continues here.