Carving a Simple Shell
Continued
P. Michael Henderson
January 1, 2009
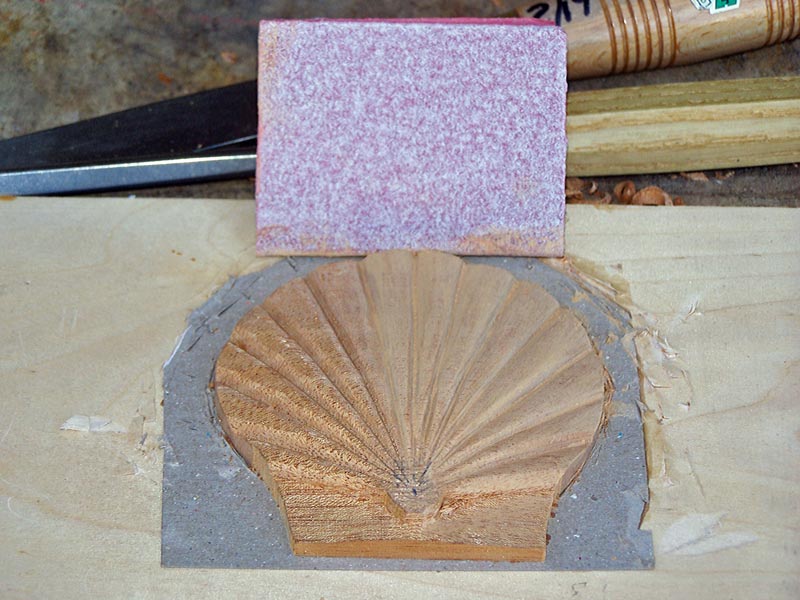
Then take some P150 sandpaper and sand the flutes. This is a project that really requires sandpaper. Sandpaper is just another tool and should be used with judgment, just like a carving gouge. But my opinion is that you need to use sandpaper on this project. Fold your sandpaper and sand along the sides of the flutes to get them evenly rounded over.

In this picture, all of the flutes have been sanded.
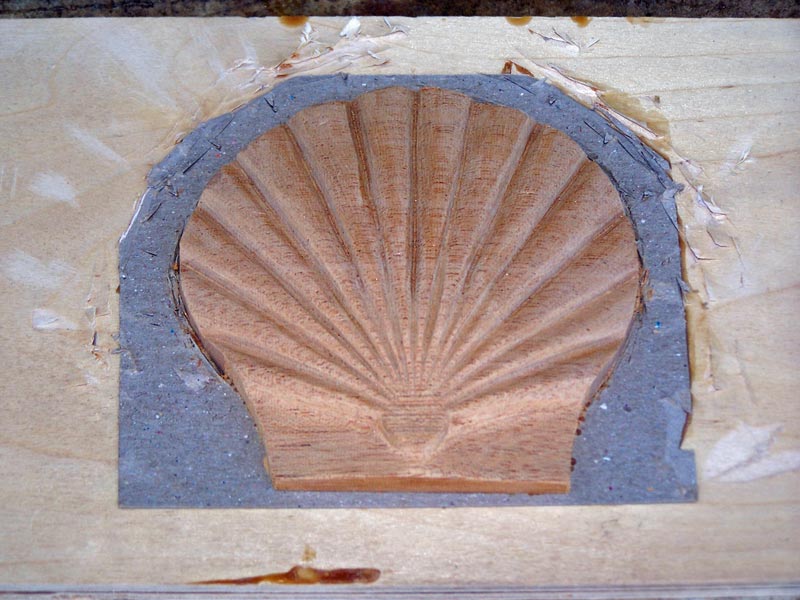
When sanding, sand the hinge also, and the underside of the lowest flutes.
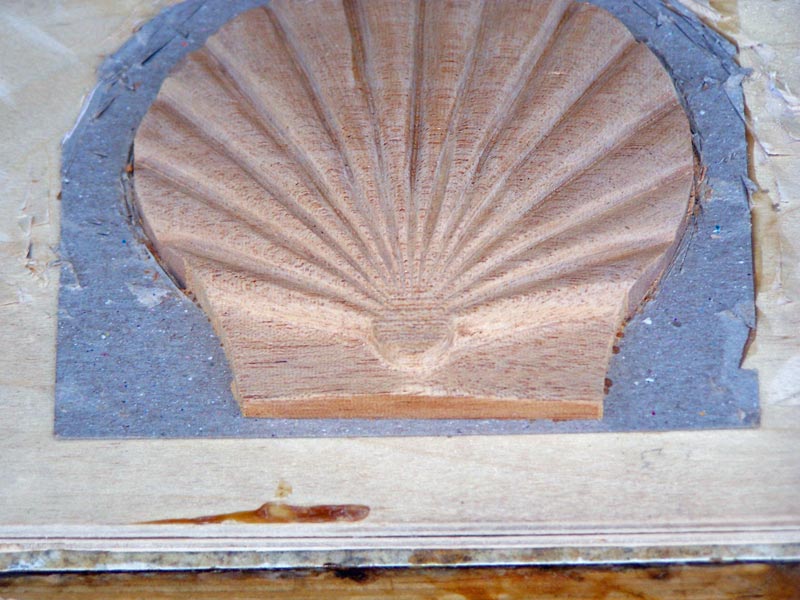
Next, we're going to cut the ends of the flutes round. We do this by cutting inward at the lines with a heavily curved gouge. I used a #9/6.
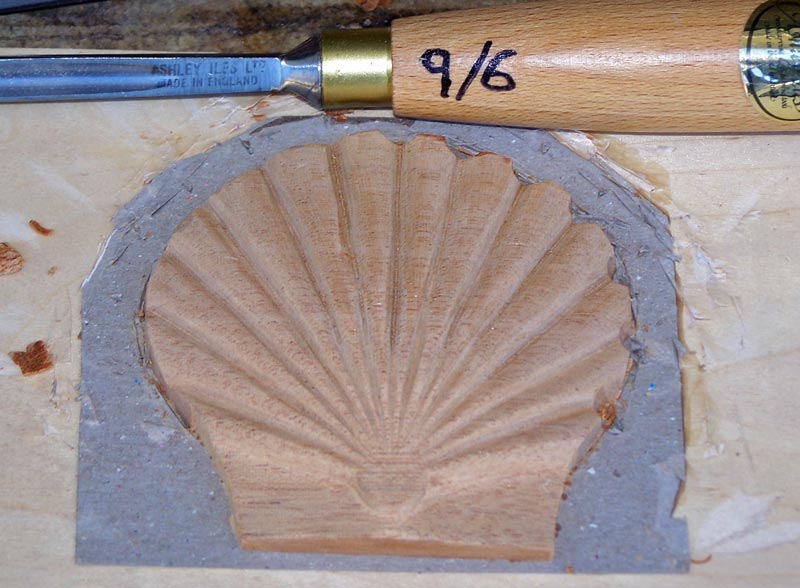
Here, all of the cuts have been made. Watch when cutting the space between the lower flutes. You don't want to cut away the second flute.
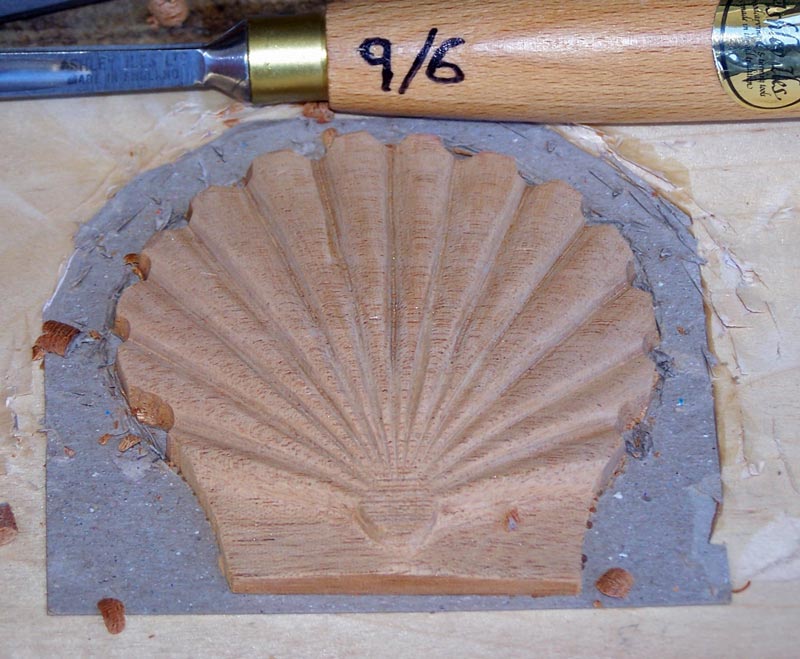
Then use your #2/5 and round off the ends of the flutes.
Later edit: I now do the ends of the flutes a bit differently. See the "Second Shell" tutorial for an improved technique.
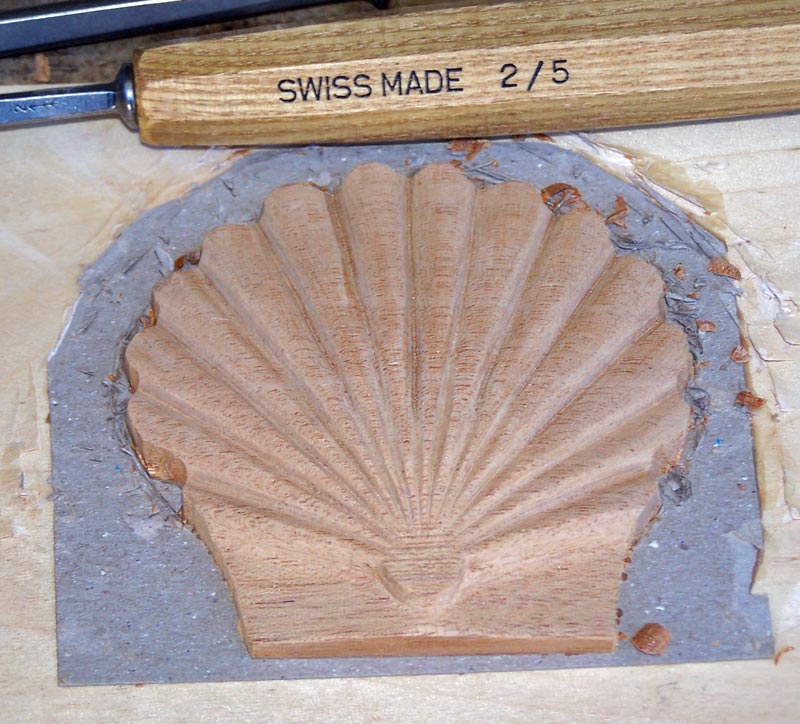
Here, I cut the sides of the hinge inward to better show the lower flutes. This is one of those cuts that you make or don't make based on your preferences.
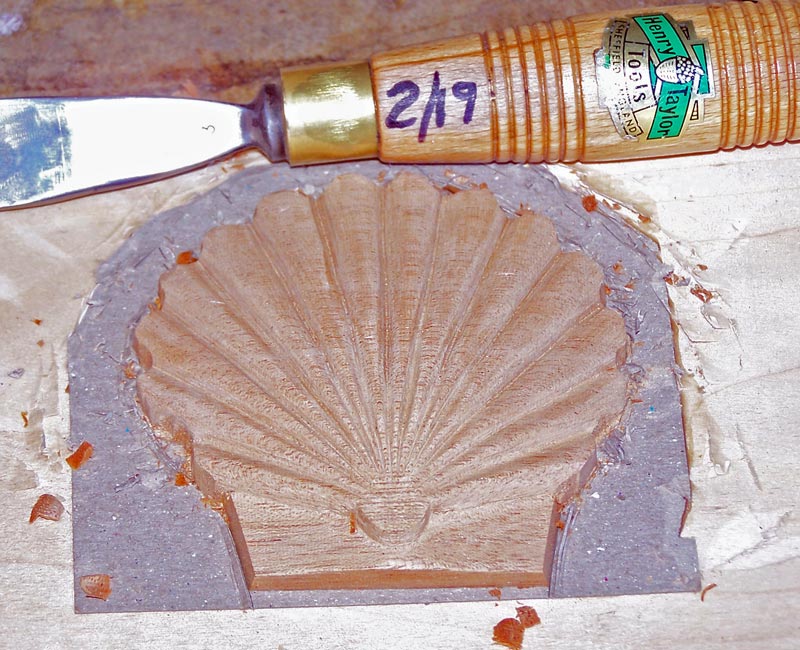
Now we're going to remove the shell from the board. Get the widest chisel you have, and place it just under the shell. Tap your chisel lightly with a mallet. Just tap - you don't need to rap the chisel.
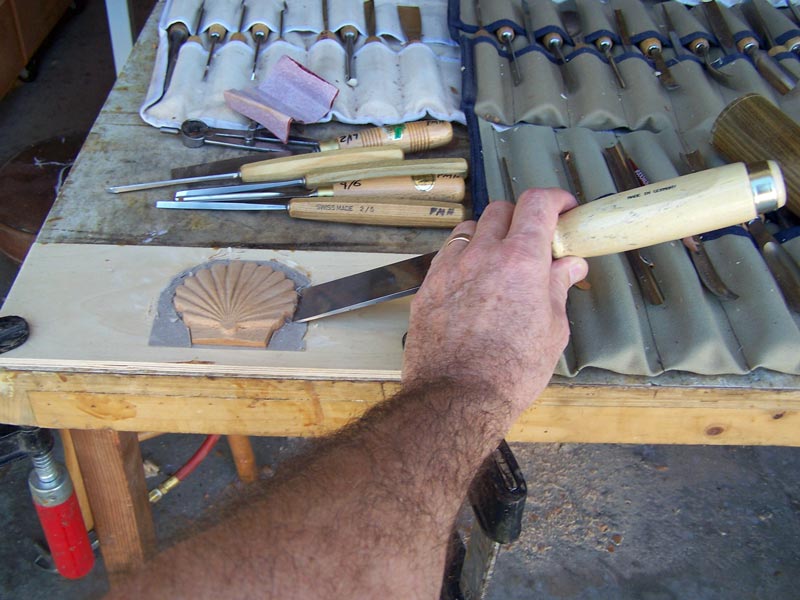
The shell will separate along the cardboard.
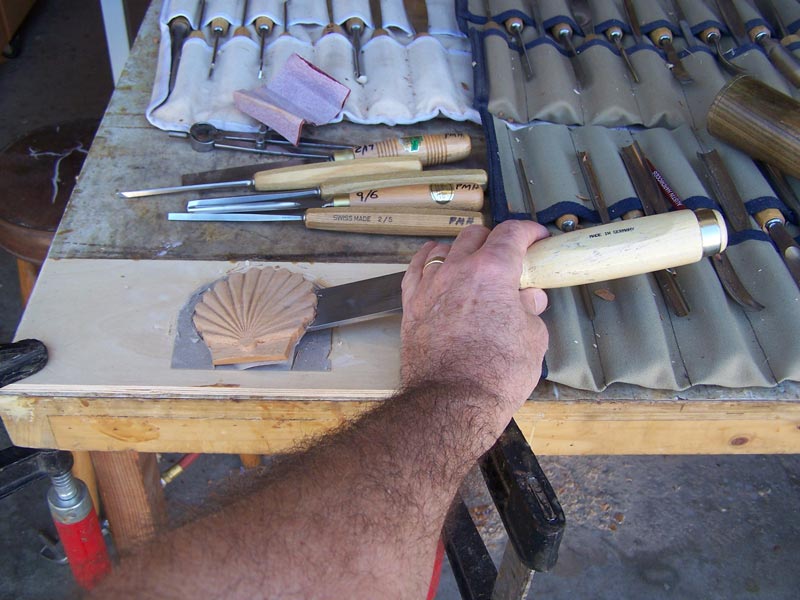
And you'll be left with a shell with cardboard glued to the back of it.
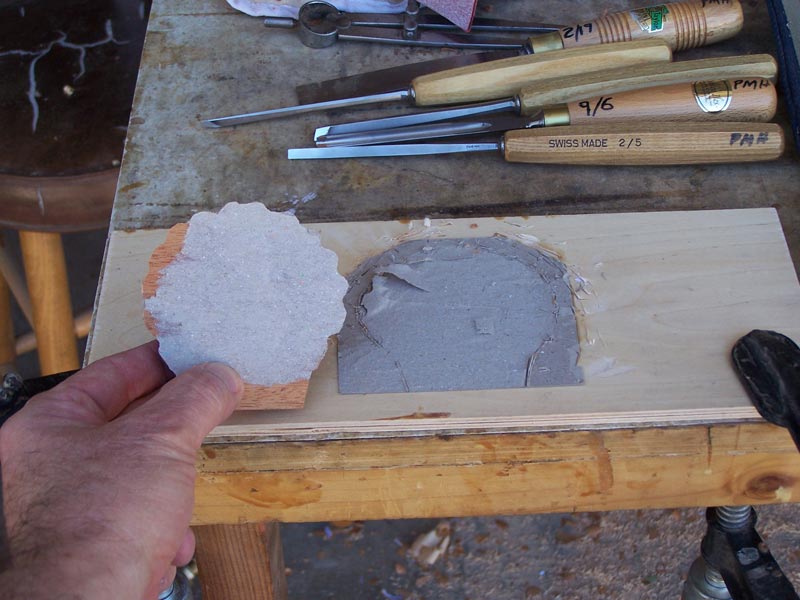
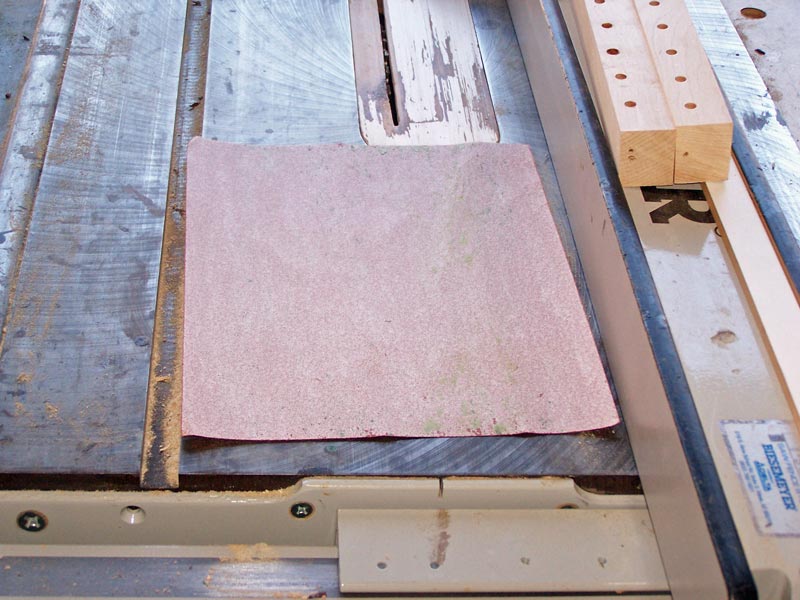
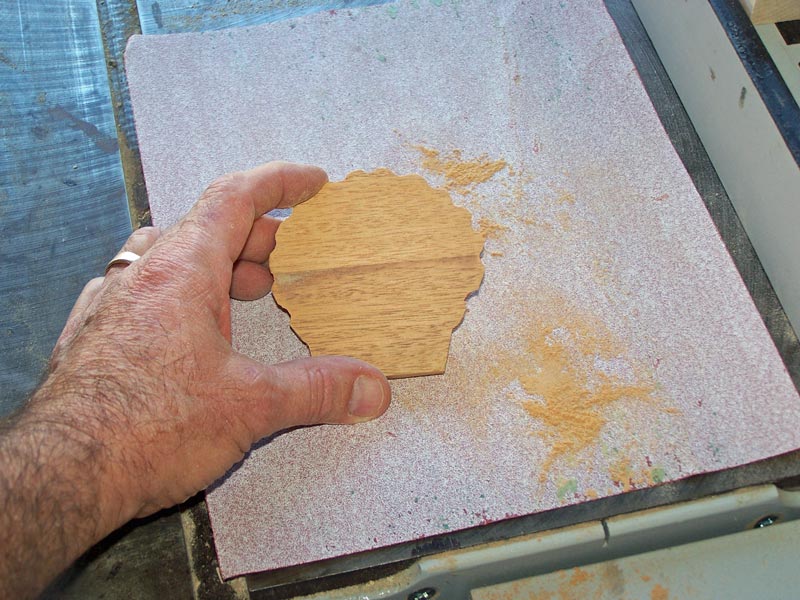
Take a sheet of sandpaper - I'm using P100 sandpaper - and put it on something flat. I'm using my table saw.
Rub the shell on the sandpaper and the cardboard will come off.
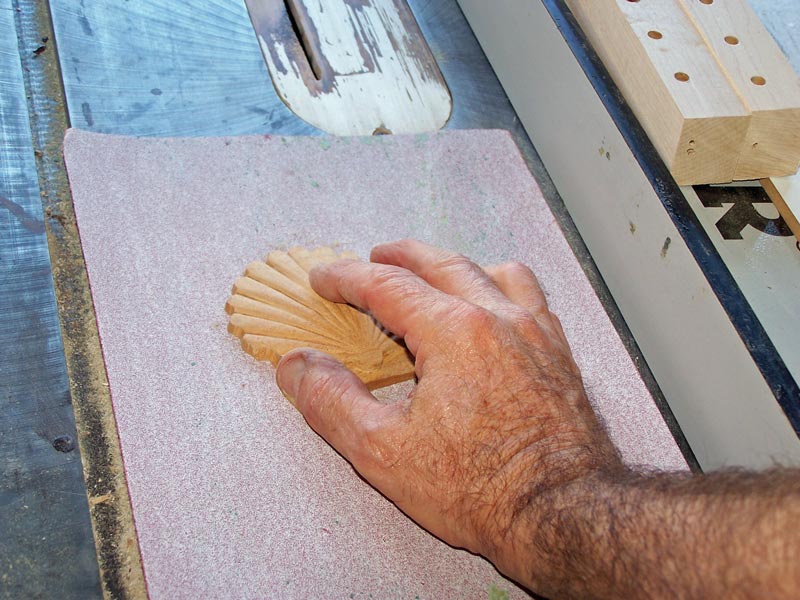
This is what it will look like after a bit of sanding.
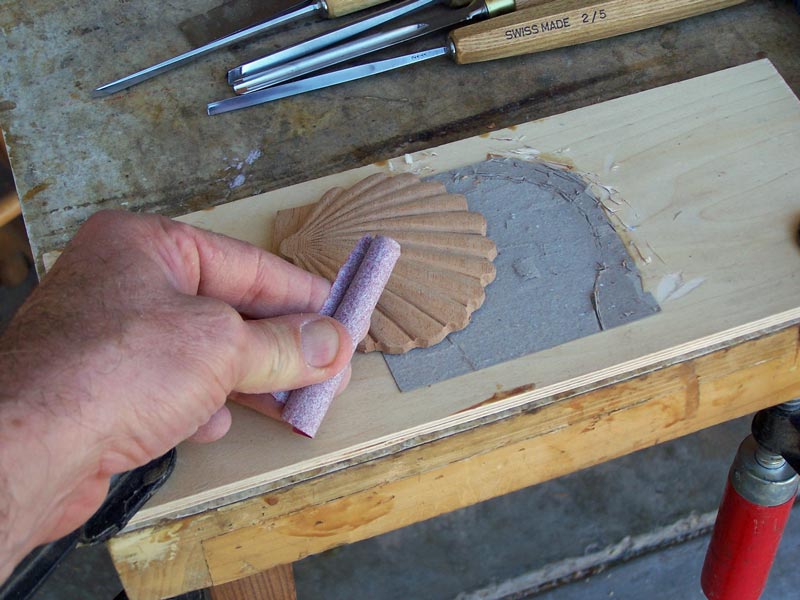
You can now sand the ends of the flutes a bit more. I roll up a piece of sandpaper and sand the lower parts of the ends of the flutes. Since I'm going to throw this shell away, I didn't spend a lot of time sanding it. For a shell you're going to use, you should sand it smooth and take it to at least p240 grit.
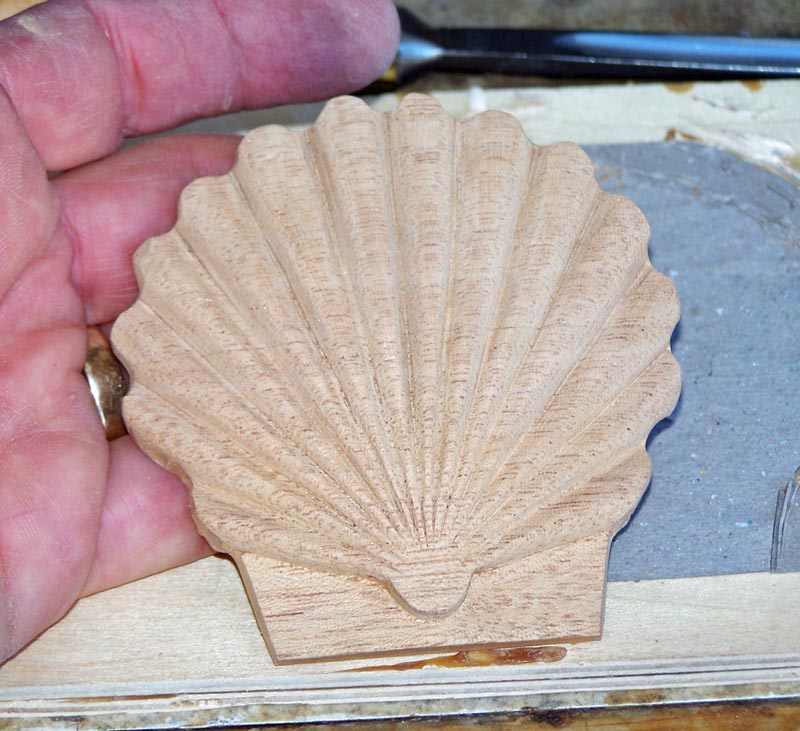
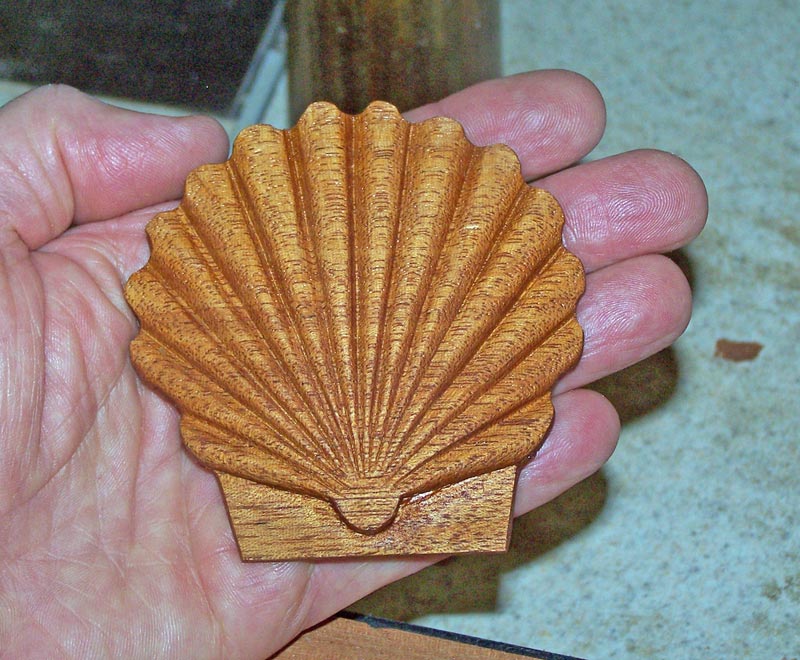
Here's the finished shell. It'll really pop with some finish on it.
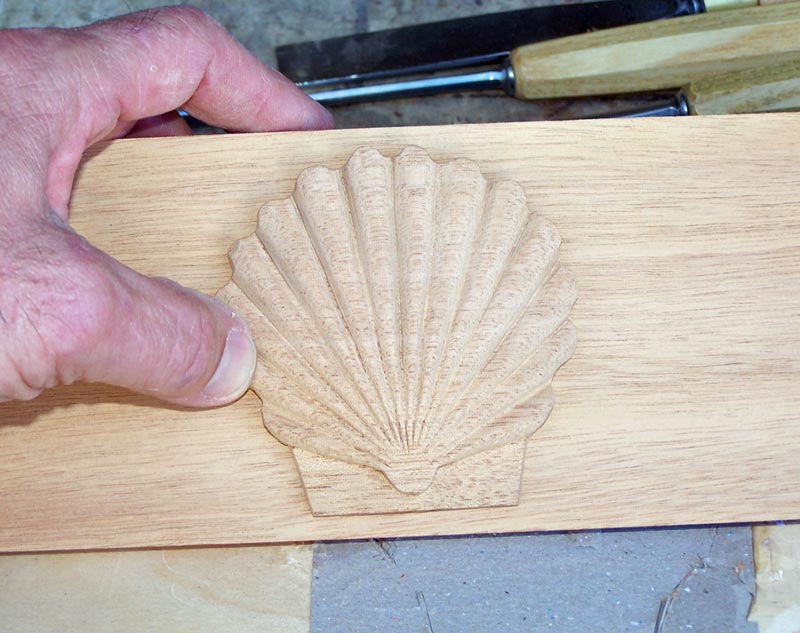
And here's the finished shell against a piece of mahogany. Note that this is just a scrap piece of mahogany and it's not from the same board as the carving blank. But the match is not bad.
Here's a picture with some oil on it to show what it will look like finished.
When you glue the shell to the ground, just use a small amount of glue - the one
thing you don't want is glue squirting out everywhere when you clamp it down.
It's better to have no glue around the outside of the shell than excess
squeezing out all over. I just put a small amount of glue in the center of the
shell and clamp it down. Otherwise, put a VERY thin layer on both pieces and
clamp it.
As you get better, you can make the shell thinner, which will make it look even
more like it's part of the ground. The risk you take (and it's not a big risk)
is that the shell will break when you take it off the support board. It looks
better when it's thinner, especially around the edges, but I didn't want to
start you carving it too thin. This way, if you make a mistake, you can cut the
blank down and keep carving.
Now, let's see yours.
You can return to my main woodworking page here.