Making a Rectangular Serving Tray
P. Michael Henderson
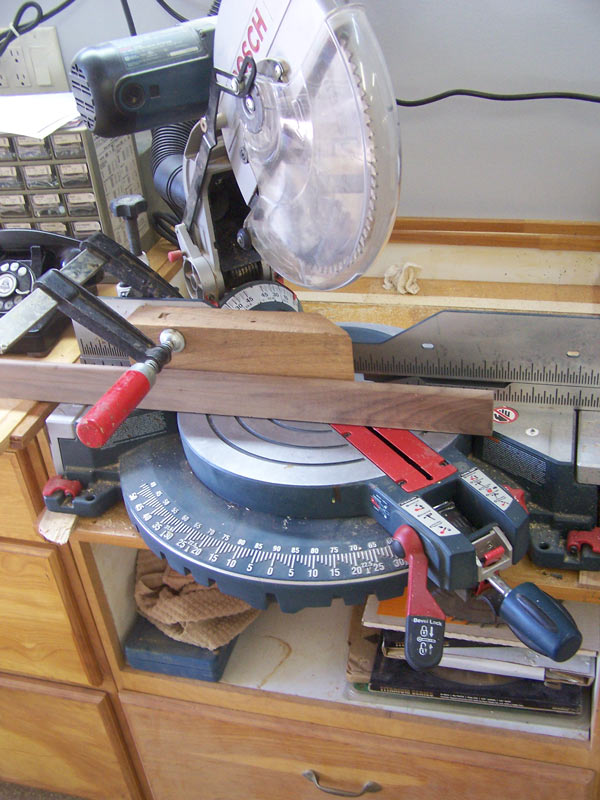
Here's my basic setup for cutting the miters. I have the miter saw set to 45 degrees and I have a block behind the work to minimize tear out. Keep your cutoffs! You'll need them for setups later on.

When cutting through the sides, make your cut slowly and you'll reduce the tearout at the bottom. After making the first 45 degree cut on one end, take your wood and set the tray into the groove, with the end of the tray at the end of the groove.
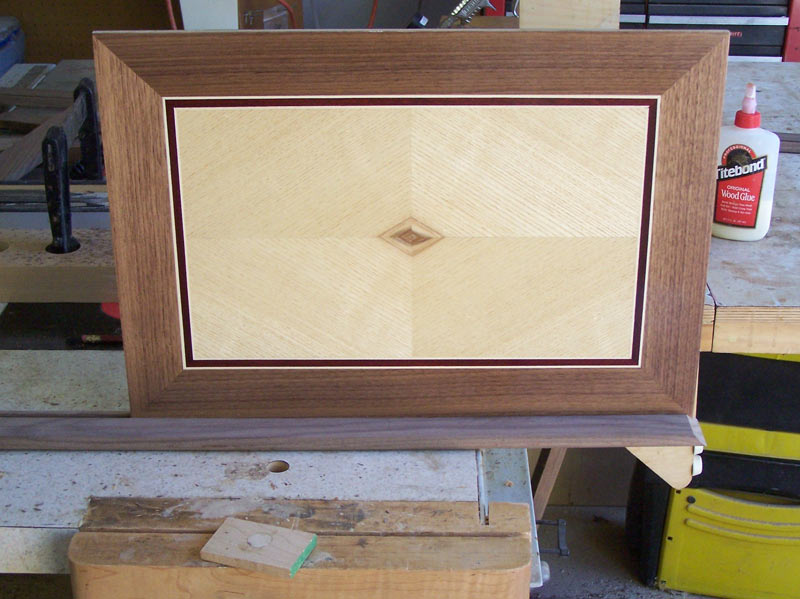
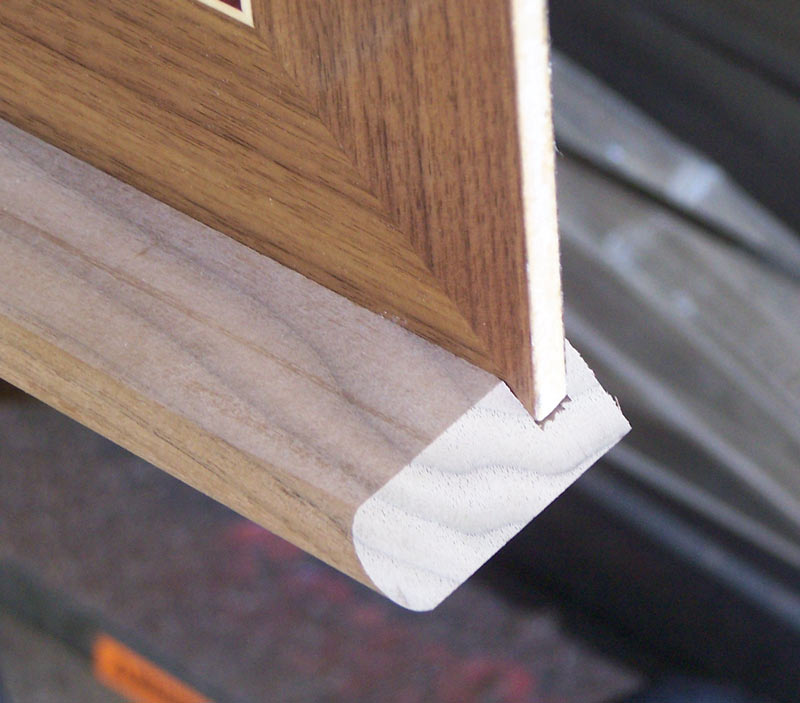
Mark where the end of the tray is on the sides. This is to be the other end of the groove, not the end of the side. To help you visualize this, use a small combination square and mark a 45 degree line going through the center of the board.
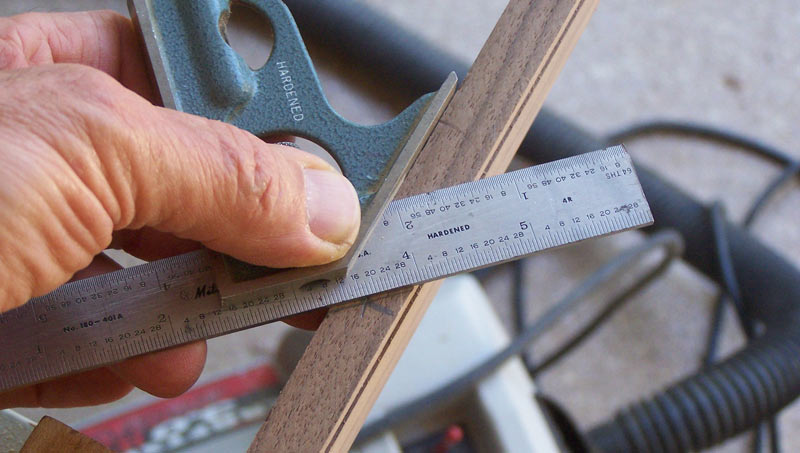
Then cut at that line with your miter saw. I usually cut a bit long and trim so that I don't risk getting the piece too short.
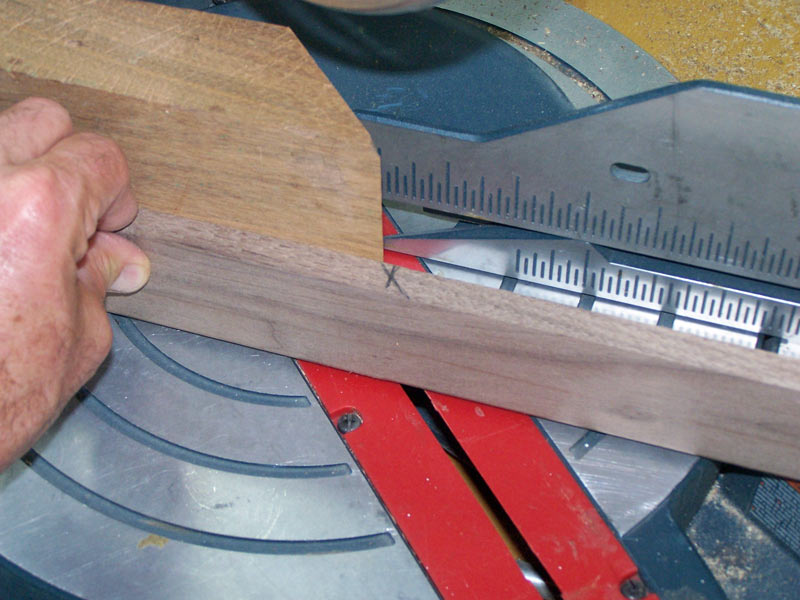
Fit the side to the tray, trimming as necessary so that the tray meets the end of the groove on both sides. When it does, you have one side finished. I usually mark the sides and the tray so that I get the pieces back to the places where I measured. On the side of the substrate, you can put a "1" for the first piece. Then inside the groove of that piece put a "1". You can't put the mark anywhere else because you'll sand the rest of the side. Do the same with the other sides, just to be sure.
Next, take your 2" piece and cut the miter in the proper direction. Since it's the left-over from your miter cut on the first piece, it'll be in the opposite direction of what you need. The off cut will be a triangular piece of wood.
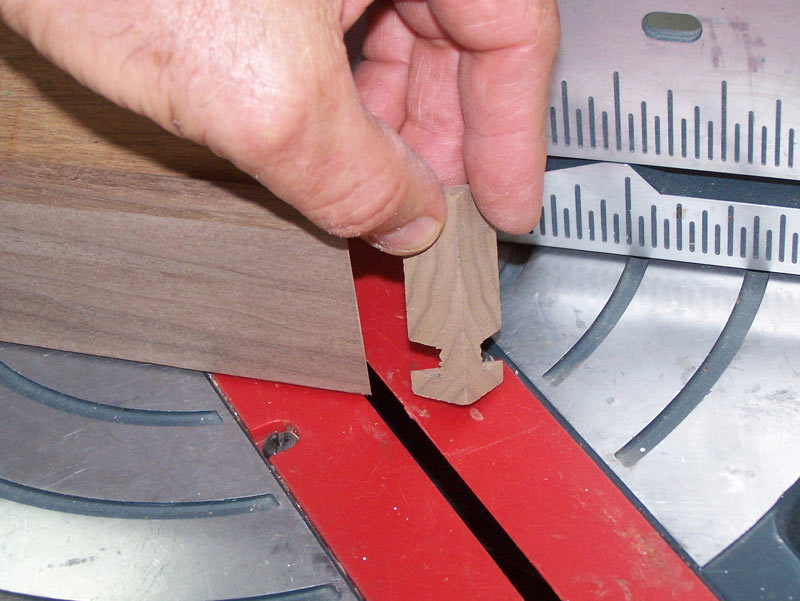
Take your 2" piece to your bench and put the next side in the groove, just like you did the first piece.
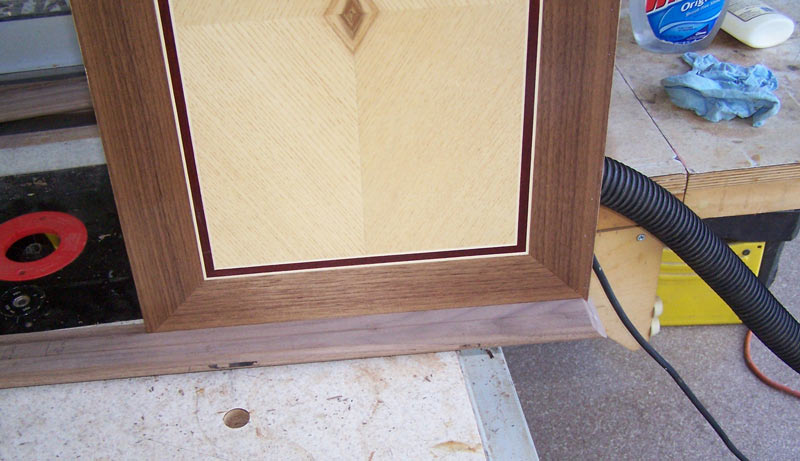
Mark and cut it like you did the first side. Do the next two sides the same way.
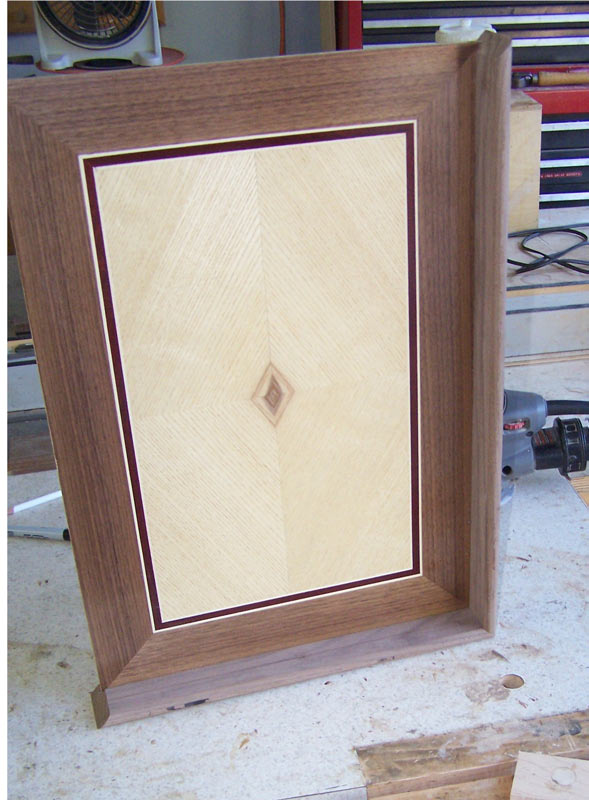
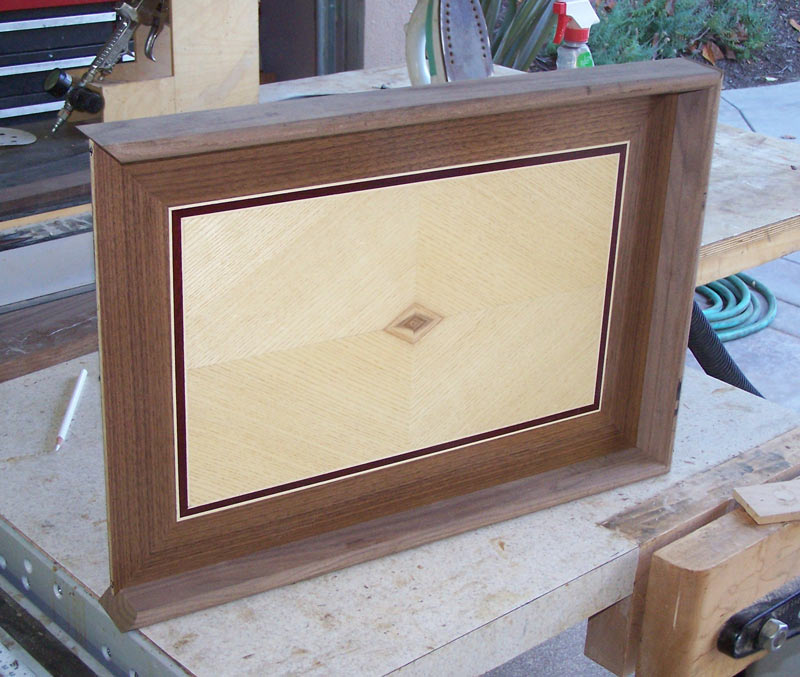
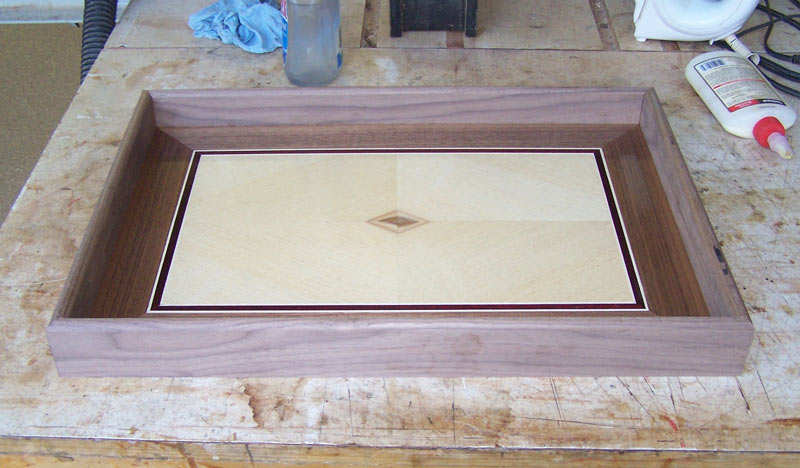
We're making progress but still have more to go. Next we're going to cut the holes for the handles, then we'll cut slots for FF biscuits in the corners, and we'll finish the inside of the sides. After we glue up, we'll finish the outside of the sides.
The tutorial continues here.