Making a Rectangular Serving Tray
P. Michael Henderson
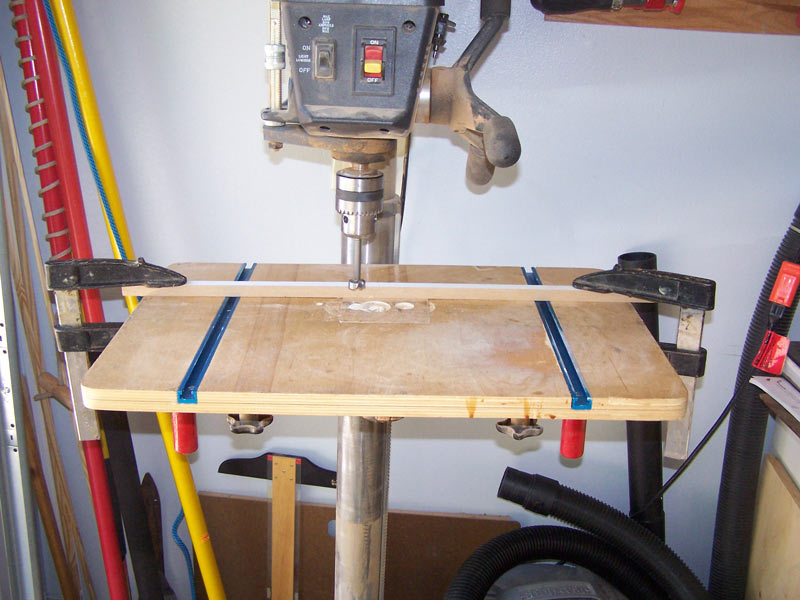
Now we're going to make the handles for the tray. I'll make a "slot" on each end of the tray. I'll start by setting up my drill press. I'm using a 13/16" Forstner bit. I realize that odd sized Forstner bits are not common so you can use a 7/8" if you don't have the in-between sizes. However, note that the setup info that follows is for a 13/16" bit. You'll have to make some adjustments if you use a 7/8".
The hole needs to be big enough that the fingers of someone carrying the tray will fit into the handle. For me, 3/4" is a bit small.

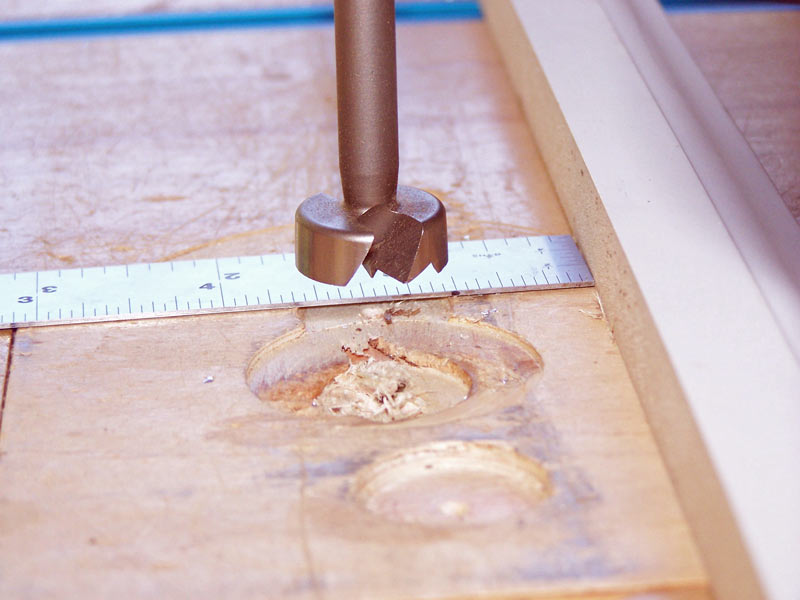
I'm going to drill two holes for each handle and I want them the same distance from the bottom. So I set up a fence the correct distance from the drill. In choosing where to put the handle, I want to balance the strength of the top of the handle, while leaving a bit of wood on the bottom. That's why 2" sides are about as low as you can go. Anything less and you won't be able to put acceptable handles in the sides. I set up so that the outside of the hole will be about 1/2" from the top of the wood.
I'm going to reference from the bottom of the side pieces - that gives me a distance from the fence to the center of the bit of 1 3/16".
Next, I need to decide how wide to make the handle, and mark the location on the sides. I'm going to make the handle 3" wide, center to center of the drill bit. So the actual slot will be 13/16" wider than 3" (half the drill size on each side).
First, I find the approximate center of the handle piece and mark it. I'm using a center finding rule which makes finding the center easy. I use a small combination square to make the location across the piece.
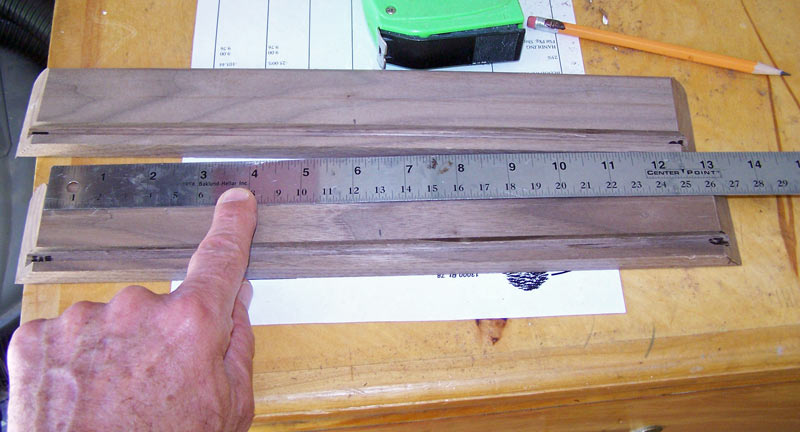
Then I use a rule and measure 1 1/2" on each side of the center mark - and use the combination square to mark across the wood.
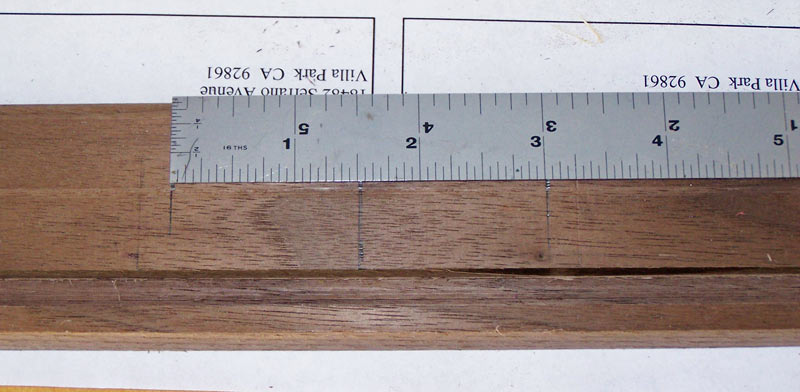
Then I drill the two holes centering the bit on the two outside lines, keeping the bottom of the side against the fence.
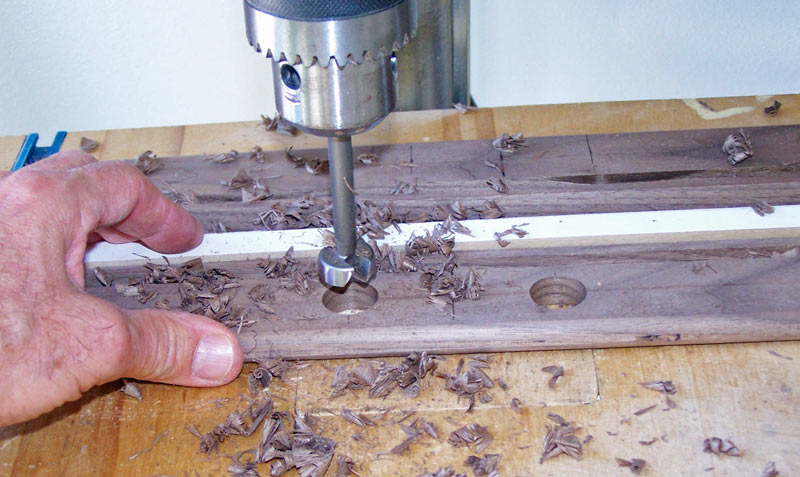
When you drill the second hole, make sure there's no swarf between the work and the fence or the hole will be out of position.
When you have the holes drilled, take a rule and draw a line between the top and bottom of the holes.
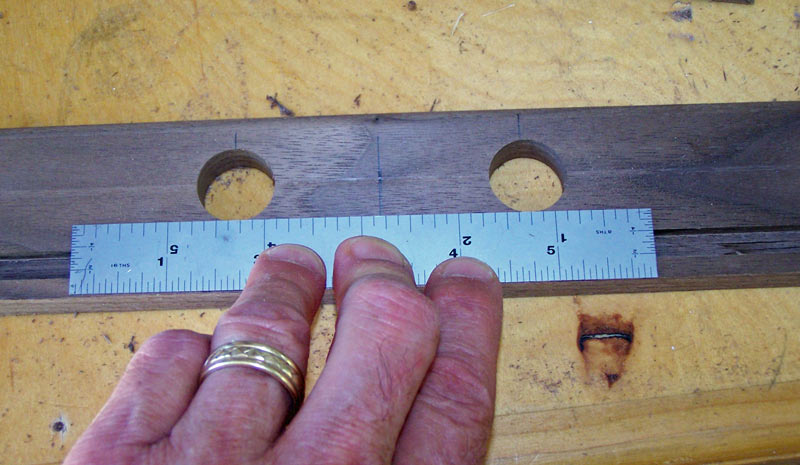
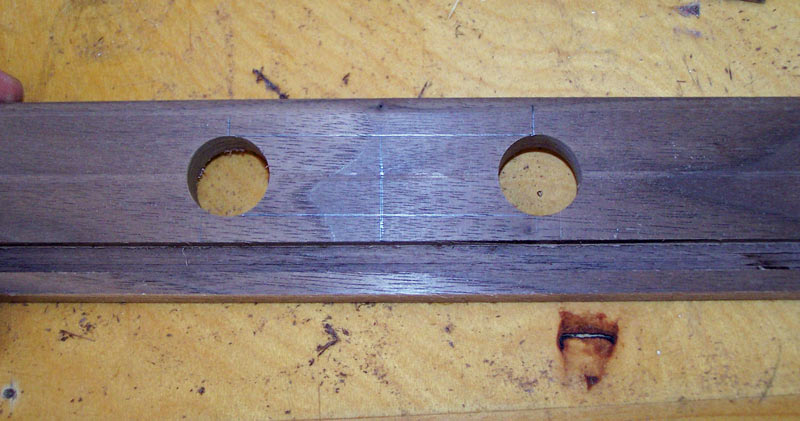
Clamp your piece in a vise and use a jig saw to cut along the lines. When you make this cut, be very careful when you finish the cut. You don't want to overrun the cut and cut into the side of the hole.
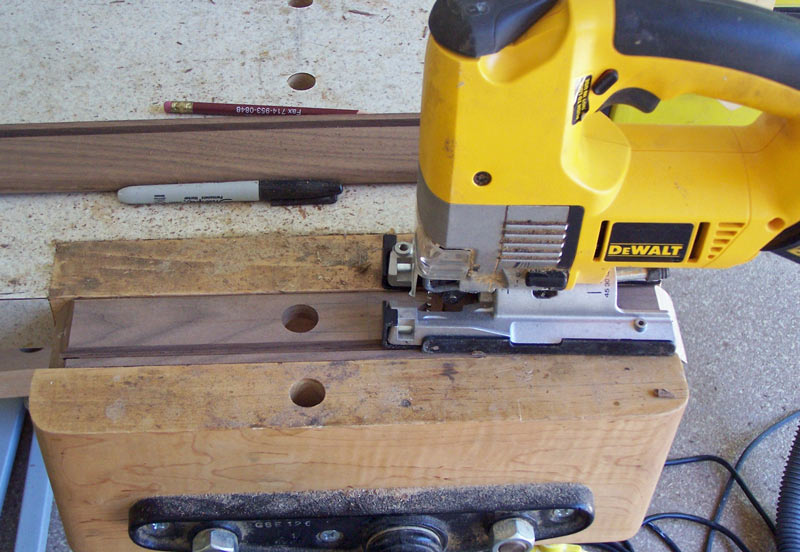
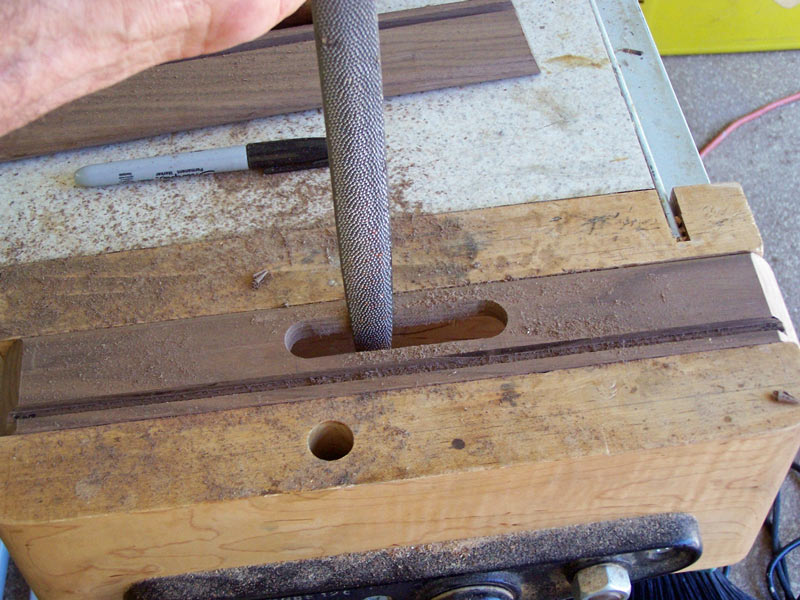
After making both cuts, clean them up with a rasp. Here I'm using a Nicholson #49 or #50 rasp. The resulting slot should be straight but it doesn't have to be really smooth.
Put a 1/4" round over bit in your router table and adjust the height. Route the inside of the slot. Do the first cut with the groove for the bottom down (opposite what I show in the picture).
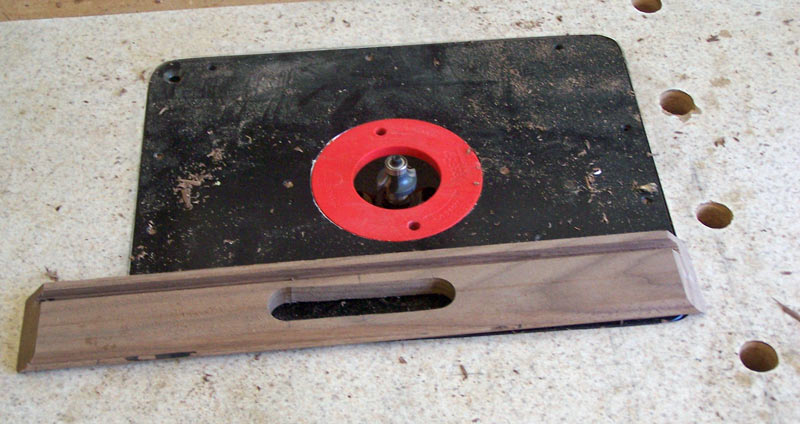
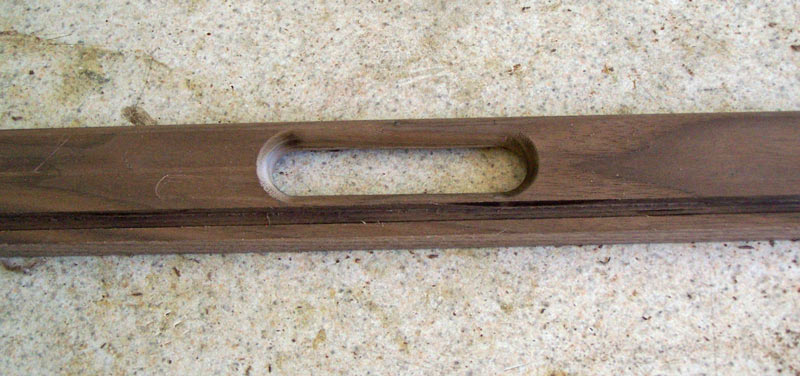
When you finish routing, you have your handles.
Next, we'll cut the slots for the ff biscuits.
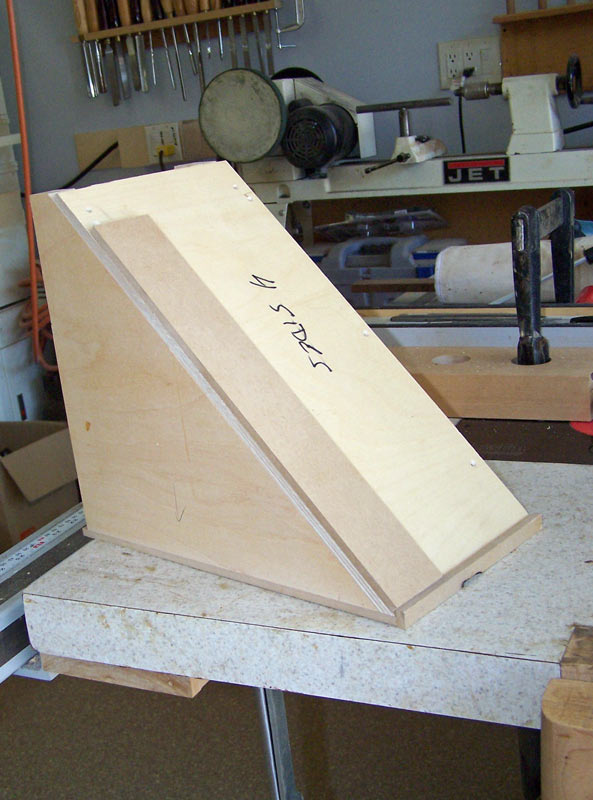
Here's the jig I use for cutting the slots. I need to cut the slot directly into the miter face, and since I'm cutting the slot with a slot cutter in my router, that means the miter face has to be vertical. To achieve that, my jig holds the wood at a 45 degree angle.
Note that I have a fence on the side of the jig. Because of the direction of spin of the slot cutter, the wood will be pushed into that fence as the cut is made. Note, also, the "stop" at the bottom of the jig. This will register each piece so that the cut is made in the same place on each board.
And here's the whole setup. I have a 5/32" slot cutter in my router (biscuits are 5/32" thick). The height of the slot cutter will affect the vertical position of the slot in the face of the miter. I have a fence on the router table. The jig contacts the fence when finishing the cut and the fence position affects the depth of the slot cut into the face.
The jig slides against a board (here a piece of plywood). This board is adjusted to get the slot cut into the center of the board - more about that later. This is where you'll use some of your offcuts - to setup the various adjustments.
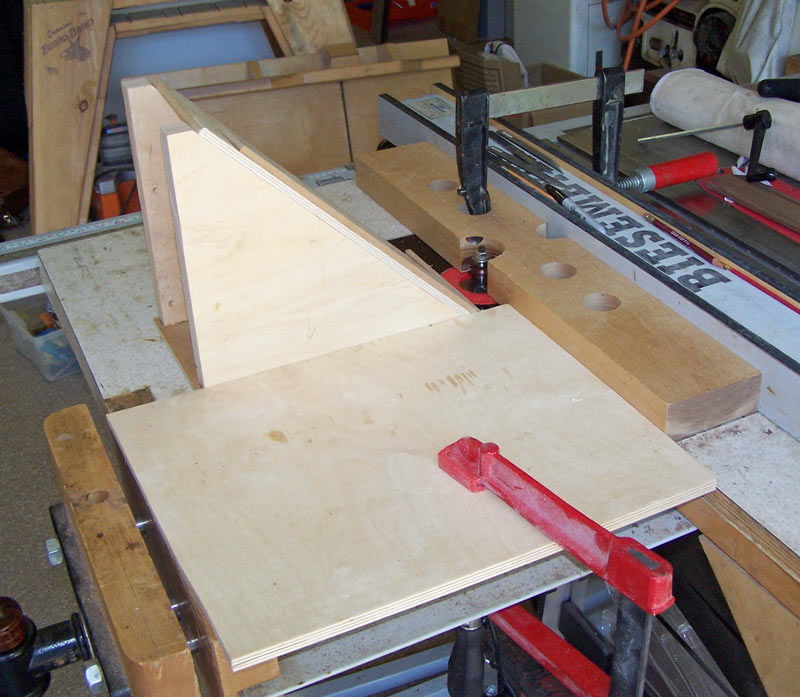
This picture just shows how the tray side sits in the jig. When making the cuts, make sure you position the wood correctly before you slide the jig forward. Whatever you do, don't let the jig sit against the router fence and slide the wood down on the jig. That will ruin your side.

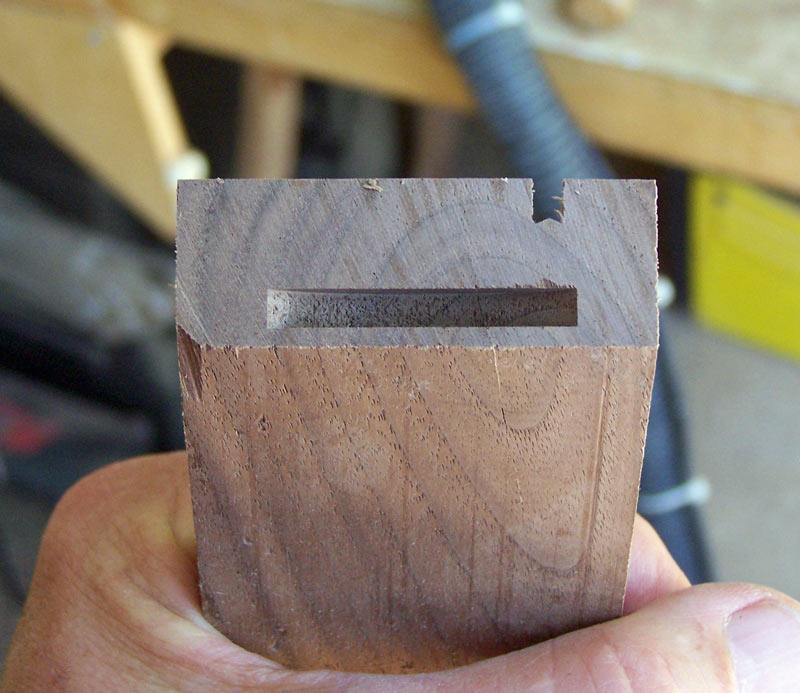
When you have everything adjusted, your slot should look somewhat like the next picture. Centering can cause a problem (to be discussed later) but it allows you to cut both ends of each side without making any adjustments to your setup.
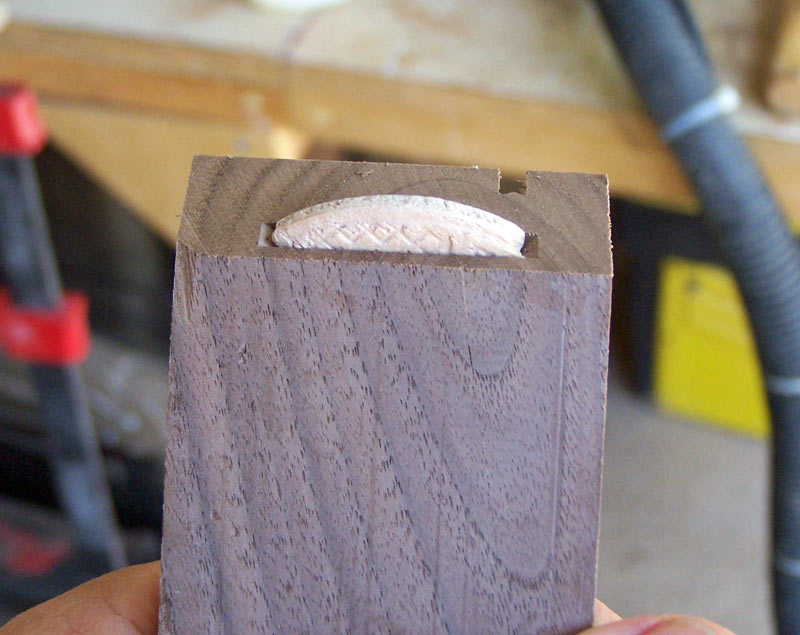
This next picture shows what an ff biscuit looks like in the slot. You don't want the slot so deep that more than half the biscuit goes into it.
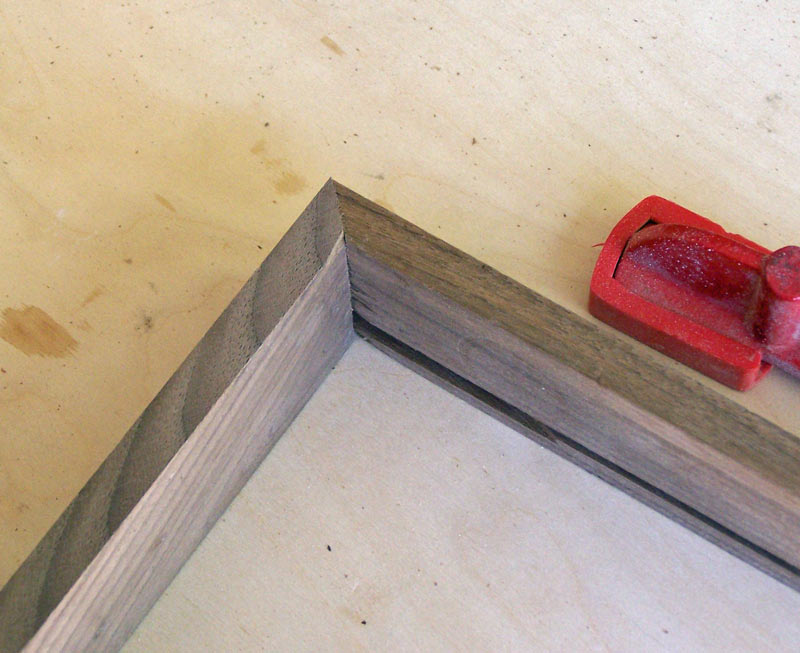
To check that your slot is deep enough, put two pieces of scrap together with the biscuit in the slot and make sure the miter closes up all the way. You don't want to get to glue-up and find that the sides won't go together.
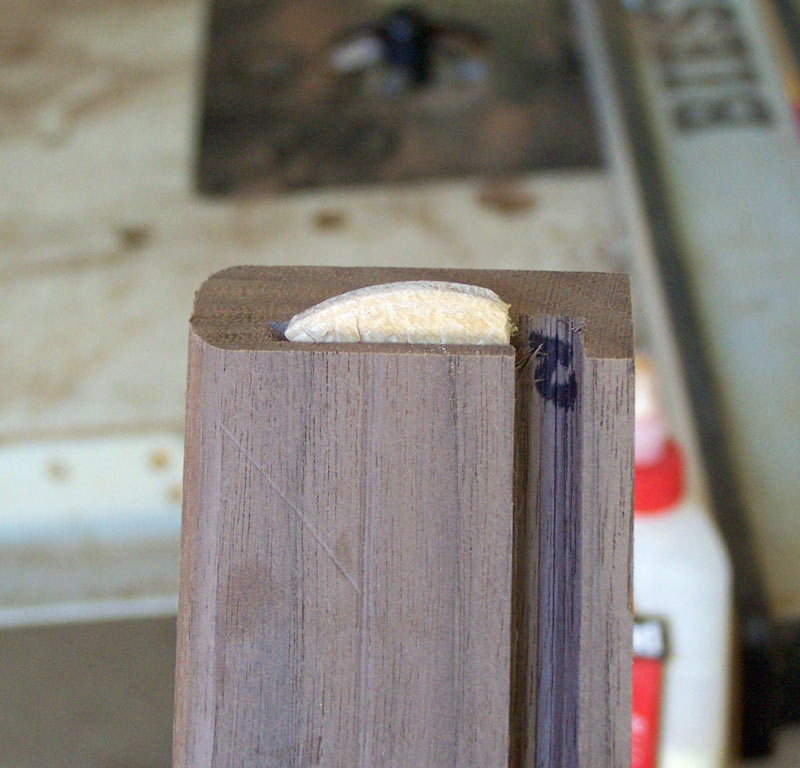
Once you have all the setup done, cut your tray sides. I mentioned a minor problem with centering the slot, so let me discuss it now. When you put your biscuit in the slot in your actual tray sides, you may find that the biscuit protrudes into the groove for the tray bottom. If this is not addressed, you may have problems putting everything together at glue-up time because the biscuit will interfere with the tray bottom.
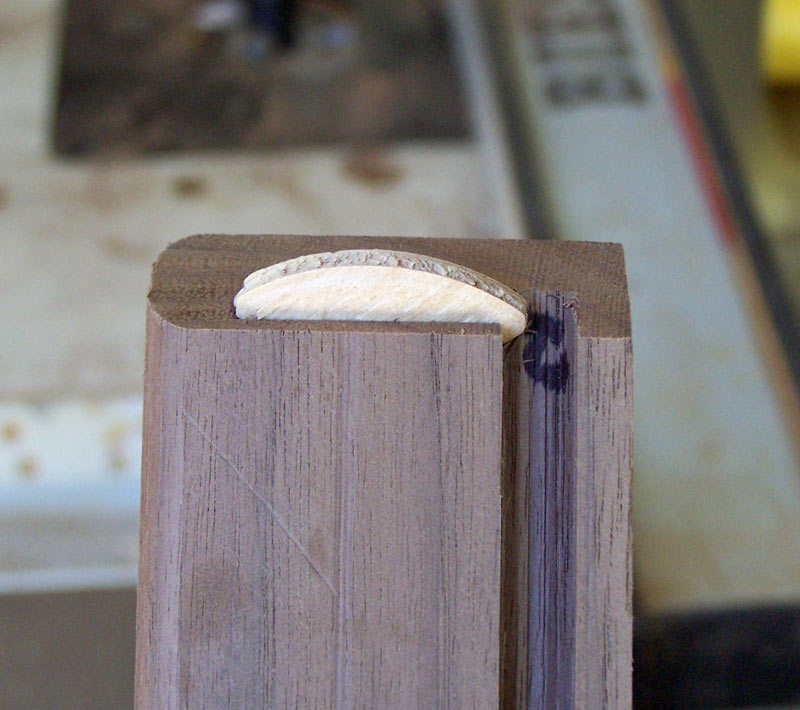
The way to fix this is to just cut one end of the biscuit off. You can do this on your bandsaw (but it's hard to hold the biscuit) or just sand the end off on a disk or belt sander.
Next, we'll begin sanding and finishing the sides.
The tutorial continues here.