
Carving a Complex Shell
Continued
P. Michael Henderson
January 6, 2009
Now that layout is complete, we can cut out the blank. I cut it out on the band saw.
The next step is to mount the blank to a backer board with cardboard between it and the backer. This is so that you can later remove it from the backer board. The mustard bottle you see in the picture is my glue bottle.
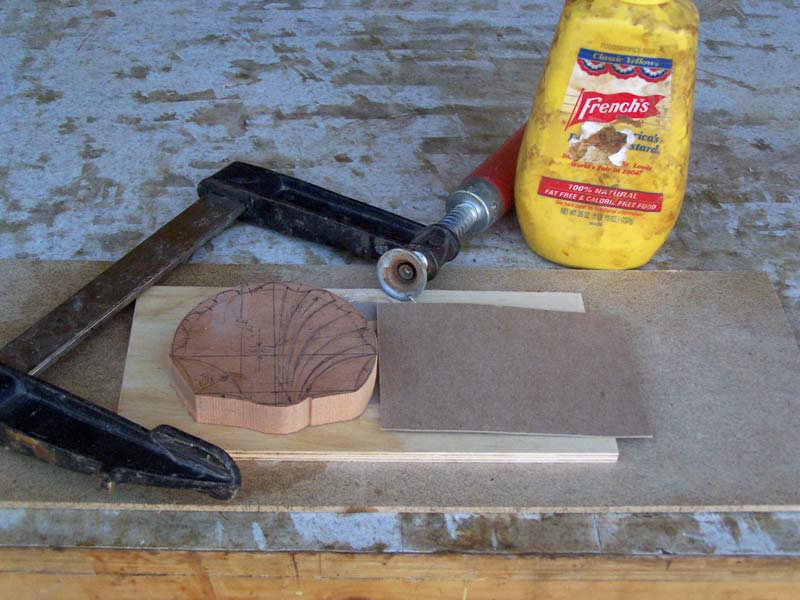
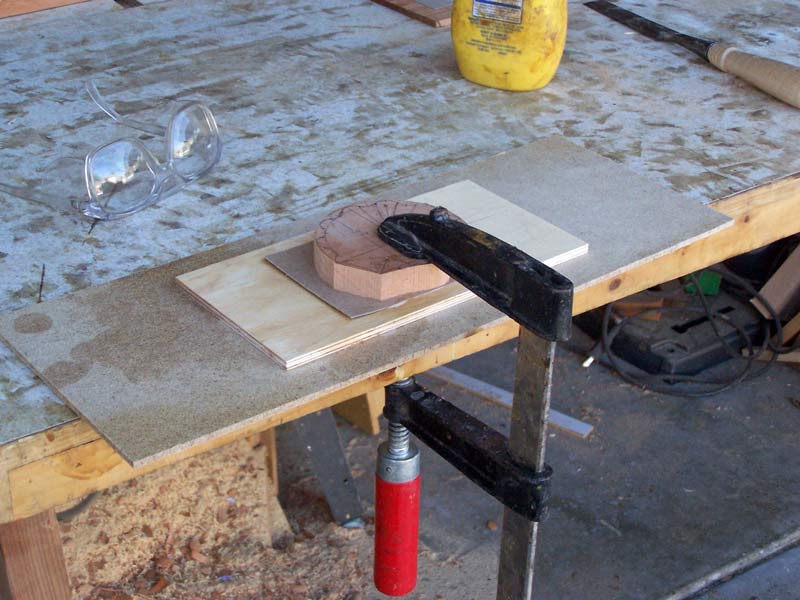
Spread some glue on one side of the cardboard and place it glue face down on the backer board. The put a small amount of glue on the back of the blank and clamp the sandwich down.
When the glue is set, we're ready to start shaping the blank. The approach I'm demonstrating is just one way to approach this project. An alternate approach is to cut a round blank with a 2" radius, glue it down, shape it to approximate shape, then draw in all the detail. That approach will work fine. I just felt that the approach I'm showing you is easier to understand and easier to draw in.
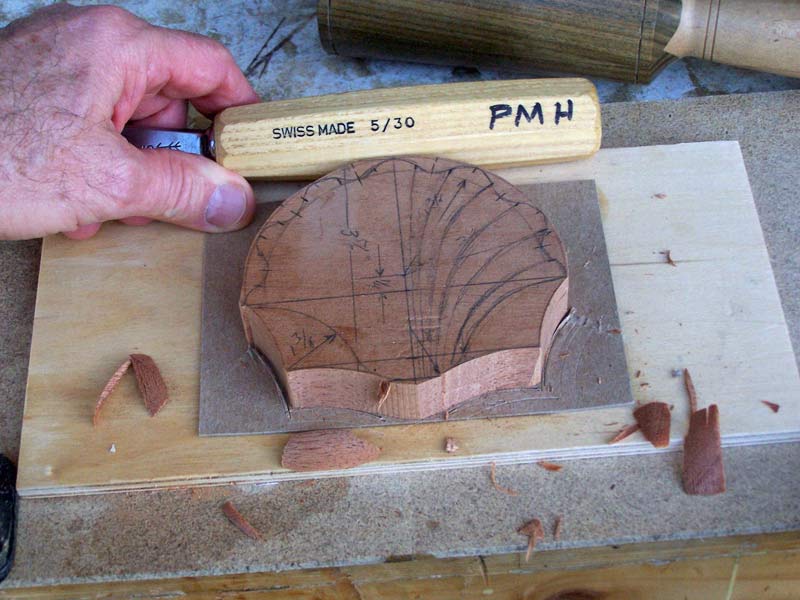
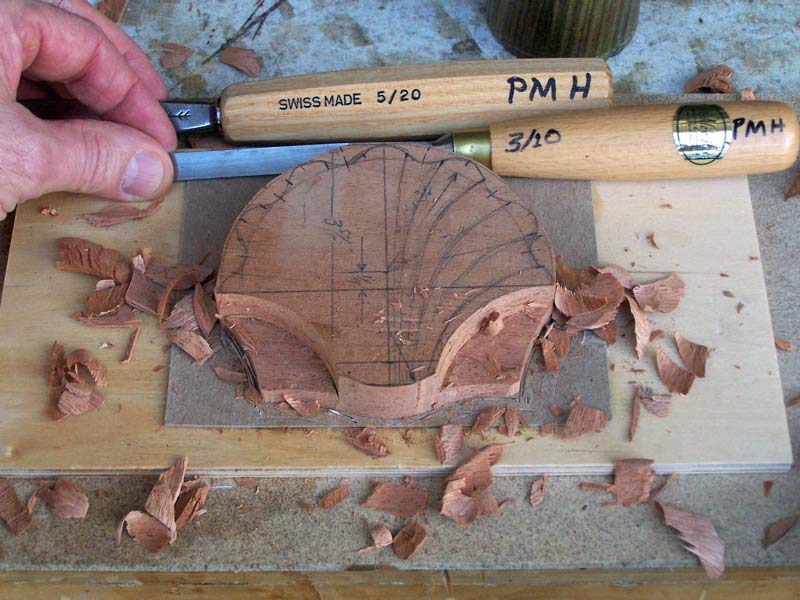
We'll begin by shaping the outline of the hinges. For the side of the hinges, I used a #5/30 gouge which fit the curve fairly well.
Next, I used a #5/20 to shape the bottom of the shell and the hinges.
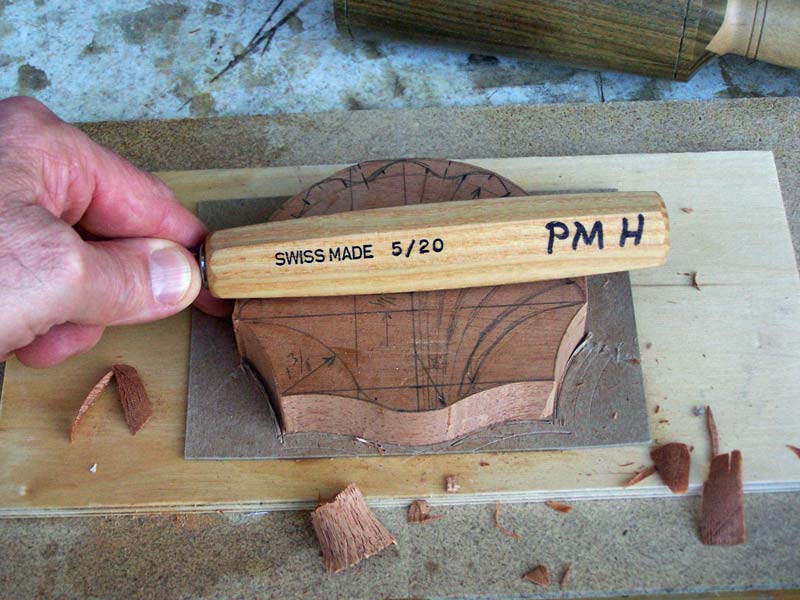
And to complete the rough-out of the bottom of the shell, I'm going to rough out the hinges - the separation between the hinges and the shell proper. I have to do this now because I'll shape the shell later and if I didn't lay in the hinges, I'd lose the line I drew earlier. I used the #5/20 along the separation line and a #3/10 to remove the waste.
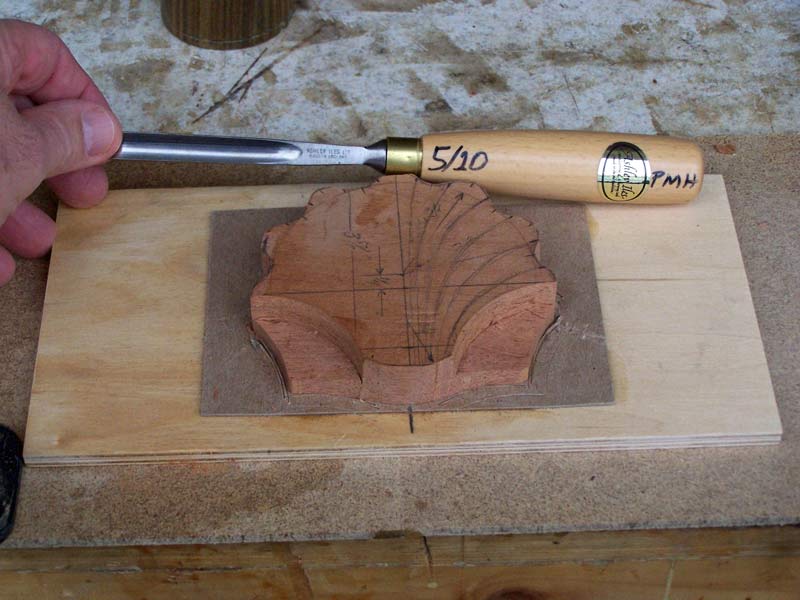
Our next step is to shape the outline of the shell - the undulating curves of the end of the flutes. These cuts need to be made straight down because we're going to cut the blank down around the outside - so only the bottom will matter.
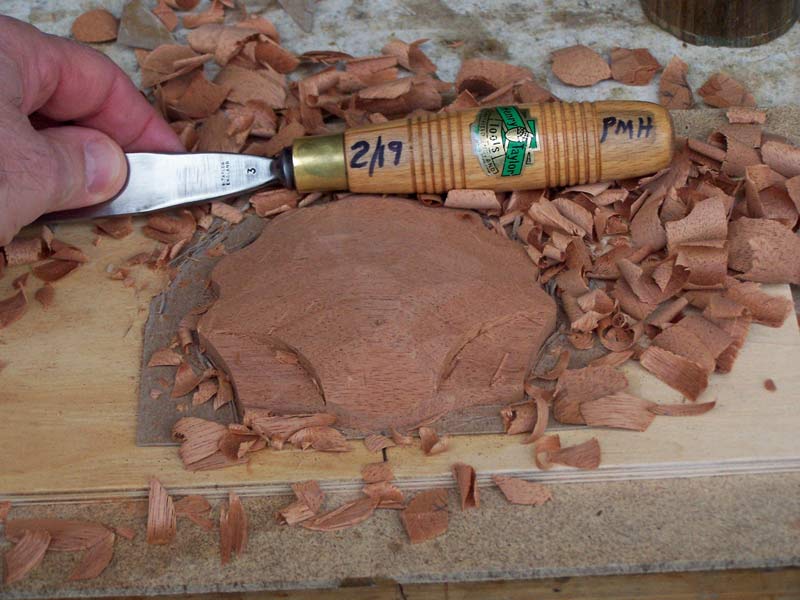
I then used a #2/19 to rough out the shape of the shell.
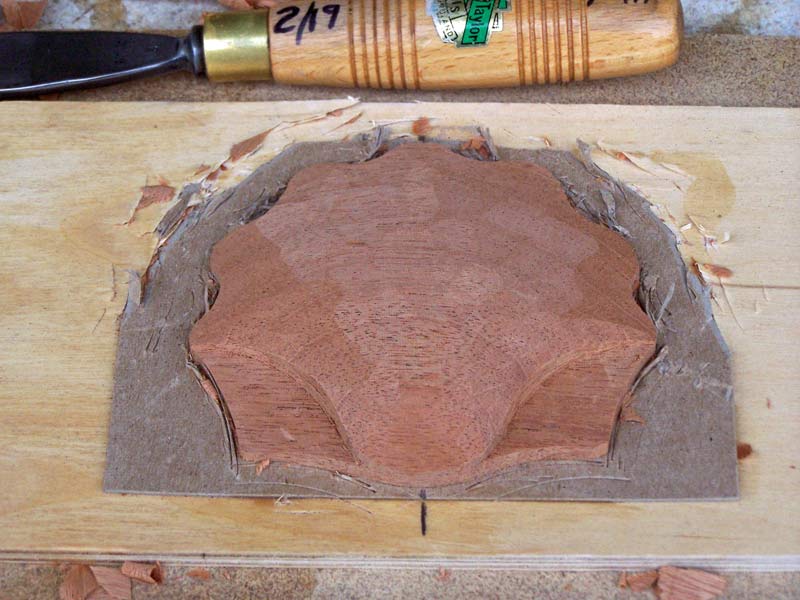
When I cut the hinges earlier, I did not cut them all the way down. Now, I need to cut them a bit further - not as far as "finished" but enough to allow me to carve the sides down without losing the curve. I've also cut the blank further down to the shape of a shell. Shaping the shell is just a matter of eye. You have to think about what a shell looks like and carve until your blank looks like a shell (to you).
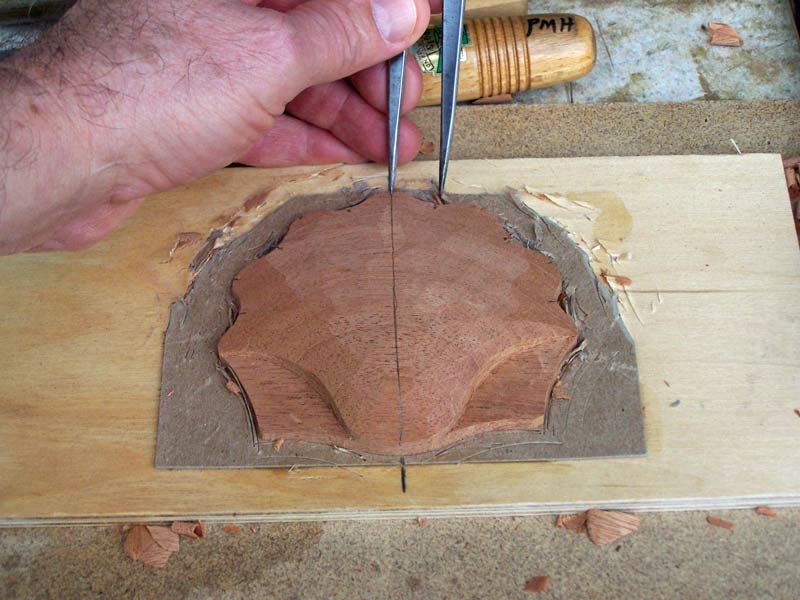
Now, we need to lay out the centers of the concave portion of the shell. I did that by drawing a line down the center (note that I'd marked the location of the center on the backer board after I mounted the blank). Then I used my dividers to divide each side into six divisions.
The tutorial continues here.