Carving a Complex Shell
Continued
P. Michael Henderson
January 6, 2009
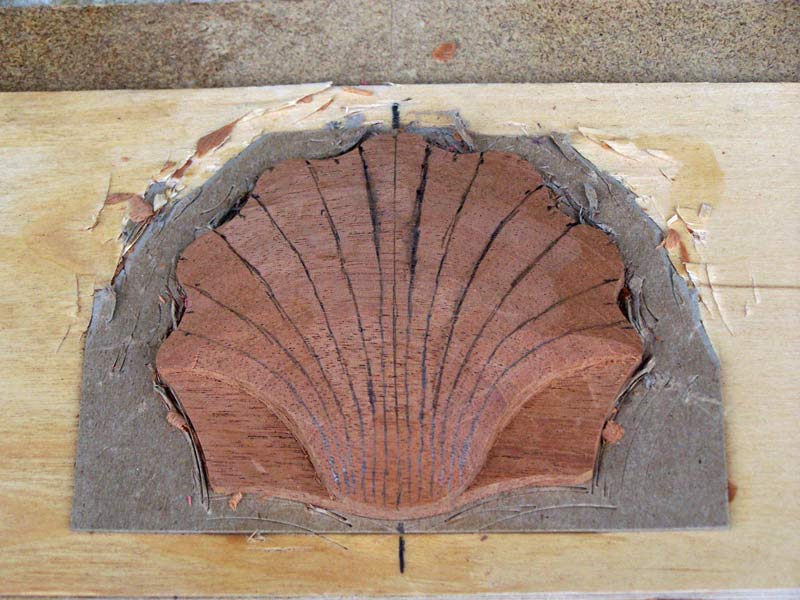
The next step is to draw in the flutes. I have an error in the picture below but I caught it before it caused me trouble. I still have that vertical line that divides the shell in half. When I drew the flutes, I spaced my lines off that line. But that line doesn't represent a boundary of a flute. So before you draw your flutes, you need to erase the line at the bottom of the shell, or ignore it.

So how did I know where to locate those flute boundaries? For each concave flute, I made it 1/2 inch wide at the outside of the shell. That's just arbitrary but the concave flute should be a bit narrower than the convex flutes - just for looks. I didn't think to take this picture earlier - sorry.
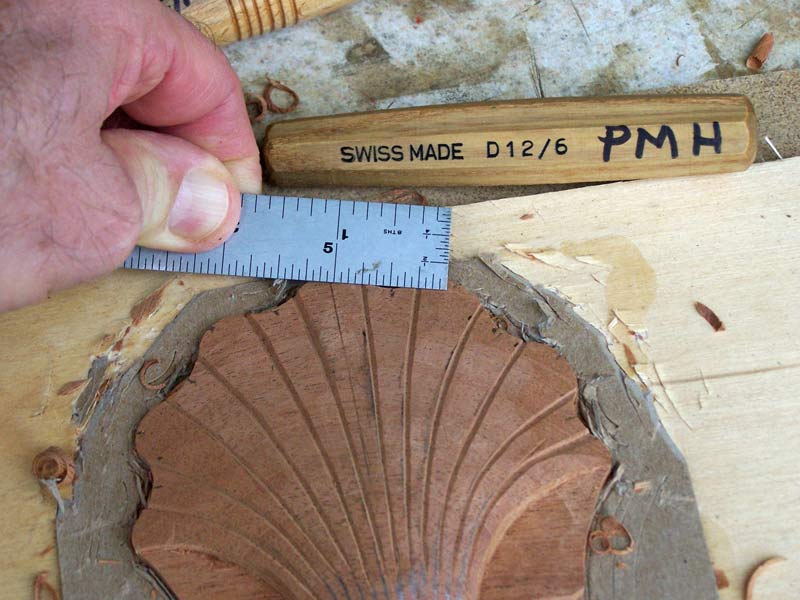
So how do you draw the flutes accurately? I can't give you any exact directions. You have to use your eye and see how the lines look in reference to each other, and whether the flutes are about the same on both sides. I pivot my hand on the outside ball of my palm to keep the curves smooth. If you're not satisfied - and you probably won't be the first time you do it - just use some sandpaper to erase your lines and start over.
The next step (even thought you've seen in in the above picture) is to use your V-tool and cut along the lines you drew. Don't be anal about following the lines. Look at your work and make changes to keep things spaced evenly and looking the way you want it to look. Don't be afraid to carve outside the lines.
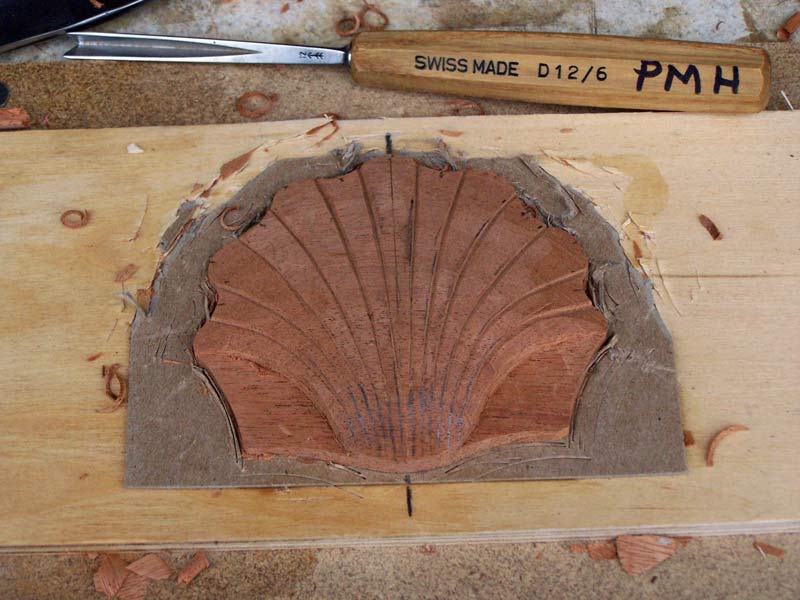
Then make your V-cuts deeper.
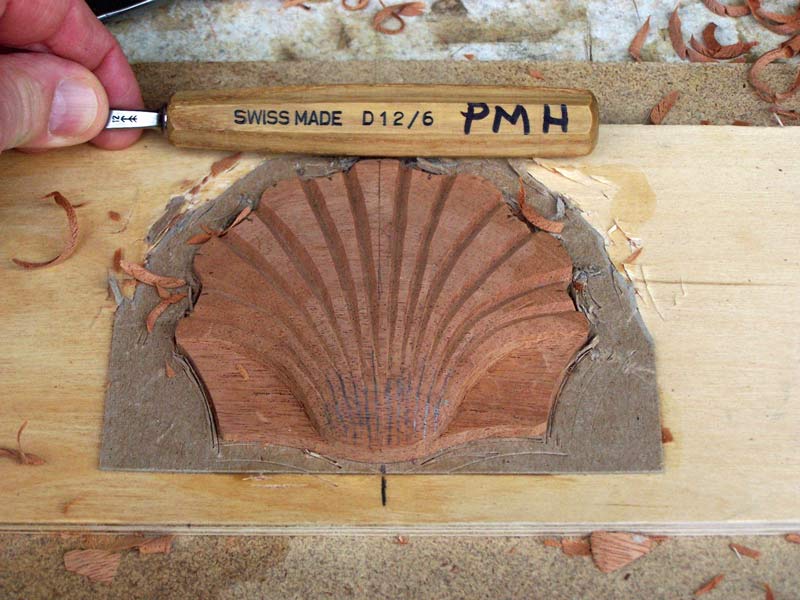
Next turn the shell over and take your V-cuts down the bottom of the shell. You want to work from the center and space your cuts evenly across the bottom.
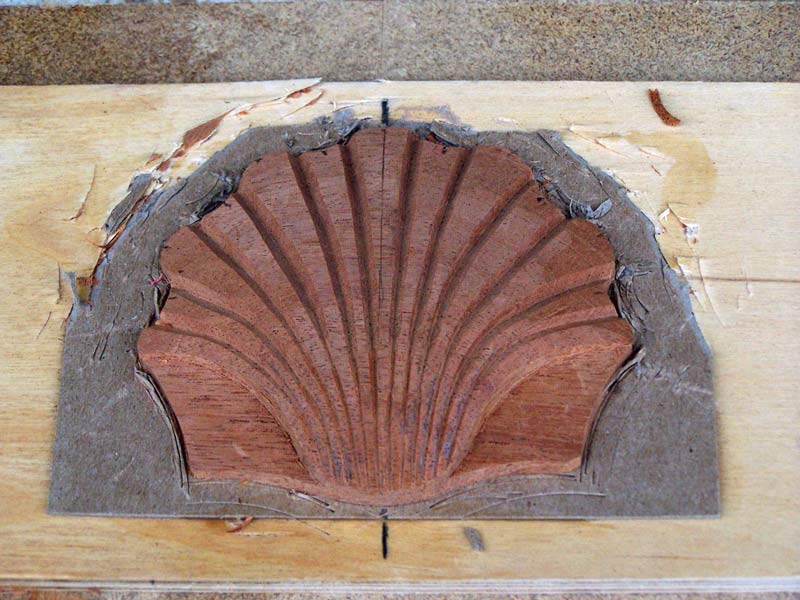
We're almost finished! Round over the convex flutes a bit and start cutting the concave flutes. To cut the concave flutes, I used a #8/4, #8/7, #8/10, and #8/13. You use the wider or narrower gouges depending on how wide the concave portion is. A bit of experience and you'll quickly grasp what to do here.
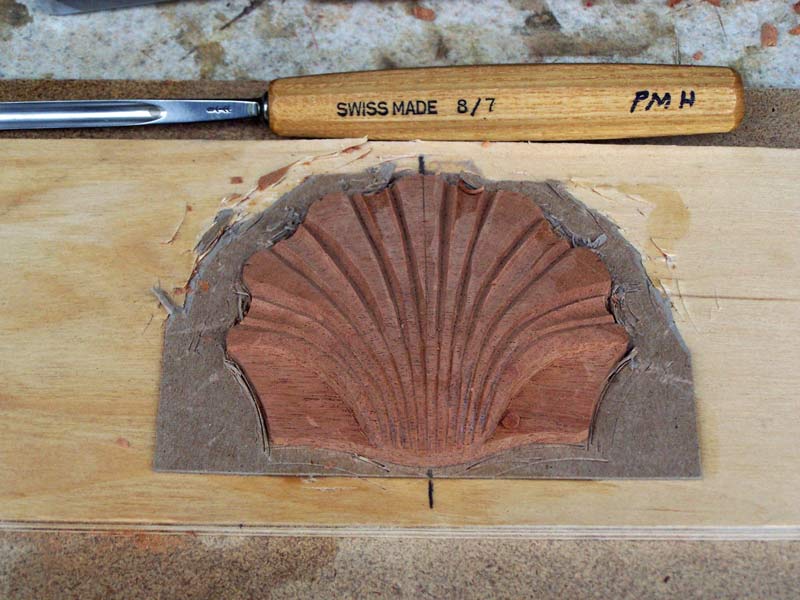
Before you get the concave flutes finished, lightly sand the convex flutes. If you slip with the sandpaper and round over some of the sharp edges of the concave flutes, you'll be able to fix it.
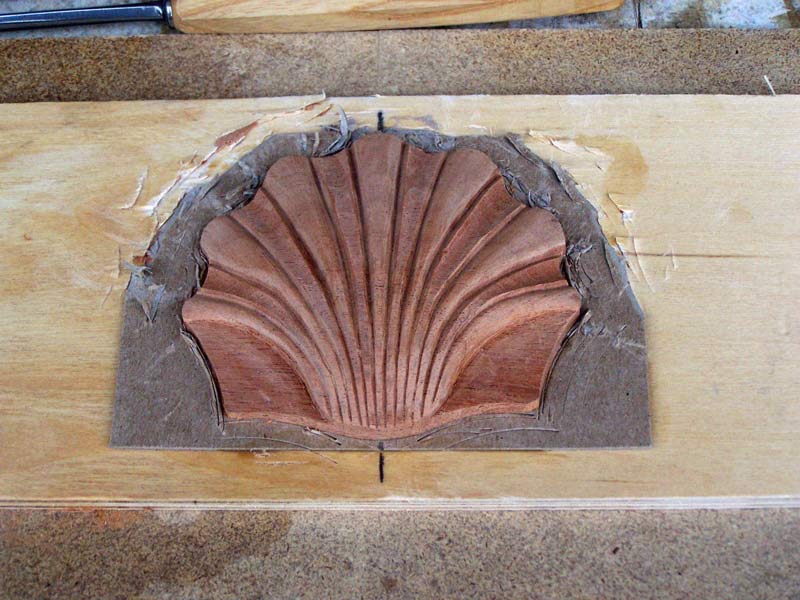
Roll your sandpaper into a tube and use that to sand the concave flutes after you finish carving them down.
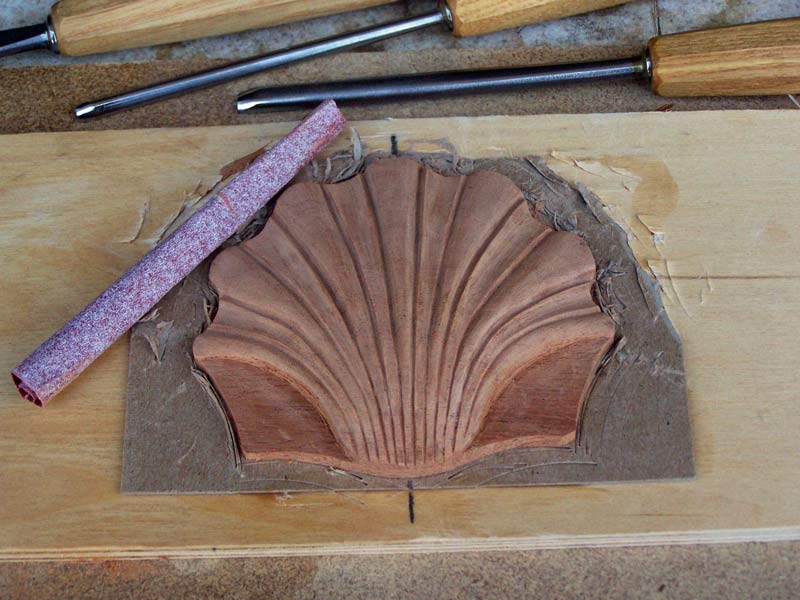
Next, I carved the hinges down to "finished" thickness. I'm also going to put some decorative cuts on the hinges just because they're a big expanse of flat wood. Draw four or five lines generally upright on each side. Try to align your outside line with the shape of the side of the hinge.
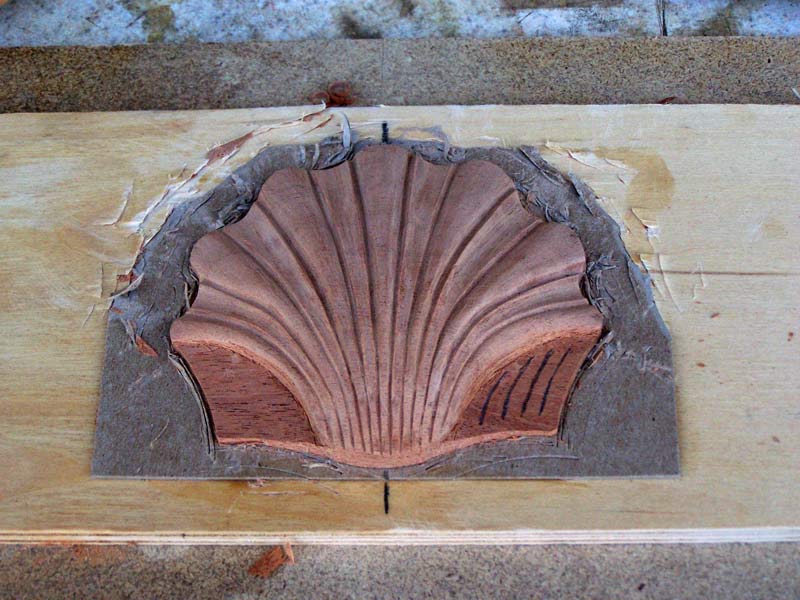
Here it is with the hinge accents carved.
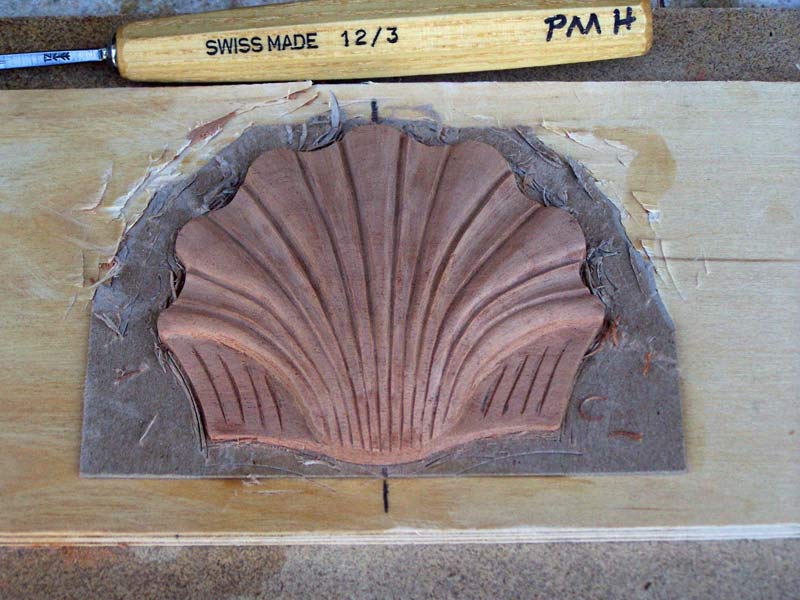
Remove the shell from the backer board and sand the back to remove the cardboard and glue. Then sand the outside edge of the shell to remove any roughness and tool marks. Finally, sand the whole shell with find sandpaper, P220 grit. Your shell is finished.
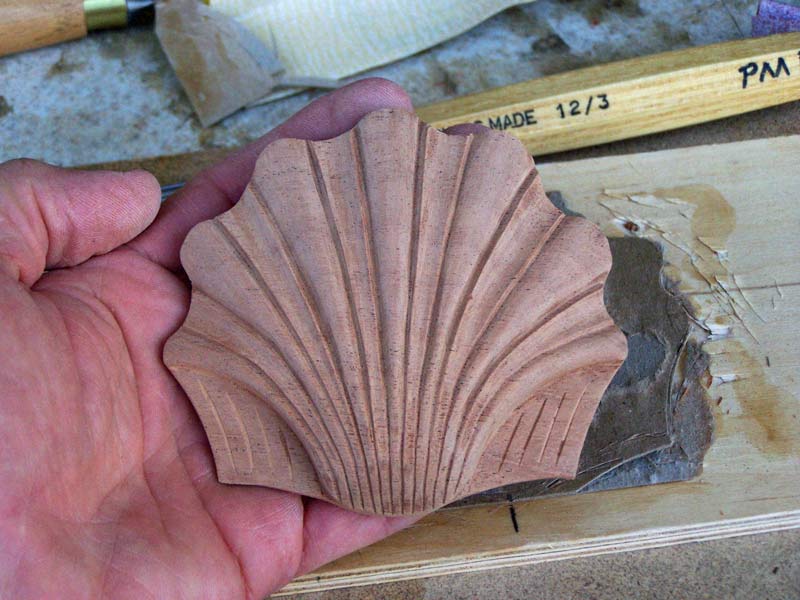
I put a bit of oil on it to show what it will look like with finish on it.
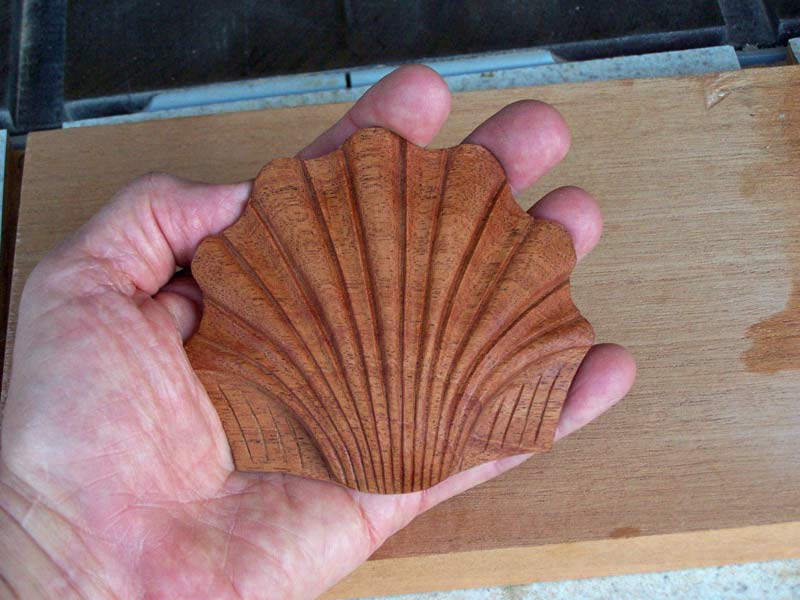
You could use the shell either upright or inverted, say on a drop in the front of an early American piece of furniture.
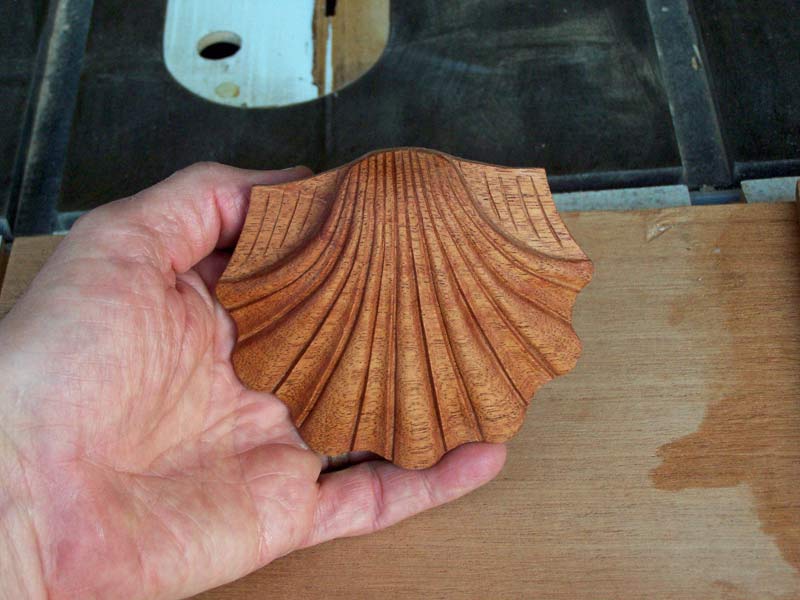
And that's how you carve a complex shell. If you can carve this shell, you'll be able to carve Newport shells with little trouble.
You can return to my woodwork here.