
Display Cabinets
P. Michael Henderson
November 2009
12/19/2009 I often mention veneering a panel but I have not described the process of doing that. I'm going to take a side trip here and describe the process of veneering one side of the back of the lower cabinet.
It all begins with a bundle of veneer. The bundle shown here is quarter sawn walnut and is about eight feet long and about 5" wide. Unfortunately, it's wider on one end than on the other which is going to cause us some problems.
Eight feet is enough to do the both the upper and lower back panels. That is, I can cut off enough for the bottom panel and still have enough to do one face of the back of the upper cabinet.

The back panel is about 38 inches wide, but I made it a bit larger - I'll cut it to fit. To cover that space, I'll need about nine or ten pieces of veneer. While it's a bit wasteful, I'm going to take a couple of extra pieces. The outside piece on the bundle often gets damaged and I might damage a piece in processing the veneer. So I take the first 12 consecutive pieces.
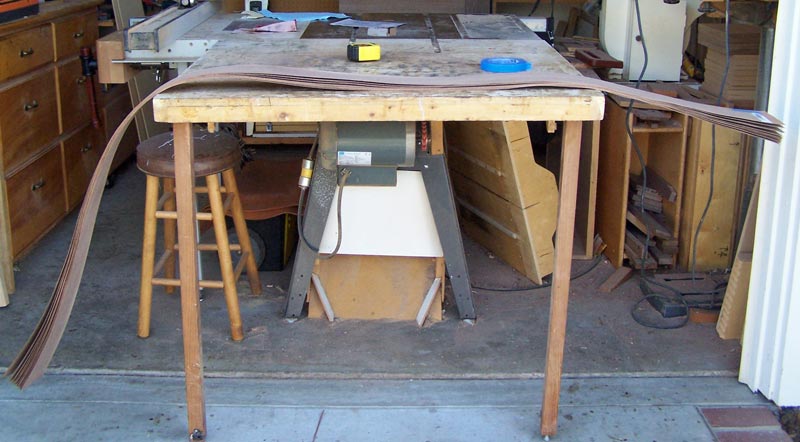
I want the veneer a bit longer than the panel in case the ends get damaged, so I'm going to cut the pieces for the bottom about 30 inches long (I only need about 26"). One end of this cut bundle is the original end of the bundle and it's always damaged because of handling. So I either need to cut a few inches off the end, or make the cut bundle a bit long.
Since I'm going too big here, my measurements are not critical. I wrap the bundle of 12 pieces with 2 inch blue tape. I'm going to cut the bundle on my miter saw so I want the veneer held in place so it won't split on the end.
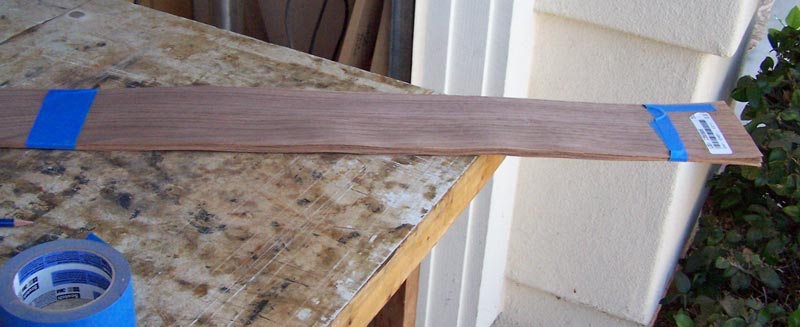
Then I take the long bundle to my miter saw and cut where I put the tape. I'll put the rest of that bundle in a safe place to be used when I veneer the back of the upper cabinet.
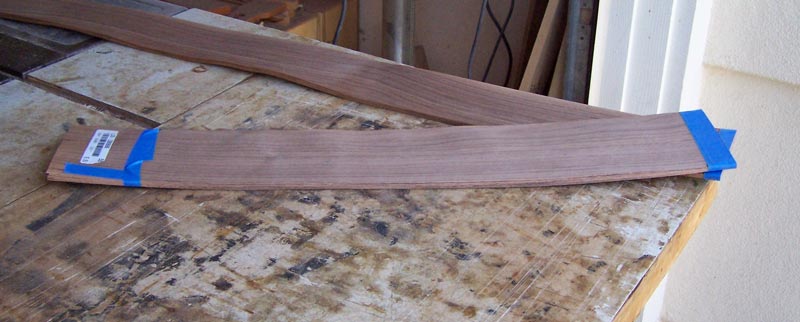
Now I have to trim the edges of the veneer. Ideally, I'd spend time aligning the pattern of the veneer on both ends so that the figure is aligned on all the pieces (confession time: sometimes I don't do that). This is especially important if you're going to bookmatch. If the bundle is not aligned, the bookmatching won't work well. After doing that alignment, I start by clamping the bundle between some boards which I've jointed the edge on - so I can use the lower board as a reference.
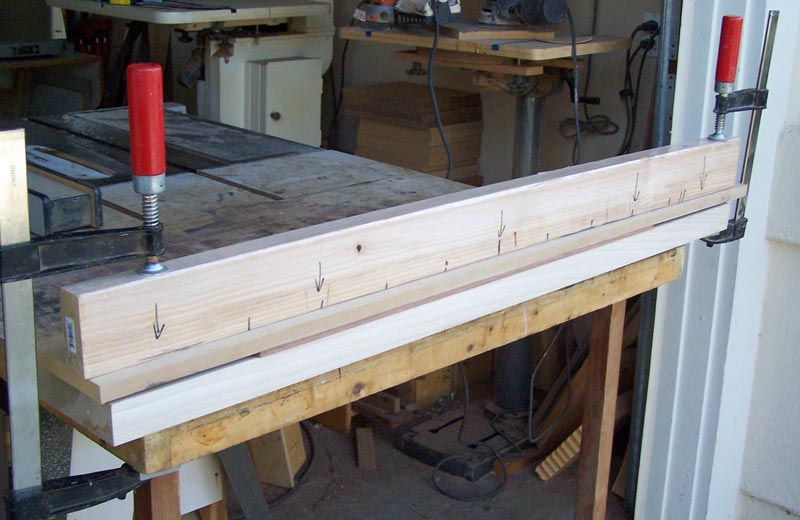
I use a block plane and a sanding block to get the edge of the veneer bundle straight. The block plane removes wood quickly, but can leave a rough edge. The sanding block gets the edges flat and smooth. Use a good straight edge - I use a piece of MDF that I cut straight - to check the edge of the veneer before you unclamp it. Make sure it's straight and doesn't have any high spots or dips.
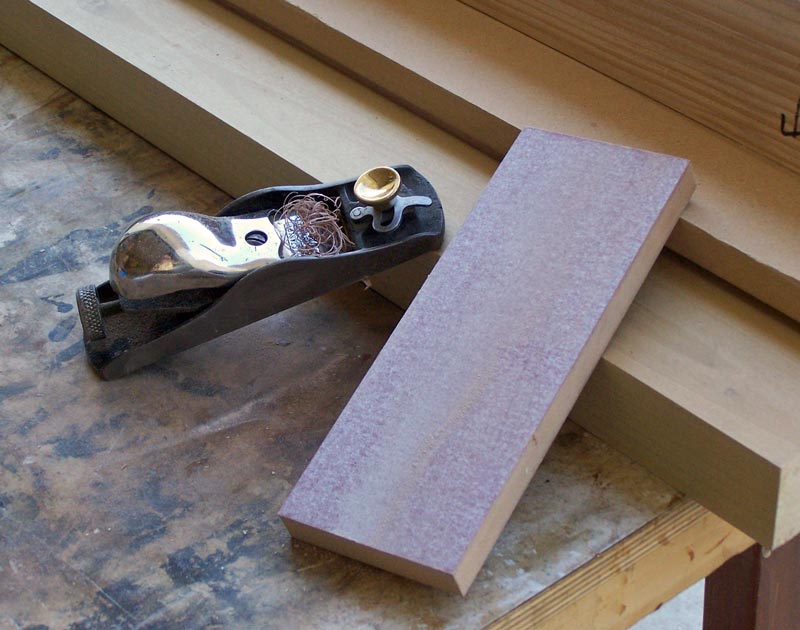
Once that one side is finished (straight and flat), it's time to do the other side. Remember that I said the veneer was somewhat "keystoned" - meaning that it's not equally wide along the bundle? Now's the time to fix that. If you don't fix it, when you go to lay the veneer, the panel will be wider on the top or bottom and the figure will look odd.
The way I address it is to measure from the back of the veneer to the edge of the board, with the narrowest part of the veneer just protruding beyond the board. Then go to the wide part of the veneer and set the same distance. That part of the bundle will protrude quite a bit more, depending on the amount of keystoning. Clamp everything down (I use that blue tape to hold the top piece because it's easy to move it when adjusting the upper board) and use the block plane to get the veneer down to the face of the lower board. This will give you veneer that's of equal width. Sand the edge as I did for the other side, and check to make sure the edge is straight.
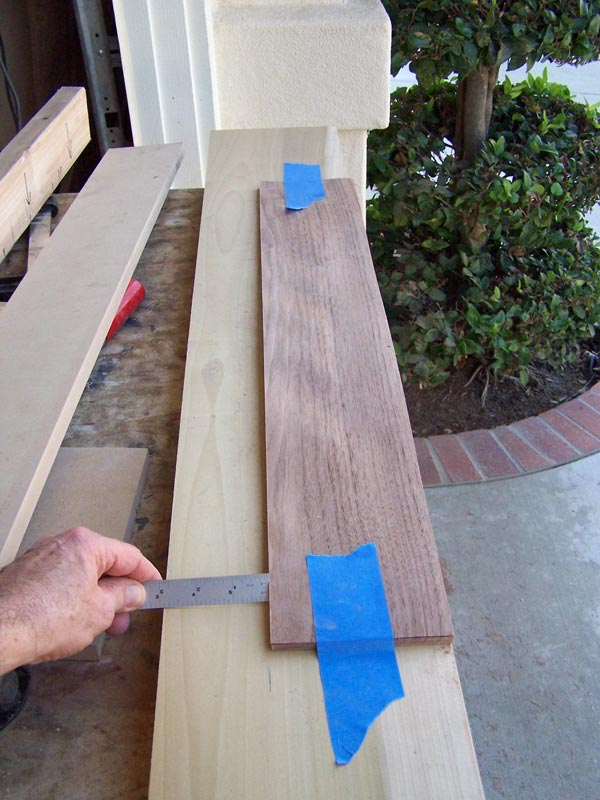
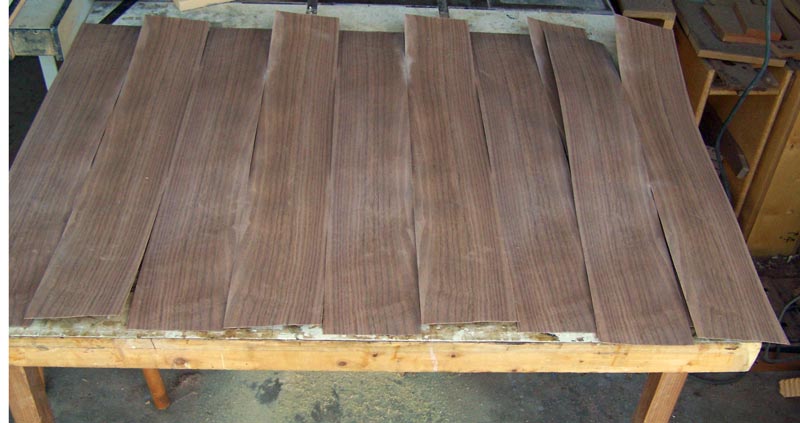
I next took the bundle and laid out the pieces the way I'm going to use them, being careful to maintain the order. I only need nine pieces so I took three off the ends (you can't take them from the middle) - ten pieces are shown in the pix.
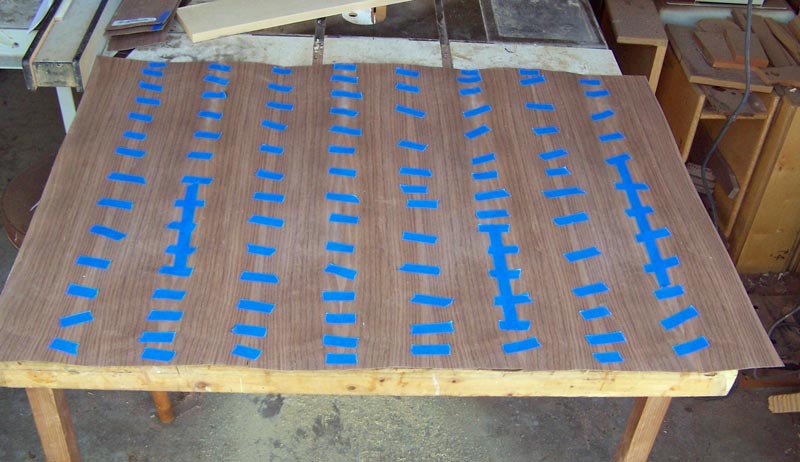
Then tape them together with blue tape.
Turn the panel over and put veneer tape on the seams. When the veneer tape dries, it shrinks a bit which helps to pull the pieces together.
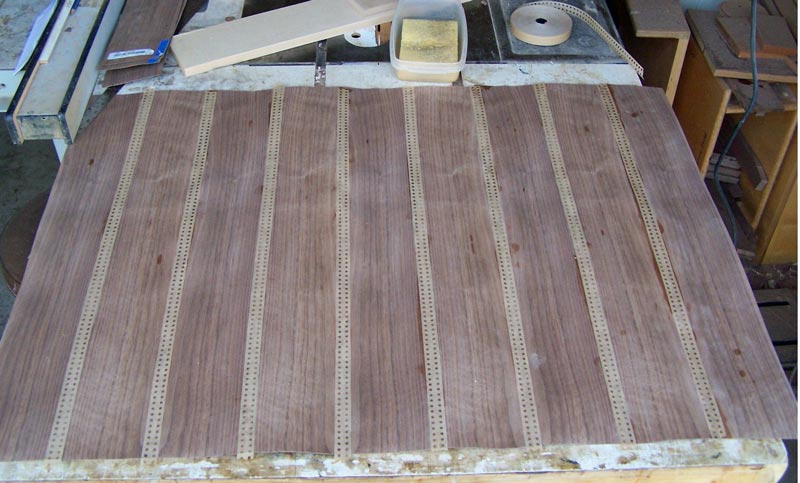
When the veneer tape is good and dry (and I like to press the panel while the tape is drying - I put the substrate on top of it), flip the panel again and remove the blue tape.
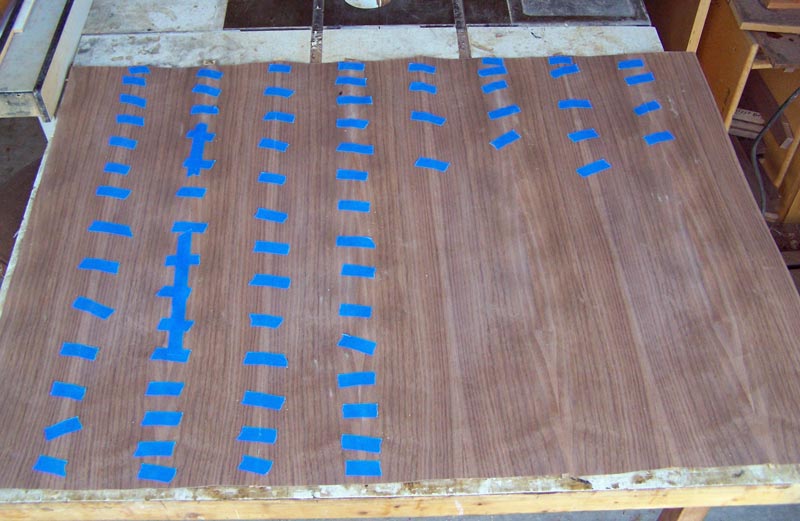
Once the blue tape is removed, lay the substrate on the panel and trim the veneer to size. I usually cut the veneer just a bit larger.
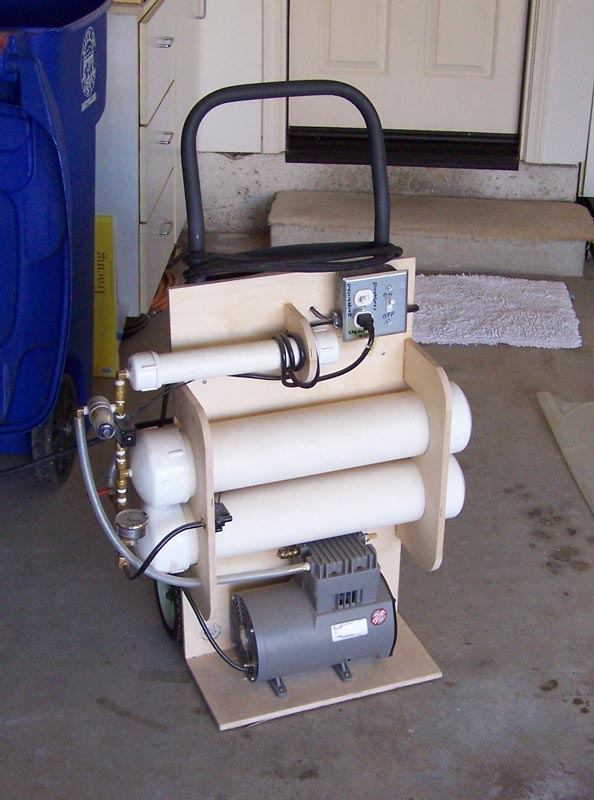
Next, I'm going to vacuum press the veneer to the panel. Here's my vacuum pump.
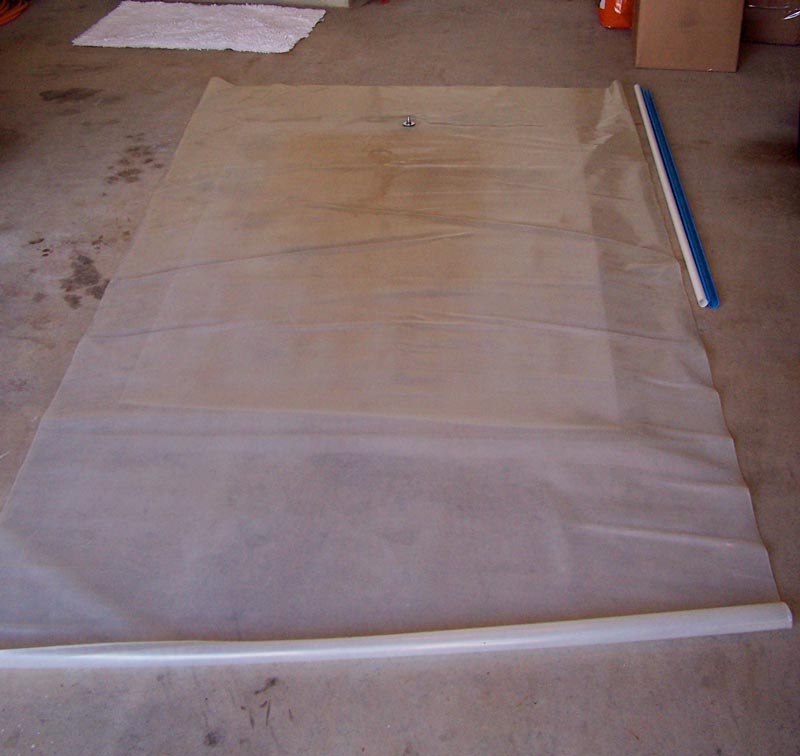
And my vacuum bag. It's a 4x8 foot.
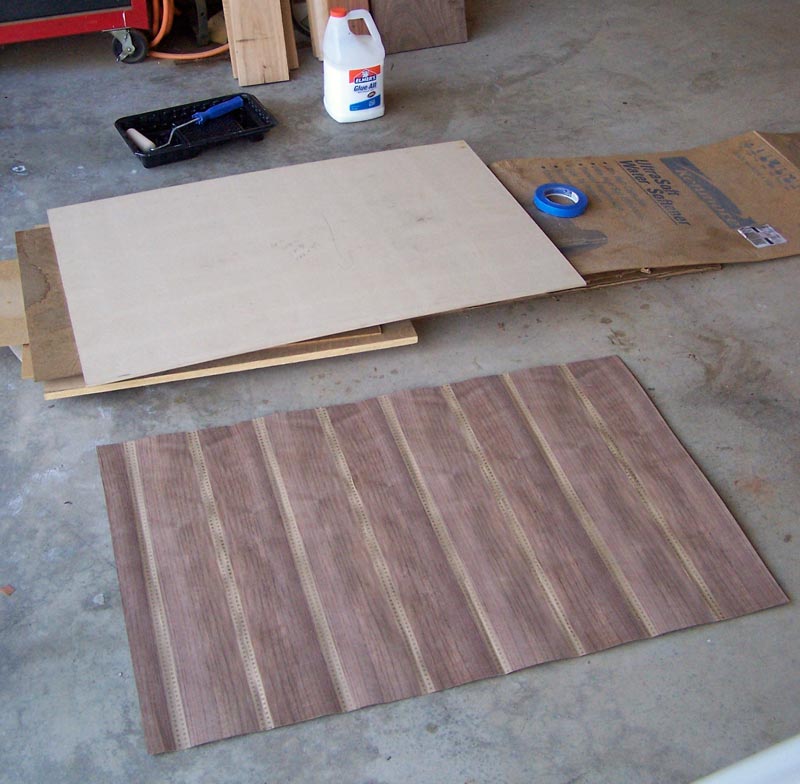
Now I'm ready to apply the glue. I lay the substrate and the veneer the way I want it applied so I don't get confused and put the veneer on upside down. I use the roller to apply the glue to the substrate. This is one place were experience counts. If you apply too little glue, the veneer will have bubbles where it didn't stick to the substrate. And if you apply too much glue, the glue will collect under the veneer and cause bubbles. So you need to put the Goldilocks amount of glue.
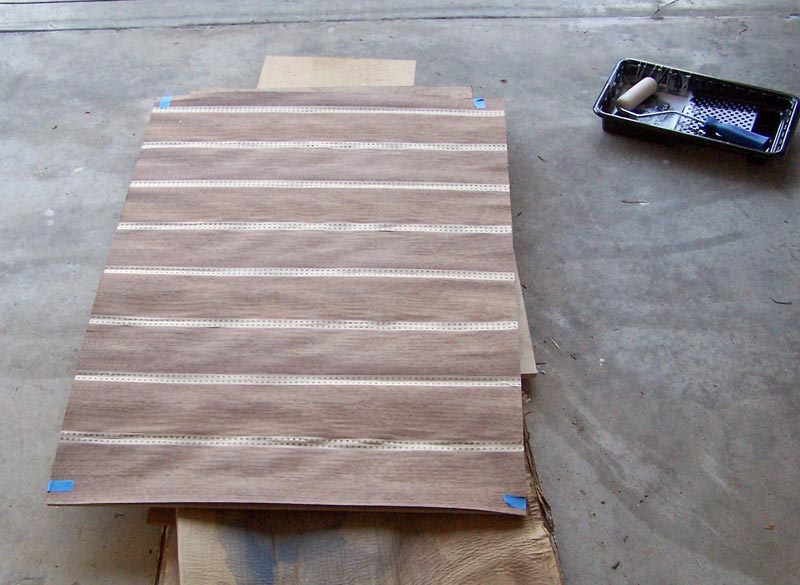
After I get the glue spread to my satisfaction, I lay the veneer on the substrate and put four pieces of blue tape to hold it in place while I put it in the bag. I don't want to find out that the veneer slipped and there's substrate showing on one side.
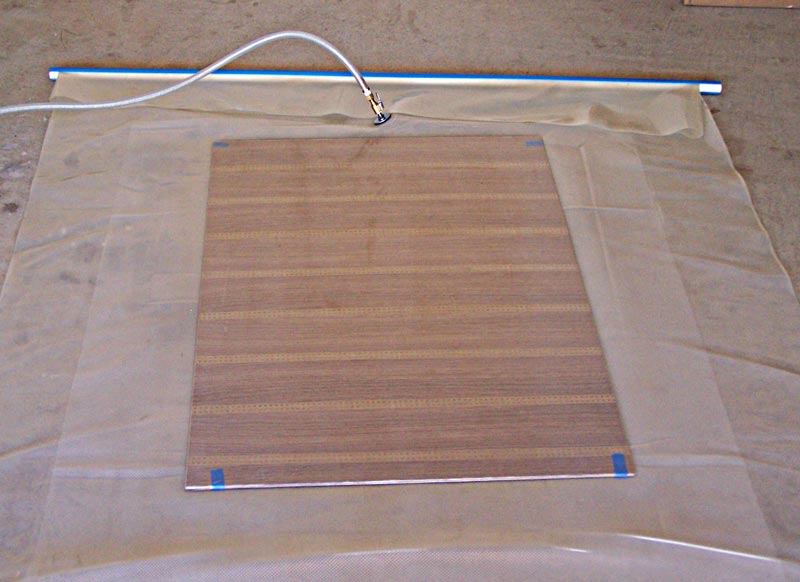
Then I put the panel into the bag, seal the bag, and connect the vacuum hose. The pump evacuates the bag and presses the veneer to the substrate.
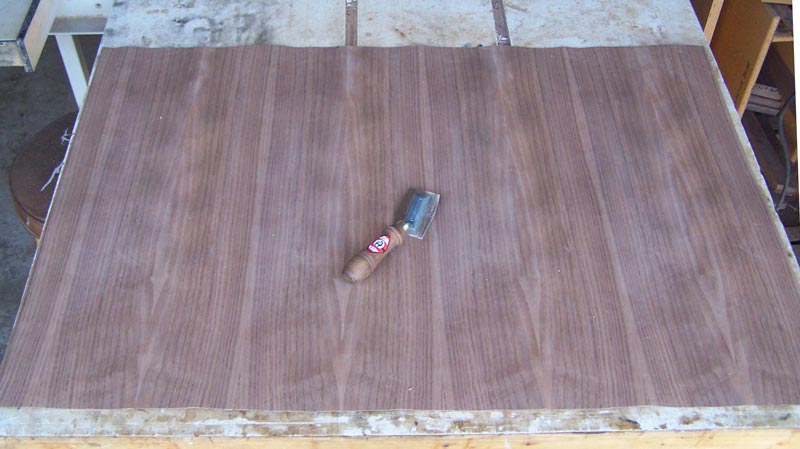
After a couple of hours, I take the panel out and this is what it looks like.
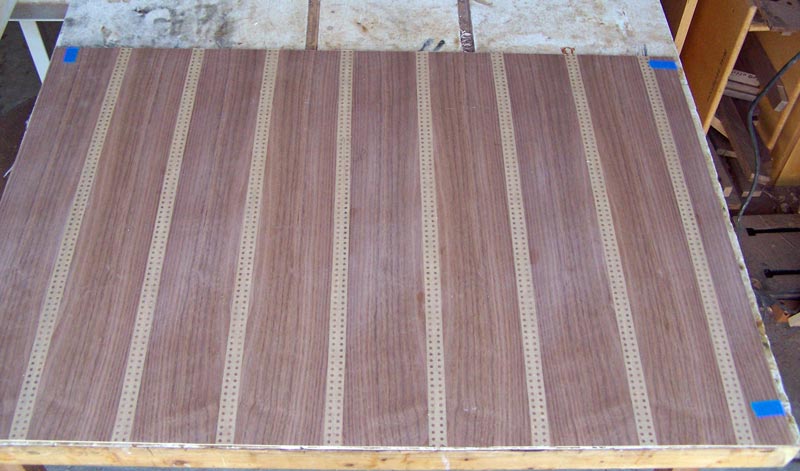
I next take the blue tape off and trim the veneer around the edges to make it the same size as the substrate. Then I wet the veneer tape so that I can remove it.
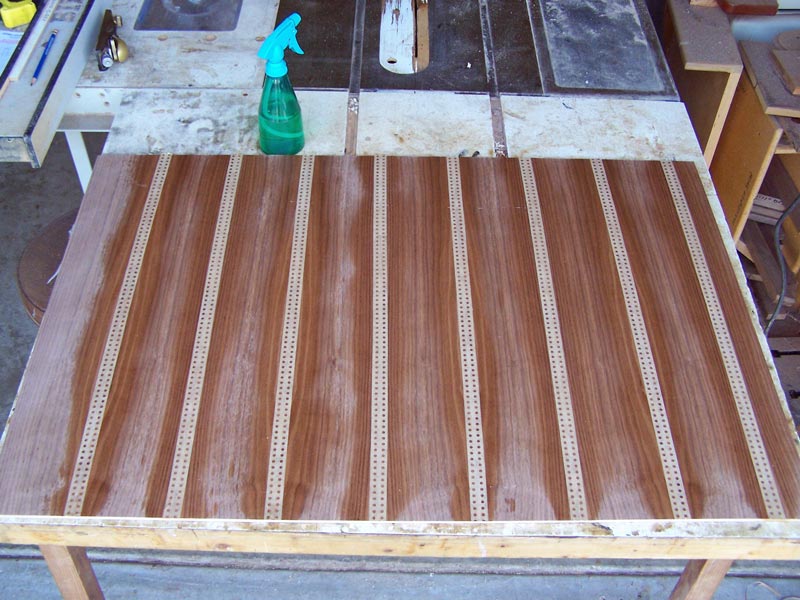
After soaking for a few minutes, the veneer tape pulls off easily.
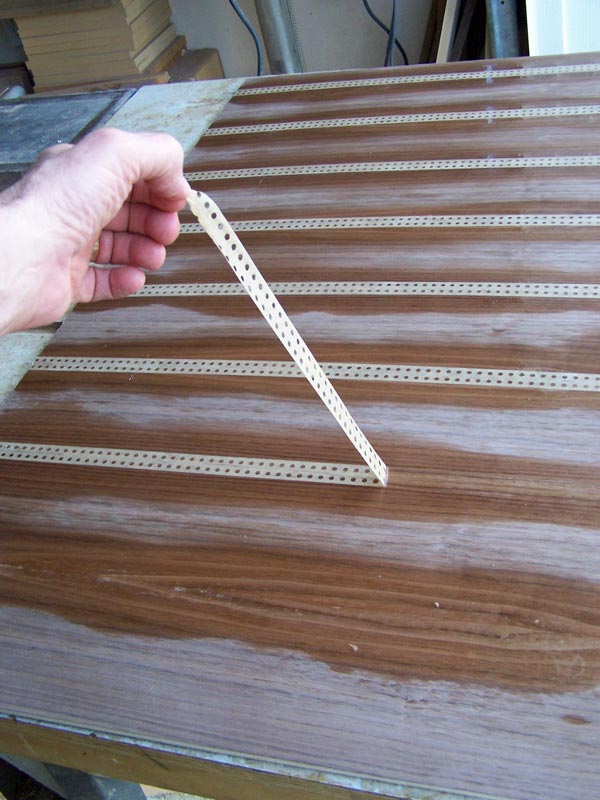
And that's it. I wipe the excess water off the panel and set it aside to dry. When it's dry, I'll sand it with P220 sandpaper.
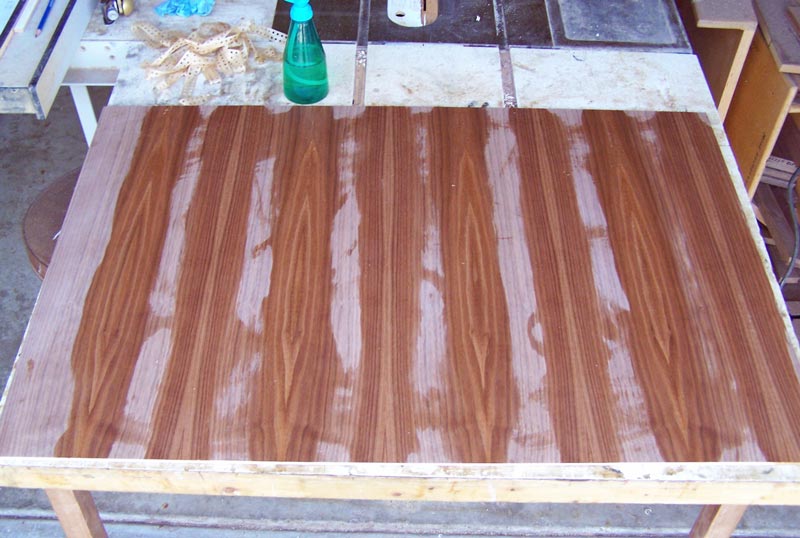
A small panel like this is fairly easy to do. As the panels get larger, they get much more difficult. It's harder to get the edges of the veneer straight, it's harder to handle a large panel of fragile veneer, and it's much more difficult to get a large panel into the bag by yourself. At some point, you have to get an additional set of hands. But no matter the size, the process is the same.
Click here to see more of the cabinets project