Display Cabinets
P. Michael Henderson
November 2009
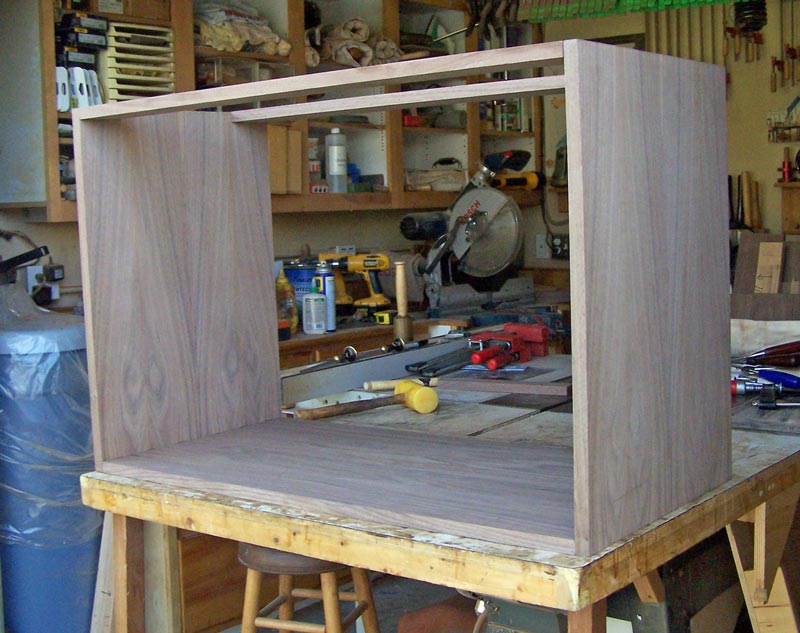
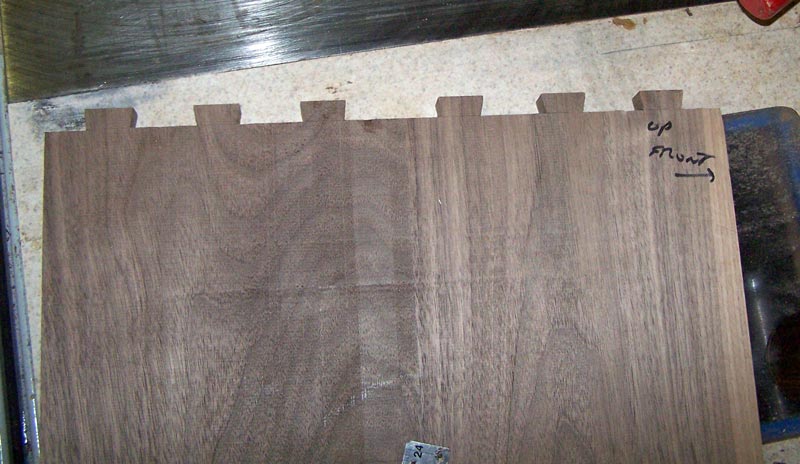
12/13/2009 I finished the dovetails for the lower cabinet. Now to make the back and cut the groove in the case to put the back into. Note that I only have two boards across the top. This is because I'll make a separate top and attach it with screws through these two boards.
The second picture shows the how the bottom is dovetailed into the sides, and the third picture shows the two boards across the top, dovetailed into the sides. While other joinery could be used for these joints, dovetails are strong and reliable. These dovetails will not be visible when the cabinet is completed.

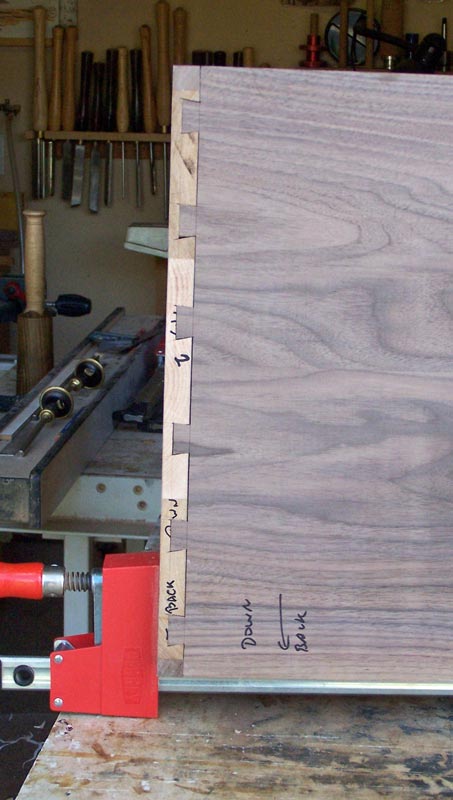
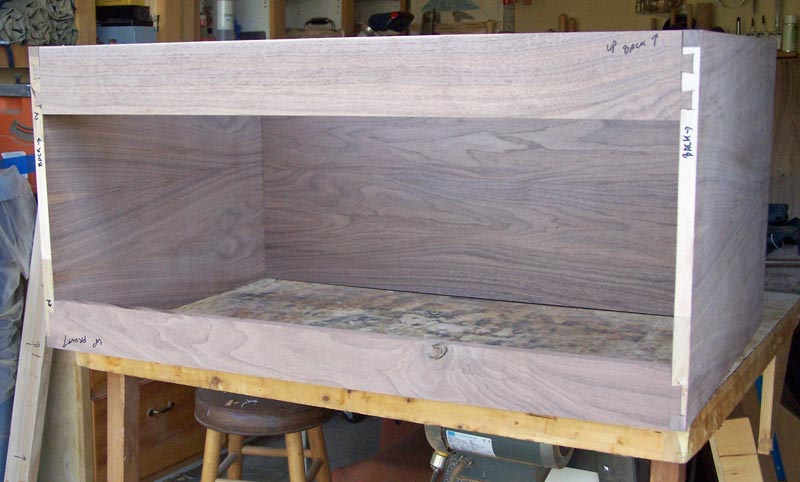
12/12/2009 I trimmed the sides of the lower cabinet to the proper size, and cut the bottom and top pieces for that cabinet to size. I'm almost finished cutting the dovetails for the lower cabinet. I'll probably get them finished tomorrow.
12/10/2009 I finished planing down the horizontal panels and received the veneer on Monday. I finished veneering the sides of the lower cabinet and will begin cutting the dovetails for the bottom soon.
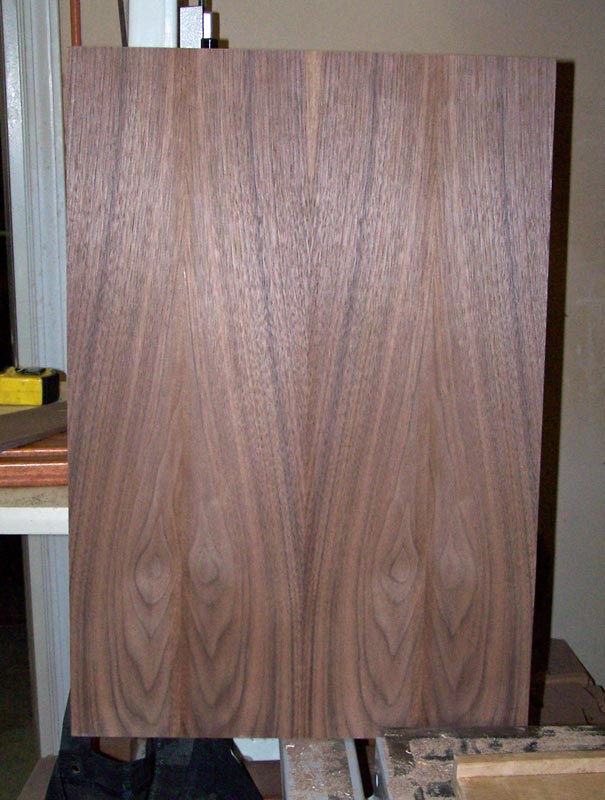
12/03/2009 I have all the horizontal panels glued up - bottom of upper cabinet, bottom of lower cabinet, shelf for lower cabinet, and top of lower cabinet. Over the weekend, I'll plane them down to thickness and cut them to size. Two of the cutoff pieces will be used at the top of the lower cabinet. These pieces will be dovetailed into the sides and the top will be attached to them.
12/01/2009 I finished the dovetails for the top of upper cabinet and am now working on the bottom of the upper cabinet. I ordered walnut veneer for the sides of the lower cabinet and the backs of both cabinets and will receive it on Monday.
11/29/2009 Instead of veneering the lower case sides, I decided to make the top and bottom for the upper cabinet. I cut the tails for the top today (for dovetails, see pix below). I'm making half blind dovetails but since there's a decorative strip around the top of the cabinet, I could have used regular, through dovetails. Too late now - I already cut the tails for half blind. The glass shelf from the old cabinet is 37 3/8" long and 14 1/2" wide, so I'm making the cabinet about 37 9/16" wide on the inside and 16 1/2" deep. This should allow easy installation of the glass shelves, and allow space for the doors and back.
This means the lower case will be about 18 1/2" deep and the same width as the upper case.
I need to order some veneer for the sides of the lower case and the backs of both the upper and lower cabinet. It'll take about a week for me to get the veneer. I thought I could use some existing veneer I had but it's too warped to lay.
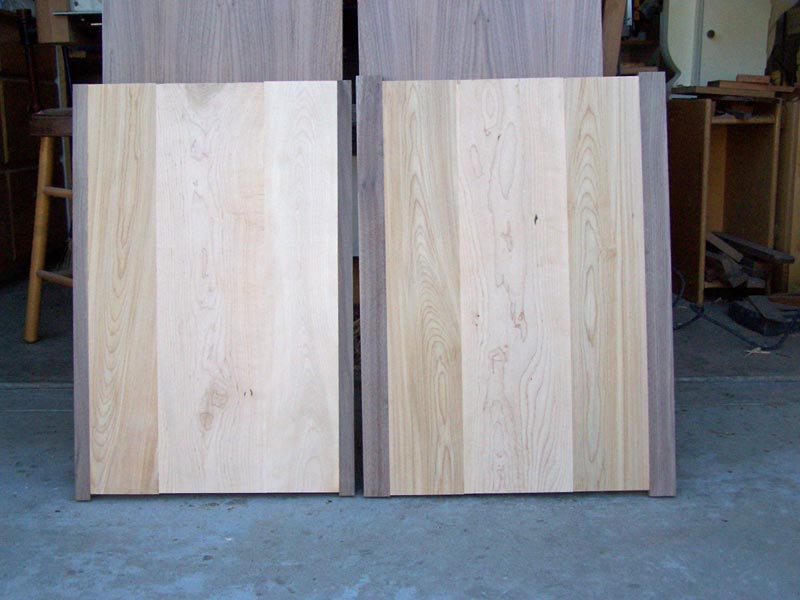
11/28/2009 I completed the veneering of the sides of the upper cabinet and glued up the substrate for the sides of the lower cabinet. I bookmatched the veneer and I think it came out looking pretty nice. I'll be veneering the sides of the lower cabinet over the next few days. The picture on the left is the inside of the upper cabinet and the picture on the right is the outside. The picture below is the sides of the lower cabinet. Since I'm using quarter sawn walnut veneer, I didn't want to use face sawn solid stock because it would look different than the upper cabinet. Since I decided to veneer the sides of the lower case, there was no advantage in using walnut substrate, so I used maple and a mystery wood I got from Jerry.
.jpg)
.jpg)
11/23/2009 I haven't posted recently but I have been busy. Mainly, I've been laying the veneer on the side panels and gluing up the horizontal panels (tops bottoms, shelves, etc.). I had a devil of a time finding good walnut stock. At Austin, the wood is so picked over that I won't buy it unless I can get the employees to take down a new pallet for me to sort through. The picked over wood is full of sapwood and defects such as splits and knots. Just terrible.
Anyway, I was able to buy some good rough sawn 4/4 walnut from Cerritos College, and wide boards at that. I'll start doing the joinery soon.
11/16/2009 I cut the sides and plugged the holes and the dado at the top, and have started laying veneer. In the picture below, the panel on the right has been veneered, while the panel on the left has not. On that panel you can see the plugged holes and the strip along the top where the dado has been filled. I like book matched veneer so that's the way I laid it.
11/07/2009 I've started work on the first of the two cabinets that need to be modified. I thought I had taken a picture of the cabinet "before" but it turned out that I had mostly taken a picture of the other cabinet. The cabinet I'm modifying is on the left in the picture below.
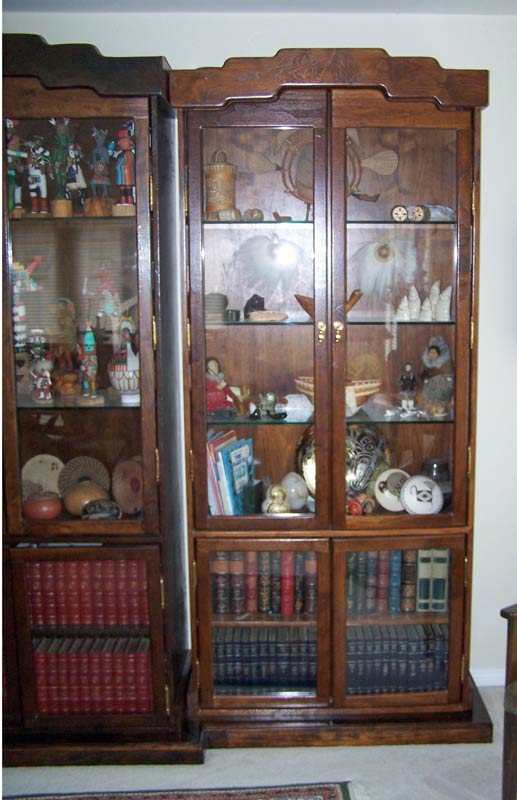
My task is to cut the cabinet to make it a "cabinet on cabinet" like the previous one I built, to replace the back on both the top and bottom cabinets, re-make the bottom "cabinet" to make it the right height, make a breadboard top for the bottom cabinet, put a base on the bottom cabinet, make a bottom for the top cabinet, and refinish the top cabinet. When I examined the cabinet closely, however, I discovered that Jerry had used plywood for all of the horizontal surfaces (shelves, top, bottom, etc.) with a piece of walnut glued on the front for looks. The problem is when I go to sand the finish off, I'd likely take the walnut ply off the plywood, which would leave an ugly surface. Given that, I decided to just disassemble the cabinet, which left me with the two sides, just like I had for the first cabinet. I stared by sanding the two sides.
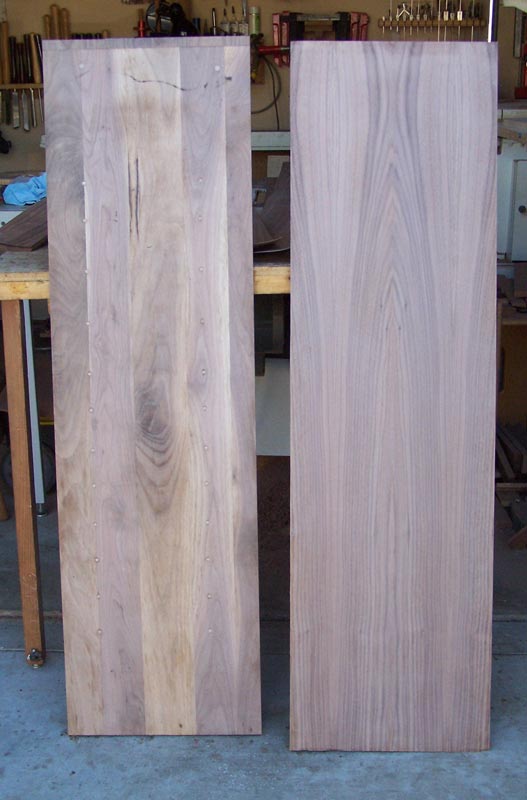
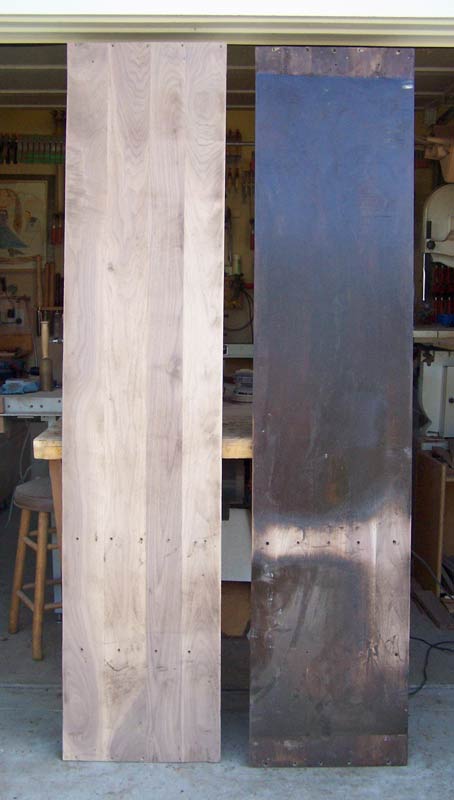
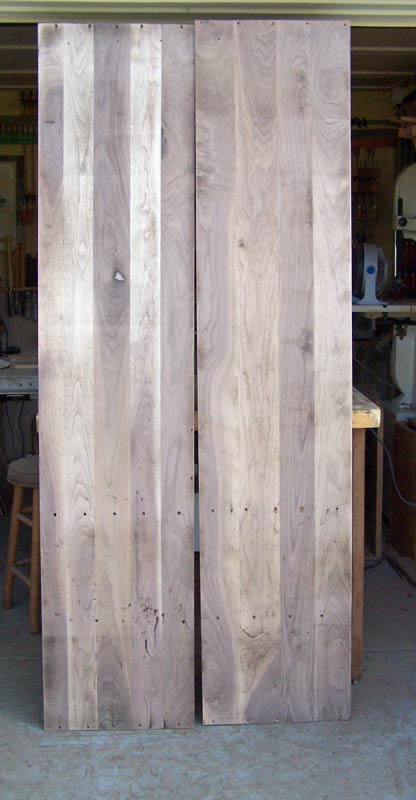
In the first picture, you can see how dark the finish was on the cabinet. Once the finish was removed, I found enough sapwood that I'll put veneer on both pieces to improve the looks. I also found that the finish had penetrated the wood quite a bit in places, and I'd have to sand quite a bit off the remove all the old finish. By veneering, I can leave that "stain" and just cover it with veneer. As I did on the first cabinet, I'll glue some walnut with good color on the front and back edge to match the veneer. (Note that the boards are reversed left-to-right in the two pictures - the board on the left in the first picture is on the right in the second picture.)
Click here to see more of the cabinets project