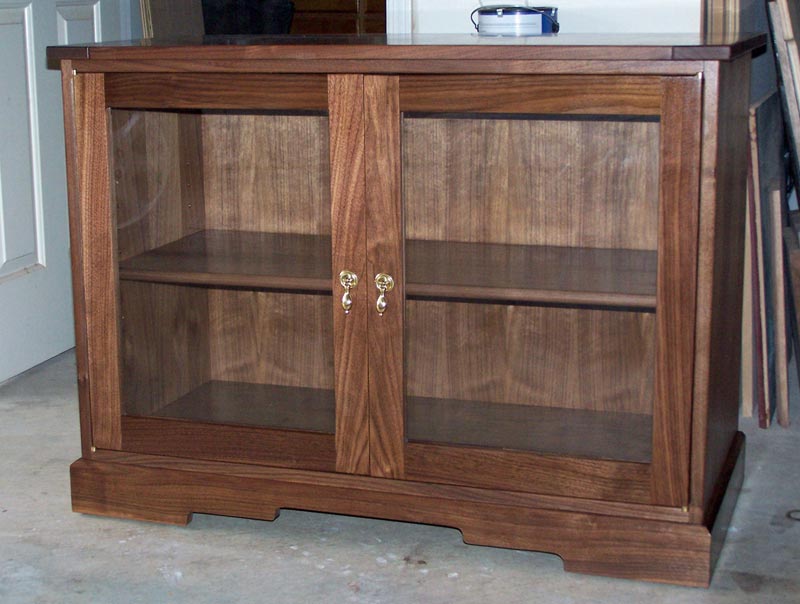
Display Cabinets
P. Michael Henderson
November 2009
02/28/2010 I delivered the second set of cabinets to Judy today and picked up the third for rebuilding. Work on it will be delayed while I set up my new table saw. I forgot to take my camera with me on the delivery so I don't have a picture of the cabinets in Judy's house. I'll try to get a picture next time I visit - which may not be until I deliver the third set of cabinets.
02/27/2010 The second set of cabinets are complete. I think they came out well.

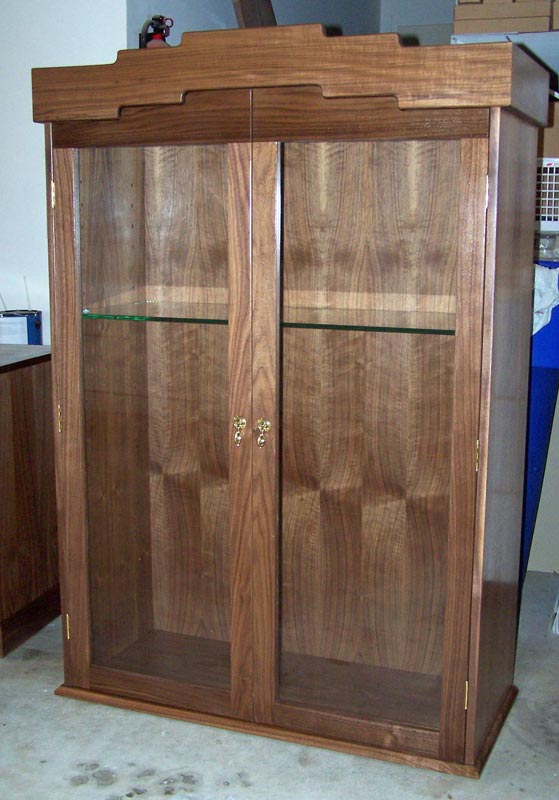
02/24/2010 I took the doors to Tustin Glass today to get glass put in. The old glass was 1/16" thick, which guy at Tustin Glass told me was only used in things like picture frames. This aligns with what people told me on the woodworking forum. I'll have 1/8" glass installed in the doors. The doors have been fitted, the bullet catches have been installed, the stops at the top glued in place, and the screw inserts for the handles installed. I've started finishing the outside of the cabinets. The lower cabinet is almost finished - I should get that completed tomorrow and start on the upper cabinet. Delivery planned for Sunday, Feb 28. Still quite a bit to do but I should make it in time.
02/20/2010 I have the doors completed and fitted on both cabinets. The bullet catches have been installed on the lower cabinet but not on the upper cabinet. Next, I'll apply finish to the doors and get the glass installed. Then install the bullet catches on the upper cabinet, install the handles on all of the doors, and finish the outside of the cabinets. Delivery planned for Feb 28.
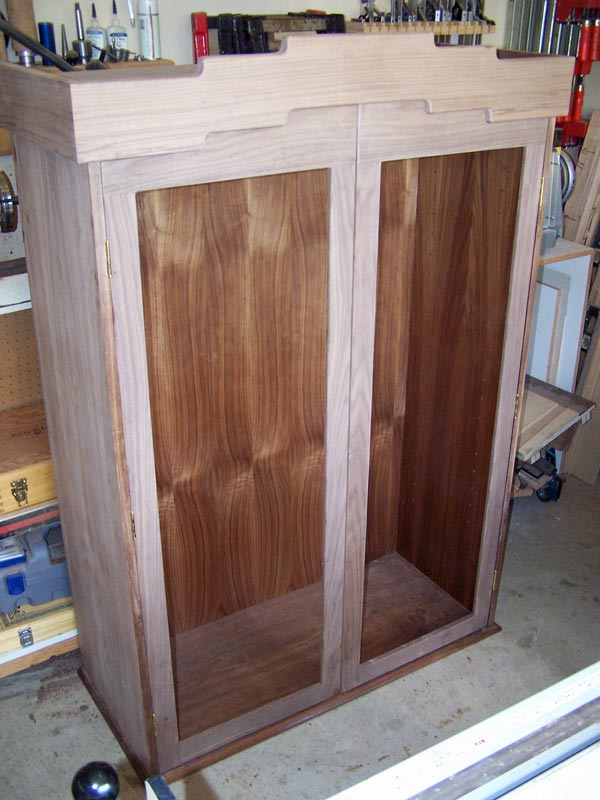
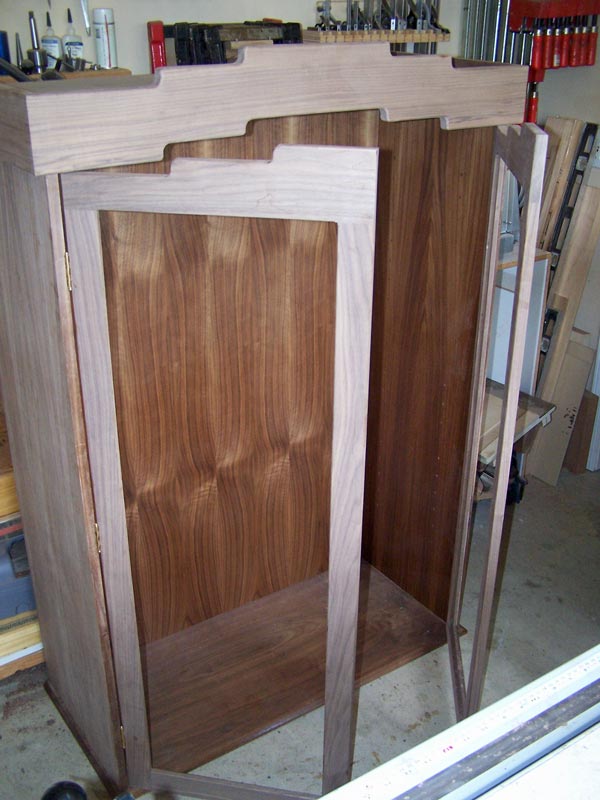
02/16/2010 I have the doors mostly fitted for the upper cabinet. Next is to do the fine fitting and to install the bullet catches. Then finish the exterior.
02/14/2010 Happy Valentine's Day! I'm working on putting the hinges on the doors for the upper cabinet. I probably won't get to work on them tomorrow so it's be Tuesday or Wednesday before I get it all done.
02/11/2010 I have the doors installed on the lower cabinet. They still need a bit of "fitting" but the hard work is done. Next, to install the hinges on the upper doors and fit them.
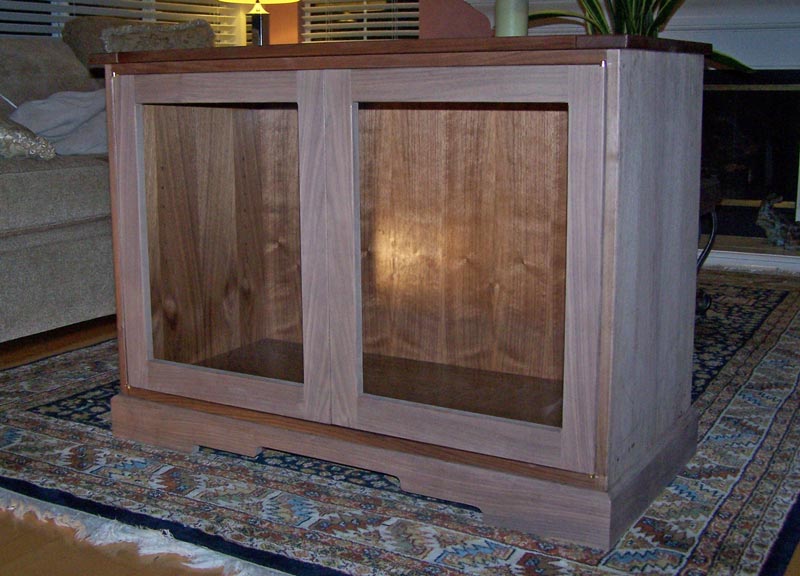
02/07/2010 I have the doors for the upper cabinet made. They fit into the cabinet fine, but they're too tight right now. I prefer them tight to having gaps. I can adjust tight doors pretty easily but there's not a lot that can be done with doors that are too small.
Let me make a few comments about doors. Assuming you start with doors that are too tight but will fit into the opening, you don't have to remove a whole lot to have a nice set of close fitting doors. For example, let's say you want to take 1/8" off the doors, total. You have four stiles which you can plane a small amount off of. If the total to be taken off is 1/8", that's 1/16" from each door. Since there are two stiles per door, that's 1/32" from each stile. That's not much more than a couple of swipes with a jack plane. And no one will ever notice that the stiles are 1/32" narrower than you originally cut them.
Even if you wanted to take 1/4" off the doors - and that's a whole lot - you'd only take 1/16" from each stile. So starting with doors that fit but are tight is a good way to go.
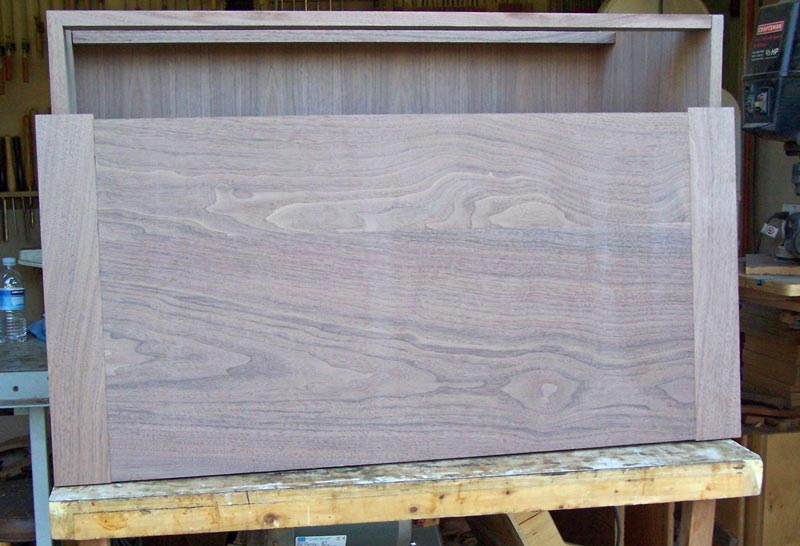
It's very difficult to get a good picture in my very small shop, but you can see the doors fairly well.
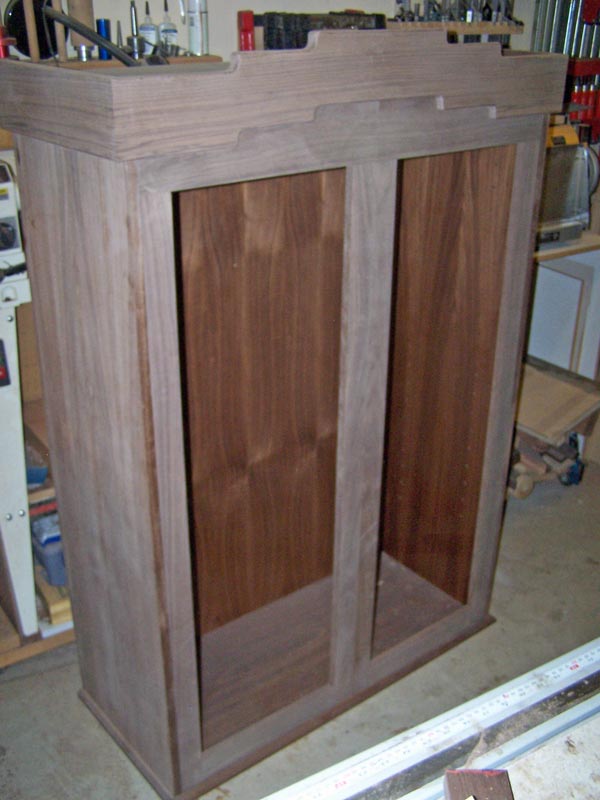
02/05/2010 I have the doors for the lower cabinet made. I'll probably get the doors for the upper cabinet made tomorrow. Of course, there's still a lot to be done - the hinges have to be set in, the bullet catches installed, the rabbet for the glass cut, and the handles installed. But making the doors is the most nerve wracking part. Will they fit? Will they fit tightly without being too tight? Will they be square to the cabinet? Just very easy to have a disaster on your hands.
The stiles are cut from the same board - if you were to compress the four together, the grain would flow together. This is most noticeable where the doors meet and two stiles are side by side. You can see that the grain matches there. Although harder to see, the rails are cut from longer boards so the grain flows from one rail to the other, both top and bottom.
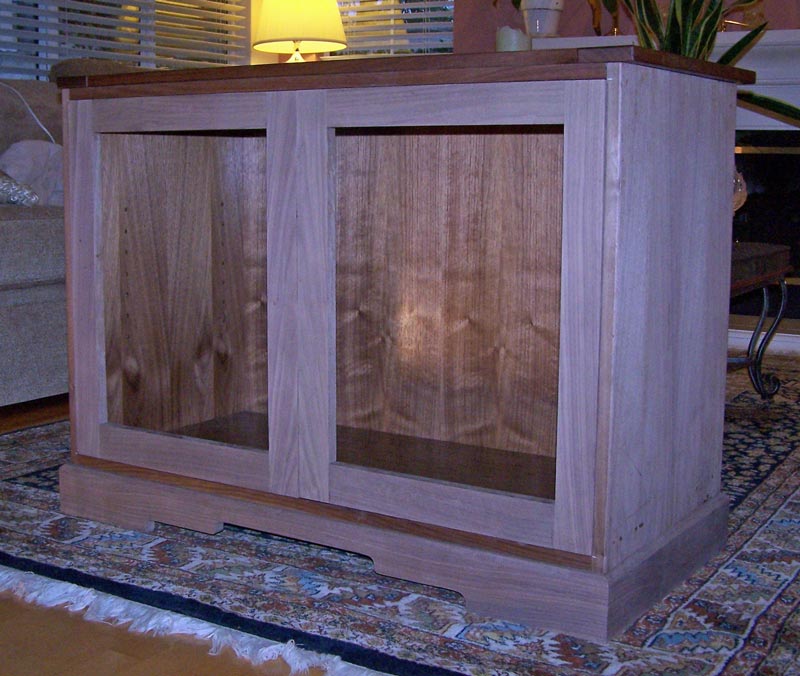
02/04/2010 I got a lot done today but no pictures. My friend, Jay, lent me his Festool Domino and I'm going to use that to make the mortises for the doors. I'm not going to use loose tenons, just use the Domino to make the mortises and make standard tenons. I have the doors for the lower cabinet all cut out, and the top of the upper cabinet cut out. More tomorrow.
02/03/2010 Last week was a "lost week" due to other demands on my time. I have been able to get out and buy wood for the doors - went to Reel Lumber in Anaheim - and started cutting it to size. I'll probably have something to show tomorrow.
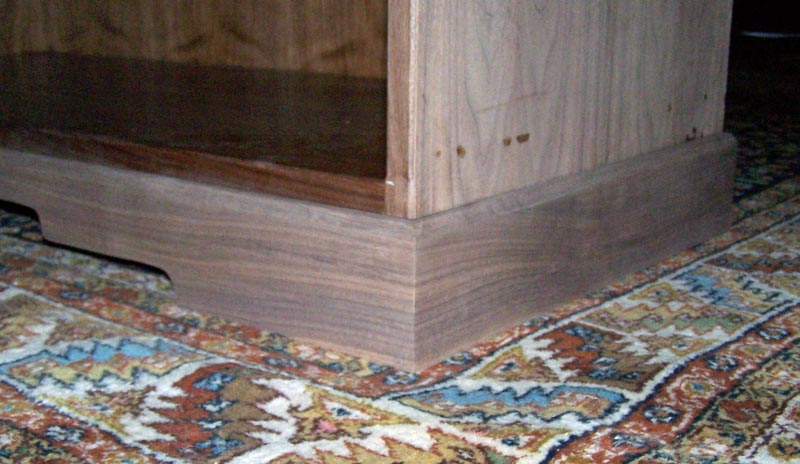
01/24/2010 I completed the base for the lower cabinet, except for putting the figure 8 fasteners on (and finish, of course). The fit is good. I work from measurements and it's always exciting when I mate up two things like this and see how well they fit together. I did the chasing grain on the front mitered corners, and hand cut dovetails on the rear. I put a biscuit across each miter (like a spline) to strengthen those joints.
Now, it's on to the doors.
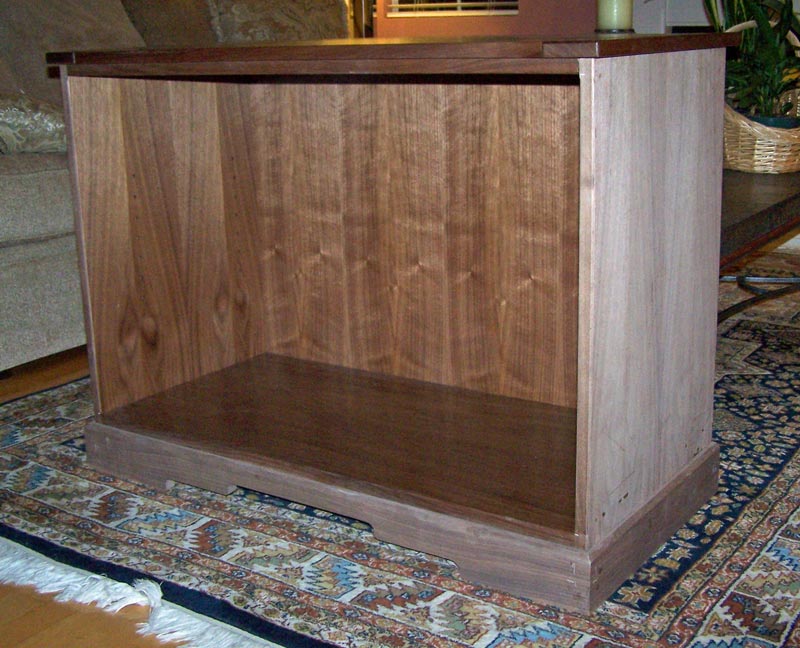
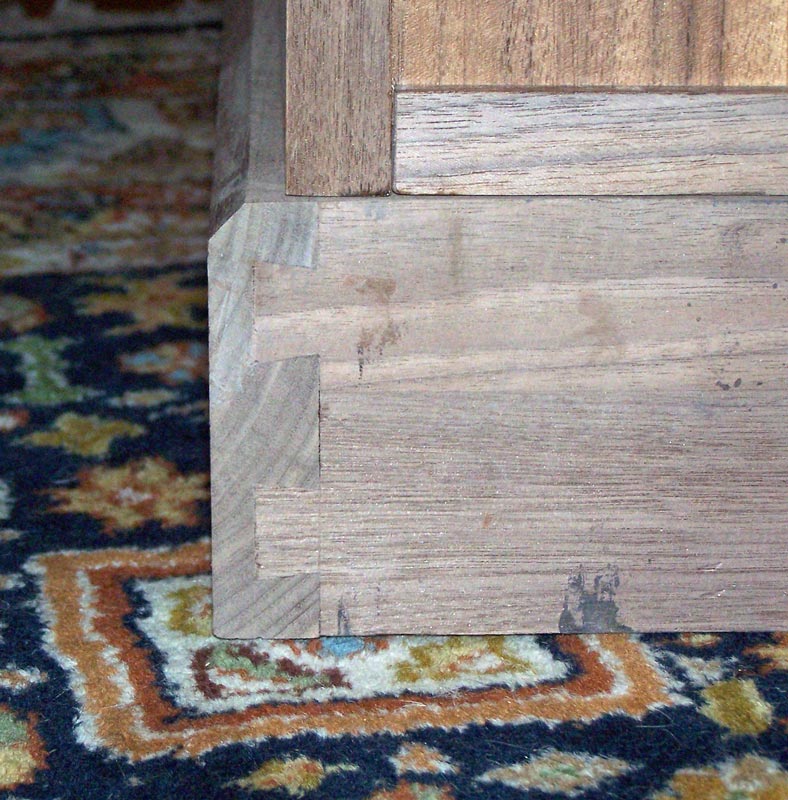
01/19/2010 I attached the side pieces of the cloud lift detail. In laying out the sides, I arranged the wood so the grain would be continuous on both sides (see pixs) - as if the wood was just bent around the corner. It takes some time and effort to do this and I always wonder if anyone will notice it after the piece is finished. What do you think - will anyone other than another woodworker notice things like that?
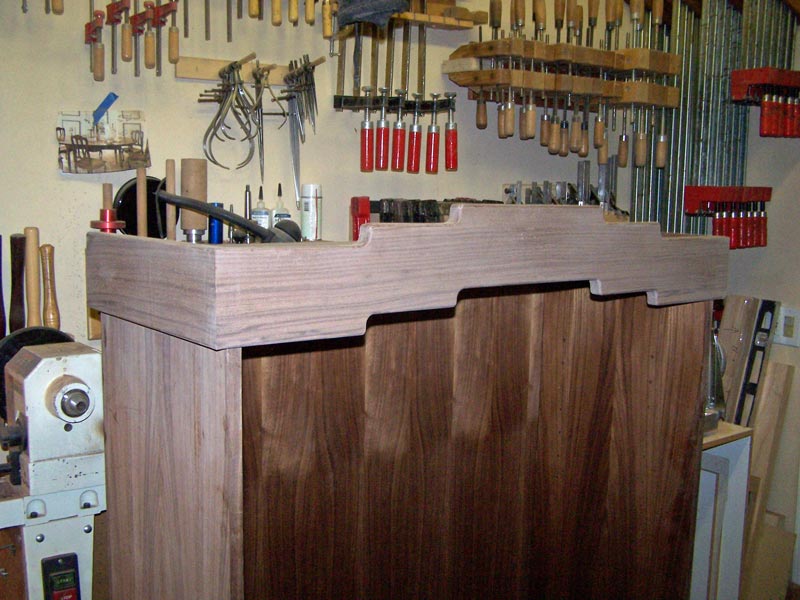
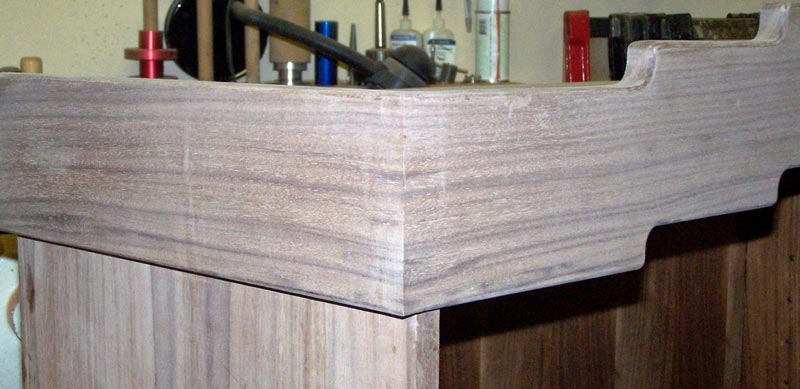
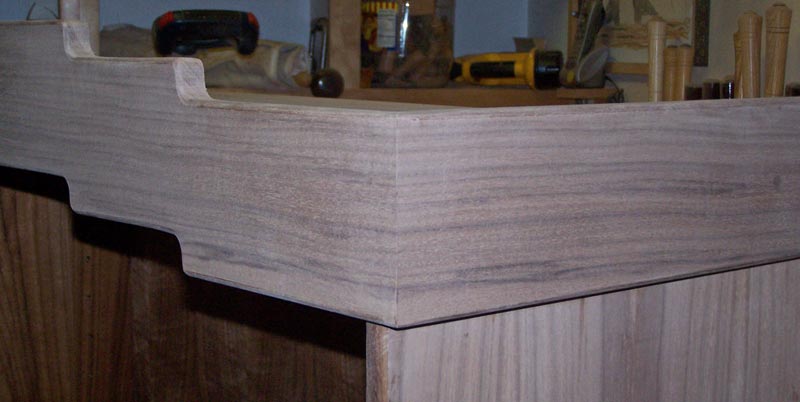
01/19/2010 I made the cloud lift for the upper cabinet and glued it on today. I still have to attach the sides of the cloud lift, which I'll probably do tomorrow. The reason this took so long is that I made the cloud lift from glued up walnut and then veneered the face. I veneered the side pieces so I'd get "chasing grain". The sides cannot just be glued on because they're cross grain so I have to put a screw in the back with an oblong hole, and glue only the front. That way, when the sides expand and contract they will not crack because the side pieces will allow them to move.
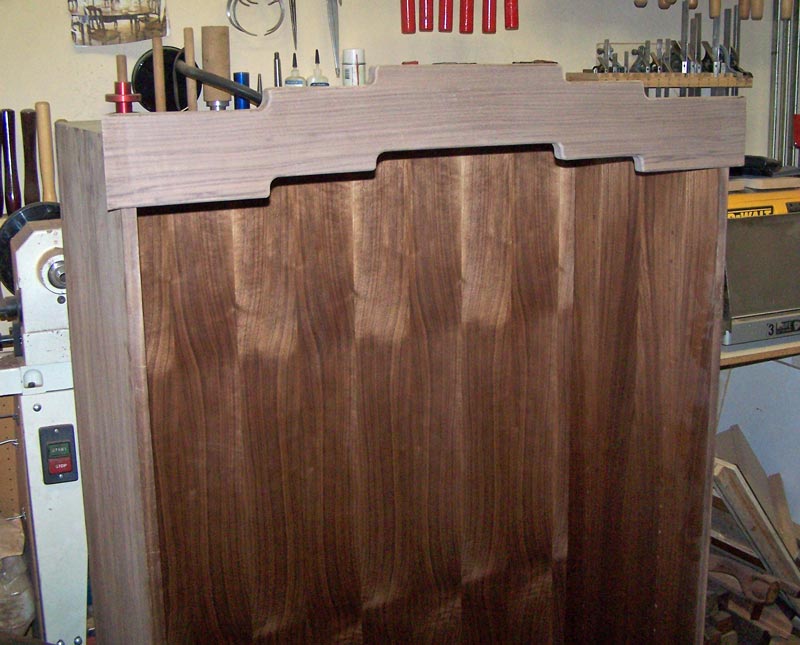
01/16/2010 I finished the breadboard top for the lower cabinet. I had to bring the lower cabinet into the house because I don't have room for it and the upper cabinet in my shop. I'm working on the cloud lift detail on the upper cabinet. I went to Austin Hardwood to buy some walnut for the cloud lift but all the walnut they had was trash - so bad I couldn't even consider using it. What I'm going to do is make the cloud lift from glued up walnut but face it with veneer so it looks good. I'm working on that now. I need to find another hardwood supplier in this area, someone I can purchase decent wood from, even if it's at a premium price.
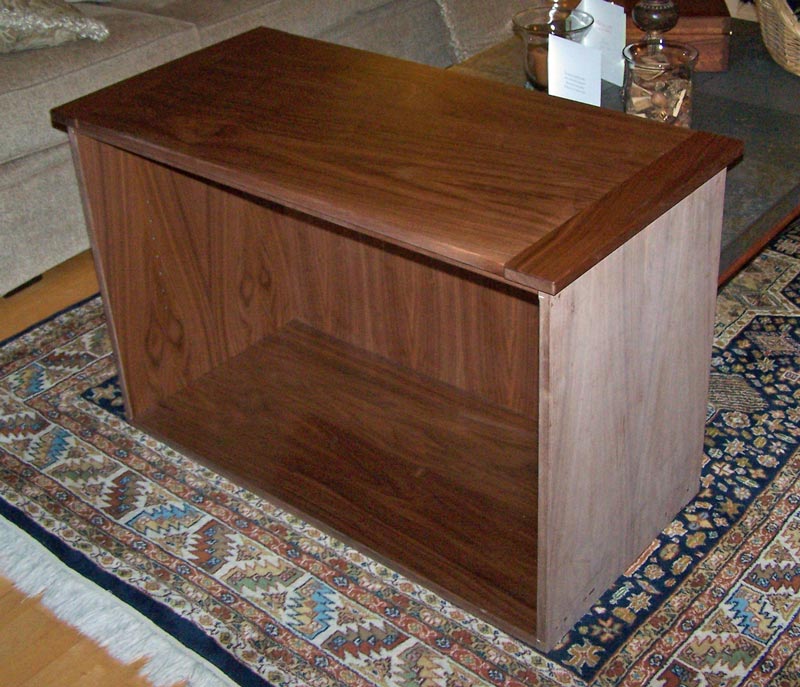
01/14/2010 I've had other things going on the past couple of days and haven't had much shop time. I did cut the recess for the cloud lift (the cloud lift is inset about 1/4" into the frame on the front) and I have the breadboard top just about finished. I just have to plug the screw holes and apply finish.
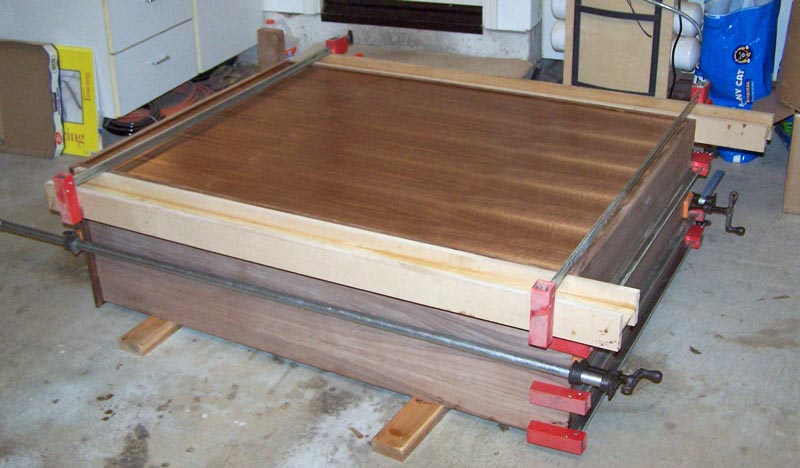
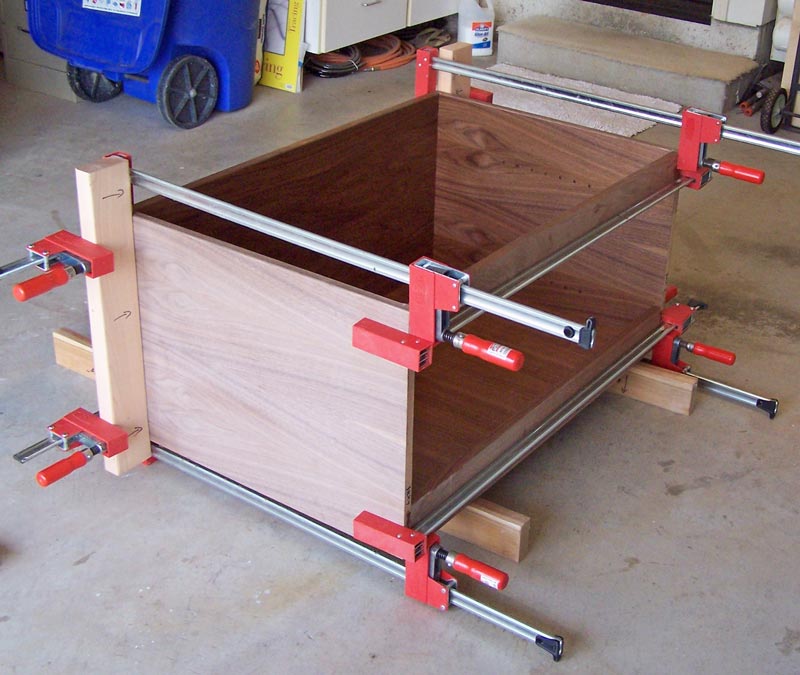
01/11/2010 I was able to get the upper cabinet glued up today. The picture below shows the cabinet in clamps, laying on its face. I use cauls (those beige things on each side) on the sides to make sure the sides don't have any bow in them during the clamp up. Even a slight bow would make it difficult to put the doors on (and have them look good). I'll let it sit overnight to make sure the glue is set. I use a very slow epoxy because it takes a long time to apply the glue, then to put the cabinet together, and finally to get all the clamps put on. The slow epoxy, kept cool with ice, gives me probably an hour of open time. It doesn't take me an hour to get the cabinet in clamps but it's nice to have the time in case anything goes wrong during the clamp up.
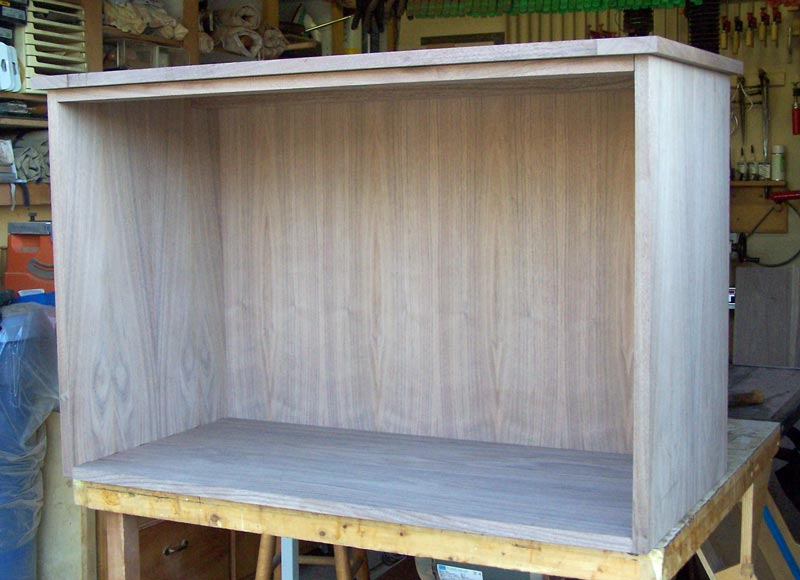
01/10/2010 I have all the inside surfaces finished but I didn't have time to glue up the upper cabinet. The pictures below show a trial fit of the upper cabinet, and the lower cabinet out of clamps. Because of some other commitments, I may not get the glue up done tomorrow.
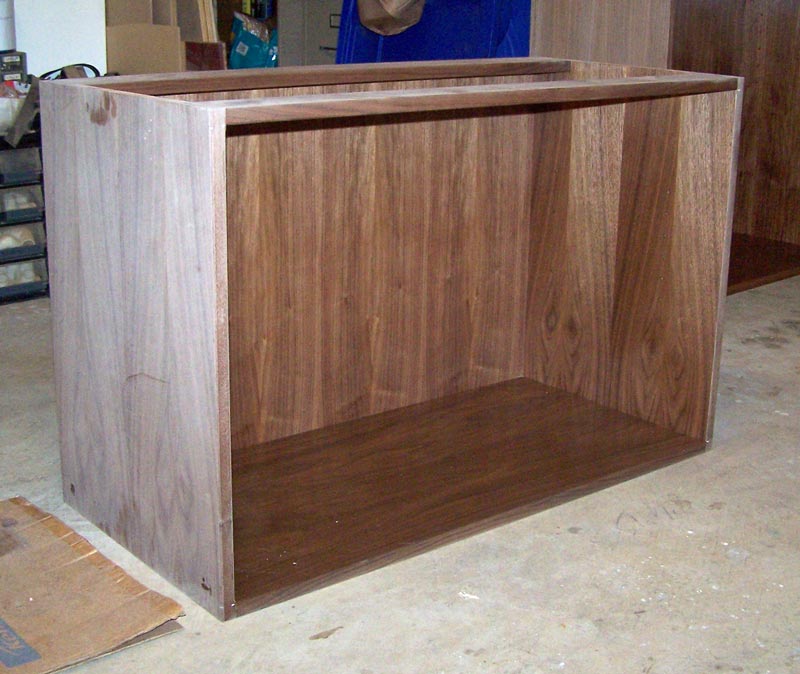
01/09/2010 I'm continuing to finish the inside surfaces of the two cabinets. I did get everything done for the lower cabinet and glued it up - see pix below - the cabinet is sitting on its back. I'm still doing finishing on the inside surfaces of the upper cabinet but should get them finished by tomorrow - but I may not get the upper cabinet glued up tomorrow.
01/08/2010 I made progress on finishing the "insides" of the cabinets but didn't get it all finished. More work on it tomorrow. The first pix is of the sides and back of the lower cabinet - the sides are covering some of the back. The second pix is one side of the upper cabinet.
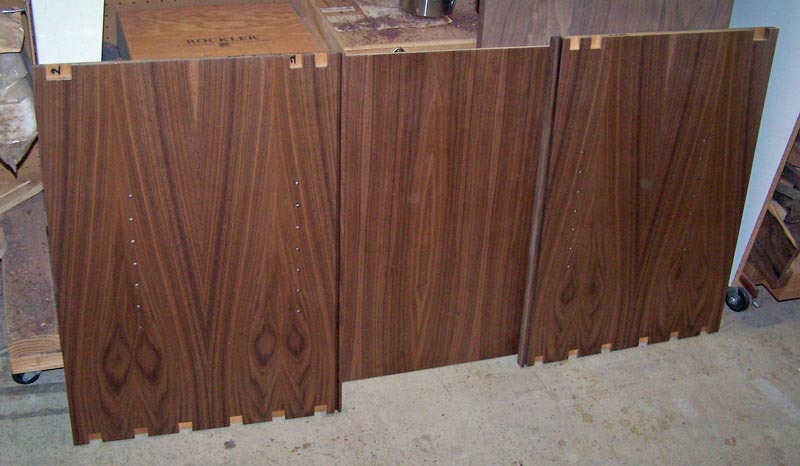
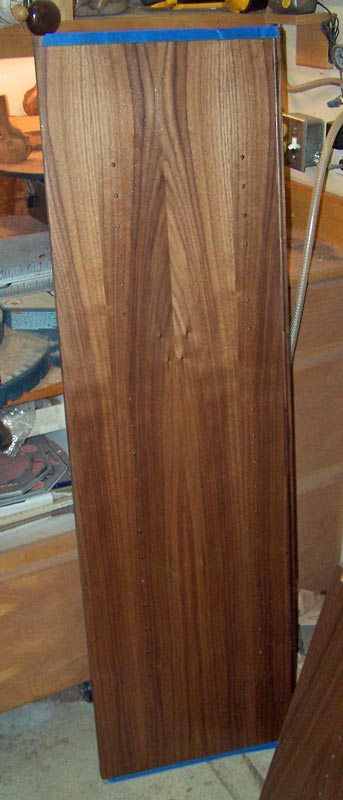
01/07/2010 I drilled all the holes for the shelf supports, in both the upper and lower cabinets. Layout is critical if the shelves are not going to "rock" on the supports. I also sanded most of the internal surfaces so I can start applying finish to the inside surfaces tomorrow.
If you remember, I used a light colored wood as the substrate for the veneer for the lower cabinet. To keep the light color from showing in the holes, I applied walnut dye to the inside of each hole with a Q-tip so the inside of each hole would be dark.
For the upper cabinet, I used the wood from the sides of the original cabinet as the substrate. To prepare the sides for veneer, I plugged the holes Jerry had drilled with light colored dowel rod. Imagine my surprise when I was drilling the holes in the upper cabinet sides and I hit a number of plugs (light colored wood). I had not measured where the original holes were and I couldn't see them once I had veneered the sides. I guess Jerry and I both decided to put the holes in about the same place and with similar spacing - I'd hit a plug about every third hole I'd drill.
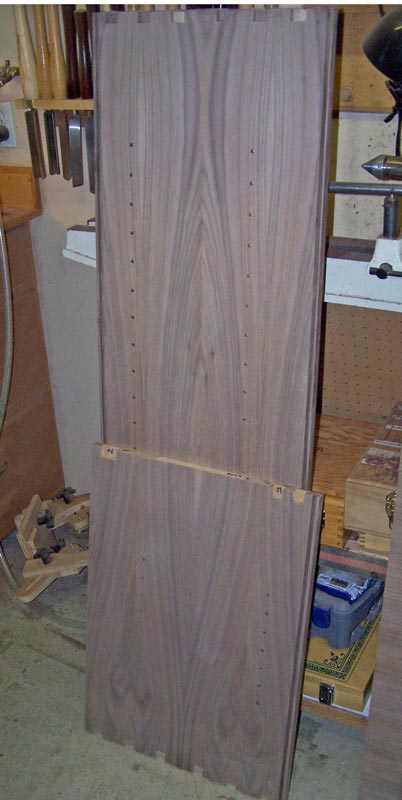
01/05/2010 I finished the bottom of the upper cabinet today. I cut the bevels around the border and drilled holes for screws to attach the bottom to the sides. Next is to drill the holes for the shelves in the both the upper and lower cabinet sides - then to sand and apply finish to all the interior surfaces in preparation to gluing up the cabinets.
01/01/2010 Happy New Year! I cut the grooves in the sides and top and trimmed the back to size. The bottom still needs some work - the bevels need to be cut into it. The first picture shows the trial fit up of the upper cabinet. The second picture shows one of the glass shelves that were in the old cabinet. I designed the upper cabinet around that glass shelf. You can see from the picture that it fits well inside the cabinet.
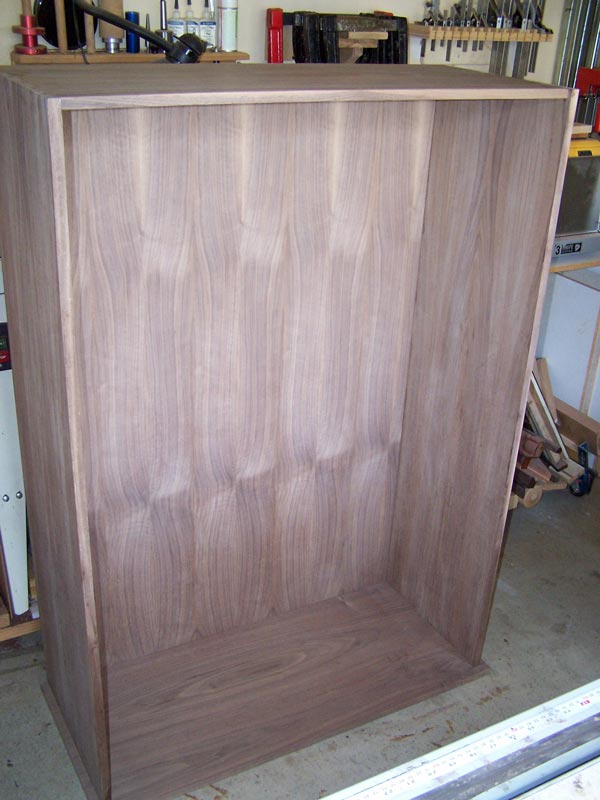
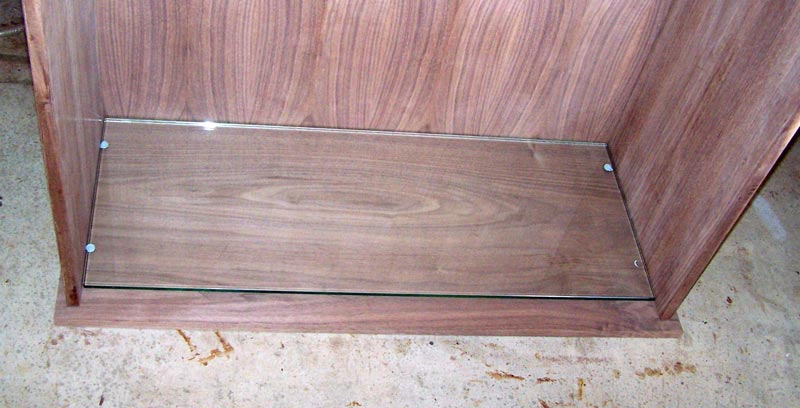
12/30/2009 I made most of the bottom of the upper cabinet today - I still have to cut the bevel around the front and sides. Next, I'll cut the grooves into the sides and top for the veneered back panel, fit the sides into the bottom and cut the back panel to the correct size.
12/29/2009 I made the breadboard top for the bottom cabinet - it's 40 1/2" wide with the breadboard ends. The breadboard ends are just a bit too long so I'll cut them shorter before I attach them. The first picture shows the top with the breadboard ends. The second picture shows the top sitting on the lower cabinet to show the amount of overhang in front and the sides. I made the overhang a bit larger on this cabinet than I had on the first cabinet because this cabinet is larger. I just thought it looked better.
My next tasks are to finish the breadboard top, and then to begin on the bottom of the upper cabinet.
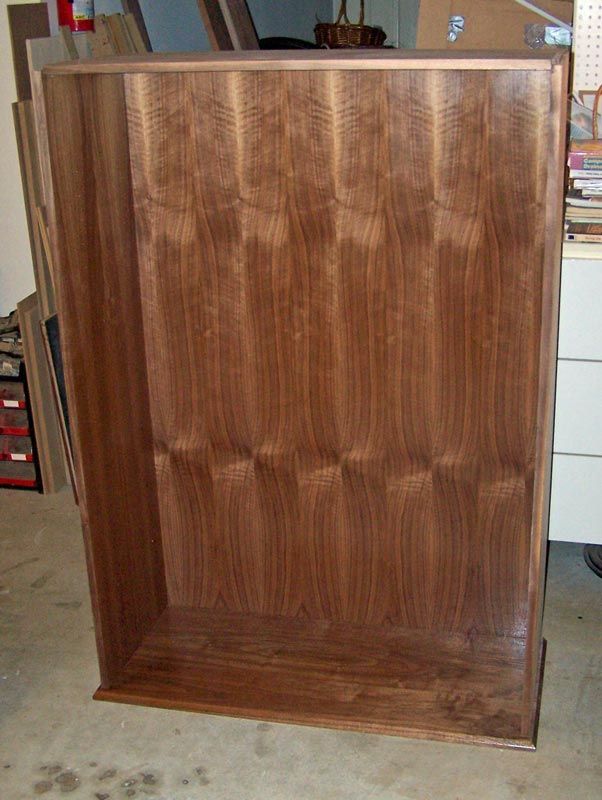
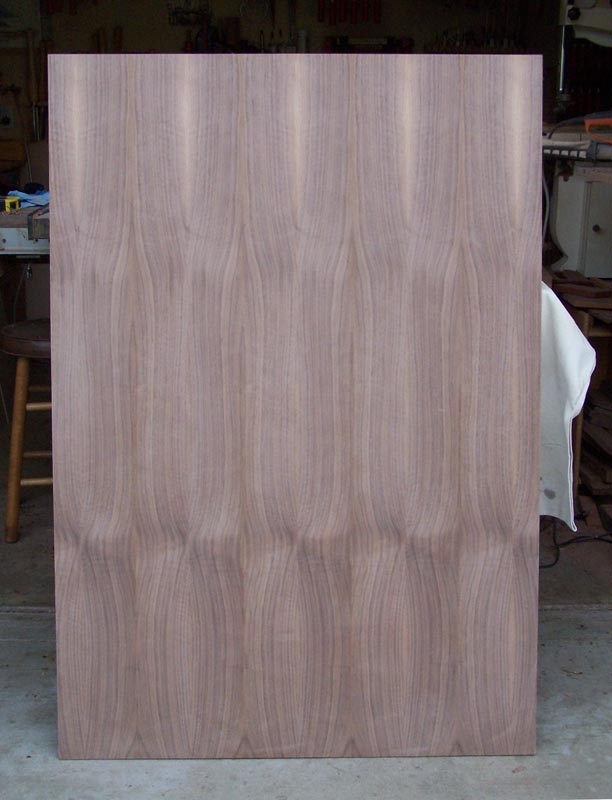
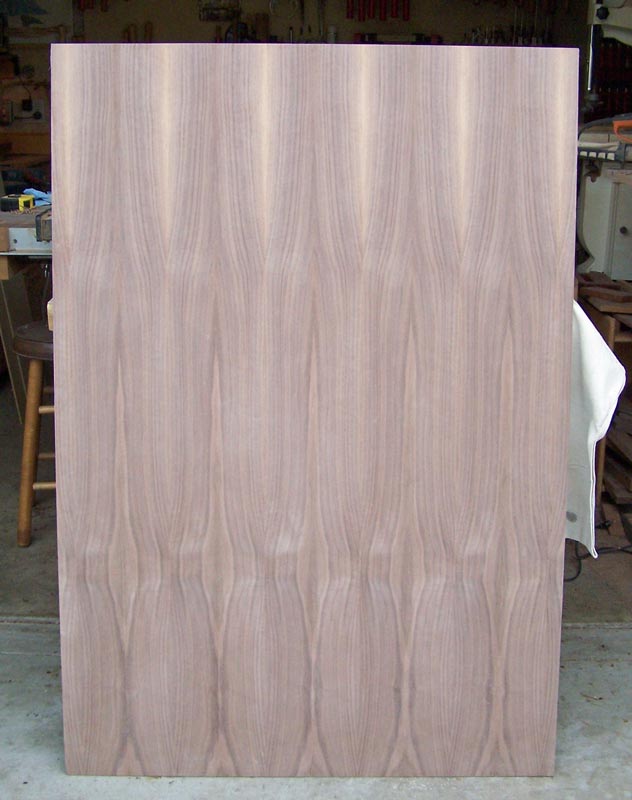
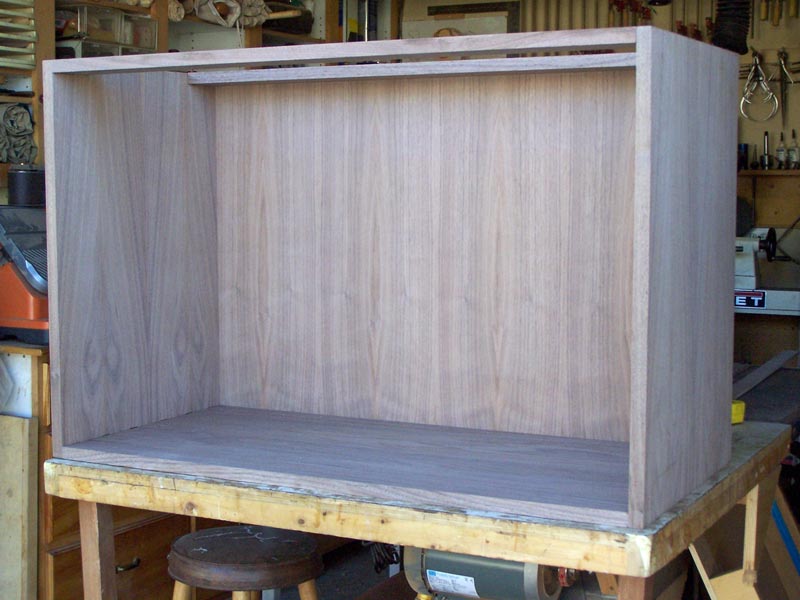
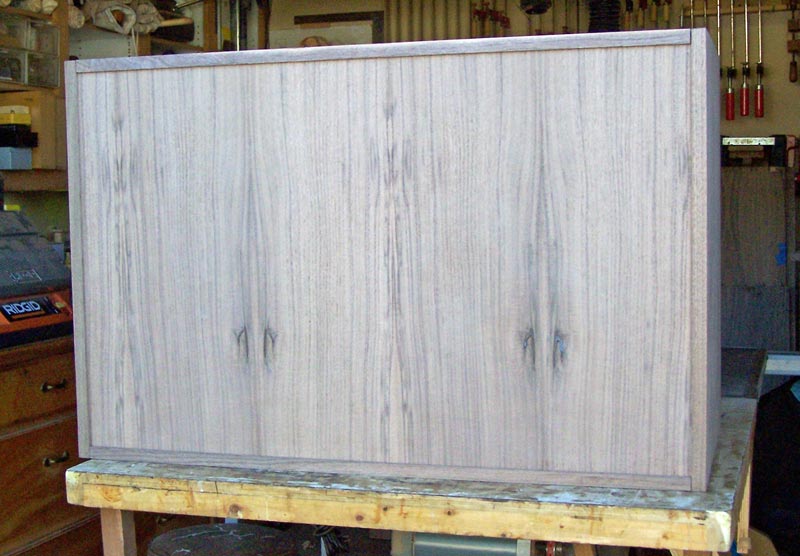
12/26/2009 I finished veneering the back of the upper cabinet today. It's not cut to exact size yet but I'll do that once I have the grooves cut into the upper cabinet and I can get the exact measurements. The first picture is the inside and the second picture is the side that will face the wall. They look somewhat alike because the veneer came from the same flitch, but the veneer on the front face wound up wider, a bit more than 4" wide, while on the back face the veneer is only about 3 1/2" wide.
Next, I'll do the breadboard top for the bottom cabinet. Once I finish it, I'll make the bottom of the upper cabinet. I want the bottom of the upper cabinet to be the same width as the top of the lower cabinet, so I'll take the final measurement off the top. Happy Boxing Day!
12/25/2009 Merry Christmas, everyone!
12/22/2009 The basic box of the bottom cabinet is completed. I still have to drill the holes in the sides for the shelf support, and apply finish to all the inside surfaces before I glue it up.
On the back, I actually chose the veneer so that those knots would be visible - because the panel was too bland without them.
Click here to see more of the cabinets project