Making a Basic Jewelry Box
Second Version
Continued
P. Michael Henderson
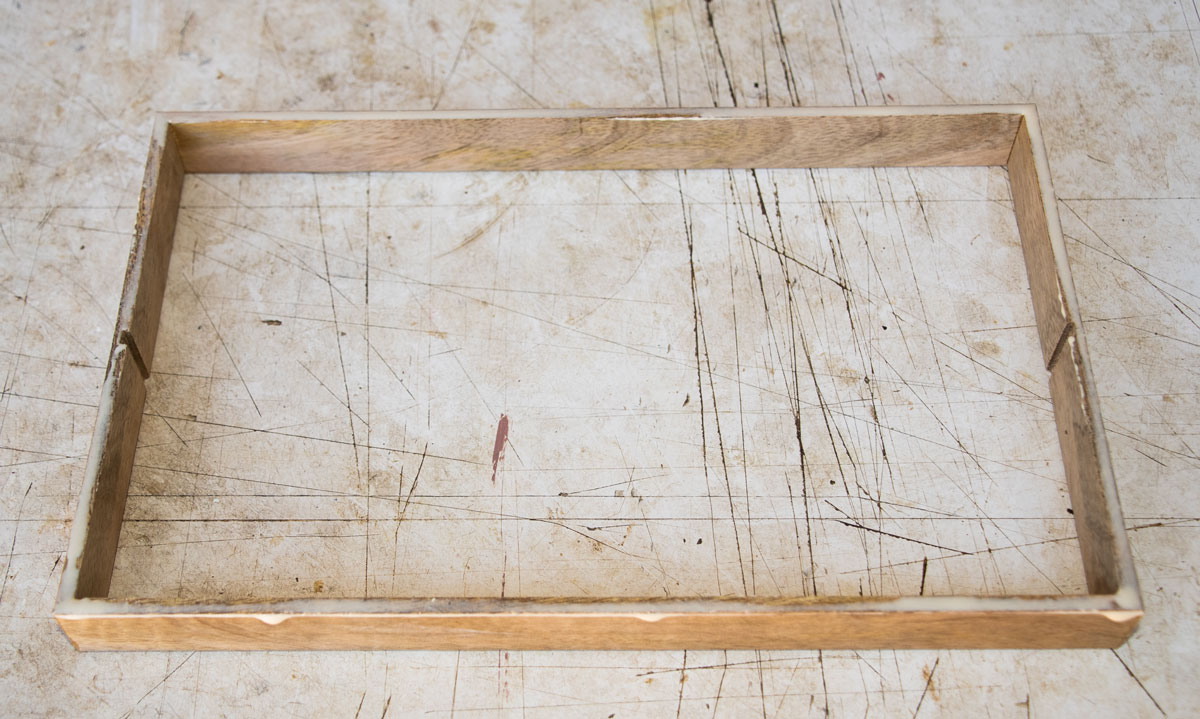
Now we have the four sides of the tray glued together. The next step is to glue the sides to the bottom. In this next picture I've applied glue to the bottom of the sides.

Then place the sides on the bottom and use spring clamps to hold it in place. When placing the sides on the bottom, I try to align two adjacent sides with the sides of the bottom. That is, since the sides were made a bit smaller, I leave almost all of the excess on the "far" side. This also helps to keep the tray square.
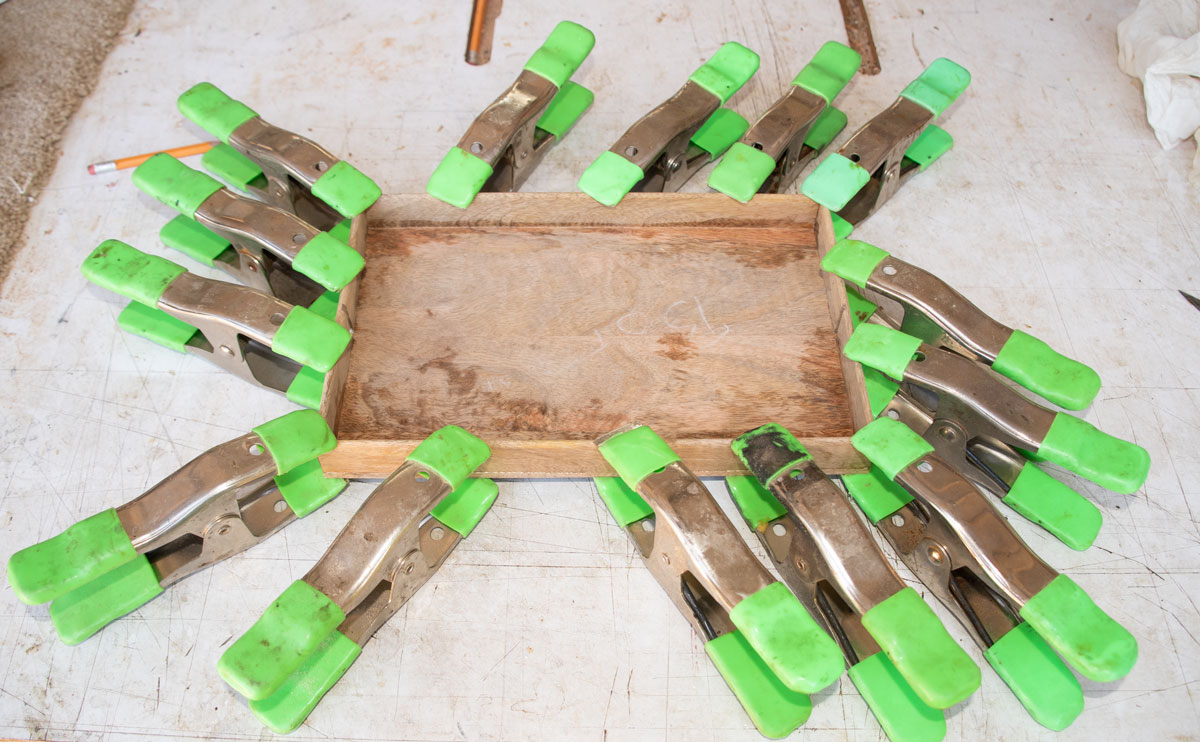
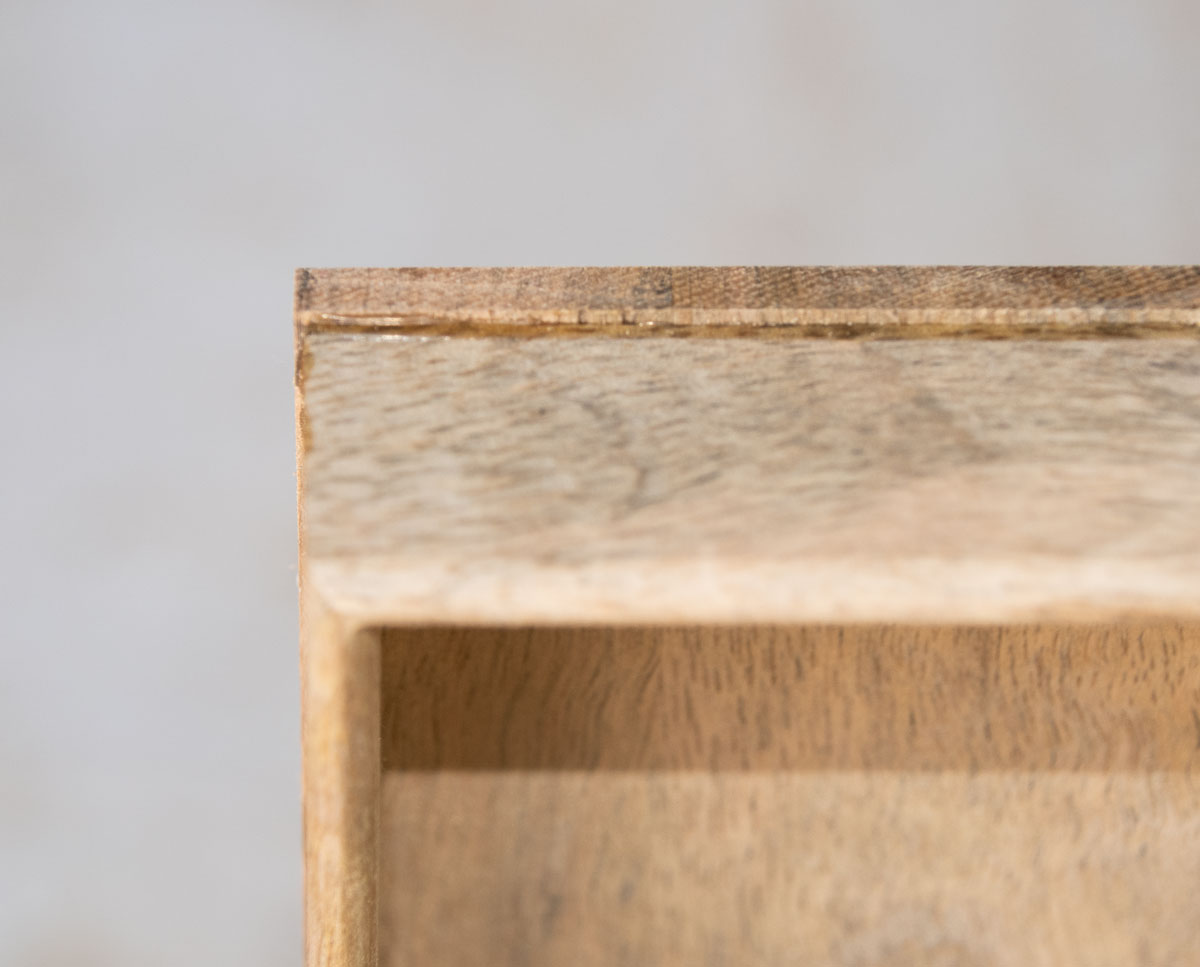
After the glue has cured, this is what we have.
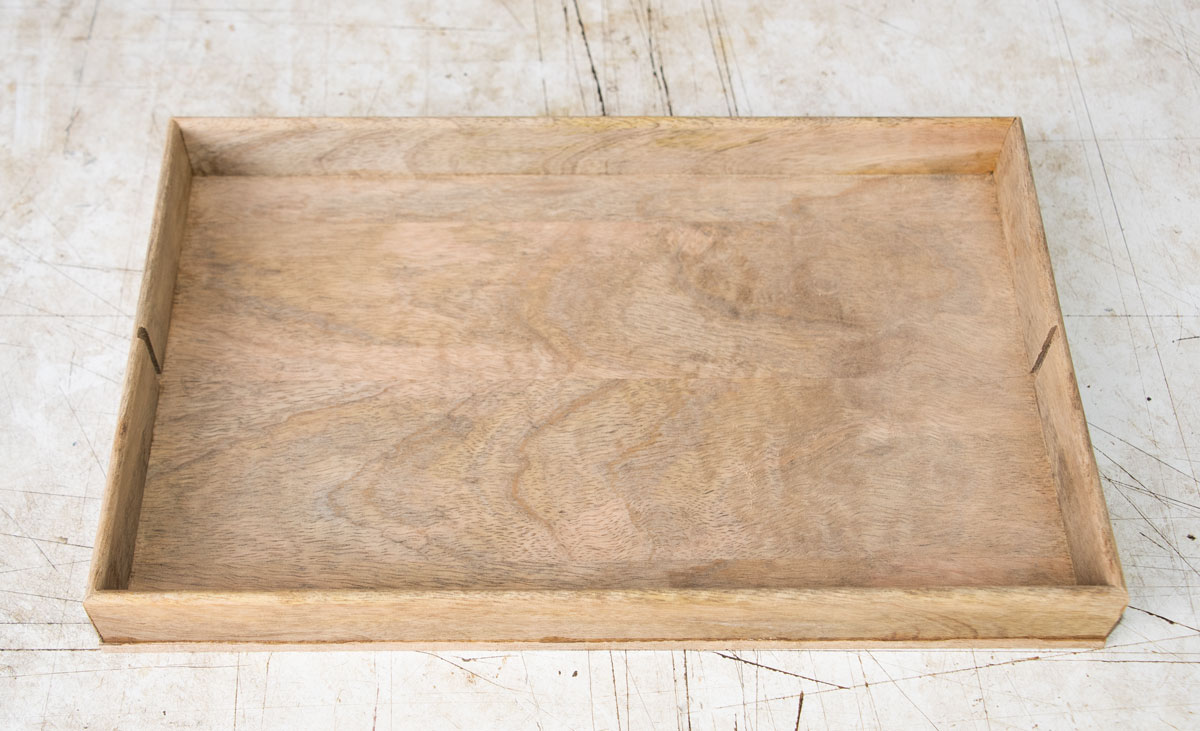
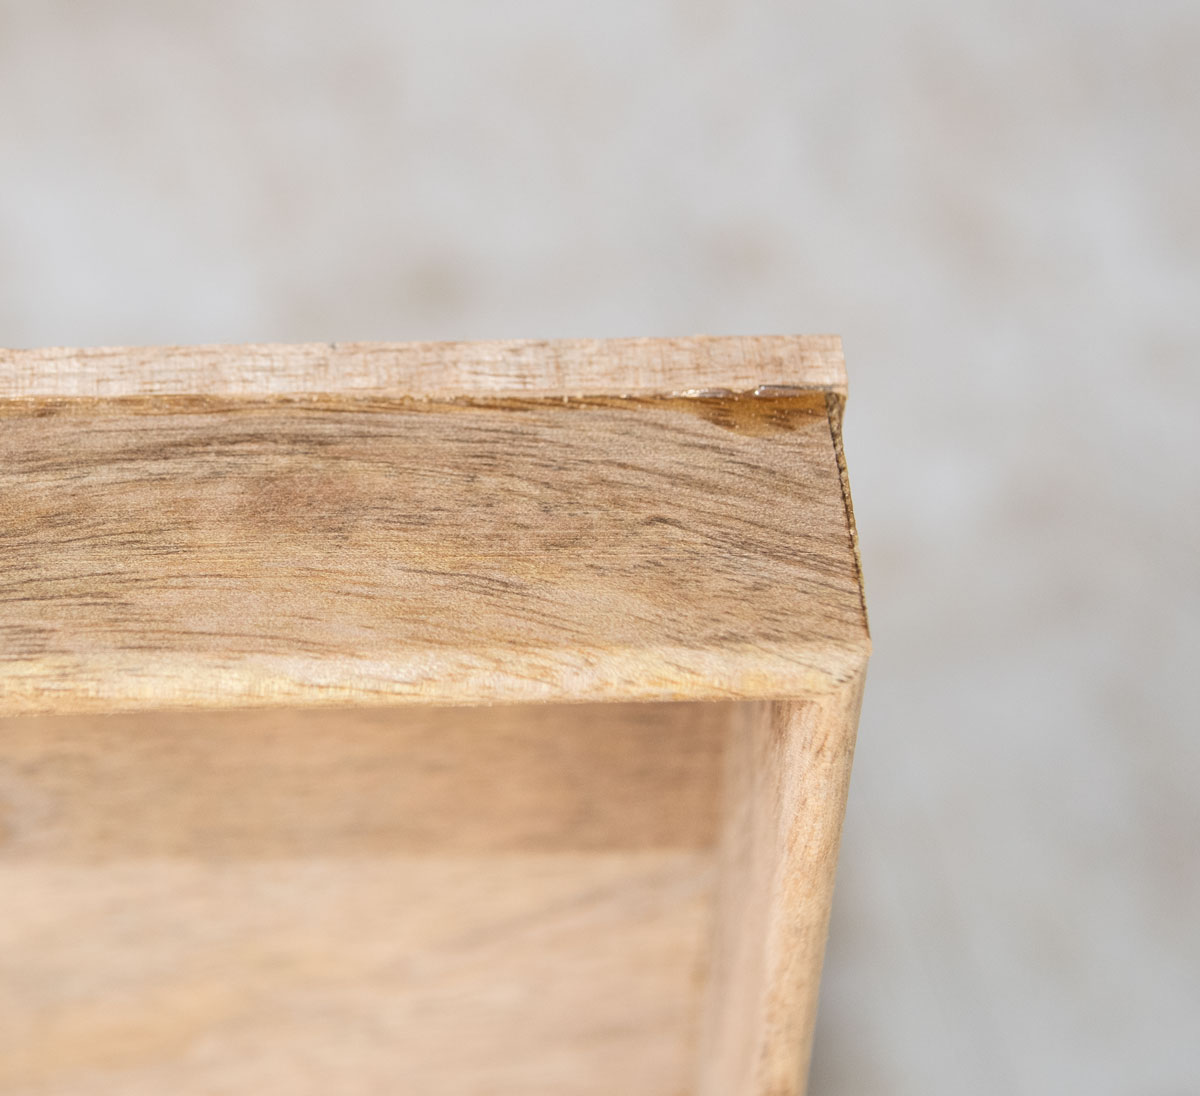
You can see how the tray sides are short of the bottom here.
Now I'm going to work on the center piece of the tray. First, I'll cut it to length. Note the mark on the right side. You want to sneak up on this cut to make it a good, tight fit.
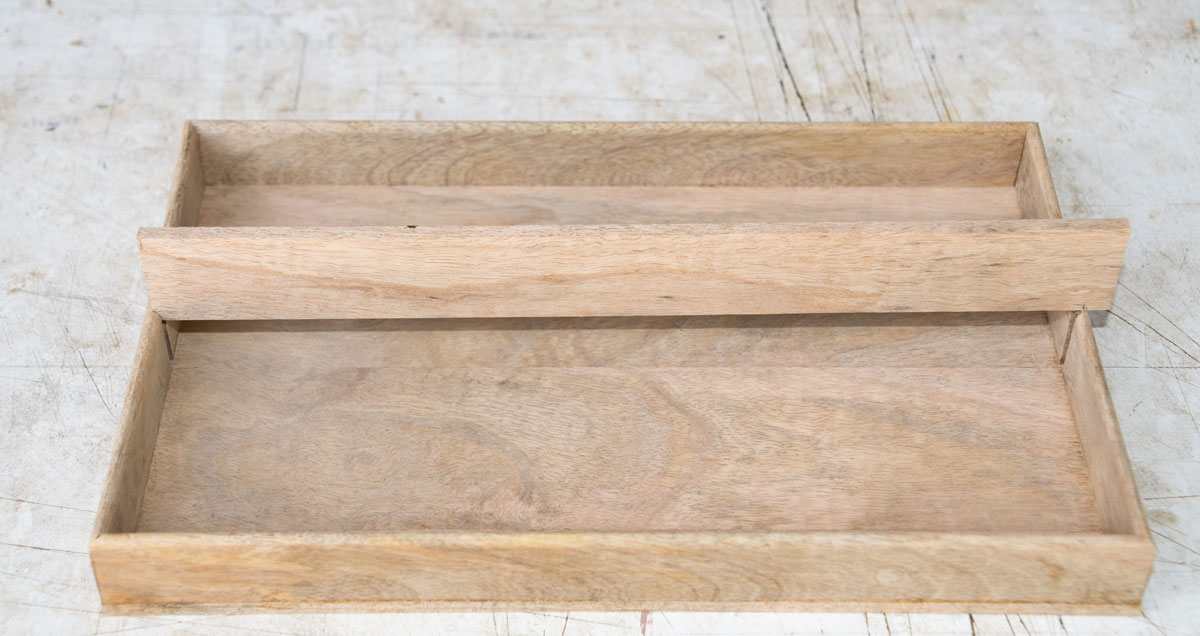
Here it is cut to length. I had to sand one side of the center piece to reduce the thickness to fit the dado.
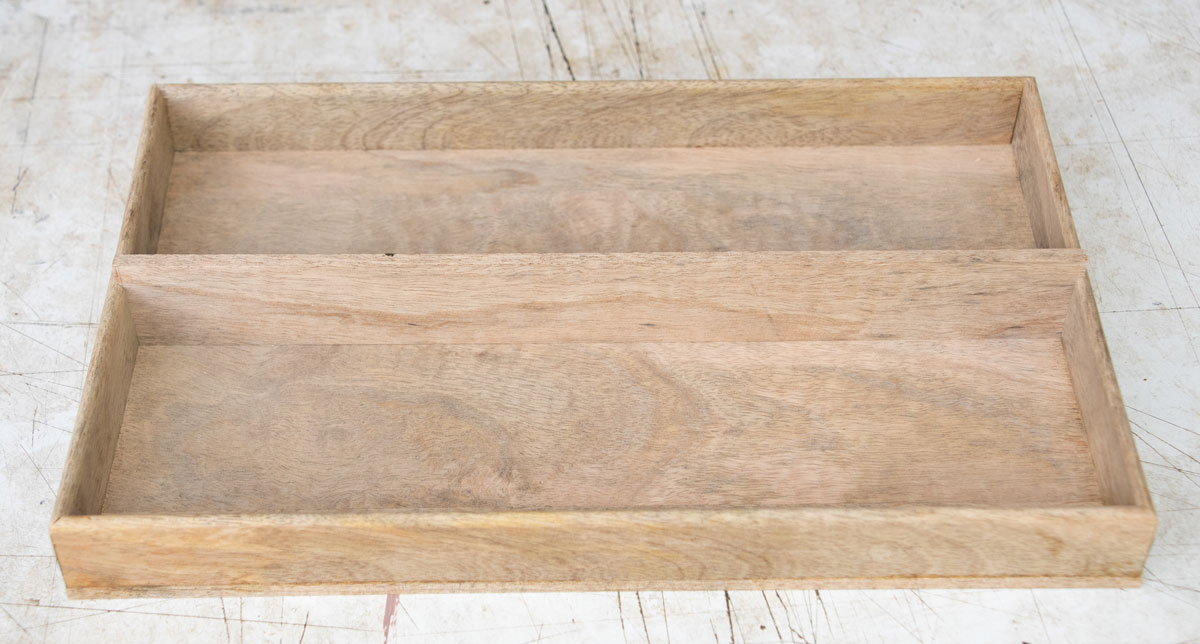
When you made the dados, they did not come out exactly the same width. How do I know? Because they were done by hand and that's what happens. So when you fit the center piece into the tray, you want to make sure you put it back in the same orientation. I put a pencil mark on one side of the center piece.
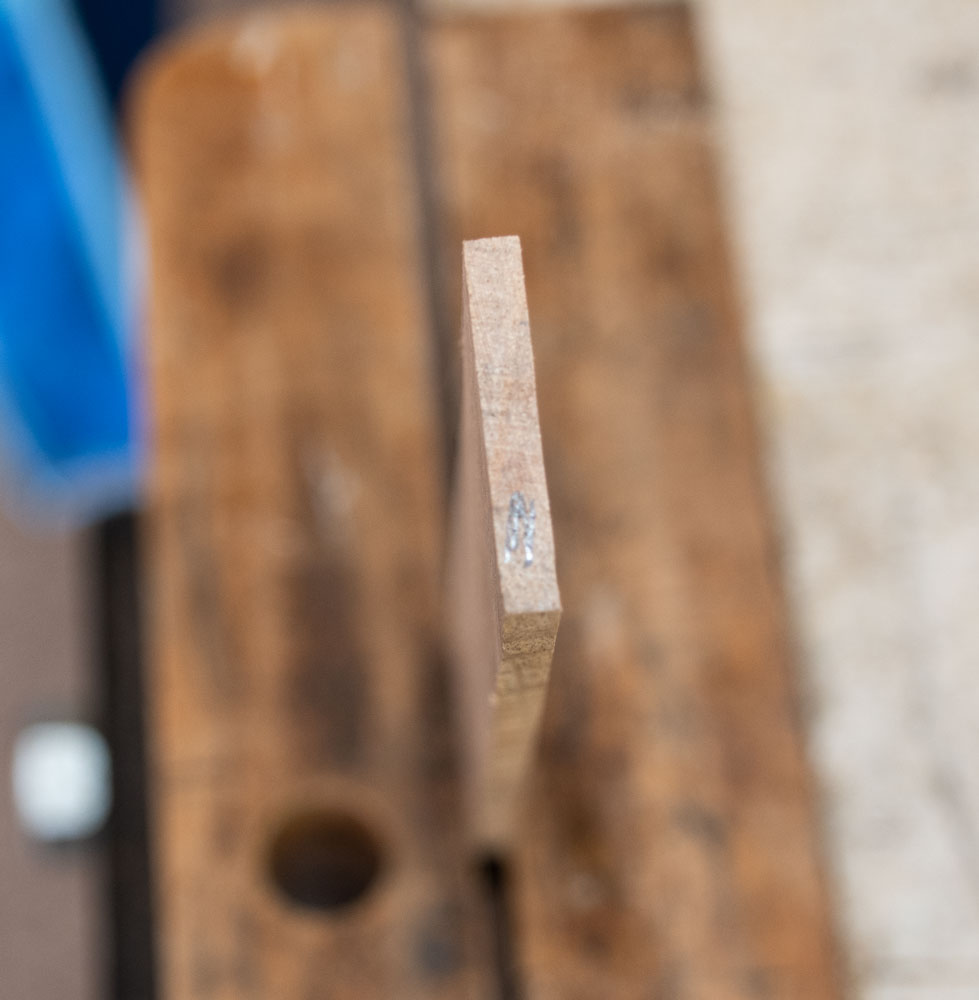
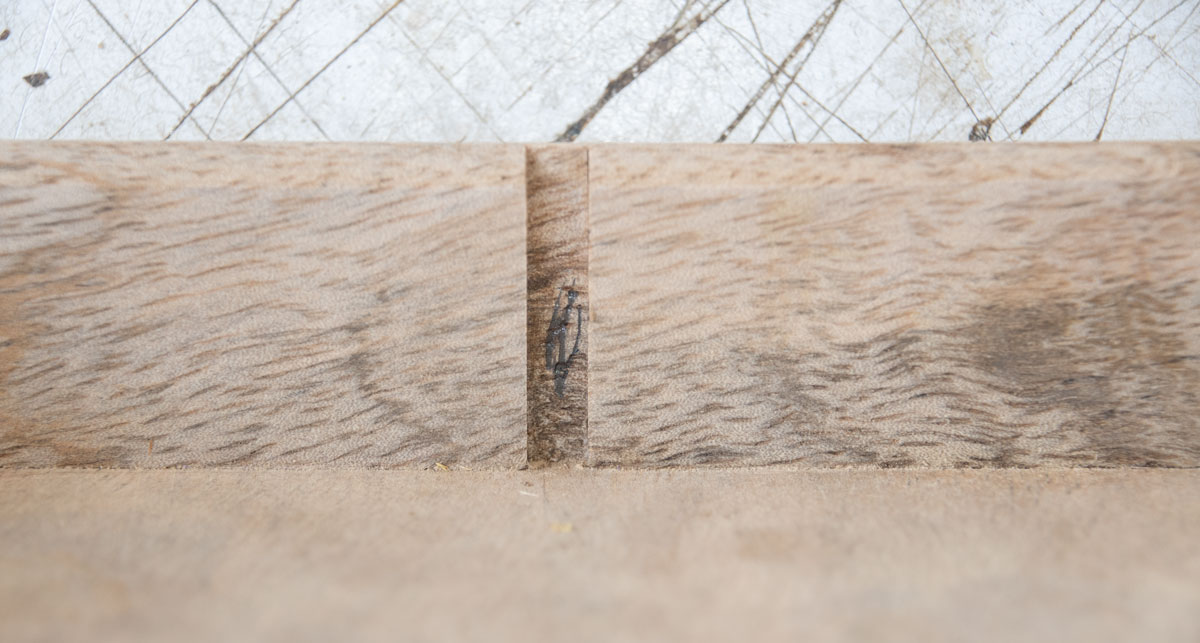
And a pencil mark inside the corresponding dado. That way I can make sure to get it installed correctly.
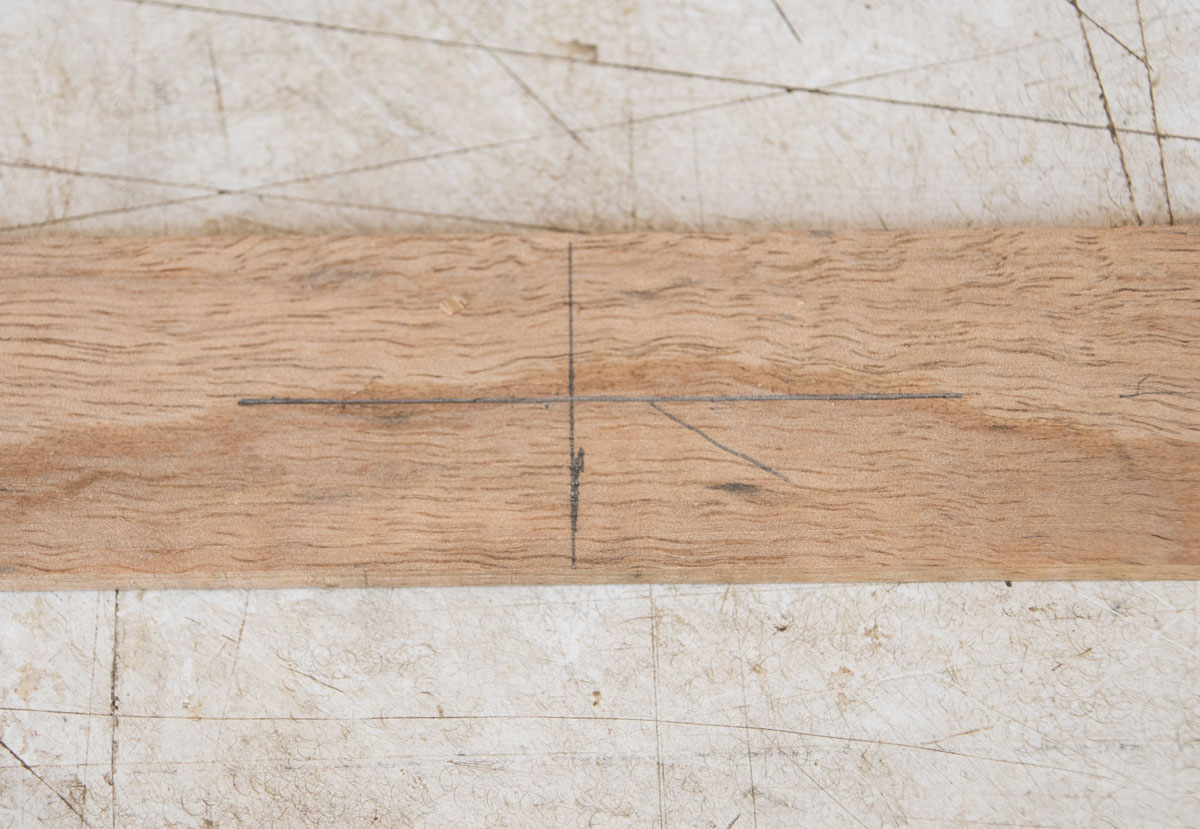
Now I'm going to make the finger hole in the center of that center piece. I mark the center piece for center side-to-side and top-to-bottom.
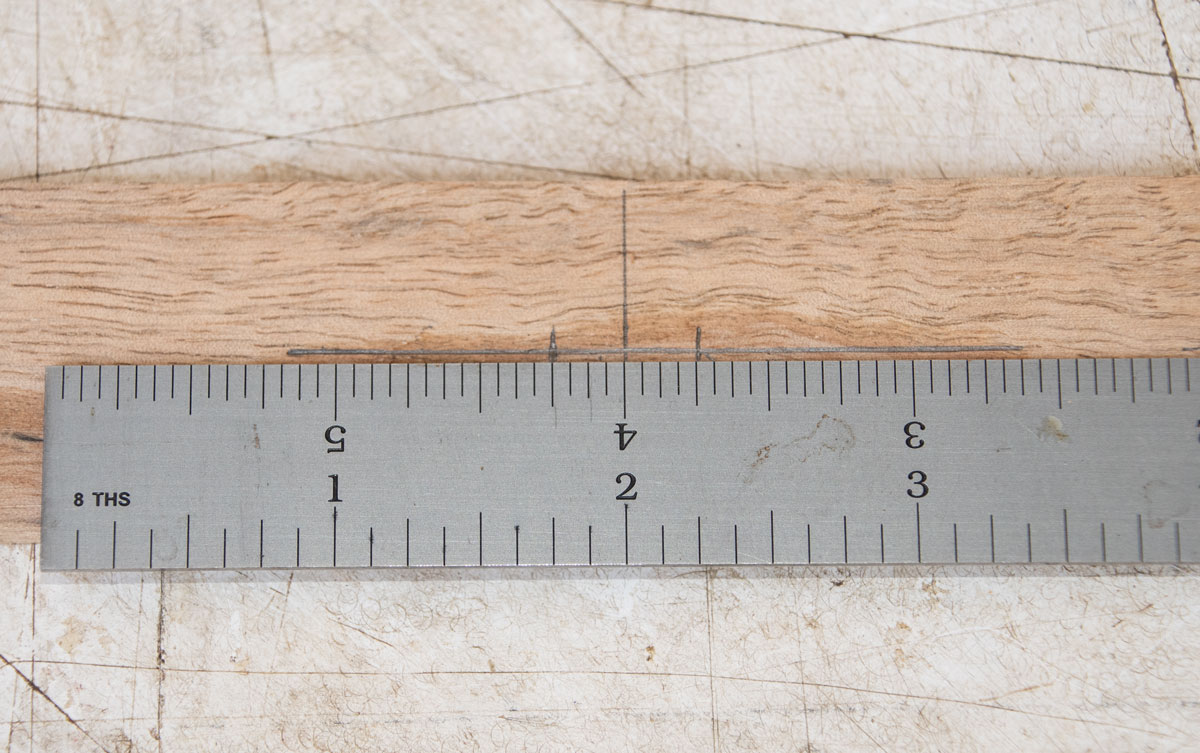
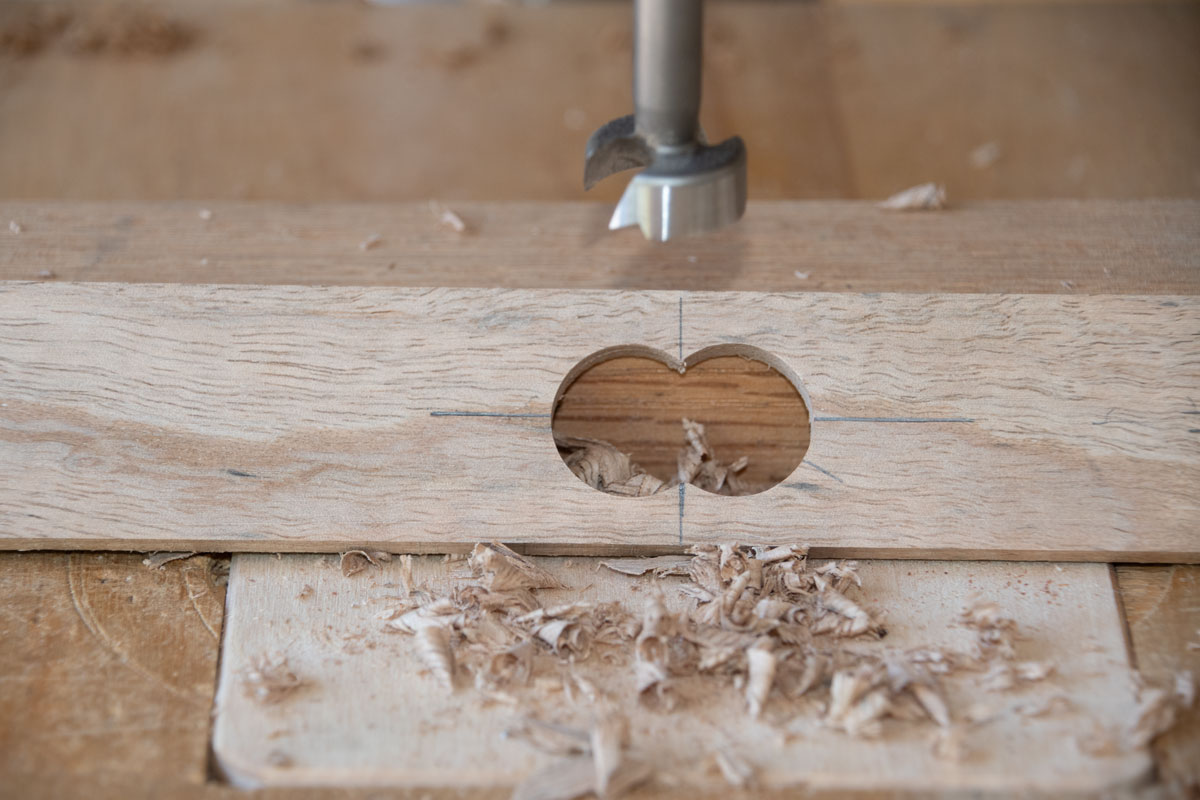
I'm going to drill two 3/4 inch holes. A 3/4 inch bit has a radius of 3/8 inch and I want to two holes to overlap. So I make marks 1/4 inch from the center.
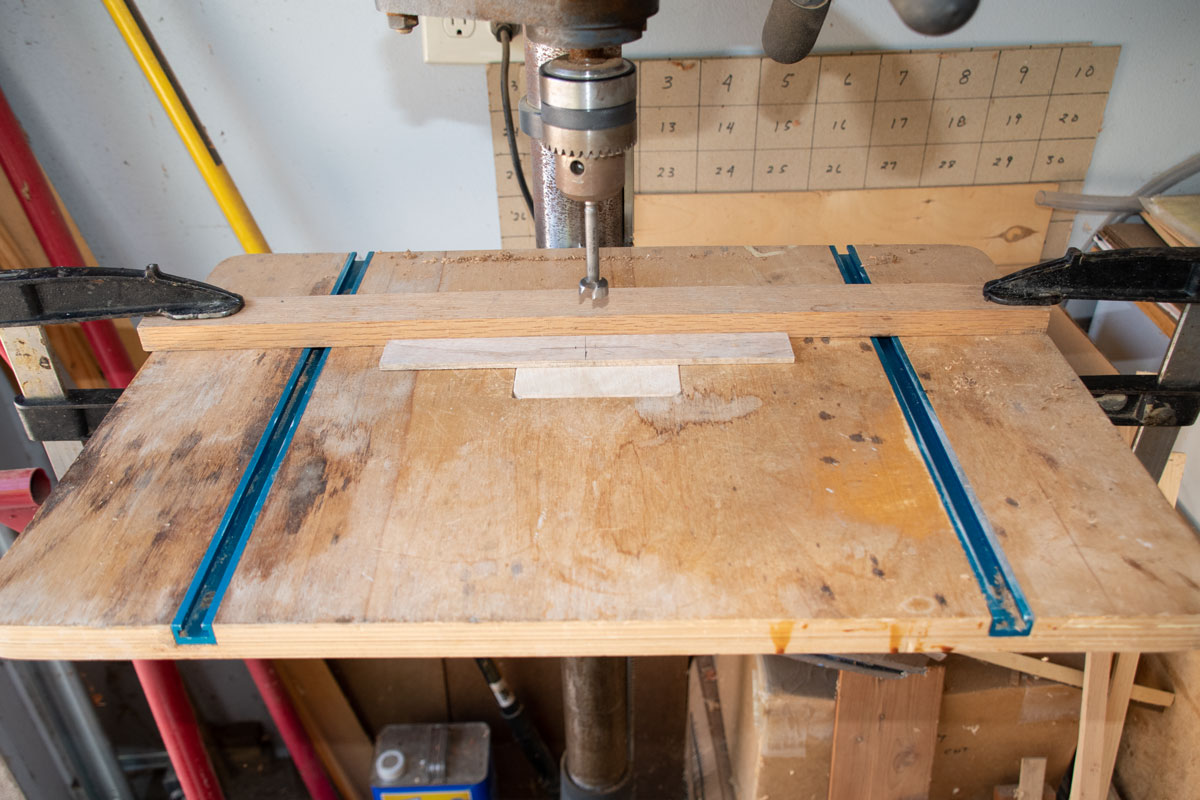
Then I take the center piece to the drill press. Note that I have a stop board on the drill press. This is to make sure the two holes are aligned side-to-side and one is not higher or lower than the other.
A close-up of the piece for drilling.
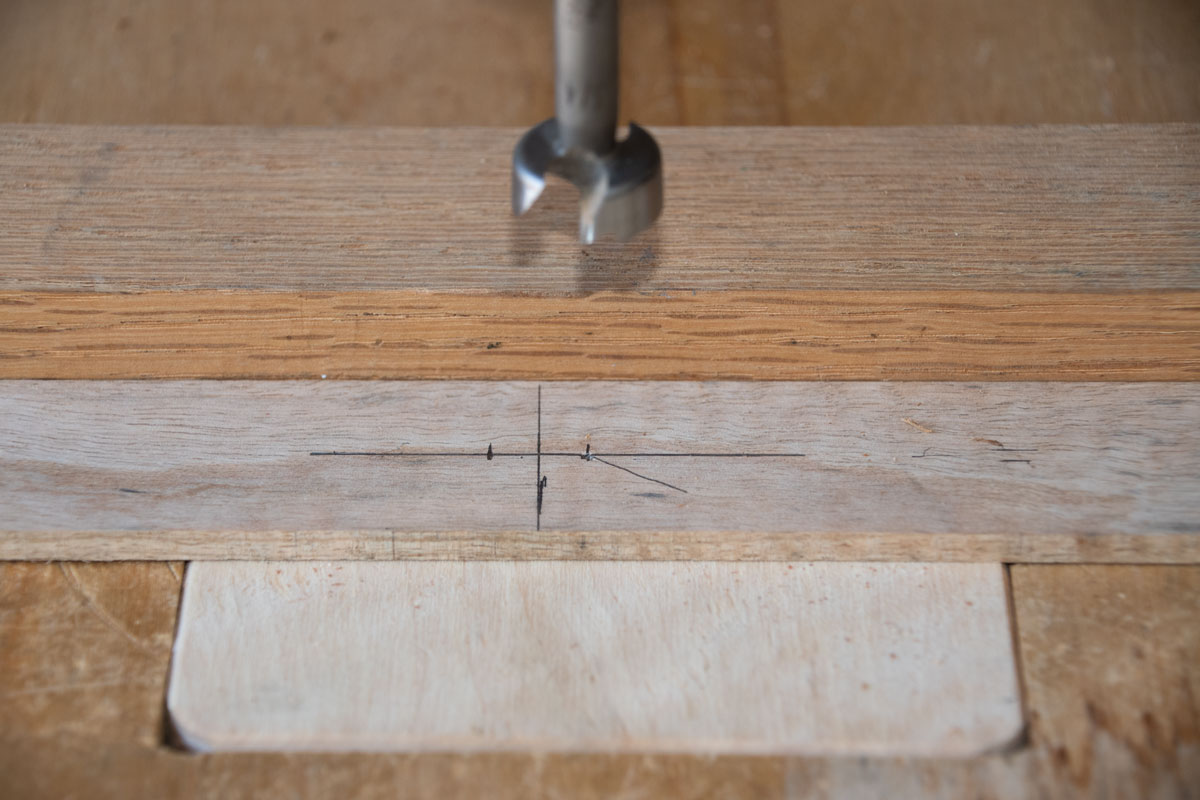
And after drilling.
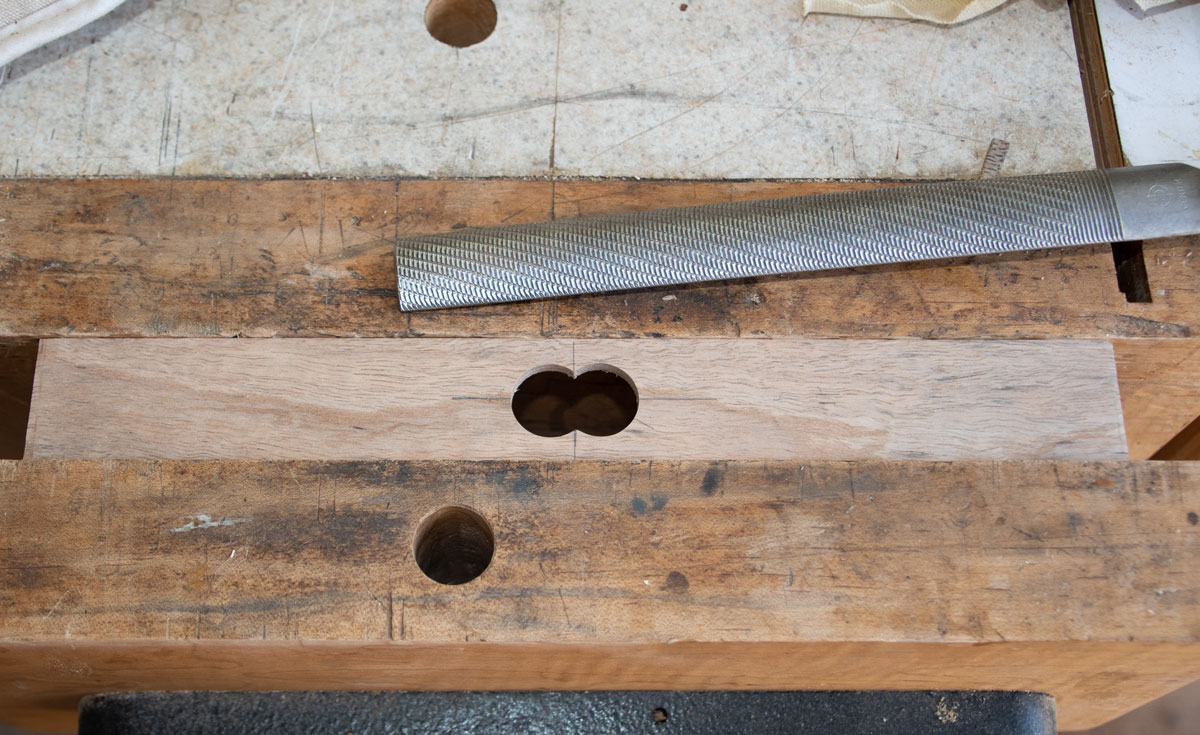
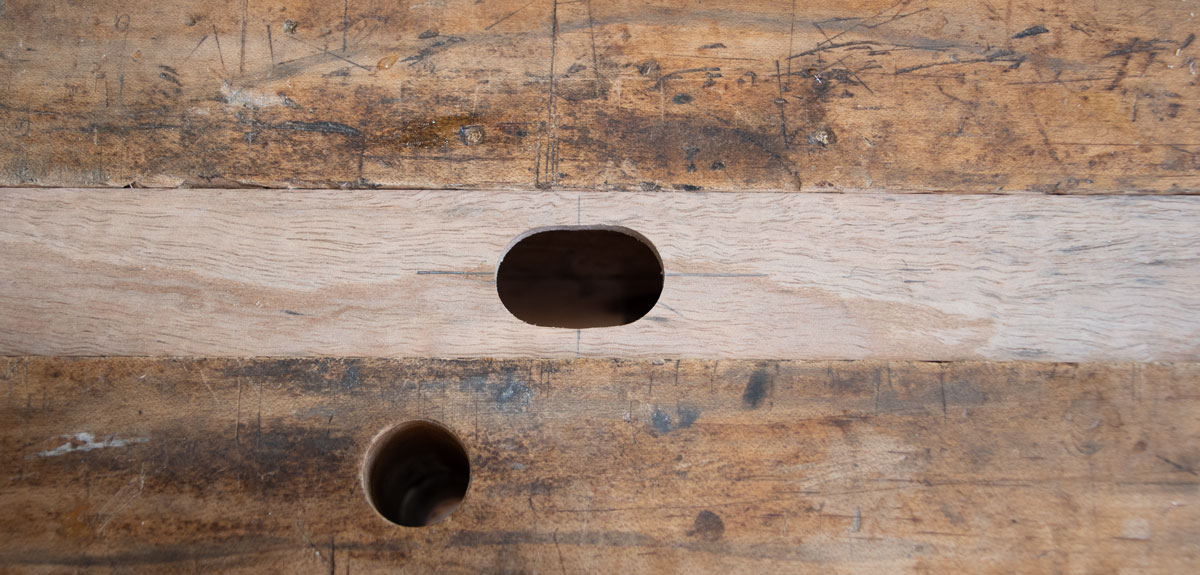
Then I take it to my vise and use a rasp to smooth out the finger hole.
Next, I put the center piece back into the tray and mark where it meets the top of the sides.
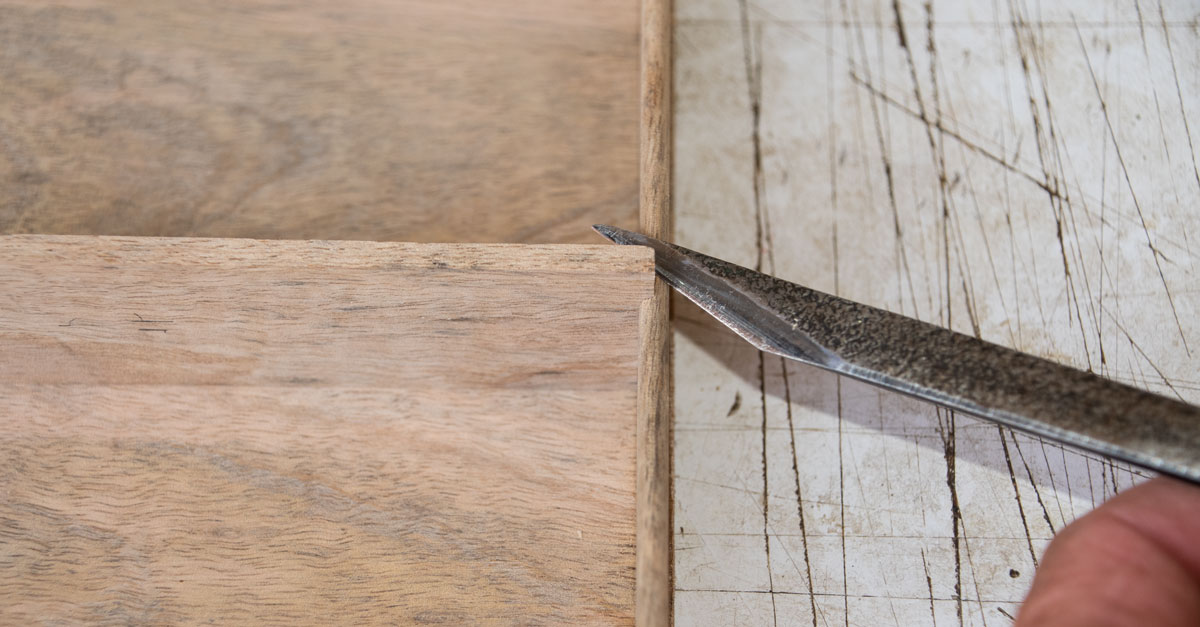
Here's one side showing the marks.
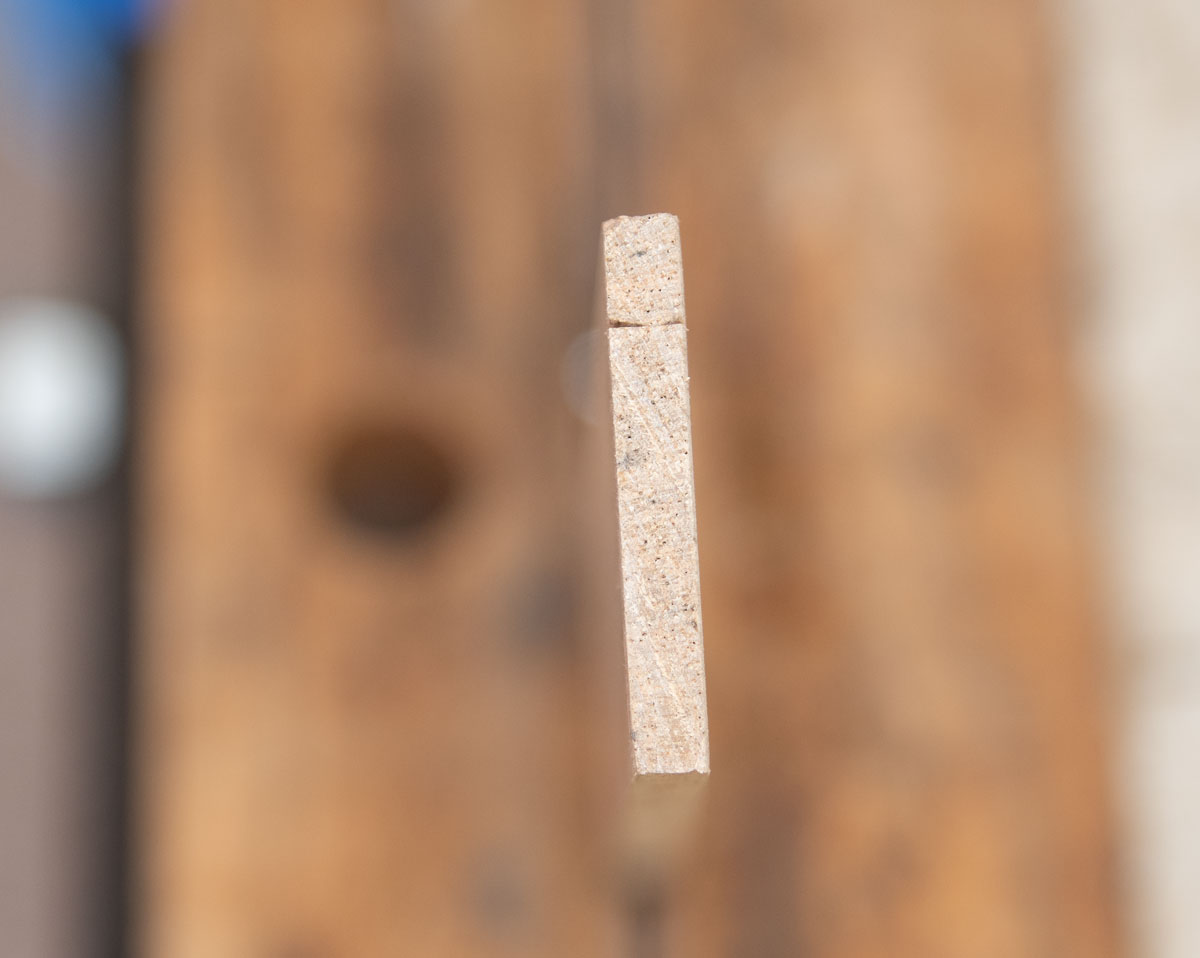
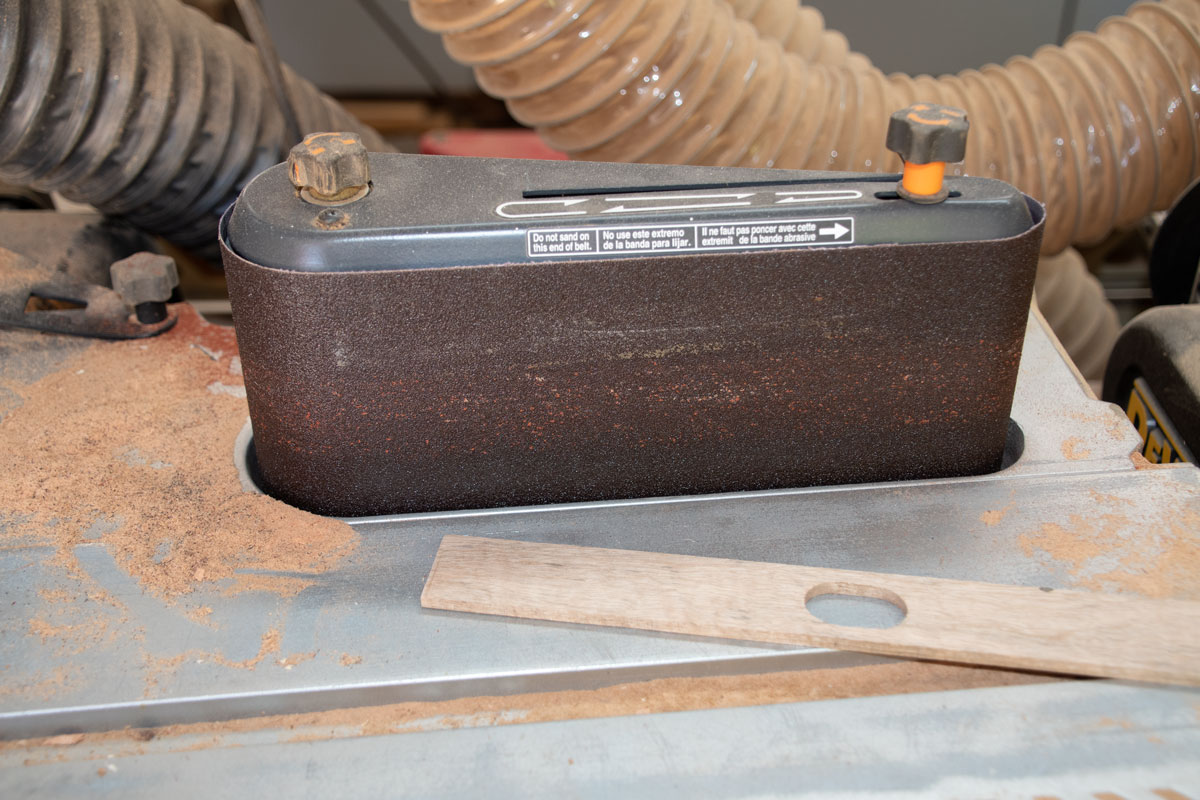
Then I take the center piece to the belt sander and sand a taper down to those marks.
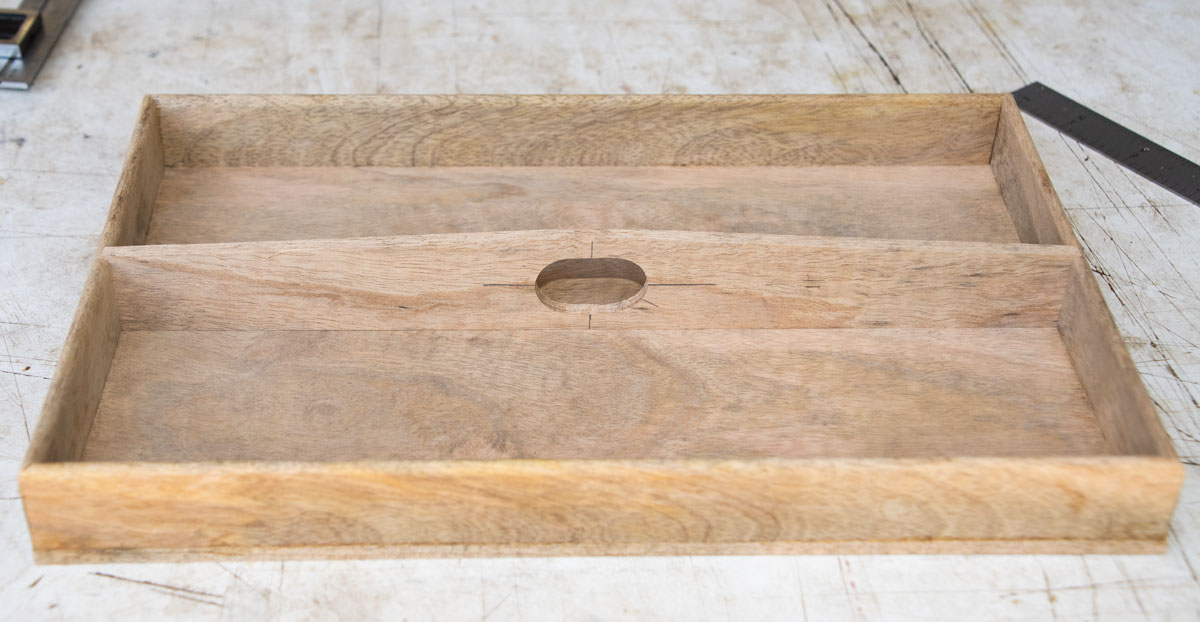
Here it is put into the tray.
Now I have to round over the top of the center piece and the finger hole. The top is easy but the finger hole is a challenge. I roll up my sandpaper and stick it into the hole to round over the sides of the hole. You could wrap the sandpaper around a dowel, instead.
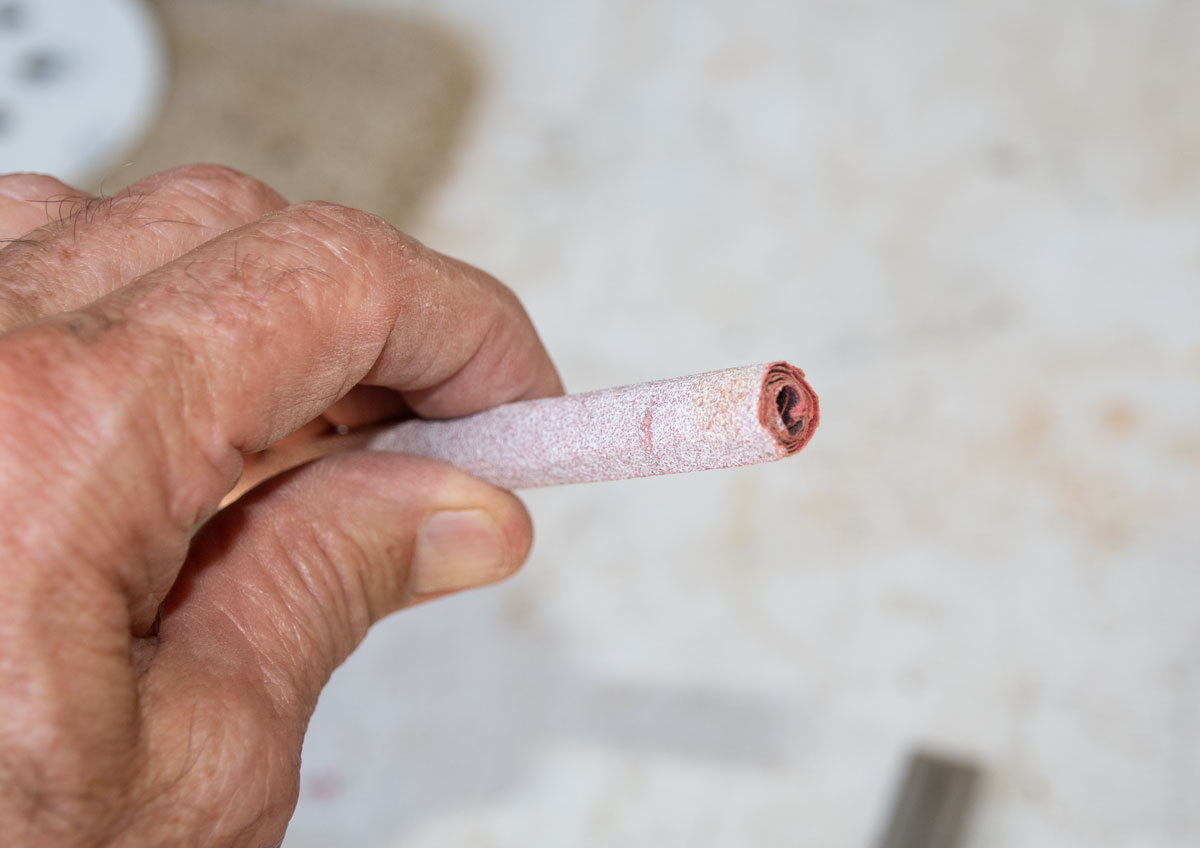
When everything is rounded, glue the center piece in.
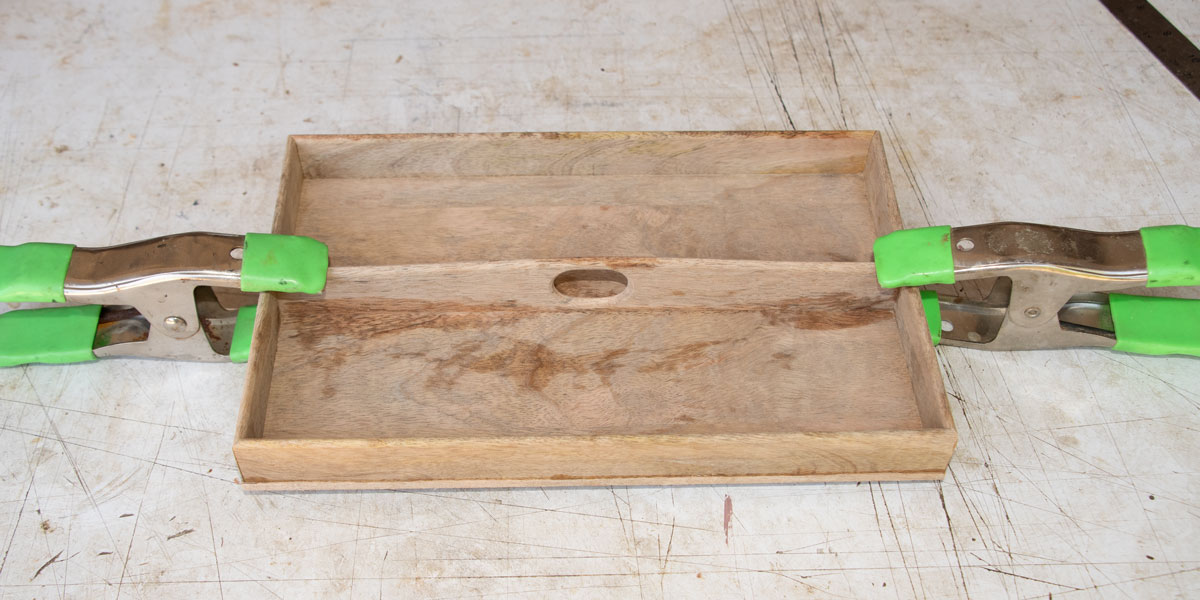
After the glue set, I sanded the sides so that the bottom was flush with the sides.
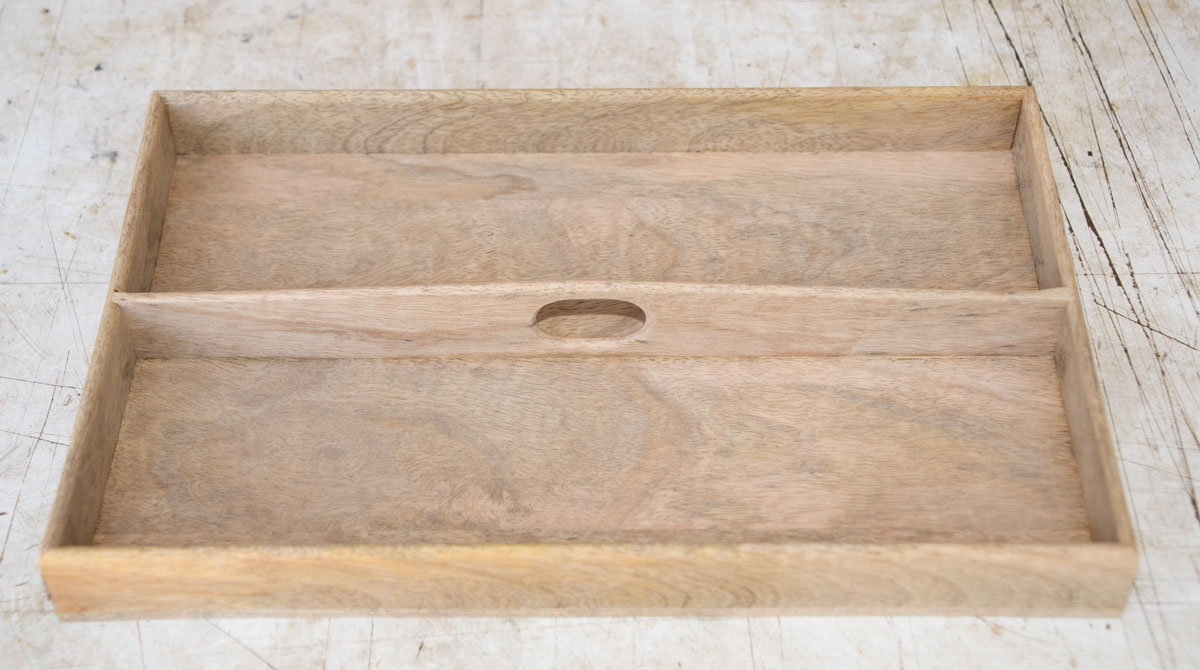
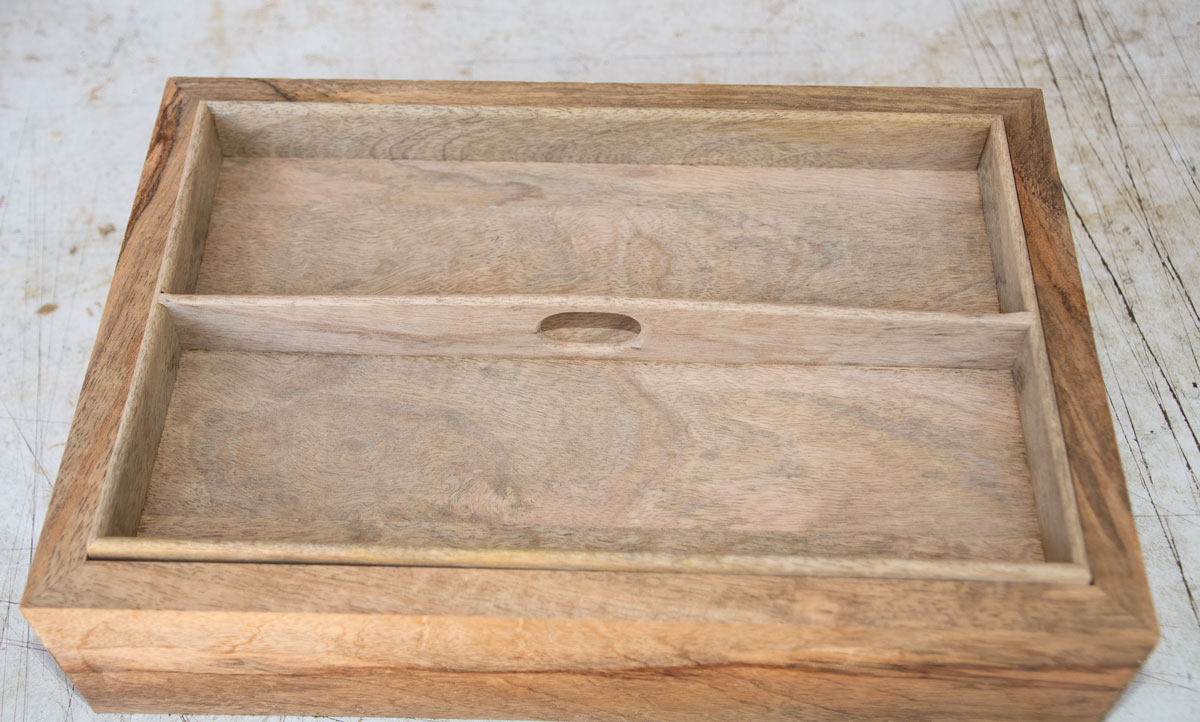
And checked the fit into the box. The tray is loose enough that it goes in and out without much "piston" effect. If it were reasonable to put a hole in the bottom of the box, or in the back of the box, we could make the tray to a tighter fit because the hole would balance the air pressure.
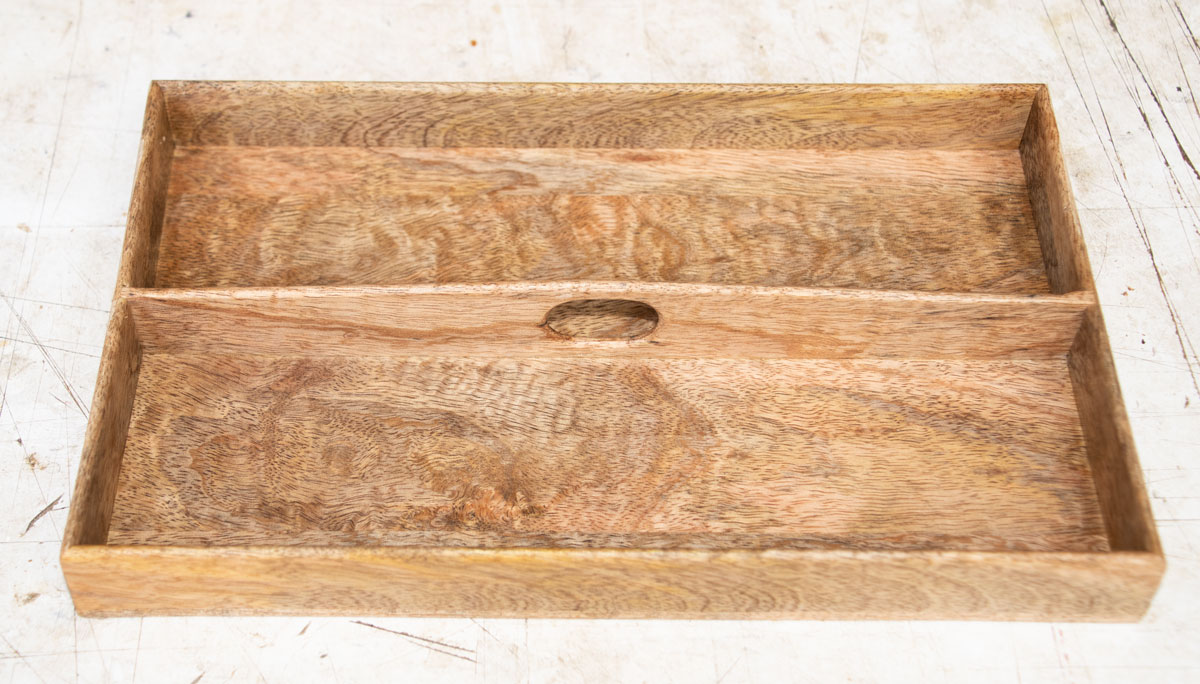
The last thing for the tray was to put finish on it.
Next, we'll install the hinges on the box.
The tutorial continues here.