Making a Basic Jewelry Box
Second Version
Continued
P. Michael Henderson
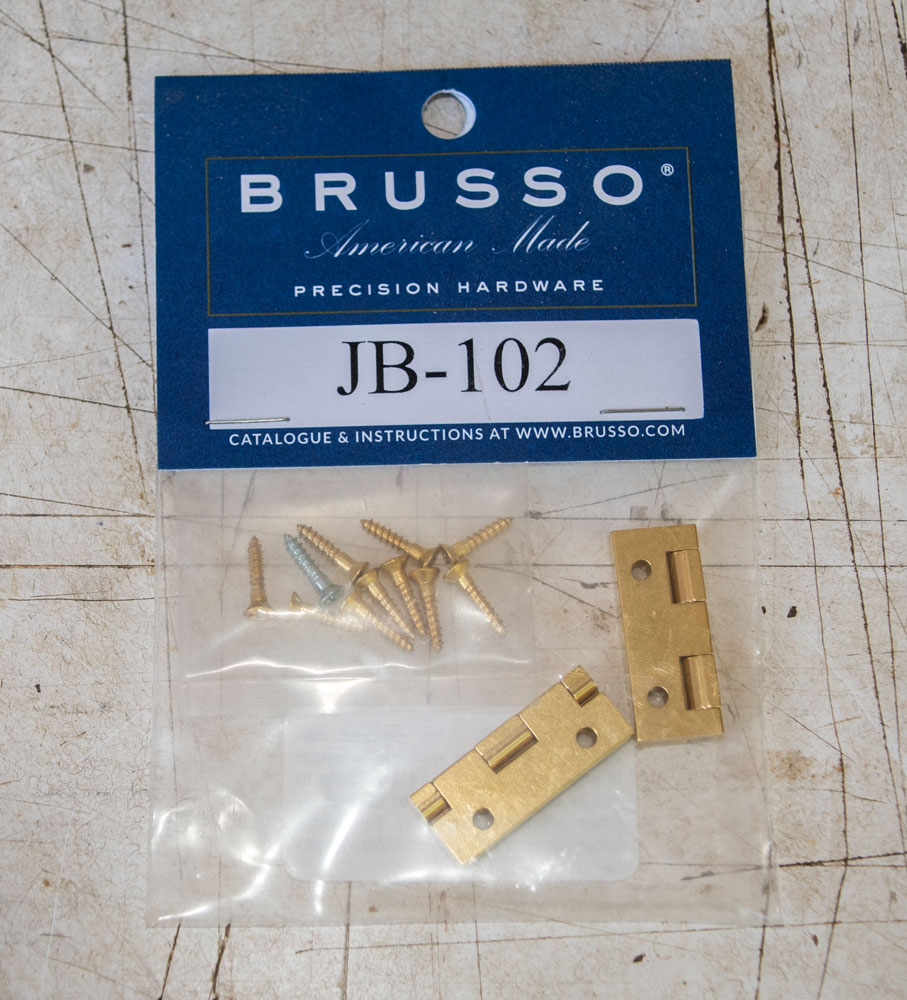
I'm going to use Brusso JB-102 hinges for the box. The Brusso hinges are high quality, nice looking, and they hold the top up when you open the box. The negative is that they're expensive - a bit over $30 where I buy them. I've looked for less expensive hinges but haven't found anything that satisfies me.

I have my router set up for these hinges but I'm going to go through a discussion about how to set yours up here. I'm going to recommend that you make a test cut of a hinge mortise on some scrap. That piece of cutoff that we had from cutting the sides is a good choice.
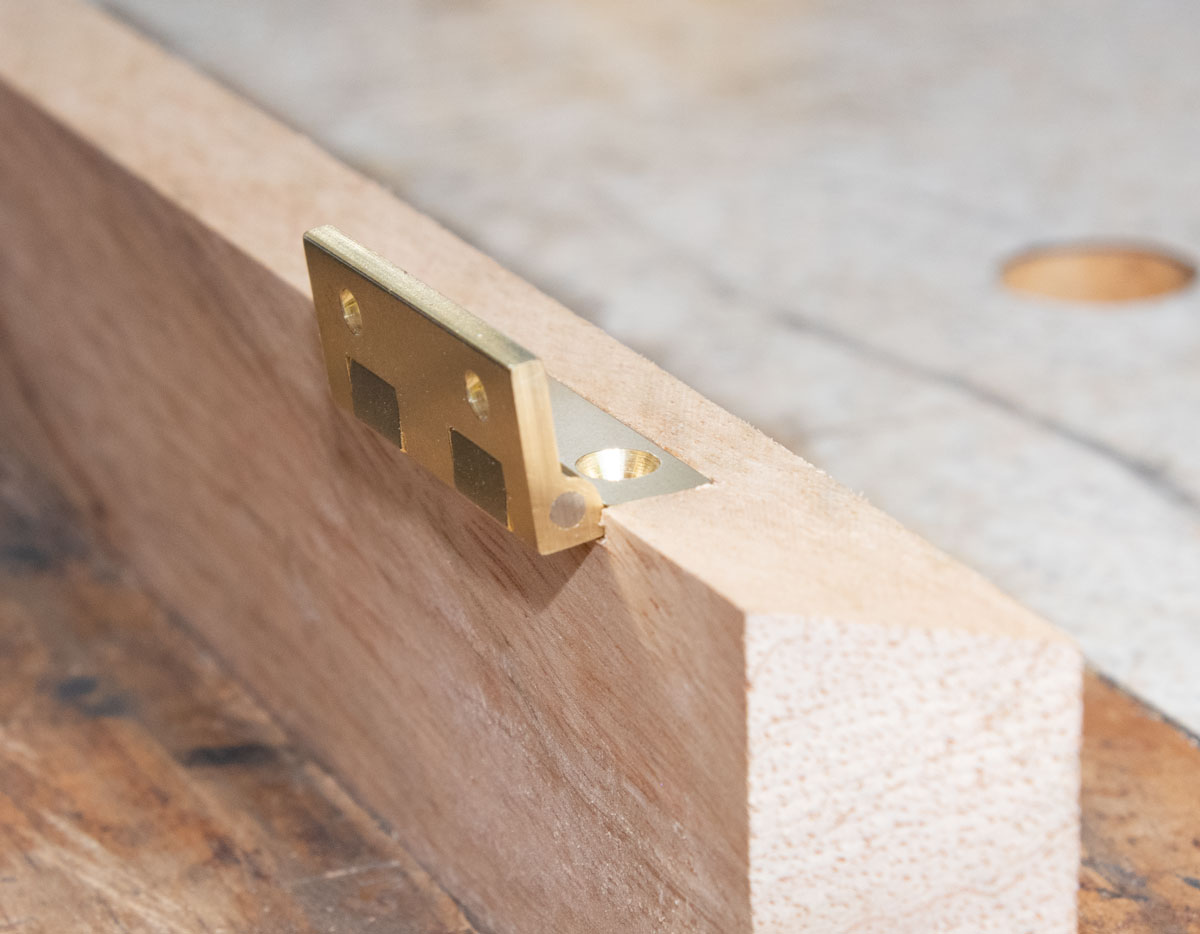
Put that scrap in your vise and lay one of the hinges on it, as shown in the picture. You want to bump the pin area of the hinge against the side of the wood. If you do this accurately for each mortise, all of the hinges will be spaced into the side equally.
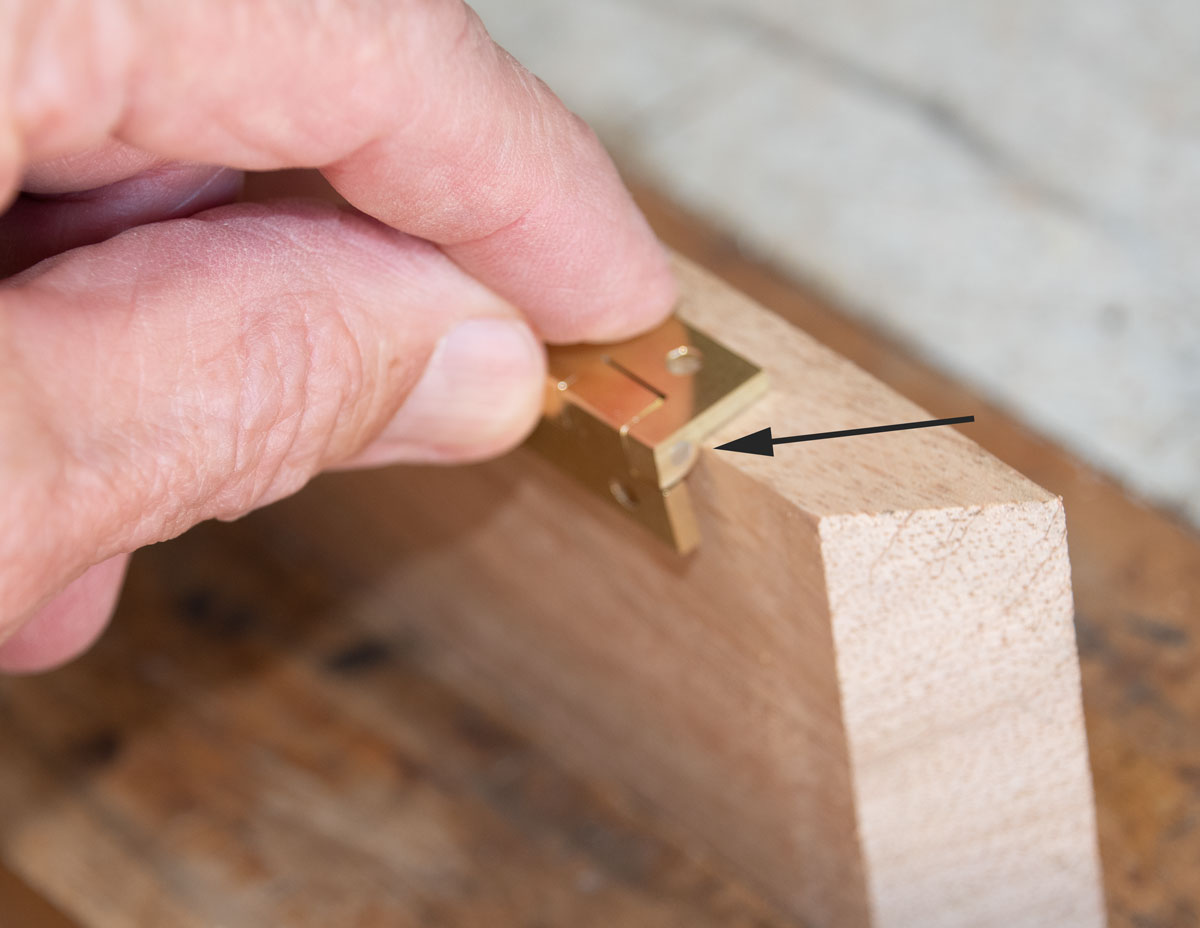
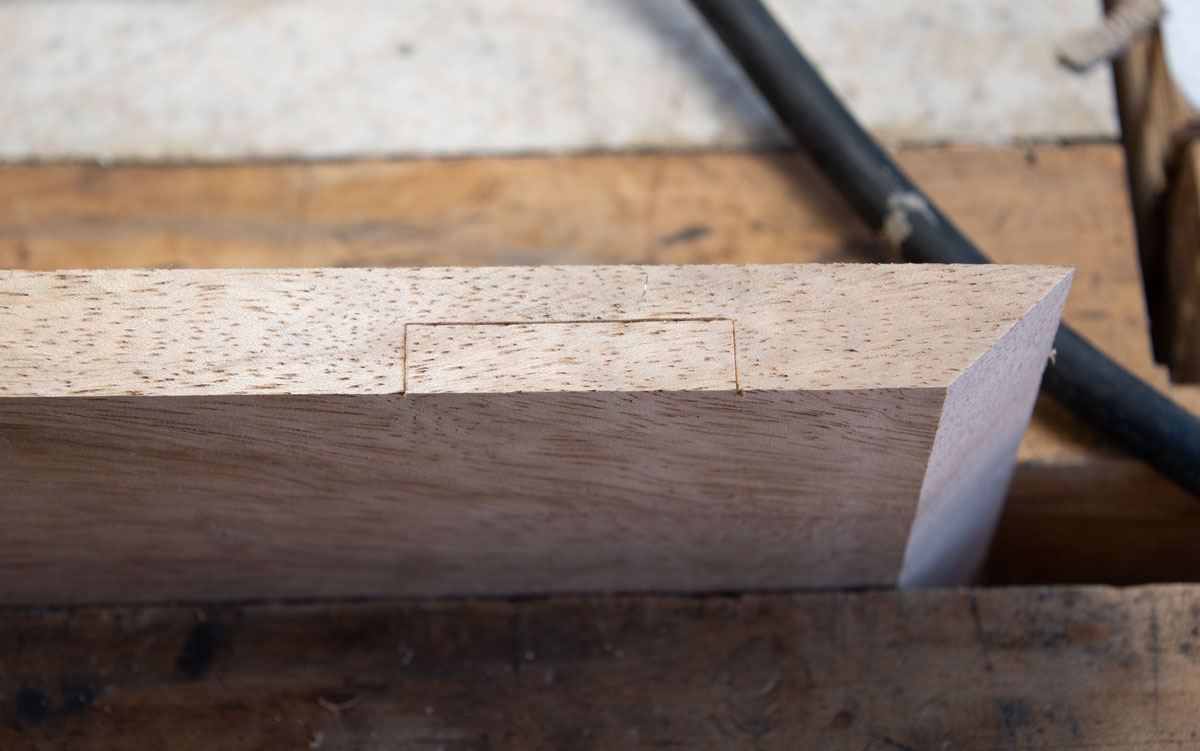
Use a marking knife and mark around the hinge. I find that marking the two sides first and then the back is the most accurate. When you mark the back, sometimes the hinge moves a bit - so get the sides marked accurately first. Here's what it looks like marked.
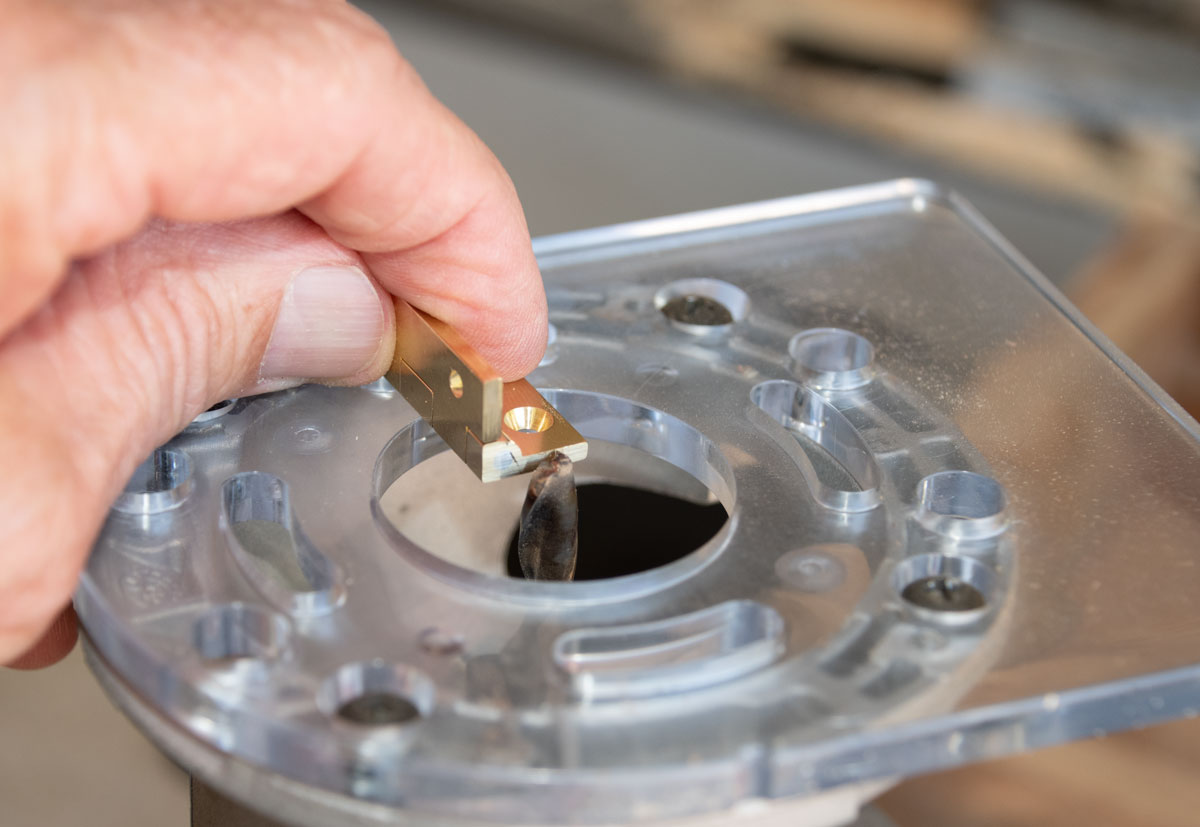
Then we have to set the depth of the router bit. You may have to adjust the depth several times to get just the right depth. Start by holding the hinge against the bit and eyeball the depth. I use a trim router because it's smaller and easier to handle.
Then use the router to remove most of the waste. Try to get close to your lines but leave a bit rather than go over one of the lines.
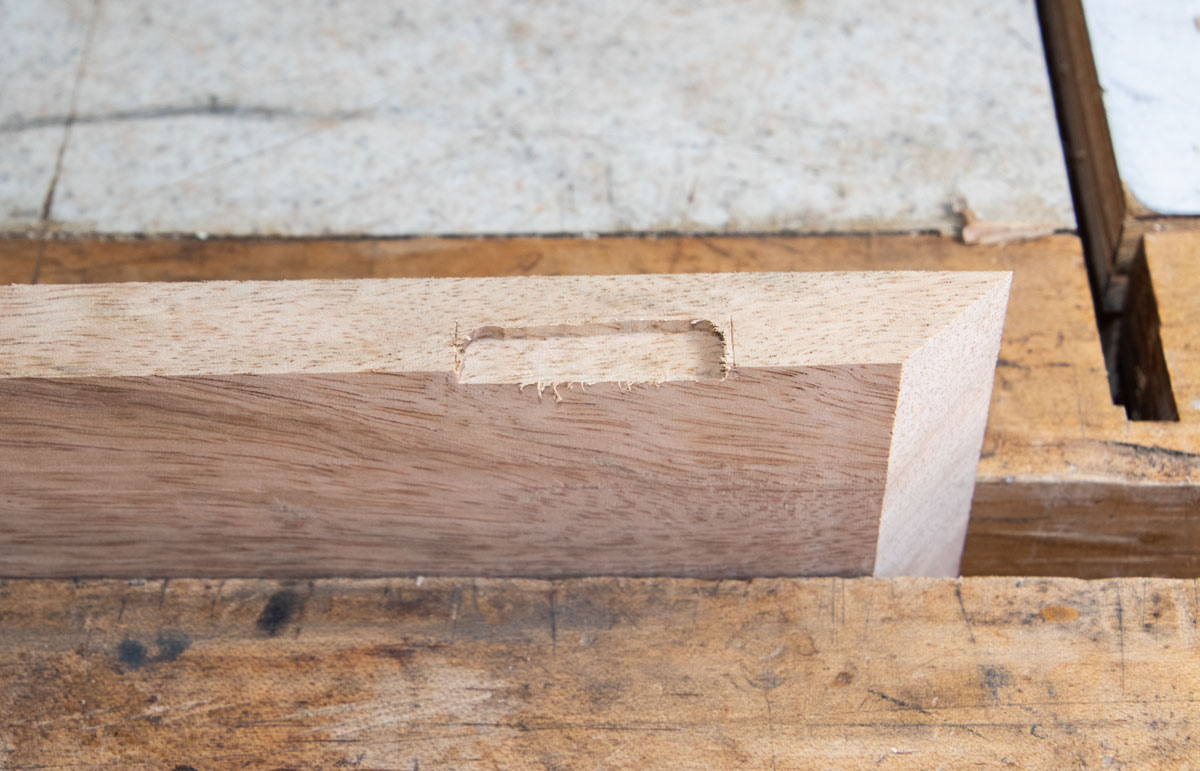
I use a 1/4 inch chisel to clean to the lines. When you finish, the hinge should fit tightly in the mortise.
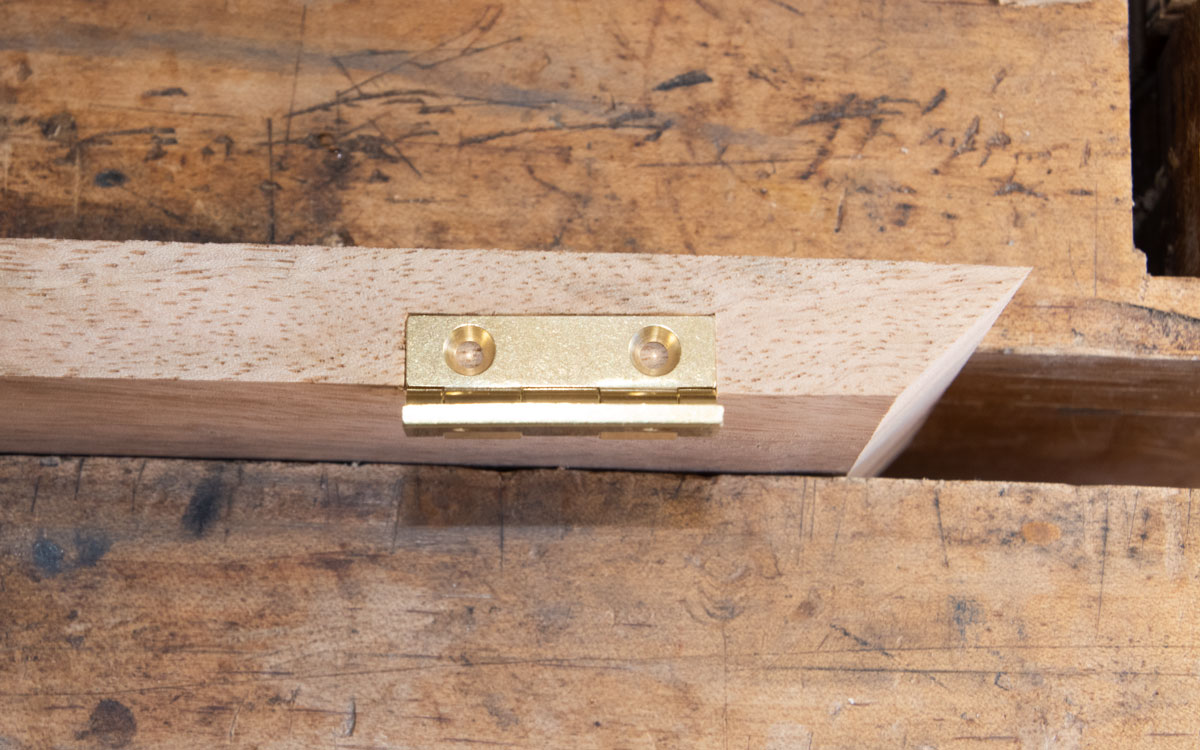
Here's a view from the side. The hinge leaf should be flat with the wood, neither proud nor recessed.
Now let's go to the box and mark where we want to put the hinges. I put the box in my vise with the top aligned accurately with the bottom of the box. Then I use a double square set to 1 1/4 inch to make a knife mark at the end of the blade, one the line where the top meets the bottom. There's nothing magic about 1 1/4 inch - I just think that distance looks good for the hinges. You can use whatever distance you like.
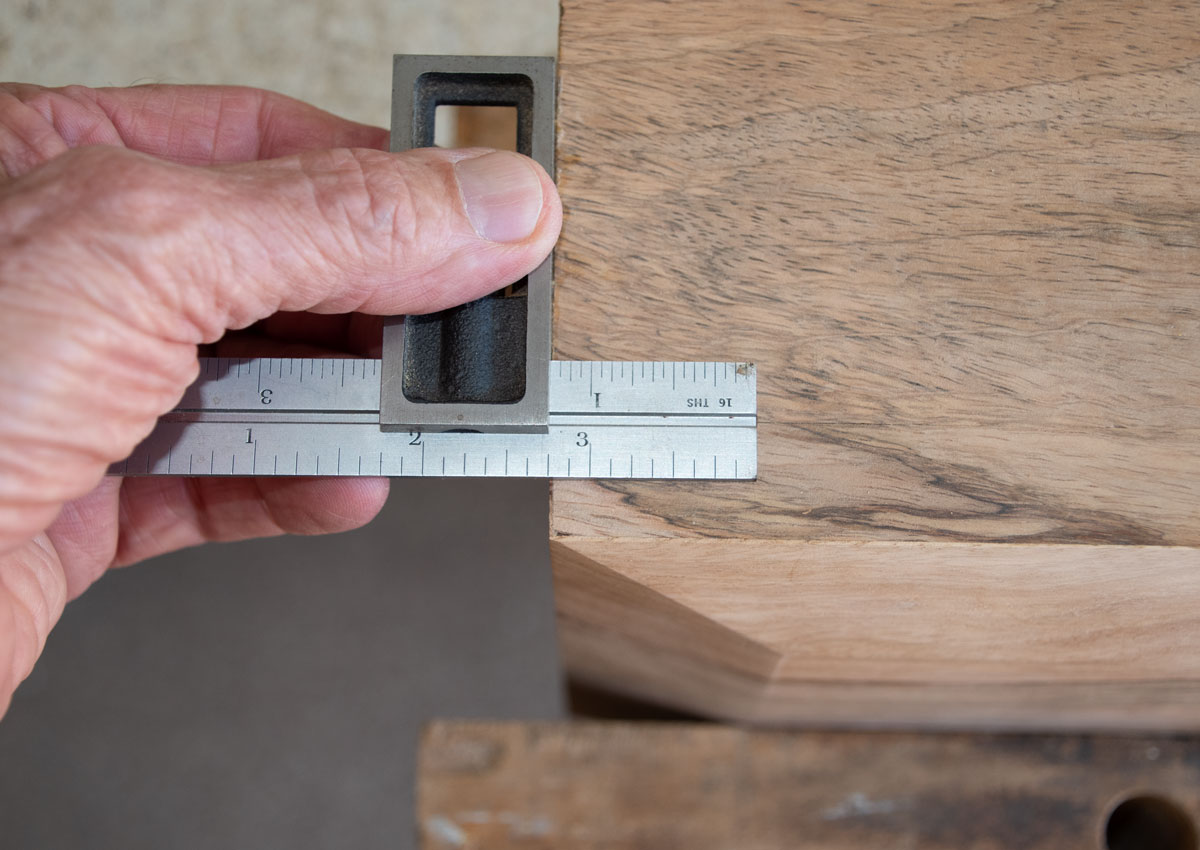
Here's what the knife mark looks like. It extends across the line between the top and bottom, marking both sides.
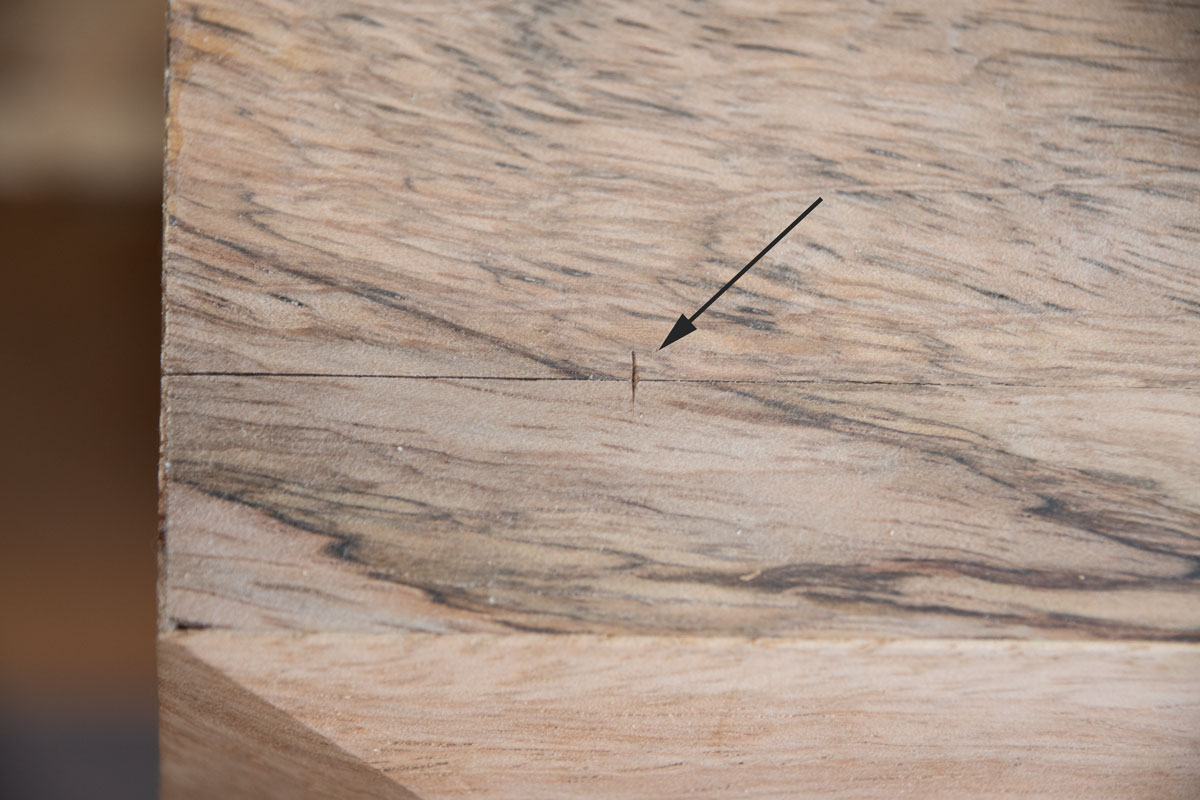
After I remove the top, here's what the mark looks like on the bottom of the box.
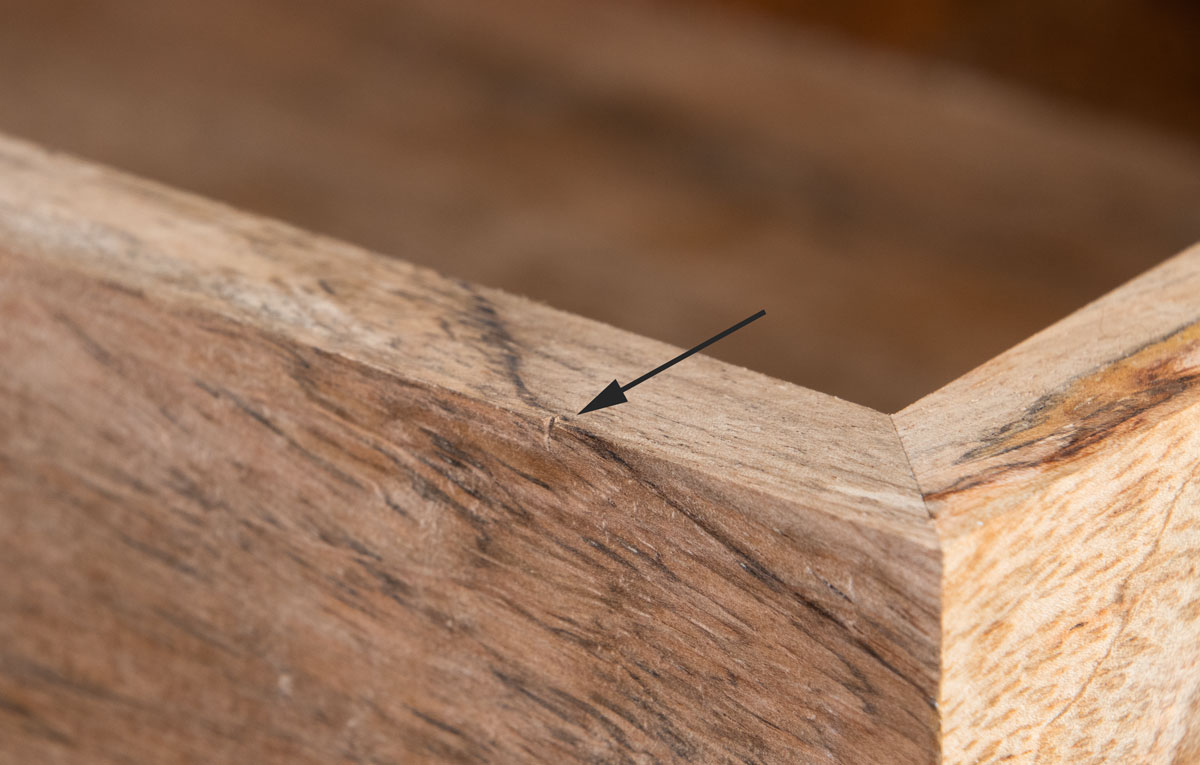
I lay my knife into that mark and then slide the hinge tightly up to the knife.
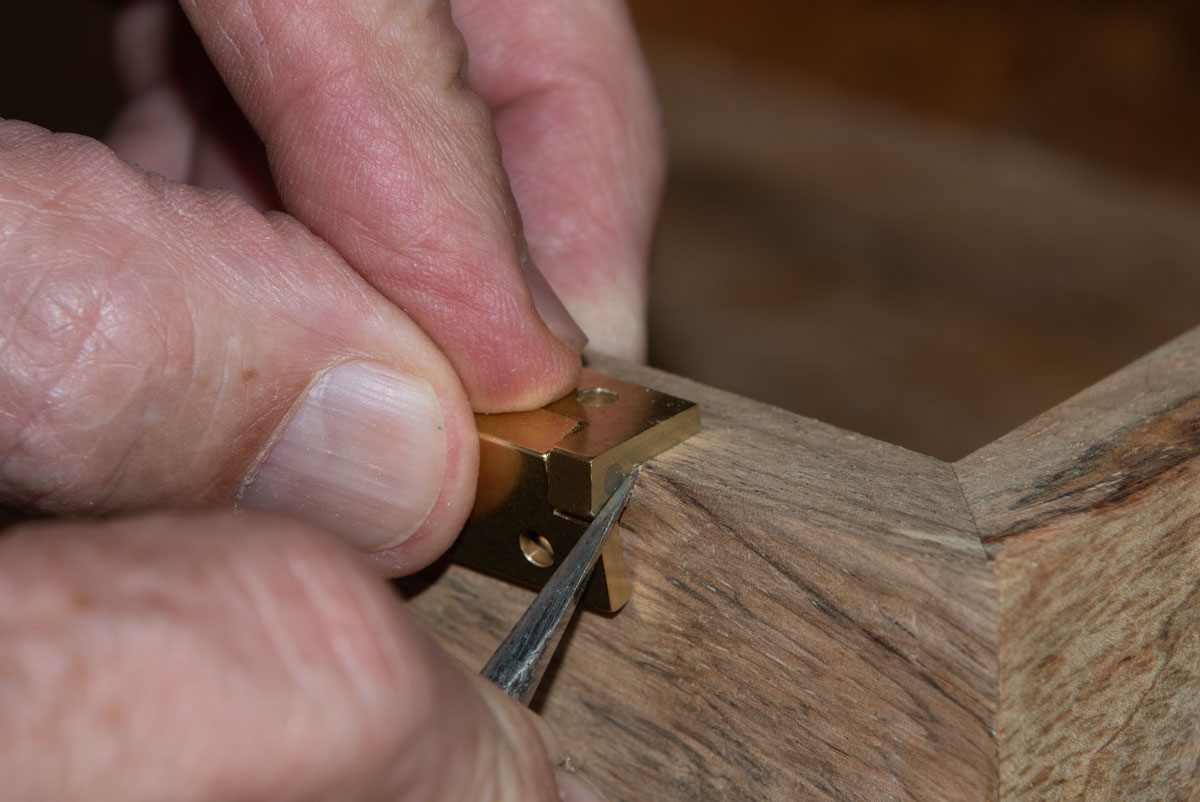
Then mark around the hinge as described earlier.
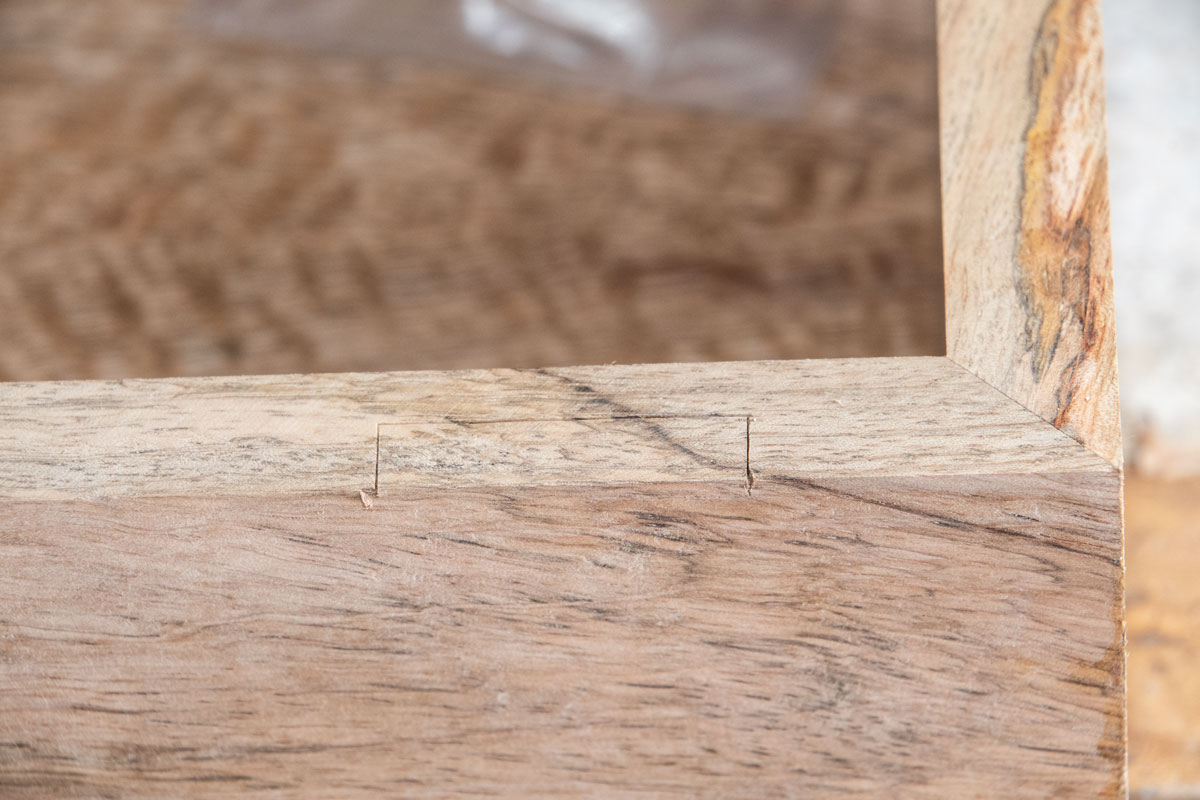
Route the majority of the waste.
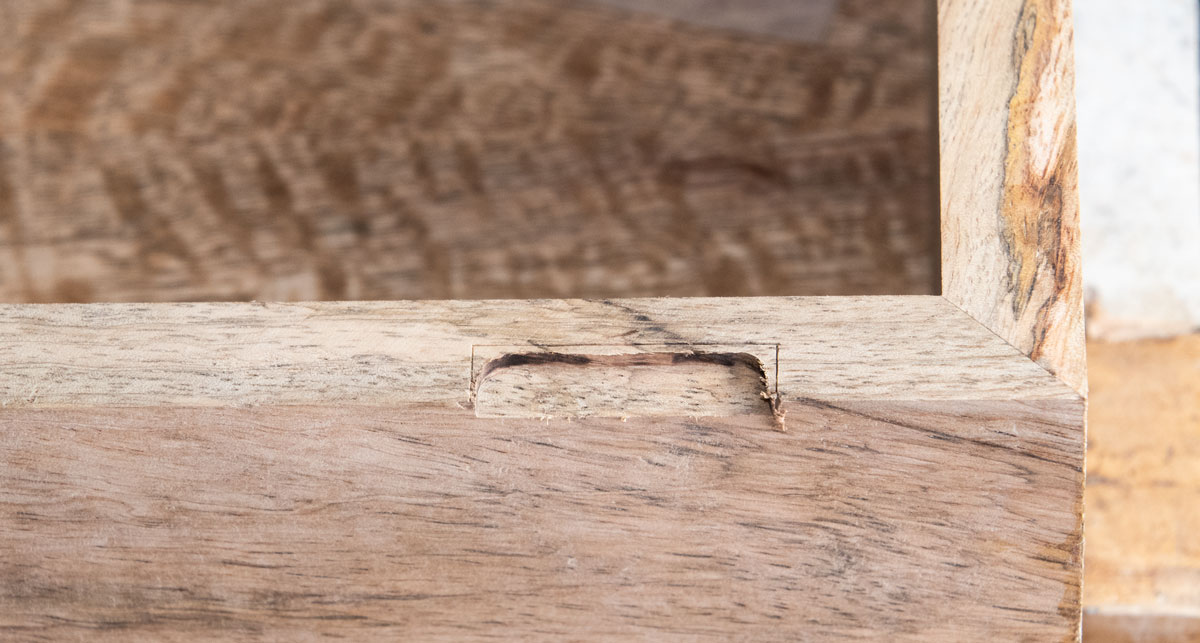
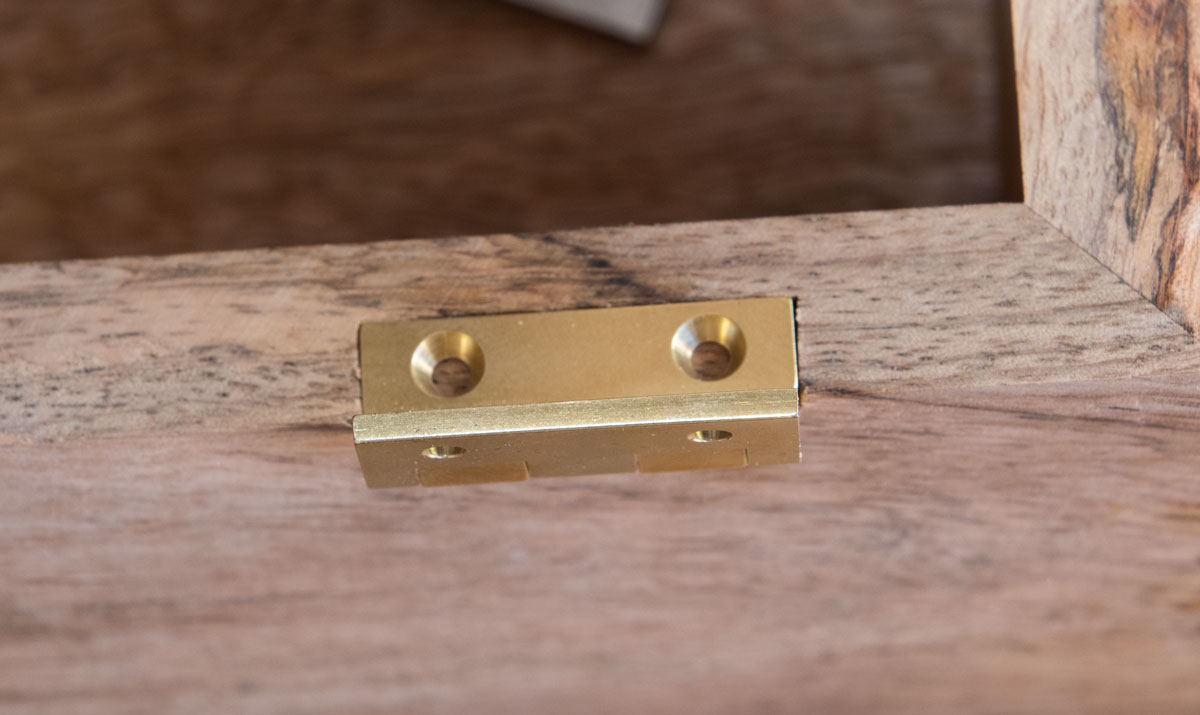
Finish removing the waste with a chisel. Fit the hinge into the mortise. You want a nice tight fit.
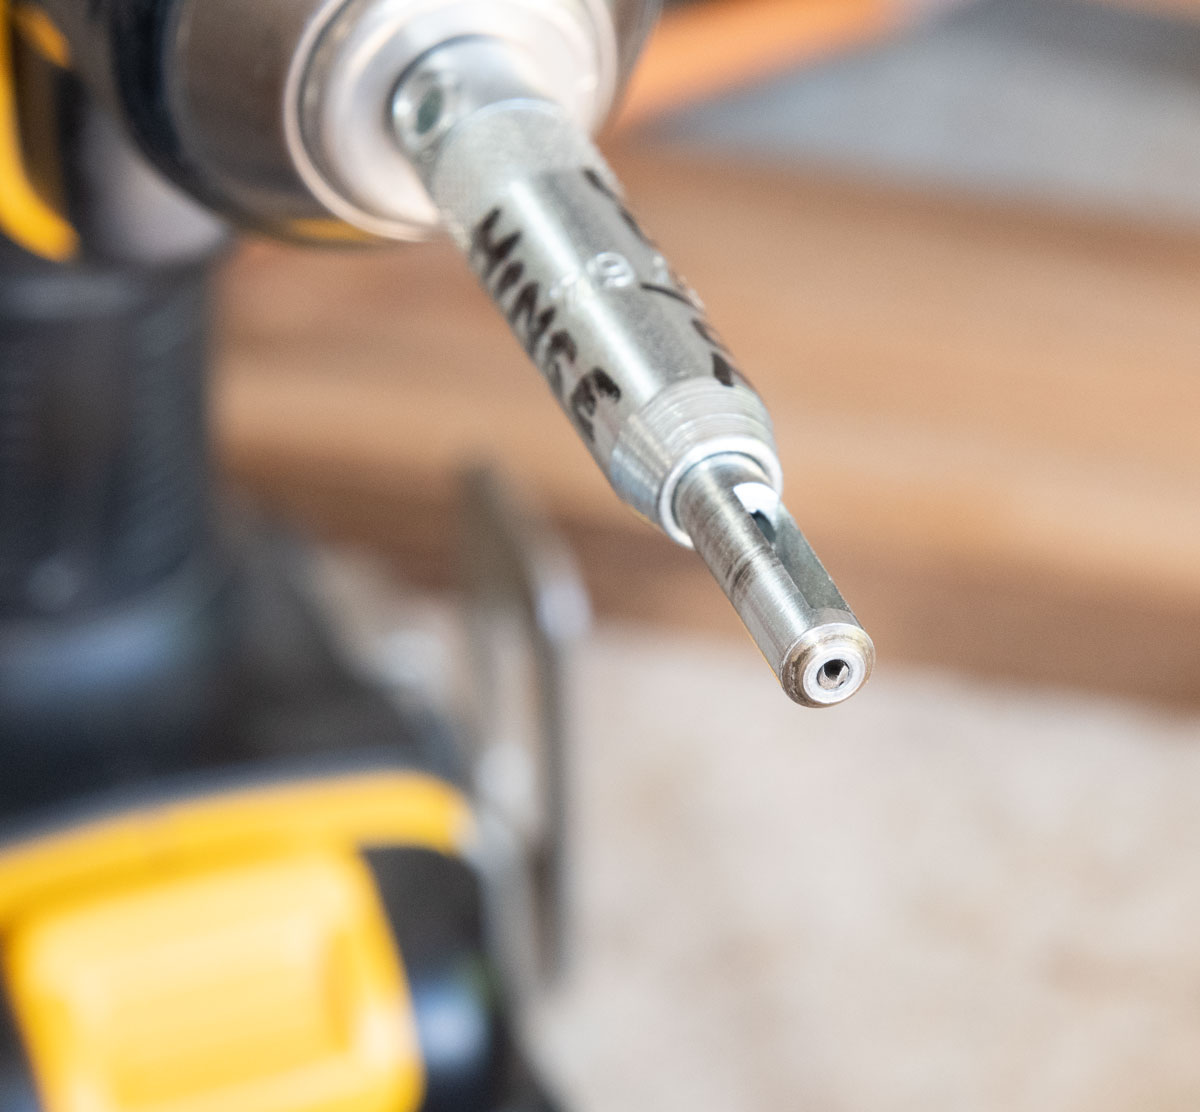
To drill the pilot holes for the screws, I use a Vix bit. It has a sleeve covering the bit with a conical shape on the end. That conical shape matches the countersinks on the hinges so the drill bit is centered in the hole.
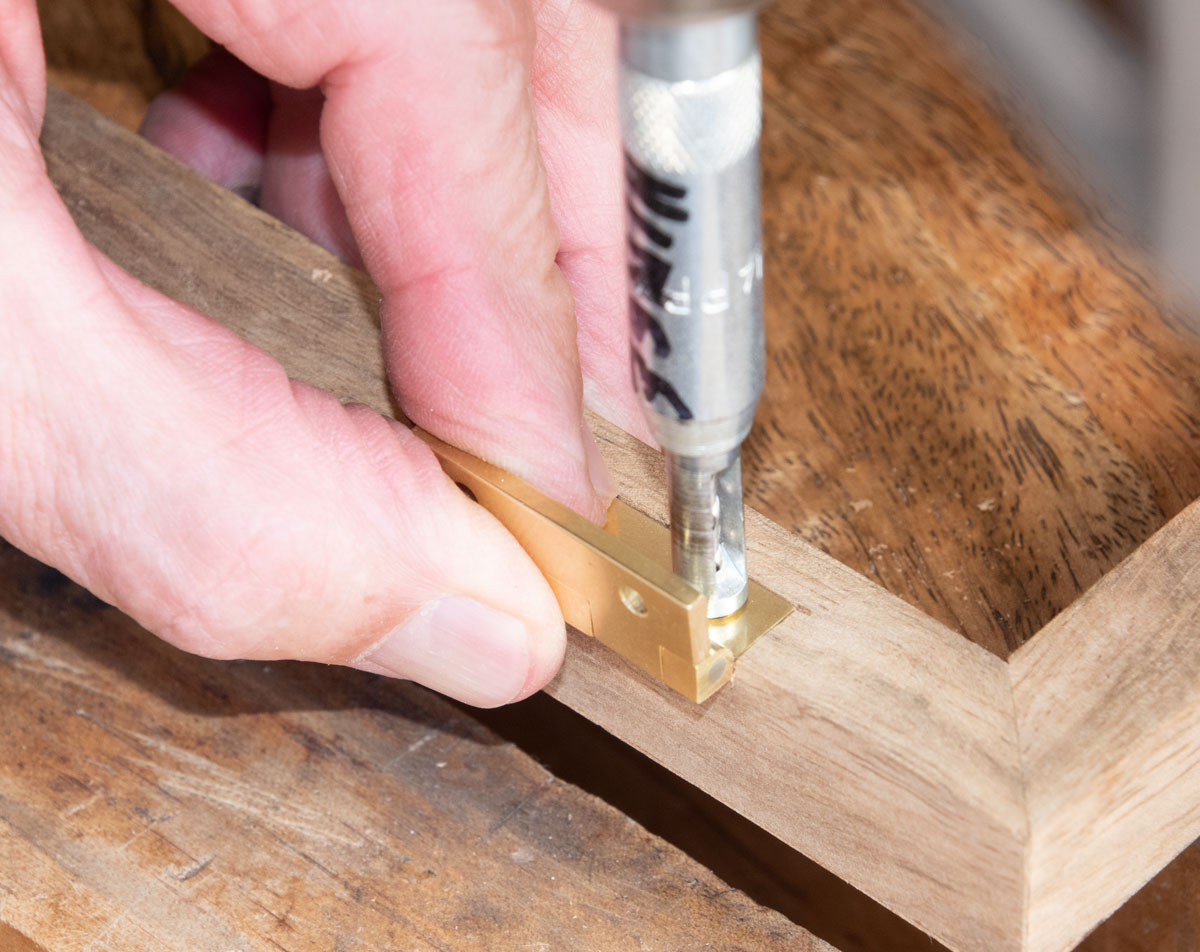
Drill the holes. Note that I'm drilling into the top, not the bottom, in this picture. I forgot to take a picture when I drilled the bottom.
Here are the screws that Brusso provides. Note that there's one steel screw in the packet. You use this steel screw to make the threads in the hole. Rub some paraffin on the steel screw and screw it into each hole. The brass screws are fragile (compared to the steel screw) and you can break one off if you don't make the threads in the wood first. And removing a broken brass screw is a pain.
Use a #1 Phillips screw driver or #1 Phillips bit on your impact driver to drive the steel screw.
Also note that they provide you ten brass screws although you only need 8. I suppose that's in case you drop one and lose it. It's nice to have the extras.
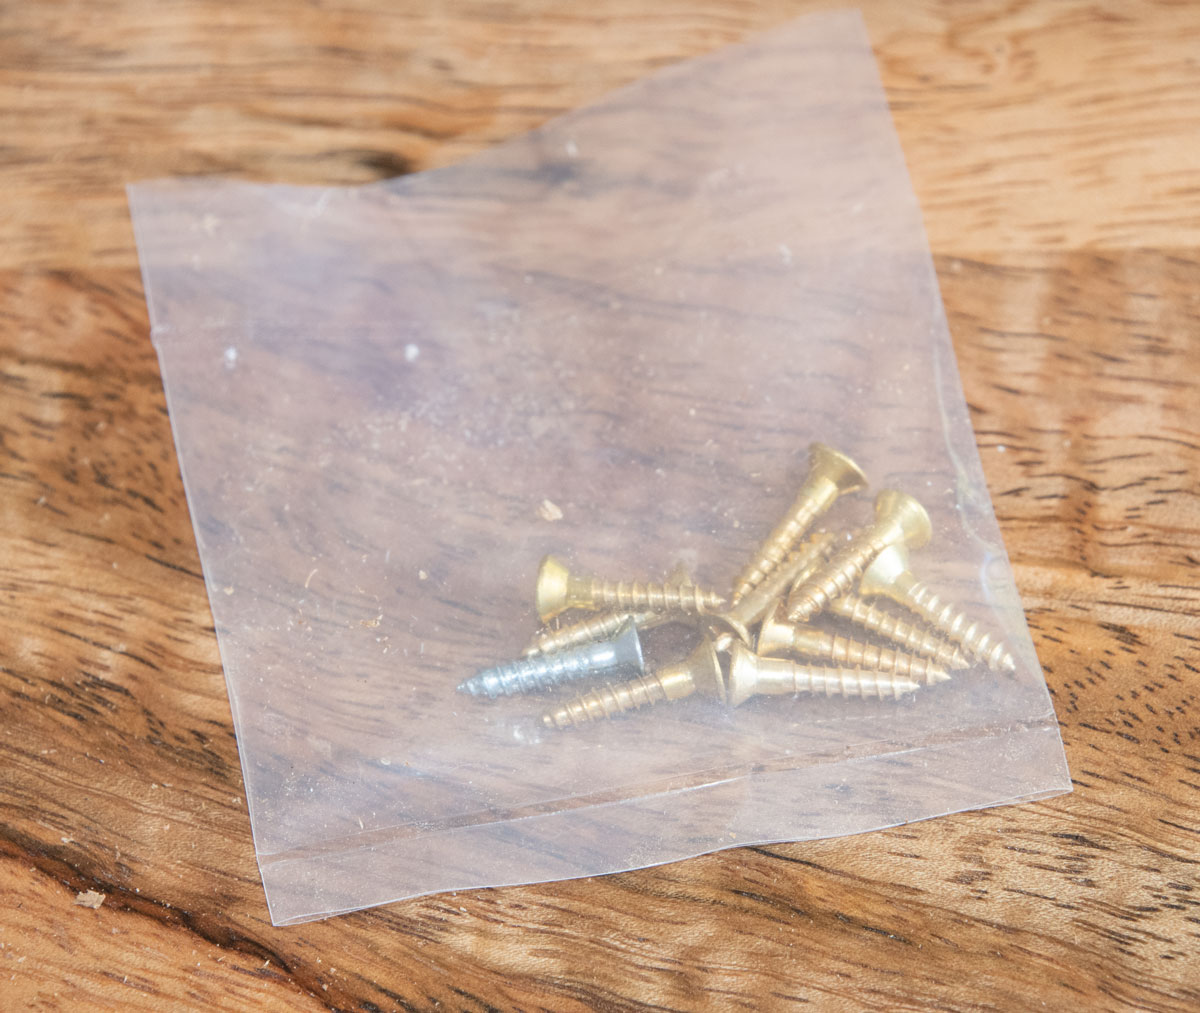
No matter how you drive the steel screw, use a hand screwdriver to drive the brass screws. You're less likely to break one that way compared to using your impact driver.
After you install all the screws, see how the top fits onto the bottom. A small amount of "out of alignment" can be dealt with when you sand the outside, but a lot of "out of alignment" will require changing the placement of one of the hinges. If you need to do that, drive a bamboo skewer (with glue on it) into the two holes, reposition the hinge and redrill the holes.
Here's how mine came out. It's very slightly our of alignment on the side but I'll address that when I sand the outside.
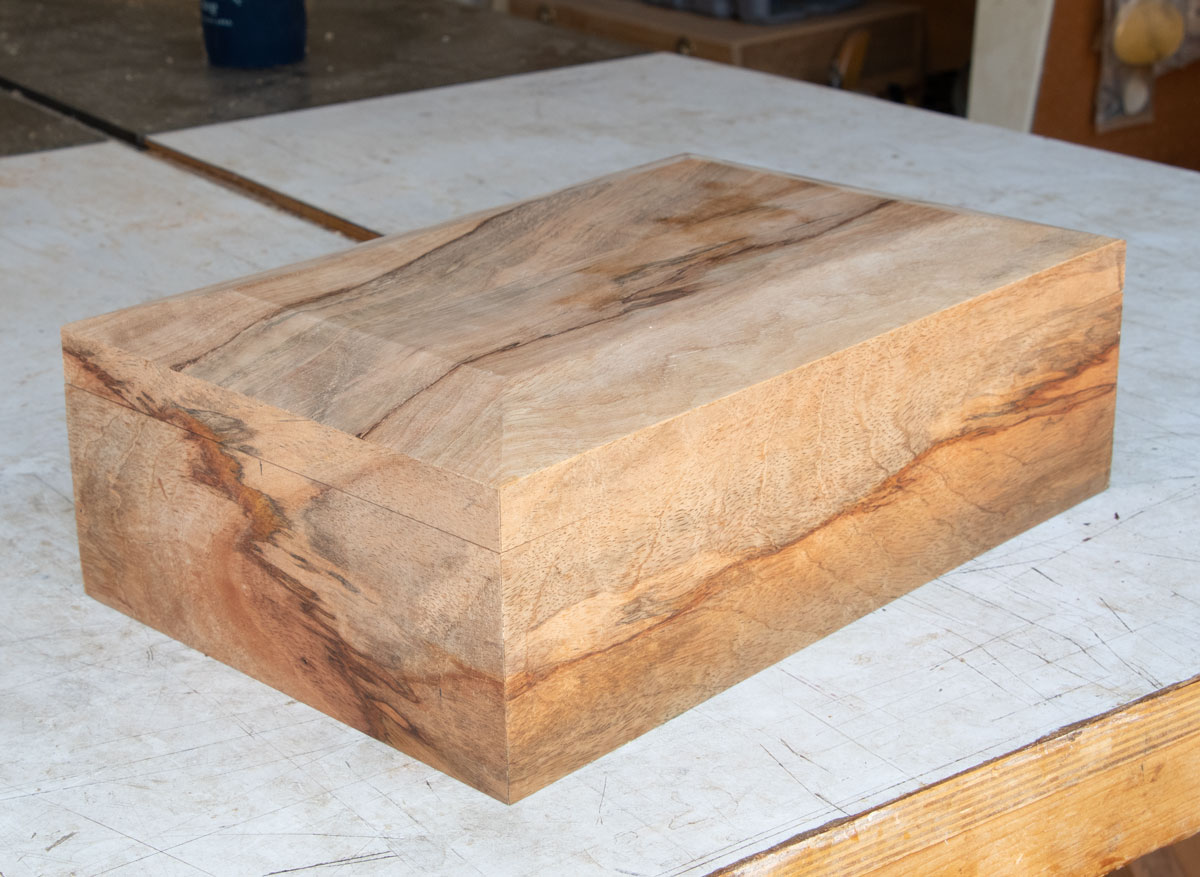
Here's what it looks like open.
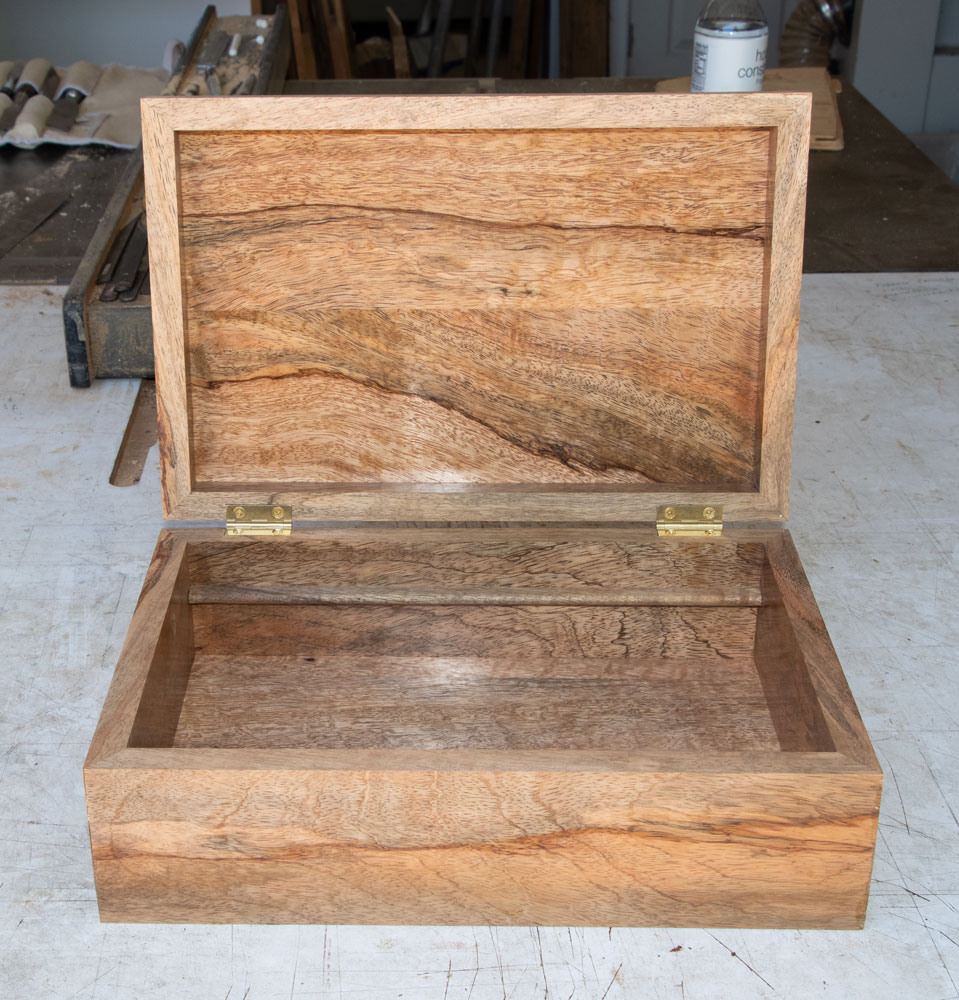
Almost finished. I will sand the outside, make and install the handle, and apply finish to the exterior. I sand the outside next because if I installed the handle now, it would get in the way of sanding.
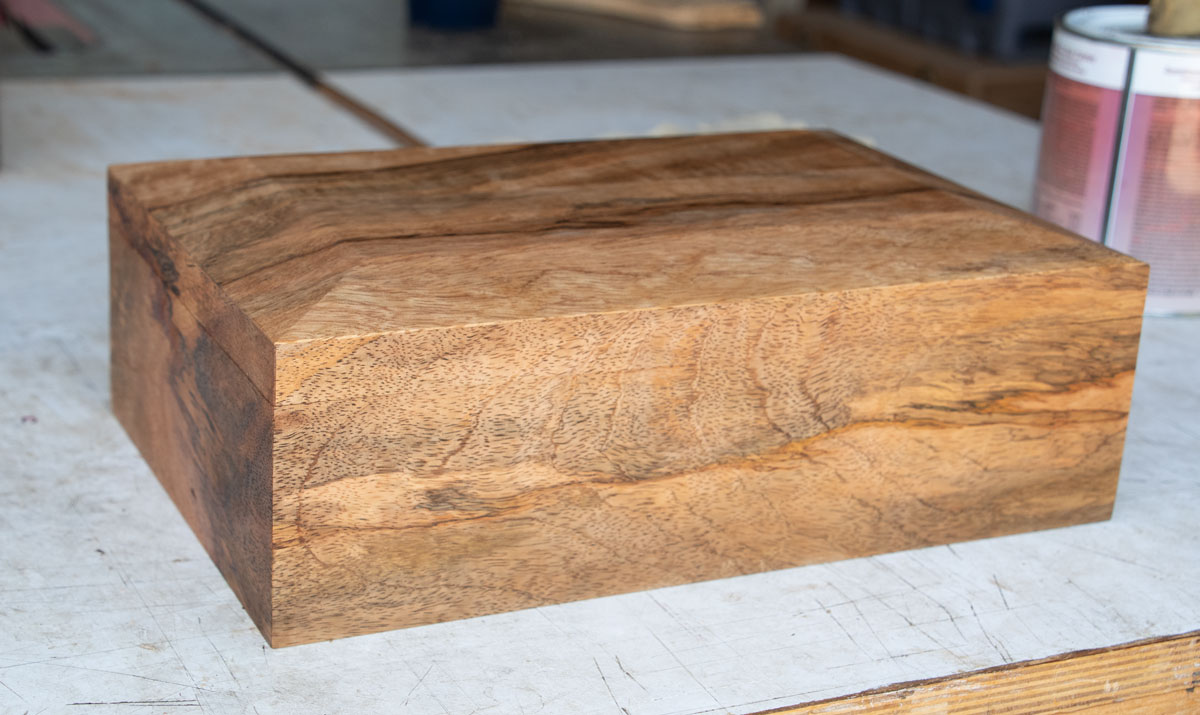
I sanded the outside of the box today and got ahead of myself by putting finish on it before I installed the handle. Here's the box with the shellac on it. Note: no handle.
I cut a piece of ebony 2 inches long. This piece is 7/8 inch wide and 3/16 inch thick. Ebony makes a nice contrast but you could use any other contrasting wood.
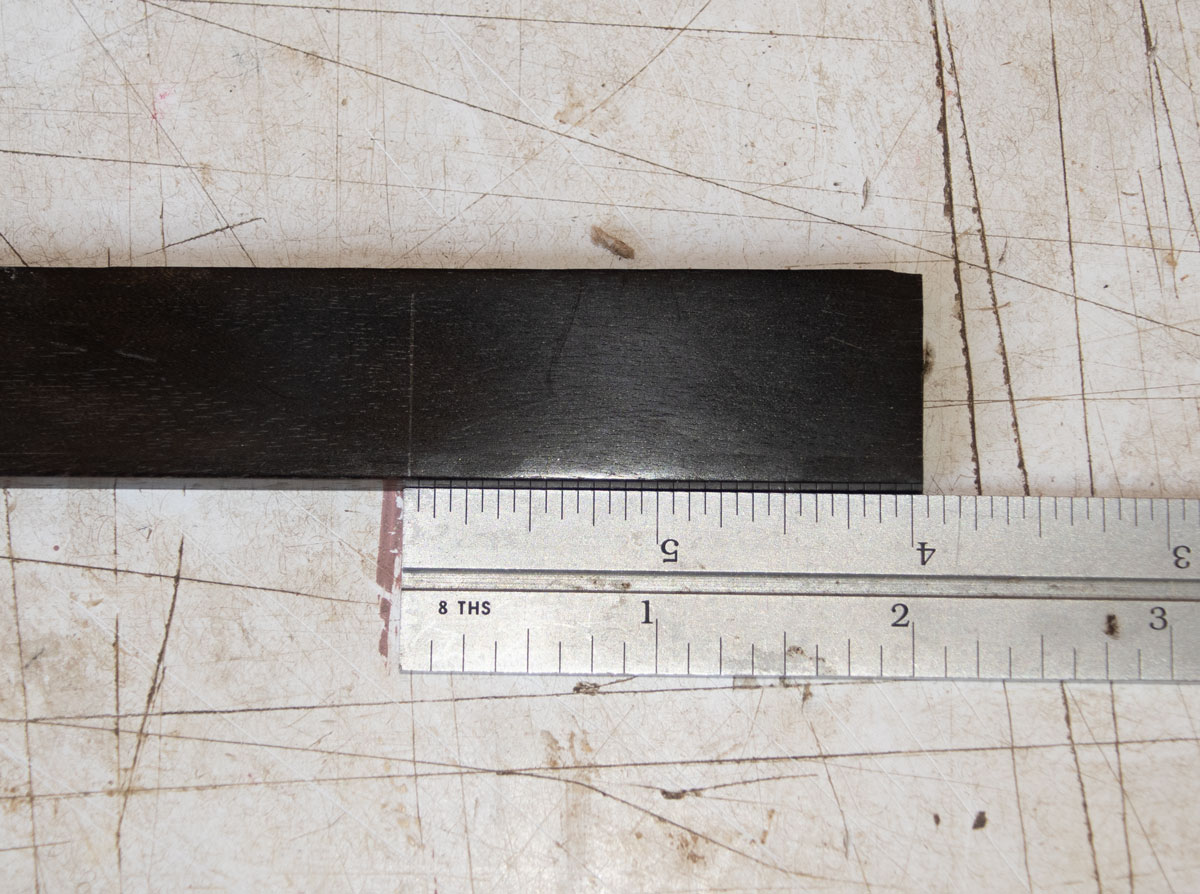
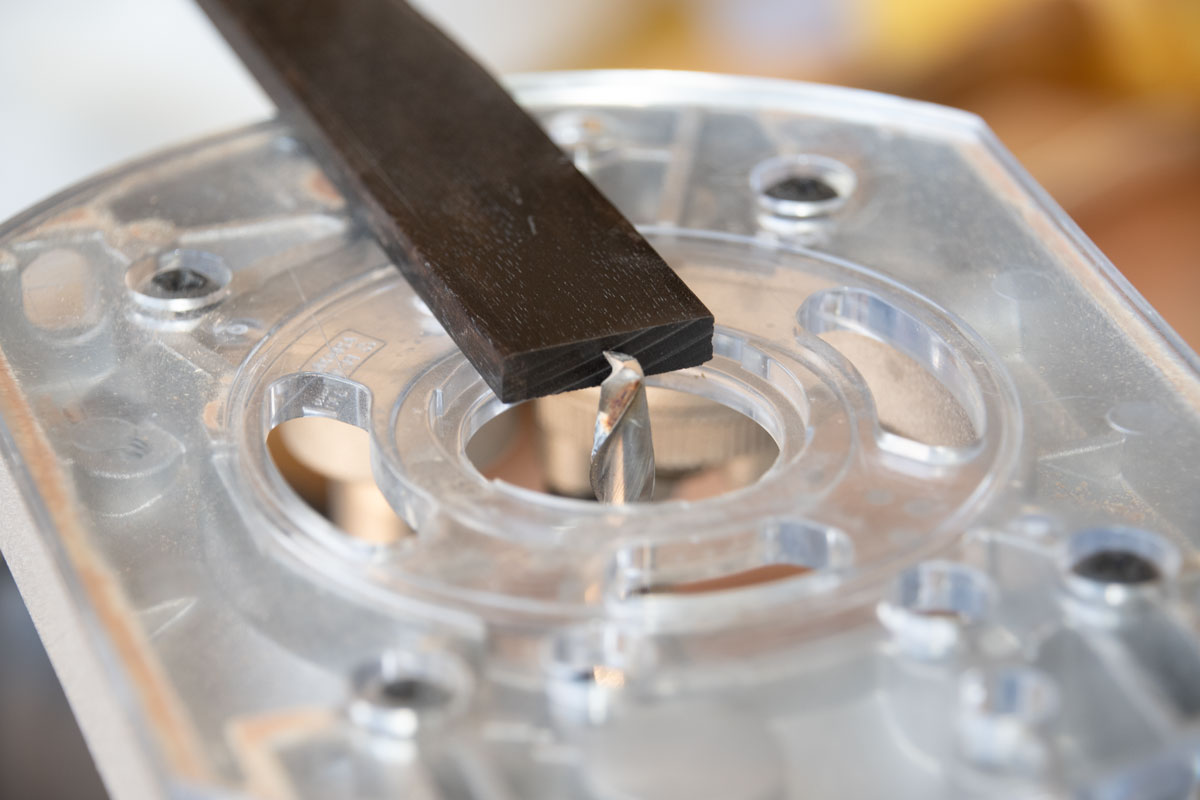
I'm going to use a plunge router to cut the slot for the handle. I set the depth of the cutter to less than the thickness of the handle to begin. Then I'll make small adjustments to get the proper depth.
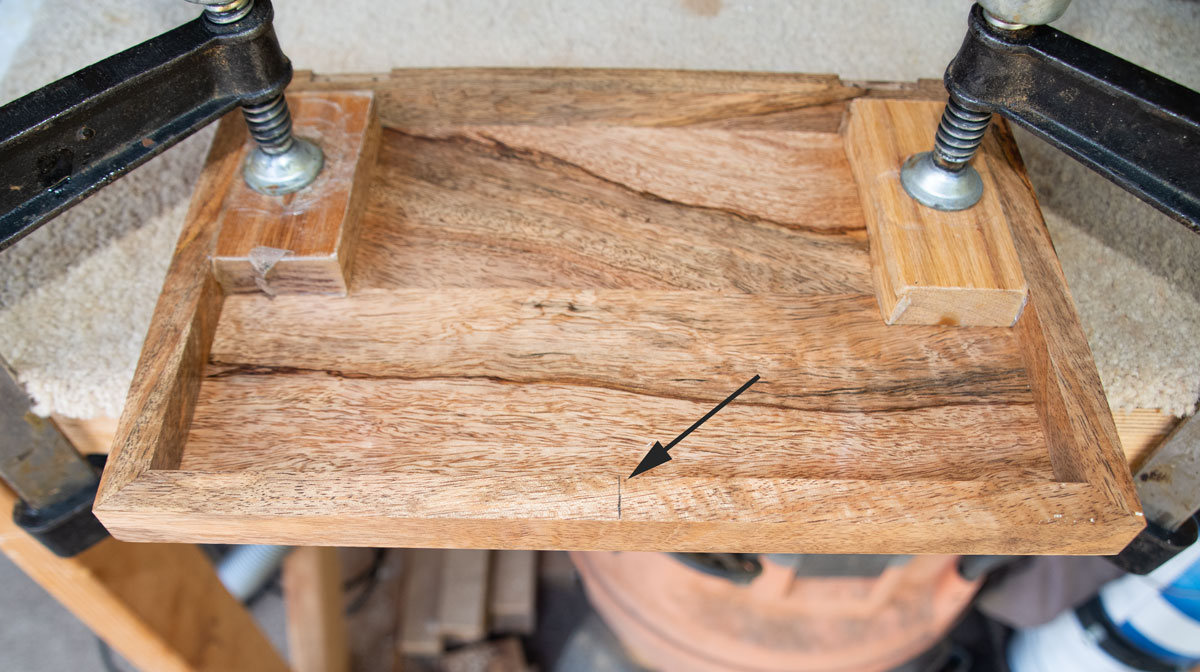
I remove the top and clamp it to my bench with some carpet between so I don't mar the show side of the top. I mark the middle of the front of the top, as shown by the arrow.
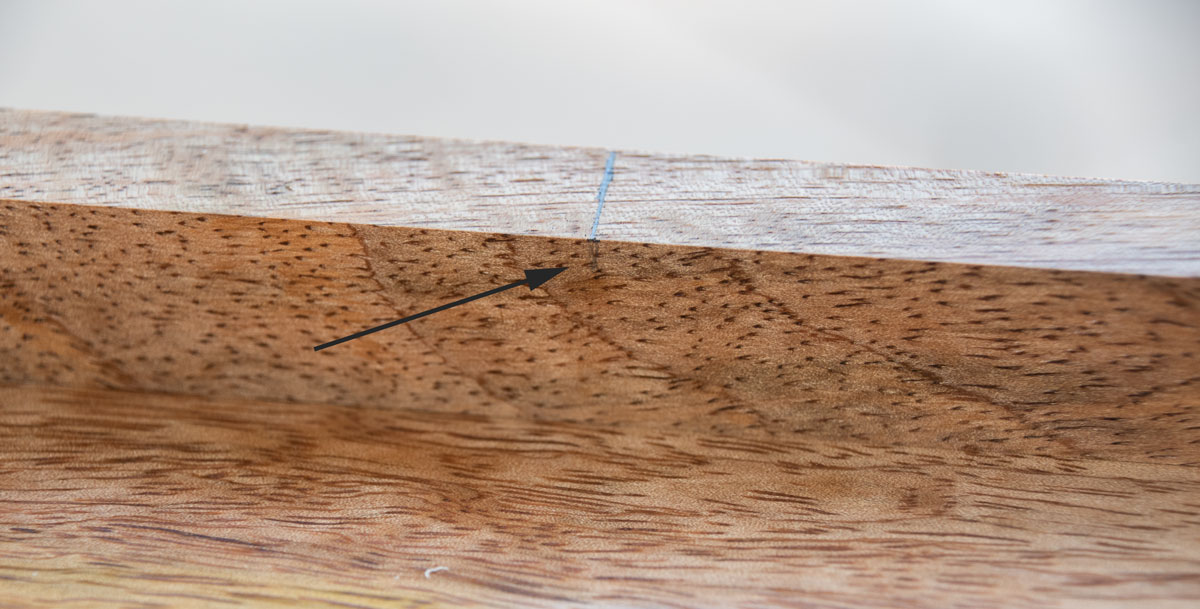
I take that middle mark down just a short way on the back side of the front of the top (shown at the arrow). I want to be able to see the center mark when I lay the handle in place. This mark will be removed when I route out the slot for the handle.
I also mark the center of the back of the handle.
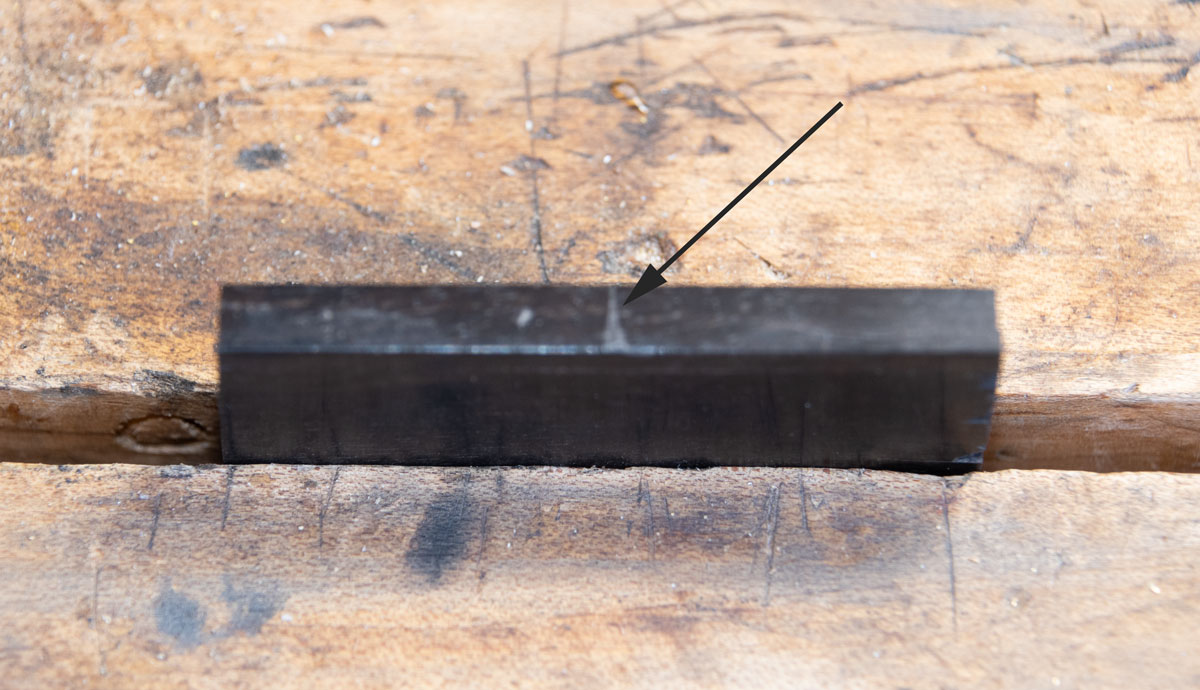
I lay the handle on the box top and use a marking knife to mark the ends of the handle.
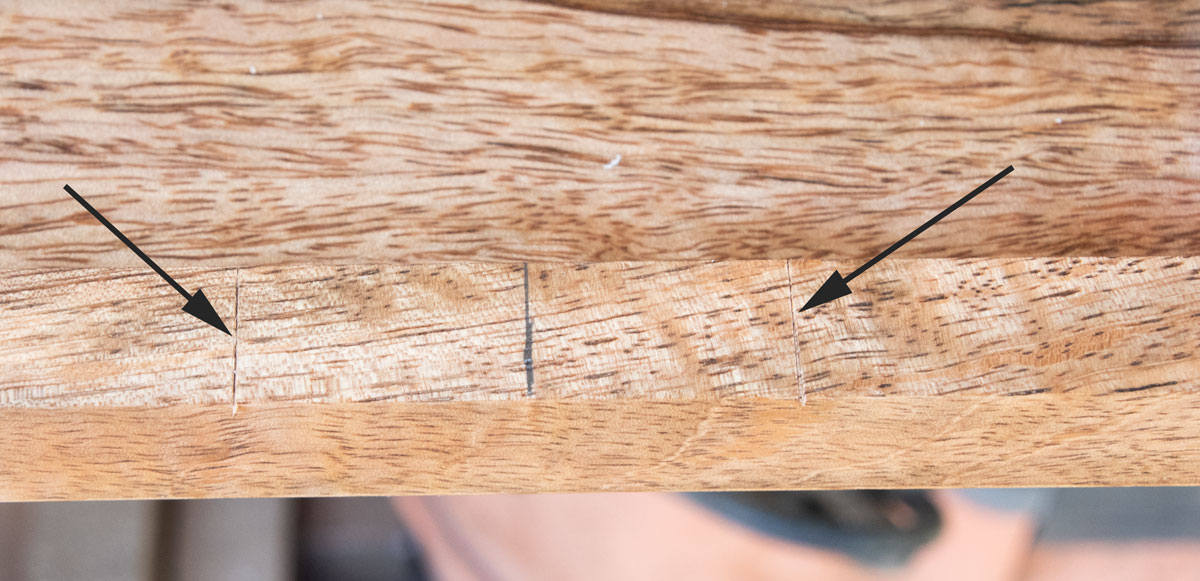
I take the handle to my belt sander and round off the front of it.
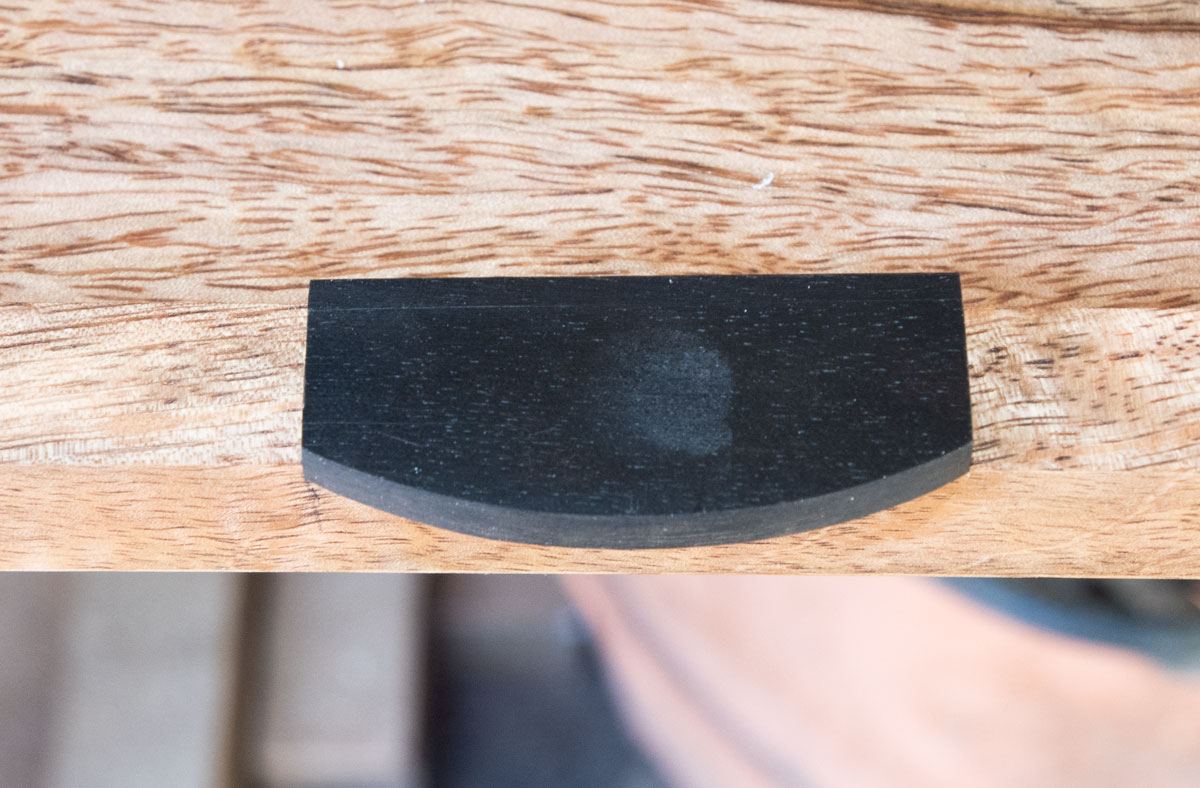
Now I route the slot for the handle. I take small bites and then adjust the plunge router for the next cut. When I get really close here's how I check the depth. I put the handle in the slot (sideways) and use a ruler to check if it's high. I'd rather be a bit low than high. If I'm high it will keep the top from closing completely, causing a gap between the top and the box. If I'm low there will be a gap under the handle and people won't notice it.
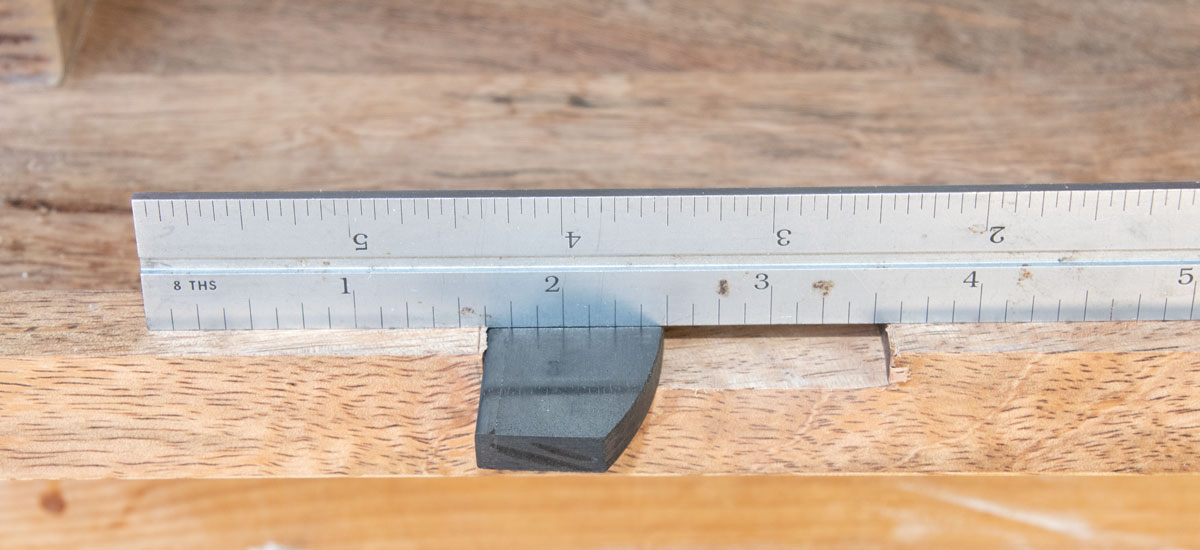
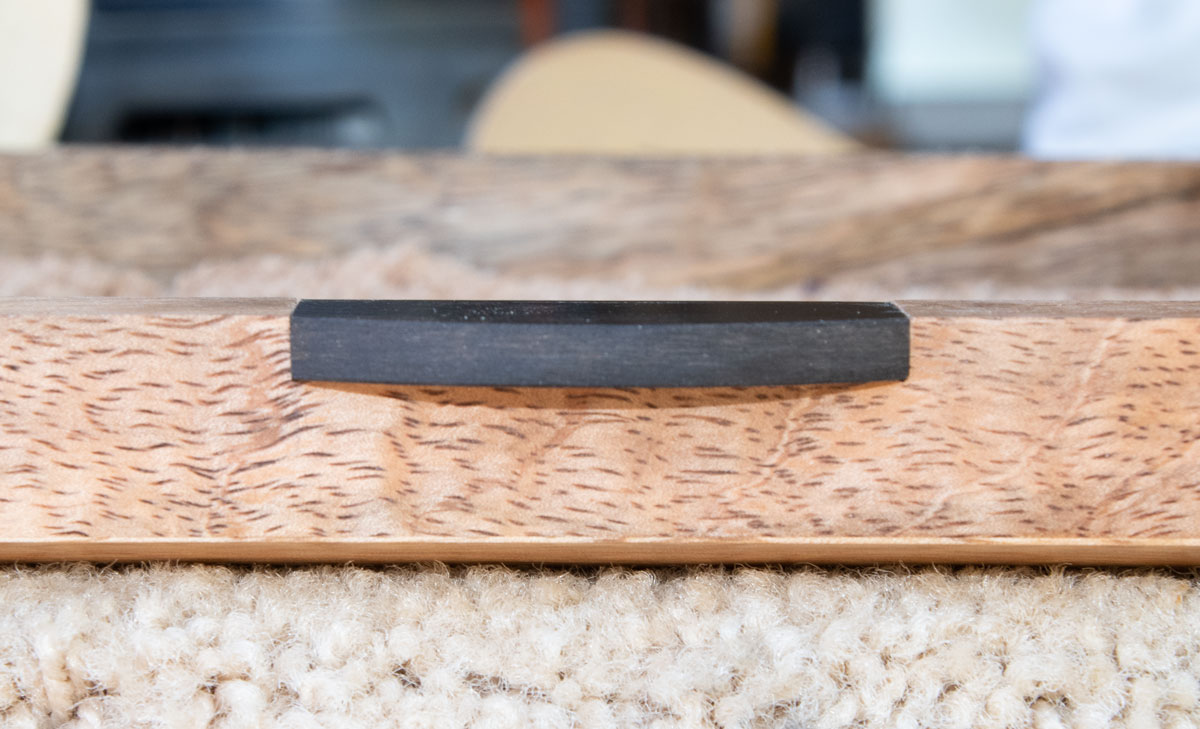
Route close to the knife marks but finish with a chisel. Here's what it looks like when glued in.
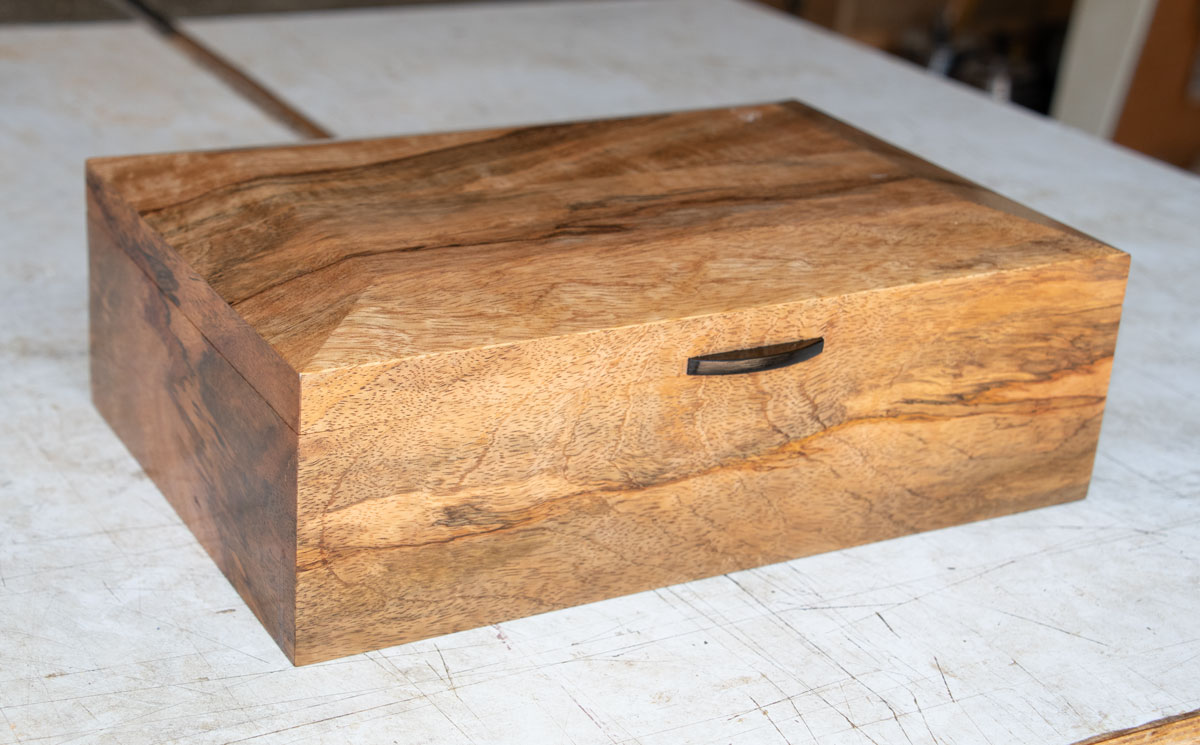
I put wax on the box and buff it.
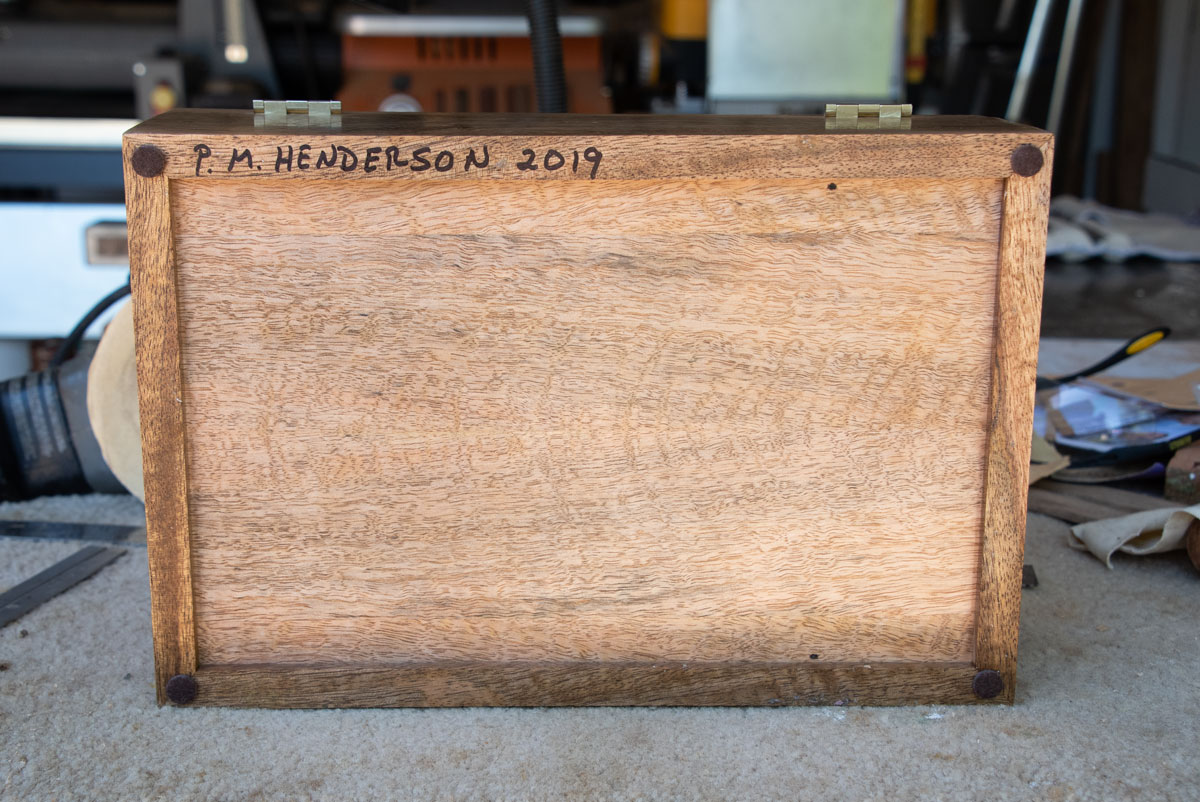
Finally, the most important task - apply felt feet and sign your work.
If you're going to use felt (or similar) to line the bottom of the box and the tray, here's a hint. Glue your felt to heavy paper (light cardboard) and then cut the felt/paper to fit. If you try to cut the raw felt you'll never get a good fit.
Back to my main page here.