Making a Basic Jewelry Box
Second Version
Continued
P. Michael Henderson
The four bevels we cut into the top have saw marks from the cuts. The bevels need to be sanded to be as smooth as the rest of the top. You have to be careful sanding them because you want the lines to be straight and crisp. If you just take a piece of loose sandpaper and try to sand them, you'll soften all the edges and your top won't look very nice.
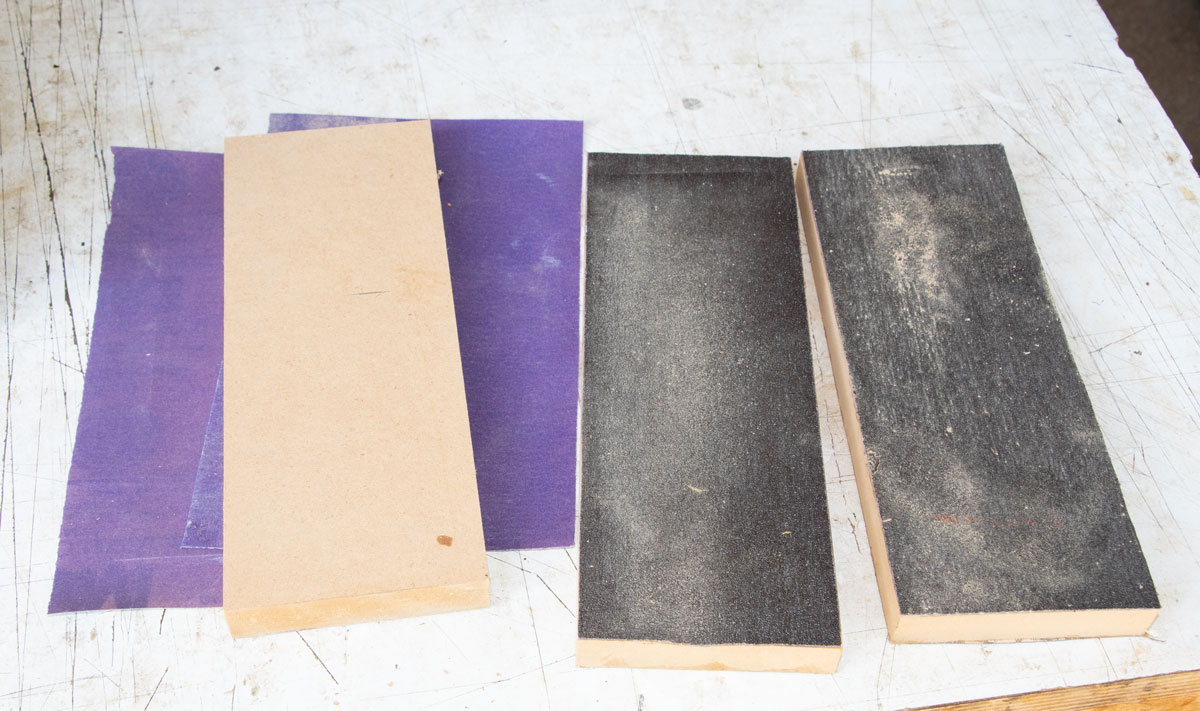
I have some sanding blocks that I've glued coarse sandpaper on to, and I start with those to remove the saw marks.

Then I have one sanding block with no sandpaper glued to it. I wrap finer sandpaper around the block and continue sanding, to remove the marks from the coarse sandpaper.
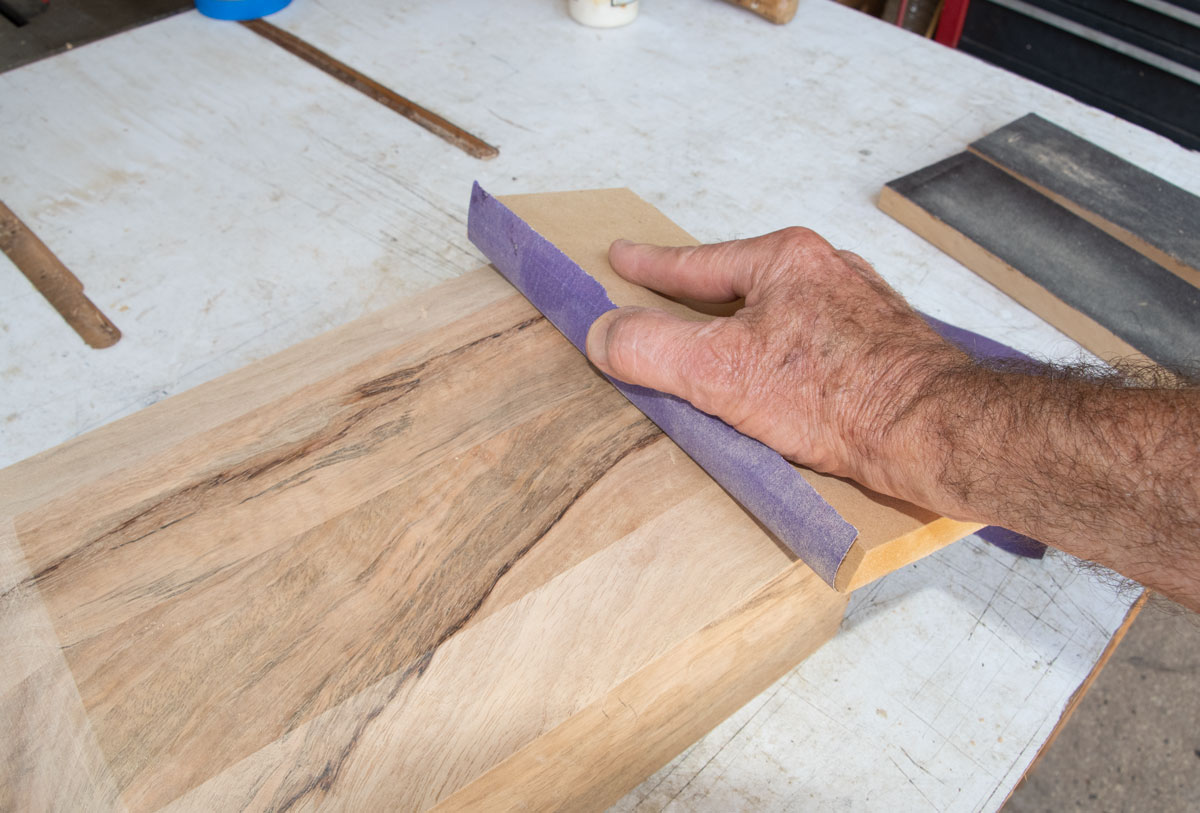
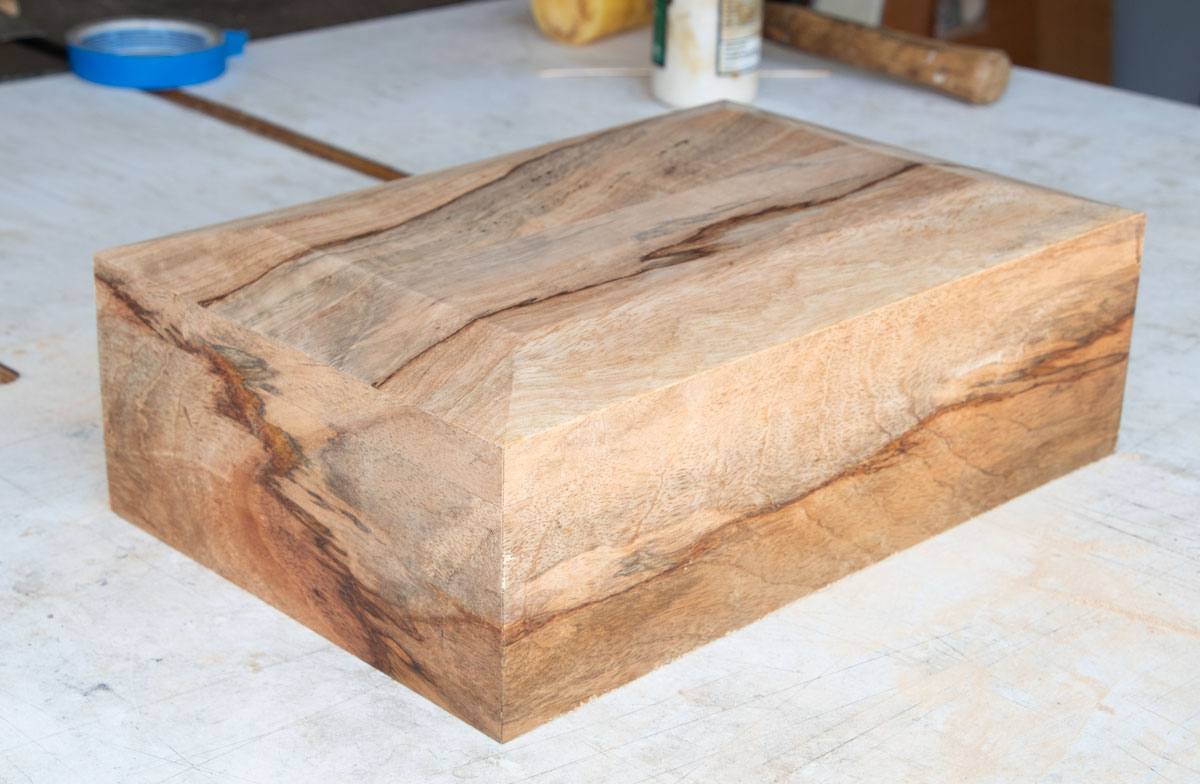
Be careful with the coarse sandpaper and don't take so much off that the sides are exposed on top. Here's the box with the bevels sanded.
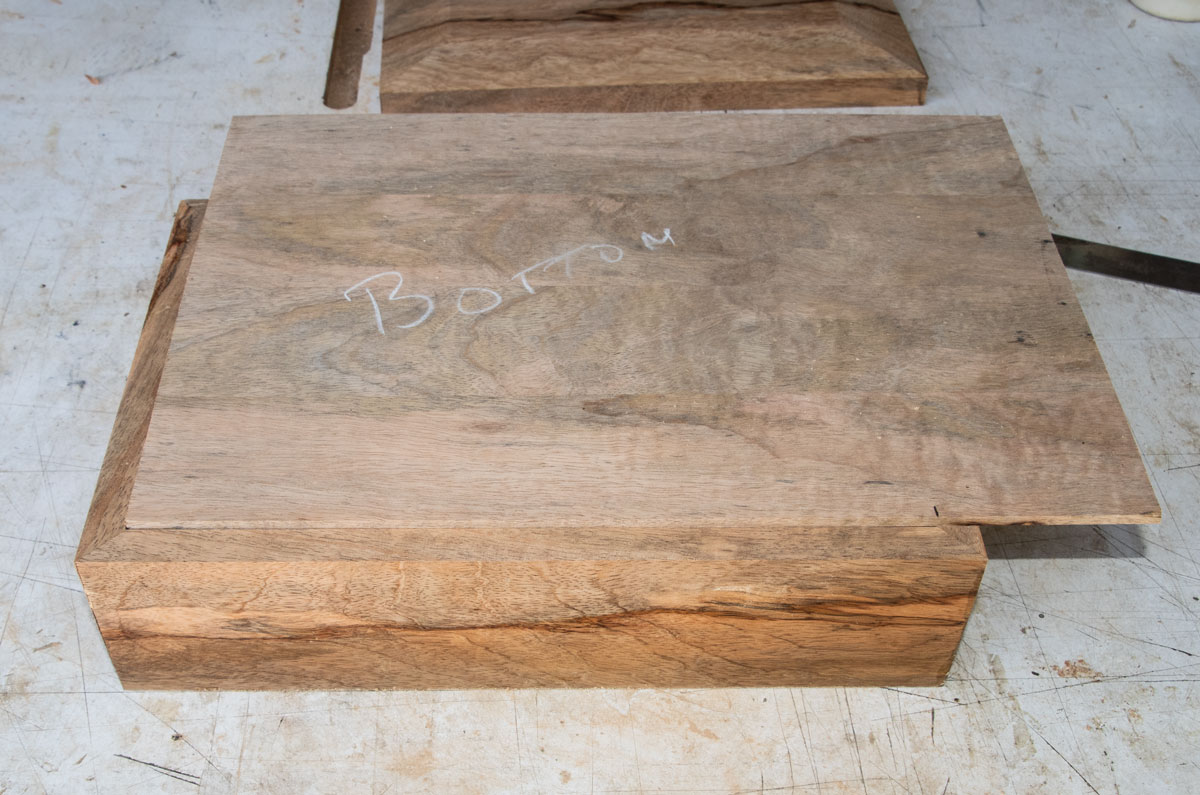
Next, I'm going to work on making the tray. I take the panel I made for the bottom of the tray and place it in the box to mark the length. You can see my mark on the right side of the picture.
I cut this panel to length with my miter saw.
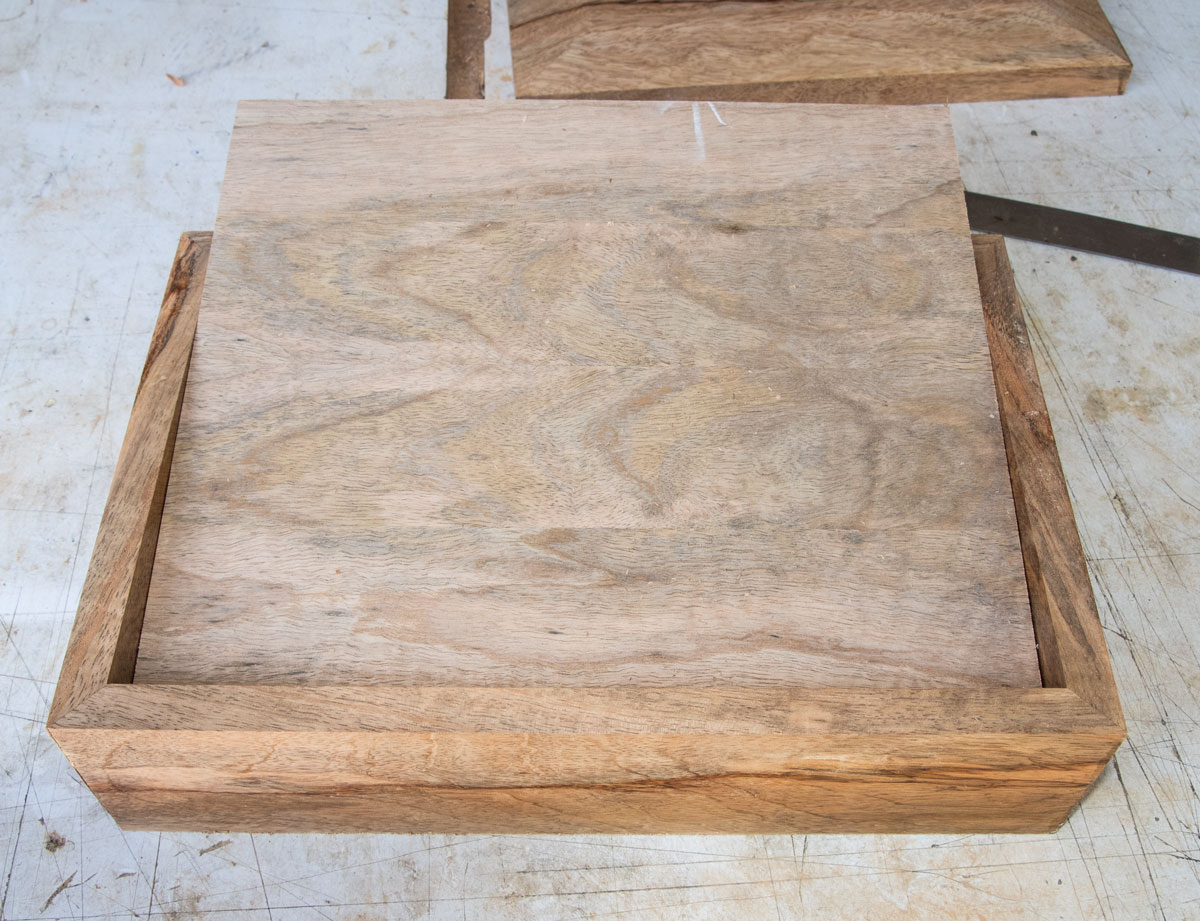
Now, I want to cut the panel to width. I glued up pieces to make the panel and I want one of the seams in the middle. So I mark the center of one side, line up the seam with that mark and then mark the width. My marks are shown at the arrows.
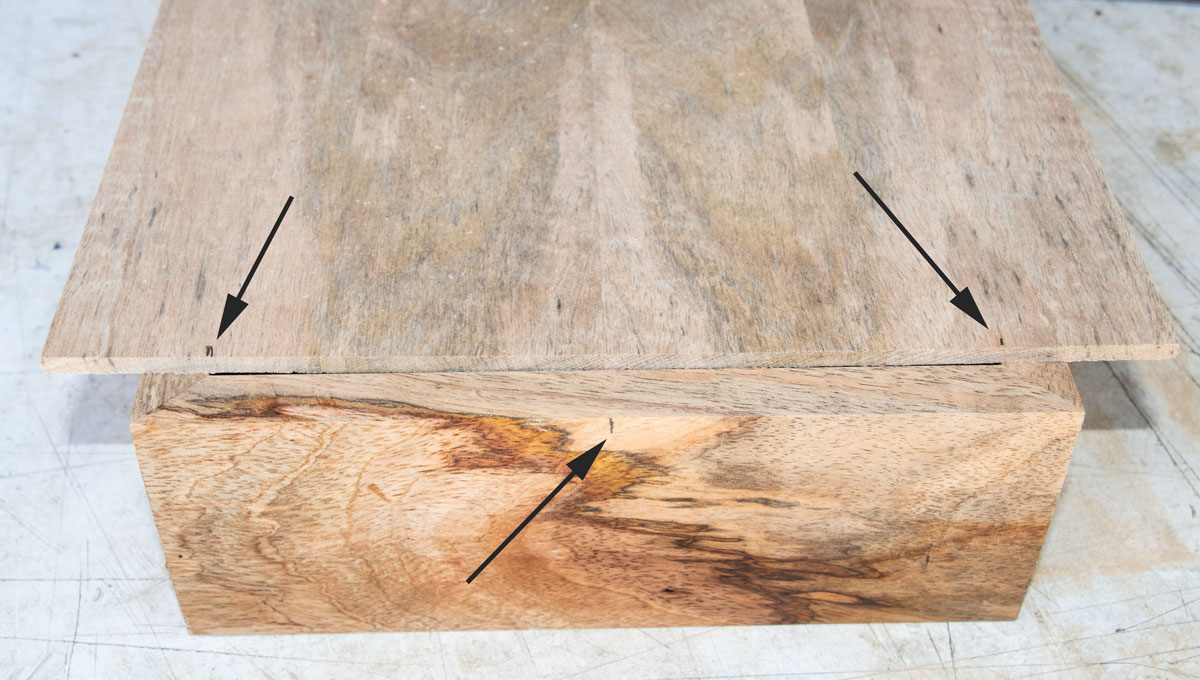
This is how it comes out. Although the panel is not rubbing on the sides, it is too tight, as is. The tray will act like a piston and it will be difficult to remove from the box because of air pressure. You need the tray to be a bit small so air can flow around it and the tray is easy to remove. We'll accommodate for that by making the sides a bit short. This also makes it easier when we attach the sides to the bottom - we don't have to be quite as critical in the alignment.
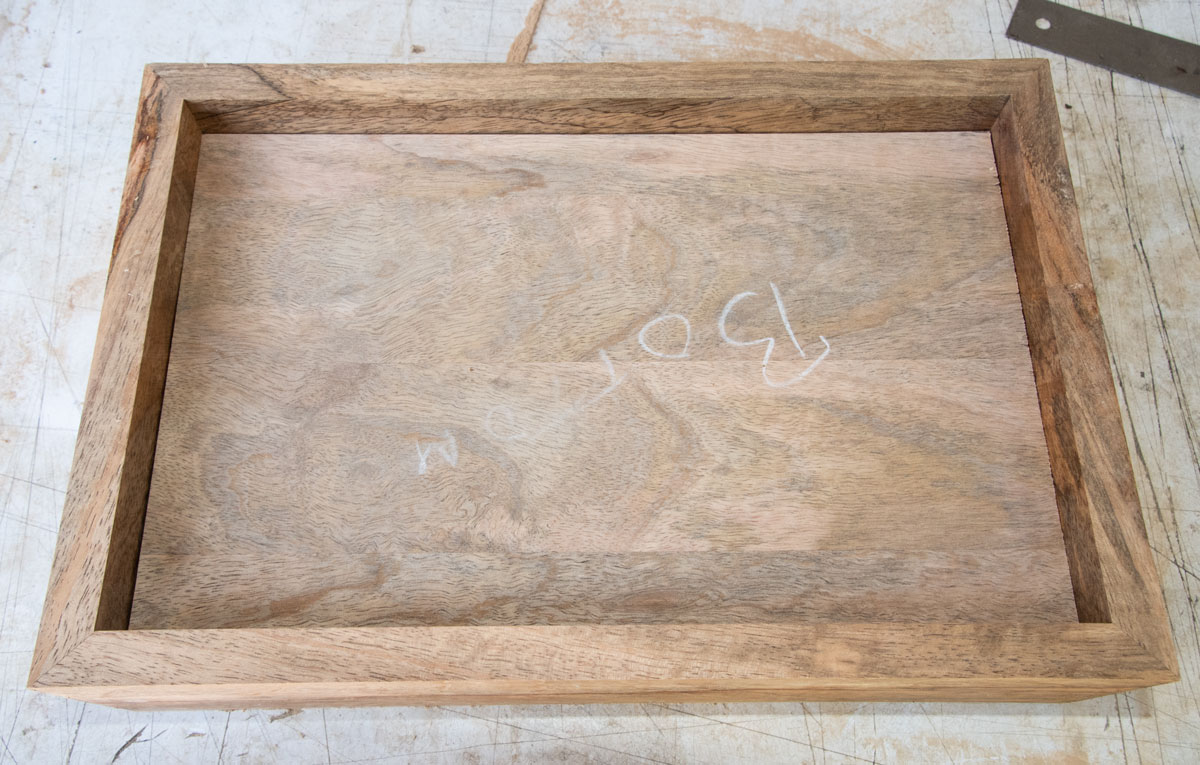
The first step in making the sides is to round over the top edge of the sides. I'm using a 1/8 inch roundover bit.
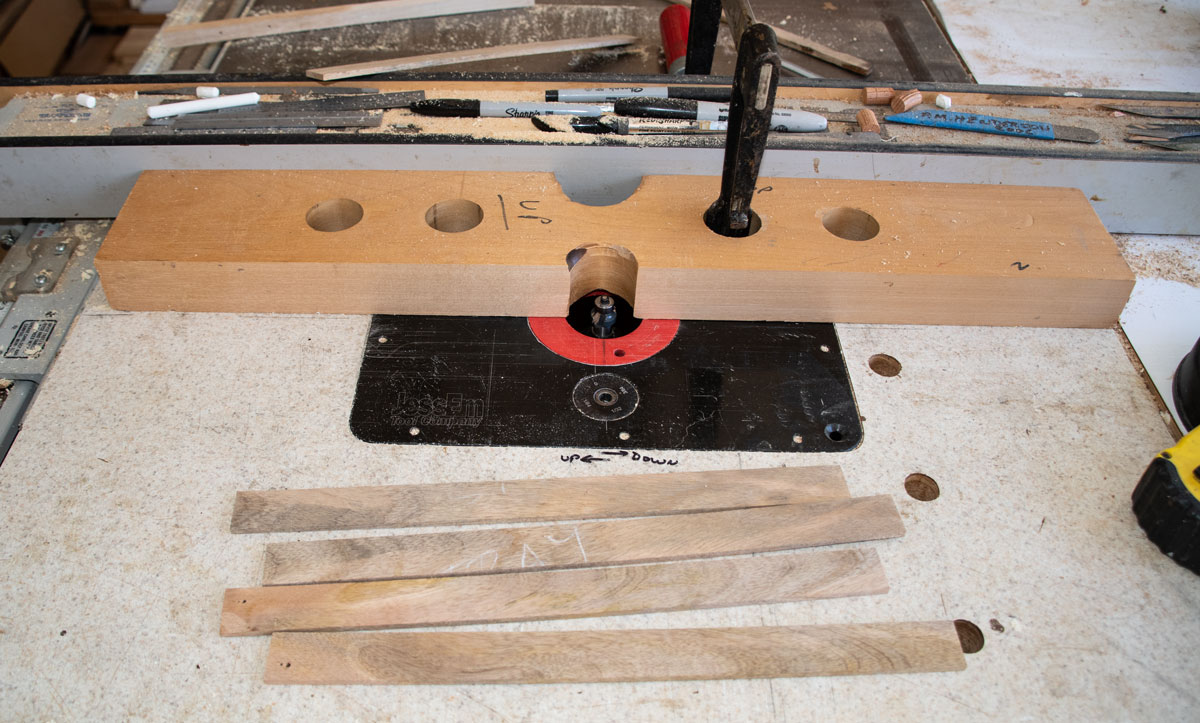
This is what the sides look like after rounding over one side.
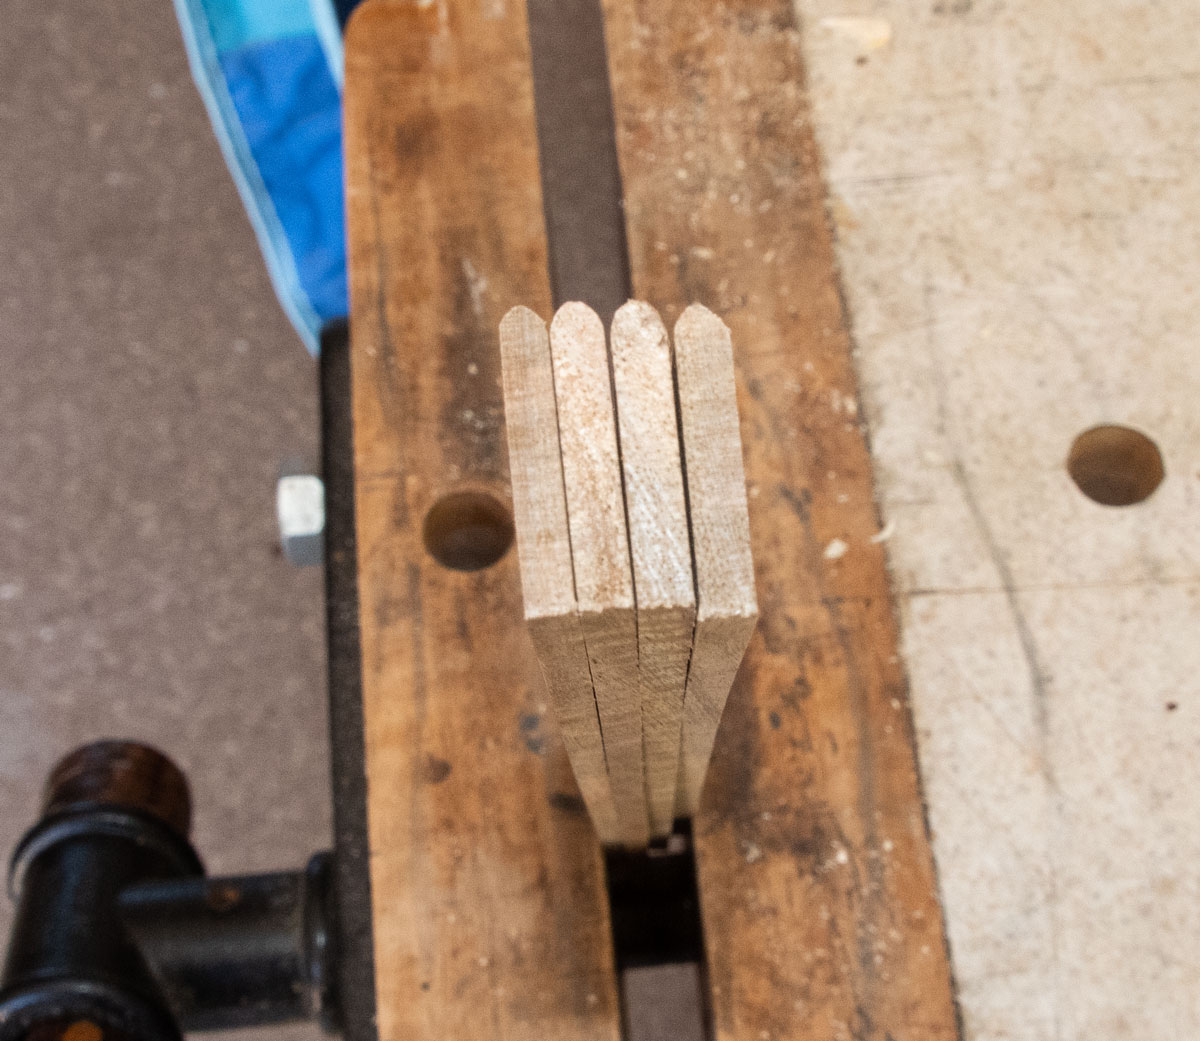
I'm going to cut the tray sides on my miter saw. You can do it on your table saw equally well.
I've put a backer board on my miter saw to help reduce tearout.
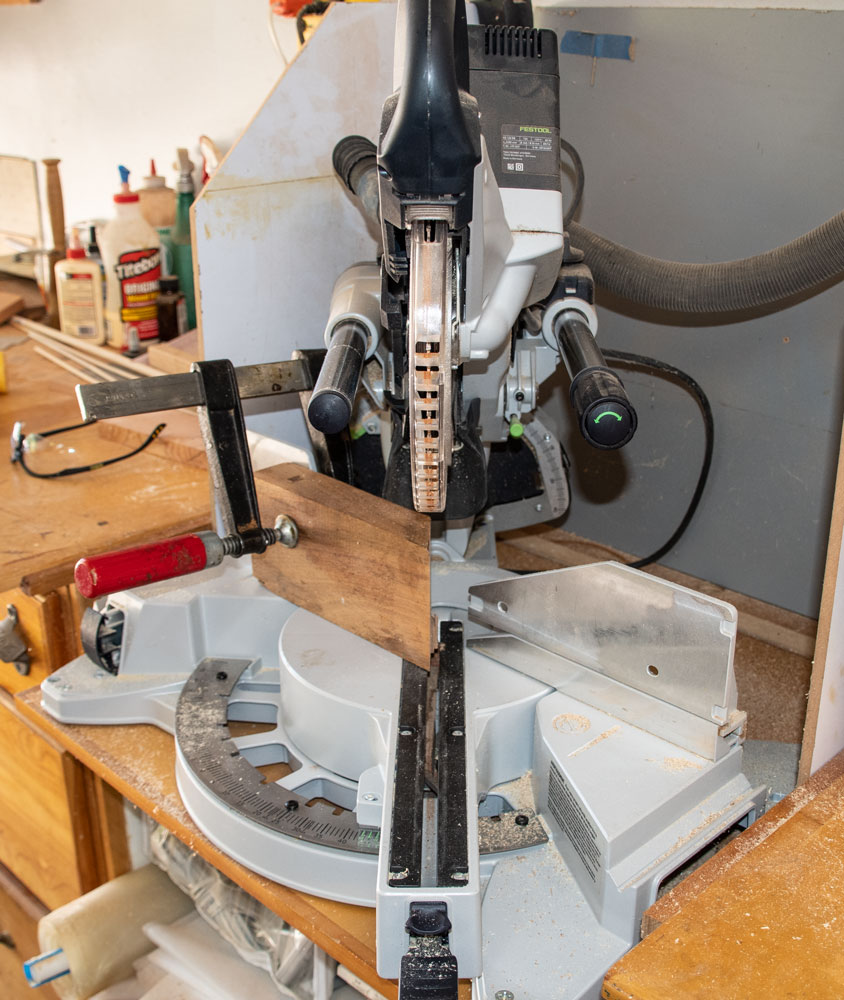
I mark the long side of the tray by laying one of the side pieces on the tray bottom. Remember that I said the tray bottom was too tight - so I want to make the sides a bit shorter. The amount I "short" the side is shown in the next picture.
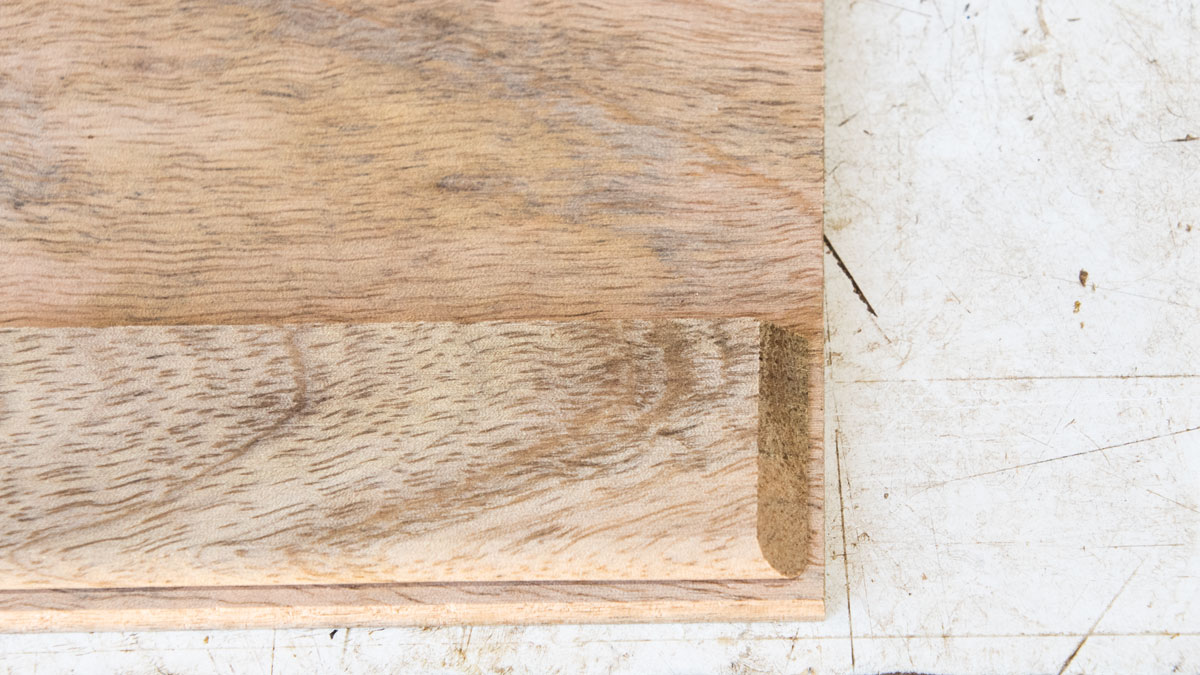
After I cut the other side, I want about this much "short" when I lay the side on the bottom. Once I get one side, I mark the other side from this first one. When I cut the other side I want to make sure the two sides are exactly equal in length. Don't pay any attention to the bevel on the left side of the bottom side here. I wanted to cut the end off and didn't want to change the miter saw back to 90 degrees.
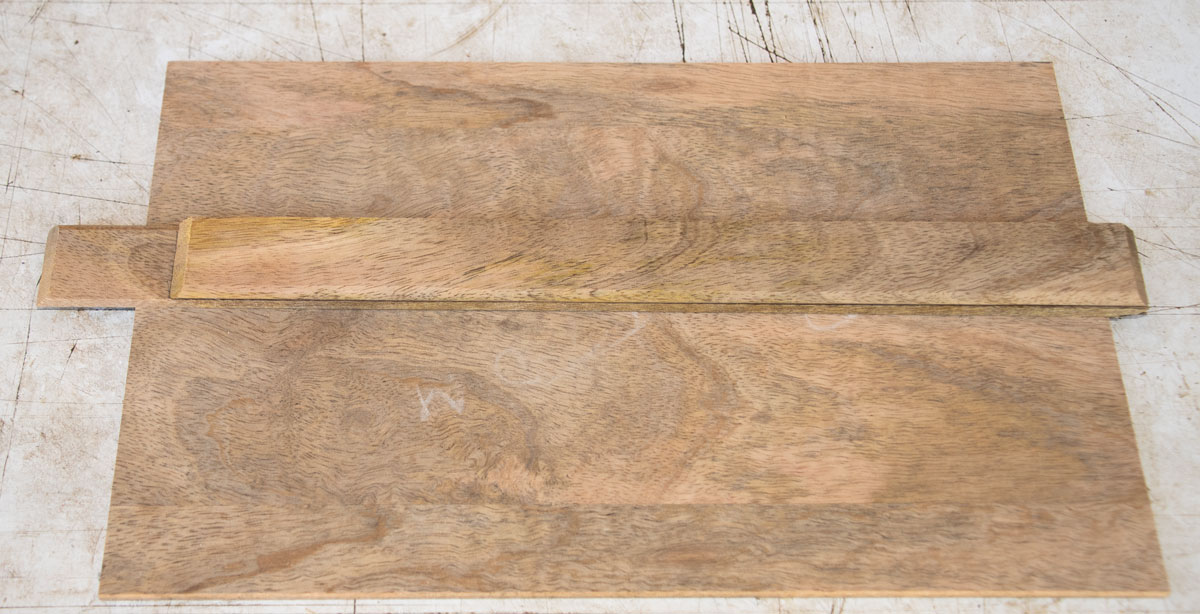
Do the short sides exactly the same, making them just a bit shorter than the bottom. Then you can put them together and see how they fit on the bottom.
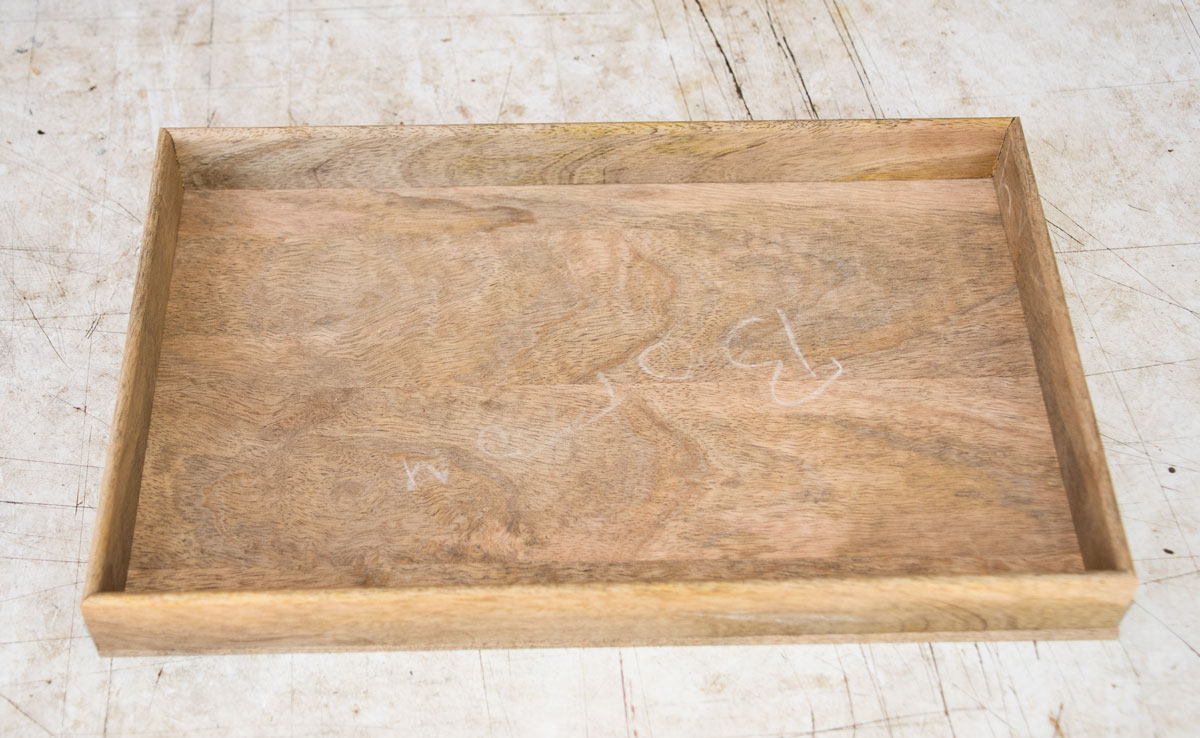
I'm going to put a piece across the center of this tray, so I have to cut a dado on each side piece. This is some tedious work:-)
I start by marking the center of the inside of the sides.
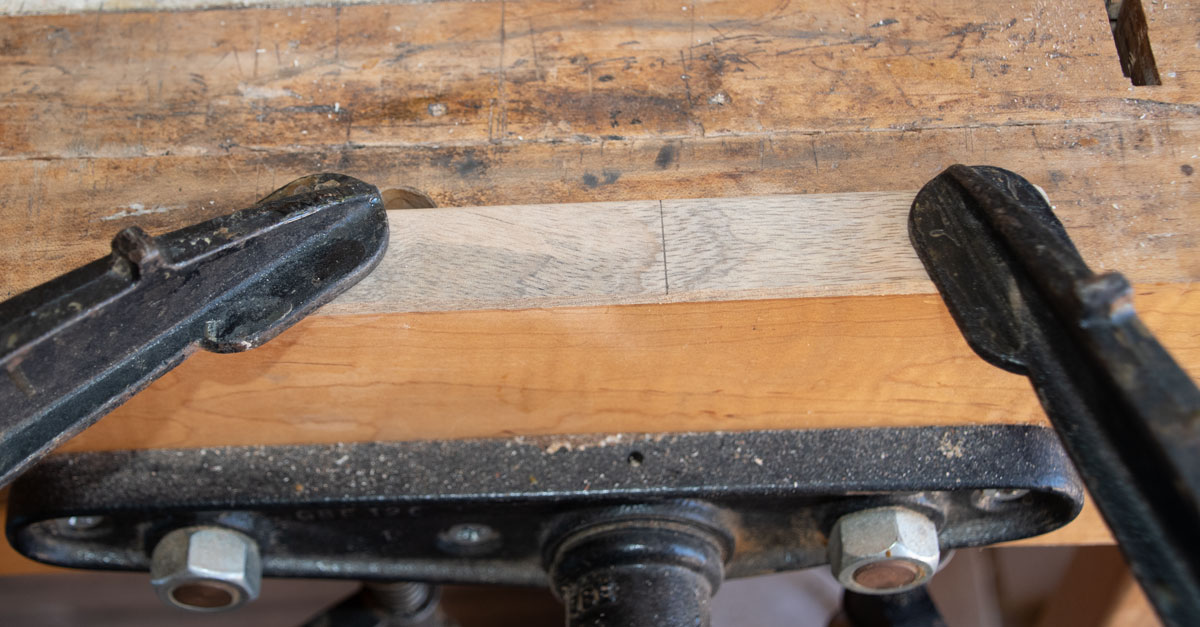
Then I stand the piece that will be the center on the center line and make a mark on each side - a very close mark. It's easier to fix a too narrow dado than a too wide one.

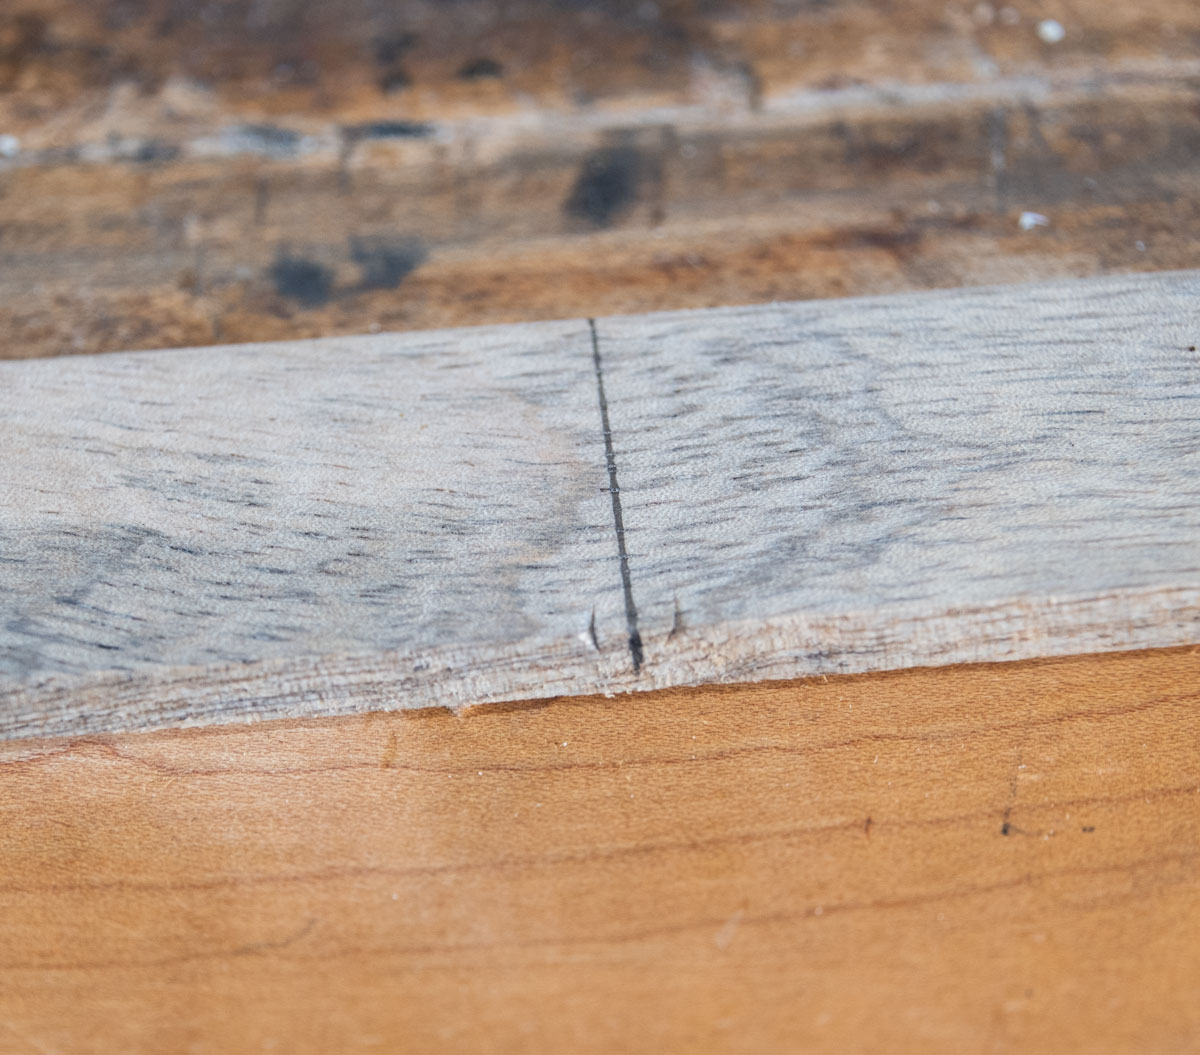
Here's what my marks look like.
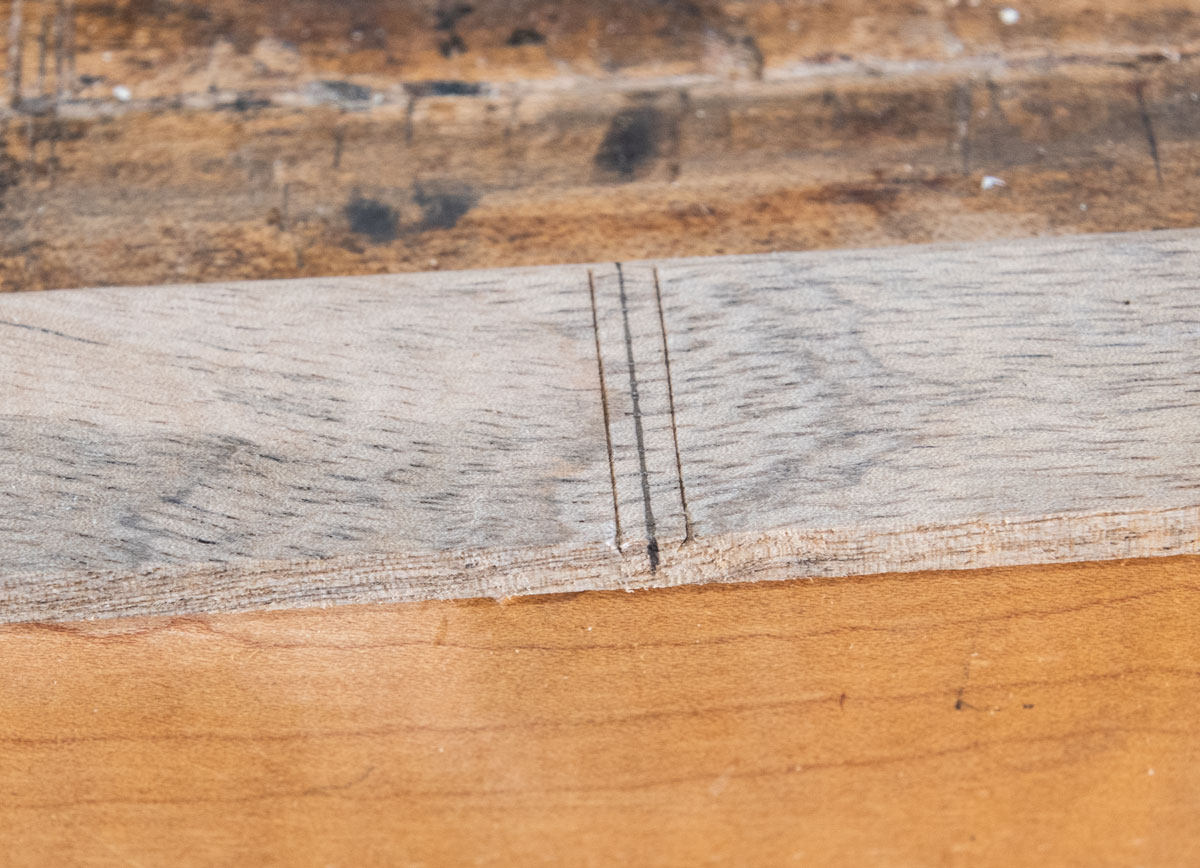
Then I use a double square and scribe a line with a marking knife. You want to cut a line so that you can register your chisel into that cut. It'll improve your accuracy.
Then I use a 1 inch chisel to make downward cuts in those lines, and a 1/8 inch chisel to clean out the waste.
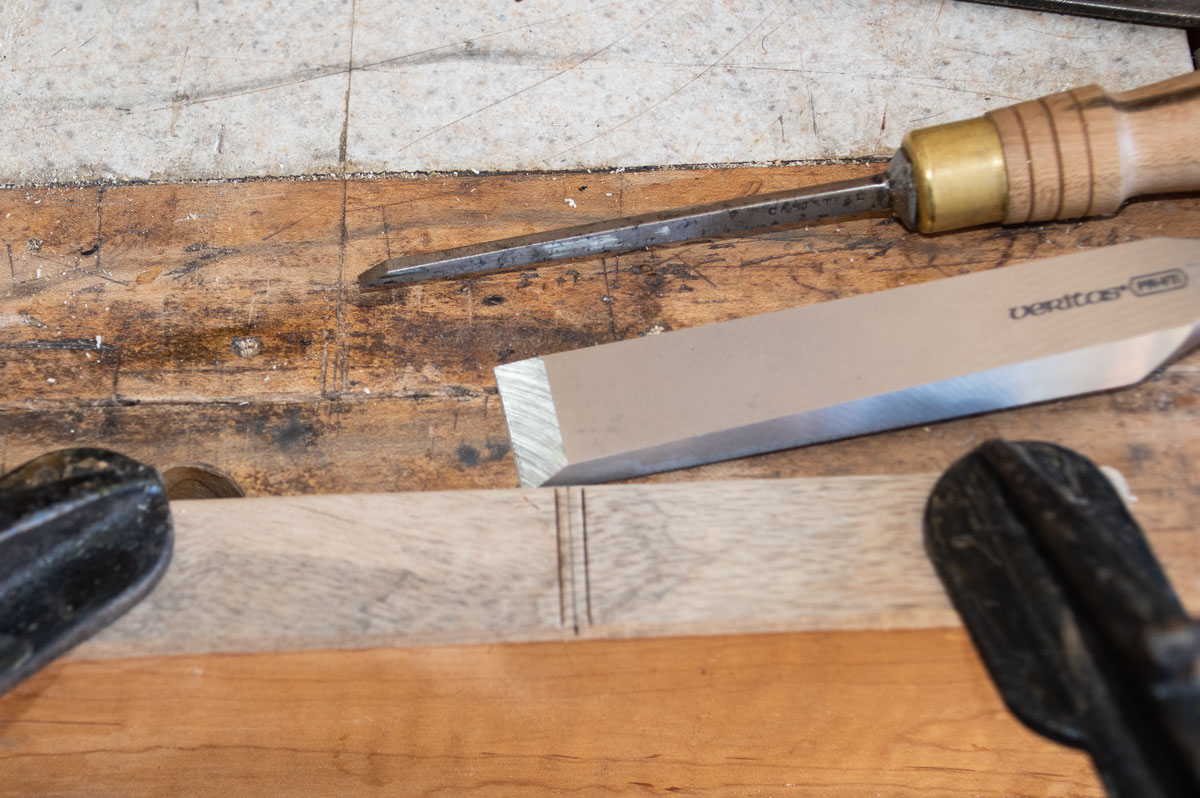
You need the dado to have a flat bottom and that's difficult with the 1/8 inch chisel. It's easy to have one end deeper than the other end. A solution is to use this small router plane - made by Lee Valley and not too expensive.
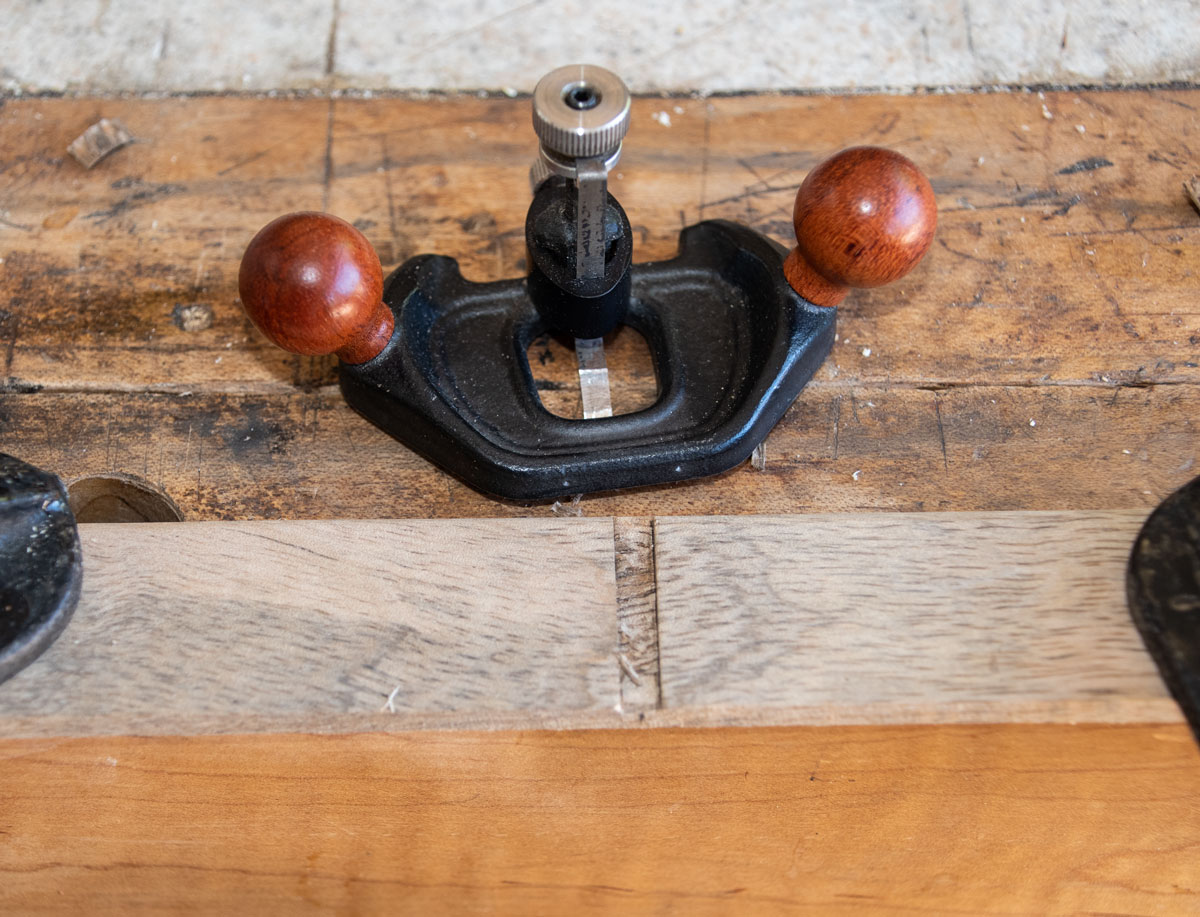
After routing, this is what the dado will look like.
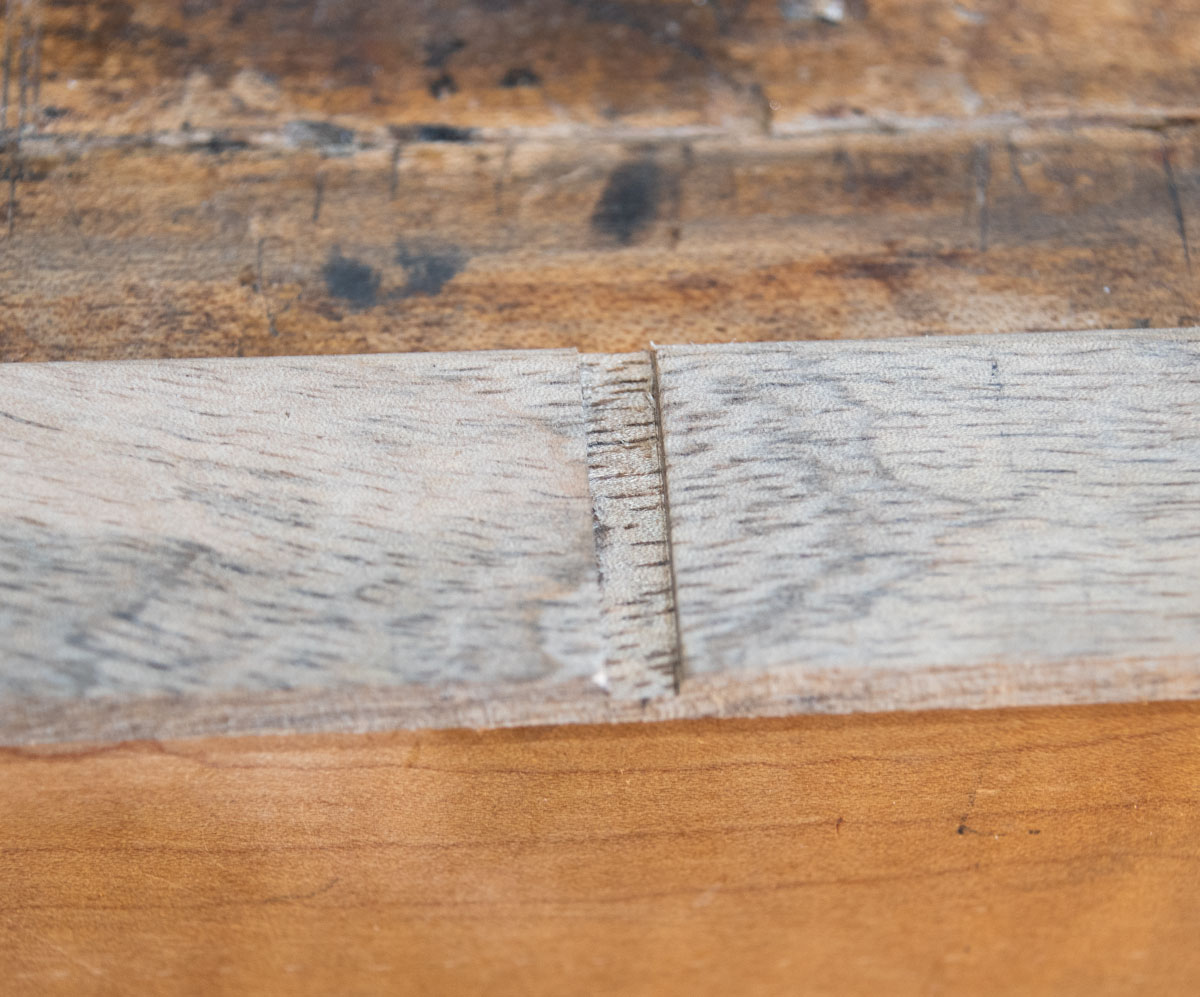
Here's the center piece of wood in the dado. If you make the dado too narrow, don't try to widen it - sand the end of the center piece to fit the dado. Usually you're only off a small amount so go slow with the sanding or you'll then have a loose fit.
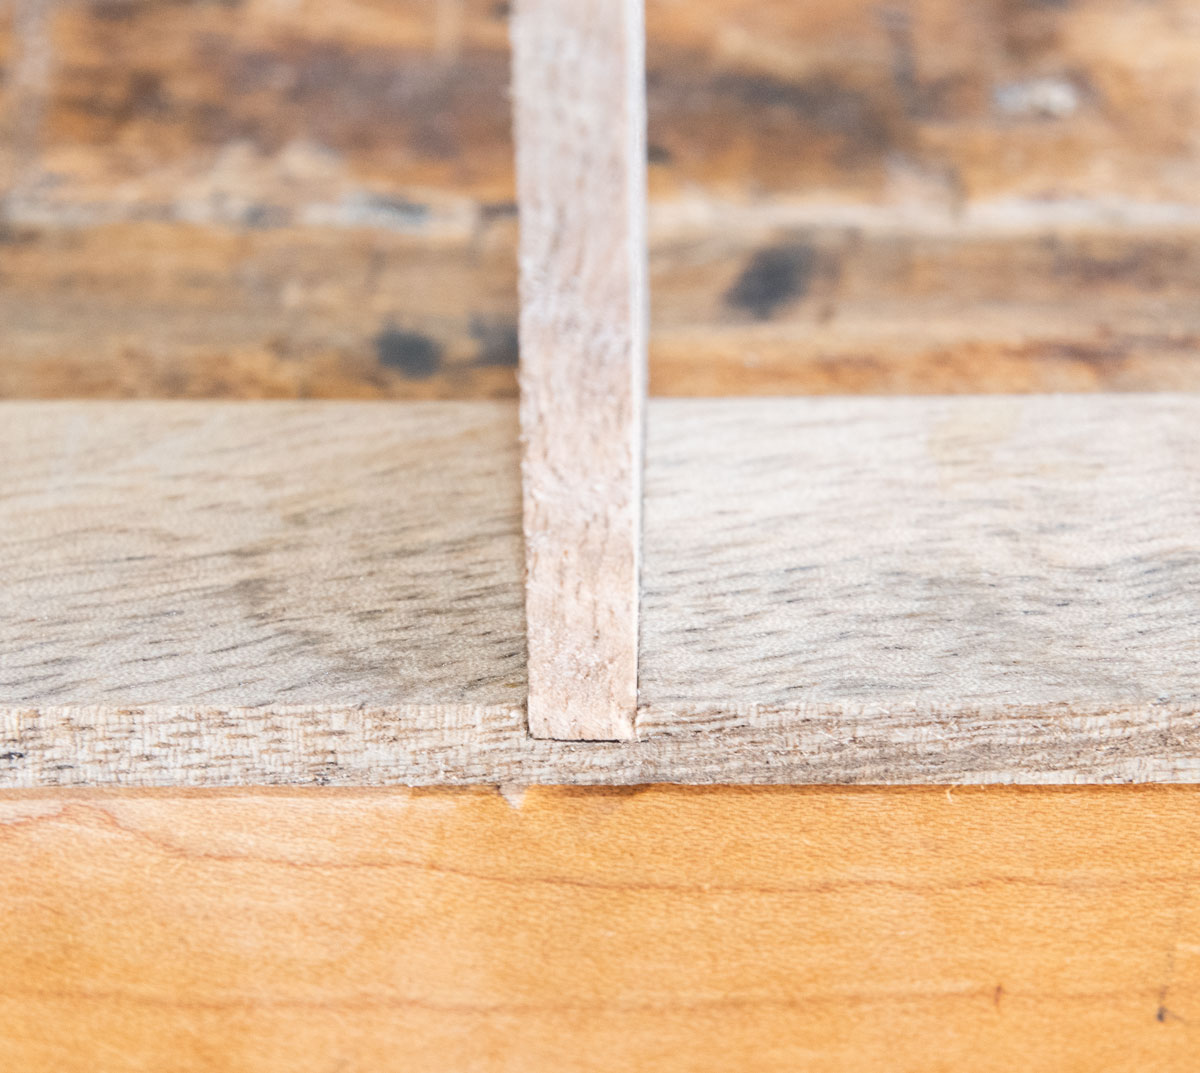
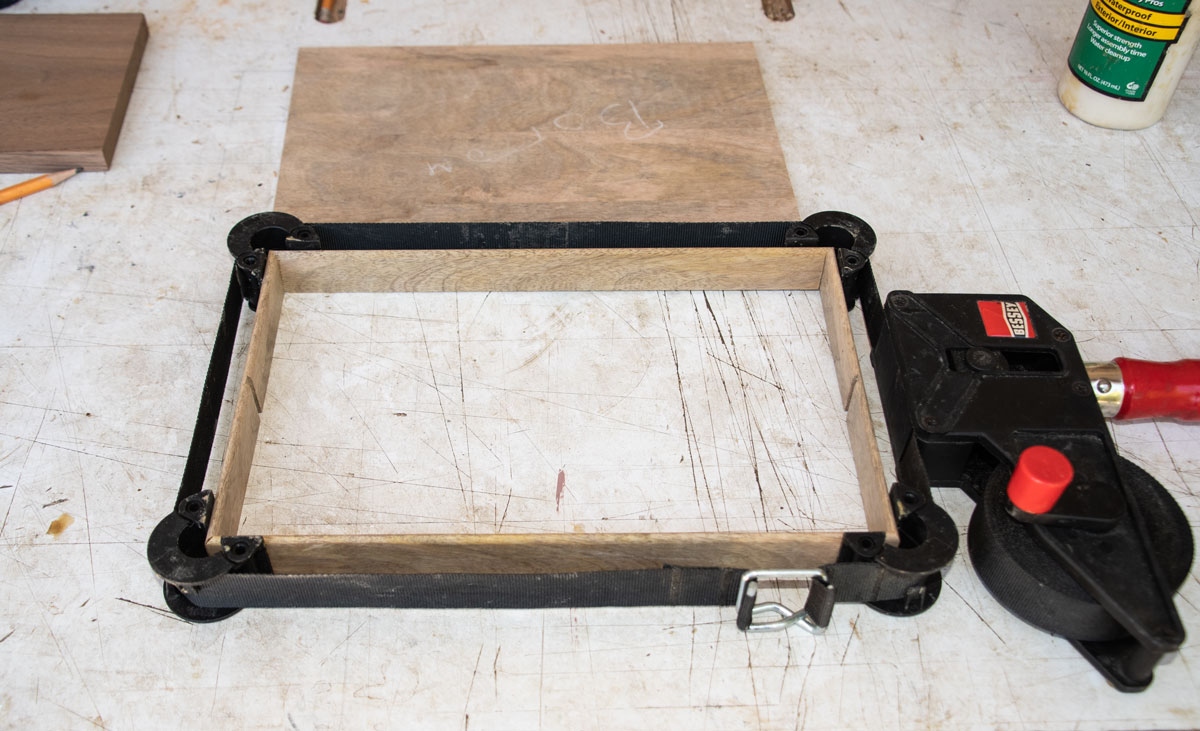
Do the other side the same way. Then glue up the sides.
The tutorial continues here.