Making a Basic Jewelry Box
Second Version
Continued
P. Michael Henderson
Now we can glue the top onto the box body. Our problem is to glue the top on without getting squeeze out on the inside - because we can't clean up the squeeze out, at least not until we cut the top off.
The top, itself, is now marked where it will fit onto the box, and I've marked the center of the sides of the box. Our challenge is to put the top on the box accurately without having to shift it around after it is put in place. If you have to shift very much, you'll have visible glue on the inside of the top.
I put a light bead of glue on the box, towards the outside.

Then I place the box onto the top, being careful to have it aligned with the marks on the top.

I carefully slide the unit to the edge of my bench and apply a clamp to hold it in place.
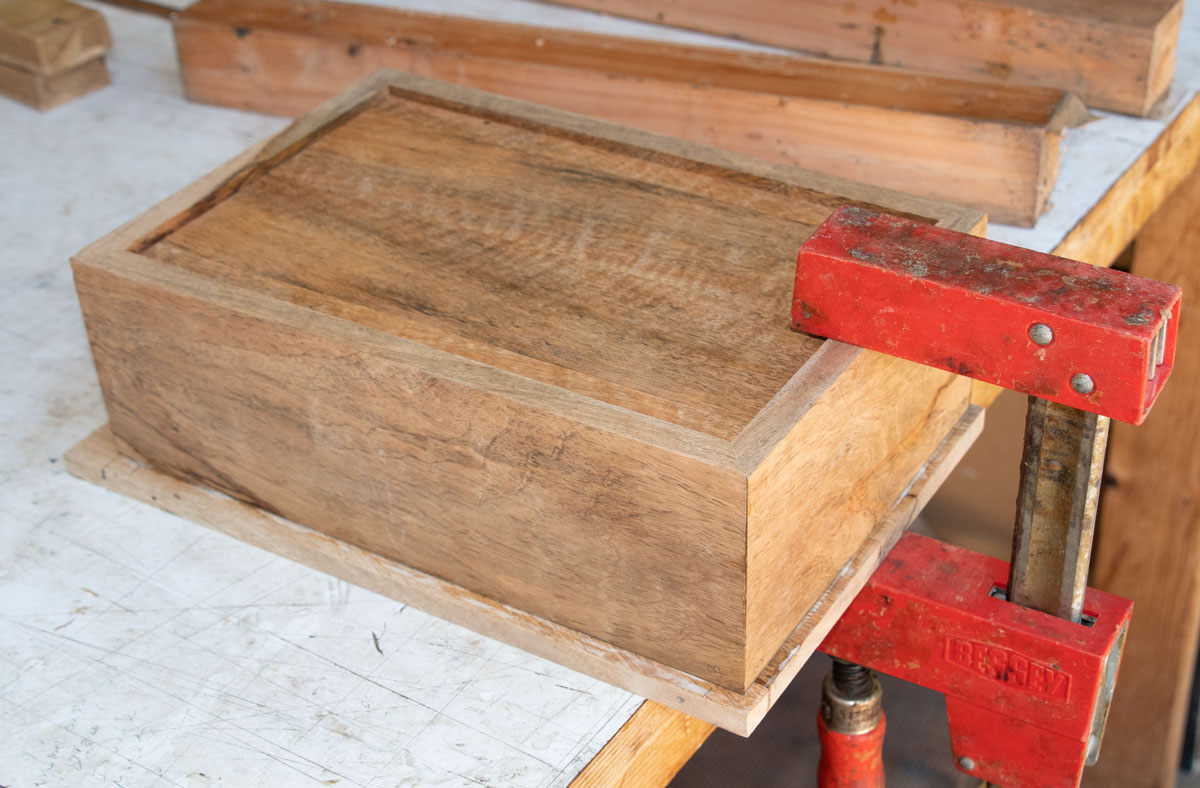
Now I can flip the unit and apply the other clamps without having the top move on me. Once I get the second clamp on, I'm sure it's not going to move.

Then apply the rest of the clamps and let the glue cure.

This is what it looks like with the glue cured, and out of clamps.
I'll now trim the top to close to the sides of the box. I trim all four sides as close as I dare, without cutting into the box, itself.
Here it is after trimming.

I use my portable sander with 60 grit sandpaper to sand the top down to the sides of the box. Note the two dots in the side of the top. These are nail holes - the wood is reclaimed. We'll have to see what this looks like when we bevel the top.

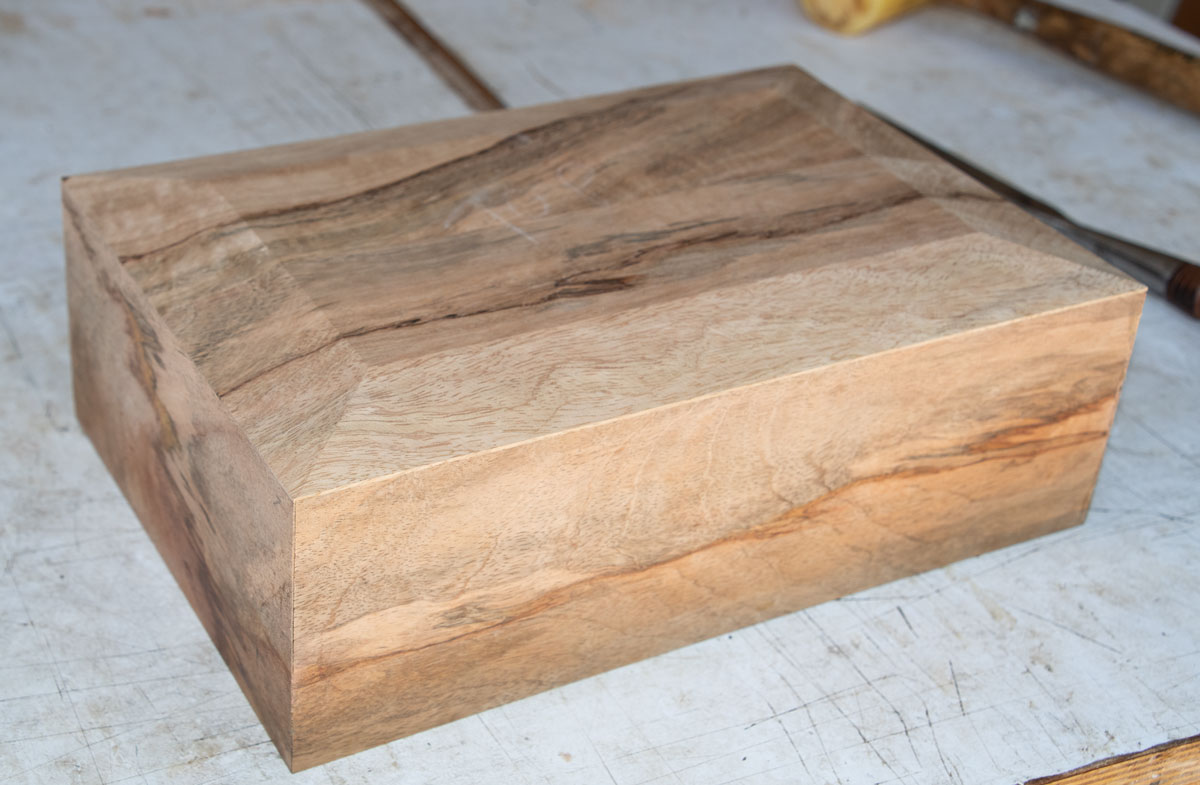
Here it is, ready for beveling the top.

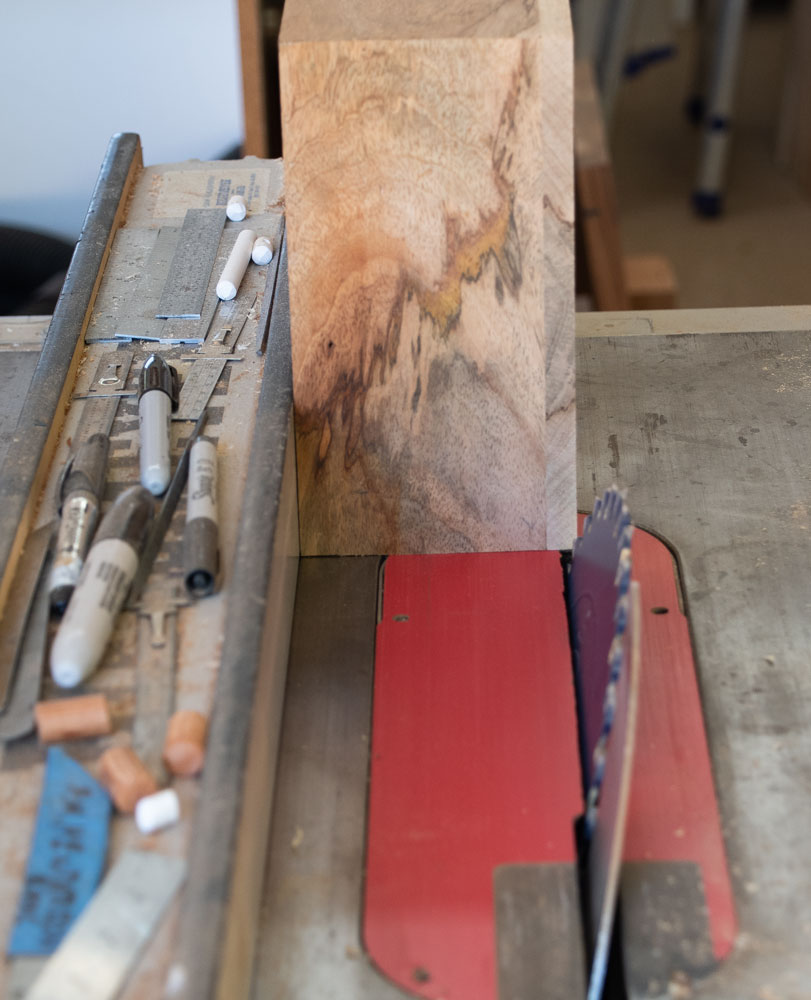
I'm going to use the table saw to bevel the top. I set the blade at about 15 degrees. A greater angle, maybe 20 degrees will give a "shorter" bevel, while a smaller angle, maybe 12 degrees, will give a longer bevel. I used to do 14 degrees but I'm going to higher angles. I'll probably go 16 or 17 degrees next time. One thing about going with a high angle is that you can repeat the cut with a lesser angle, but that won't work if you start with a lesser angle and want to go higher.

Sneak up on your cut. Just take a small amount off with your first cut and then adjust to take more.
Here's where I stopped. You want to leave a small amount uncut because you're going to have sand the bevels. If you cut right down to the sides, when you sand you'll sand into the side and it won't look very good.
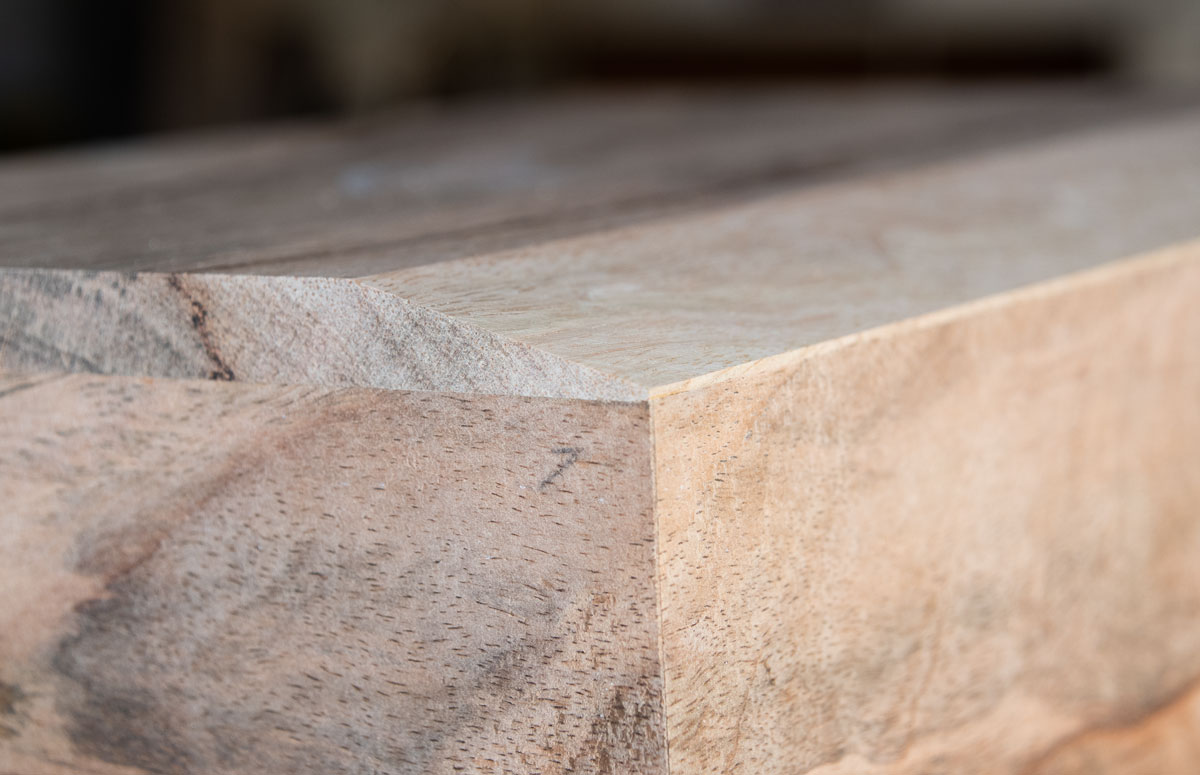
Here it is after I cut all four sides.
Next, we're going to cut the top off. I want to leave 3/4 inch of the sides on the top.
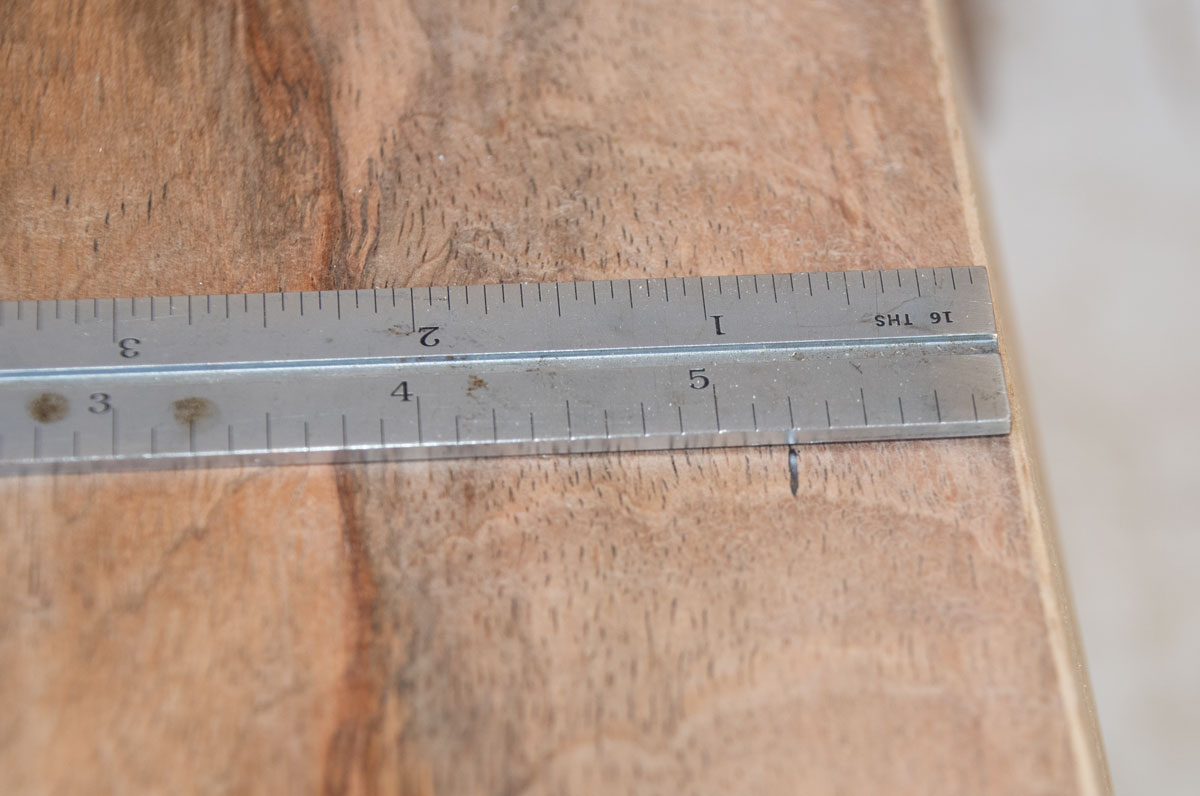
That mark is 3 inches from the bottom. Remember that we're referencing everything off the bottom.
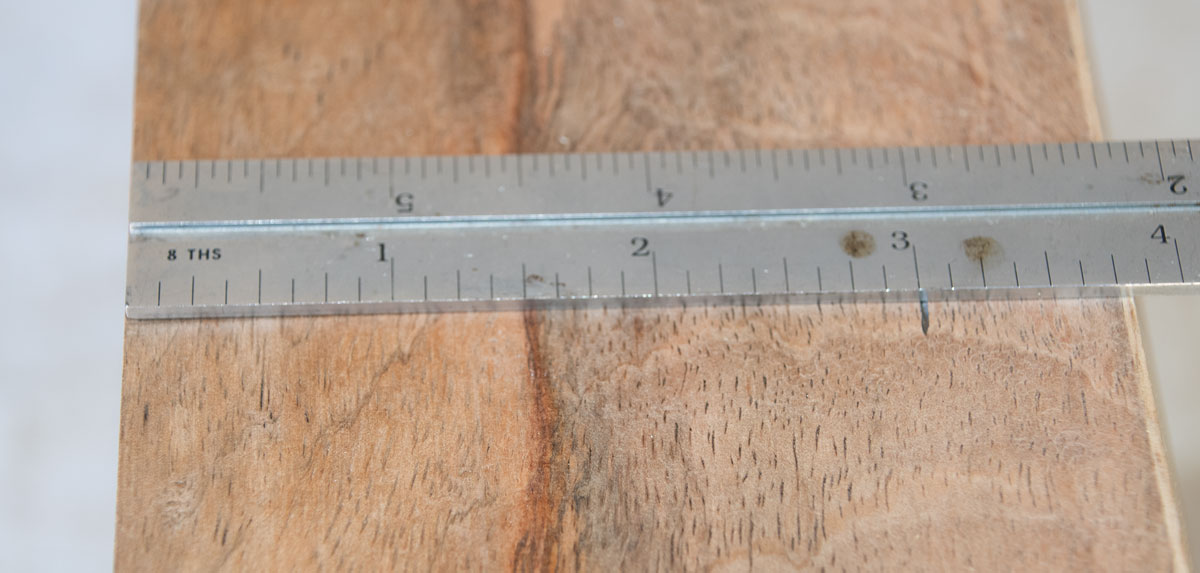
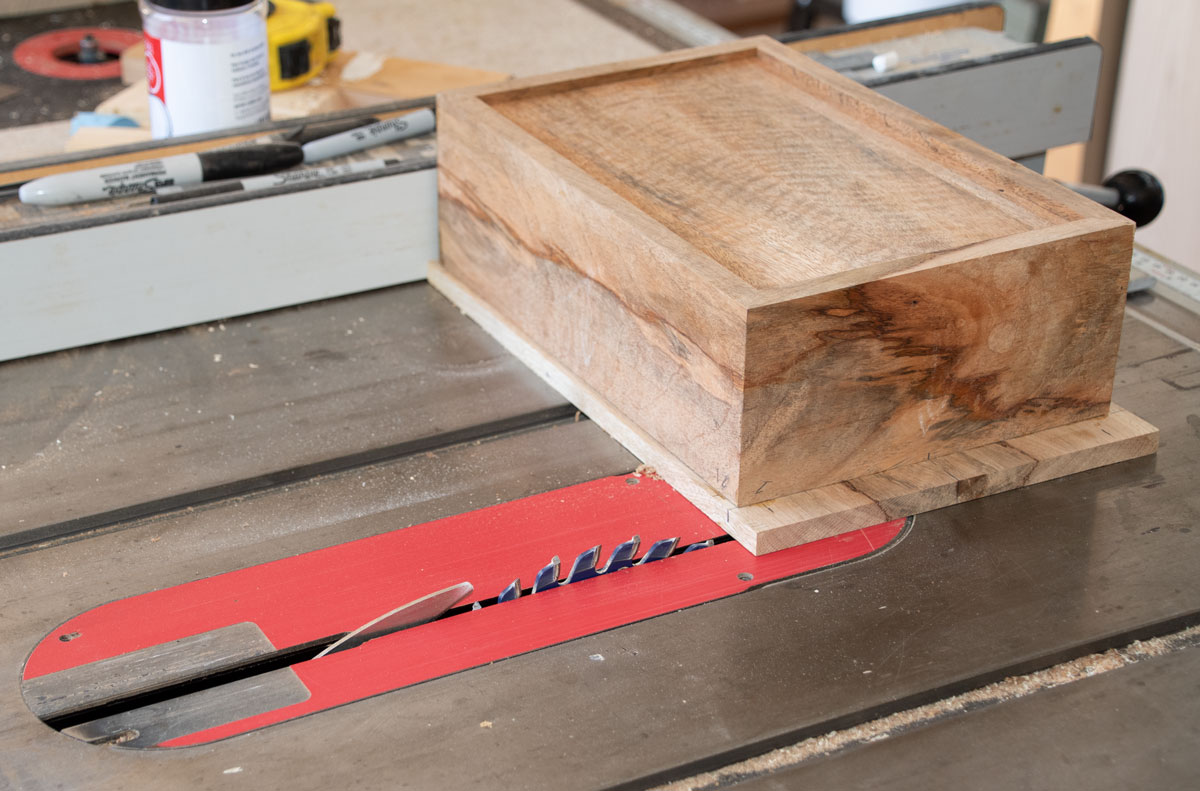
I change my table saw blade to a thin kerf blade. I set it 3 inches from the fence to the OUTSIDE of the blade. I use that piece of cutoff from when we cut the sides to set the height of the blade. I want it just higher than the thickness of the sides. The arrow points to the high tooth of the blade.

When you cut a top off, you have to have some way of keeping the top in place, especially when you make your last cut. One way to do that is to not cut all the way through the sides, and then finish with a hand saw. That approach works well.
What I do is cut all the way through but I put spacers in the saw kerf as I cut. The spacers are the thickness of the saw blade (and it's kerf).

Here I'm set up for the first cut. The order of cuts is do the two sides, then the front, and last the back. If one of the cuts is going to get messed up, it's always the last. So do the back last because if there's a problem it will be less likely to be noticed on the back.

Here's a spacer in this first cut.
When you make your cuts, keep good downward pressure. If the box rocks it will really screw up the cut. Keep light pressure towards the fence. Here's the box after making all four cuts. Notice that the spacers are on the sides and the front, which is the order of my cuts. No spacer in the back because that's the last cut.

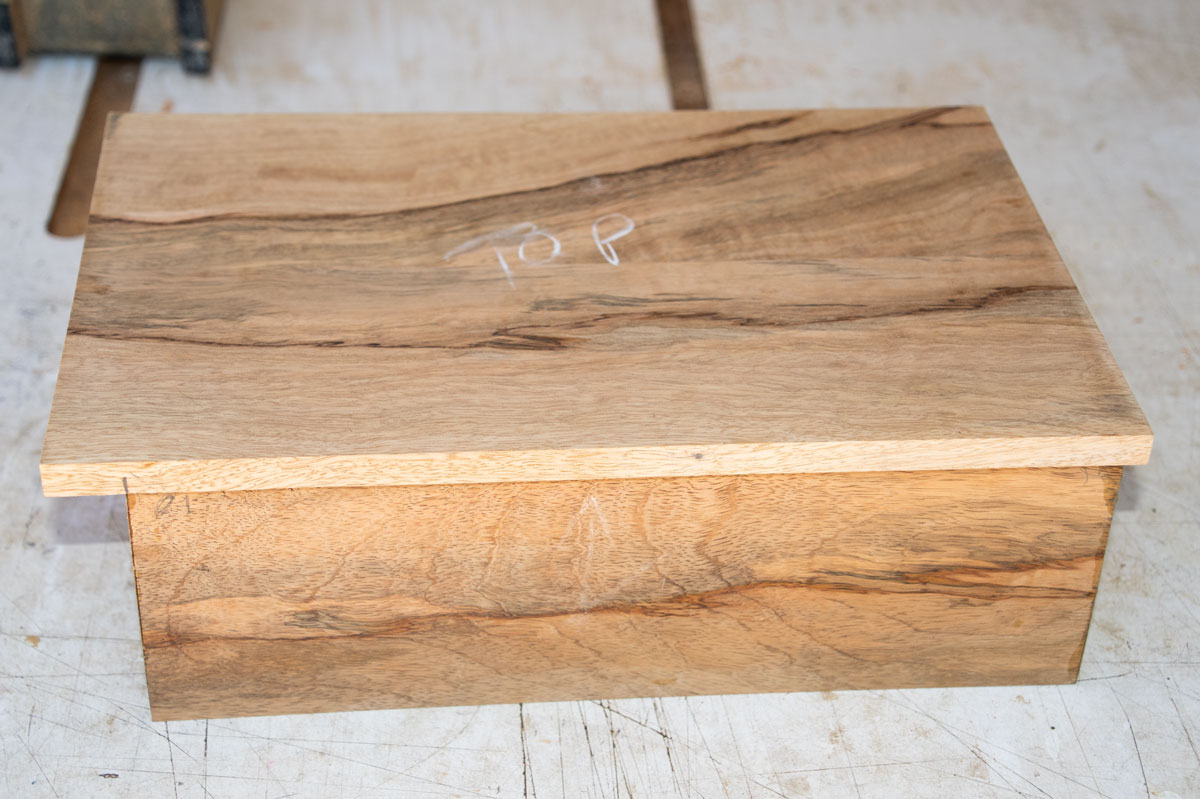
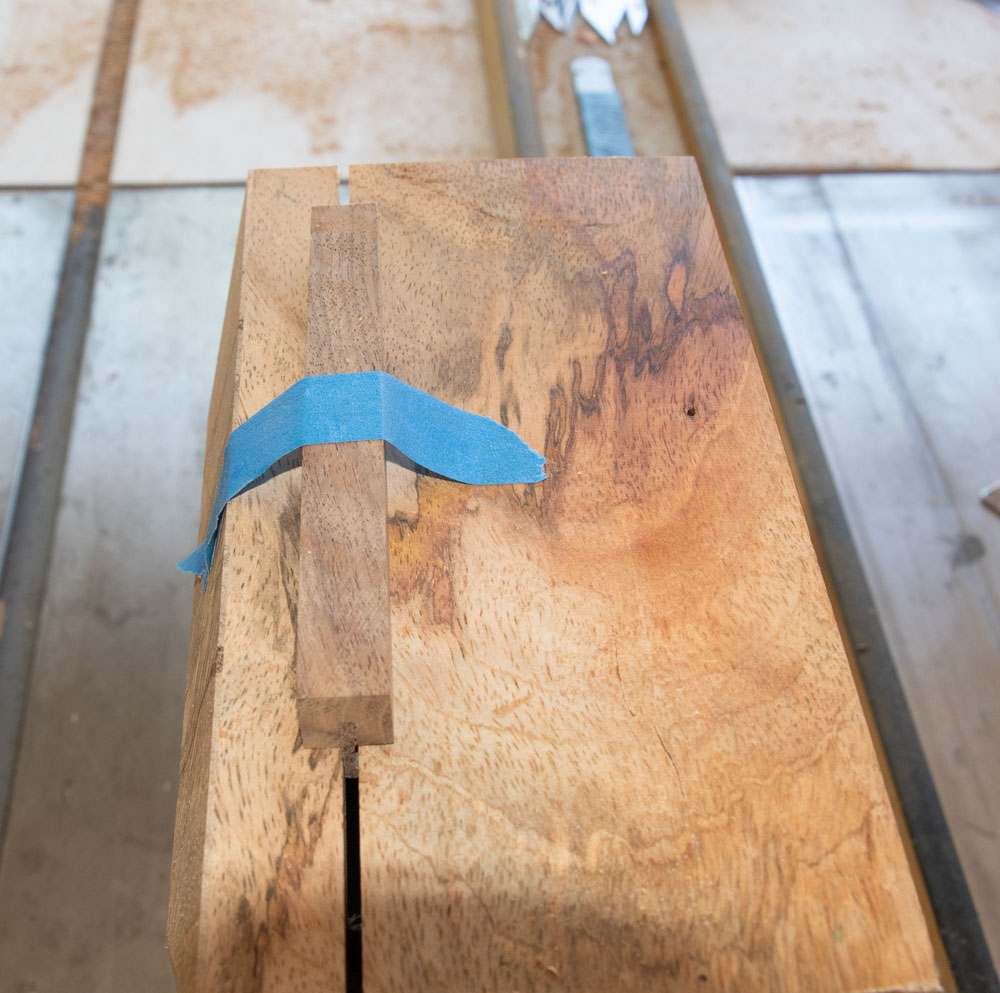
One thing I forgot to mention earlier is that you should mark one side (I did the back) just so you don't reverse the top. If you reverse the top, the grain figure won't match between the top and sides. While we're looking at the back, notice that those two nail holes were completely removed by the bevel cut on the top. I got lucky!
Here's view into the inside of the top. We didn't have any squeeze out.
Next is an important but boring and difficult task. Sanding the top and box down FLAT. You do this exactly as I described earlier. Don't try to cheat and press down on the corner(s) where you still have pencil marks. If you do, the surface will not come out flat and you'll have spaces between the top and the sides.
Think of it this way: This box could become a family heirloom and stay in the family for a hundred years. If so, for those next hundred years your descendants will see those gaps. If you spend a bit more time doing it right you'll have a perfect fit and for that next hundred years your descendants will marvel at your woodworking skills.

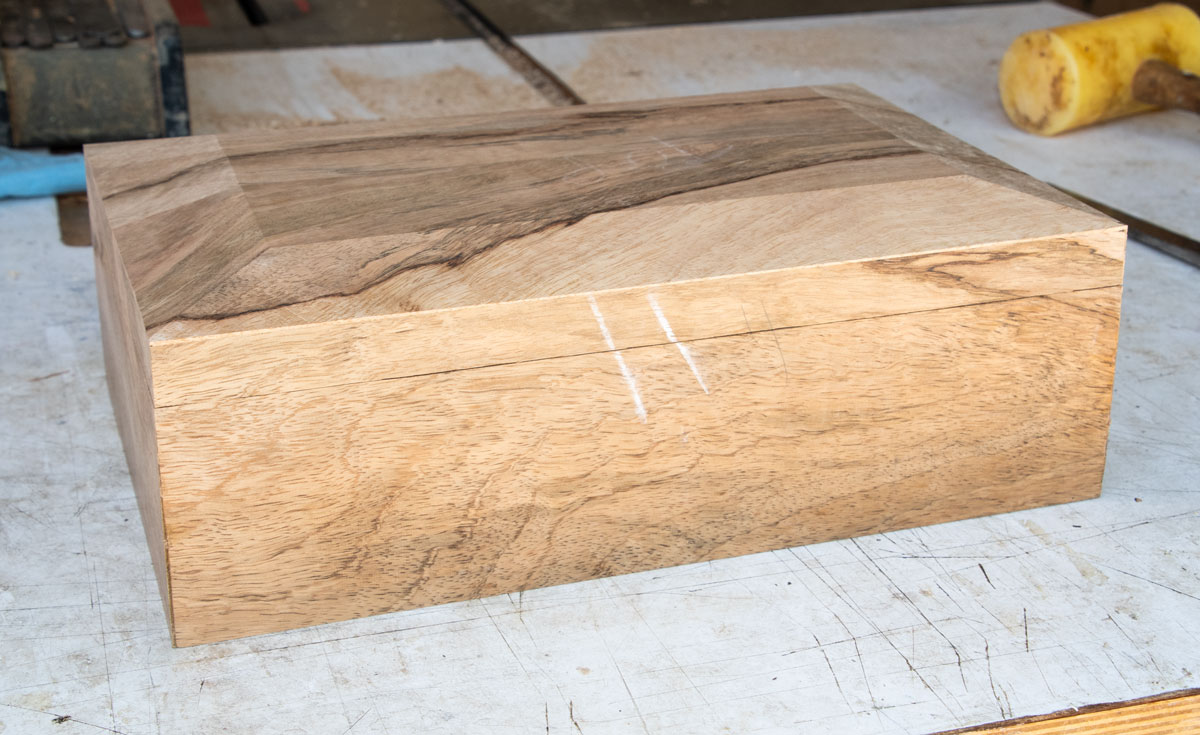
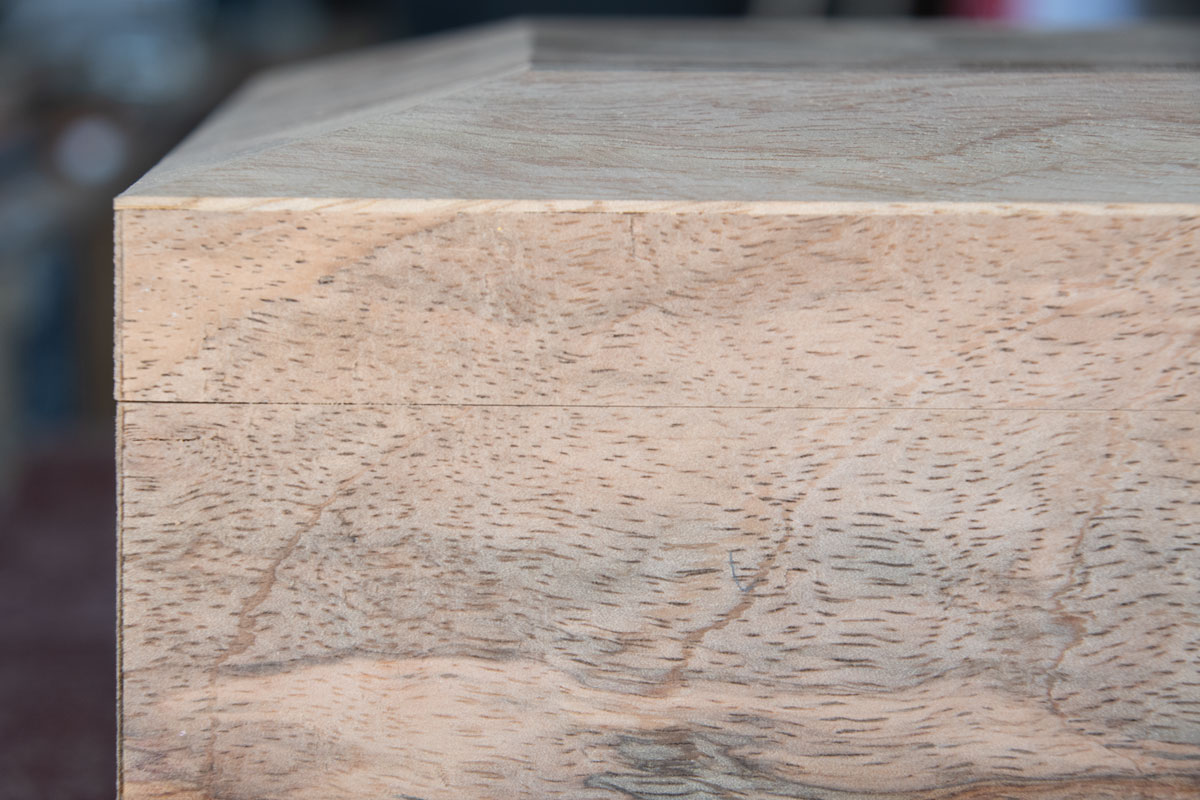
Here's the box after I sanded the top and the box on the sanding board. You can barely see the line where the top meets the sides.

A closer look. It's easy to over sand the corners - you can see it did just a bit. But I'm satisfied with this fit. You have to stop somewhere:-)
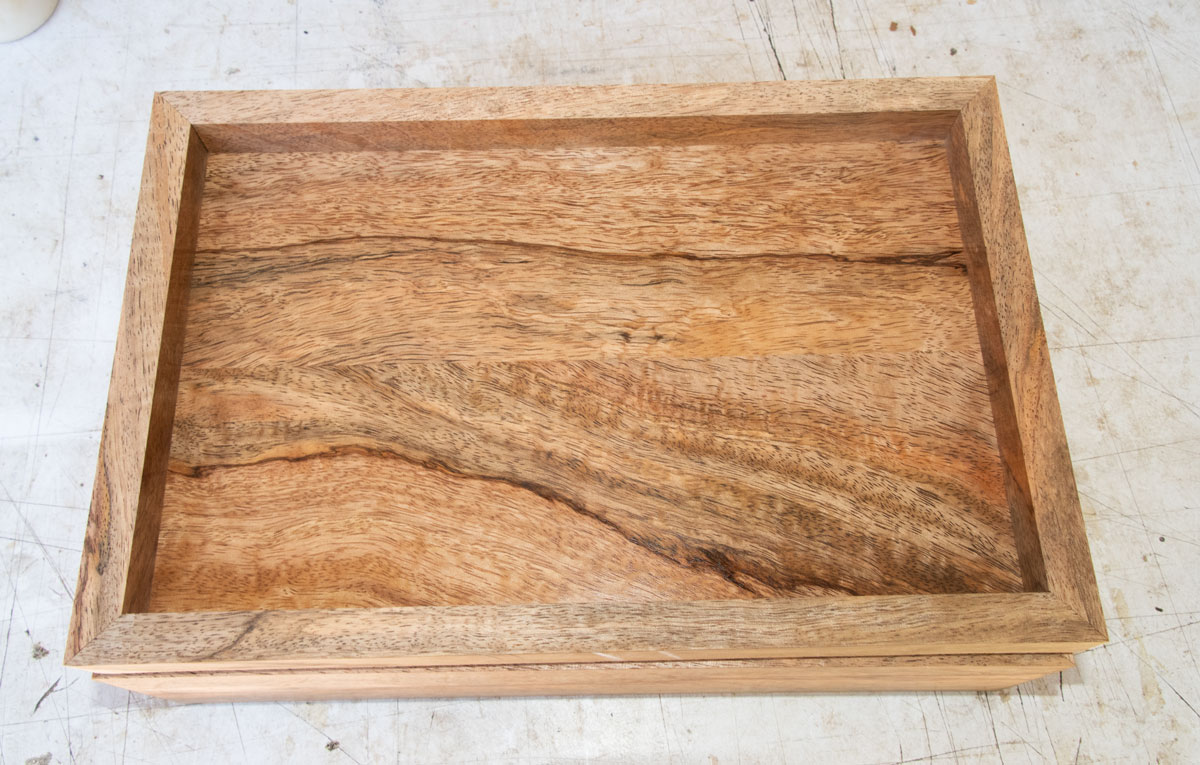
Next is to sand the bevels on the top. Then I'll probably make the tray, then put the hinges on.
The tutorial continues here.