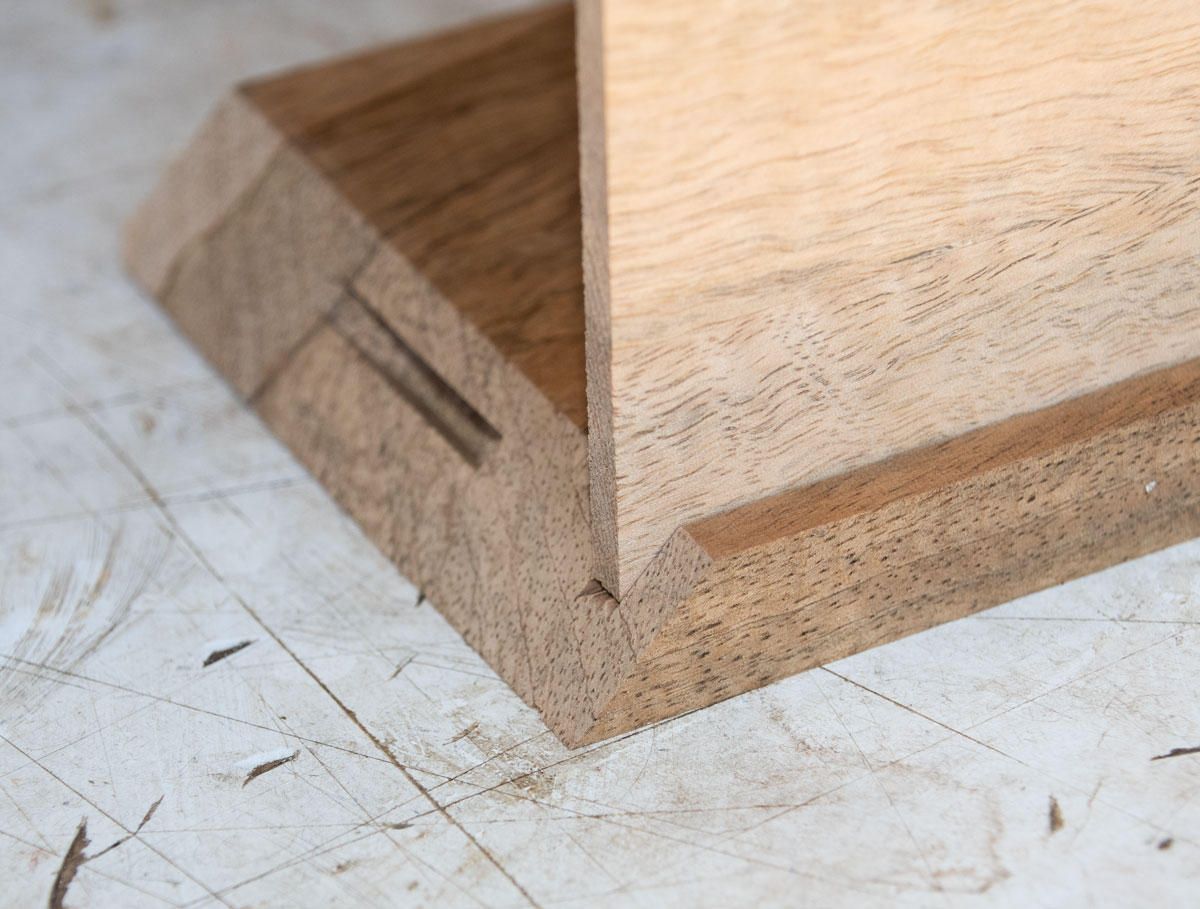
Making a Basic Jewelry Box
Second Version
Continued
P. Michael Henderson
The next step is to trim one of the 3/16 inch panels for the bottom. I have two panels so I'll select one for the bottom. To start, I'll trim the bottom to length. Choose how you want the bottom to look - I chose to use one side, which allows me to only have to trim the other side.
Place the side in the groove of the front piece (one of the 12 inch pieces) such that the end of the panel is at the end of the groove.

Go to the other side of the front and mark the end of the groove. I trim it on my miter saw. After trimming, check the length. If it's too long you won't be able to get the box together.
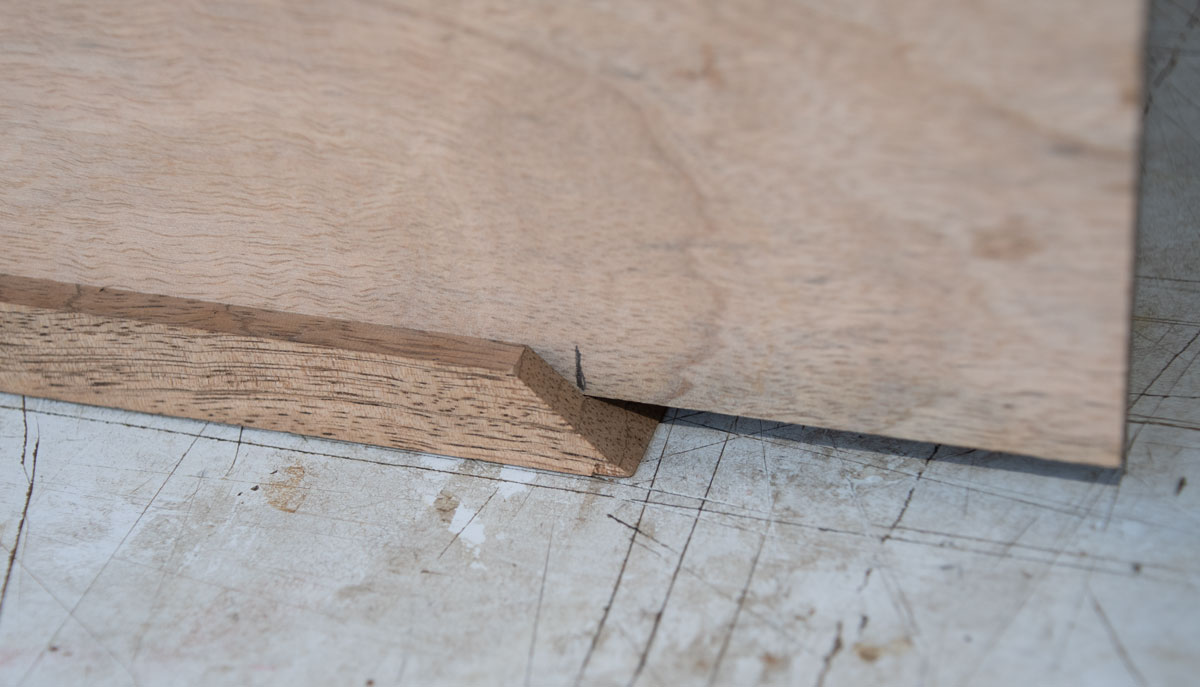
Here's what it looks like after trimming.
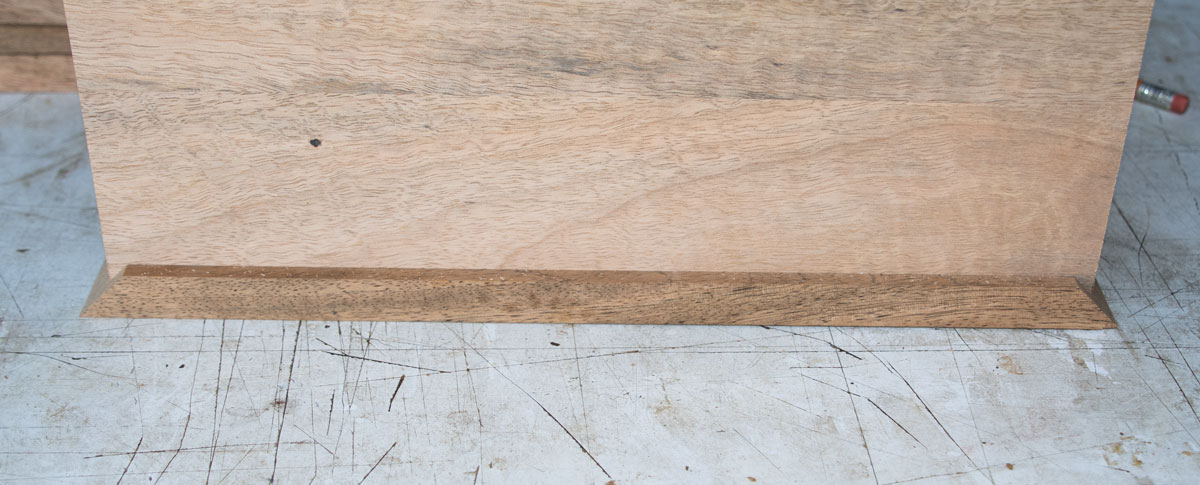
Now I have to trim the bottom to width. I made the panel by gluing pieces together and I want the center seam in the center of the side. So, first, I mark the center of the side and align the seam with that mark. Then mark the panel at the ends of the groove. I trim the panel on the table saw.
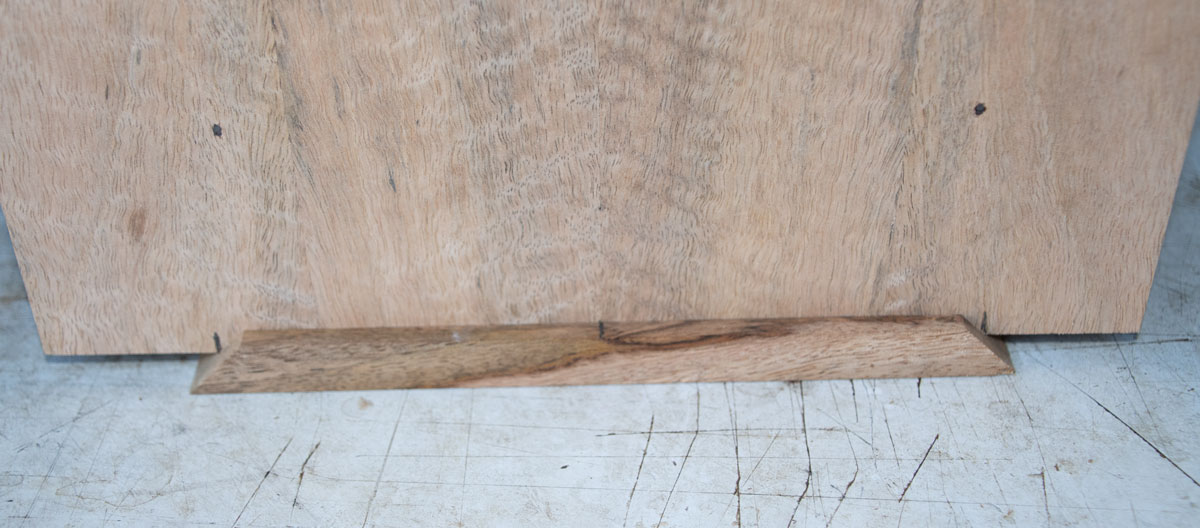
This is what it looks like after trimming.
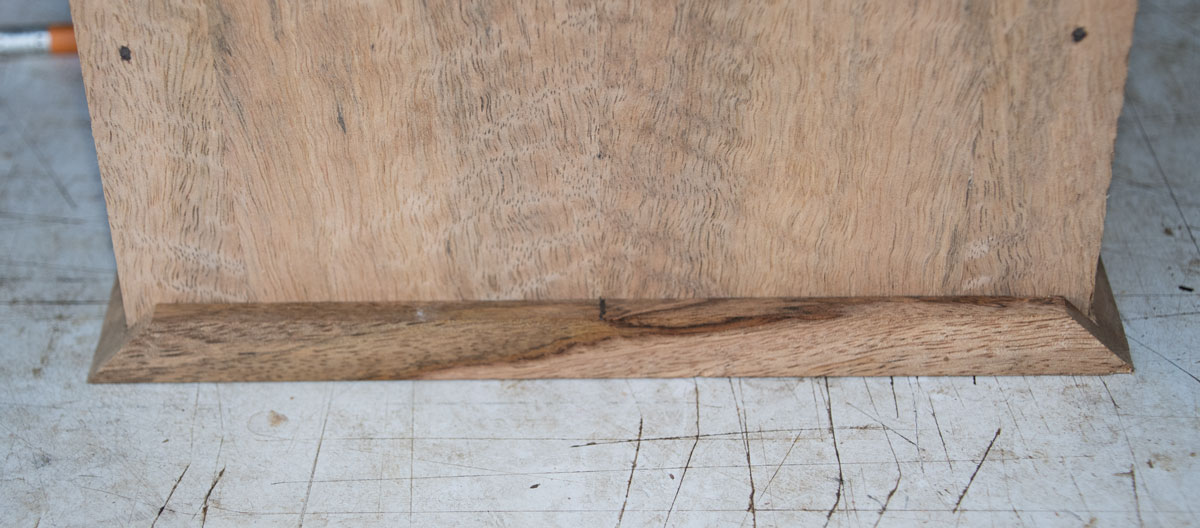
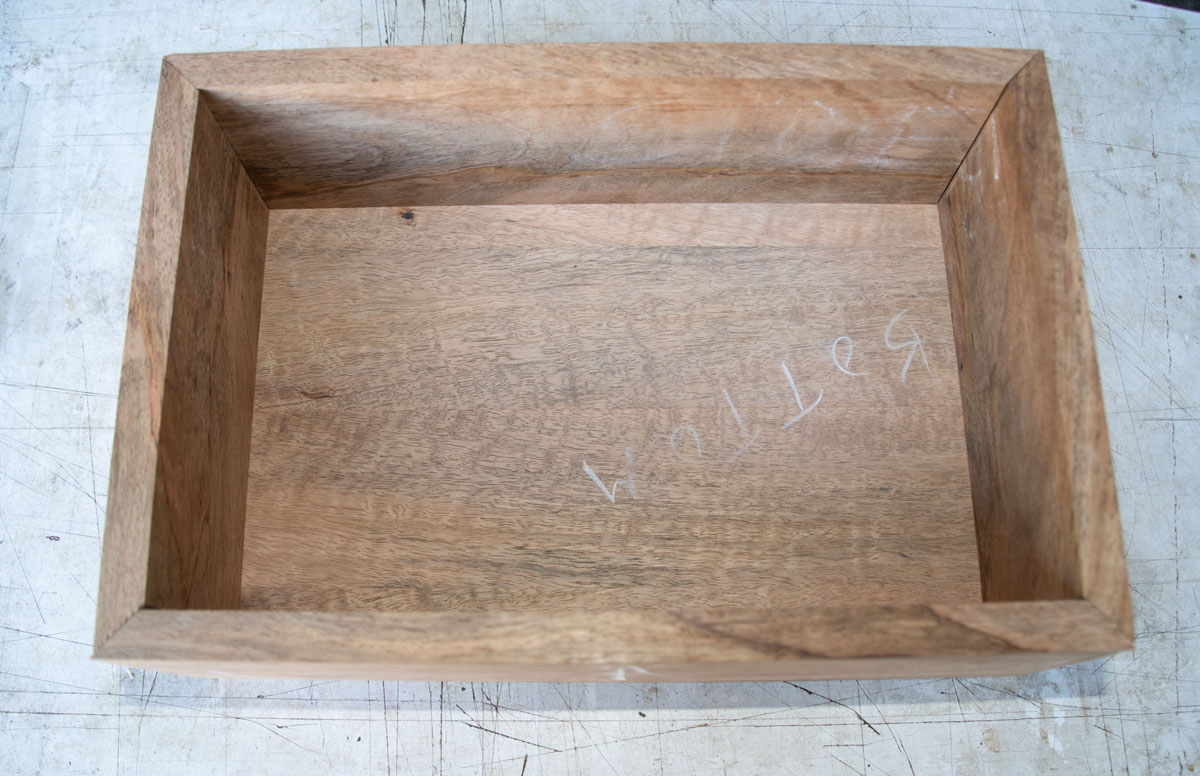
I can now do a test assembly of the box and bottom. Everything fits okay.
My next task is to cut a groove in the two long sides for the tray supports. The question is "Where?".
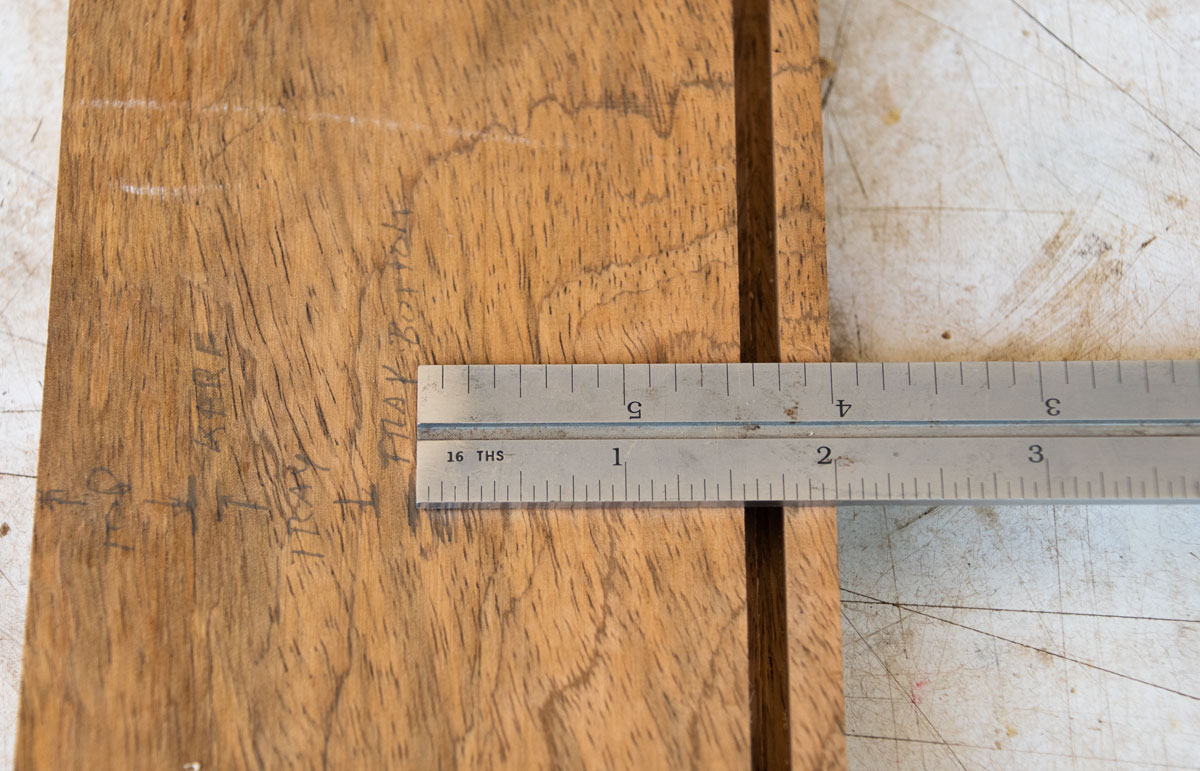
I've marked off the side, starting from the top with the offsets. When I cut the top off, I'll leave 3/4 inch on the top. The saw will cut a kerf of about 1/8 inch. The tray will have sides of 1 inch but I want the tray to stick up above the box by 1/4 inch so I've measured 3/4" on the side. Then the tray will have a 3/16 inch bottom.

When I measure from the bottom of the side to that lower mark, I have 2 inches. I'll use the bottom of the side against the fence and set the distance to 2 inches to the OUTSIDE of the blade (not the side closest to the fence). And when I move the fence to cut the groove wider, I'll move the fence TOWARDS the blade, not away from it.
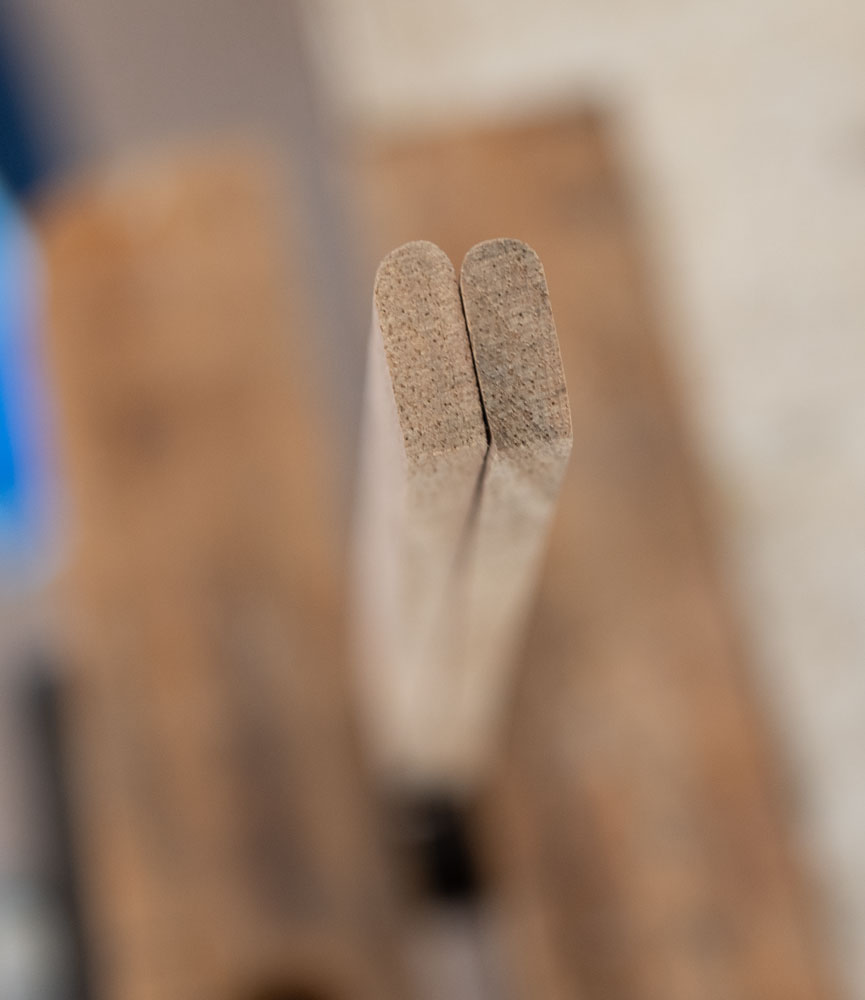
Before I cut the groove for the tray supports, I'm going to prepare the tray supports by rounding one edge. I'll use my router and a round over bit. This is a 1/8 inch roundover bit.

Here's how they come out.
Now, I set the distance of the fence 2 inches from the outside of the blade.
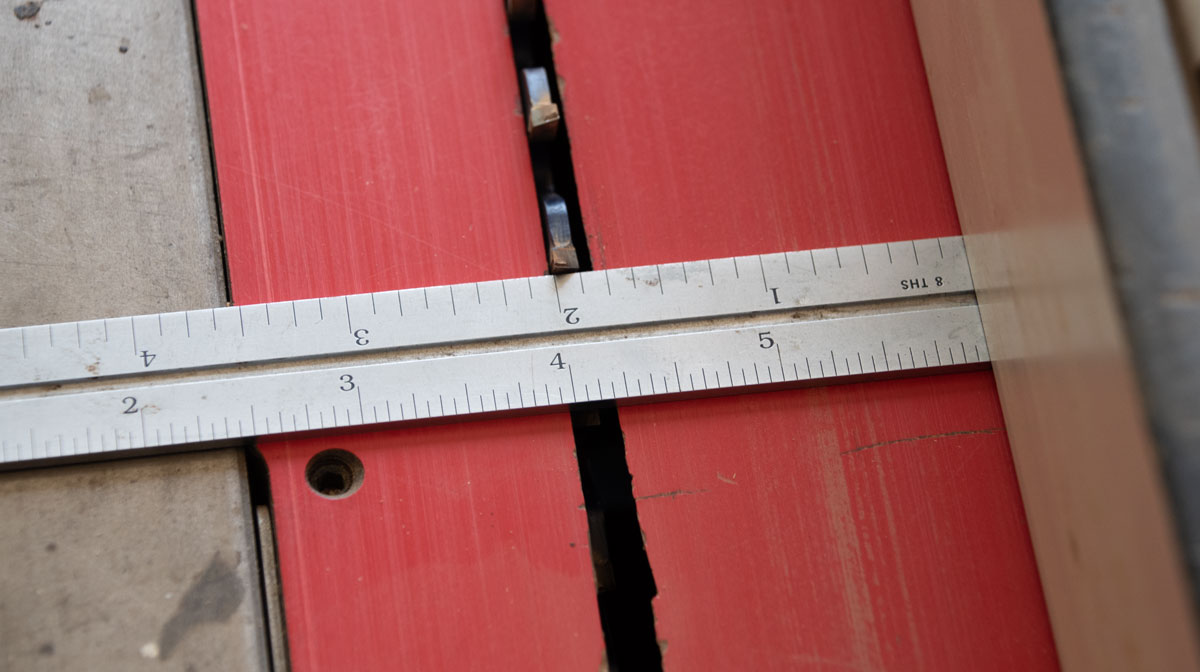
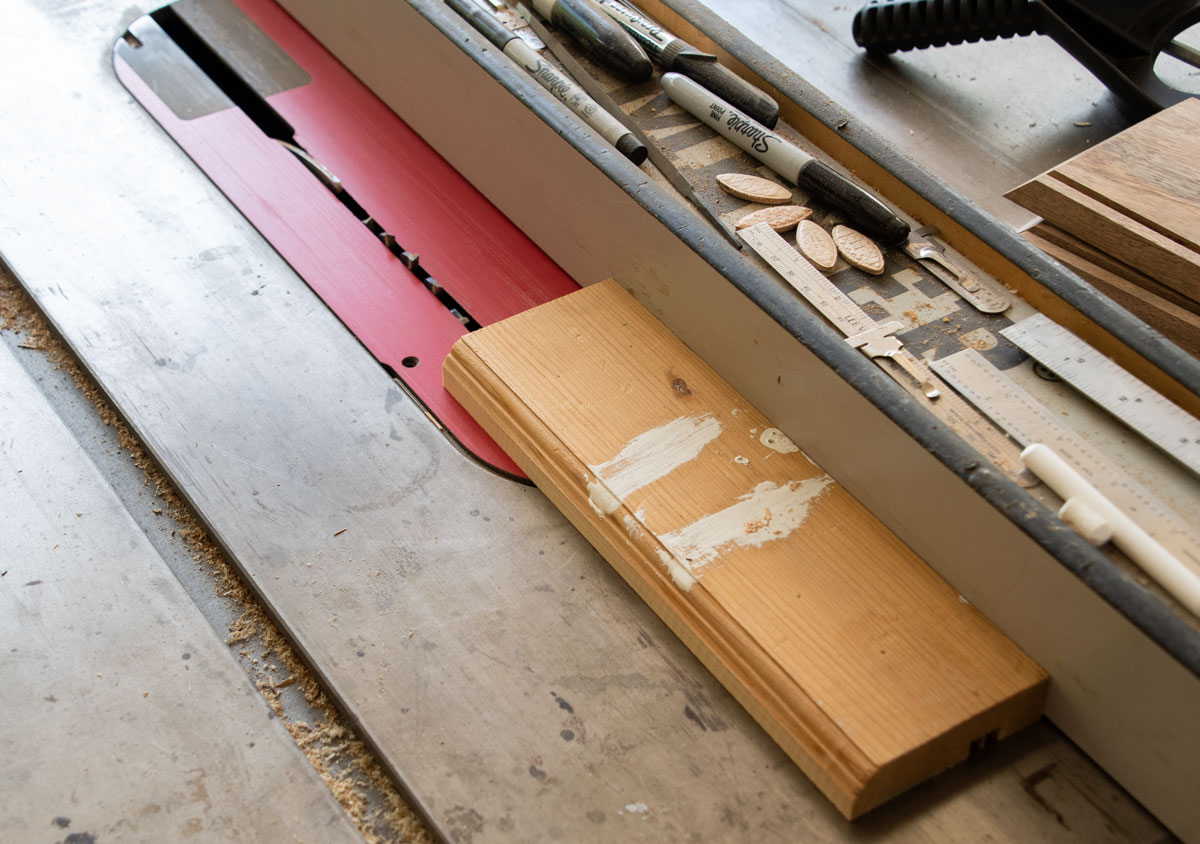
And, like before, I'll use a piece of scrap to set everything up.
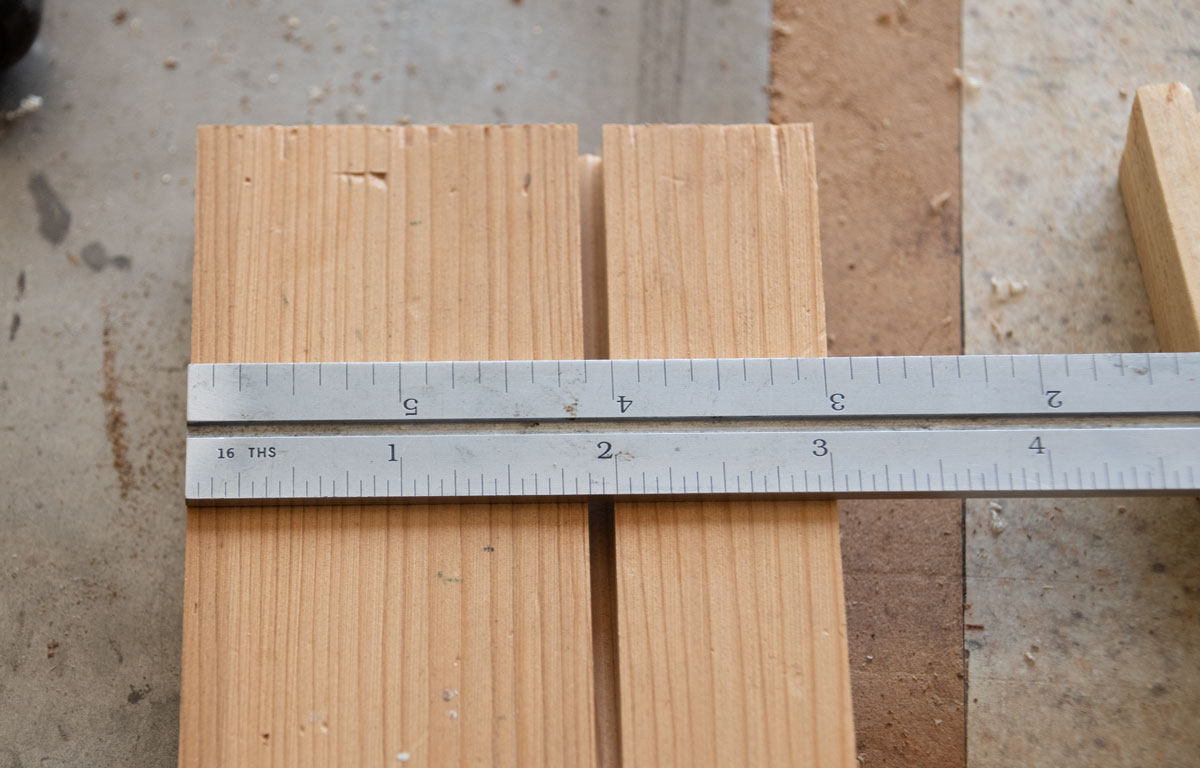
Check that I'm 2 inches.
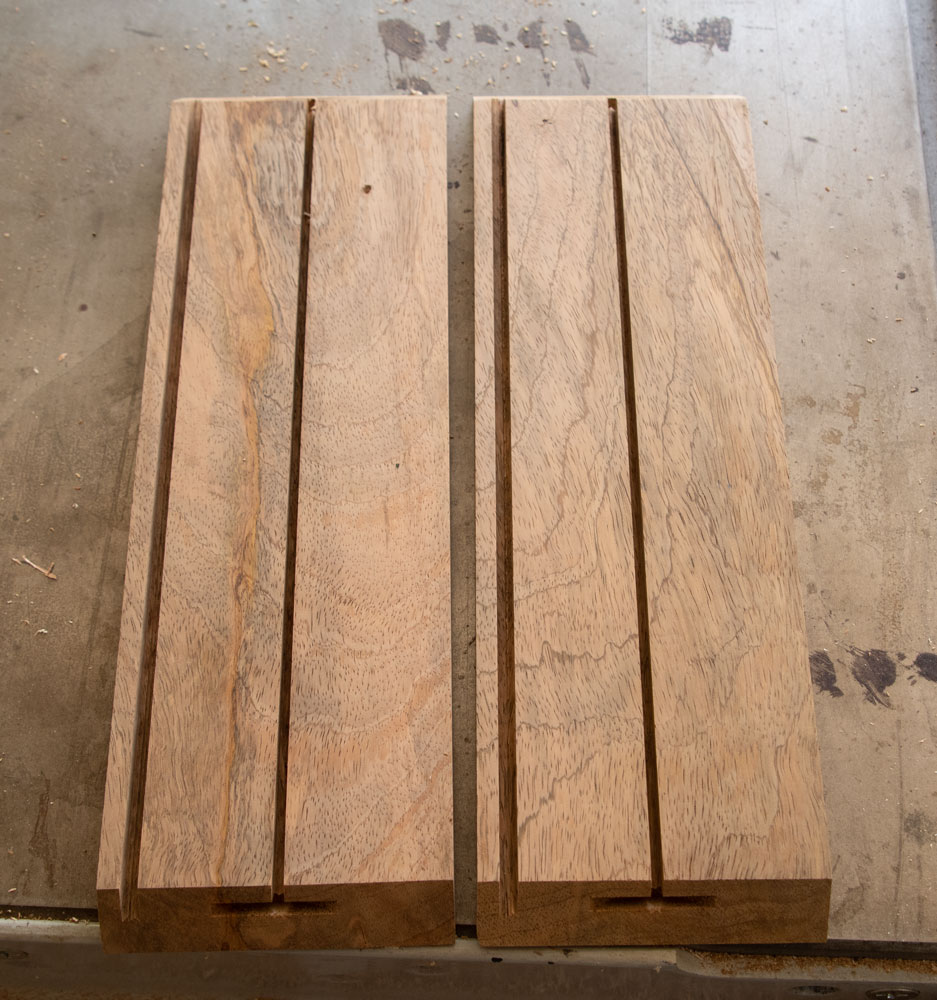
I make one pass on my long pieces. Incidentally, make sure you only cut the long pieces, not the sides.
Then, using that piece of scrap, adjust your fence (towards the blade) until your groove is the exact same width as the tray supports.
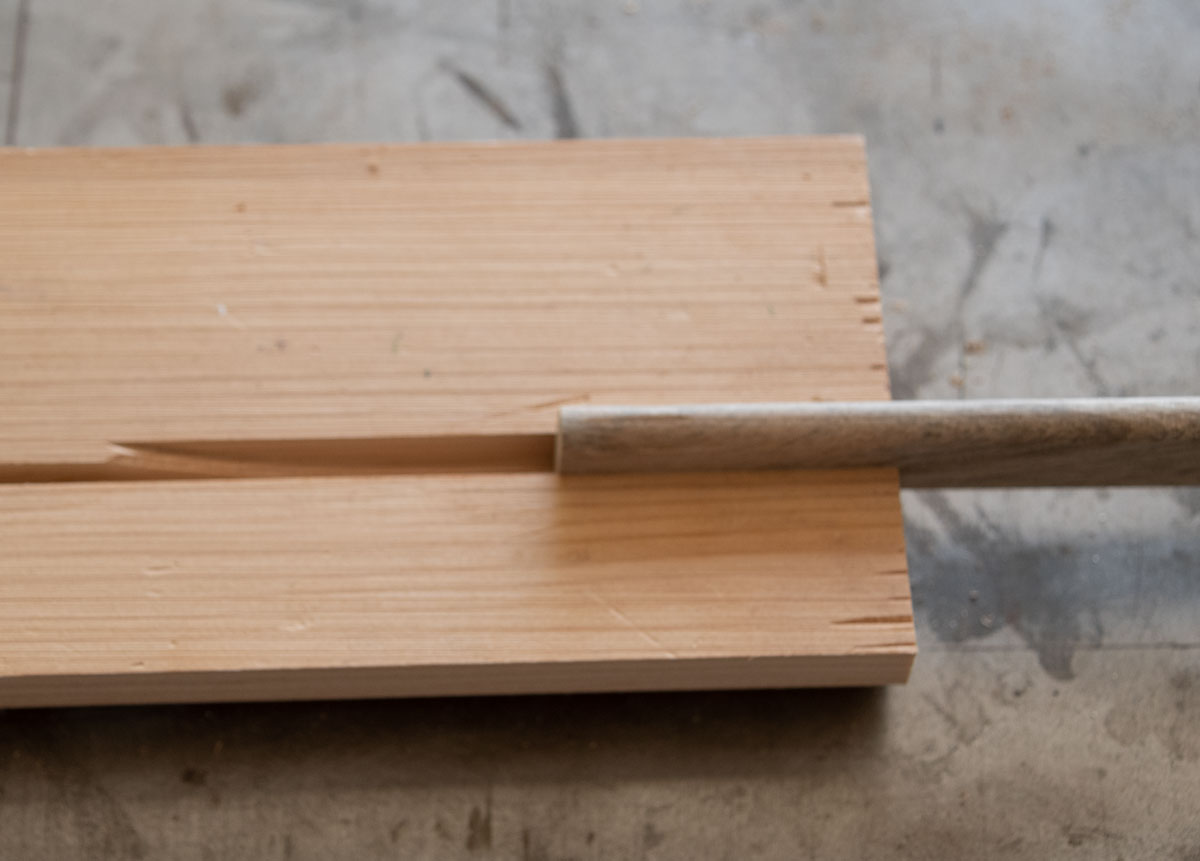
Then cut the grooves in the sides. Here are the sides with the supports in them. I'll trim them to length later.
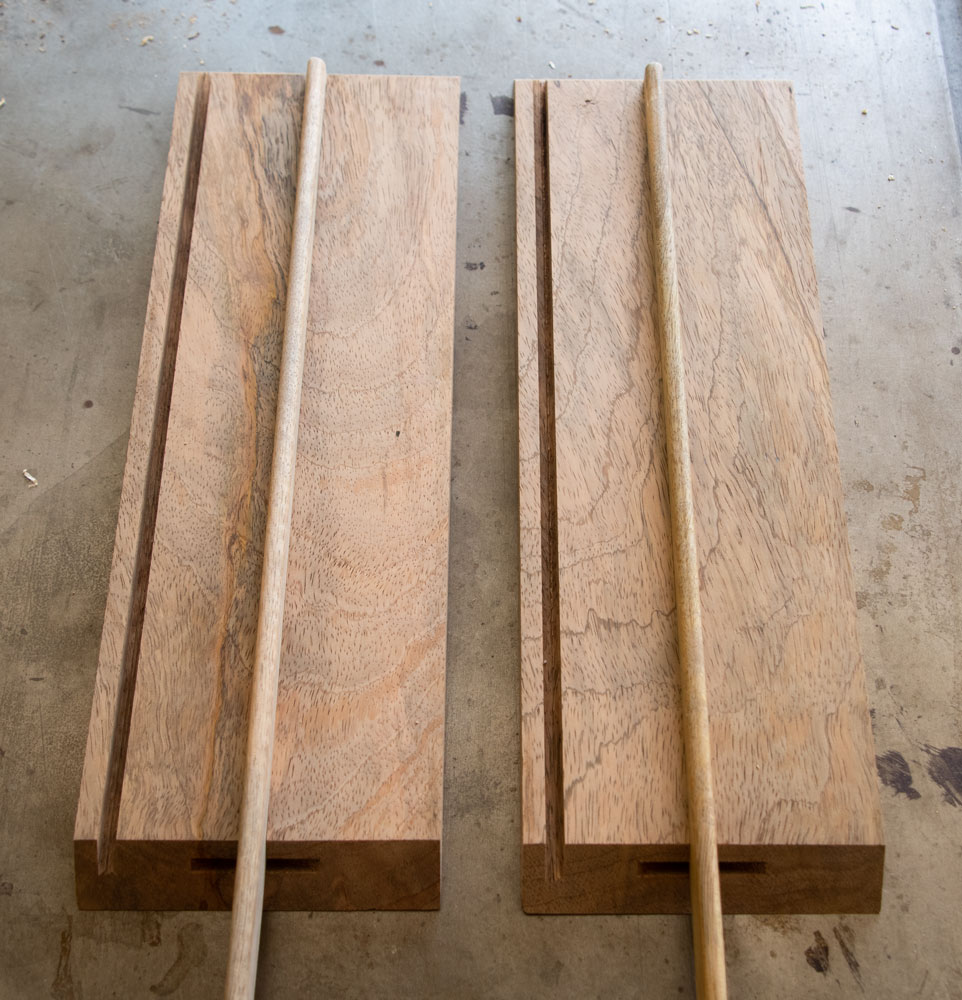
Next, I sand the inside of the four sides and apply a finish. I'm using shellac here. I'll install the supports shortly.
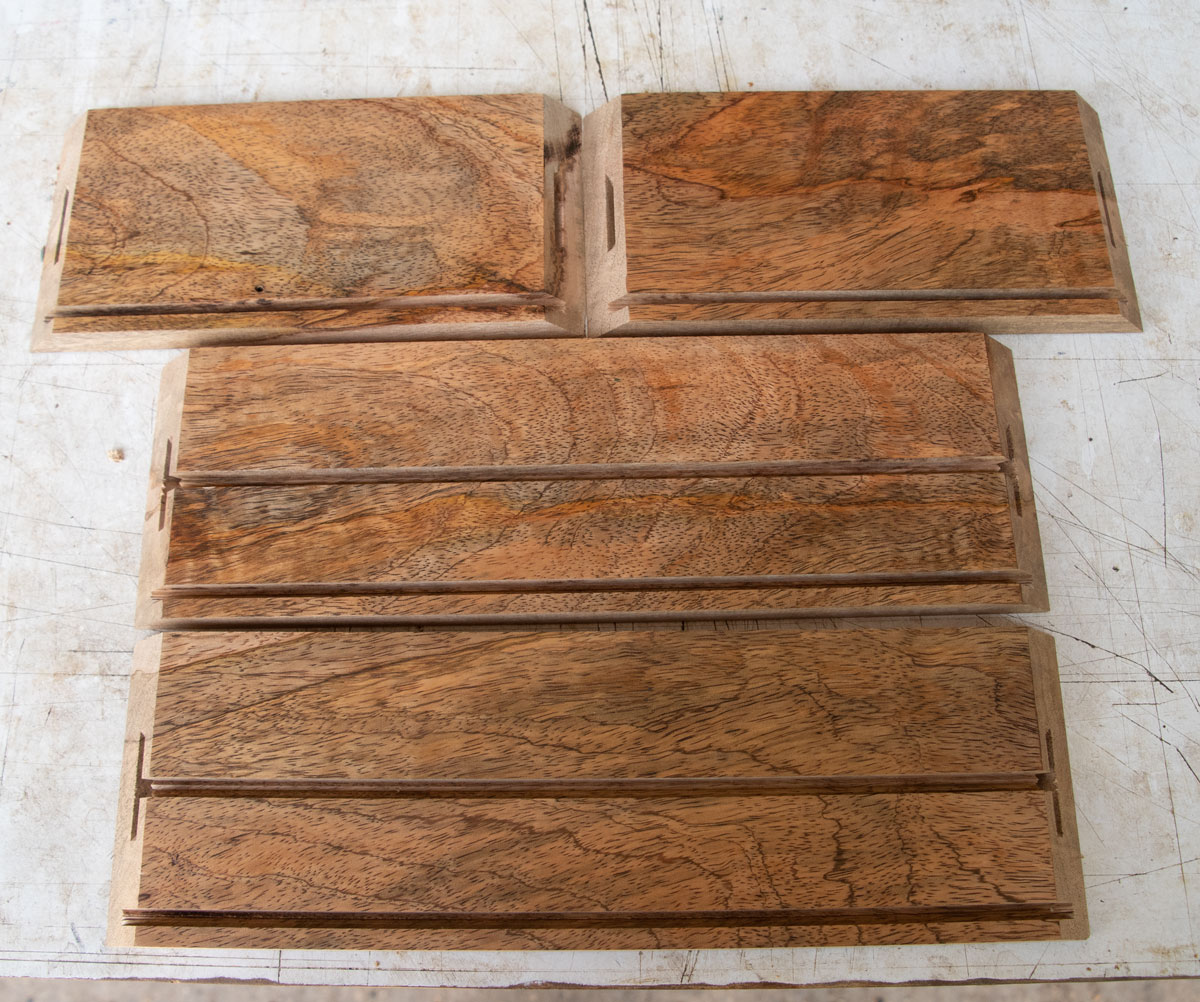
Here's the bottom sanded and with shellac on it. Interesting figure in the bottom. It's a bit lighter than the sides.
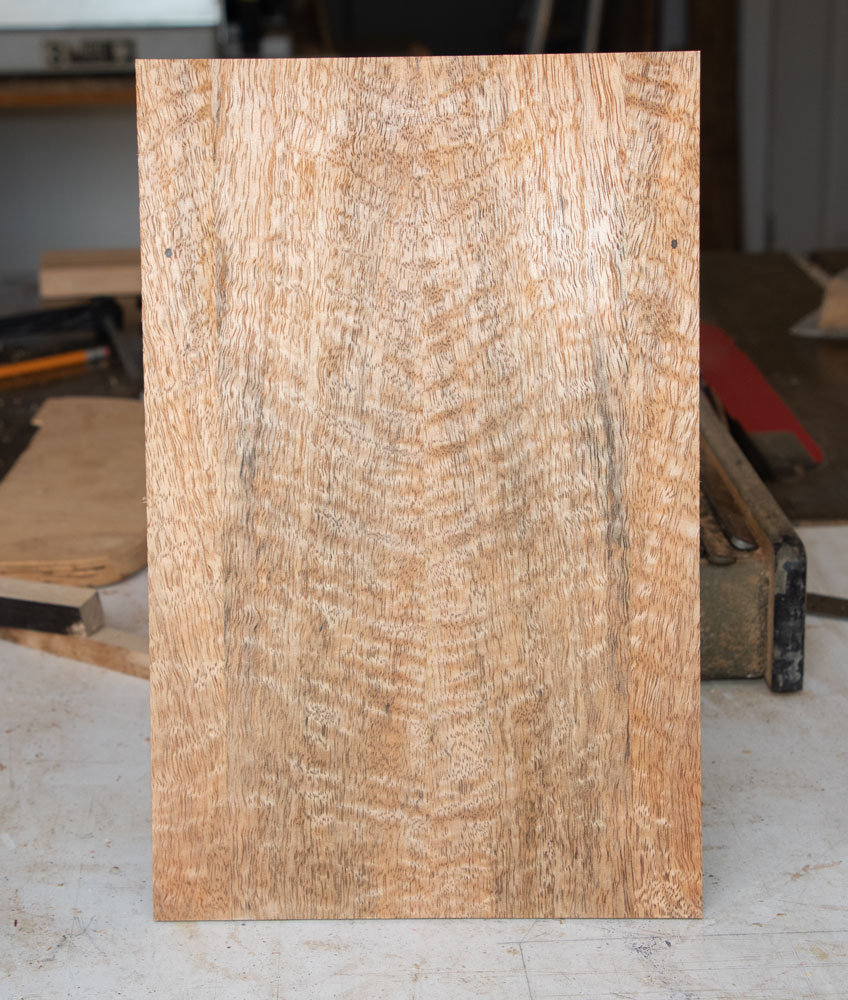
My next step before assembling the box is to install the tray supports. Insert a tray support such that it does not extend beyond the inside edge.
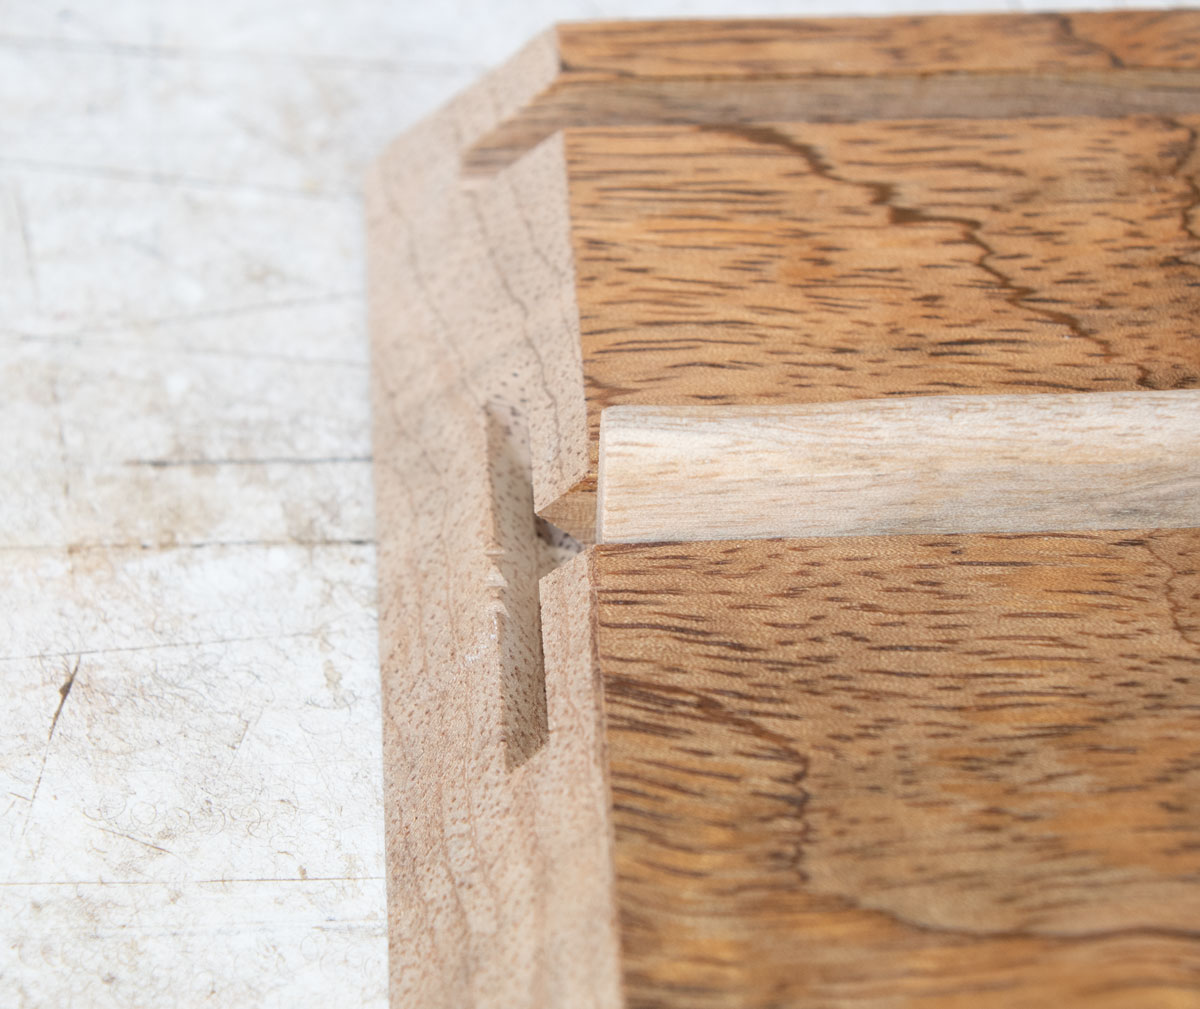
Go to the other side and mark the length.
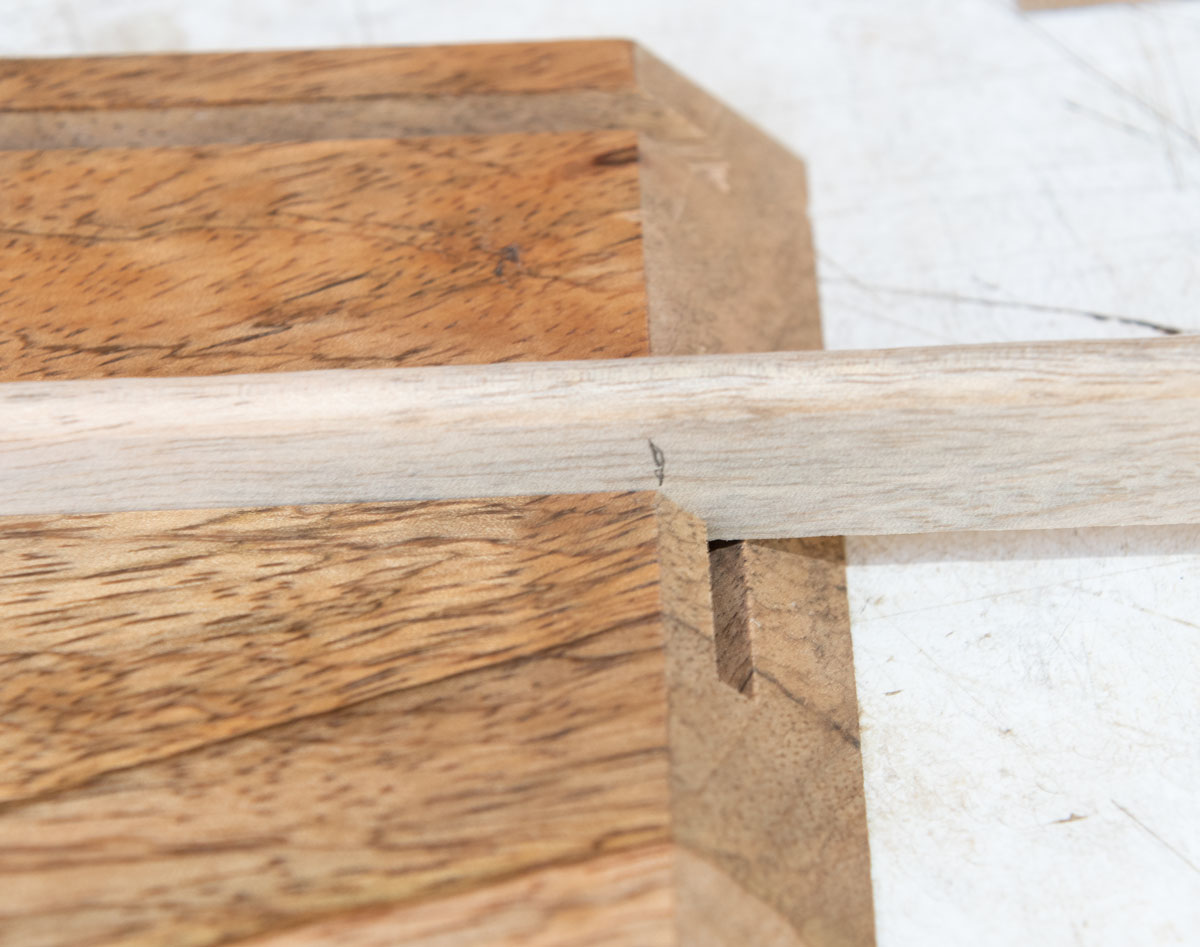
Cut to length. To install, put a light bead of glue in the bottom of the groove. The tray support doesn't have to support very much so it doesn't require a lot of glue.
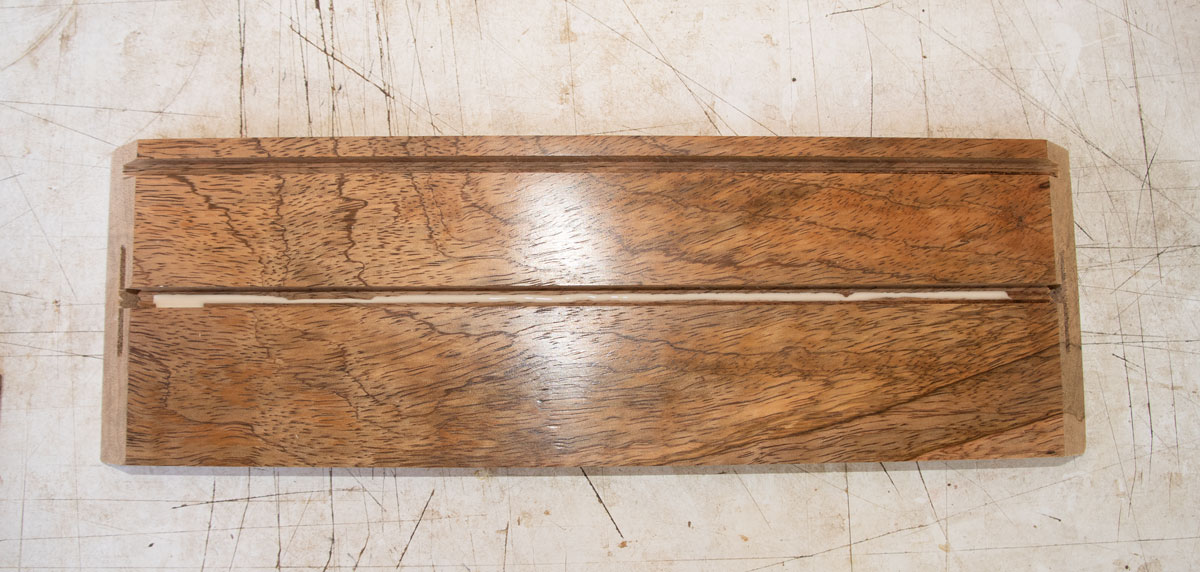
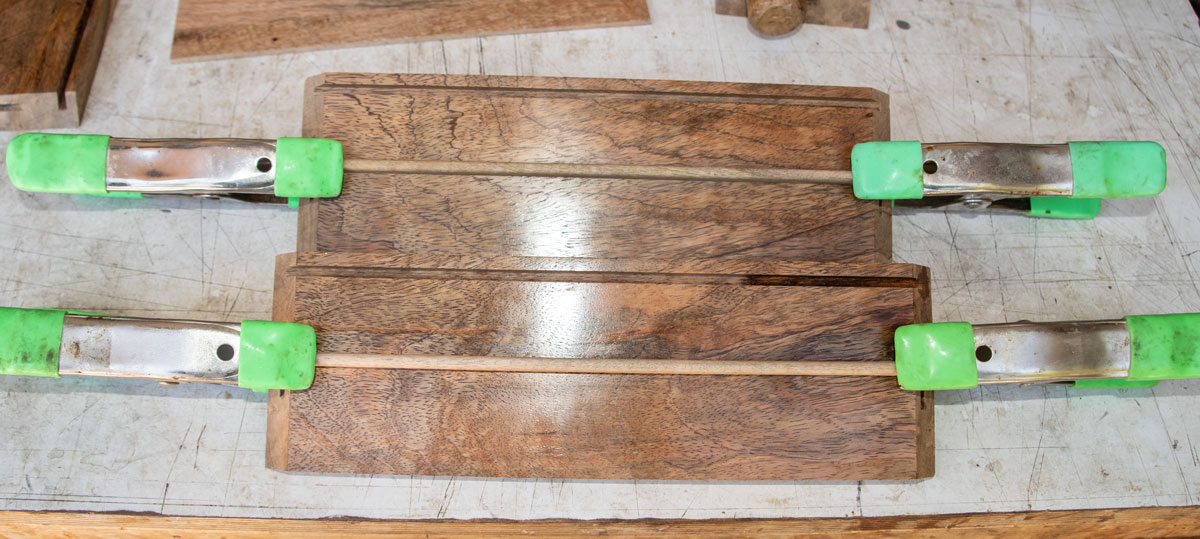
Install the tray supports. I use spring clamps to hold it in position until the glue cures. When the glue cures, apply finish to the tray supports. I don't apply the finish earlier because I want to make sure I have wood-to-wood surfaces to glue the tray support into the side.
Then it's time to assemble the box. Lay out your pieces in order so you don't get confused when doing the assembly. Apply glue to the miters, making sure to get into the slots well. Apply some glue to the biscuits. Assemble the pieces and clamp with band clamps. Clean up any squeeze out on the inside.
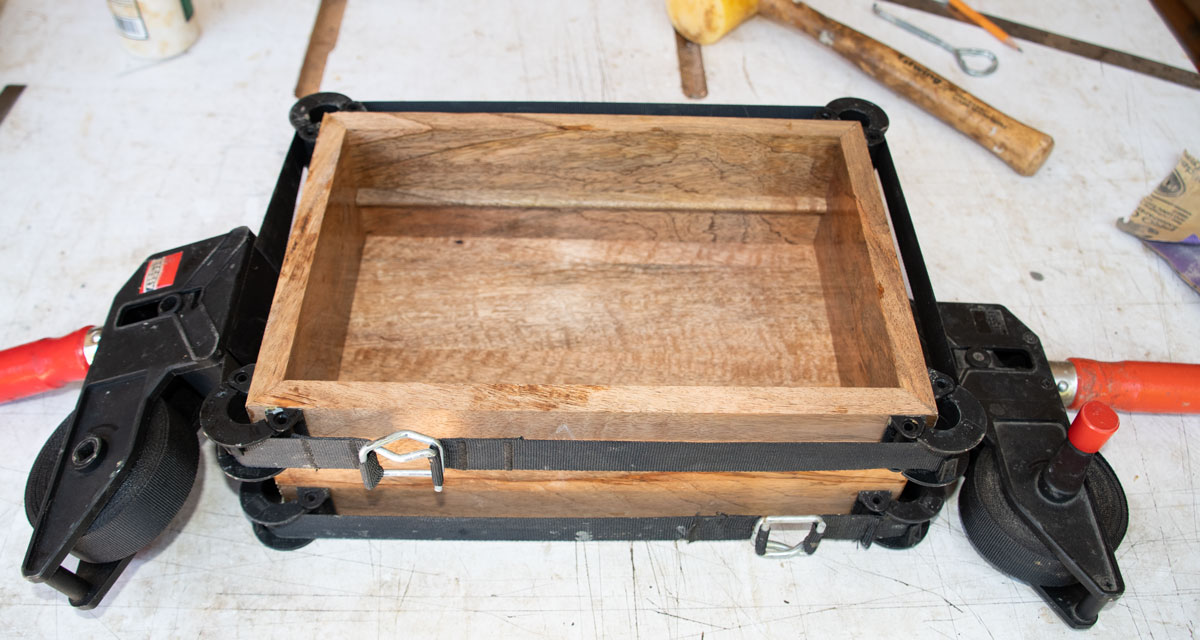
No matter how accurate we try to be, it's likely that the upper surface will not be perfect. More than likely one or more corners will have one piece slightly higher than the other. Some people claim they can use a hand plane to flatten the sides but I think that's extremely difficult to do. Even if you get the top "flat" it's likely you planed one or more sides at a slight angle. If so, when you install the top, there will be gap there between the top and the side.
I use a sanding board, which is a piece of MDF (which is flat) with a large piece of sandpaper glued to it. If you can find one of those big sanding belts that are used on something like a TimeSaver sander, cut a piece and glue it to MDF. DO NOT use water based glue - that will cause the MDF to warp. Use something like 3M type 77 spray glue, which is solvent based.
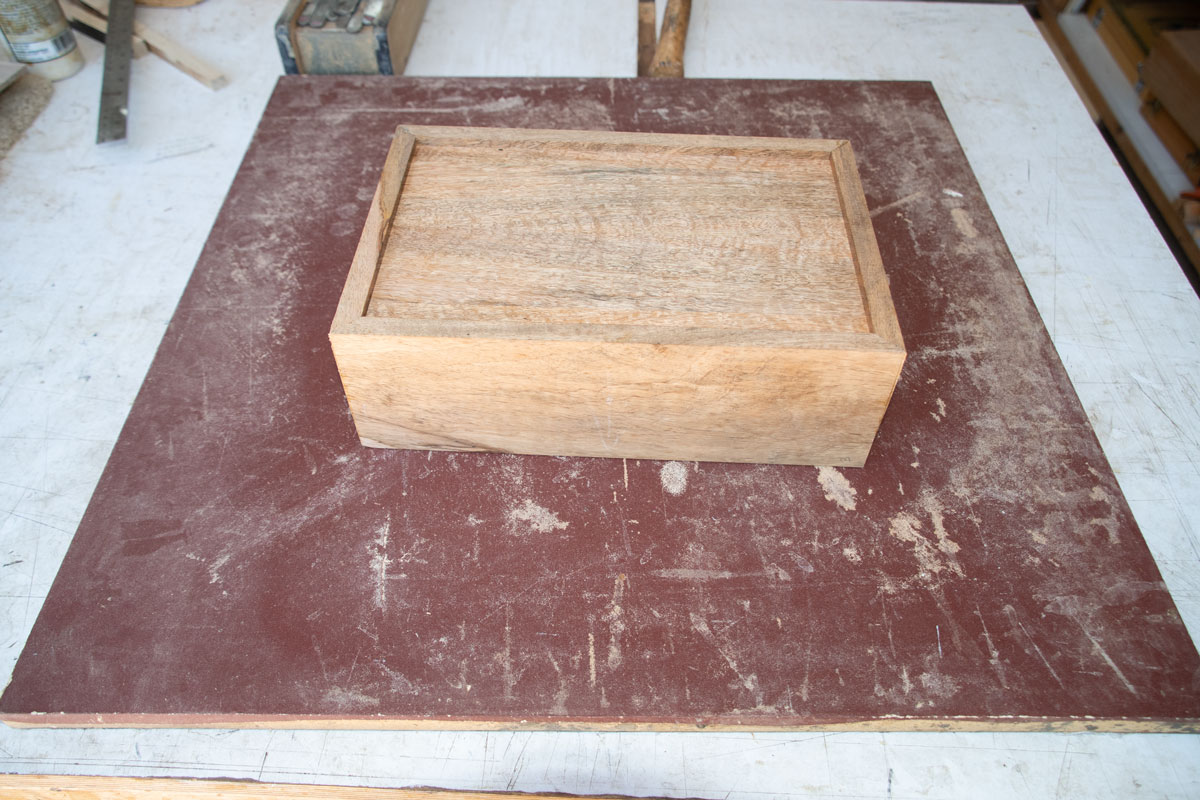
Run a pencil mark around the top of the box and then move the box around on the sanding board until the pencil mark is gone on all the sides. Do not "cheat" by pressing down on the area where the pencil marks remain. In fact, what you want to do it press down on the parts where the pencil mark is gone, until all the marks are gone.
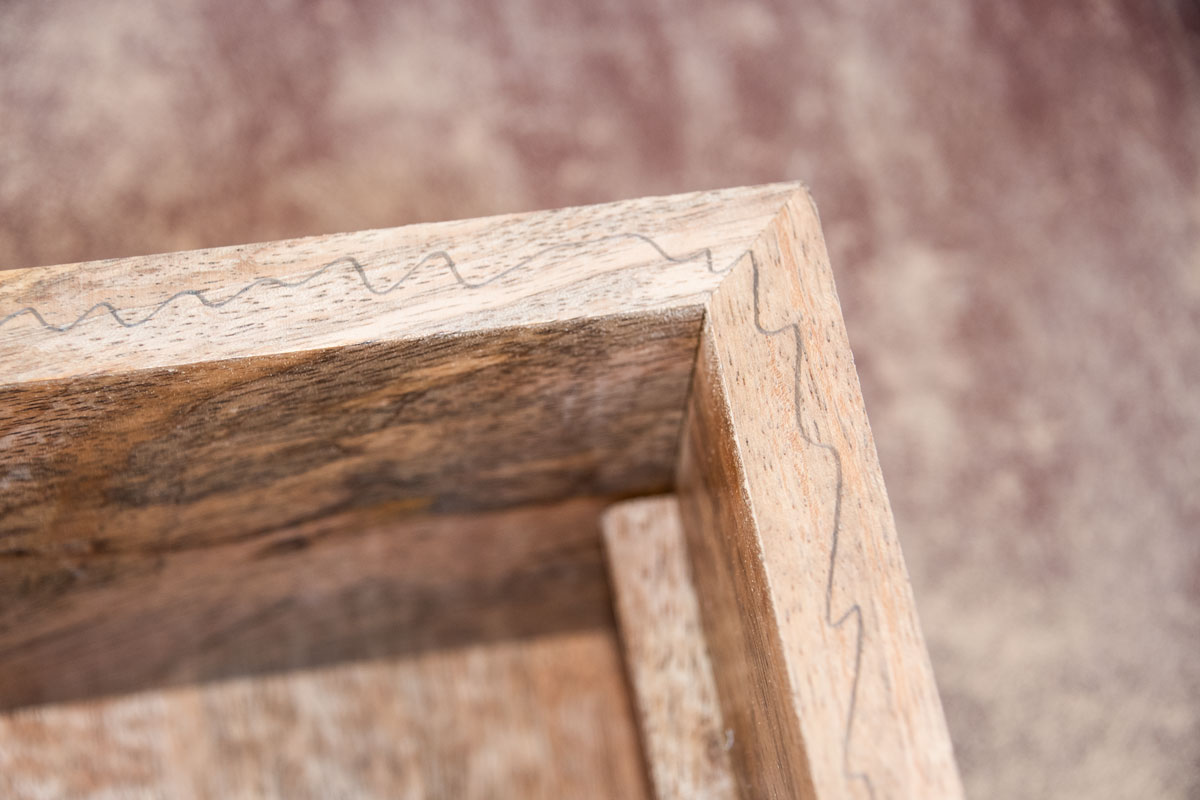
While you're at it, do the bottom, also.
Next is the installation of the top. When I glued up the top, I put two pieces together. Now, I want the seam between those two pieces to be centered on the box. To do this, I mark the center of both sides (you can see a small mark at the top of the side).
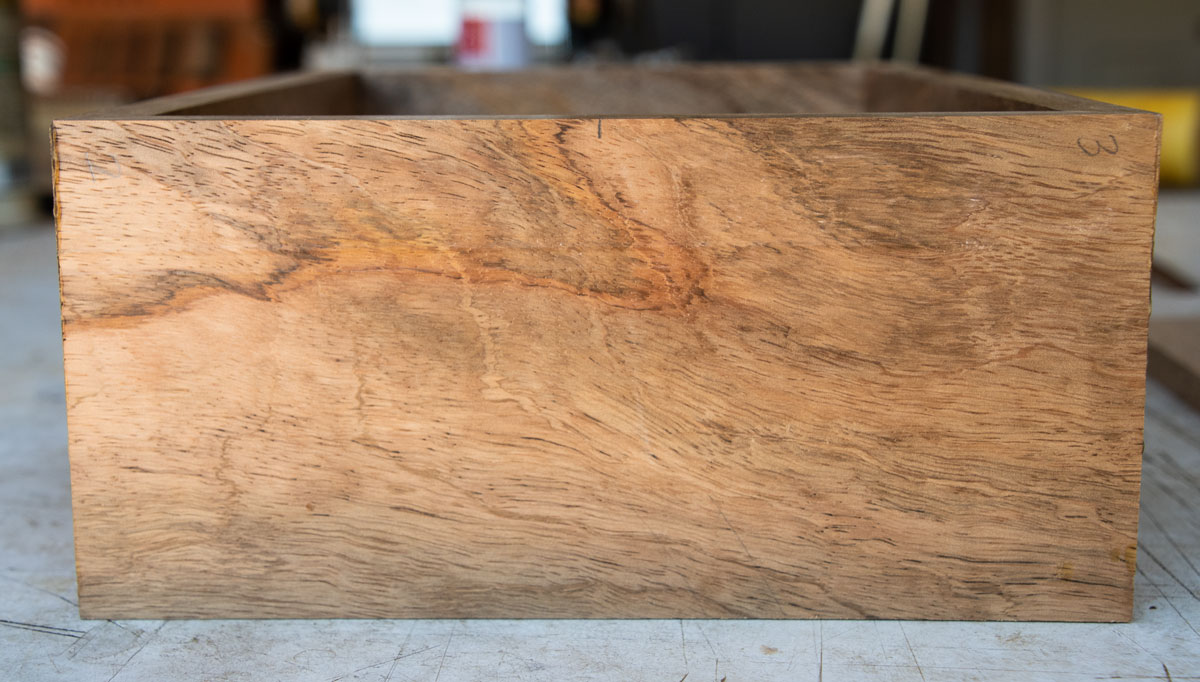
Then I lay the box on top of the top, with the seam aligned with those center marks.

Once you have the box and top in the position you want, take a pencil and draw a line all around the box, using the edge of the box. This will allow you to position the top on the box when we go to glue it on.
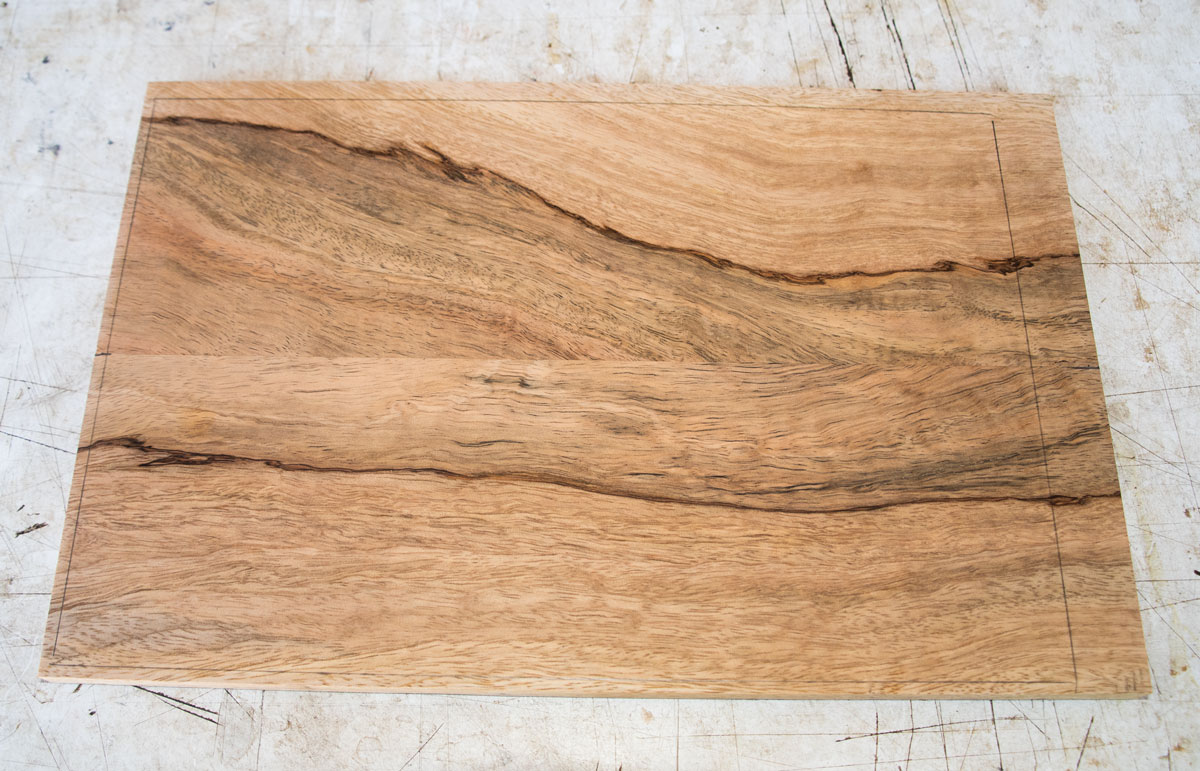
I want to apply finish to the inside of the top before I glue it on. One reason is in case there's any glue squeeze out when we glue it on. The box will be closed and there's no way to even see if the glue squeezed out until we cut the top off. With finish on the top, the glue will not stick and the squeeze out will be easier to clean up.
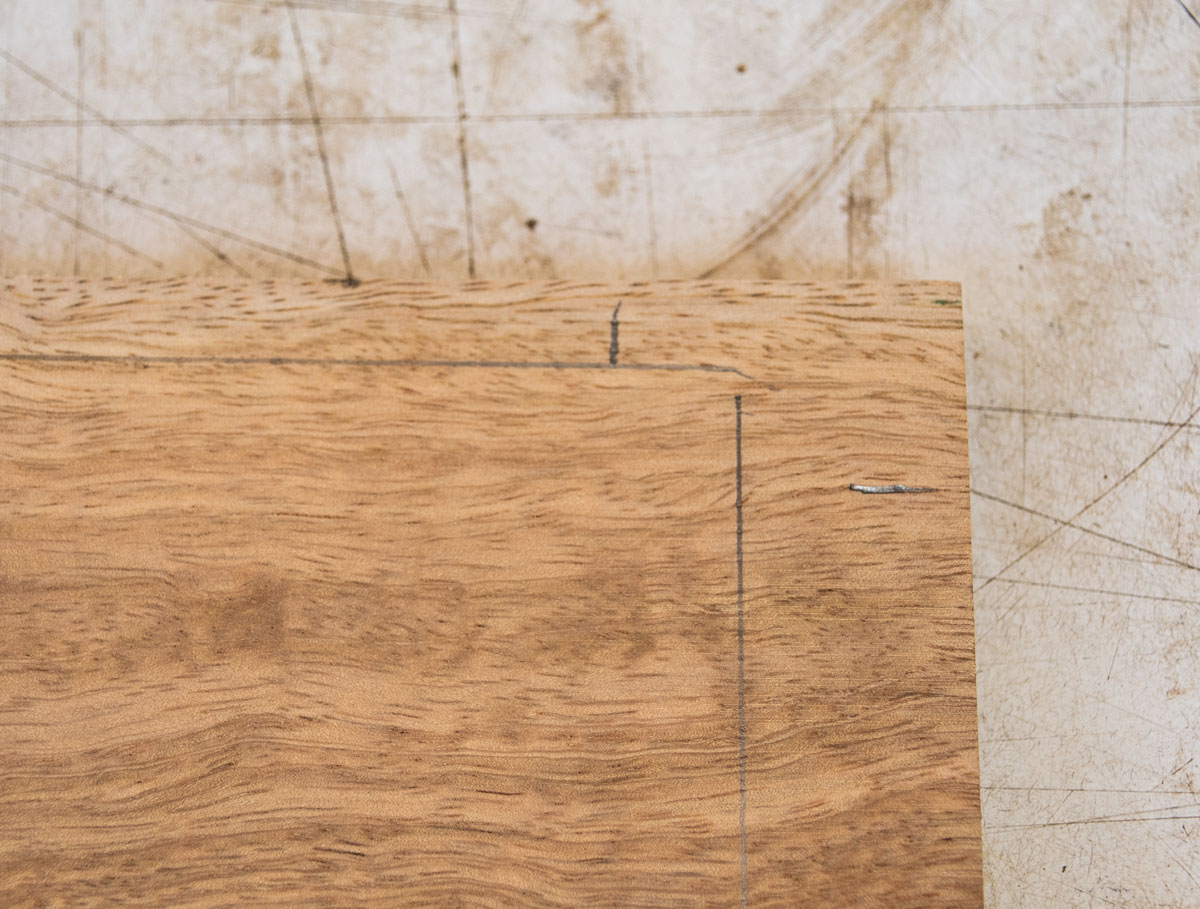
The sides are 1/2 inch so I make marks 1/2 inch inside the existing lines, but outside the part that will be in the box. I'm going to mask off the part where the glue will be.
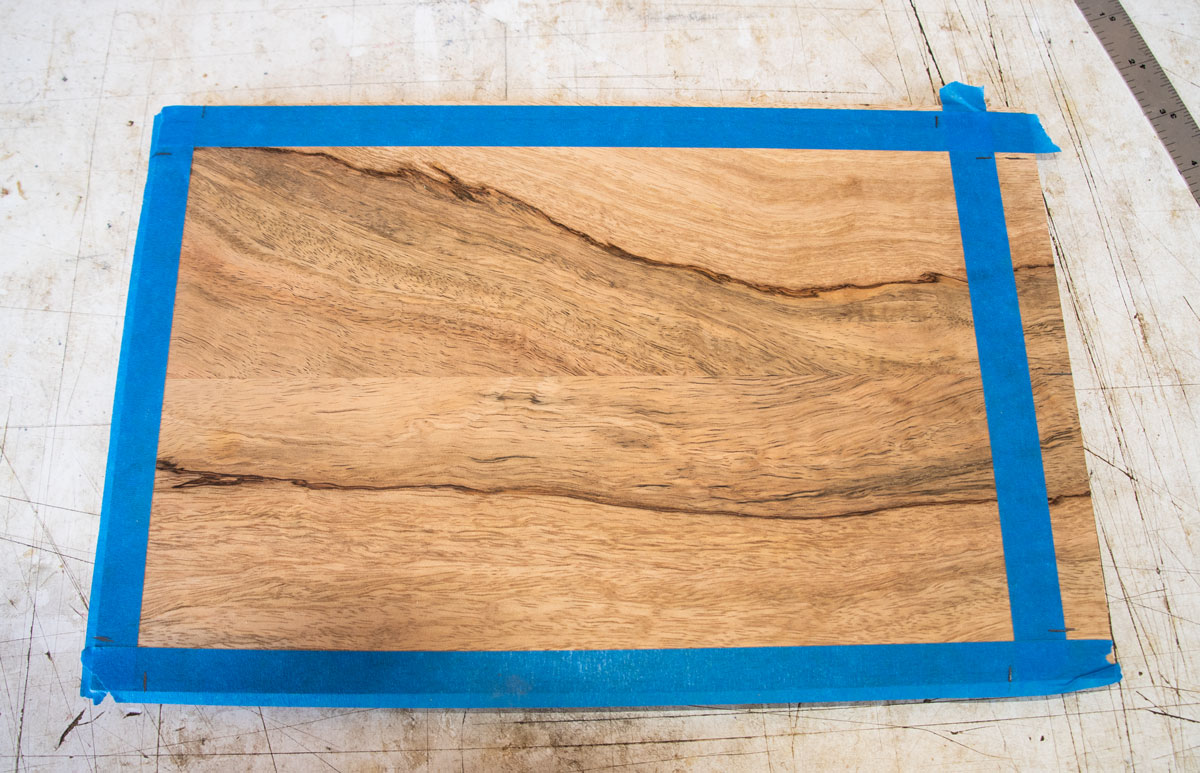
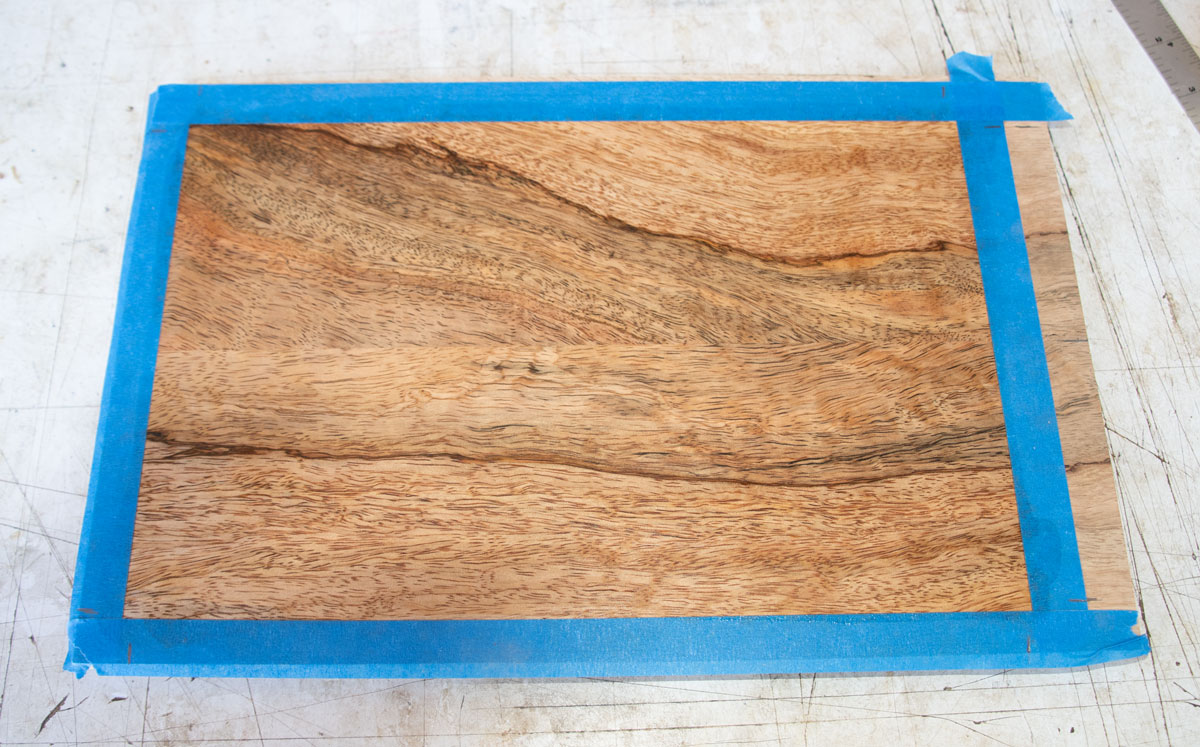
Then I apply blue tape, but stay to the outside of those 1/2 inch marks.
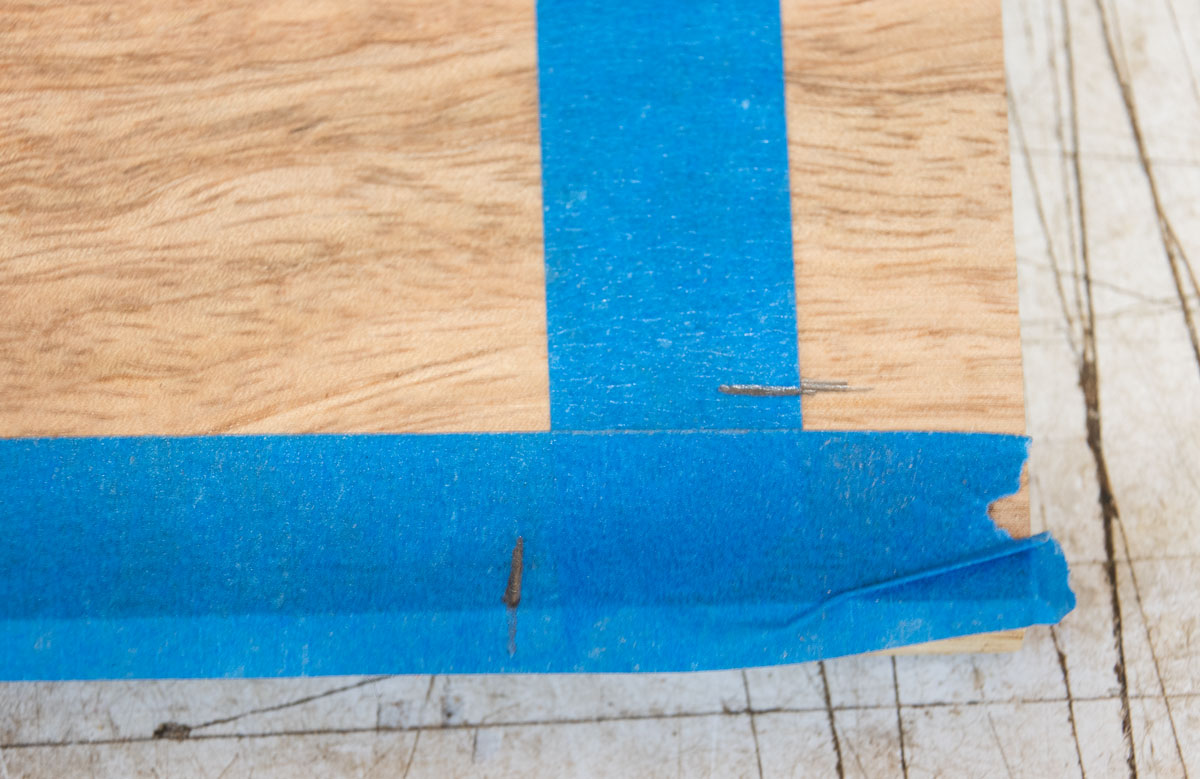
You can see how close I get to the 1/2 inch marks in this close up.
Then I apply the finish (shellac).
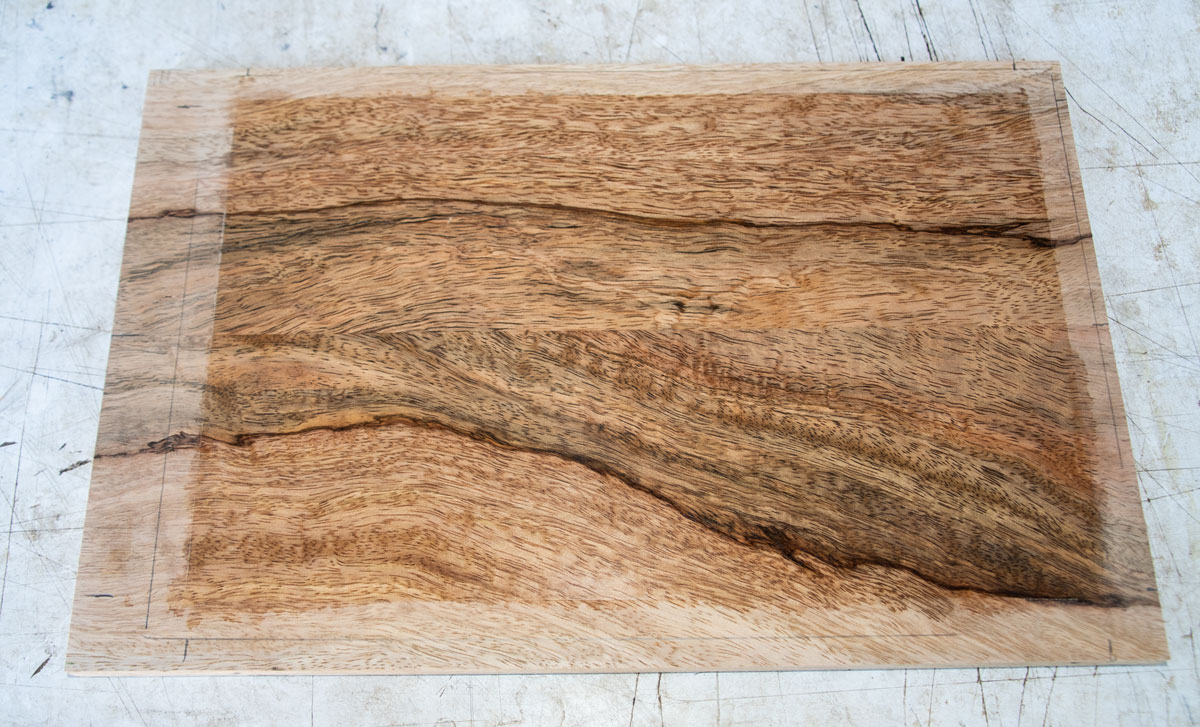
Here's what it looks like when the blue tape is removed. I had a small amount of bleed through (under the tape), but not enough to cause a problem.
The tutorial continues here.