Bee Vacuum (Version 3) Tutorial
Making an Eight Frame Vacuum
Continued
P. Michael Henderson
June 21,
2021
At this point we have a groove for the sliding bottom on three sides of the box. Now, we need to address the fourth side. The slide enters the grooves at this point so it has to be open, and yet, have a tight fit to minimize air leakage.
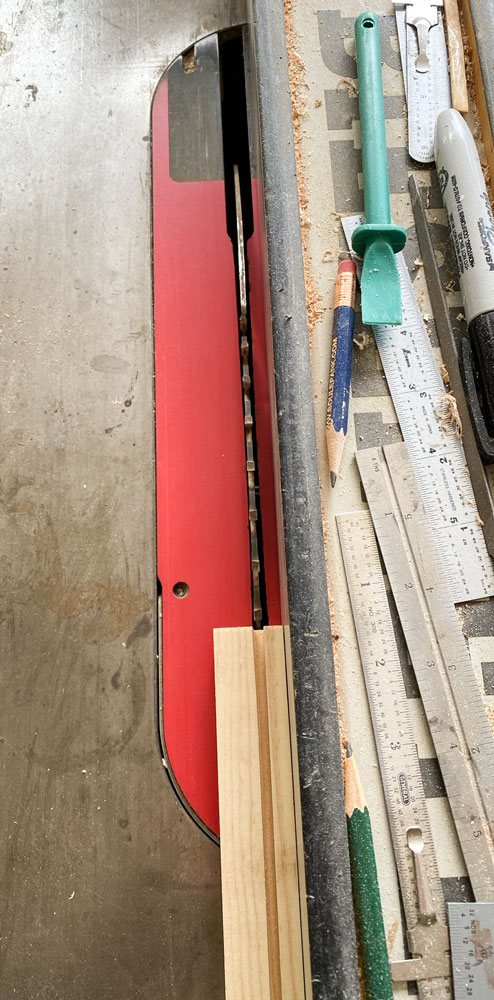
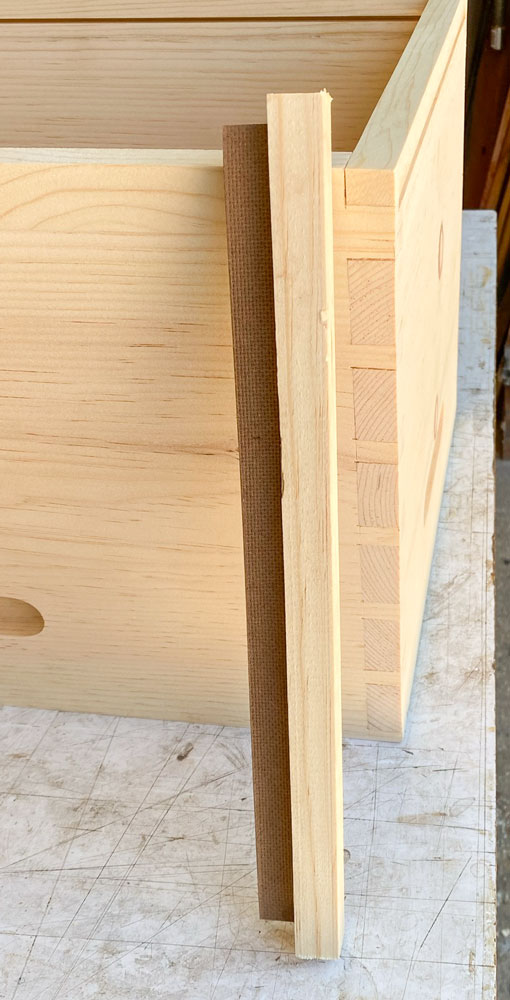
The way I'm going to do this is to take one of the slats and cut all the way through it. I'll use the thin side against the box and the thick side will be fitted above the slide (more to come on that soon).
After I make this cut, I have the two pieces I need. I'll start with the thin piece first. I cut it to exact length.
And then glue it into place. I have a lot of clamps because the piece is thin. I'd either have to use a caul or a lot of clamps to put pressure evenly across the piece.

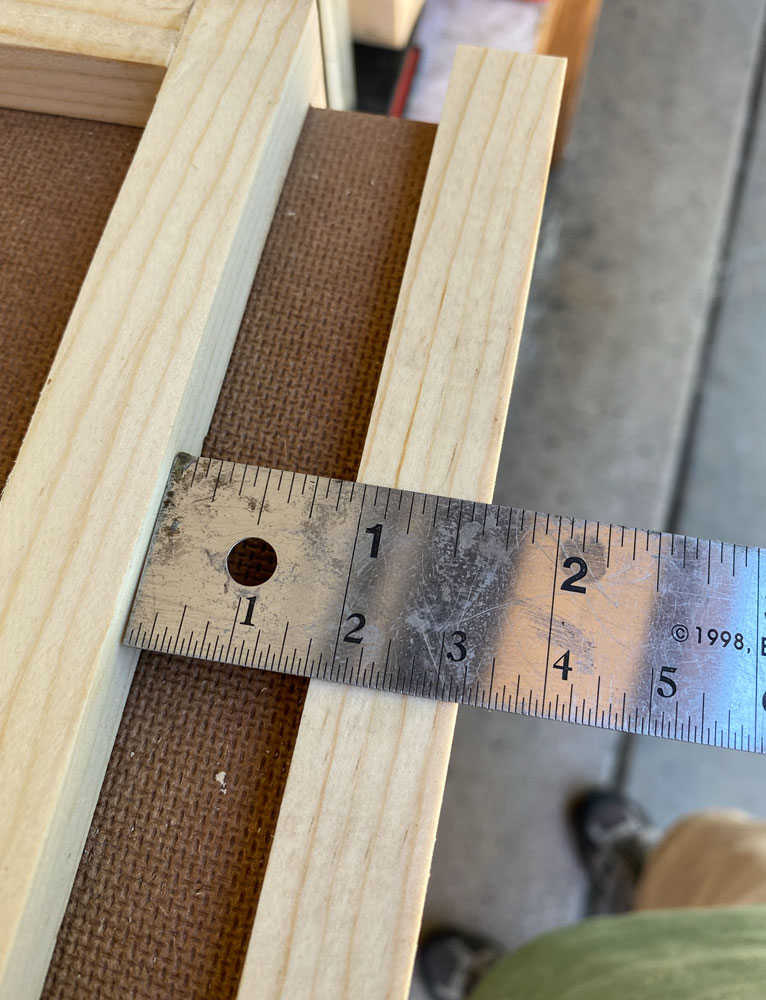
Then I take the bottom slide (the hardboard) and cut it to width to just fit into the grooves. If it's tight in the groove, don't try to open up the grooves - that's too difficult - sand the hardboard a bit to reduce the thickness on the edges where it engages the grooves. If you did everything properly, it shouldn't take much sanding to make the slide move freely.
Note that I haven't trimmed the slide to length yet. We'll do that later.
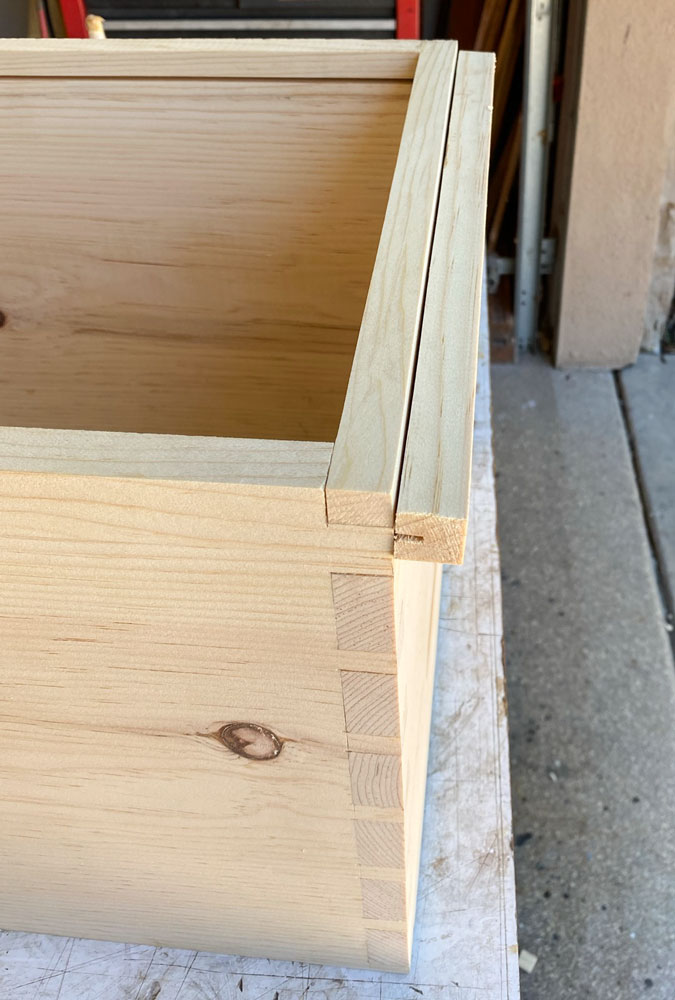
We have one side of the slide entry done, and now we have to do the other side. We'll use the other side of the slat we cut earlier.
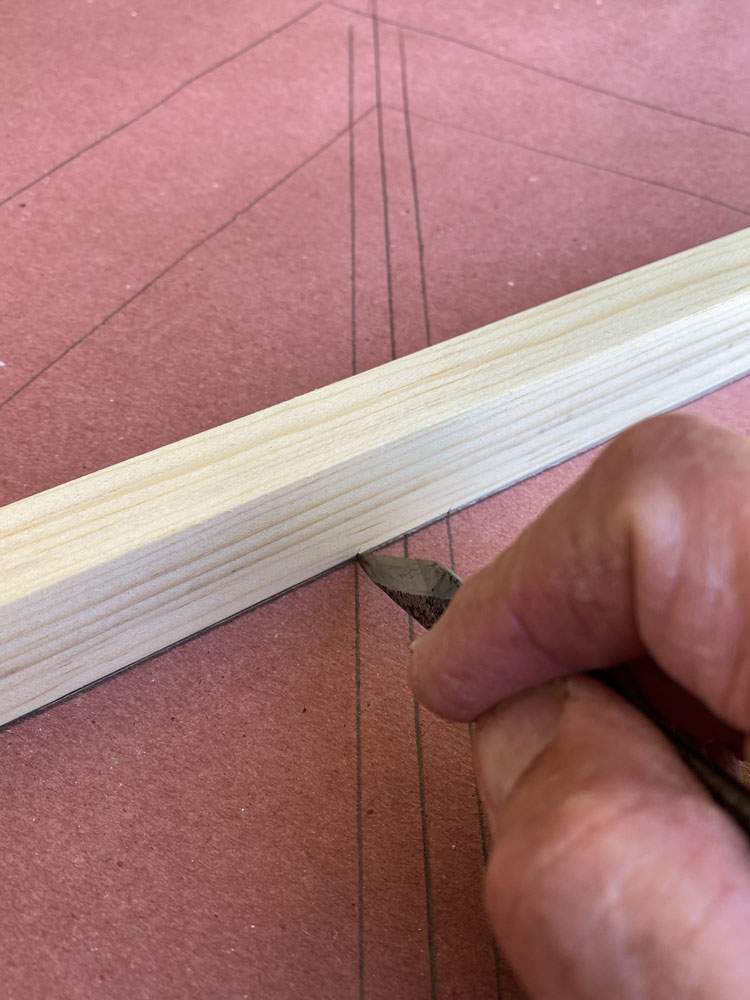
How to attach it? Well, we'll have to cut out the sides to fit in the slat. I'll put the slat in place and mark the location with a knife.

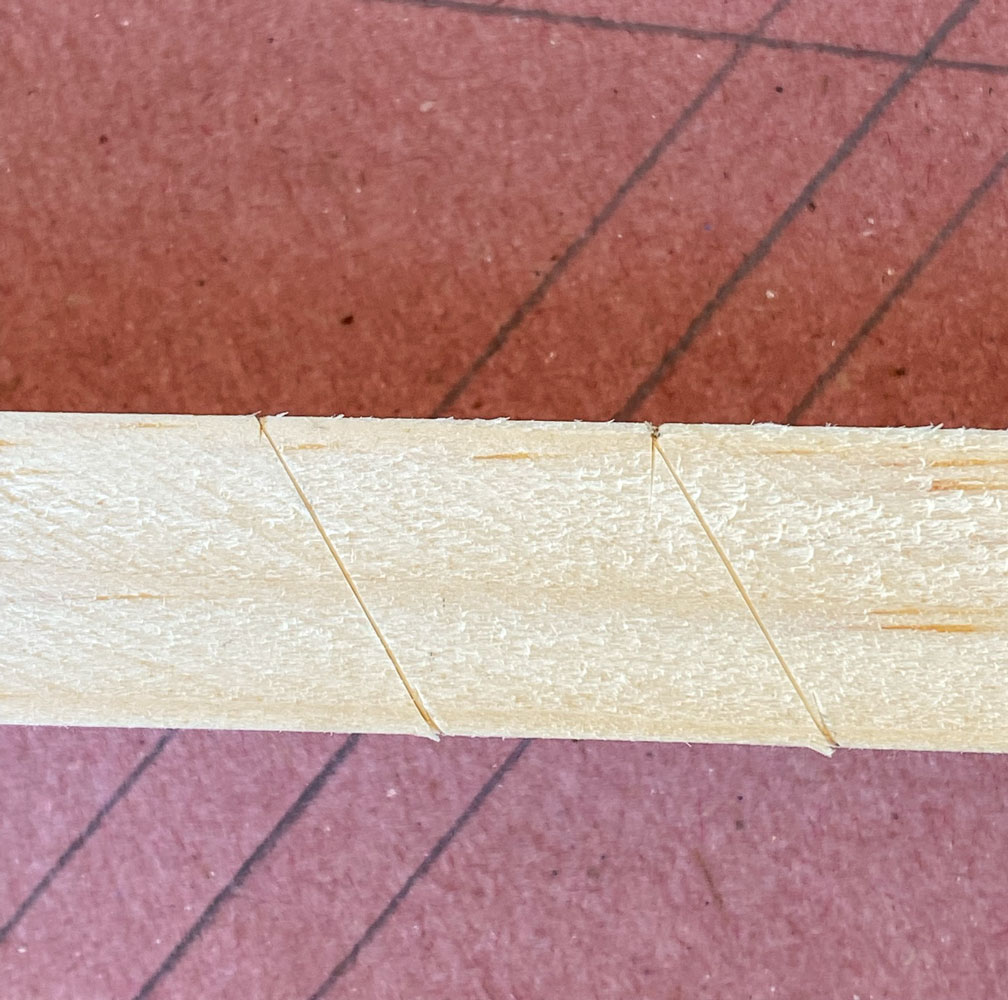
This is the resulting mark.
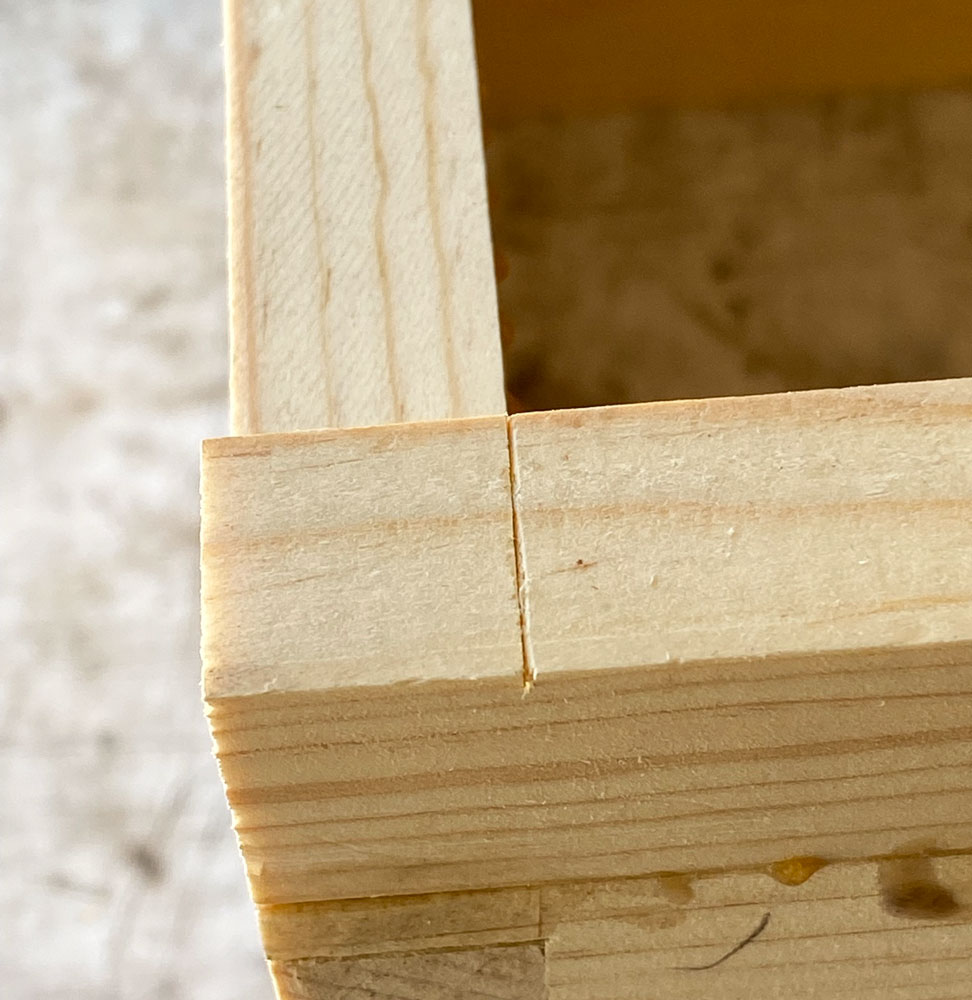
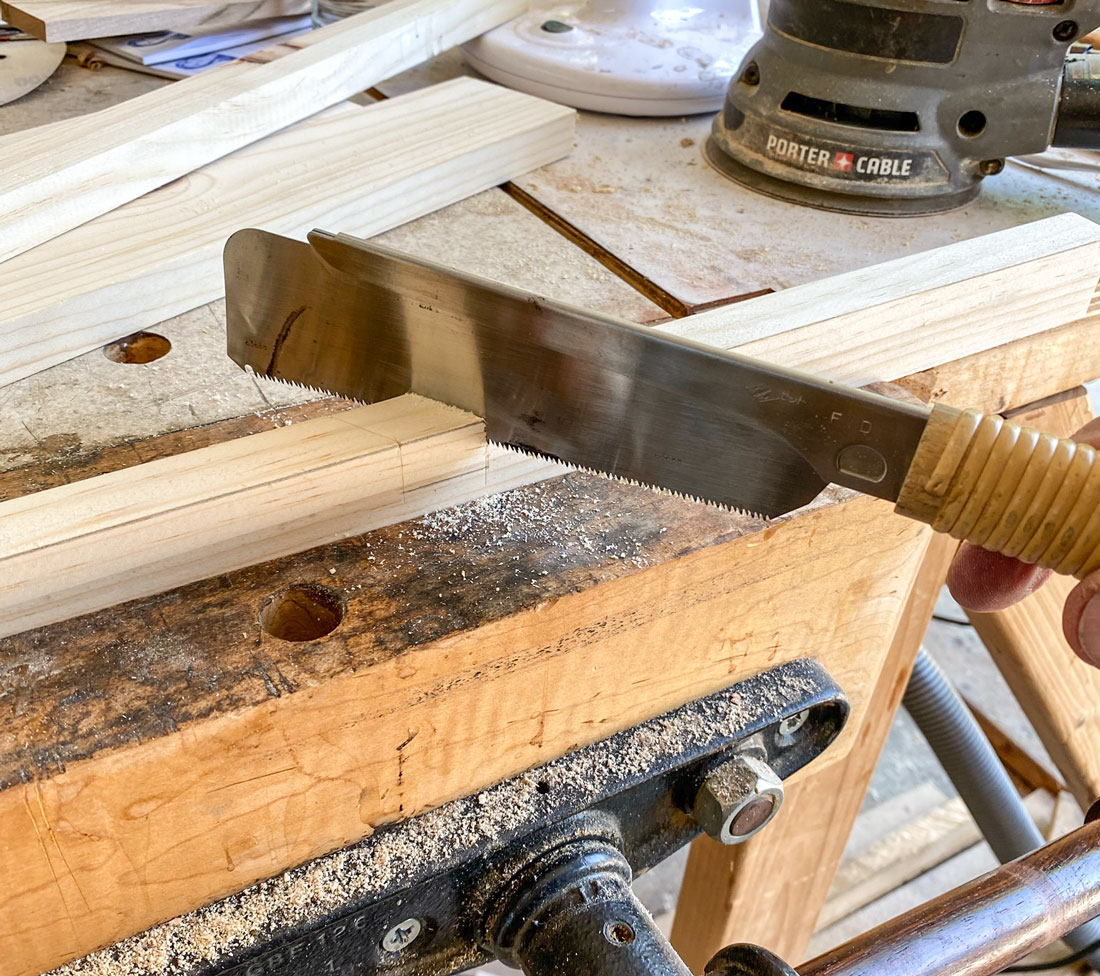
Now, I'll saw down to the groove.

And chisel out the waste. You don't have to take the waste down tight on the slide. This side of the slide is not part of the "vacuum" so if there's extra space between the slat and the slide it won't bleed air. Just get close. If you go too far, it will make moving the slide too tight.
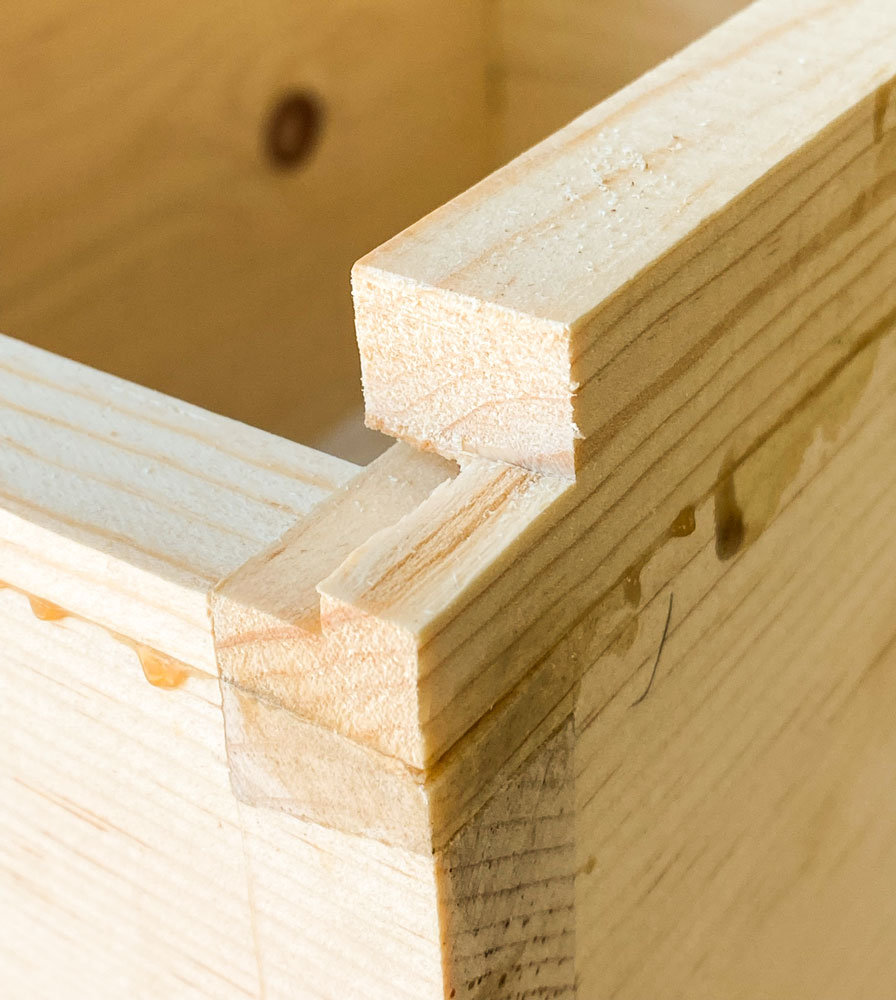
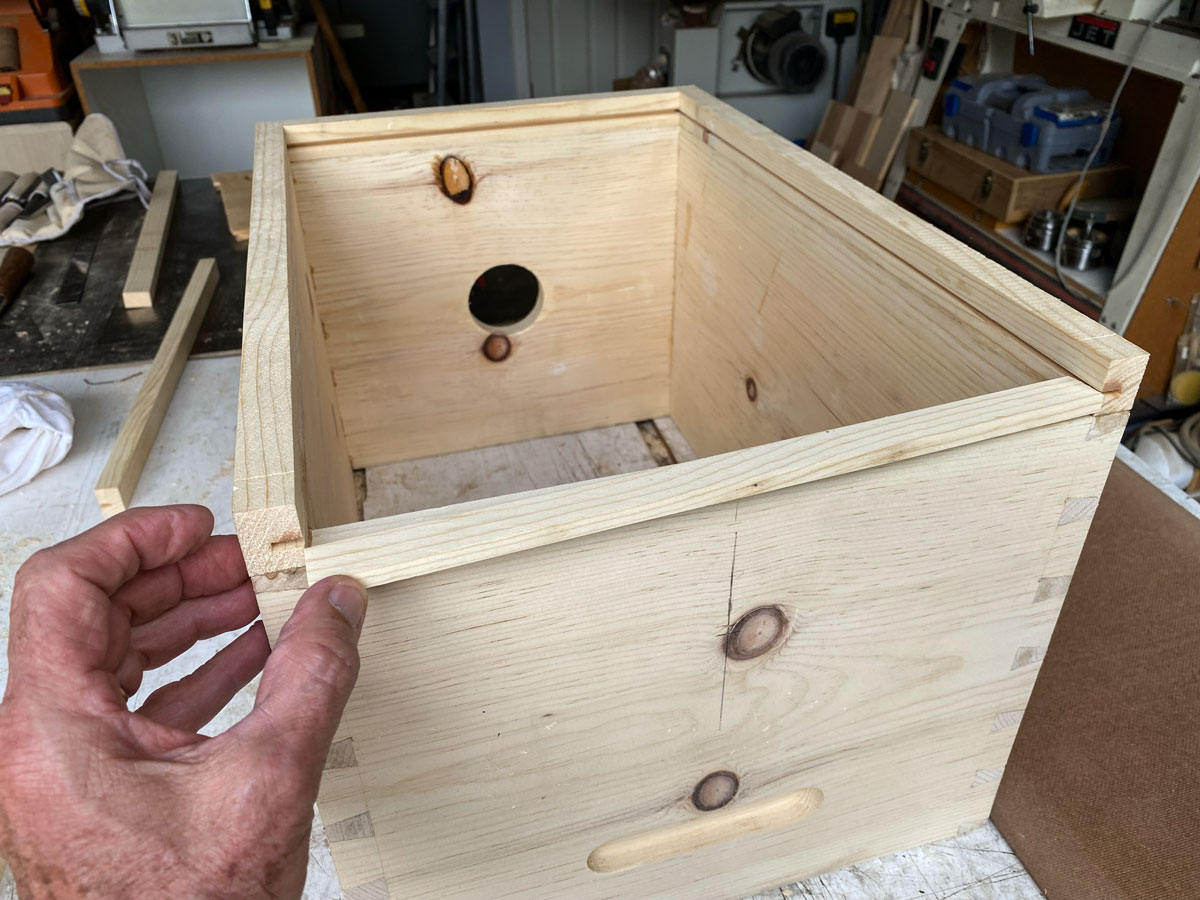
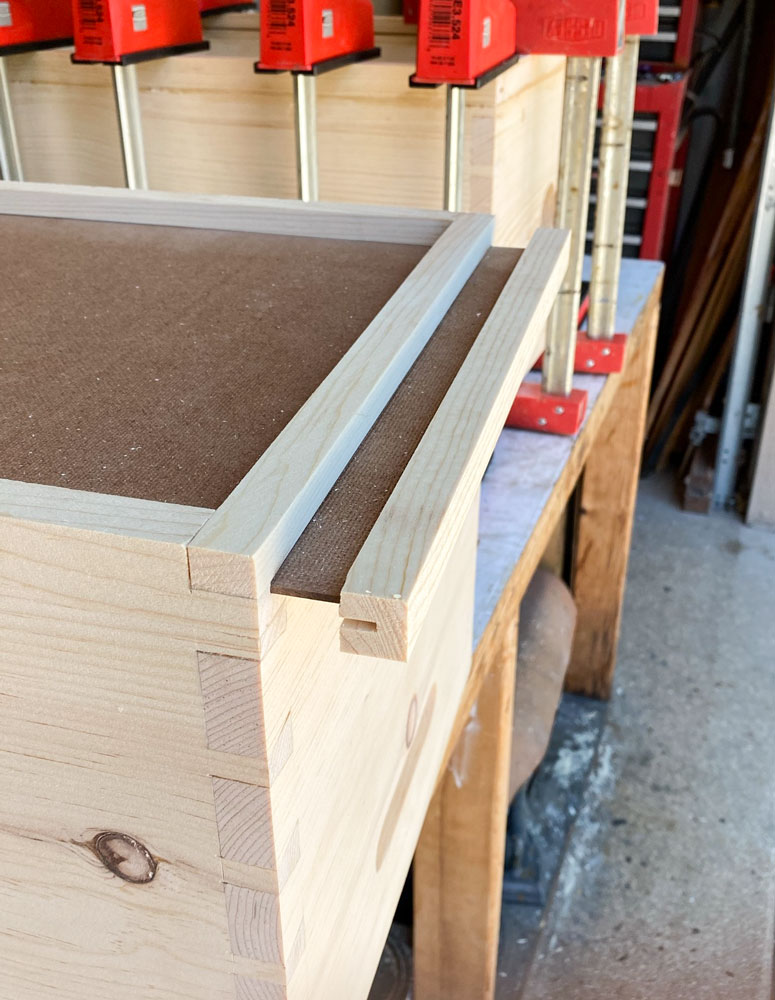
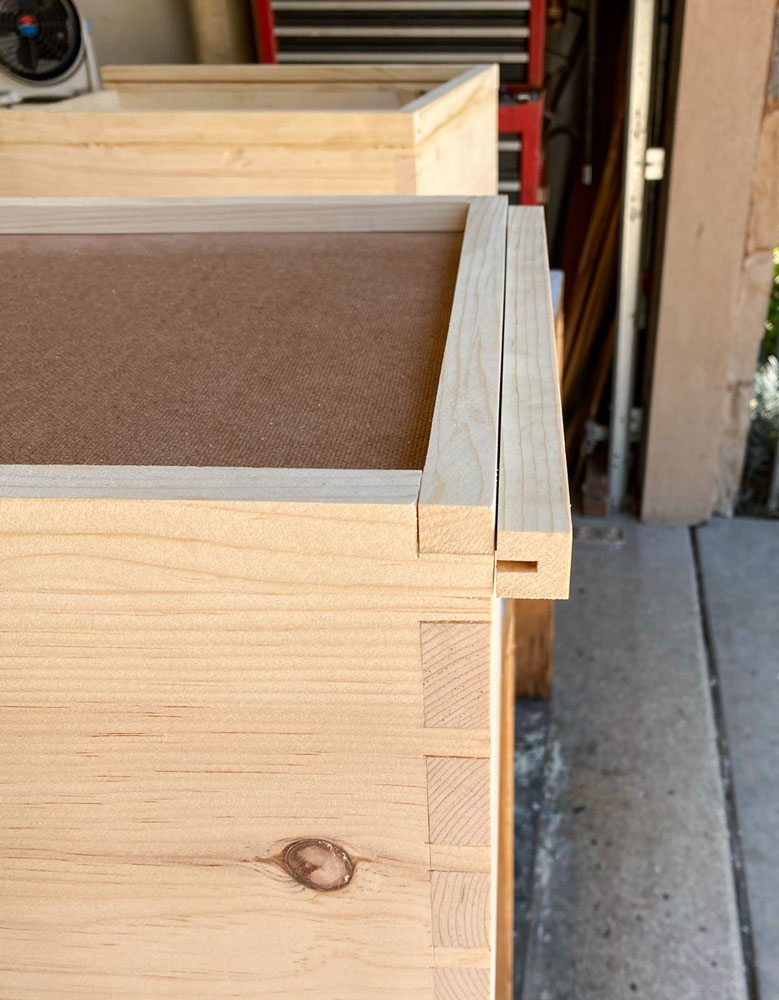
Here's the slat in place.
And glued - I only need two clamps.
Now to put a handle on the slide. I rough cut the length of the slide leaving it too long. I cut a piece of pine 3/4 by 3/4 and cut a groove in it 1/8 inch wide and about 3/8 inch deep, centered.
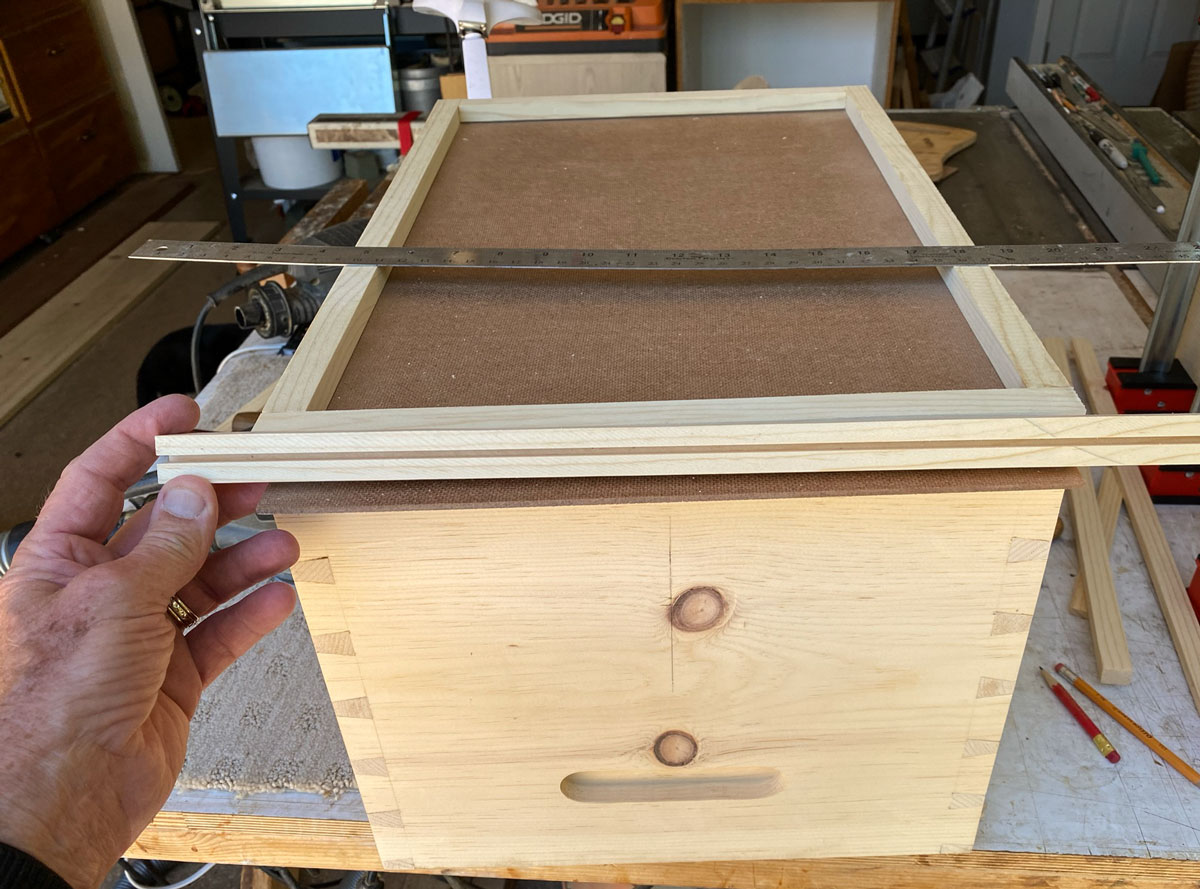
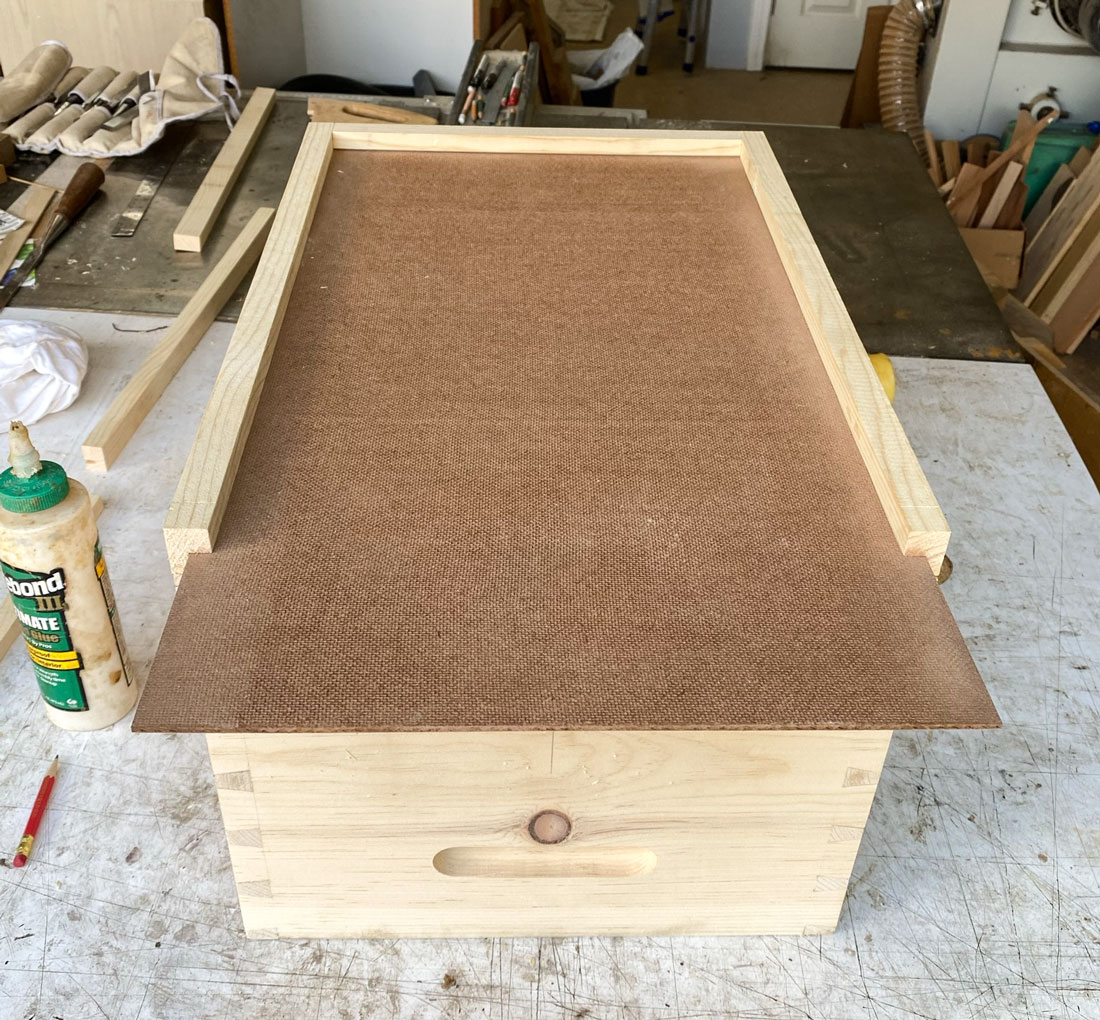
I cut this slat to length and glue it to the slide. You can see the handle is not flush against the box, where I want it. I'm going to trim the other end to get it to length.
It's about 15/16 inch too long.
I trim that off the other end and now the handle fits tight against the box, and it's well registered into the slot on the other end.
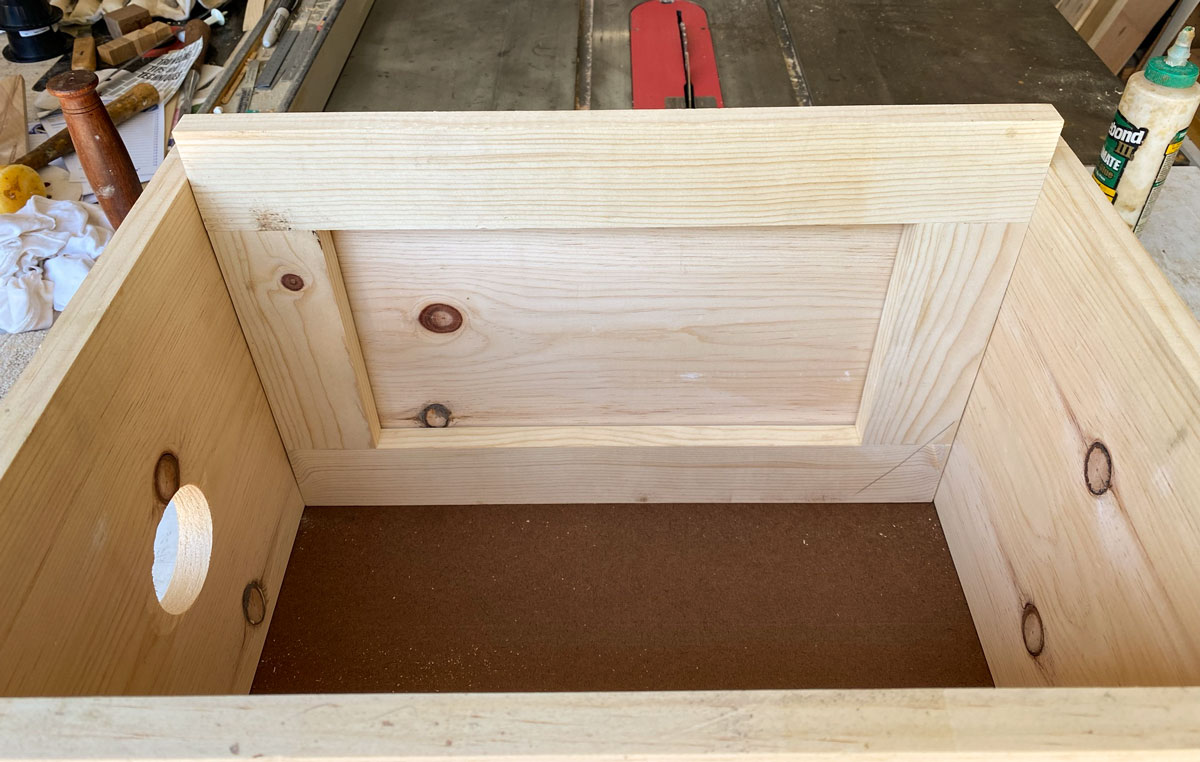
One more thing on the bottom. When I made my first bee vacuum with the slide on the bottom, and used it to pick up some bees, I noticed that some bees were coming out of the slot where the slide had been after I opened it. I didn't know if the queen could fit through the slot, but to prevent any problems, I made a "plug" to be put into the slot after removing the slide.
I make it the same way as described for the slide - it's a very short slide:-) The hardboard is 3/4 inch wide, which means that it will not protrude into the box.
Here it is inserted into the slot. It just blocks the slot and keeps any bees from getting out.
Side note: When I transfer a swarm from the bee vacuum to a hive, I always put an excluder between the bottom board and the brood box. My goal is to trap the queen in the hive. If you don't do that, the swarm will often decide that they don't like your nice, clean, well built hive and abscond. You come back in the morning and the hive is empty. But with the excluder, the queen is trapped in the hive and will eventually start laying on one of the frames. And once they have brood, they won't leave. You can remove the excluder once there's brood.
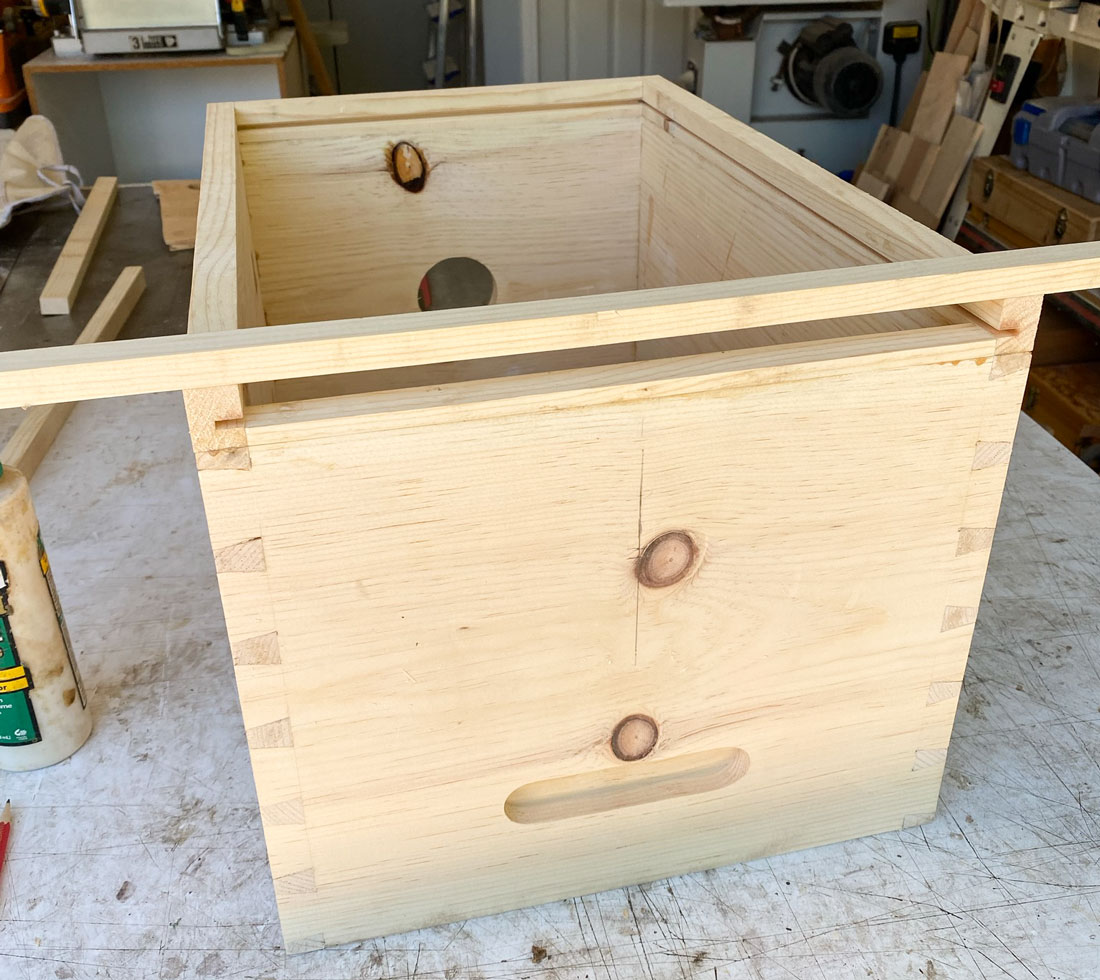
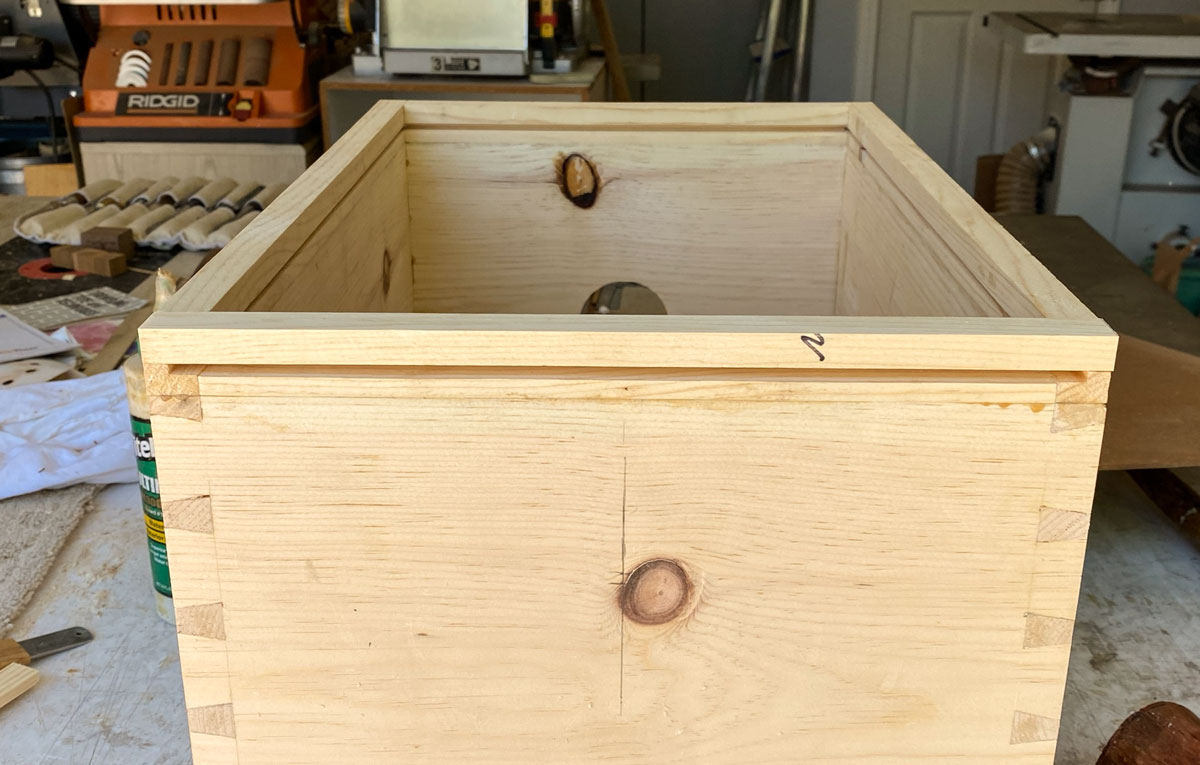
This completes the bottom of the bee vacuum. Next we'll start working on the top. The first task is to make the internal frame slide - the part that moves up and down in the box.
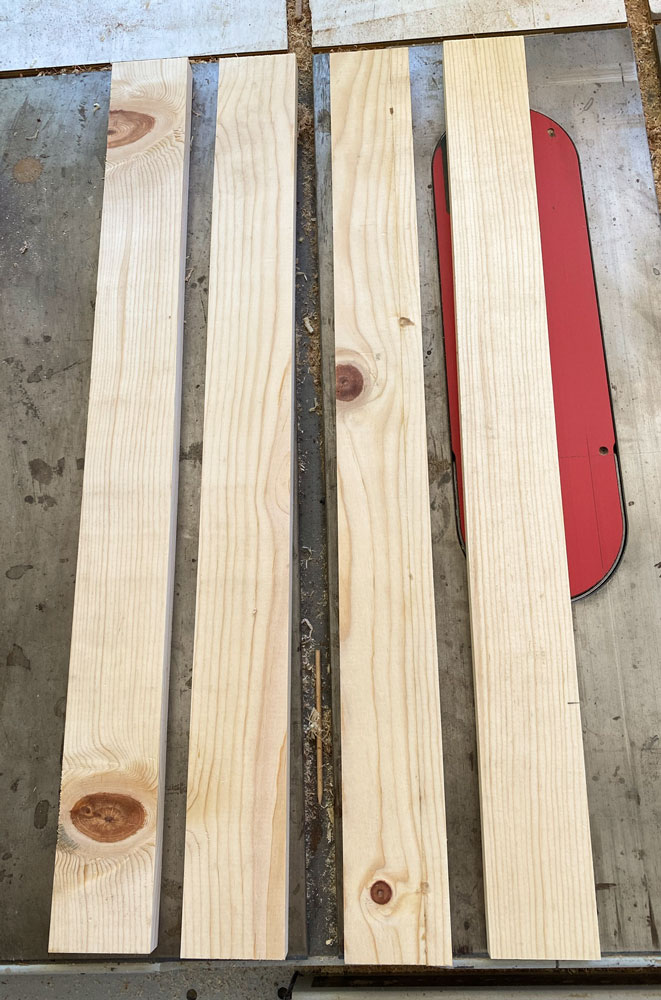
I cut four pieces of wood, about 2 1/2 inches wide. I'll cut most of those knots out when I use this material.
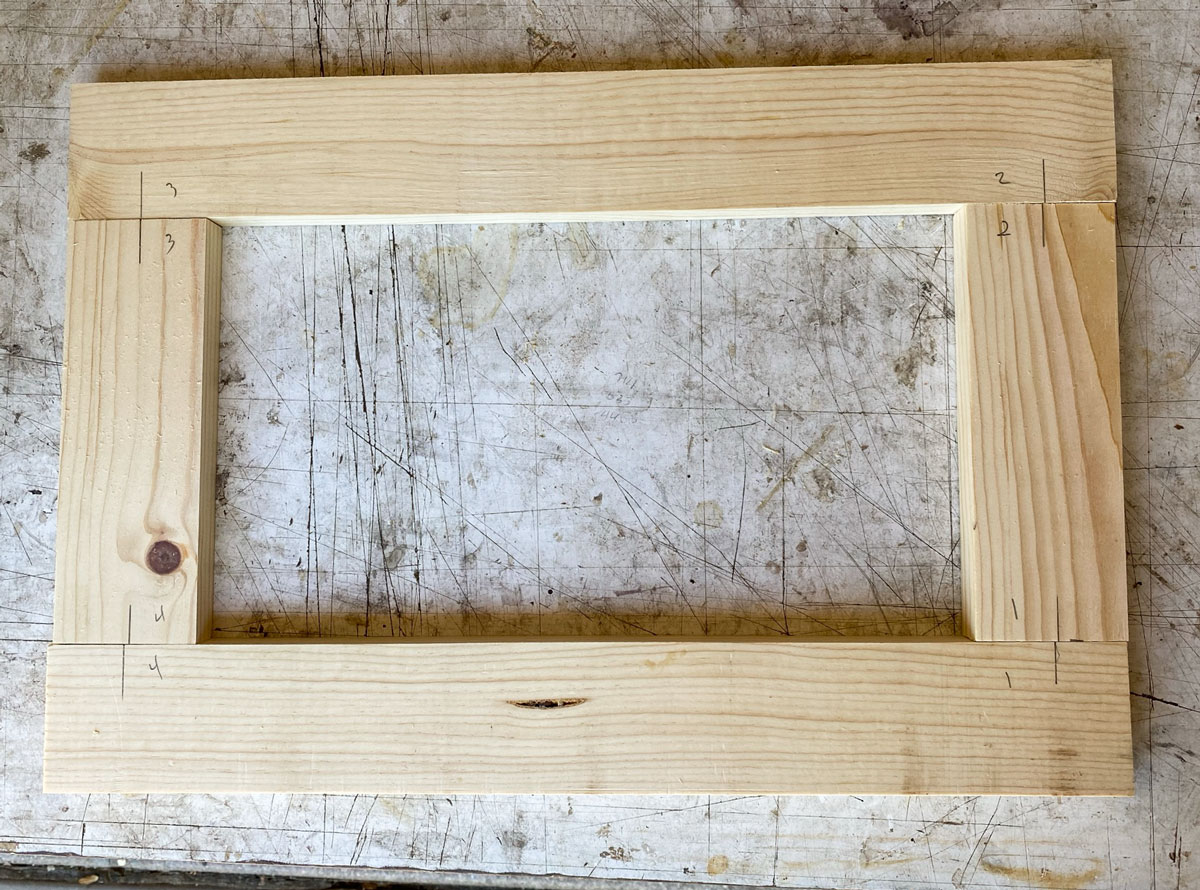
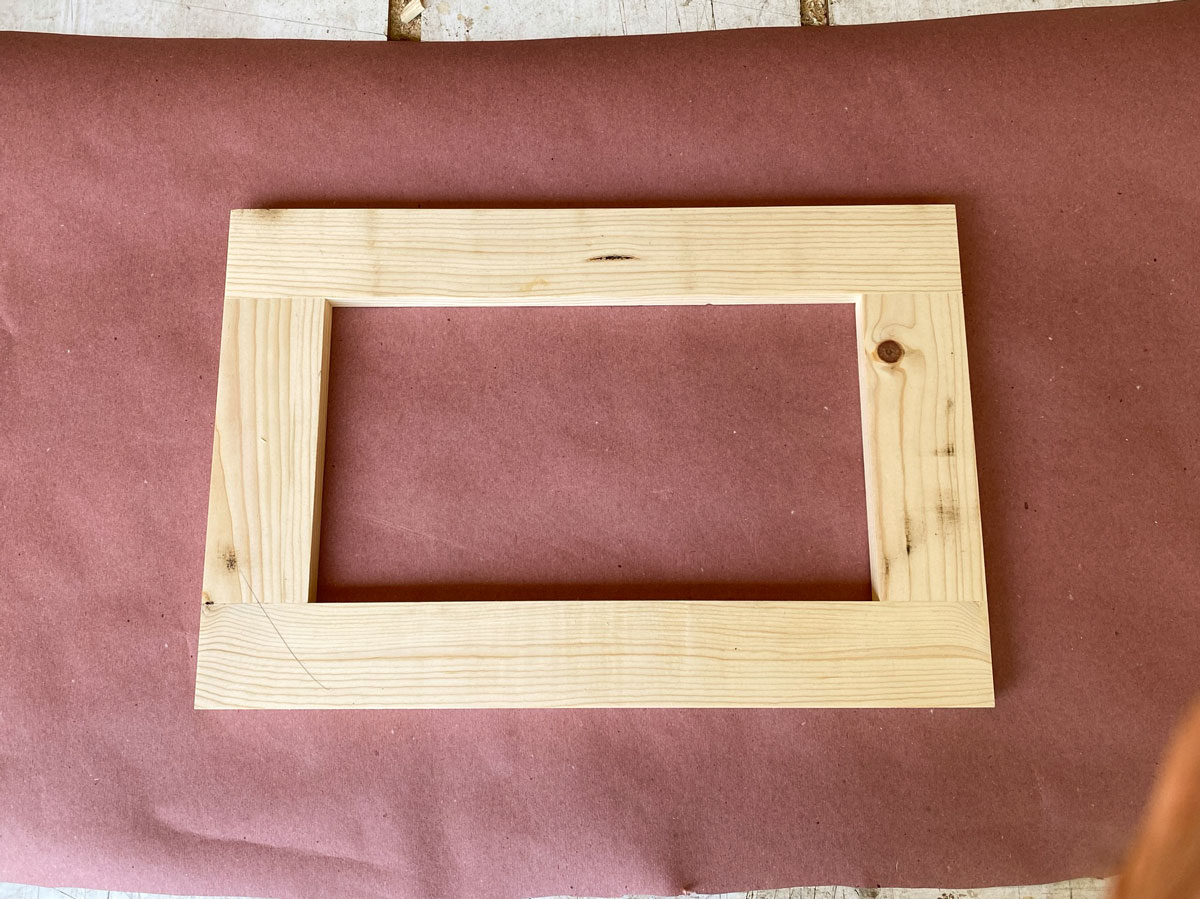
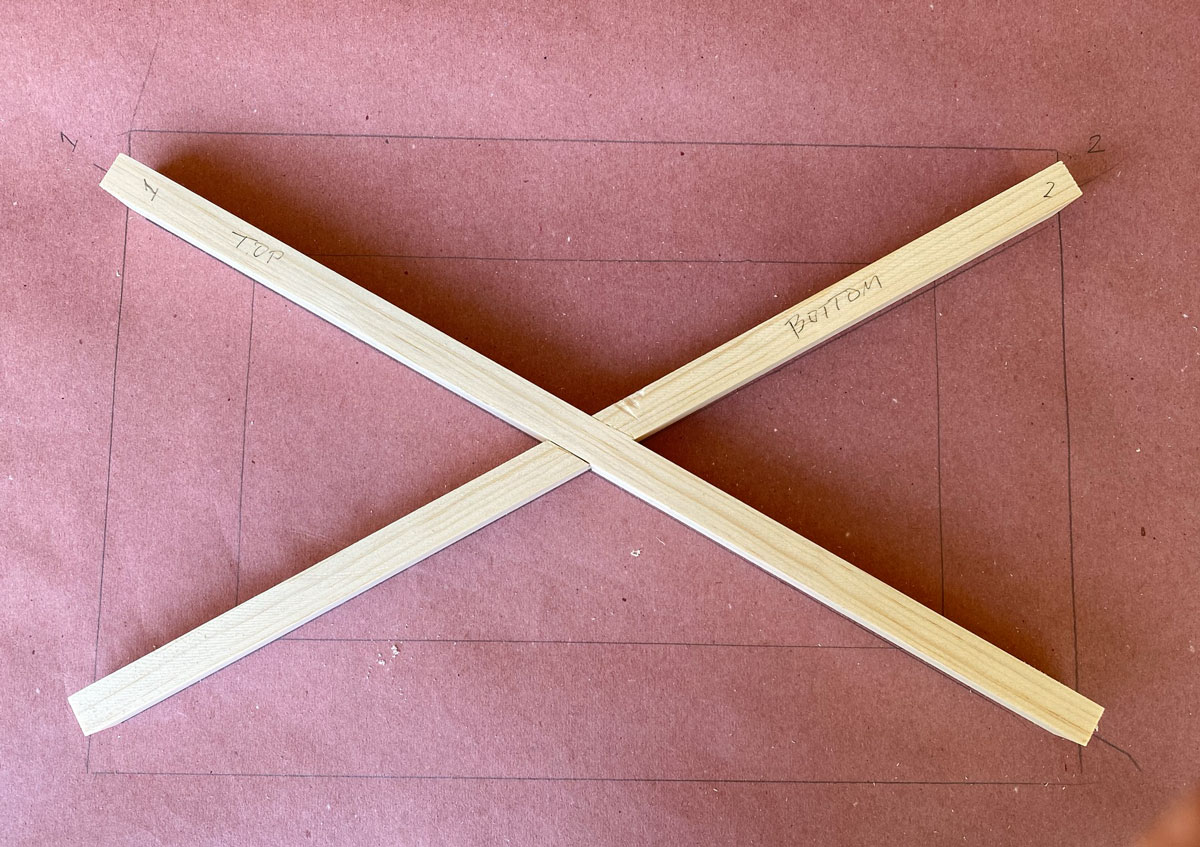
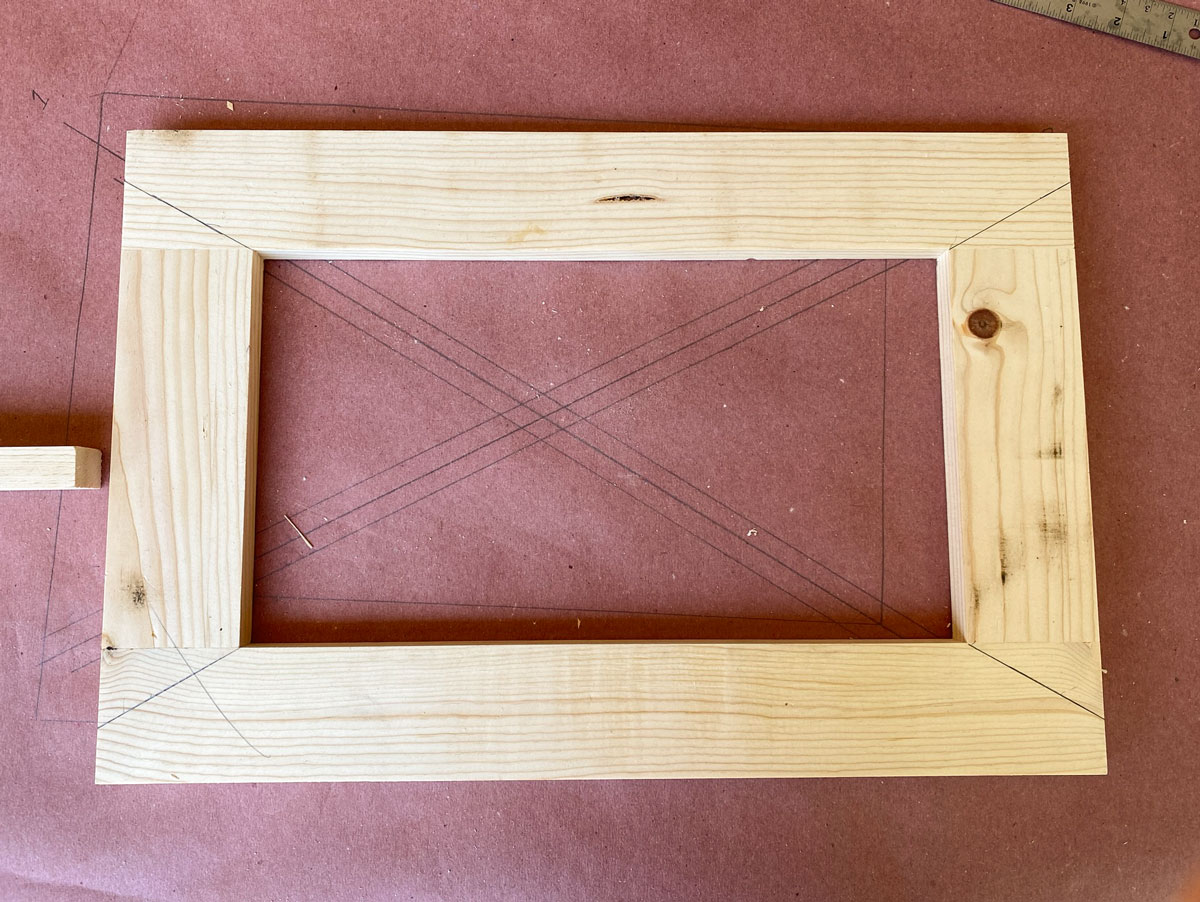
Then I measure the inside dimensions of the bee vacuum and cut two piece for the long dimension. I cut them about 1/8 inch too long. I want to carefully trim the finished piece to fit tightly in the box. To cut the short pieces, I put the two long pieces down and adjust them until the measurement from outside to outside is about 1/8 inch more then the width of the inside of the box. Then I measure the distance between the two long pieces and cut short pieces to that length. When I finish, the sliding panel is 1/8 inch too big in both dimensions. In the picture below, I've marked the wood for the location of mortises that will be used with loose tenons to join the four pieces.
I use my Festool Domino to make the mortises. The Domino is really a useful tool.
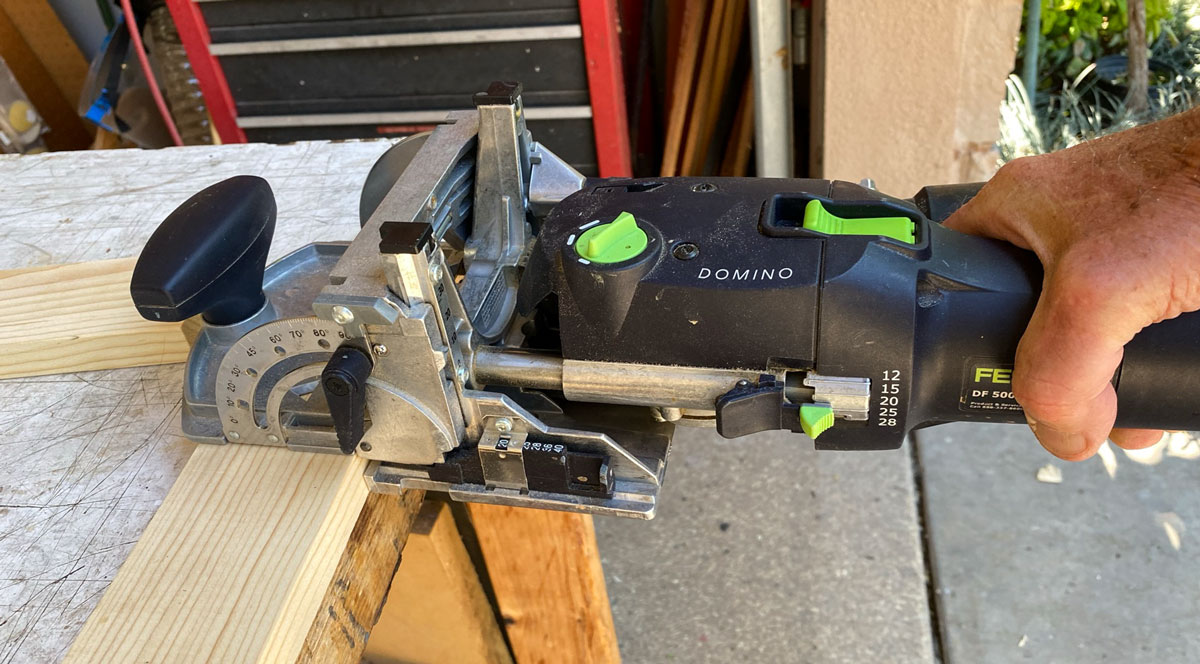
Here are the mortises on the four pieces, with the four 6mm Dominoes (loose tenons) in the center.
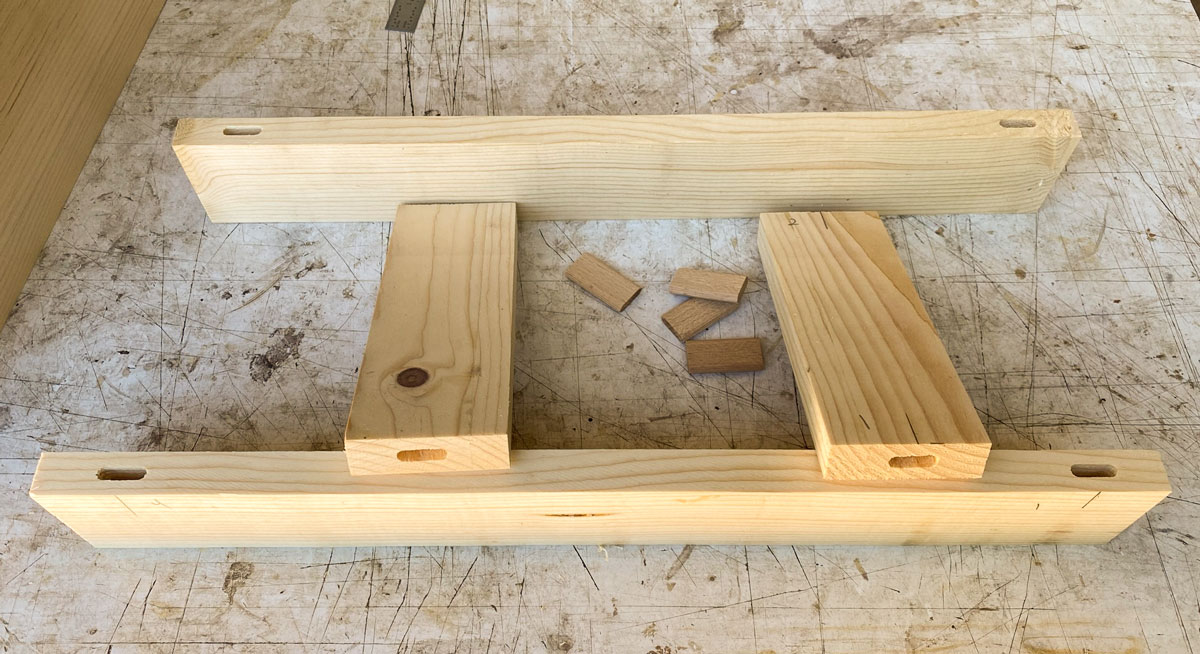
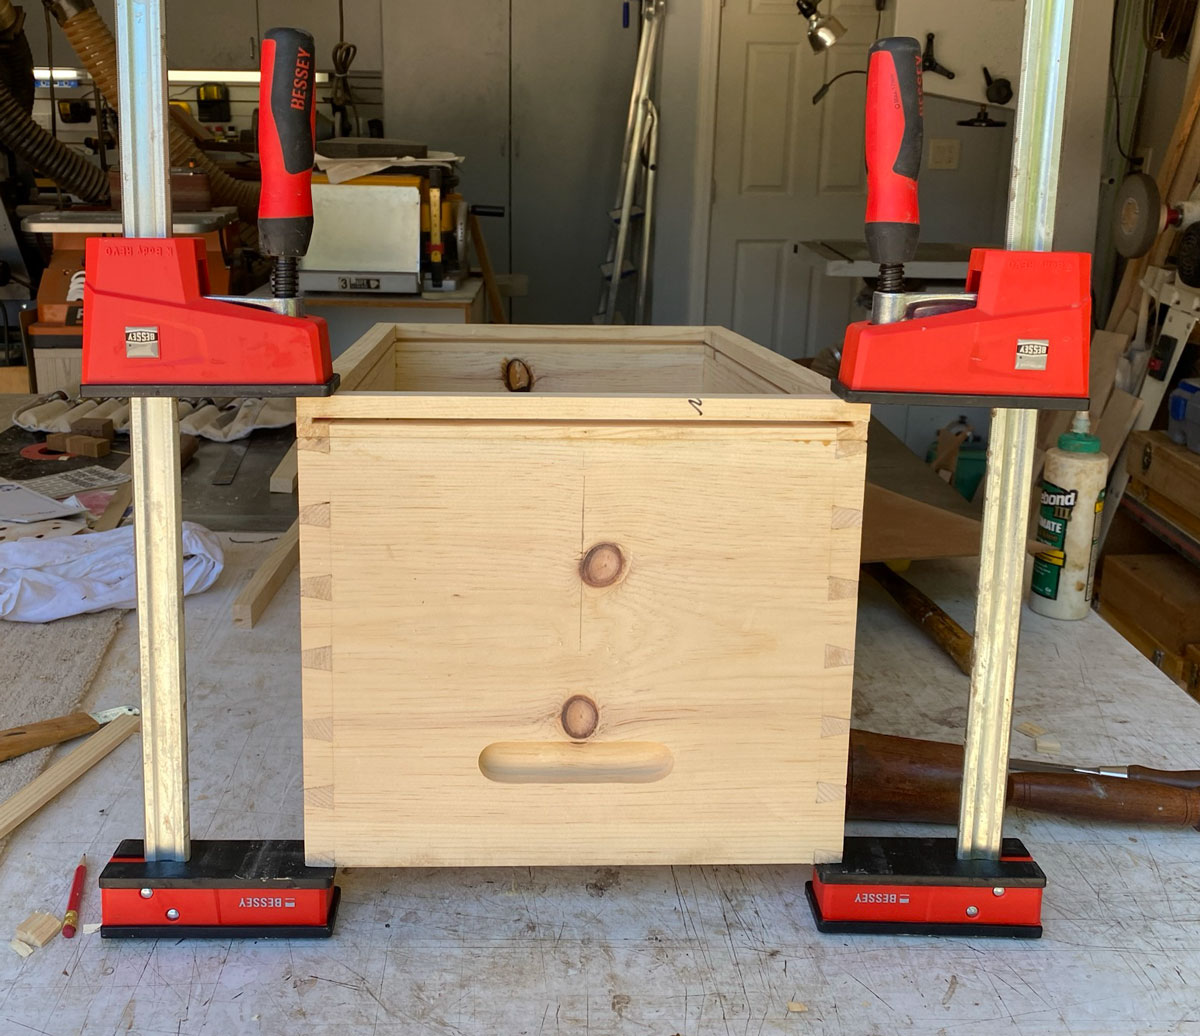
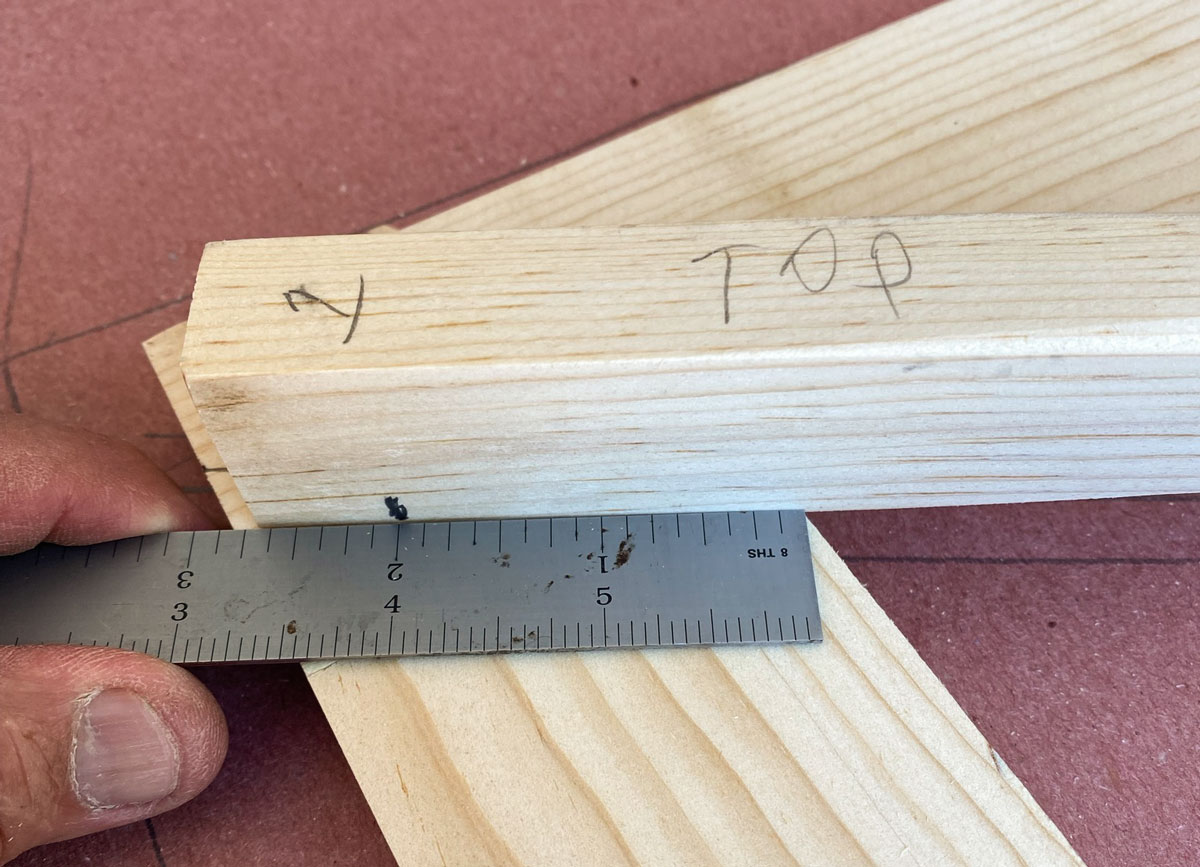
Coat the inside of the mortises and the outside of the tenons with glue, put the pieces together and clamp. I numbered the joints so I can put them together properly. The mortises are not in the same place on alternate pieces.
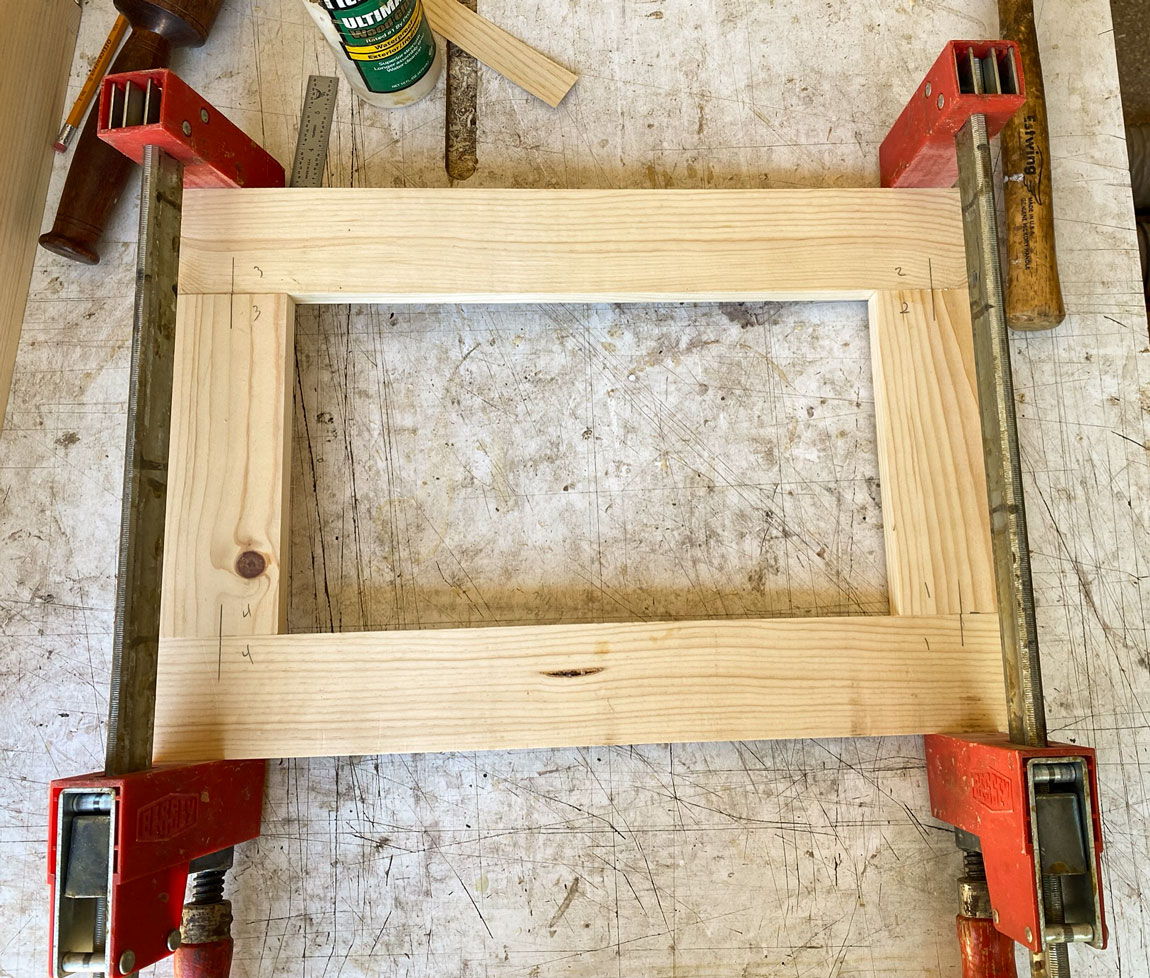
I'm now going to trim the frame slide to just fit the box. The first thing I need to do is make sure the frame is square, at least on one corner. A table saw will make two sides parallel but it will not make alternate sides square. By checking for square before trimming, I can get a good, even fit into the box - that's assuming I made the box square, of course:-). Note that I marked that corner with a line across it.
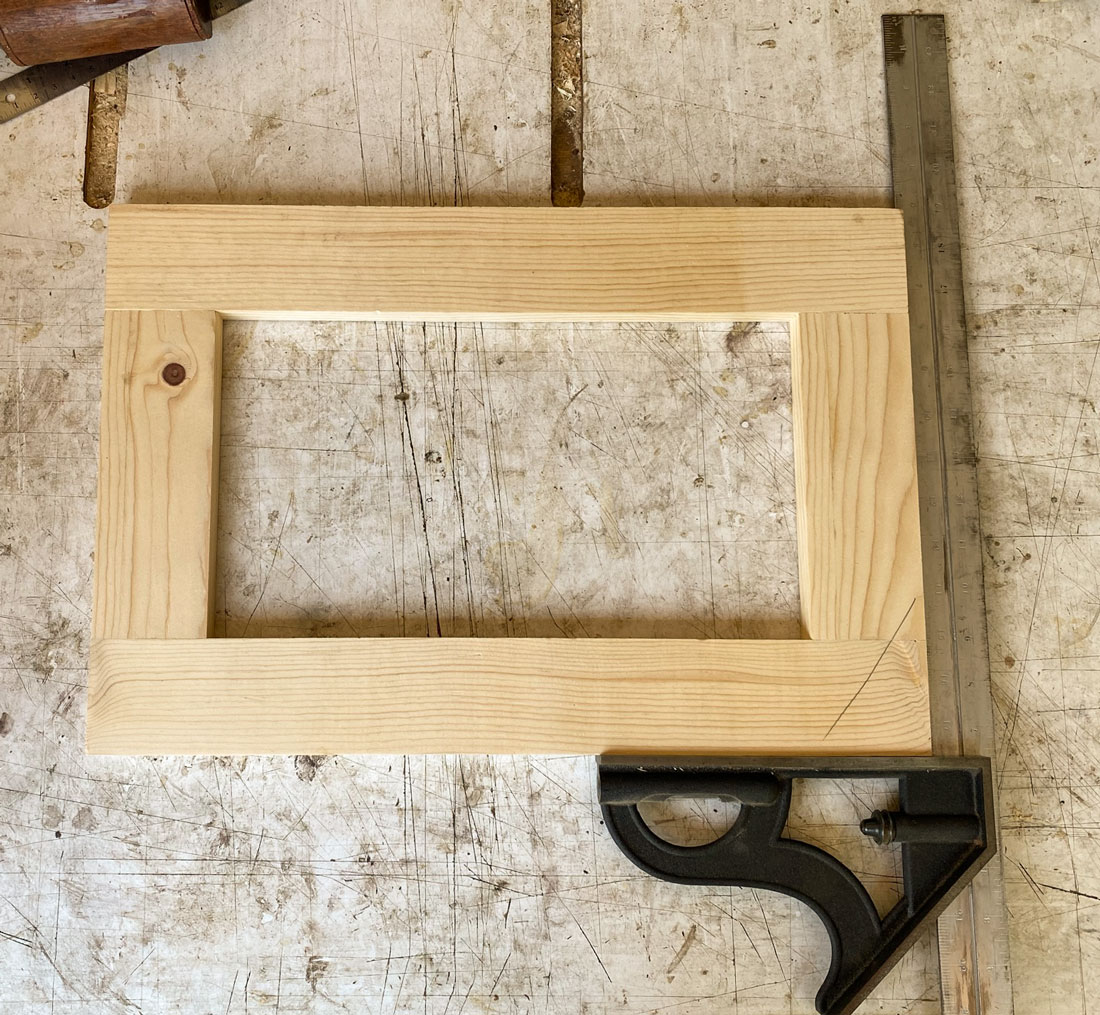
I start by trimming in one direction - in this case, the long direction. I trim a little at a time, until I can slide the frame down into the box.
Then I trim in the other direction until I can slide the frame all the way to the bottom of the box.

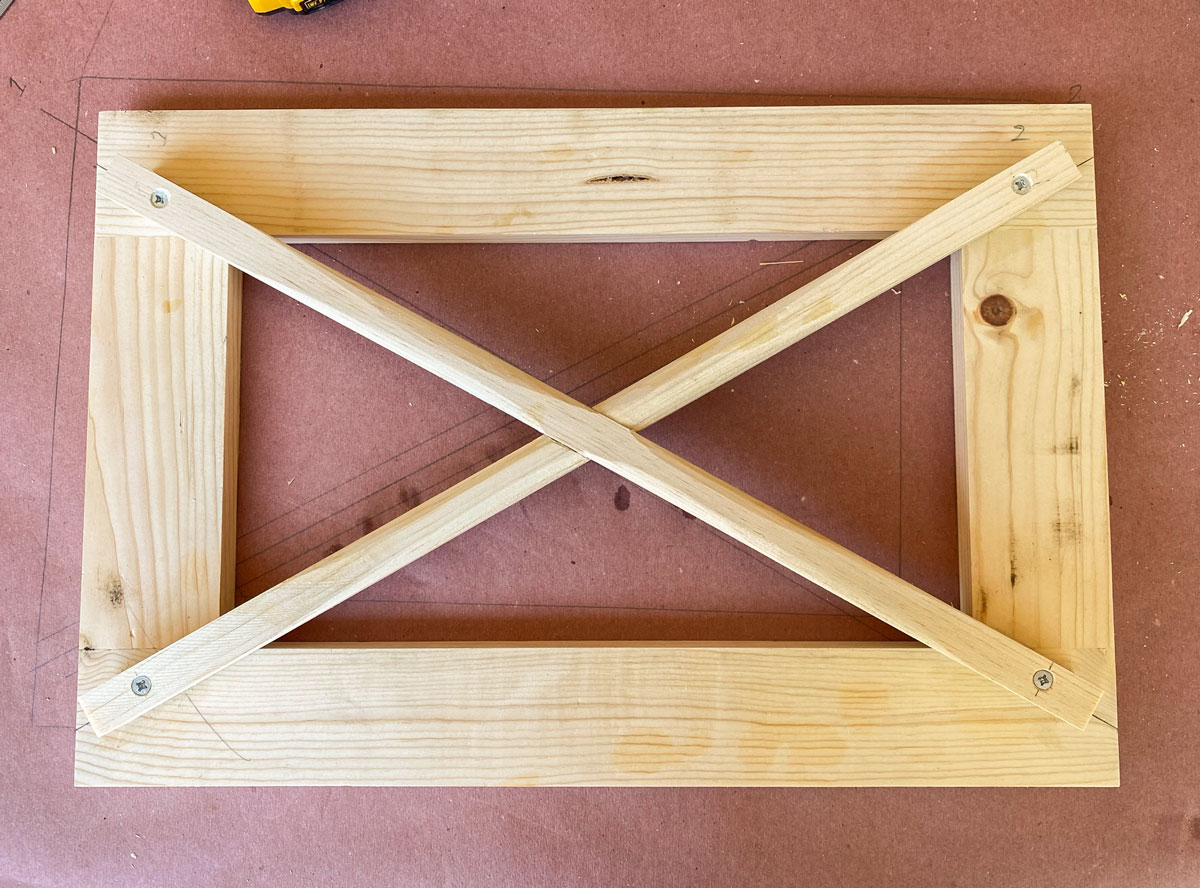
This next step is a bit involved but worth it, I think. When I built my first bee vacuum with this slide, I put a knob on each end of the slide so it took two hands to raise or lower it. I found that it was much better if I could only use one hand so I modified the slide to have a wood cross handhold. The cut for the center lap joint is a bit complex so I'll explain how I do it.
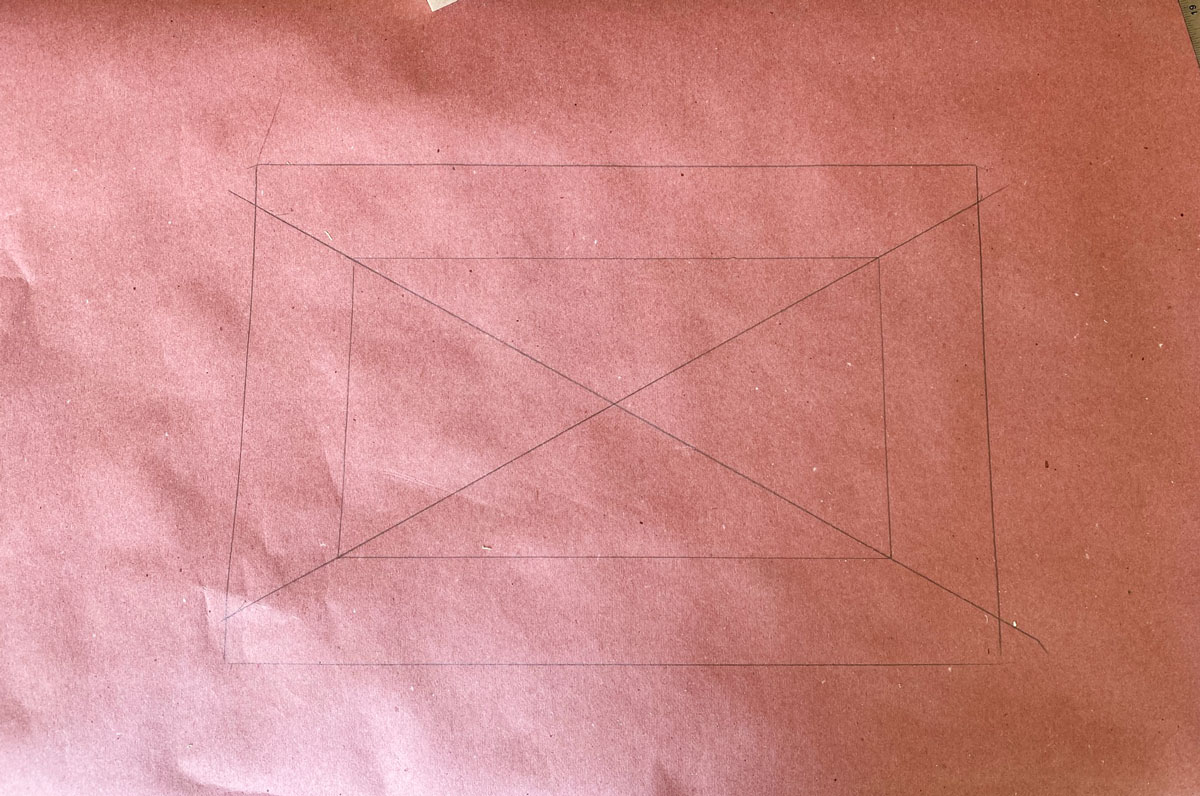
First, I use some paper and lay the frame on it. Then I trace the frame, outside and inside.
This is a bit hard to see, but this is the trace. Then I draw two diagonal lines between the INSIDE corners.
I'm using pieces that are 3/4 inch by 1 1/4 inch. The length is about 21 inches. I lay one piece on one of the diagonals and trace it.
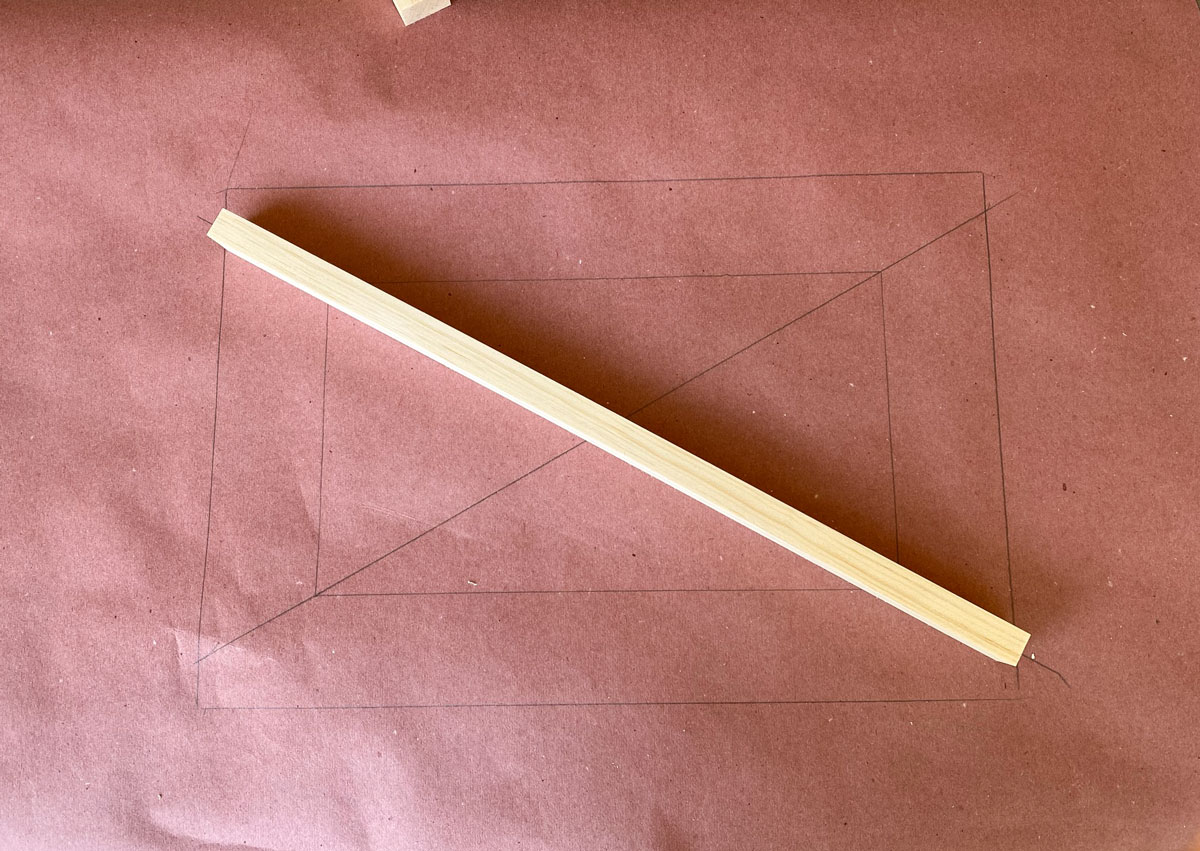
The piece of wood is centered on the line.

I trace the second piece of wood on the other line. Then, I mark the locations where the trace of the board on the other diagonal crosses this board.
Turning the board over, I can draw lines between the marks.
Cut along the lines about half way down.
Chisel out the waste. Then lay the second piece into that cut and mark the crossing. Cut that piece, remembering that one is on top of the other. Chisel out the waste and then put the two pieces together.
Now, go back to the frame and draw the same diagonals from the inside corners.
Lay the cross handhold on the diagonals and then trim the length of each so that it extends about two inches from the inside edge of the frame.
Drill holes one inch from the end and screw down with 1 3/4 inch screws. I also put glue at the center intersection and under each piece at the screws. I also used my sander and knocked down the edges of the cross pieces. This is just to make it more comfortable to hold.
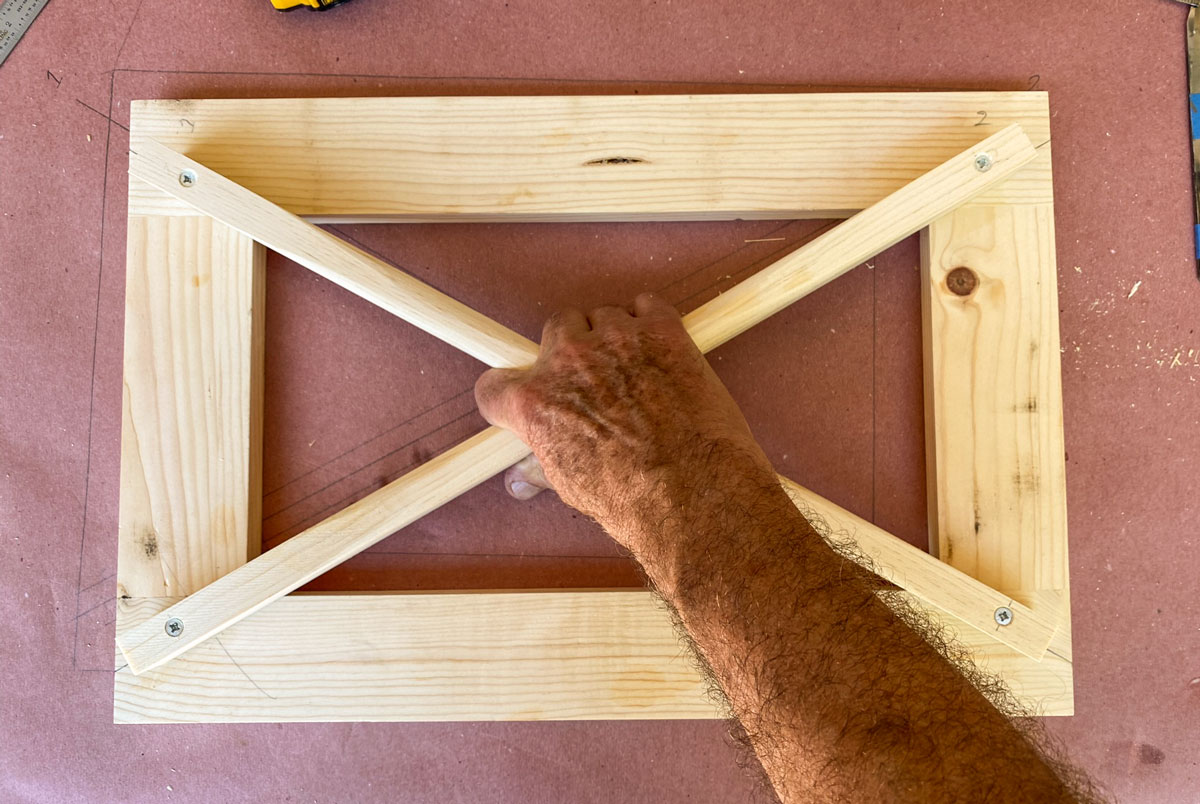
This allows you to move the frame up and down with just one hand.
The tutorial continues here