Bee Vacuum (Version 3) Tutorial
Making an Eight Frame Vacuum
Continued
P. Michael Henderson
June 21,
2021
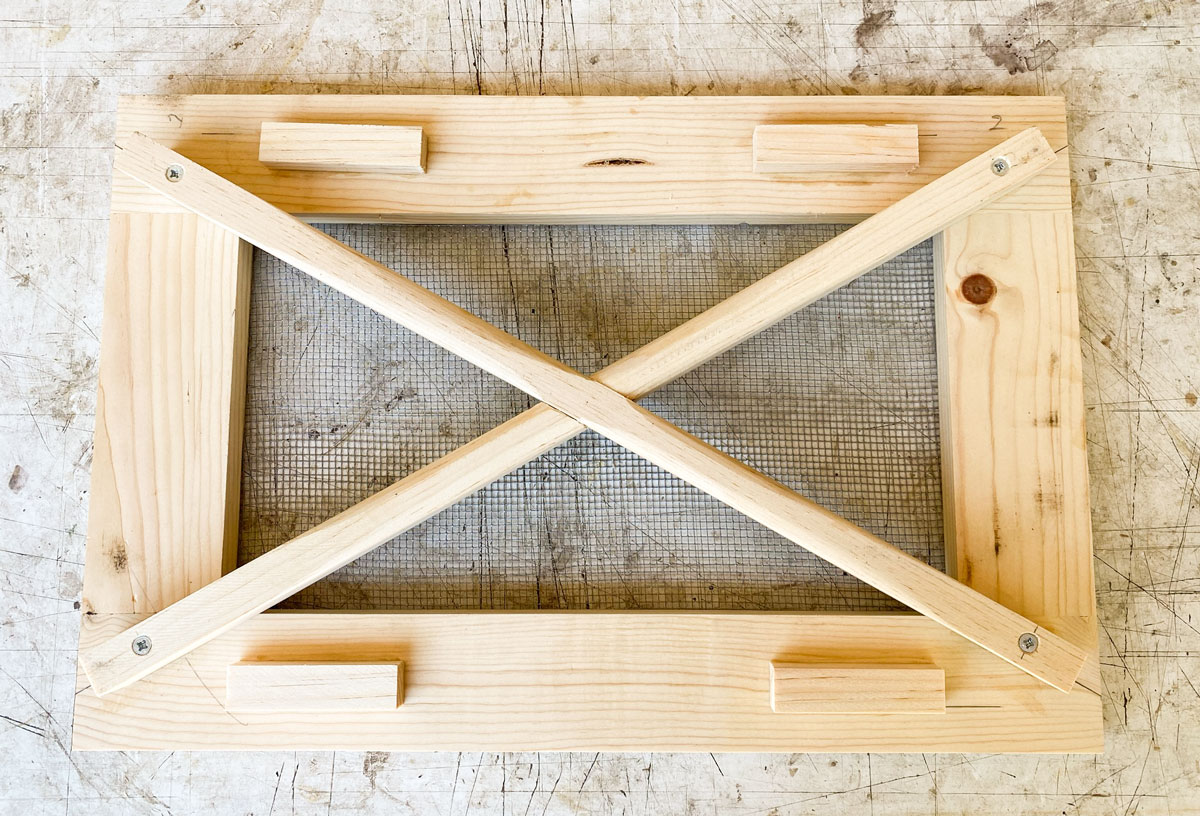
We have the sliding frame built now, except for the 1/8 inch hardware cloth. Our next step is to make the parts that attach to the box to hold it in place and allow it to slide up and down.
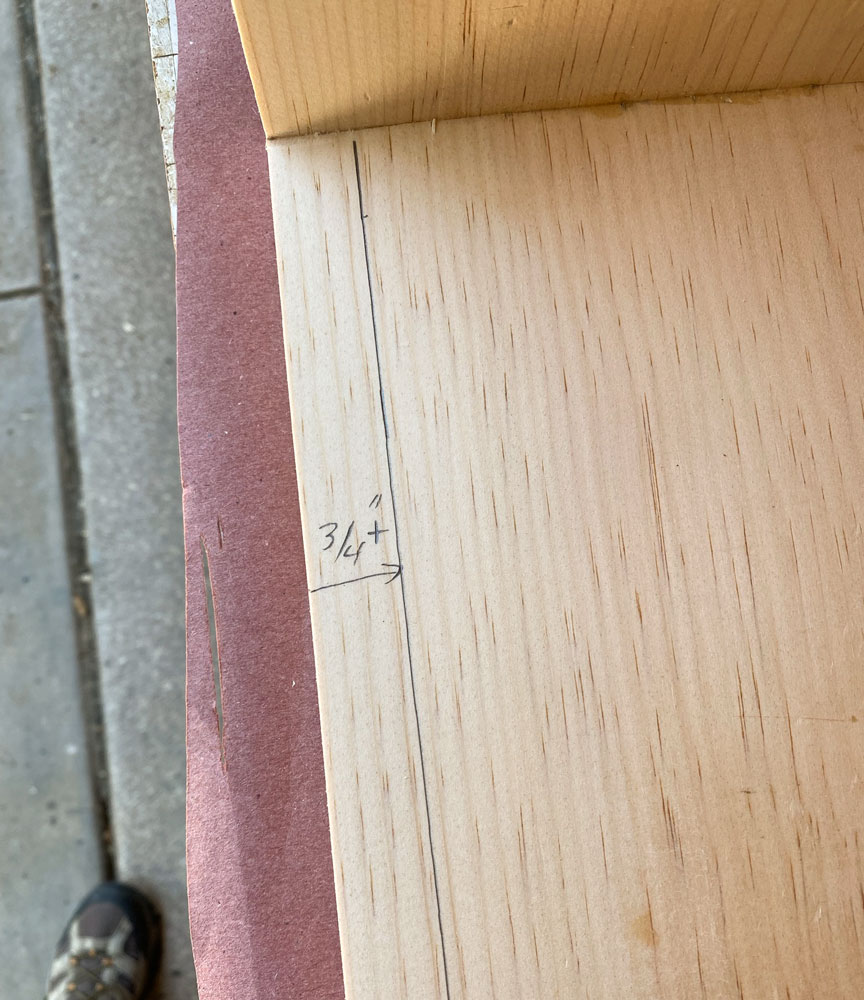
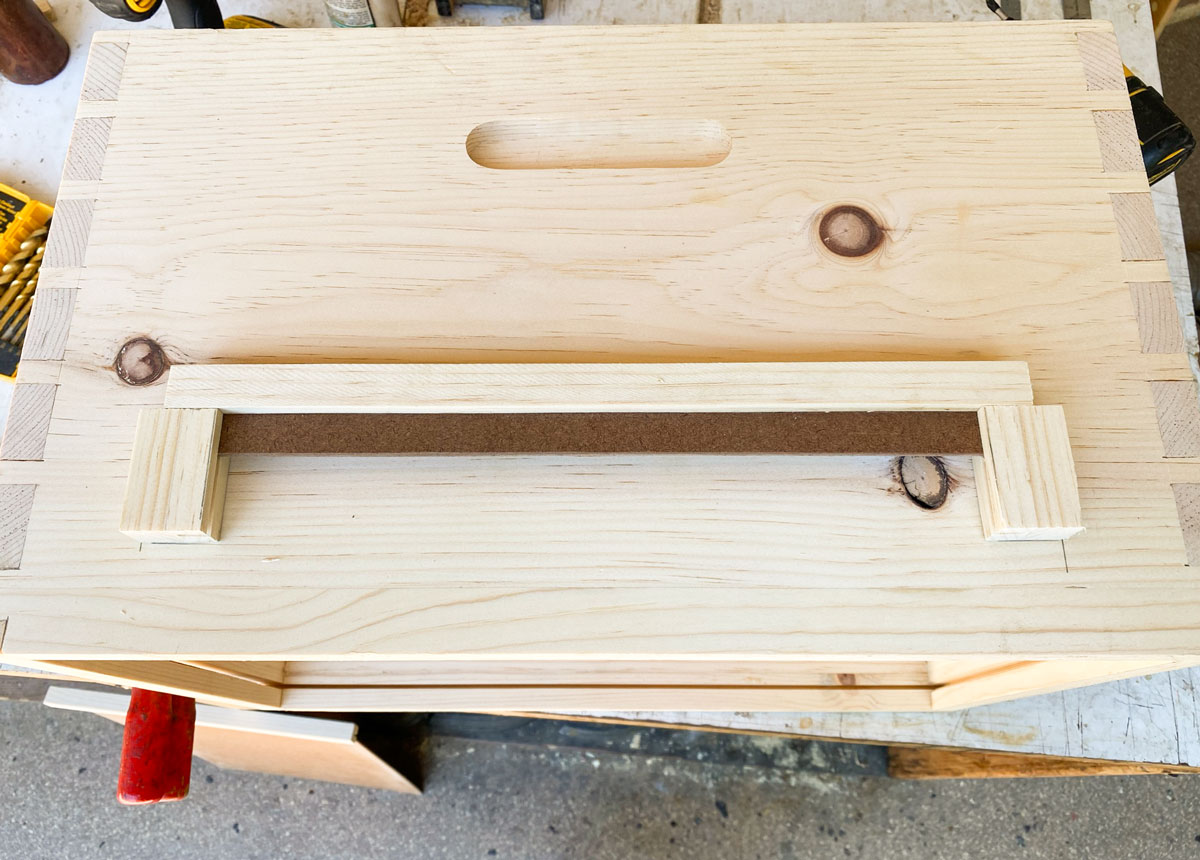
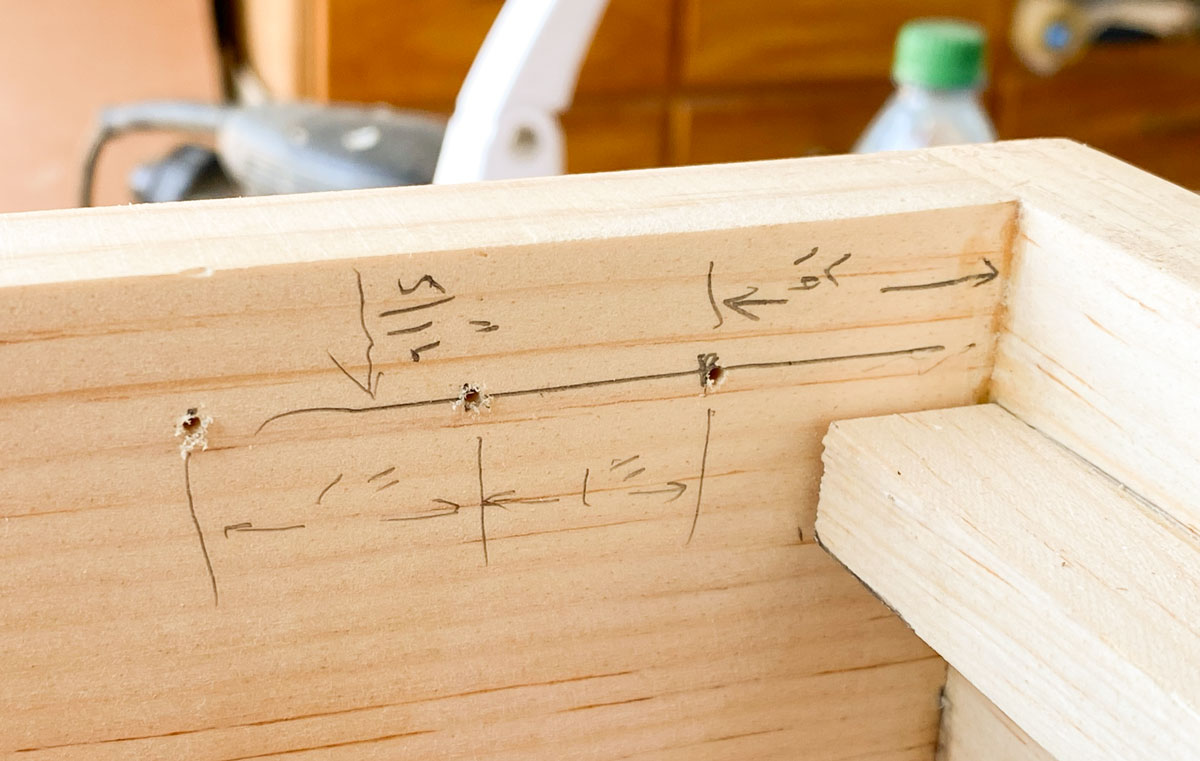
First, the "hold in place" things. I need to put a strip on each side of the box towards the top. How close to the top? The cross handle is 1 1/4 inches high so I have to "down set" the frame that far down or the handle will interfere with the top.
I'm going to use a strip 1/2 inch wide as a "stop" at the top, and the cross handle is 1 1/4 inch, so the strip has to be set down at least 3/4 inch. I'll make it just a bit more than 3/4 inch just to make sure.
Then I glue the 1/2 inch strip along the line.
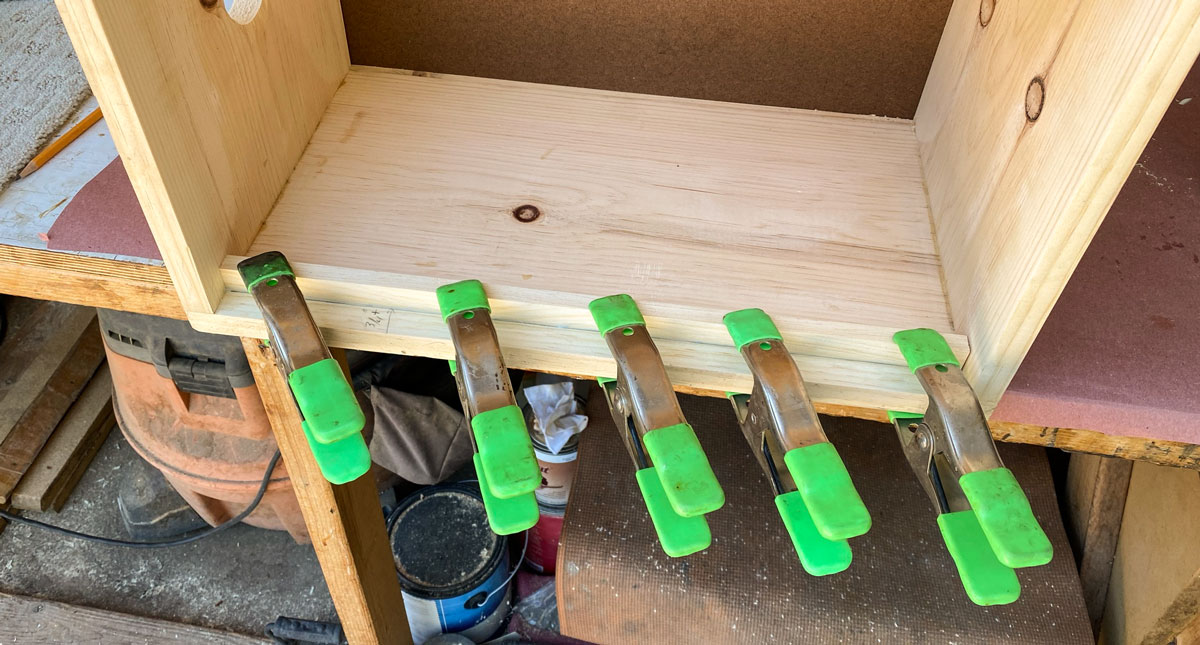
After gluing a piece on each side, this is what it looks like. The frame slide is captured at the top.

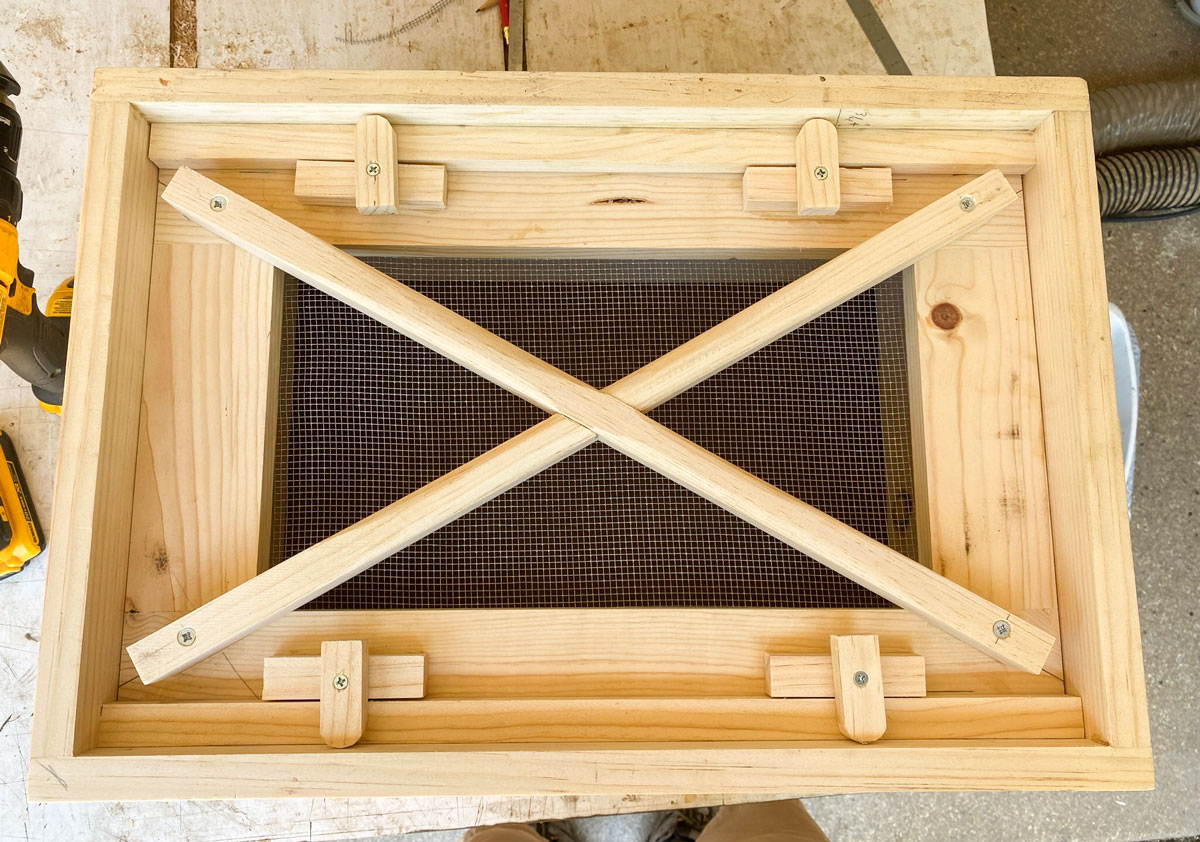
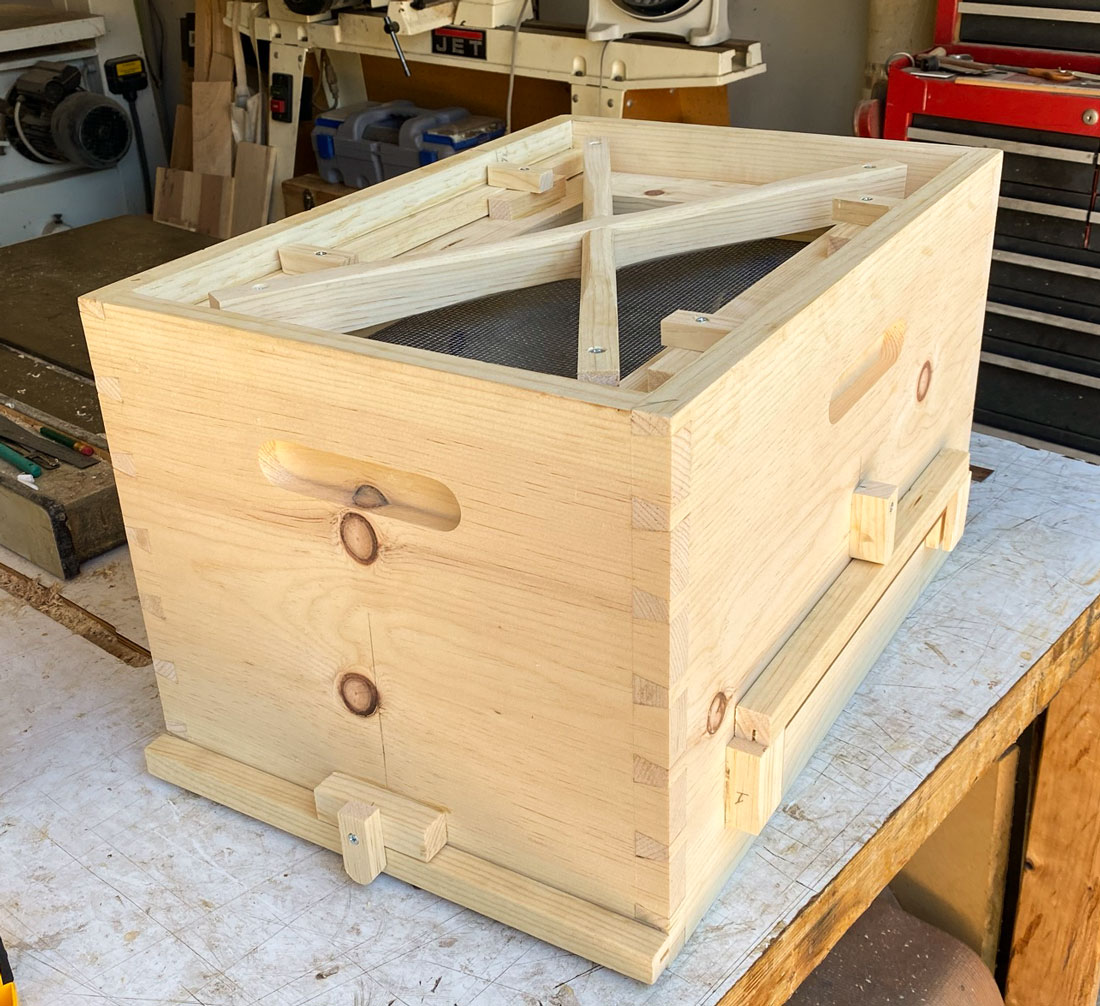
I'm going to use toggles to hold the frame up. The first thing is to glue some pieces that I can attach the toggles to. The strip on the side is 1/2 inch so the pieces I glue will be just a bit thicker than 1/2 inch. The blocks are 3 inches long, and set back from the edge 3/4 inch. They are set in 3 inches from the long sides.
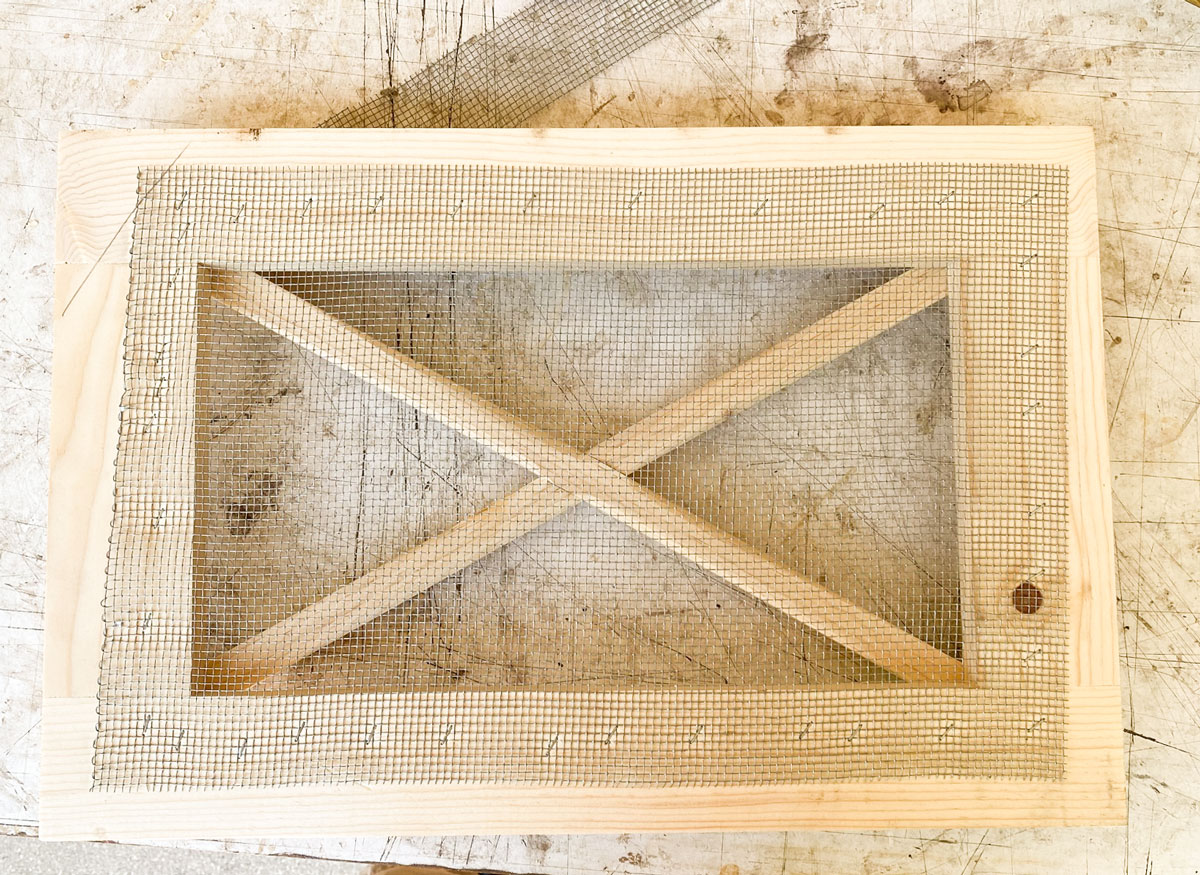
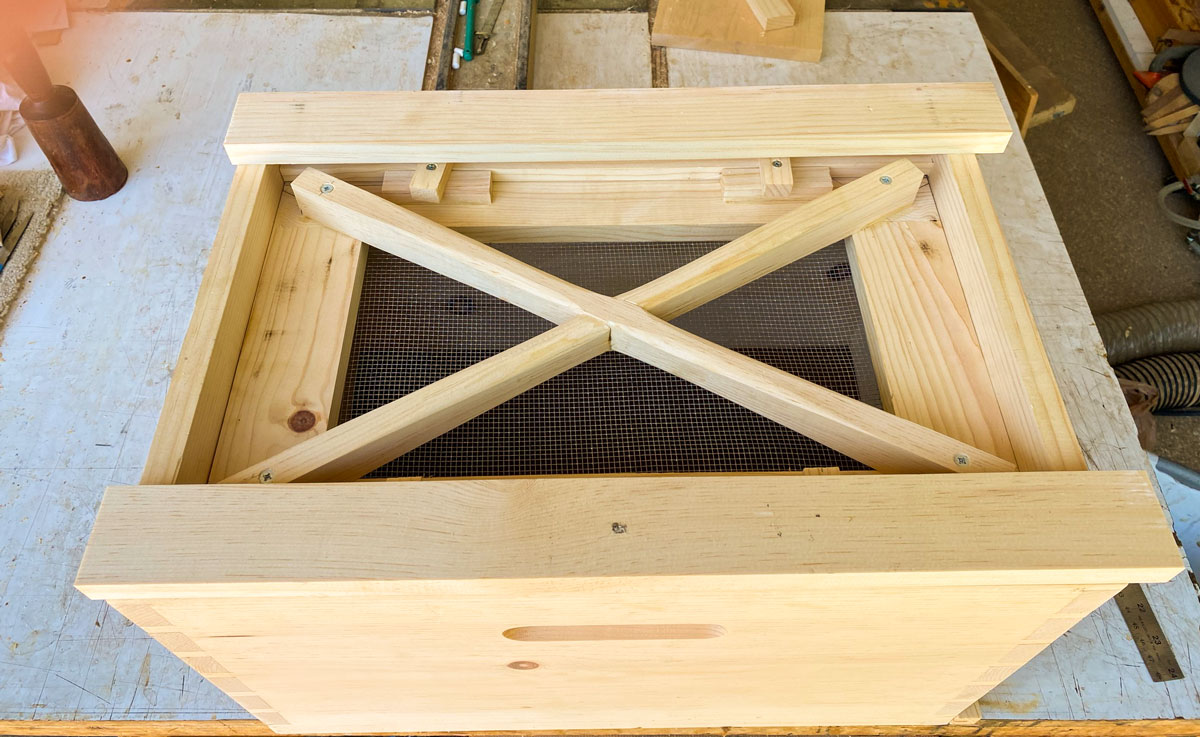
I decided to put the hardware cloth on next. You have to use 1/8 inch hardware cloth. Anything bigger and the bees can get through it. I cut a piece to fit the opening. I'll staple it down.

Here it is stapled.
Now I'm going to put the toggles on the frame slide.
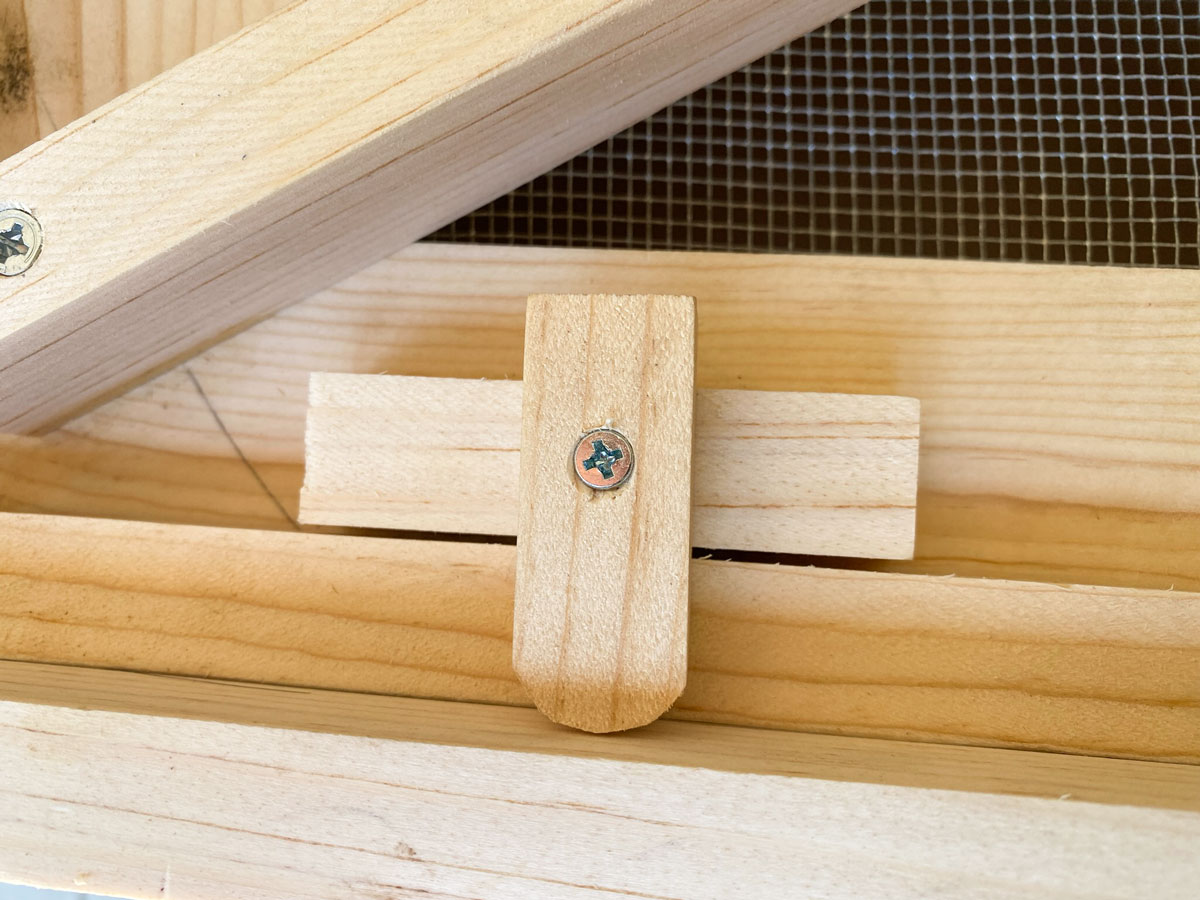
They're just pieces about 2 inches long, with the end rounded. I use a screw to hold them on and as a pivot.
A closer look at one of the toggles. Very simple but effective.
A couple of other toggle projects. First, I'm going to put a toggle to hold the bottom slide in place. You certainly don't want the bottom slide coming open in your car when you have the vac full of bees:-)
Here it is.

I had made a "filler" to put into the slot when you pull the bottom slide out. Now I want to provide a mounting for it on the side of the box. I cut a groove in two pieces, each about 2 inches long, and mounted them on the side of the box - spaced properly for the filler.
Then I added a toggle to keep in in place.
I'll do the suspension string for the frame slide next. I use four small screw eyes on the frame slide and four on the box. These are size zero screw eyes.
.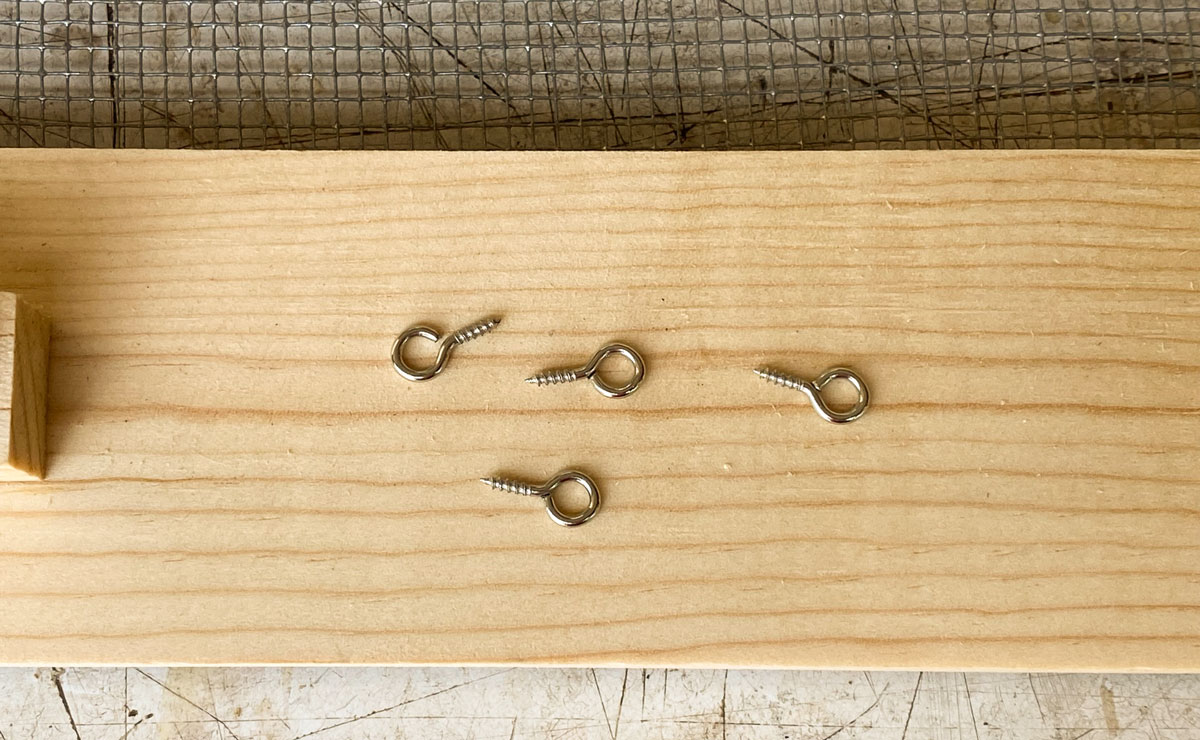
I come in about 1 1/4 inches from the side, and about 1/4 inch from the short edge.
Then I screw in the screw eyes and tie some 1/8 inch cord through the screw eyes. Make sure the cord is long enough to go to the top of the box, and then add a few inches.

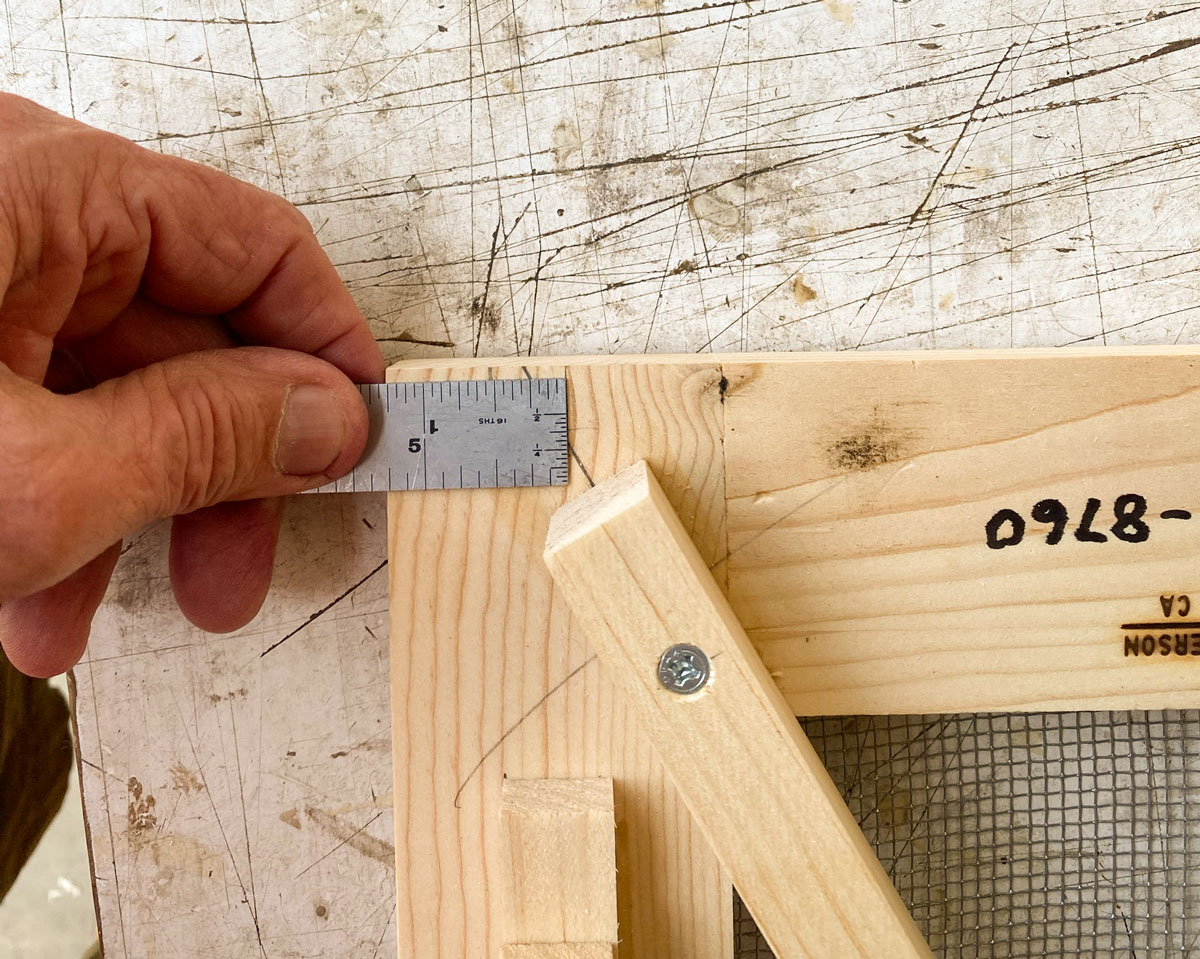
Then I go to the box, and in each corner (on the short side) I come in 1 1/4 inches and 5/16 down. I make two marks 1 inch from each other and 1 inch from the first mark. I drill 1/16 inch pilot holes.
A screw eye goes into the right-most hole and two #8 x 3/4" screws go into the other two holes.
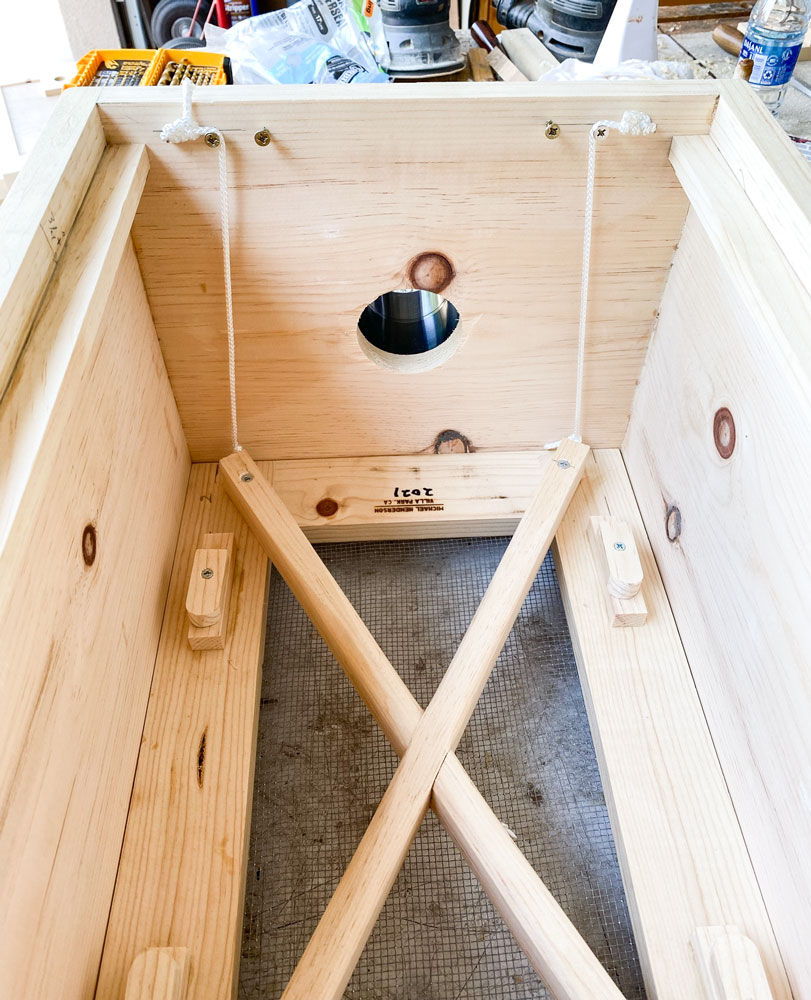
Remove the bottom slide and put the frame slide into the box. Tie the cord to the screw eyes on the box, so that the frame slide is held flush with the bottom of the box. When using the bee vac, this will correspond to the frame slide sitting almost on the frames in the box below the bee vac.

You can support the frame slide up a bit by routing the cord over the first screw in each corner.
Use the second screw to hold it a bit higher.
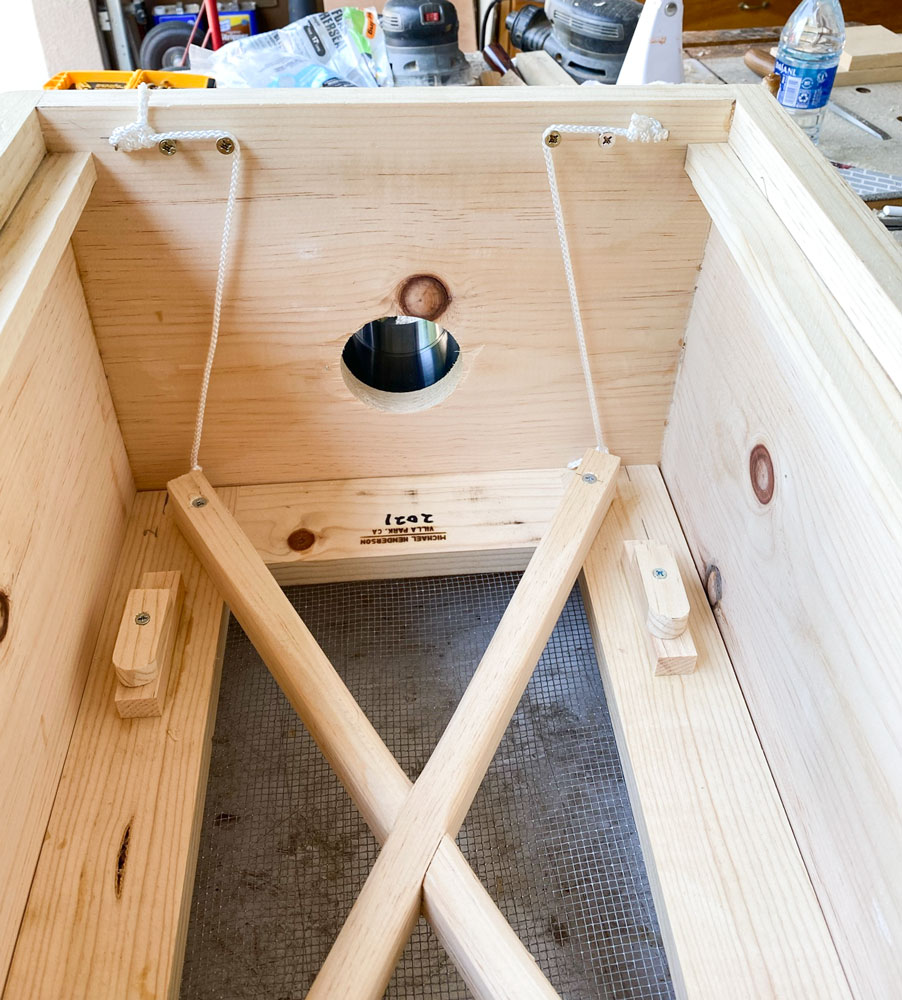
What I do when using the bee vacuum is I put the vac on top of a deep which has frames of drawn comb and foundation. I let the frame slide down to the second screw "notch" (as shown in the picture above).
A couple of hours later I come back and lower the frame slide to the first screw. Another few hours (or the next day) later, I come back and the bees have usually migrated down into the brood box and I can remove the bee vac from the hive.
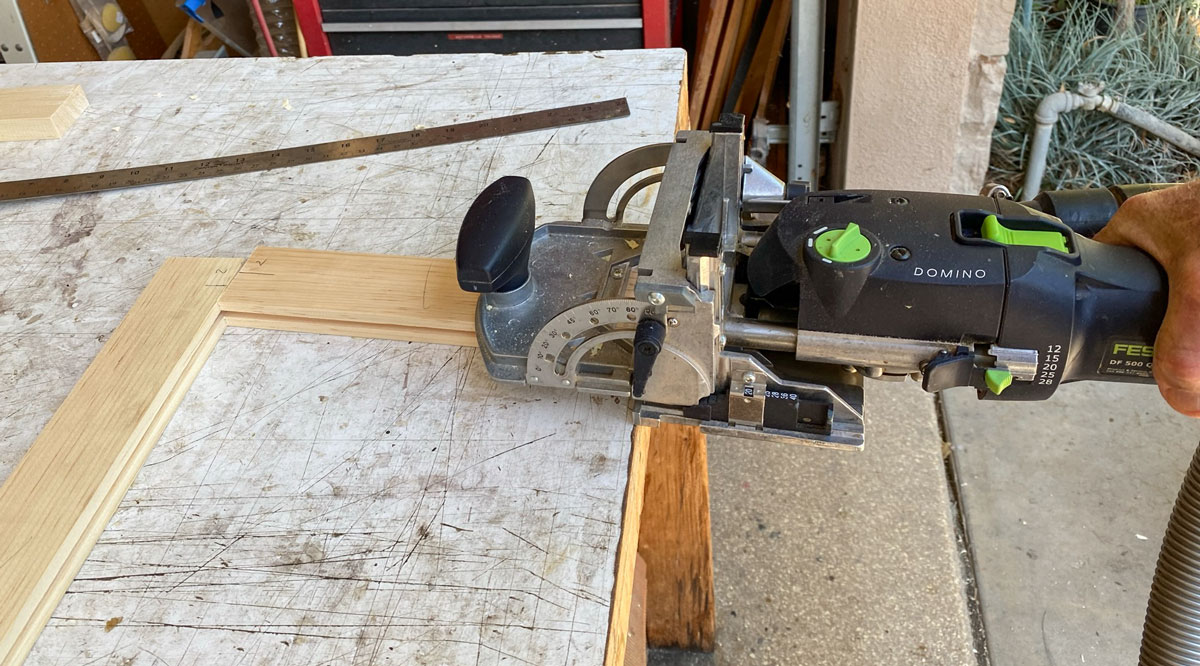
Next I'm going to make the top - I'm making it in the style of a migratory cover. From a woodworking point of view, it will be a frame and panel. I start by cutting four pieces 2 inches wide and 20 1/8 inches long. The box is 19 7/8 inches so this will give 1/8 inch on both sides and will not be so tight that the top is difficult to put on.
I start by laying two pieces on the box.
With each board aligned with the side of the vac, I next measure the distance between the two boards.

And cut two pieces to that length.

The panel is a piece of 5mm (about 3/16 inch) luan plywood.

I cut a groove in the four pieces to fit the plywood into. This is a 3/16 inch slot cutter. I had to open the groove a bit more than 3/16 inch but you want it to be a tight fit. This is a vacuum and you want to minimize any air leaks.

Just like the frame slide we made earlier, I'm going to put this together with 6mm dominoes.
Cut the plywood to width, so that it fits into the grooves on the sides tightly. Plywood doesn't expand so you don't have to leave gaps for wood movement.

Here's how I cut the plywood to length. Put the final board between the two side boards, but on top of the plywood. Align that cross piece with the end of the side pieces.

Then mark the location of the inner edge.

The groove is 3/8 inch, so add 3/8 inch to the mark.

Now cut the plywood to length and do a trial fit.
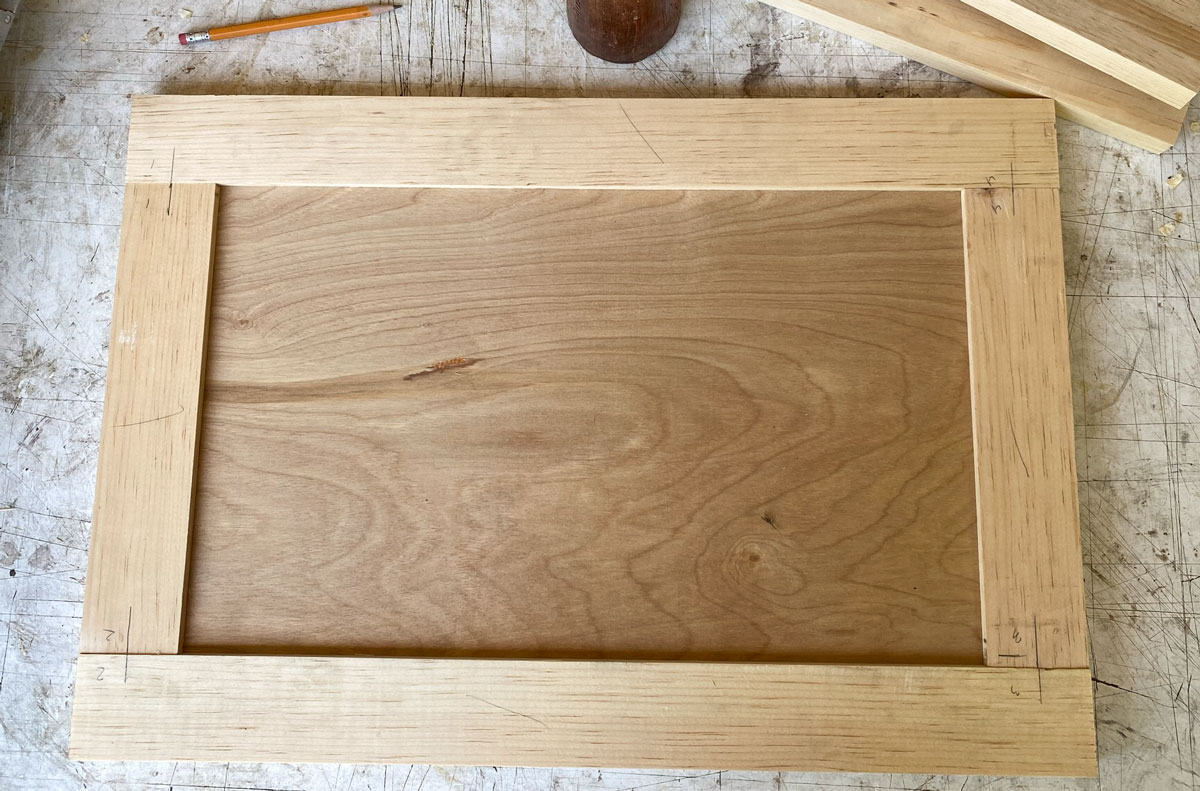
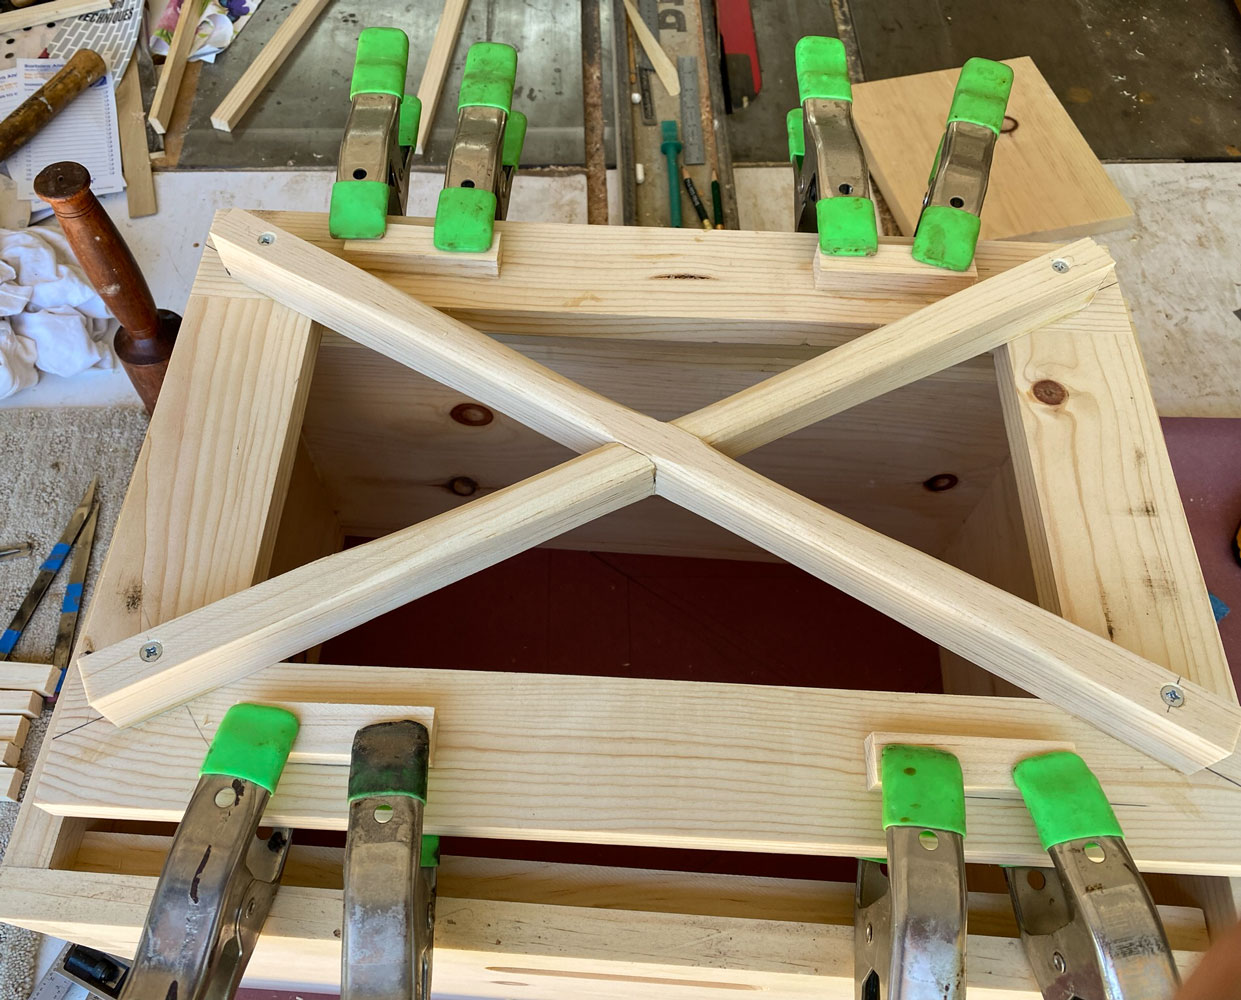
Glue up as we did for the frame slide earlier. Use four 6mm dominoes and clamp.

When the glue cures, the top should fit exactly on the sides and have 1/8 inch extra on each end.

Now, to put the two end pieces on. You may want to take a very slight cut on each side of the top to make sure the surface is flat (that the end pieces don't stick out or recede. This will make a better glue up).
Clamp one end piece on and mark for three dominoes. The wood is about 20mm thick and the dominoes are 40mm long. To keep the mortises from showing, I cut the mortise only 15mm into the end piece and 25mm into the top.

I insert the dominoes in the end piece and then tap the end piece on to the top.

Then clamp and do the other side after the glue cures.

That's the top, not including the port for the vacuum. Next is a very important step - the installation of weather stripping on the inside of the top. This has to be done accurately with no gaps in the weather stripping. Any gaps will allow air into the box and weaken the vacuum at the hose.
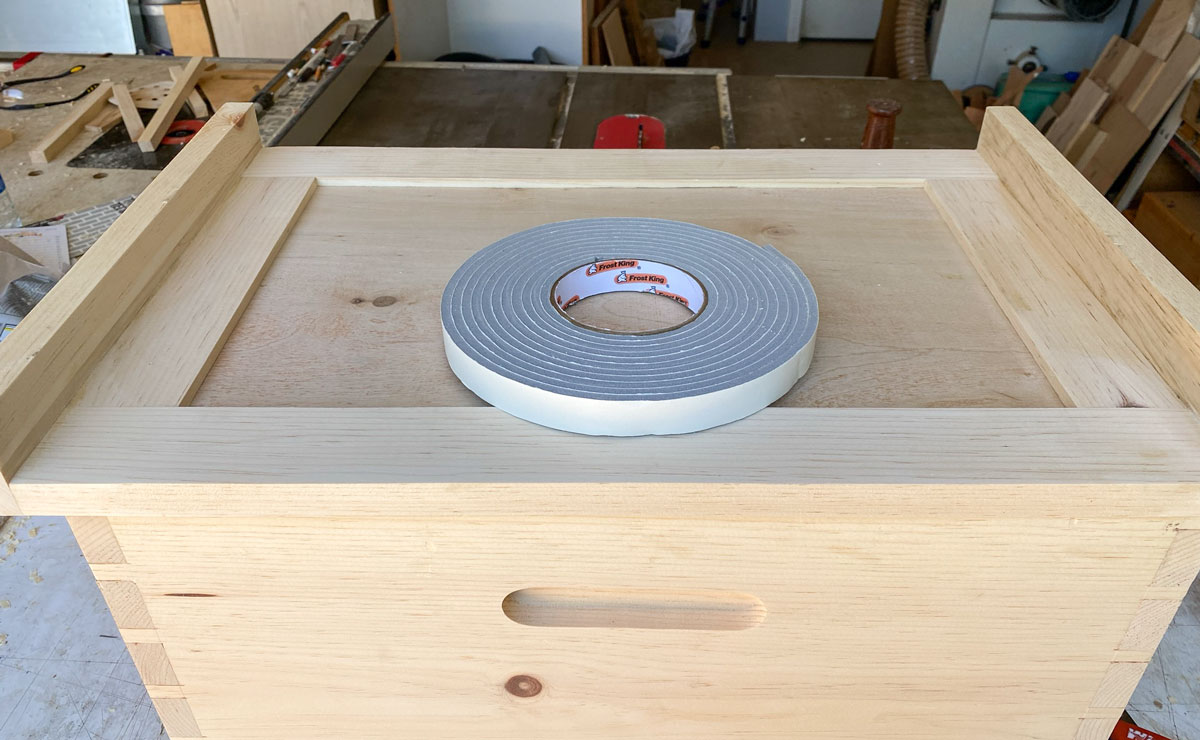
It's easiest if you do the two ends first, and then do the long sides. Again, make sure the weather stripping on the sides butts tightly against the weather stripping on the ends.

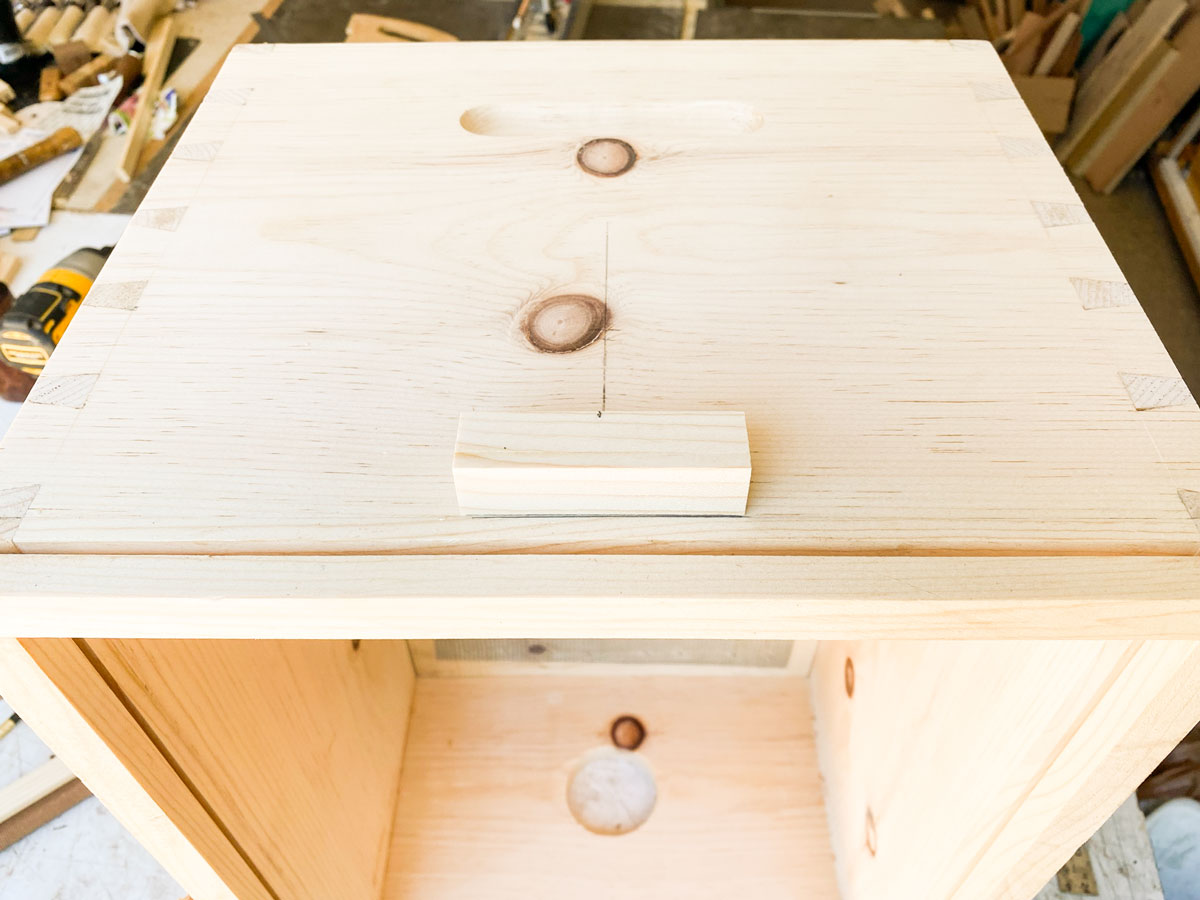
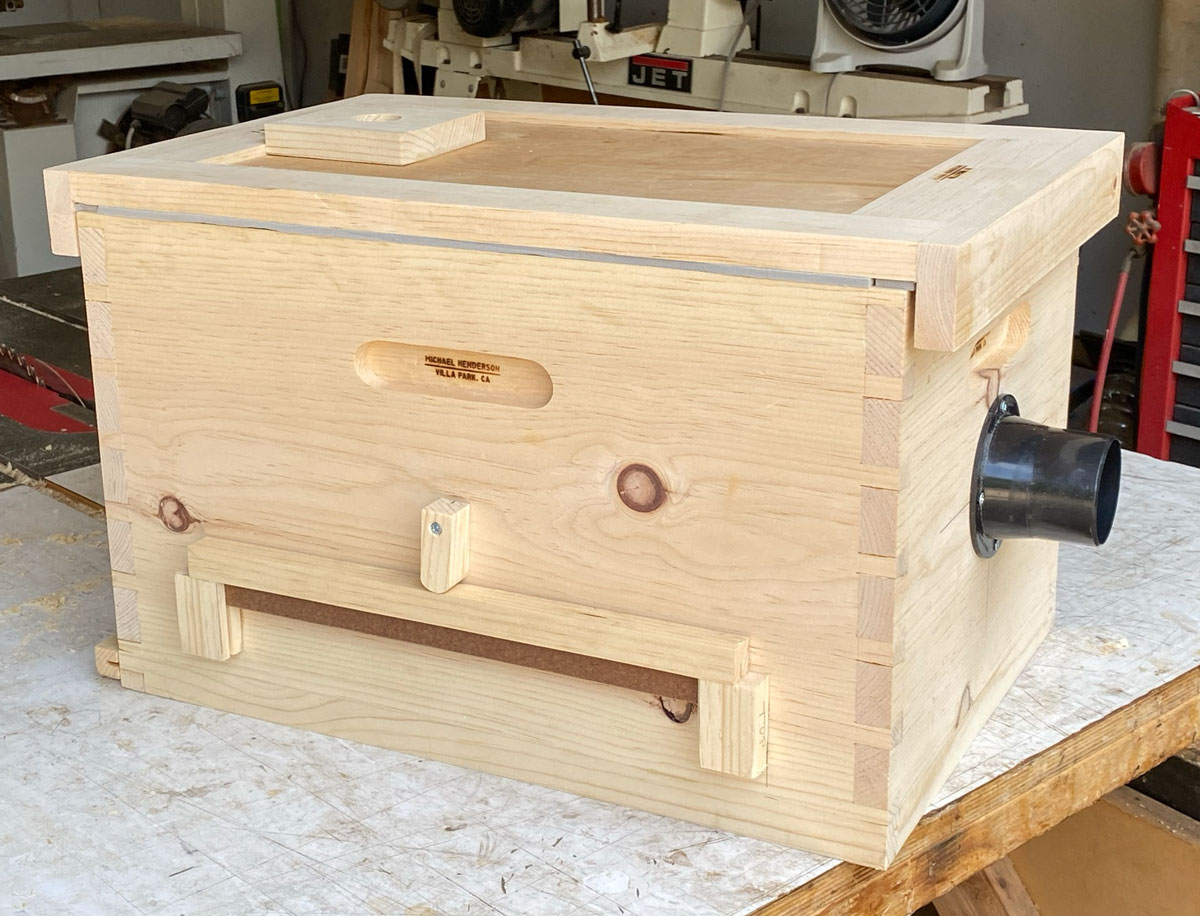
And that's the vac except for the vacuum port, which we'll do next. I branded my name on the box, which you can see inside the handle.

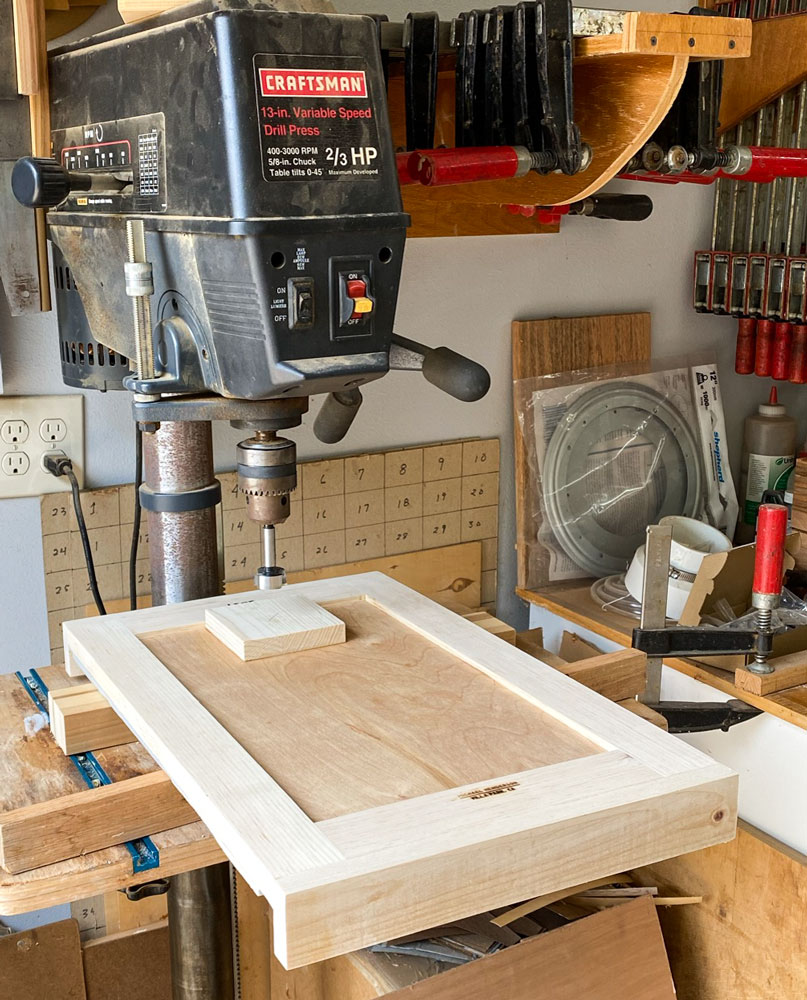
Now I'm going to make the port for the vacuum. I use a piece of wood about 4 inches by 4 inches. This is not a critical dimension.

I glue that piece to the top.

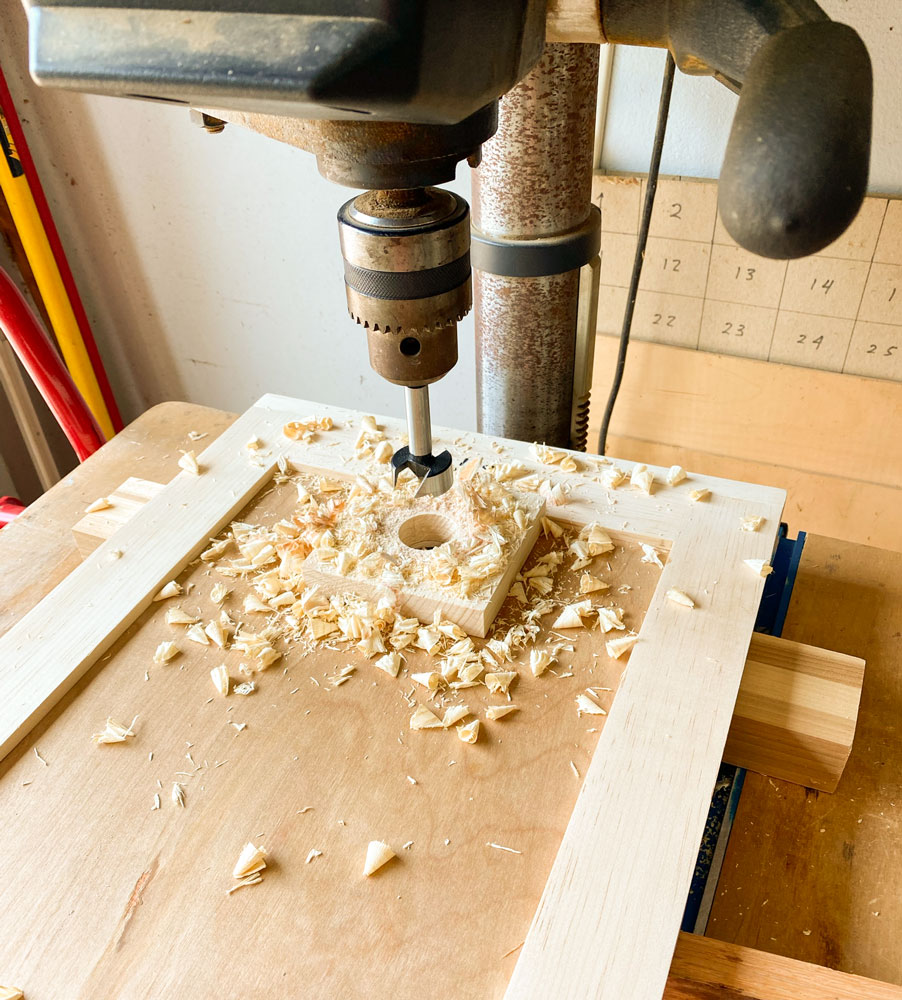
When the glue is cured, I take it to my drill press to drill a 1 1/4 inch hole. Note that I have backing under the top.
Here's the hole drilled.
And that completes the build of the bee vacuum (Version 3).
The reason for the 1 1/4 inch vacuum port hole is that I use a DeWalt 20 volt portable vacuum, model DCV517, and it has a 1 1/4 inch hose. If you want to use a 120 volt shop vac, you'll have to make a larger hole and install an air bleeder to reduce the vacuum (or use a "router speed control" to slow down the vacuum, which would be my choice*). I've done some fair size cut-outs and never needed more than two 5Ahr batteries, and never got close to the end of the second battery.
[Update 6/28/2026: I now use a Milwaukee 0970-20 cordless vacuum. It uses Milwaukee 18 volt batteries so I had to buy a charger and some Milwaukee batteries but it was the best cordless vacuum I could find. It has more suction than the DeWalt vacuum and that has not had a negative effect on the bees when I used it.]
For the hose, I use a Bosch VAC005 hose.
If you use this tutorial to make a bee vacuum, I'd appreciate hearing about any problems you may have had. Perhaps things I didn't explain well, or perhaps I assumed you knew how to do something, or whatever. You can contact me at mike at mikes-woodwork dot com.
I started this project on June 21 and finished it on June 30 - ten days. I only worked part time each day but I did work on it just about every day.
*In the past, some people have questioned the safety of using a speed control on a shop vac. I encourage you to look up "Fan Affinity Laws" (also see here). What they say is the power required to drive a fan varies with the third power of the change in RPM, while the amount of air supplied (volume) changes linearly with the change in RPM. So if you slow your vac down to half the RPM, the volume of air moved is cut in half. But the power required to drive the fan goes down to 1/8 (one over 2 to the third power) of the power used at full speed RPM.
You can return to my main page here