Bee Vacuum (Version 3) Tutorial
Making an Eight Frame Vacuum
P. Michael Henderson
June 21,
2021
Over the years, I've refined the design of my bee vacuum. I did a video of how to build it but had not updated the text and picture version of the tutorial. Not too long ago, Matthew contacted me and asked me to make him a bee vacuum to fit an eight frame hive. I'm using that build to document how to make the bee vacuum. While this is an 8-frame size, making a 10-frame size is essentially the same, just wider. The previous versions of the build tutorial (versions 1 & 2) on my web site should no longer be used.
Note: I made an 8-frame bee vacuum back in 2018 but didn't document the full build. You can see it here.
I'm actually doing a 10 frame bee vacuum at the same time as I'm doing this eight frame. If there are any differences, I'll point them out.
Eight-frame hives are not as standardized as 10-frame hives so I asked Matthew to measure his hives and give me the width - 13 3/4 inches (a 10-frame is 16 1/4 inches).
In case you'd like to know more about how the bee vacuum works and how to use it, I did a video explaining it, which you can see here.
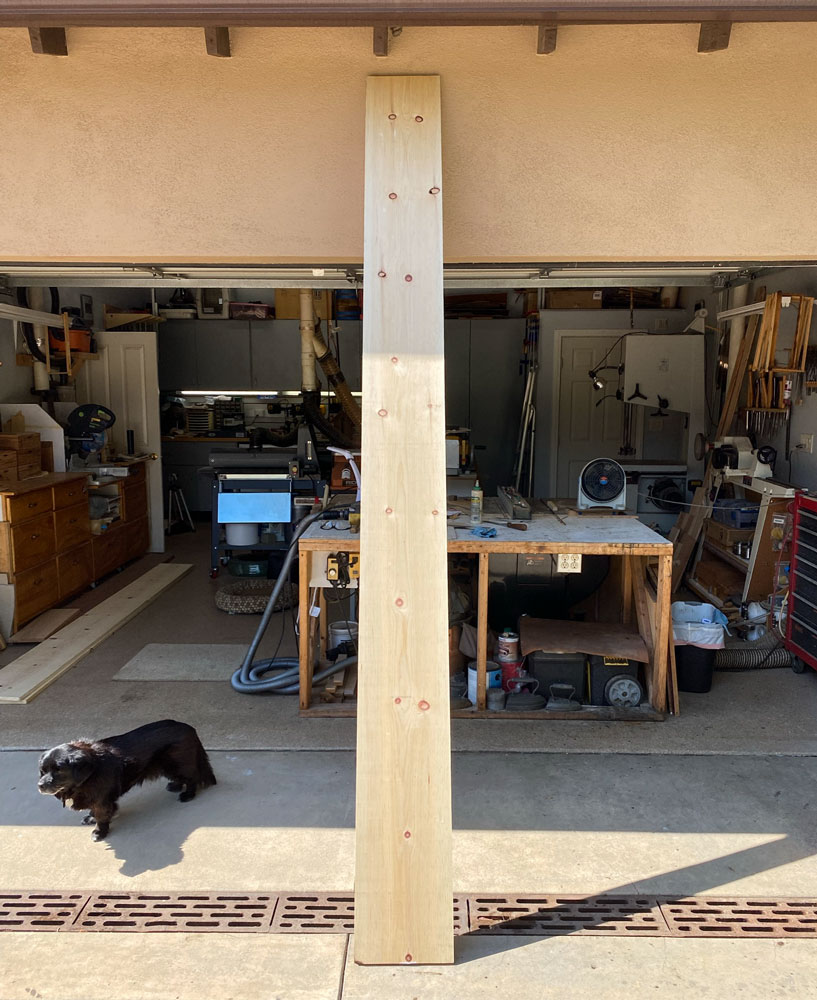
Here's the Ikea version of the bee vacuum - some assembly required. That's Skipper, the wonder dog, keeping guard over it. The build will take slightly more than this one board. This board is pine, 1x12, 10 feet long. Of course, the real dimensions are about 3/4 inch by about 11 inches, 10 feet long.

I hadn't purchased wood in a while and was shocked at how the prices have gone up - about 50%. But I must have arrived shortly after they put a new load of wood out because I was able to get some decent boards.
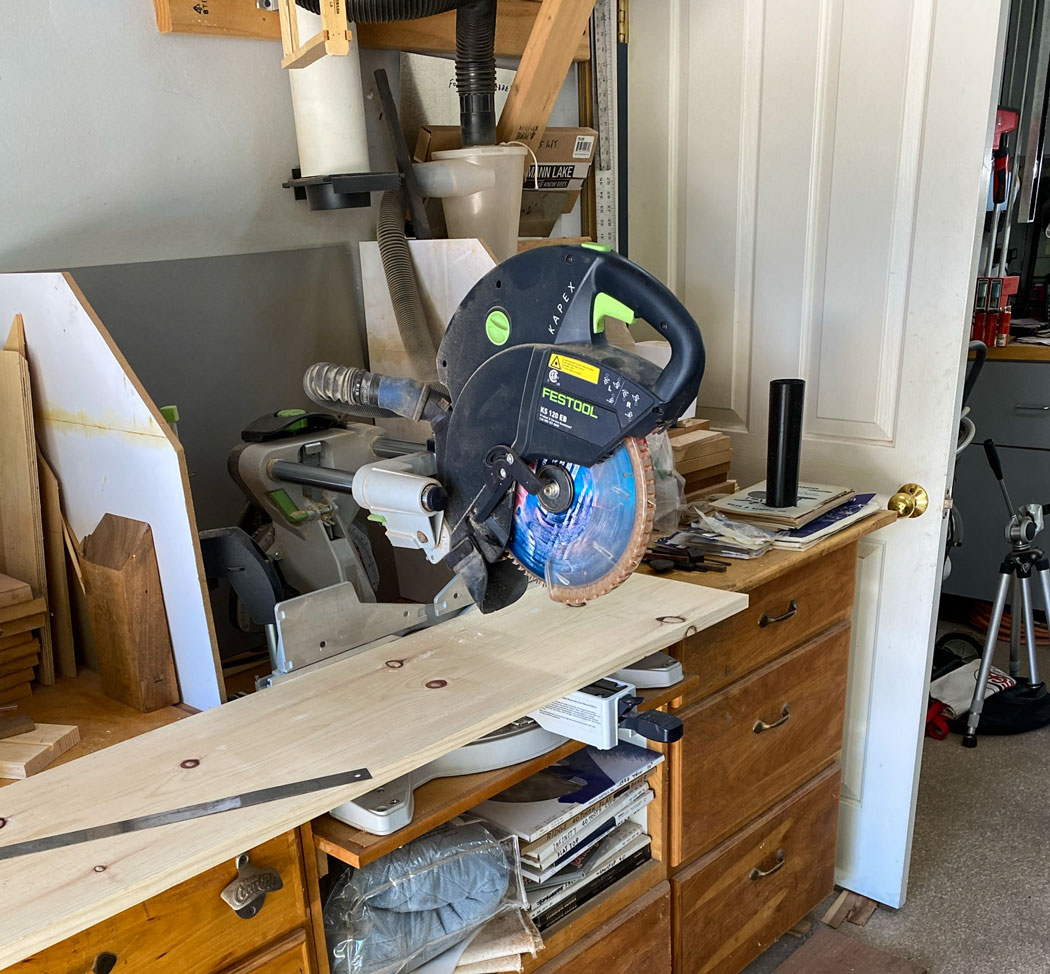
The first task is to cut the pieces to rough size. For example, since the width is 13 3/4 inches, I'll cut it perhaps 14 1/4 inches. Same with the long side - I'll cut it a bit long.
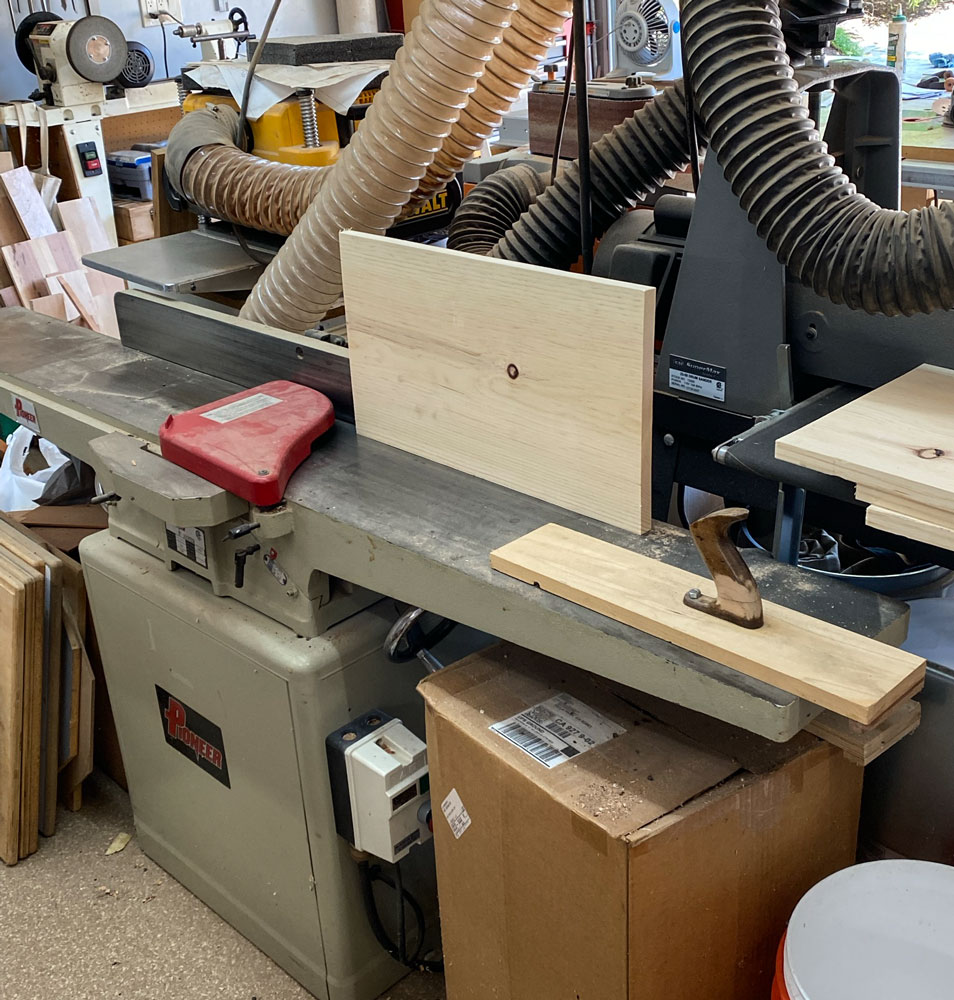
Then I take the pieces to the jointer and joint the edges.
After this, I'll trim one edge to make sure it's square to the jointed edge and then take the board to final length on the other side. I compare opposite pieces to make sure they are exactly the same length. By putting them against each other and then reversing one, I can tell if the side are parallel. If they're not, when I reverse one, one side will be higher than the other.
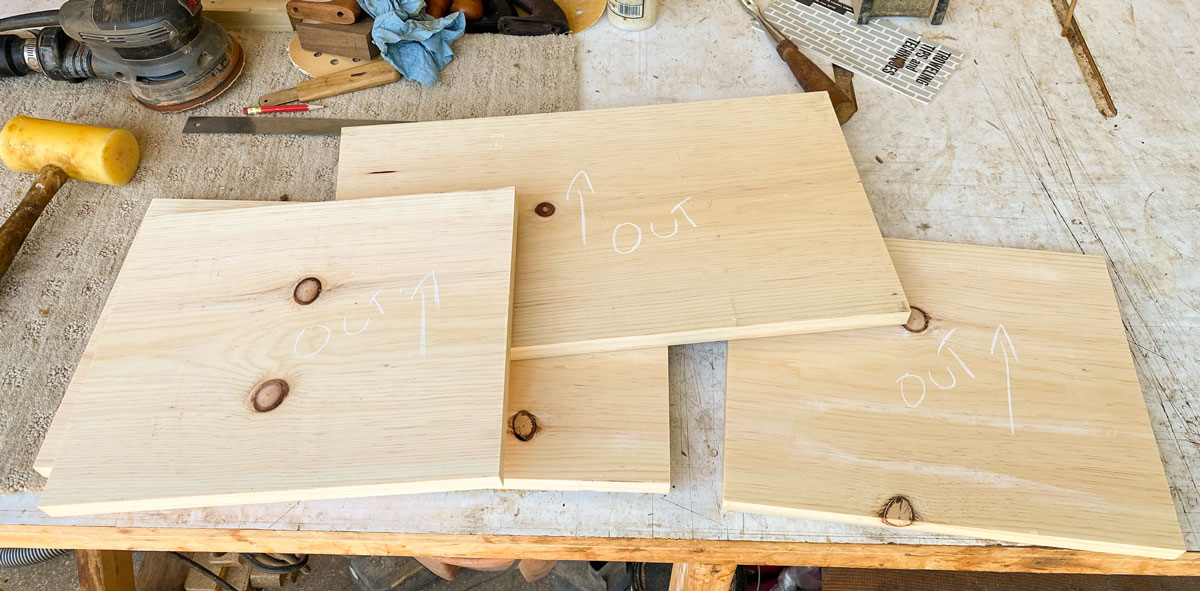
Then I examine each piece and decide which side I want to the outside, and what end I want up. This is mostly aesthetics - the box is not being painted so I want it to look good on the outside.
Now, I'm going to cut the handles. I mark the center of each piece so I can center the handles. This measurement is not critical since if a handle is a bit off center, it will never be noticed.
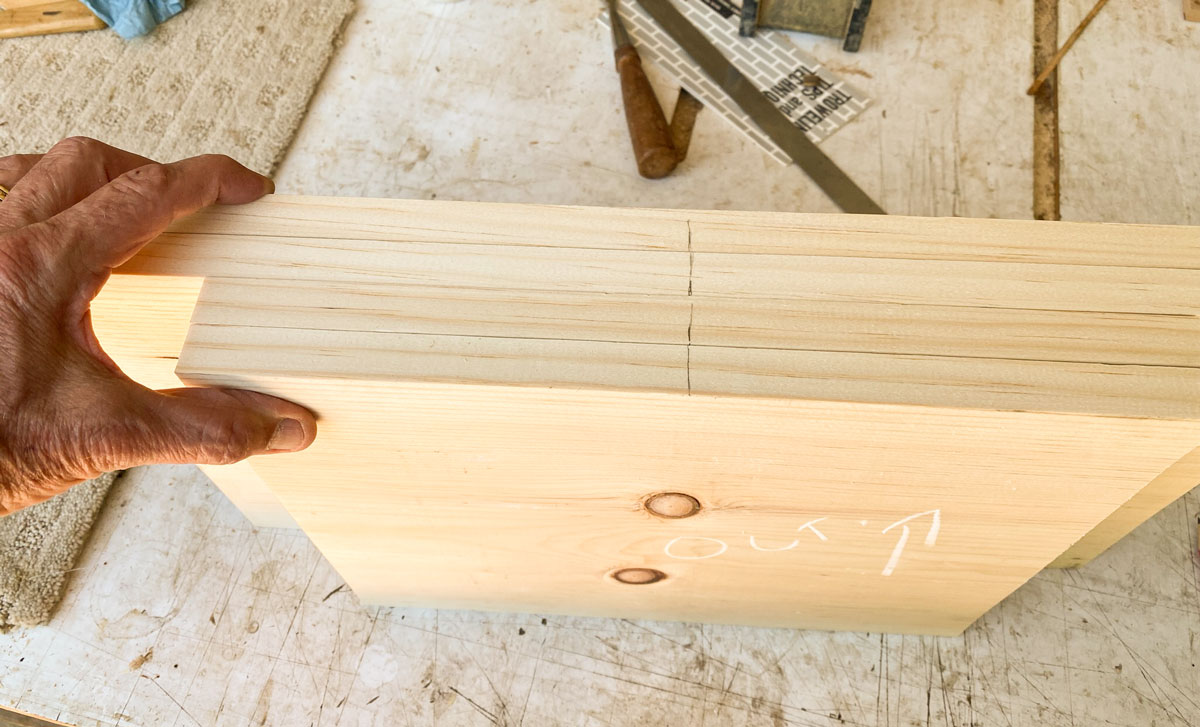
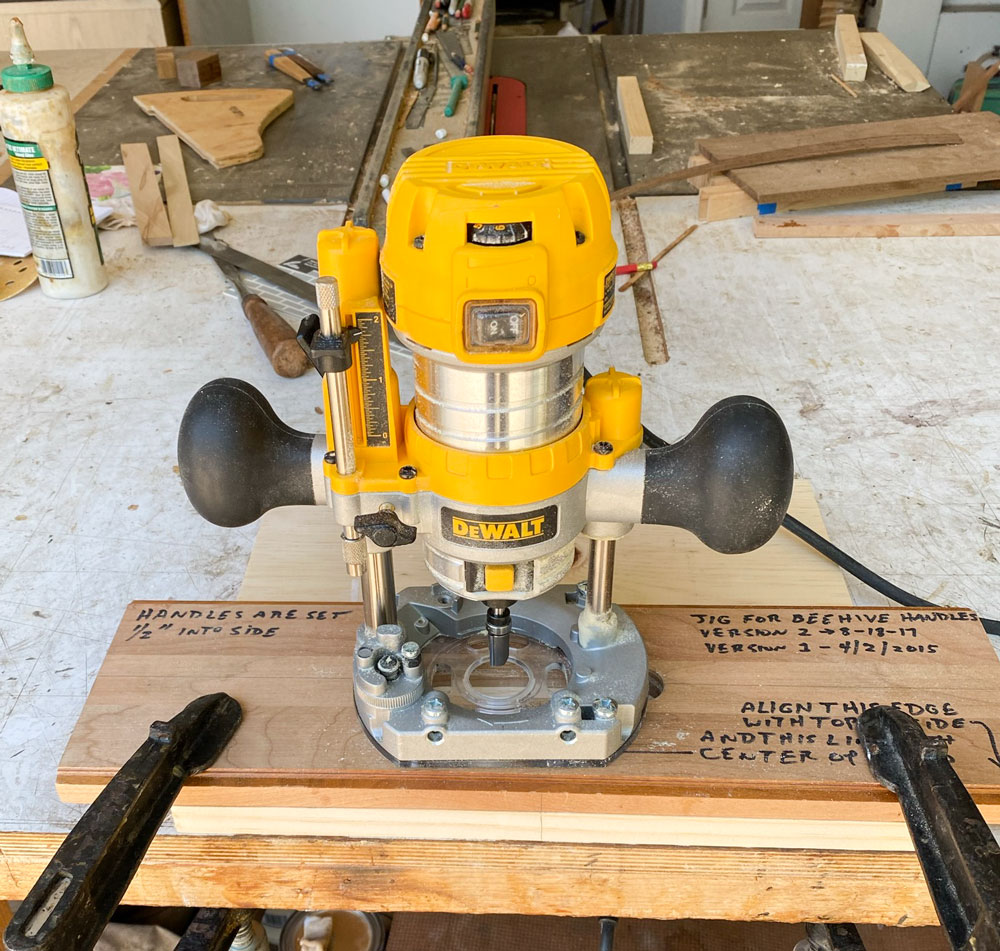
I use a jig to make the handles, aligned with the center mark I made.

A router in a plunge base is used to cut the handholds. These "trim" routers are great for small work. They're quite powerful and smaller and lighter than a regular router. Only limit is that they only take 1/4 inch router bits, not 1/2 inch bits. I have a couple of cordless versions of this router and those are quite nice. They have an instant stop feature.
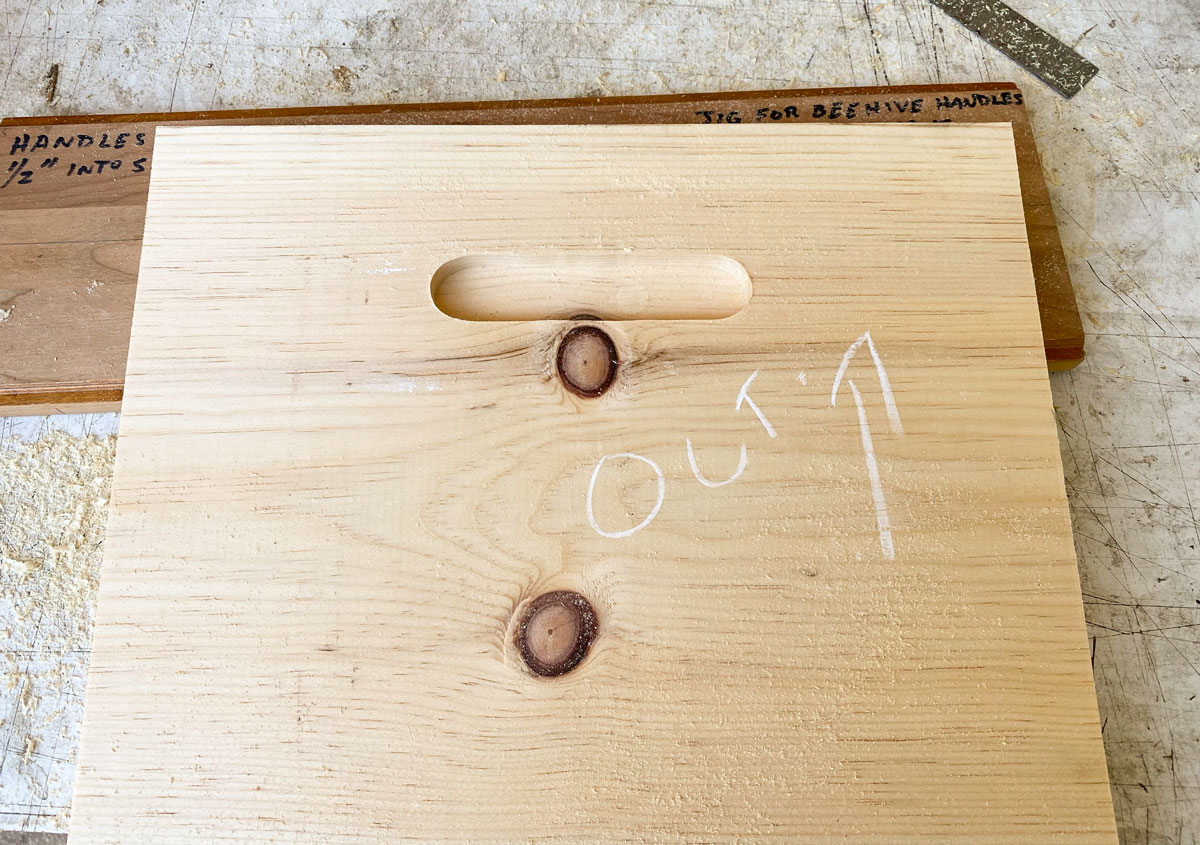
This is what a handhold comes out looking like.
The four pieces with handholds.

[Added note: now is a good time to drill the hole for the hose port. I forgot to do this and had to do it after I put the box together.]
Next is to assemble the box and for that I use dovetails. I cut them by hand just because I can do them fairly quickly and it keeps me in practice.
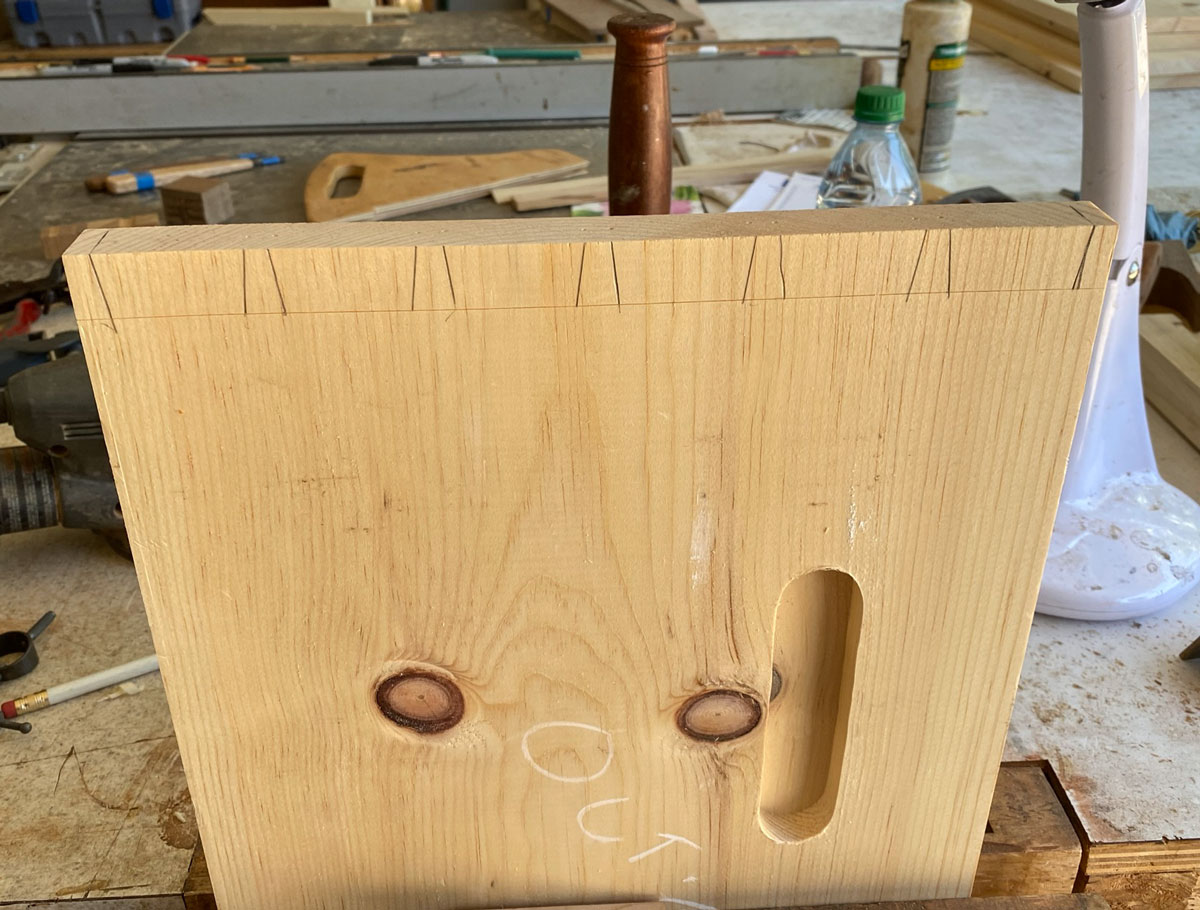
I'm not going to describe how to cut dovetails here. I did so in the video tutorial and I have some dovetail tutorials on my website. You certainly do not have to use dovetails. Finger joints work well. You could even screw the pieces together but that's not as strong and reliable. Make sure you use a waterproof glue such as Titebond III.
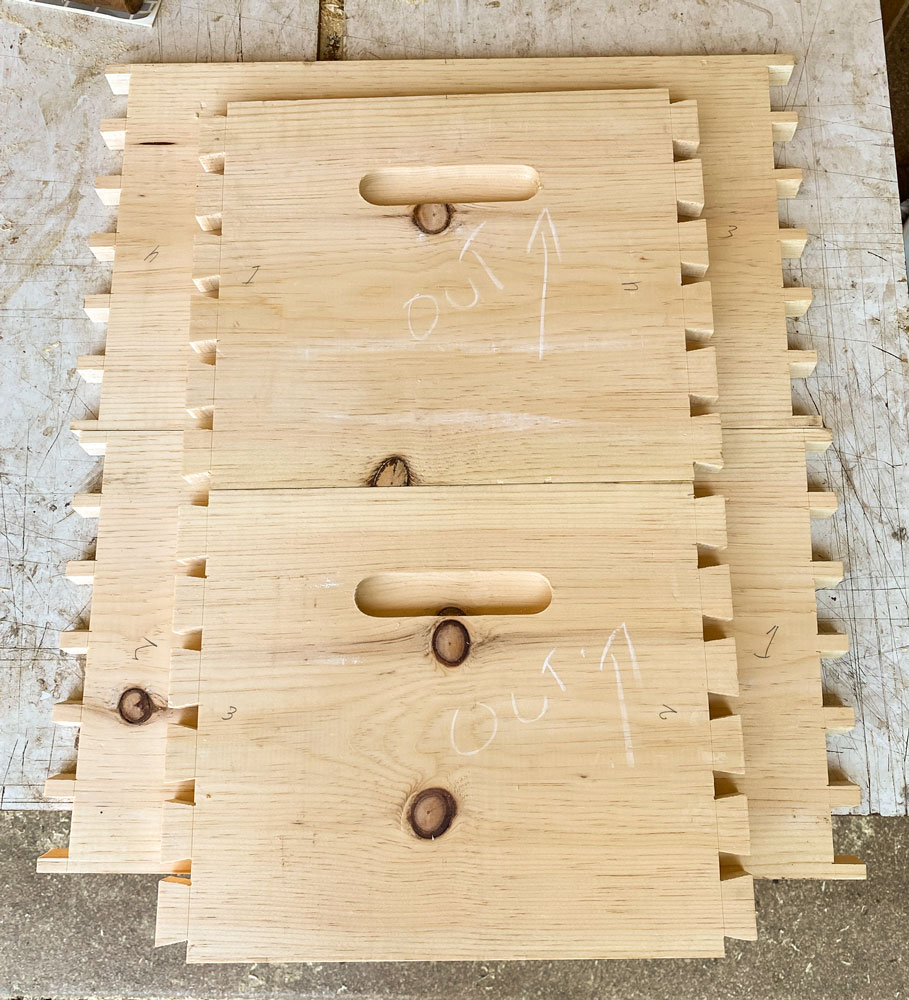
Here are the pieces with the dovetails cut. Note that the tails are on the short sides - you can do them either way. I just think they look better with the tails on the end, rather than on the sides. Note that when you assemble the box, one of the pieces with tails needs to be the last one "installed". It can't be a piece with pins (at least, it's a lot easier to install a tail piece).
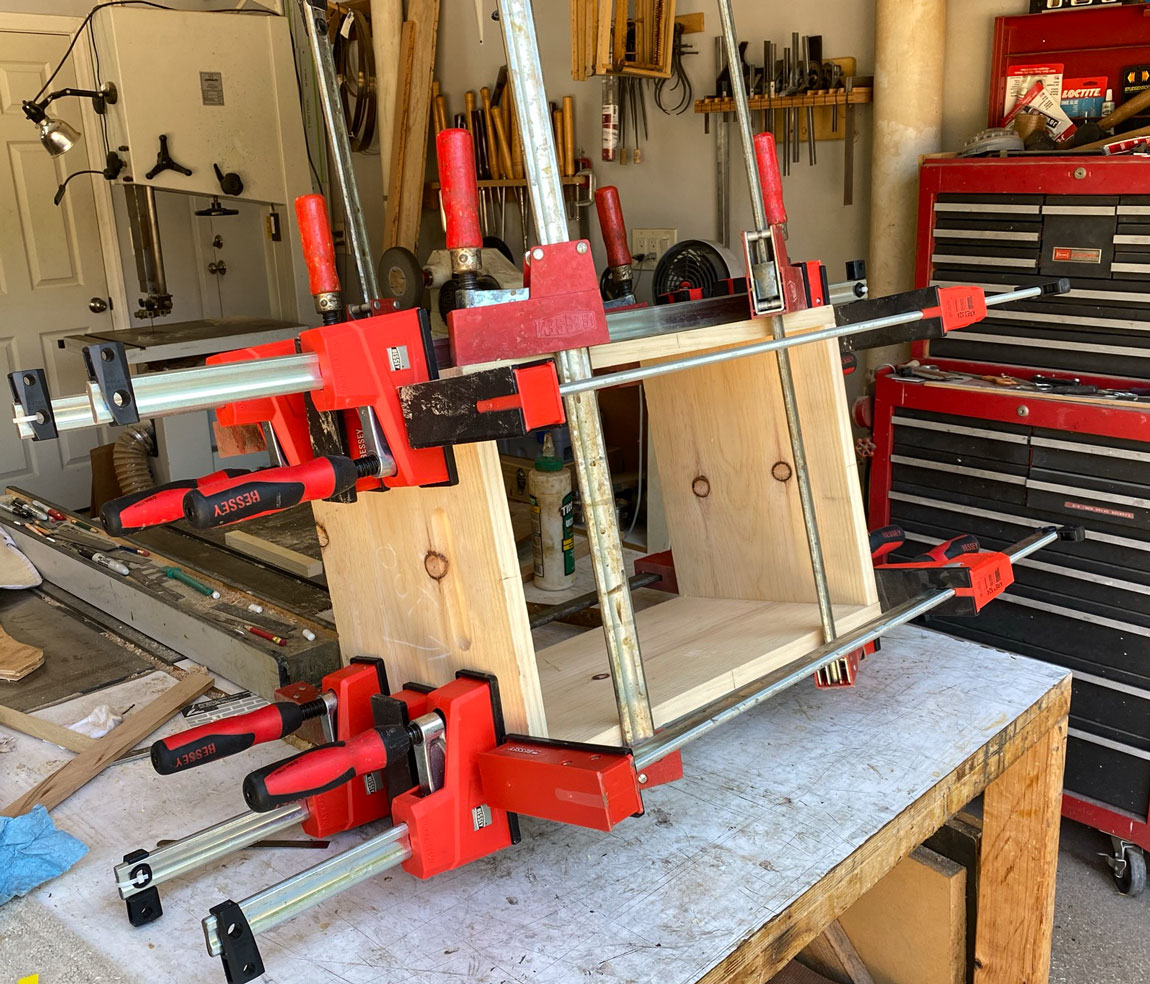
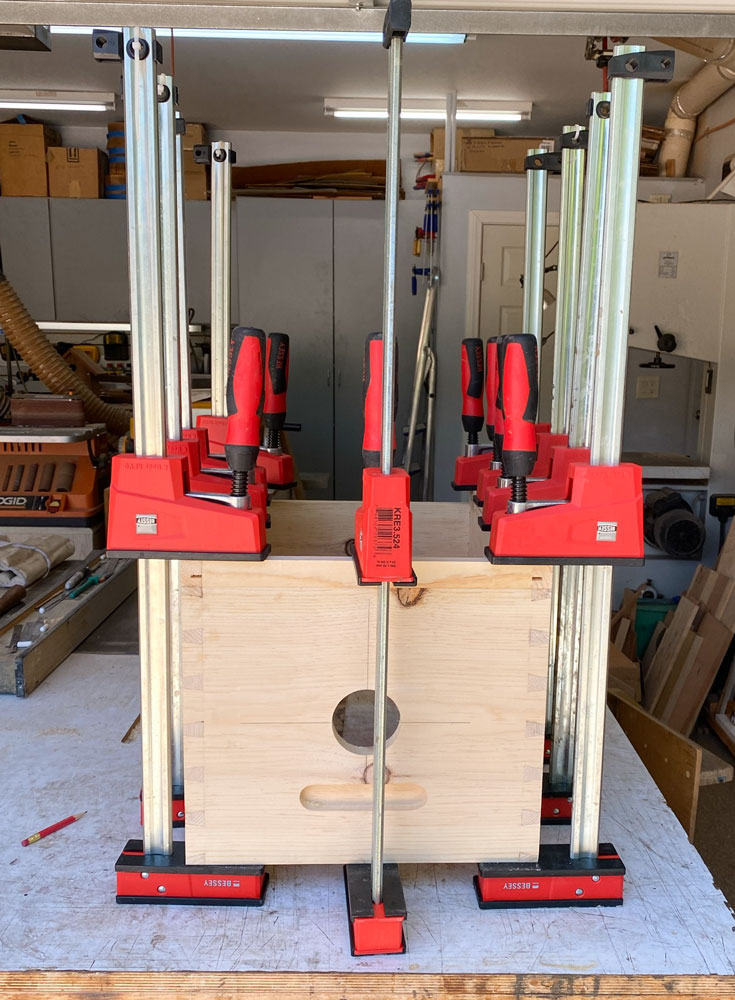
Here's the box in clamps. It's a lot of glue to apply. When gluing the pieces into a box, check and be VERY accurate in measuring and adjusting the diagonals to be equal. This gives a square box. If it's not square you'll have problems later in the build. (You can never have too many clamps.)
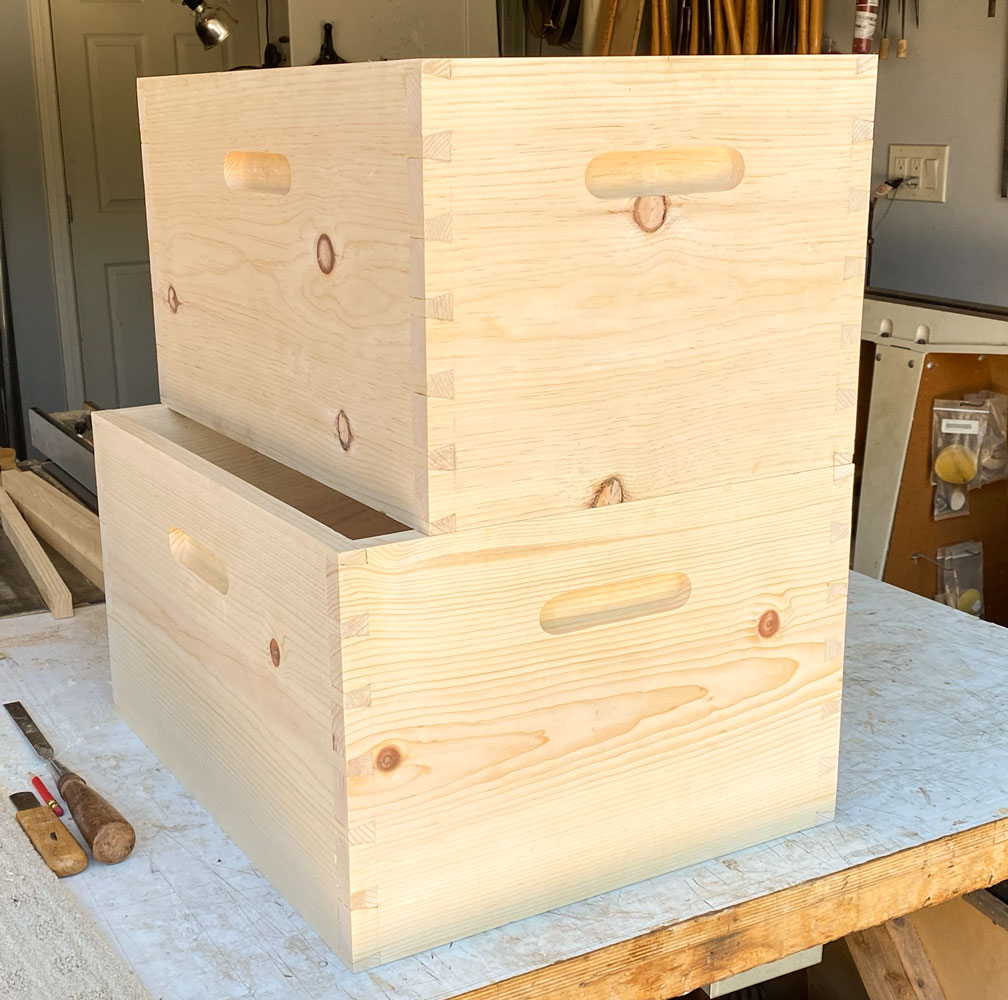
Here's the box out of clamps and sanded with coarse sandpaper.

I mentioned that I'm doing a 10-frame at the same time. Here's a comparison of the width of the two.
Now, I'm going to make the hole for the vacuum hose port. I actually should have done this before I put the box together - it would have been easier.
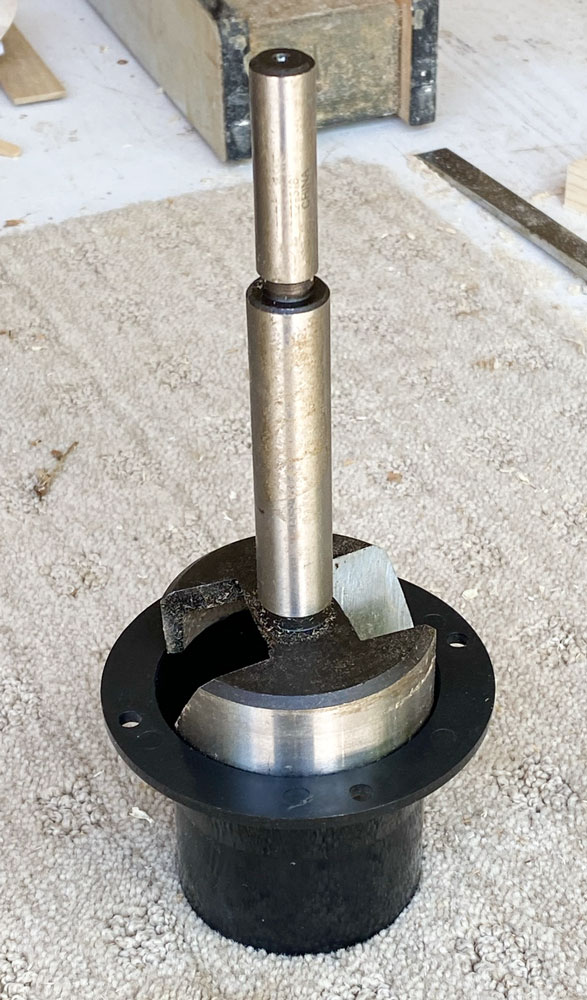
I'm going to use a 2 1/2 inch port that I obtained from Rockler (part number 42137) which will fit a standard shop vacuum hose.
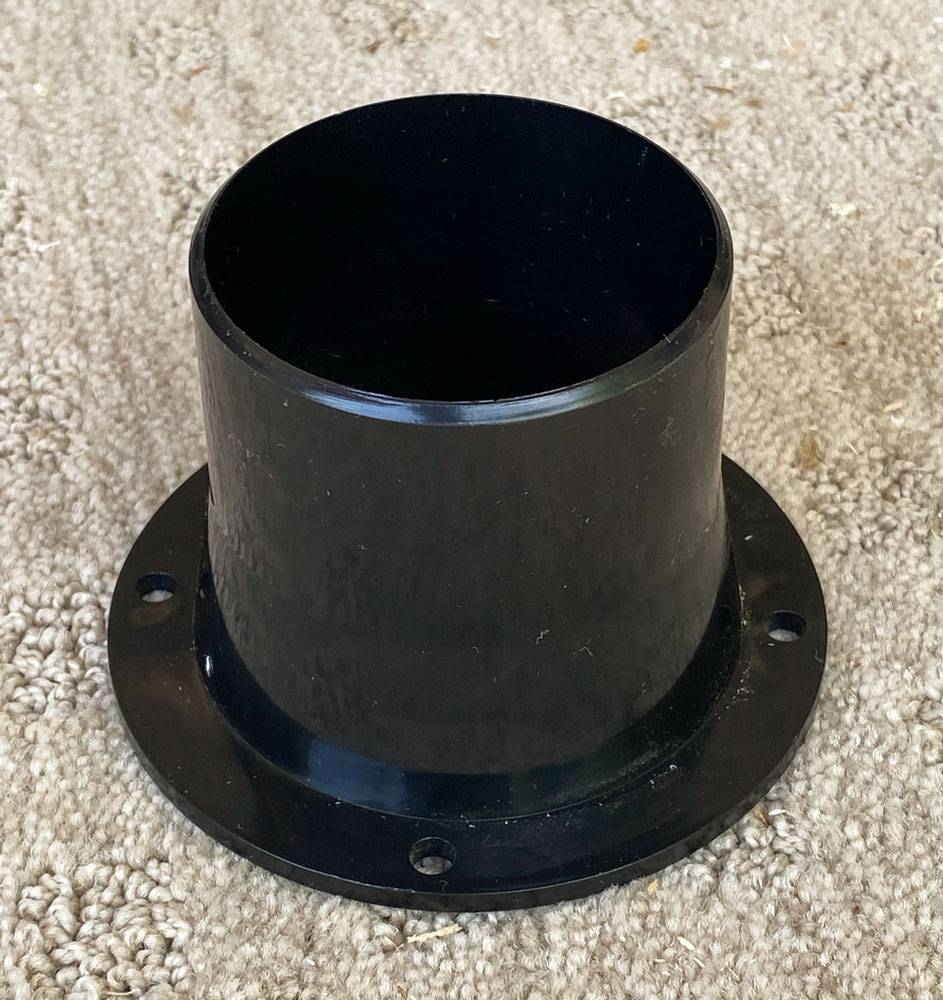
The port flares out a bit so the hole will be 2 5/8 inch. I'm going to use a 2 5/8 inch Fostener bit. I realize that some people may not have Fostener bits that big so you can cut the hole with a jig saw.
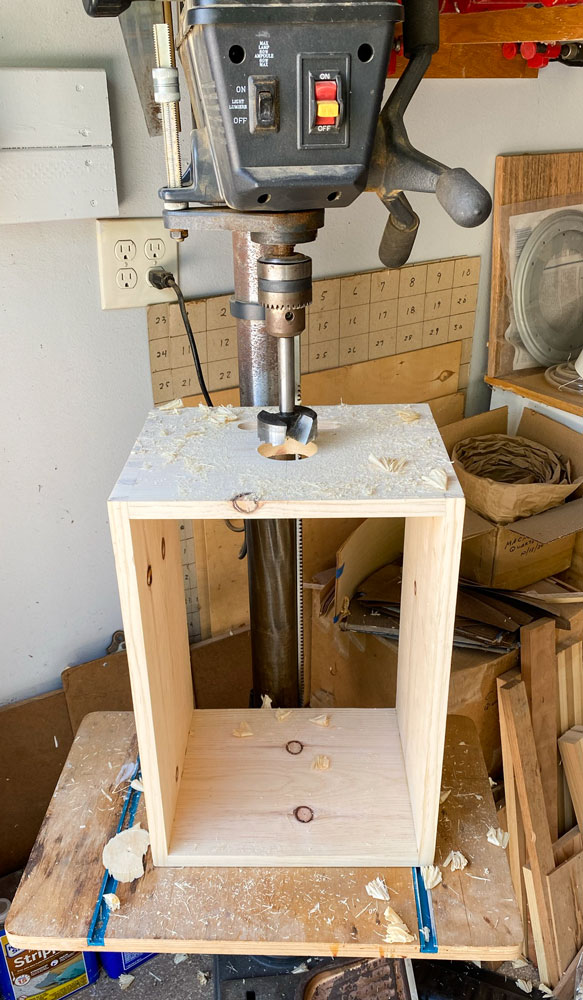
To drill the hole, I cranked my drill press table down far enough to put the box below the drill bit. The location of the hole is centered and 5 1/4 inches from the bottom. When marking the location of the hole, bring the lines out past where the hole will be. This will make locating the port easier.

Here's what it looks like with the hole drilled.
Now, I'm going to work on the bottom of the vac to implement the slide bottom. I cut four pieces of pine about 3/4 to 1 inch. The pieces in the picture are 1 inch but 3/4 will work just fine.
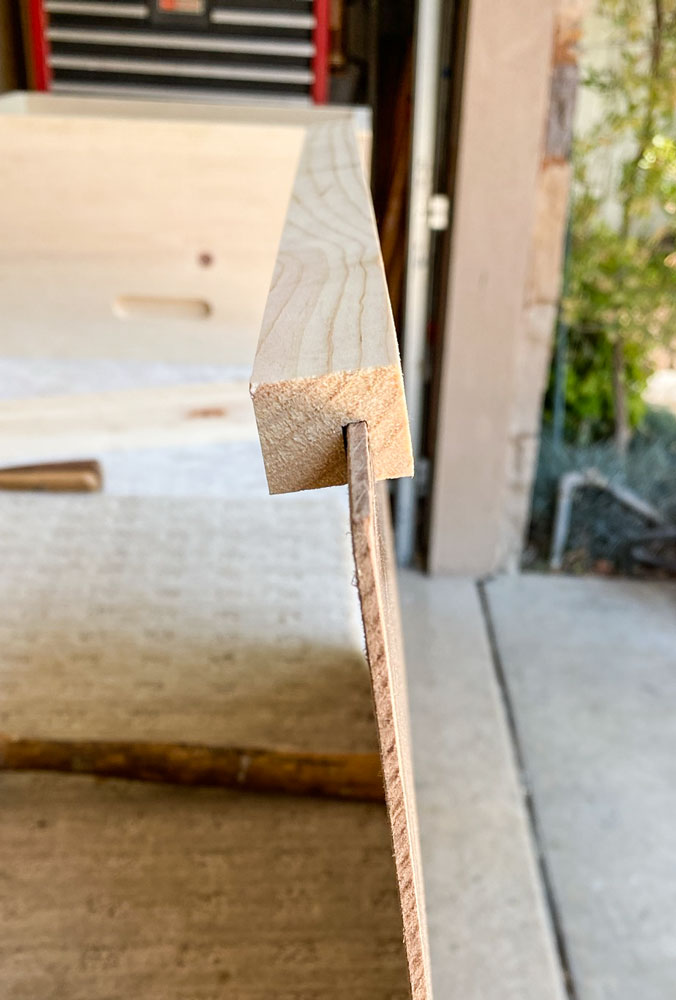
I'm using 1/8 inch hardboard for the sliding bottom so I need slots in these pieces a bit more than 1/8 inch. The blade on my table saw is 1/8 inch wide so I cut the groove 3/8 inch deep (half of the 3/4 inch board) and then shift my table saw fence a tiny amount and run the slats through again. This makes the grooves slightly more than 1/8 inch. The unit is a vacuum so we have to minimize any air leaks, so make things fairly tight.

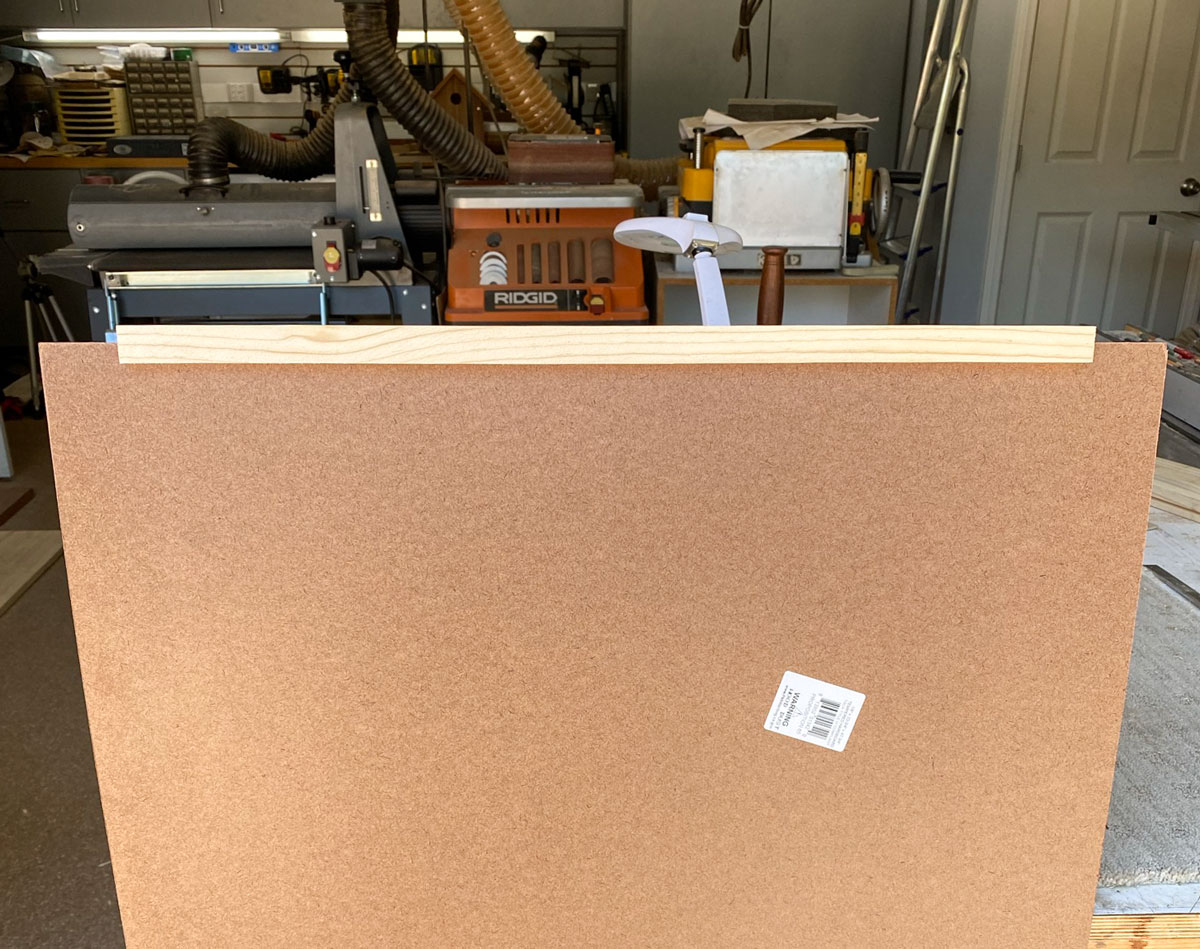
Here's one of the slats on the hardboard. I buy the hardboard at Home Depot. The only size they carry is 2 feet by four feet but I rarely need more than that.
And here's a look from the end of one of the slats on the hardboard. If you look closely, you can see that the groove is just slightly larger than the thickness of the hardboard.
Now, we're going to attach the slats to the bottom of the box. In this next picture, I have the slats on the top of the box. I'm just marking them for length. I turn the box over before I attach them.
Also notice the marks around the port hole. These will allow you to accurately align the port when you install it.

After I cut the slats to length, I turn the box over and glue them to the sides. Make sure you orient the slats the same way (in this case, big side away from the box).
When gluing the slats to the box, make sure they align well with the box. We're going to build a frame slide later and the sides need to be smooth for it to operate properly. Of course, a small amount of misalignment can be sanded smooth.

Then I'll prepare the piece for the end. So which end should be put that piece on? I always make the slide operate from the opposite end from the port. It just seems to make sense to not put everything on the same end.
First, I cut a piece to just fit.
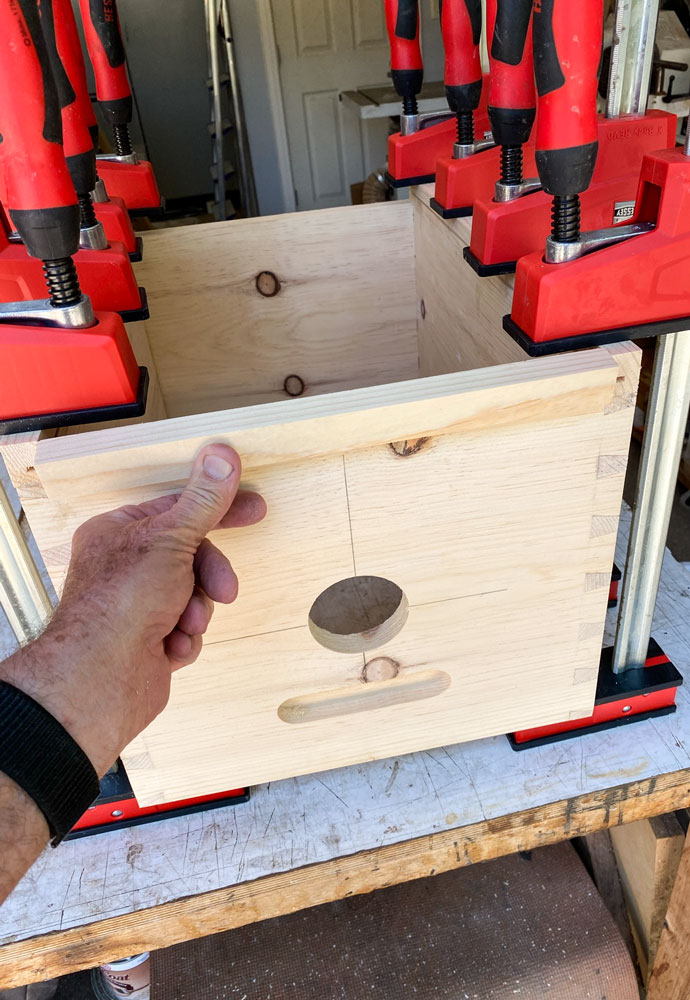
Then I take my shoulder plane and plane a short "V" in the groove. When the bottom is slid into place, we want to make sure it engages fully into the groove at the end. If it doesn't, we could have an air leak, or even worse, a bee leak.
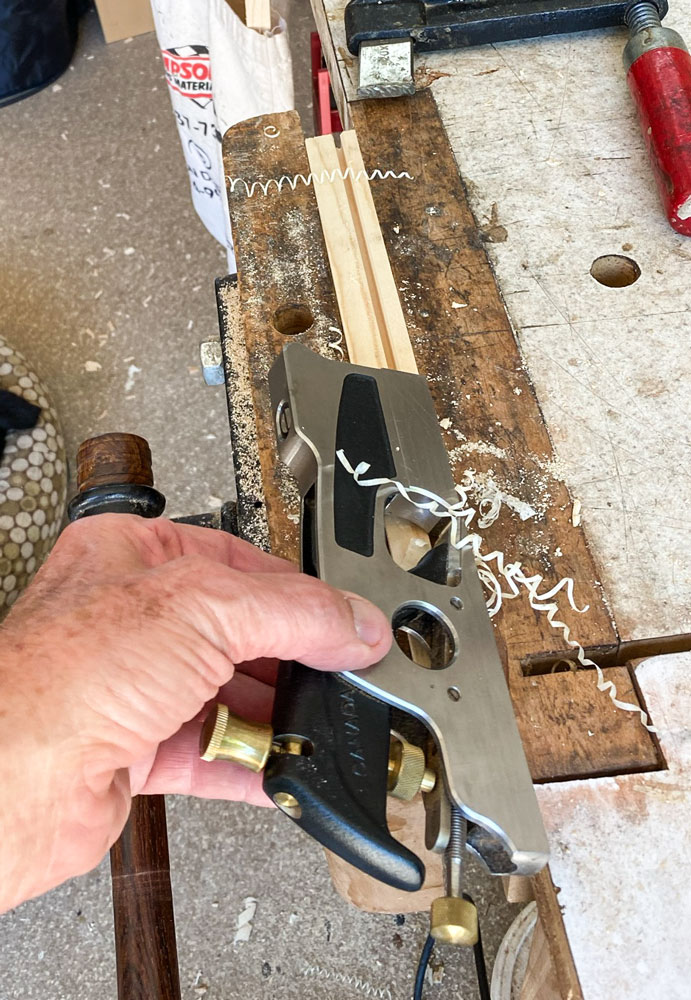
This is what it looks like after I work it.

Now, I can glue this slat into place.
The tutorial continues here