Wahoo Board
May 4, 2020
P. Michael Henderson
Some time ago I was asked by a friend to make some Wahoo game boards, which I did. In fact, I made a bunch of them over the years. After the initial batch, she had other family members who asked for a board so I've made three or four additional batches of boards, with four to six boards in a batch. I made the boards in all kinds of wood: ambrosia maple, walnut, cherry and pine.
The board her family used was slightly different from the boards you often see for sale so she wanted them custom made (on the commercial boards, there are 8 additional dimples.)
After making all those boards, I thought I'd do a tutorial on how they're made. They're not hard to make but they do take time. If you had a CNC machine programmed for the pattern it would be very quick. I don't have one so it's all hand done.
The board I'm making in this tutorial is not commissioned so I'm going to use some cheap wood to make it. There's an old joke among woodworkers: "What's the best kind of wood" Answer: "Free wood!"
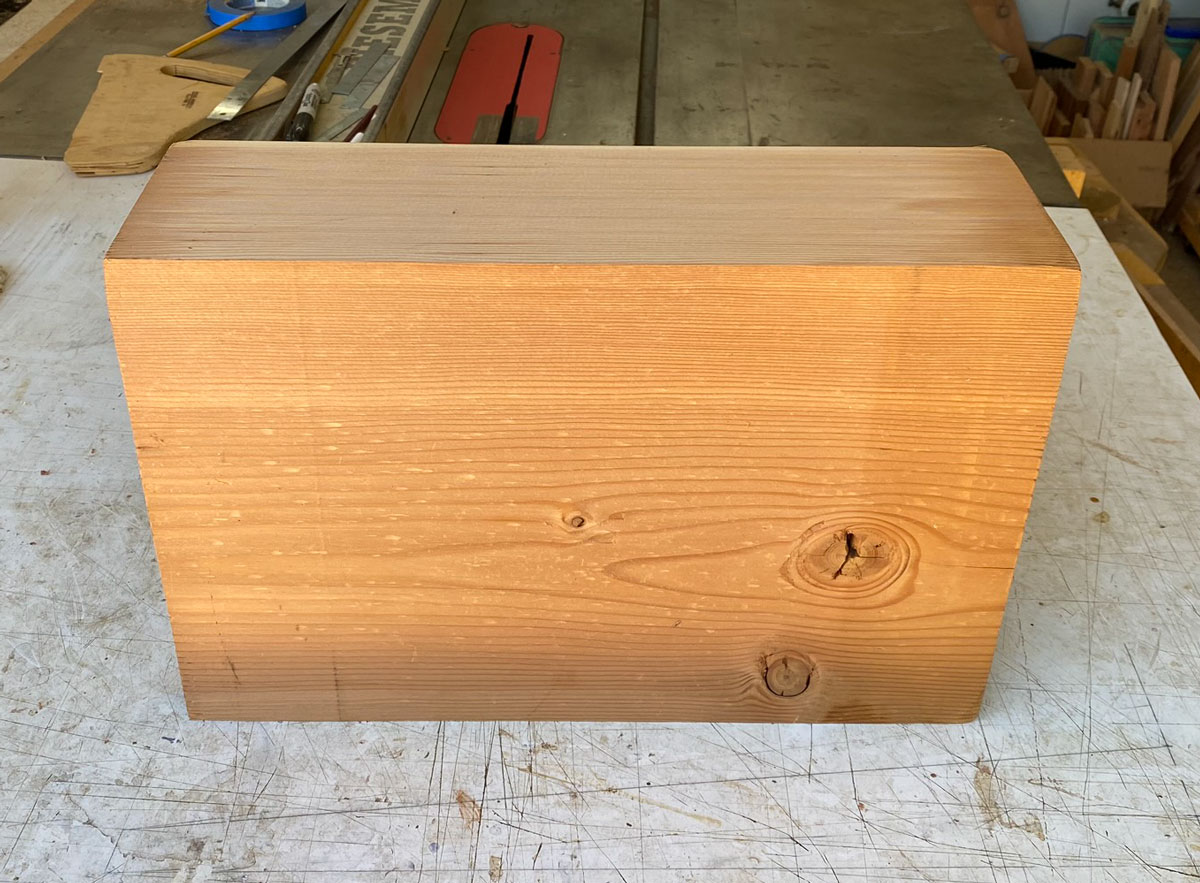
Some time ago a neighbor was doing some renovation on his house and he left a beam in front of his house with a note on it saying "Free". Although it was construction material, probably fir, I picked it up and used it to make a chair. I still had a piece left and decided to resaw it to make the board. Here's the piece I had left. It's just slightly over 16 1/2 inches and I usually make the boards 17 inches square, so this one will be a bit smaller. Here's the block.

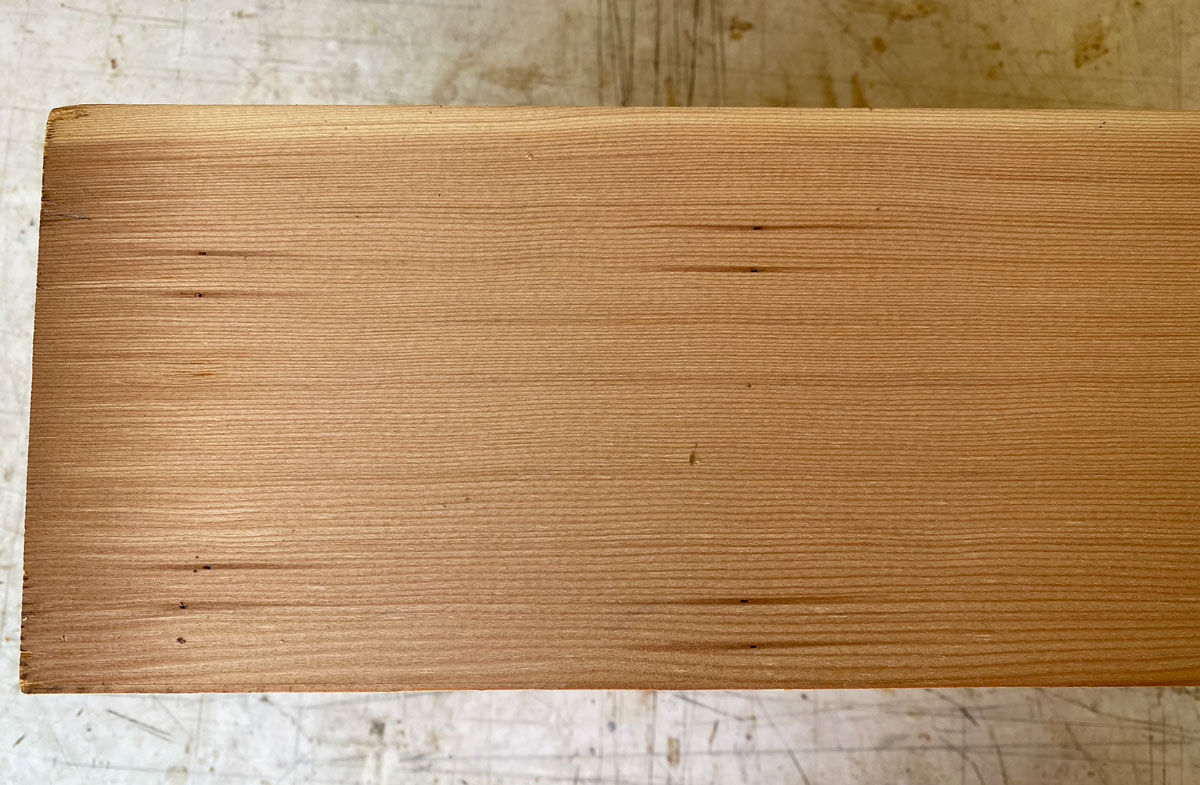
While it doesn't look like much, from the side, it shows a nice, tight quarter-sawn grain structure.
I'm going to resaw the block on my cabinet saw. I want 3/4 inch finished so I'm going to resaw the boards to about 7/8 inch so that I have some to work with.
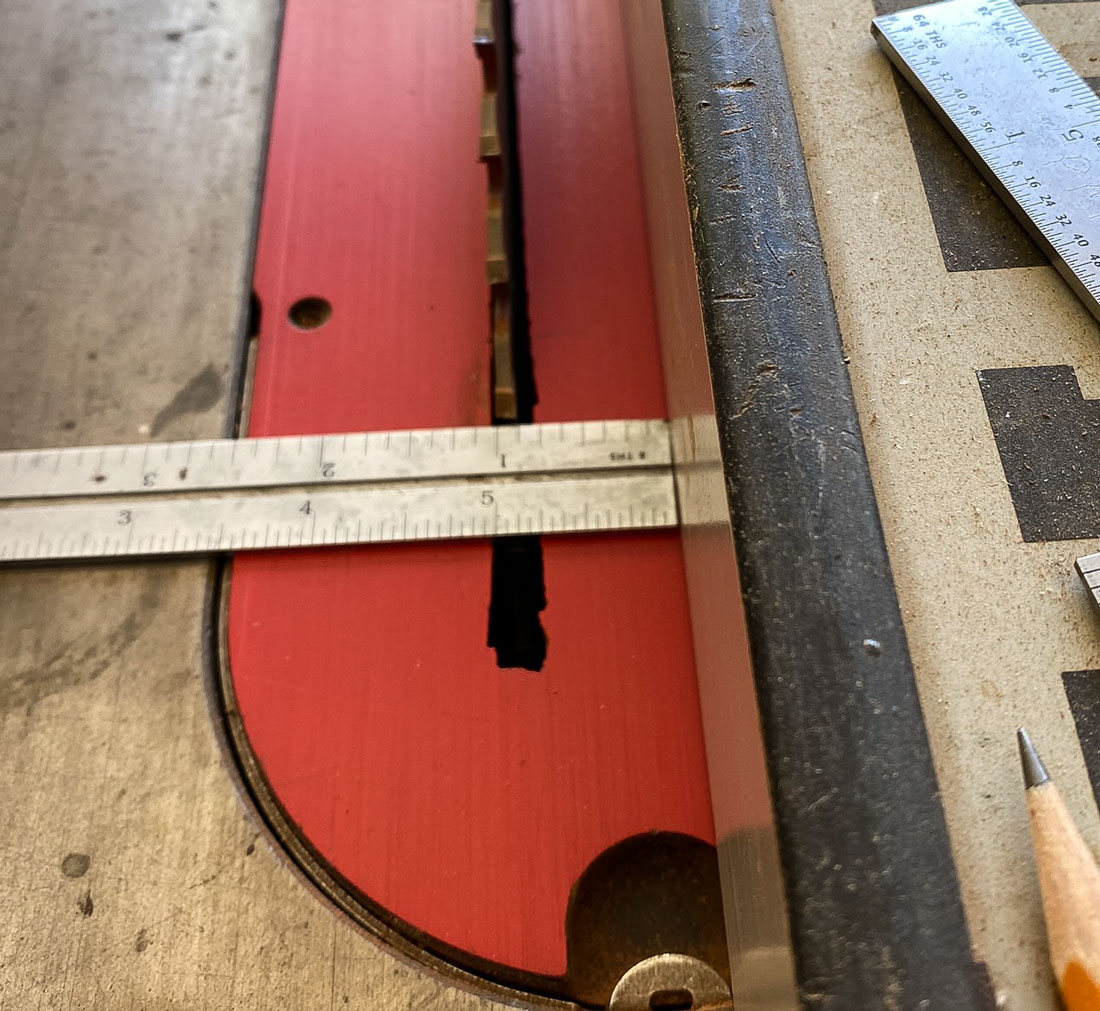
Based on the width of the block, I need four boards to make 16+ inches. Four actually make quite a bit more than 16 inches so I'll have to trim.
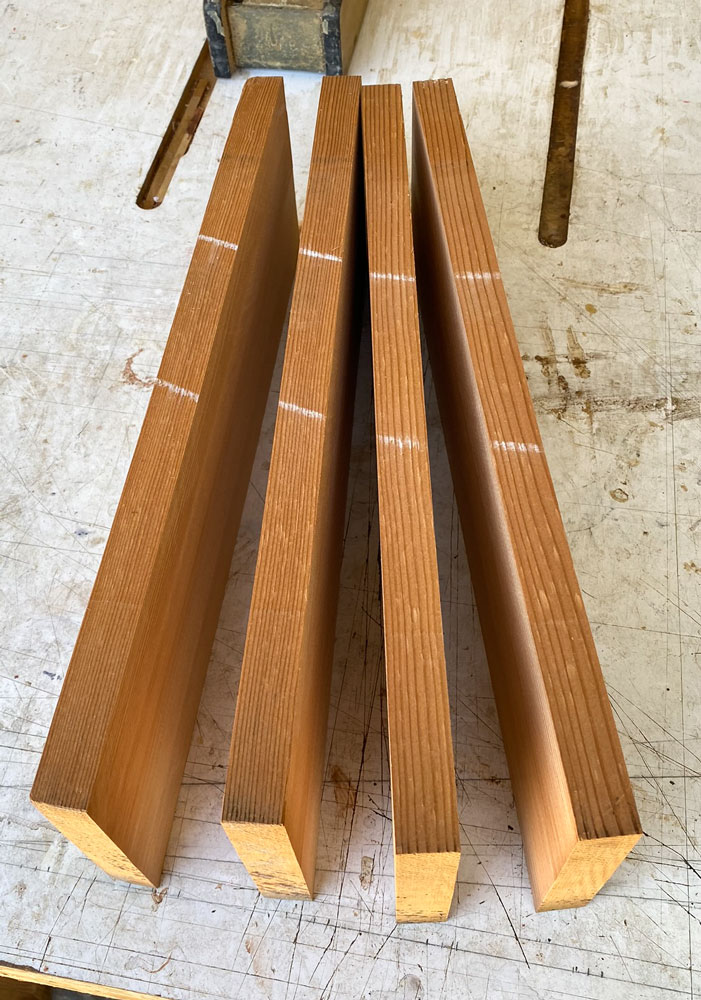
Here are the four boards laid out. You can see it's quite a bit longer than wide, but the grain looks nice.
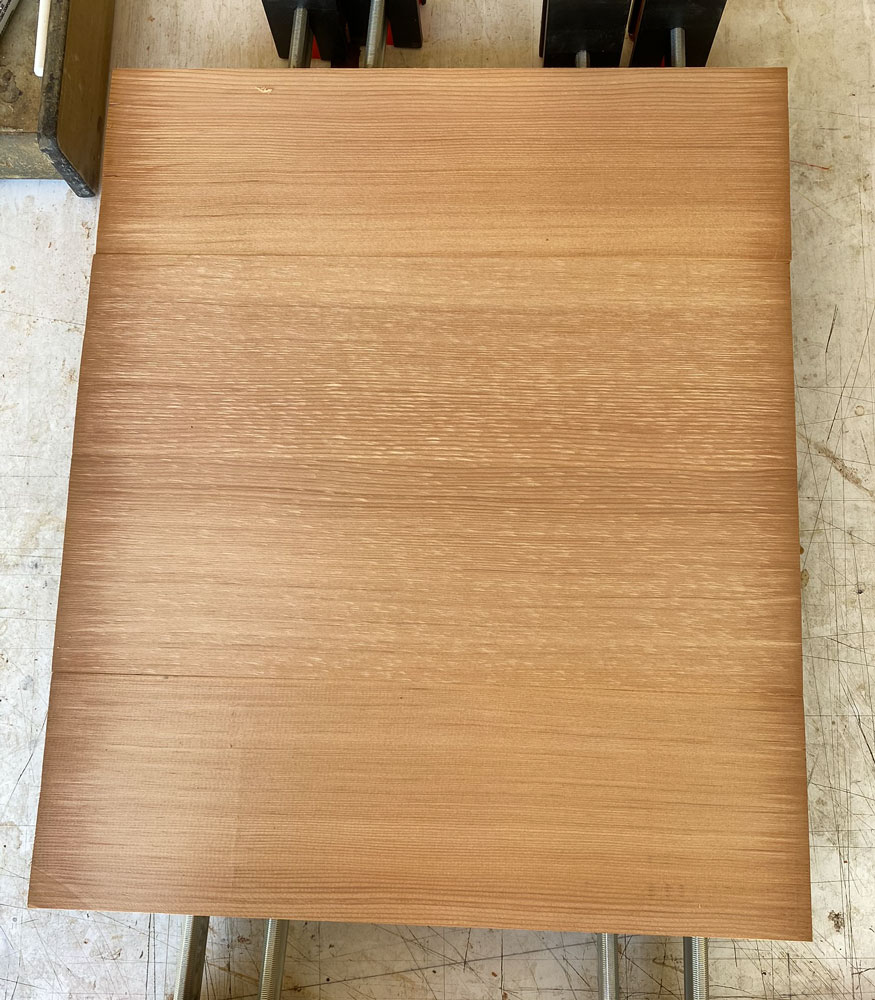
I glued them up in two batches of two boards each, putting the edges with the finest (closest) grain together.
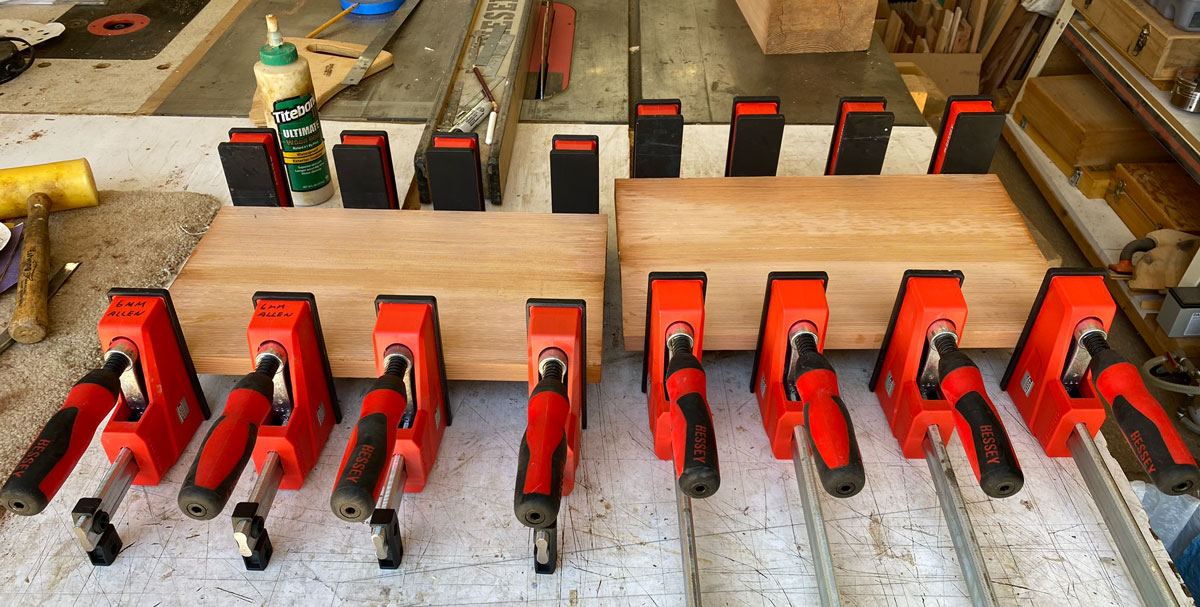
Next, I trimmed the two glued up panels to about 8 1/2 inches, taking off the part with the most coarse grain. I put the two edges with the finest grain to the center and glued the two panels together.
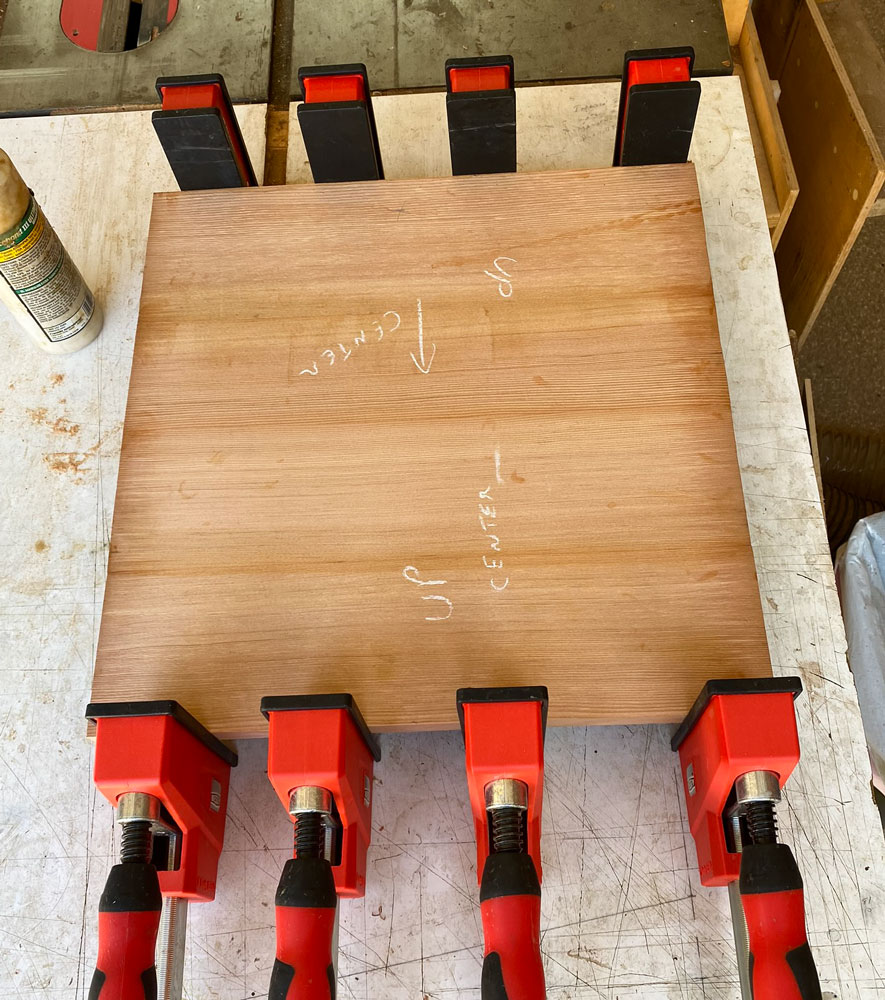
Here's the panel after gluing. I chose one edge and ran it through my jointer. This becomes my reference edge.
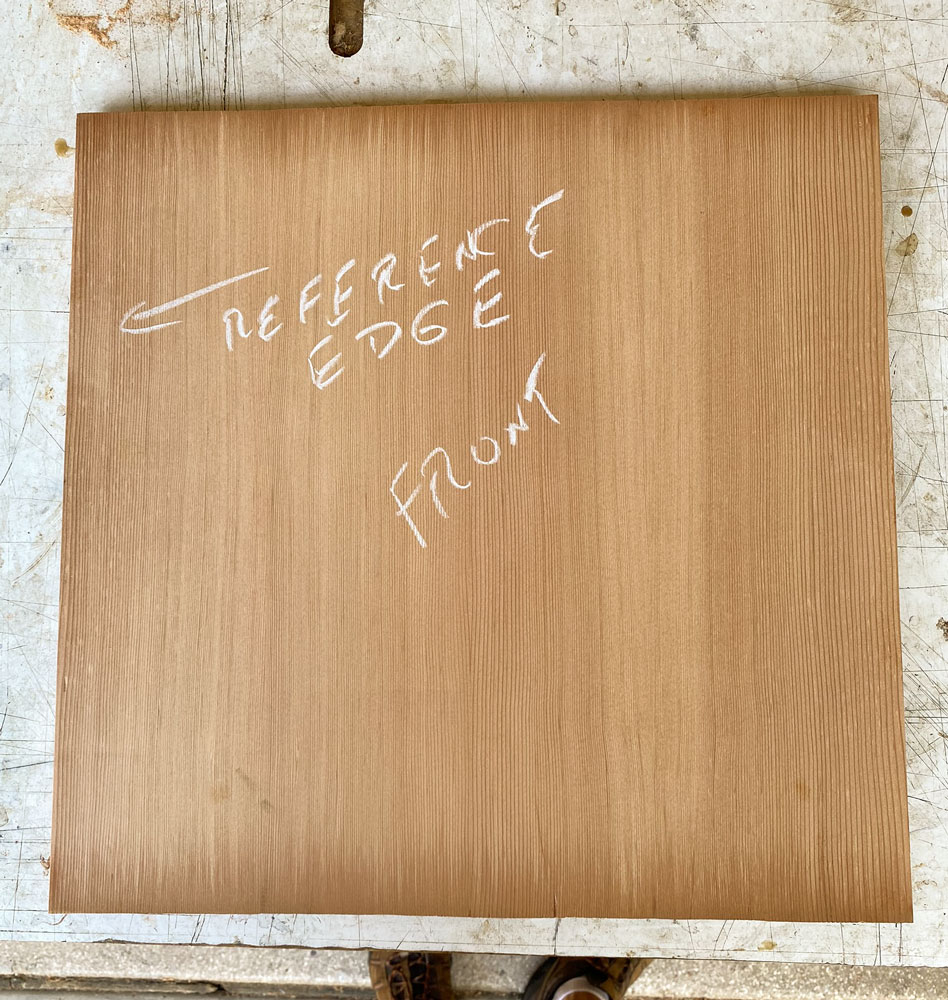
Then, using my big combination square (the model is Starrett H8) I drew a line as close to the edge as I could and still get an edge with no gaps. The H8 is somewhat expensive but is really useful (and accurate) for larger things like this.
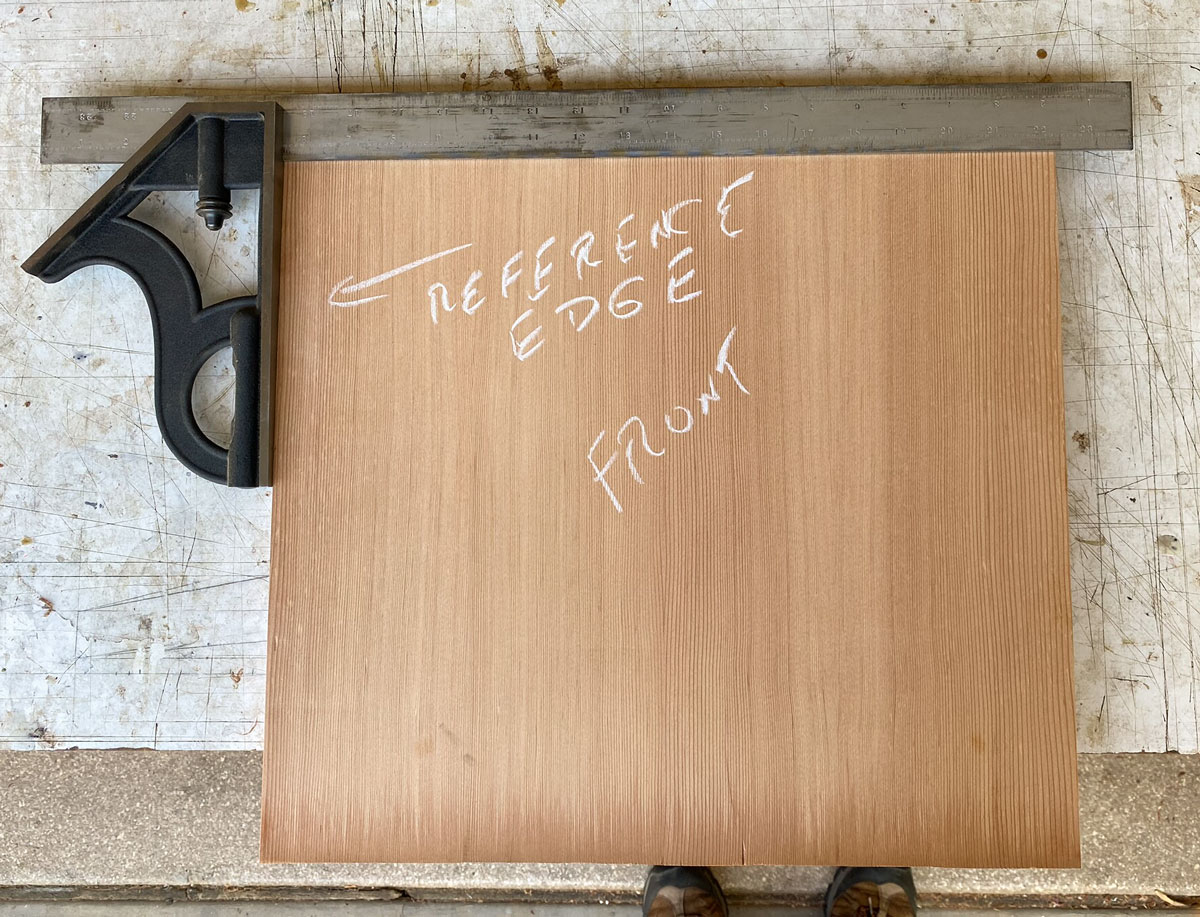
I'm going to use my track saw to cut the ends of the panel, along the lines drawn with the H8. The track saw can make a very accurate cut.
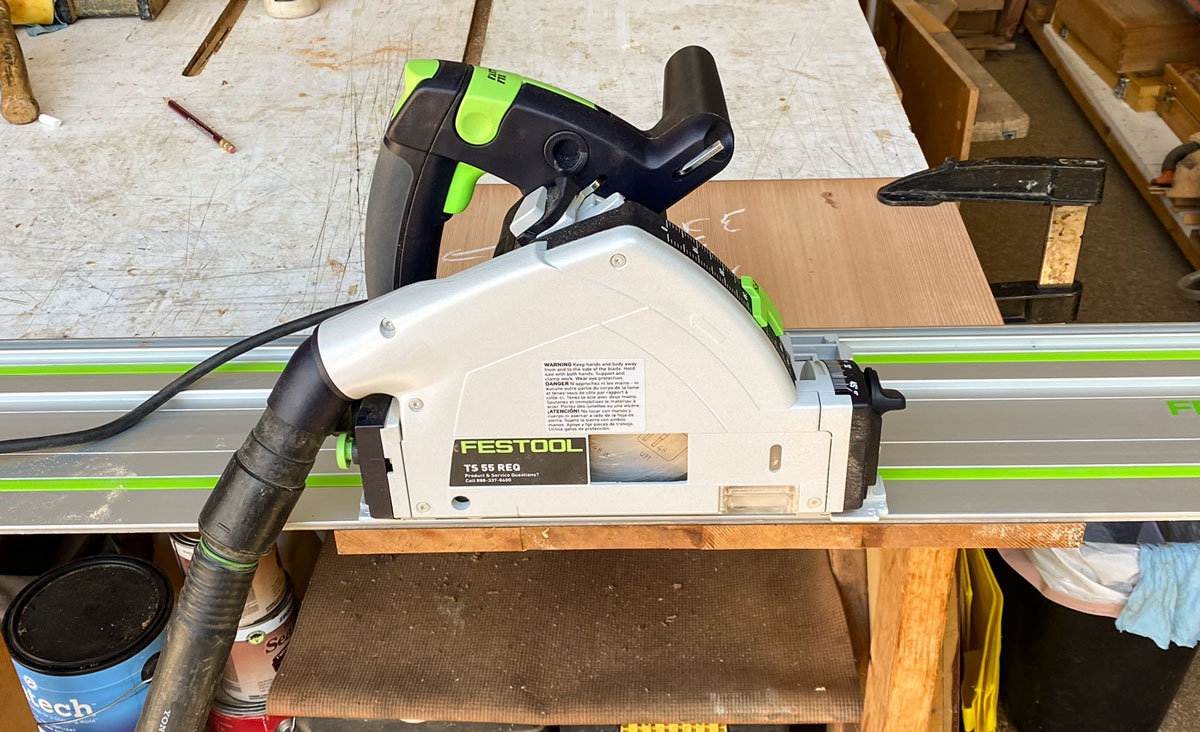
Here's what the edge looks like after cutting it with the track saw.
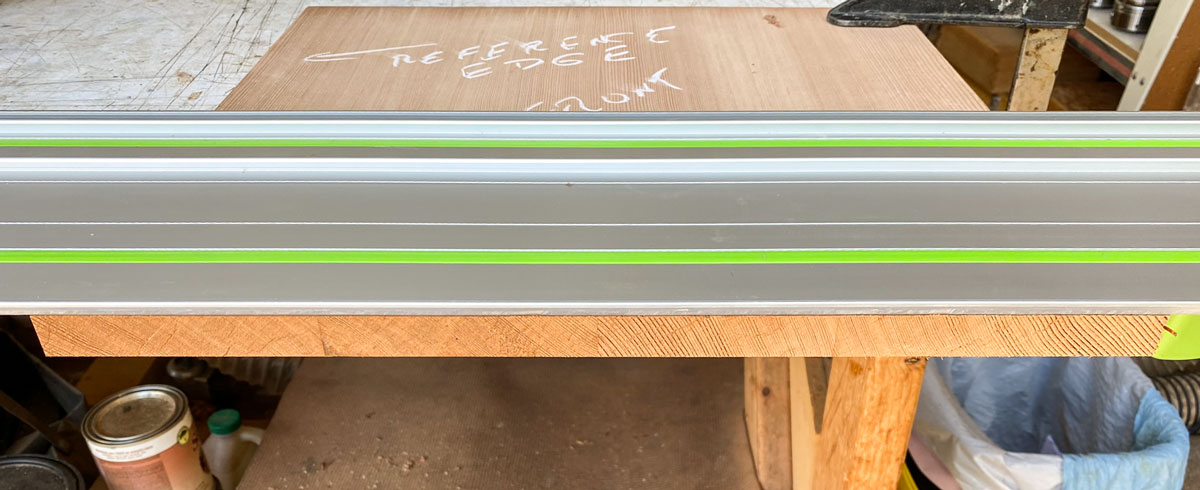
After cutting both sides, I wind up with a panel 16 1/2 inches wide. I wasn't aiming for any particular dimension - whatever it came out to I'd just make the other dimension the same.
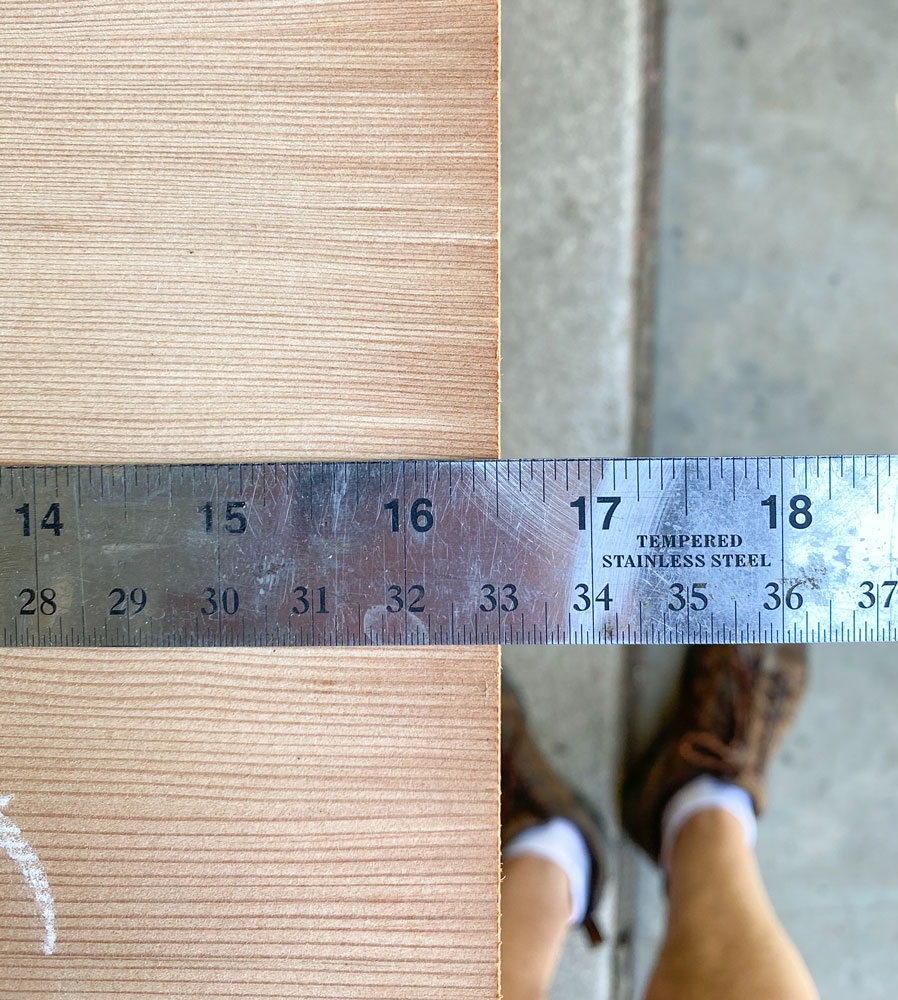
Then I take the panel to my cabinet saw and cut it square. One way to do this is to turn the panel sideways and put it between the blade and the fence to get the width that you're aiming for - in this case about 16 1/2 inches. Then turn the panel 90 degrees and make your cut.

After you make that cut, you can check your diagonals to make sure it's square - this one is.
I put the panel through my drum sander to get it to 3/4 inch and then sanded it with my random orbital sander to 150 grit.
Now I begin to layout the position of the dimples. To begin, locate the center of each side. Then draw a line from corner-to-corner and from those side center marks.
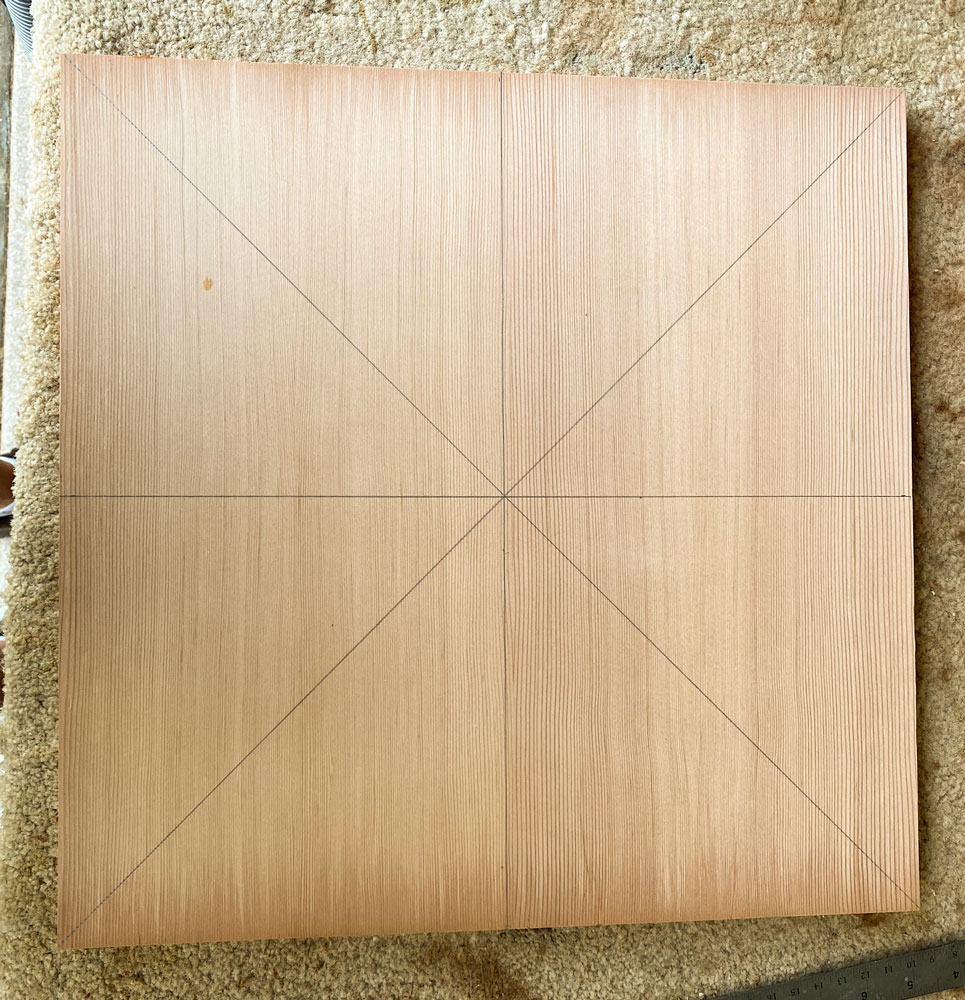
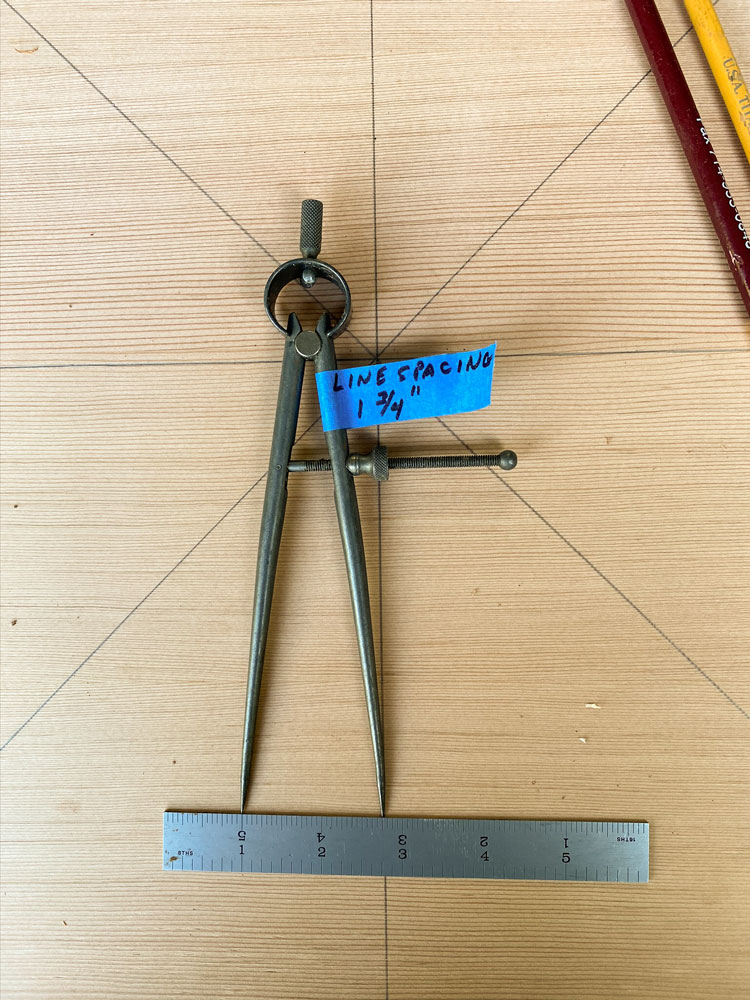
Next I want to draw lines parallel to the lines from side-to-side (from the center of the sides). I'll position these 1 3/4 inch apart. To make it easy and accurate in marking these lines, I'll use a set of dividers. [Note: if you want to make the board with all the dimples that most commercial boards have, you'll have to space these line a bit further apart.]
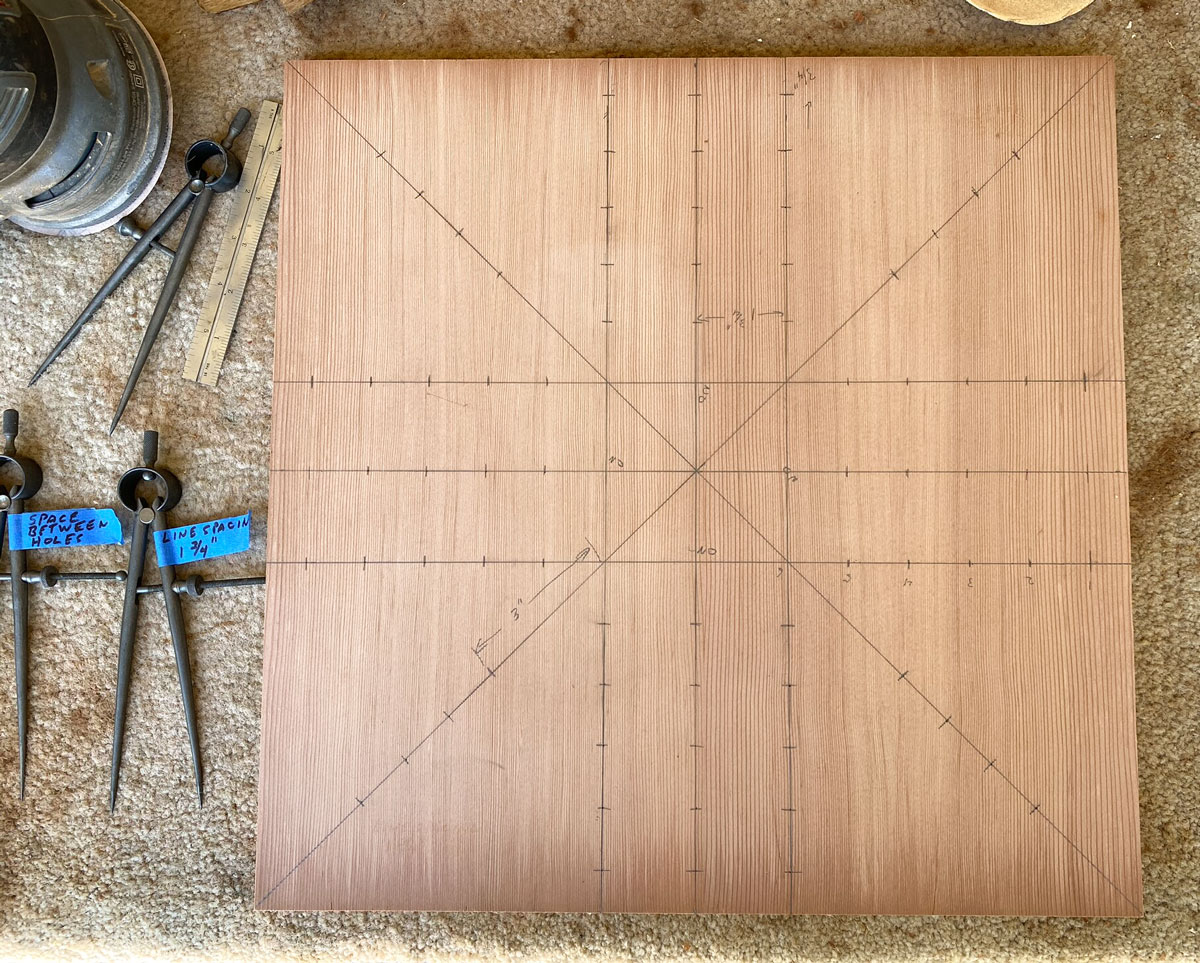
I forgot to take a picture just after I drew those lines but here's a picture of the final markings and you can see the lines. Note the two dividers on the side of the board with the blue tape identifying what the divider is used for. This is just so that I don't use the wrong one.
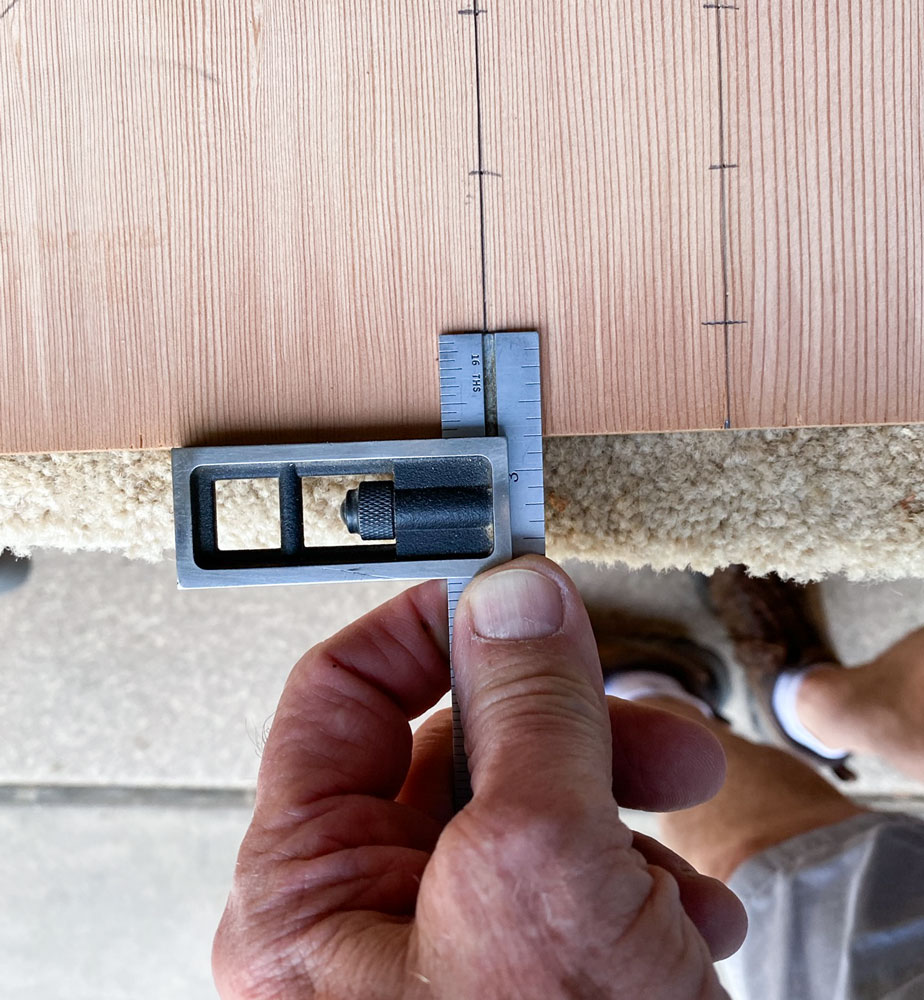
My next step is to mark the location of the hole closest to the edge of the board. I'm going to use 3/4 of an inch. I was a little late in taking this picture, also:-)
Then I want to space the dimples evenly between the junction of the lines and the location of the bottom hole. I use a set of dividers and, through trial and error, find the distance that allows me to step off five times (for six dimples).
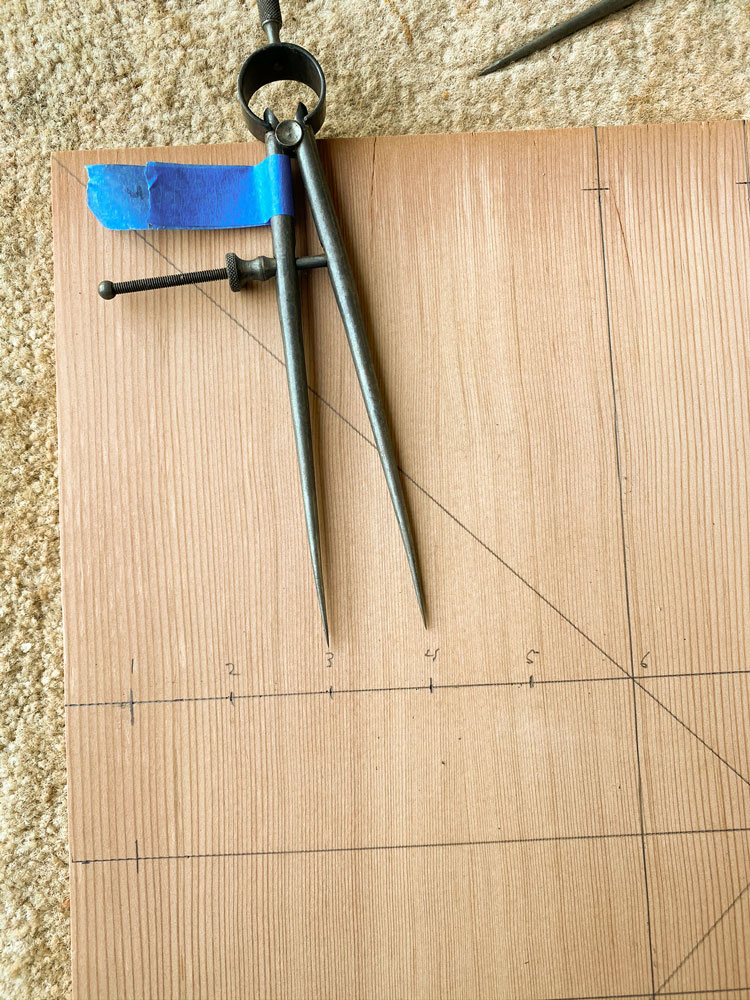
I use the dividers to step off all the dimples on those lines.
Then I measure off 3 inches on the diagonal from the junction of two lines and step off four dimples using the dividers.
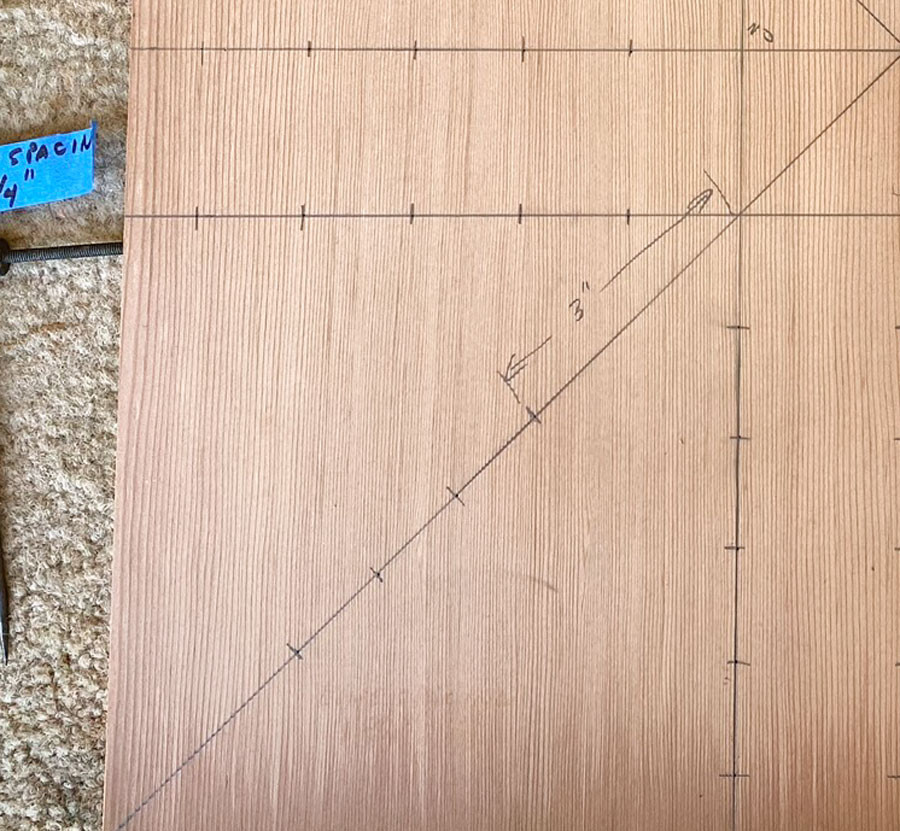
And that's the completion of the marking of the board for the dimples.
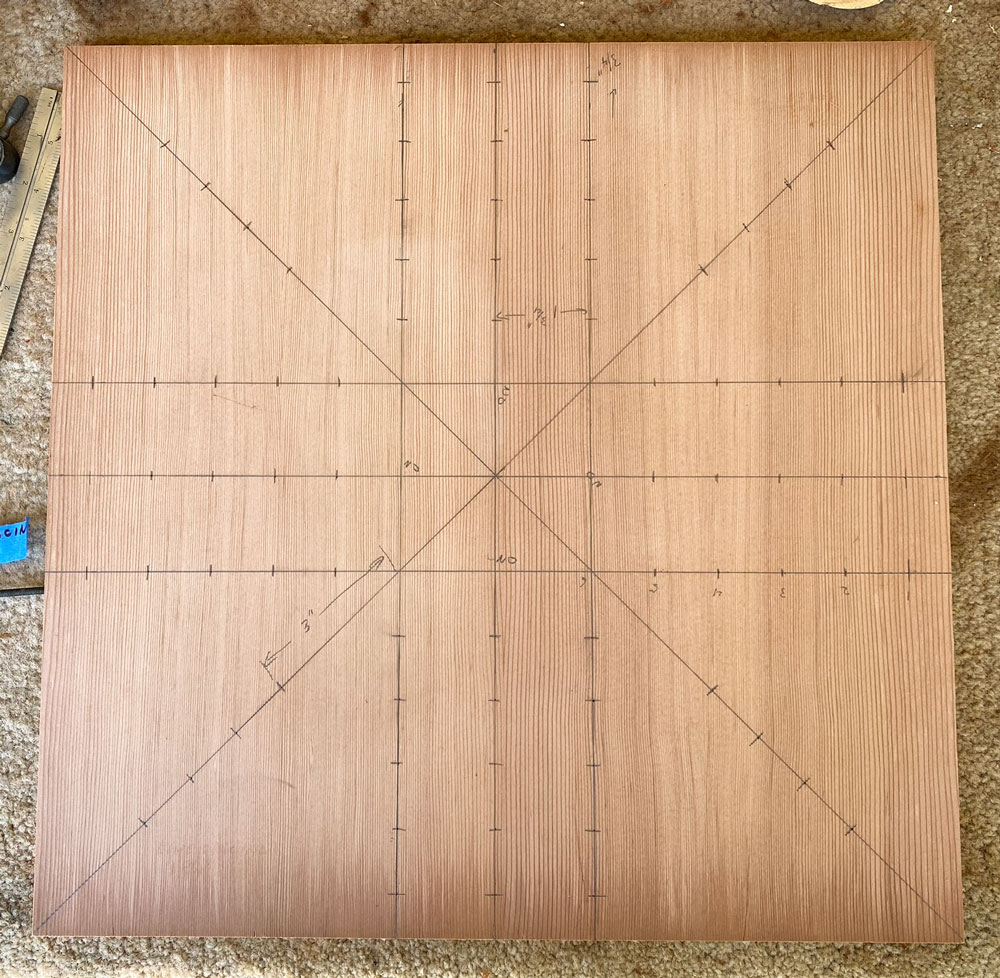
The tutorial continues here as we make the dimples