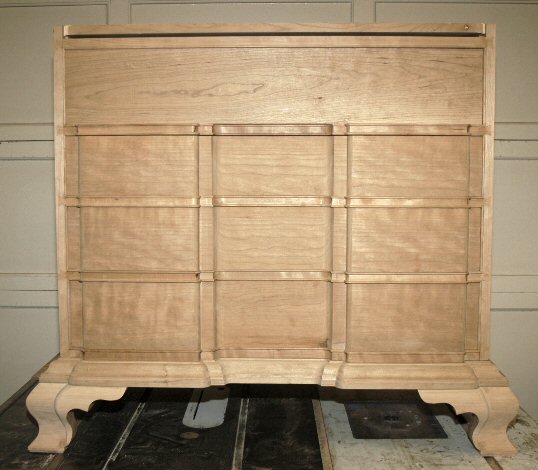
Townsend Style Chest
P. Michael Henderson
4/27/05 - I completed enough of the base to be able to sit the chest on it for a picture. I still have a lot of detail work to do make everything flow well, and I still need to sand the base and legs, but this is a real milestone! While I'm finishing the base, I'm going to start on the top, cutting the profile into the top. I made the ogee of the legs a bit more bold than the original Townsend chest so I may overlap the top a bit more and change the top molding just a bit to keep the same proportion as the legs. I still haven't done any fitting on the drawers so they're still too tight.

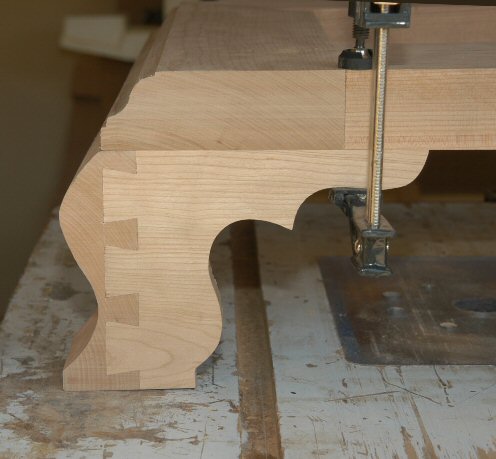
4/25/05 - I roughed out the carving on one front foot (see picture). Now, the problem is to do the second foot to match. It's much easier to carve only one of something because when you make a mistake, you just modify the carving to suit. But when you have to do two matching pieces, it's much tougher.
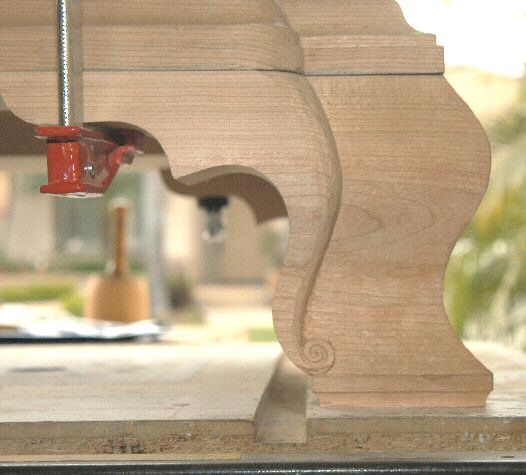
4/24/05 - I've made progress on the feet. I haven't finished them but have the four feet fabricated and now need to carve the profile into the front feet. The back of the back feet are flat so that you can push the chest up against the wall. Traditionally, the back of the back feet were joined with dovetails and I followed that tradition. Most of the time, this part was fabricated from the secondary wood but since my frame and panel back is of cherry, I decided to make all of the back in cherry. If the chest is located where the back is displayed, it will look consistent in color (not a mix of cherry and secondary wood).
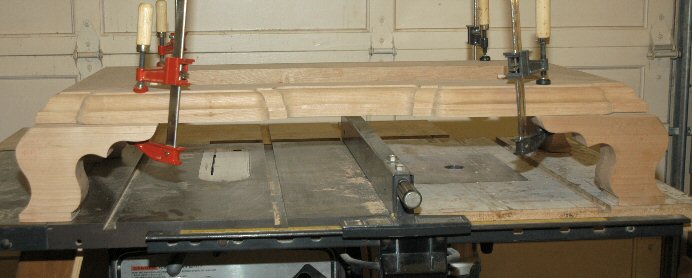
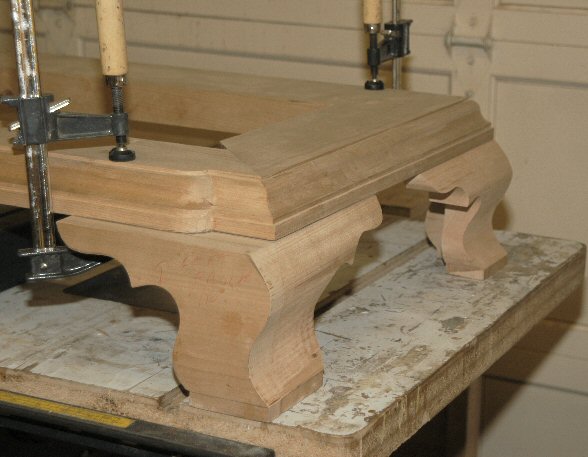
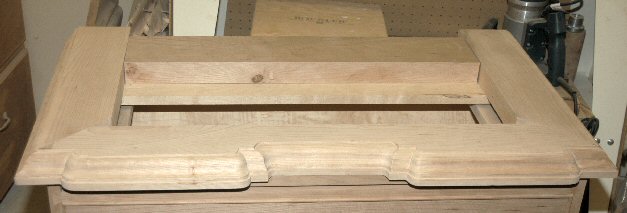
4/19/05 - I finished carving the base molding and am in the process of making the base frame. I haven't finished fitting the front piece to length yet. The back piece of the frame is Cherry - since I'm putting a nice cherry frame and panel back on the chest, I'm going to make the rear parts of cherry, also. Carving the molding wasn't as hard as I though it would be, even though this was my first attempt at carving. Next, I need to start on the legs. The front portion of the legs will require carving.
4/17/05 - I've started carving the base molding, as you can see in the picture below. I used my router to cut the ogee profile in the base and am cutting back in the places where the molding is indented. This gives me a profile to follow when carving the indented pieces. I'm not an experienced carver and I'm now in the most complex part of the molding so I hope that I don't mess it up.
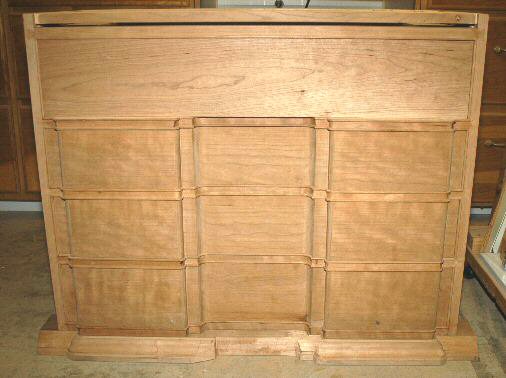
4/14/05 - I'm in the process of sanding the bottoms and secondary wood of the drawers and spraying them with dewaxed shellac as a sanding sealer. I don't know yet what finish I'm going to put on the chest but dewaxed shellac will work under anything. After the dewaxed shellac dries, I sand it again with 320 paper - this gives a very nice smooth surface. Note that the drawers have not been glued up yet - I'll have to be very careful with glue squeeze out when I glue up.
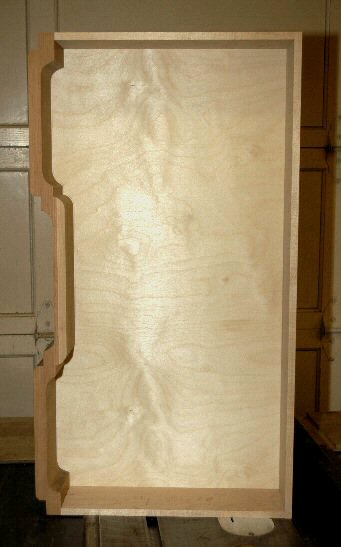
4/13/05 - I completed the drawers today - the final work was to cut the groove for the bottom into the four sides of the drawer and to cut the bottoms to shape. Robert Thornbury suggested cutting the groove with the four sides of the drawer assembled and it worked great. Doing it that way (with the slot cutter) means that the groove is aligned around the four sides - there's no risk of having the grooves misaligned between two adjacent sides. I did have to clean up the corners with a chisel but that was fairly easy (although it took longer than cutting the rest of the grooves). Cutting the bottoms to shape was a bit tricky due to the shape of the drawer fronts, but it wasn't too hard to get the shape correct. I traced the inside shape of the drawer front and then added 1/4 inch for the groove. The cut was made on the bandsaw.
The drawers fit very well, meaning that the drawers are straight - when pushed in they align flush with the front of the chest, which means that the chest and the drawers are square. The bottoms are Baltic Birch plywood. I realize that plywood is a naughty word to some people who build period furniture but I generally don't share that view - after all, it's just veneered wood. Maybe on my next chest I'll do solid wood bottoms just for the experience. These drawers are wider than they are deep which makes it easy to rack the drawer when sliding it in. I may add a drawer guide in the center of the drawer to see if that improves the racking problem. I made the drawers tight to the sides of the chest so that's not the problem. If the drawers were any tighter, you couldn't open or close them. If nothing else works, I'll retrofit them for Blum underdrawer slides.
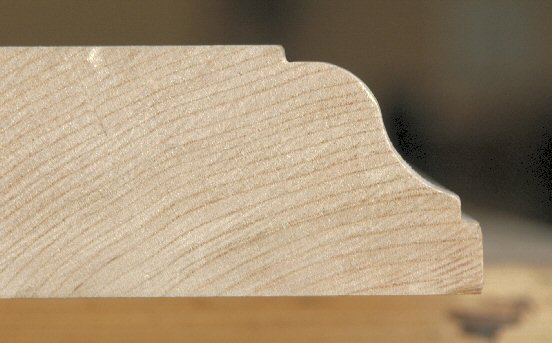
4/10/05 - I haven't received the slot cutter that I need to install the drawer bottoms (should be tomorrow), so I started making the base molding. I used a 1/2 inch cove bit and a 1/2 inch roundover bit to make the ogee shape.
4/7/05 - I finally finished making the dovetails for the drawers. I think I did a reasonably good job on the front of the drawers but I "fell apart" when making the dovetails for the back of the drawers. On one drawer, I lost track of what I was doing and sawed on the wrong side of the scribe line. I had to shave the cuts smooth and glue pieces of wood on each pin to bring it back to size - then re-mark and trim to the line. If I had made that mistake on the front, I would have thrown the board away and re-cut it. But on the back, I decided to patch it since I had already cut the front dovetails and you don't see the back dovetails easily. Just some additional "character" of the piece.
I haven't put the bottoms in yet. I ordered a slot cutter to cut the groove in the sculpted fronts and won't receive it until Monday. The drawers fit a bit too tight right now but it should be easy to trim them to slide smoothly.
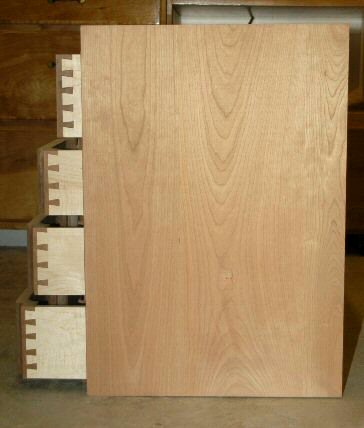
4/5/05 - No pictures but I'm in the process of making the drawers. I have all of the sides dovetailed into the drawer fronts and will start dovetailing the drawer rears to the sides. I will use a slot cutter to cut the groove into the back of the sculpted drawer fronts for the bottoms. I ordered the slot cutter but won't receive it for a week or so.
3/30/05 - I fitted the drawer fronts today. The fronts are still too tight but I'd rather have them too tight than loose. I can now start making the drawers themselves, if I can figure out how to cut the groove for the drawer bottom into the back of the drawer fronts.
I went to Anderson International today to get some Baltic Birch plywood for the drawer bottoms. Those of you in the Tustin area know that Anderson carries very high quality birch plywood, guaranteed void free. When I told them what I wanted, they offered me some 2 foot by 4 foot 5/16 inch Baltic Birch that they had as offcuts for a very reasonable price. Although that's a bit thicker than I wanted, I took it because of the price. It'll make the drawers a bit heavier but I'll live with it. They're very nice people to do business with.
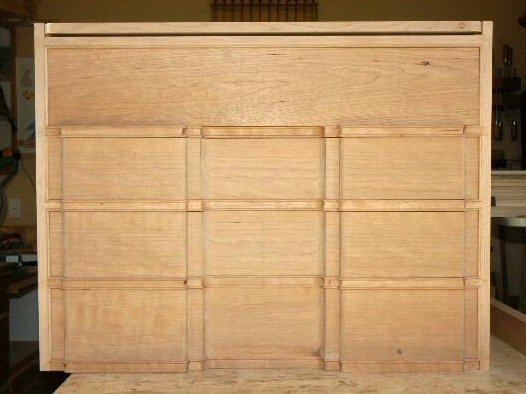
3/24/05 - I completed the shaping of the backs of the drawer fronts and applied the cockbeading on the chest sides. With the Easter holiday coming, I won't post anything until Tuesday, at the earliest - maybe later.
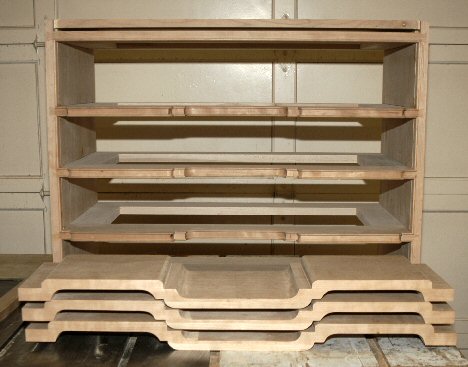
3/22/05 - I'm working on shaping the drawer fronts. I still have a lot of shaping to go but I hogged out a lot of wood today.

The story of the chest continues here.