Making a Step Stool
P. Michael Henderson
Continued
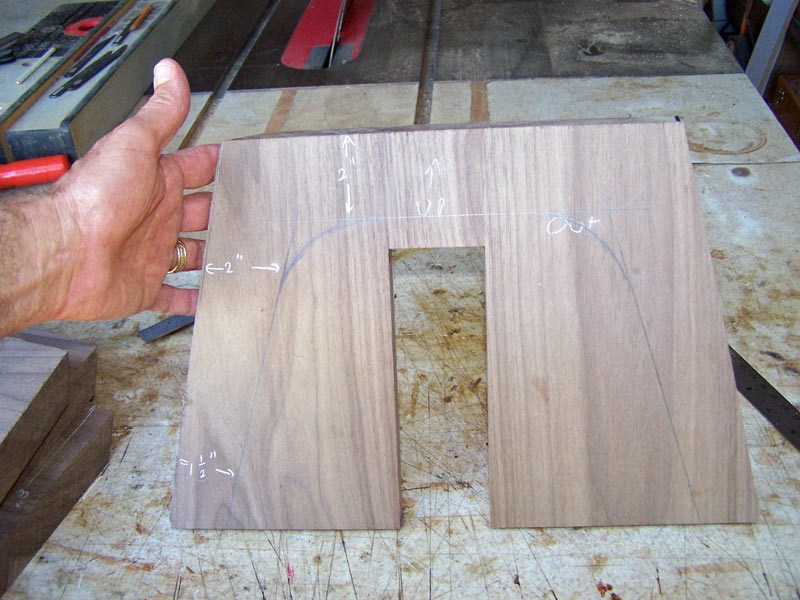
Now we're going to cut out the legs. Here's how I lay out the legs. I come in 1 1/2" at the bottom, and 2" along the top of the leg, and 2" down from the top. I sketch in the curve between the side and the top section by hand. Then I cut the legs out on my bandsaw.
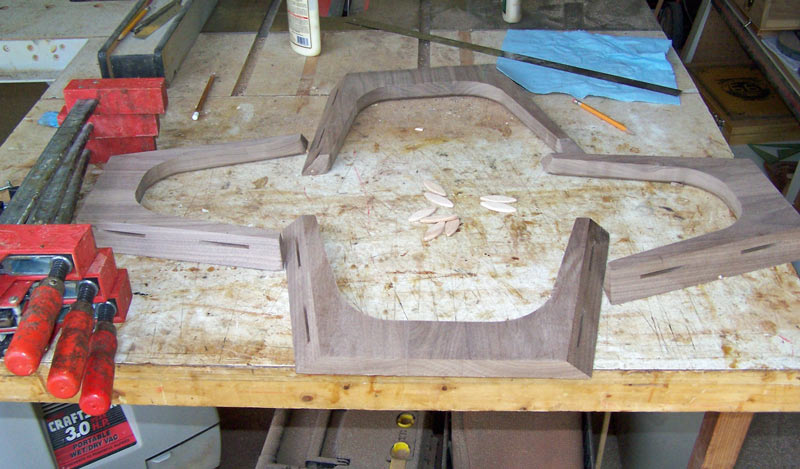
After you've cut all four sides, this is what the base looks like.

To make it easier to keep everything together during the glue up, I cut biscuit slots for #10 (not #20) biscuits in the side of each leg, 2" from the top and 2" from the bottom.

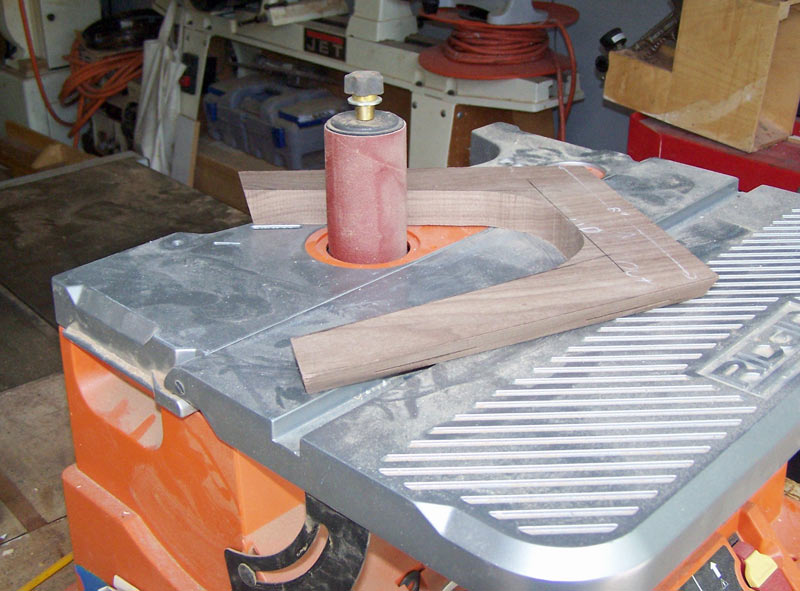
Next, I sanded the inside of the legs on my spindle sander to remove the bandsaw marks.
Then I put a 1/4" round over bit in my router (in the router table) and rounded over the outside edge of the legs.

This is what the sides look like after routing.

It's a good idea to sand the inside of the sides before glue up. For the glue up, lay out the sides the way you want them - for the best grain match - and have the biscuits ready.
Then glue everything up, making sure that everything is aligned at the top. I used a strap clamp and four bar clamps but you could use all bar clamps.

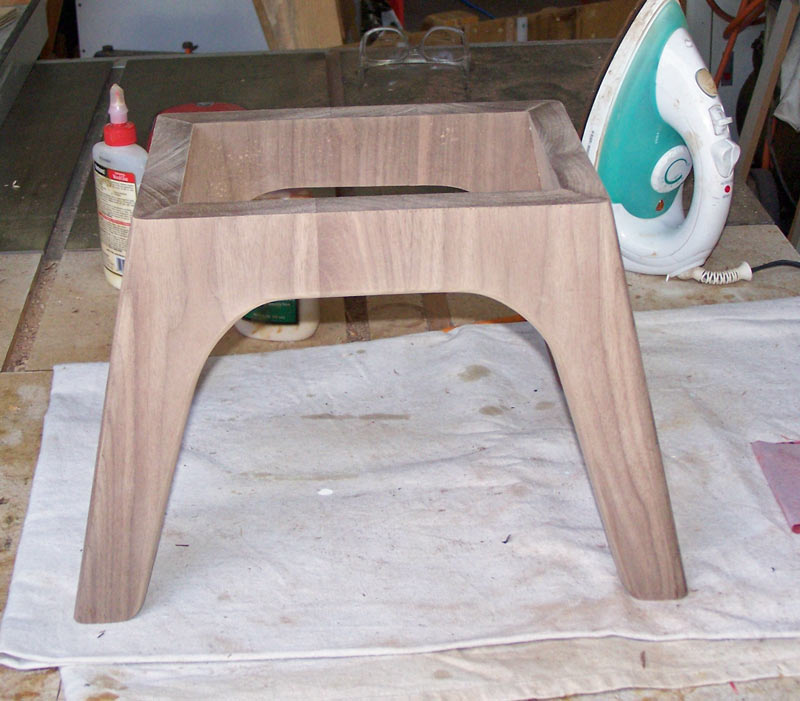
After the glue is good and set, take the base out of clamps and sand it to 220 grit. Note that I rounded the edges of the legs. The iron in the background is used to steam out dents.
We now need a way to attach the top to the base. I set the table saw to 12* again and cut two pieces from some of the offcuts. These were about 9" long, which I trimmed to fit inside the top of the base.

These get clamped to the front and back sides (inside). Screws will be put through them to attach the top to the base. You don't need a lot. The only stress will be when someone picks up the stool by the top. Since the pieces were cut with a 12* bevel, the top is flat.
Gluing these pieces onto the front and back sides adds some strength to the base - the middle part of the legs is short grain and not as strong as the rest of the base. Another way to strengthen the base is to cut a groove in the bottom edge of the short grain portion and put a spline in. That's what I did on an earlier step stool I made.

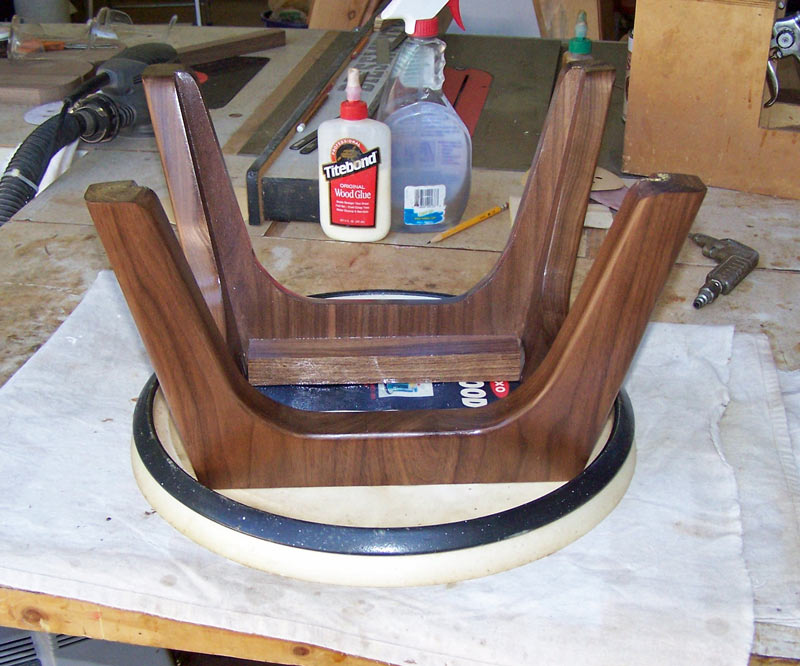
After cleaning up the base, I put a coat of dewaxed shellac on it. Now we can see what it's going to look like.

Then, I shot the base with a couple of coats of water based lacquer.
I could have done this earlier but I wanted to see what the base would look like finished. Now I need to drill four holes for the screws to attach the top to the base. I used my drill press.
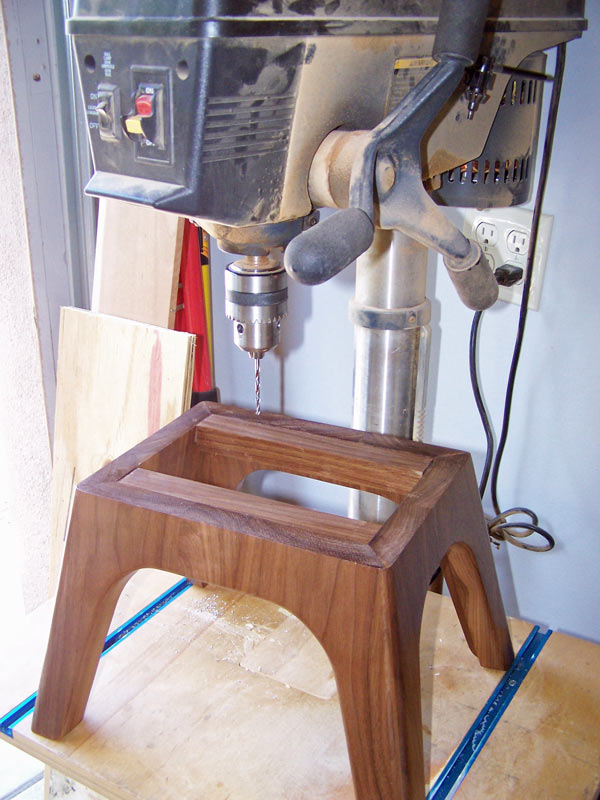
And here's the holes. I used #6 wood screws, 1 1/2" long.

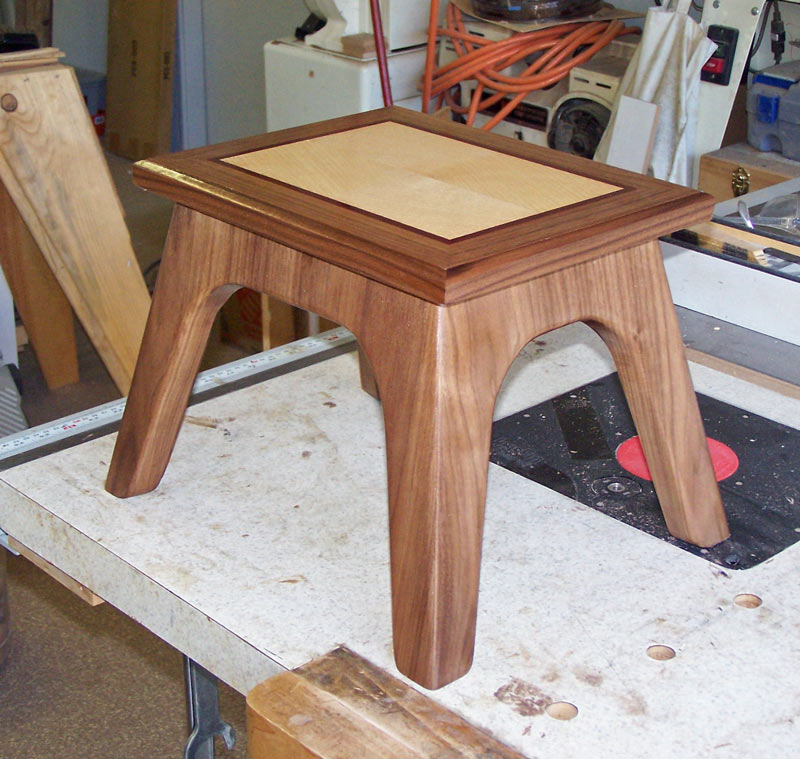
And here's the final product with the top on.

And a slightly different view.
You can return to my main page here.