Simple Box
P. Michael Henderson
January 21,2026
In the past I've described how to make a couple of jewelry boxes. While those jewelry boxes are not complex, there are quite a number of steps in the build so I thought I'd describe how to build a simpler box. The box in this tutorial is for cremation ashes but the concept can be used for almost any box, for any purpose. In this box, there's no internal tray, and no hinges to set,
This does not mean the box is easy to build, and certain tools are required (or suggested) for the build. But it should be simpler and easier than one of the jewelry boxes.
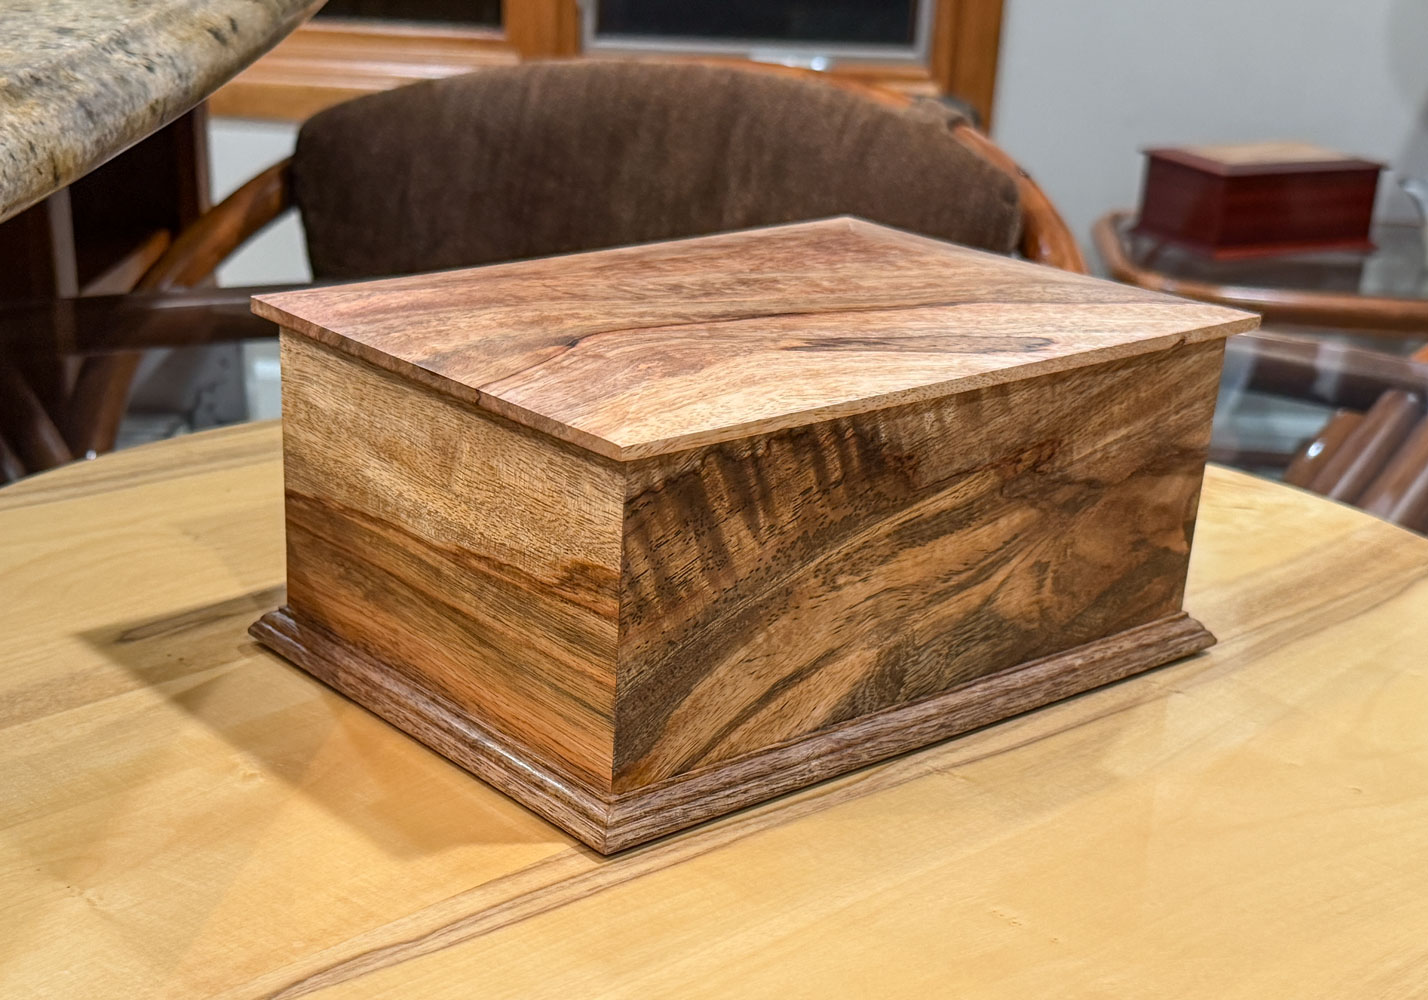
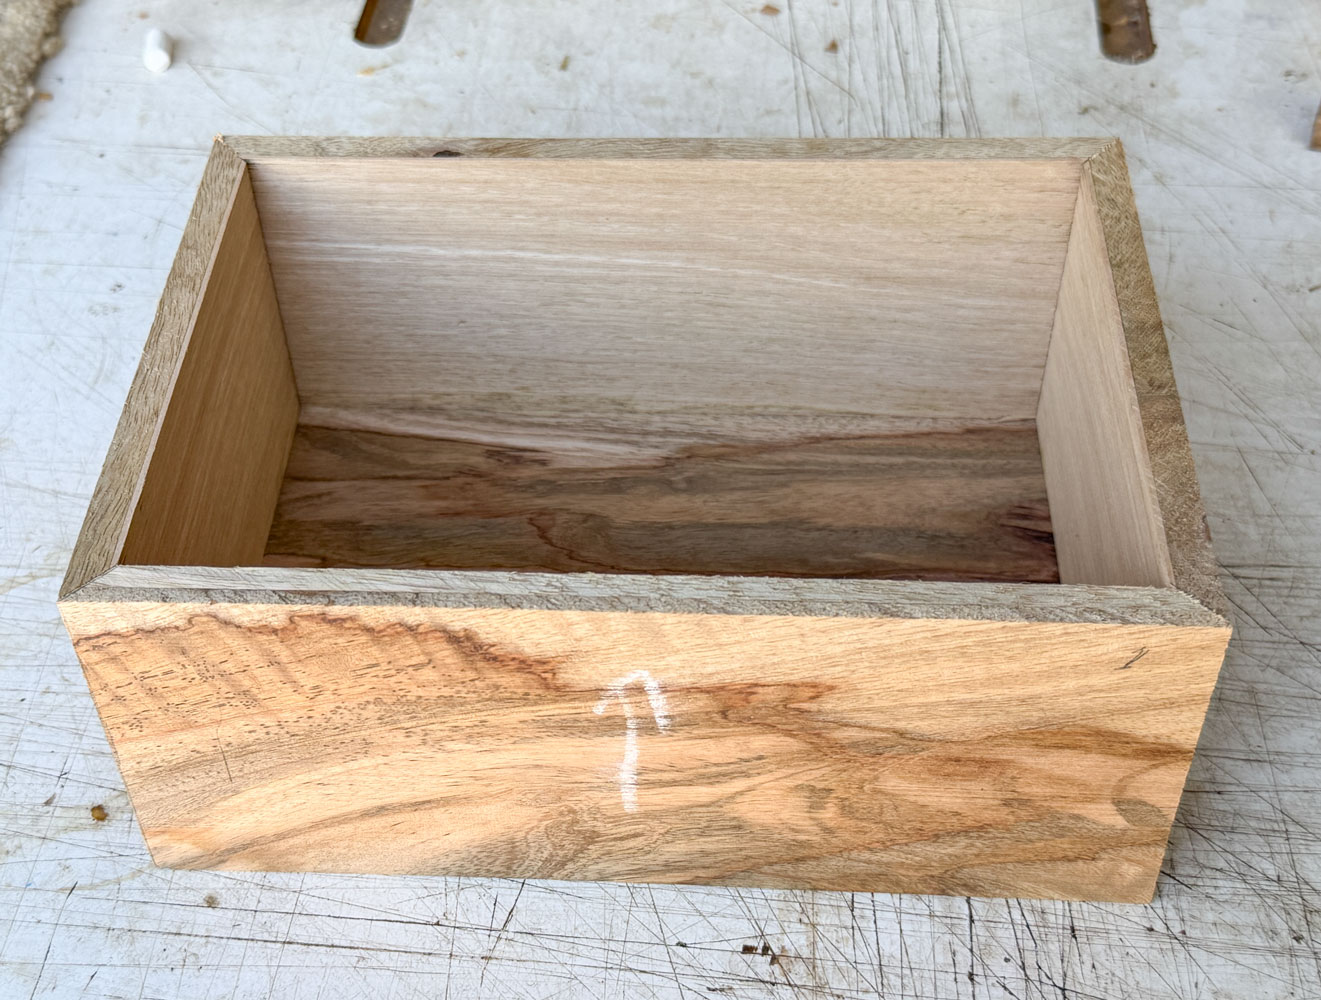
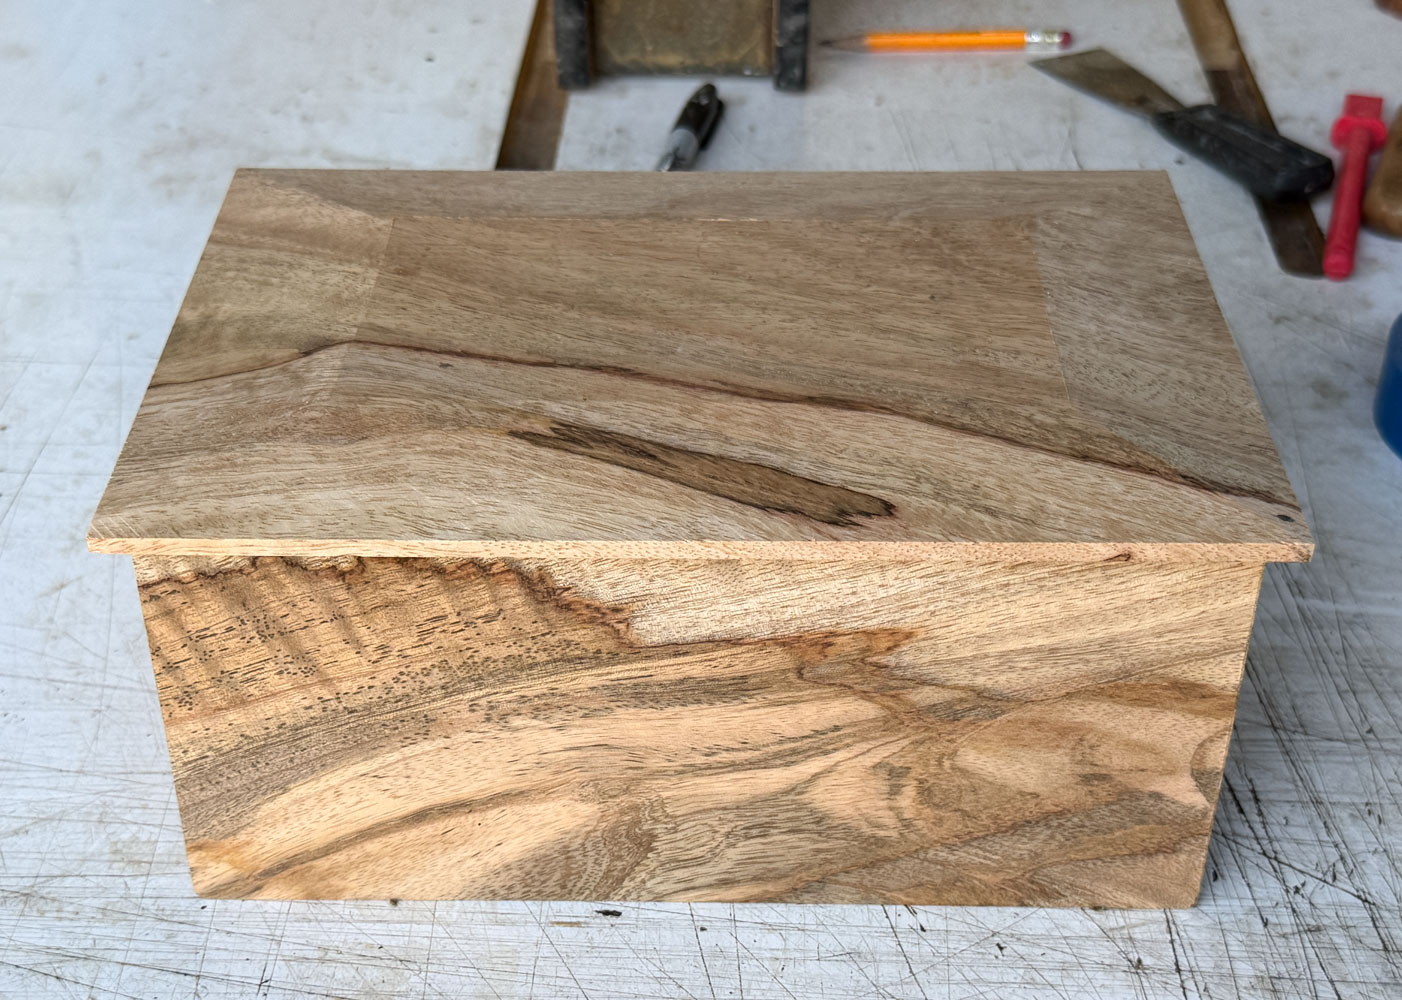
Here's where we're going - a picture of the finished product.
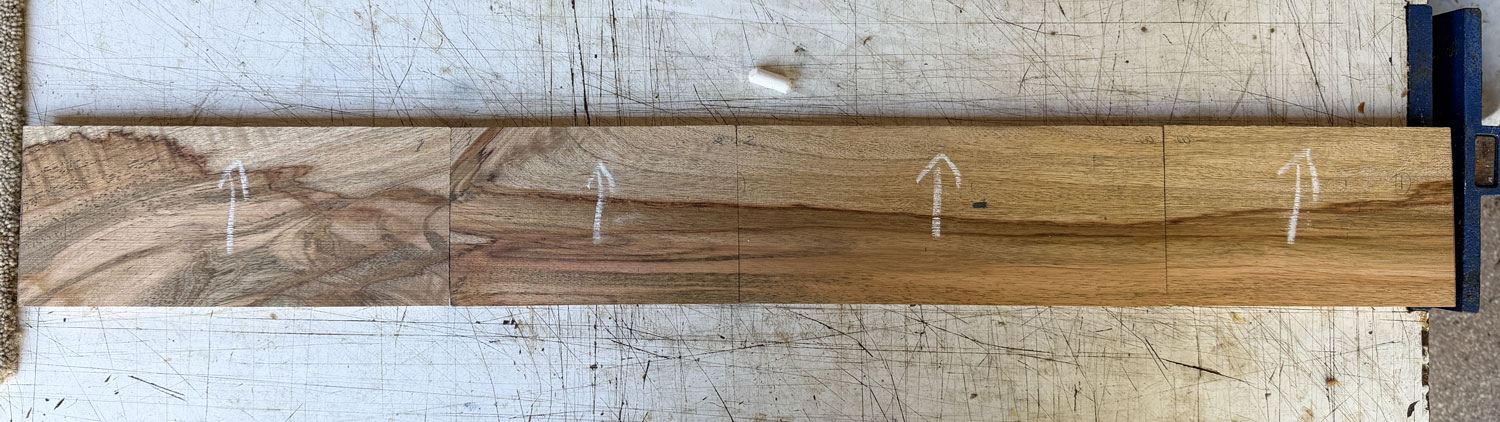
Here's what I'm starting with. The wood is four inches wide and a bit more than 3/8 inches thick. I planned to make the box 9.5 inches by 6.5 inches by four inches high. However, I made a couple of mistakes in cutting the pieces and wound up with a box 9.25 inches by 6 3/8 inches by four inches high. [Side note: I have no idea what species of wood this is. A friend gave it to me and told me it came from some furniture he disassembled. He thought the furniture came from Indonesia. It was the secondary wood (non-showing) in the furniture. So I call it "Wonder wood" - I wonder what it is.]
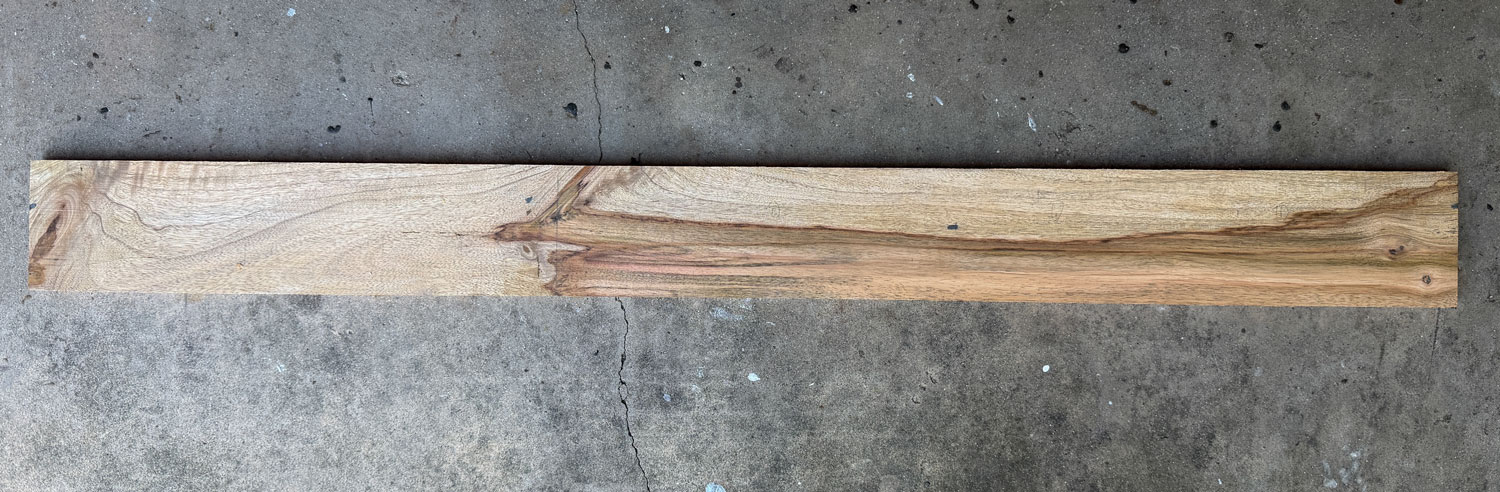
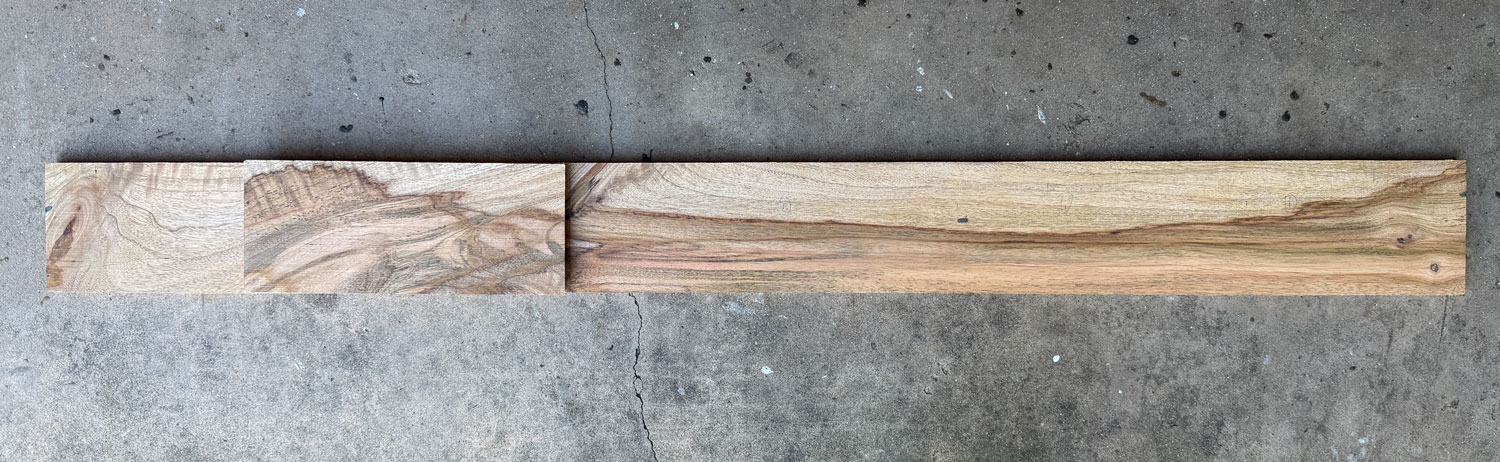
This piece of wood is not that interesting to me. I like the colored part of the wood but it's not long enough to go all the way around the box. I have a piece of wood from a previous project and I'm going to fit it into this box. While the match to the colored part of the original wood is not perfect, it's not bad.
I'm going to cut the miters on my table saw. In the past, I've tried to cut them on my Festool Kapex miter saw but I could not get the cuts as accurate as I wanted. I find that I can do more accurate cutting on my table saw.
Here's how I do the cuts. I use my miter gauge and tilt the blade to 45 degrees. You have to dial in your miter gauge carefully. On scrap, make a cut and then check to see if the cut is square across (use a square to do the check). Even after you have it dial in, check your cuts to make sure you have square cuts. If you don't hold the wood down properly, your cut can be off a bit.
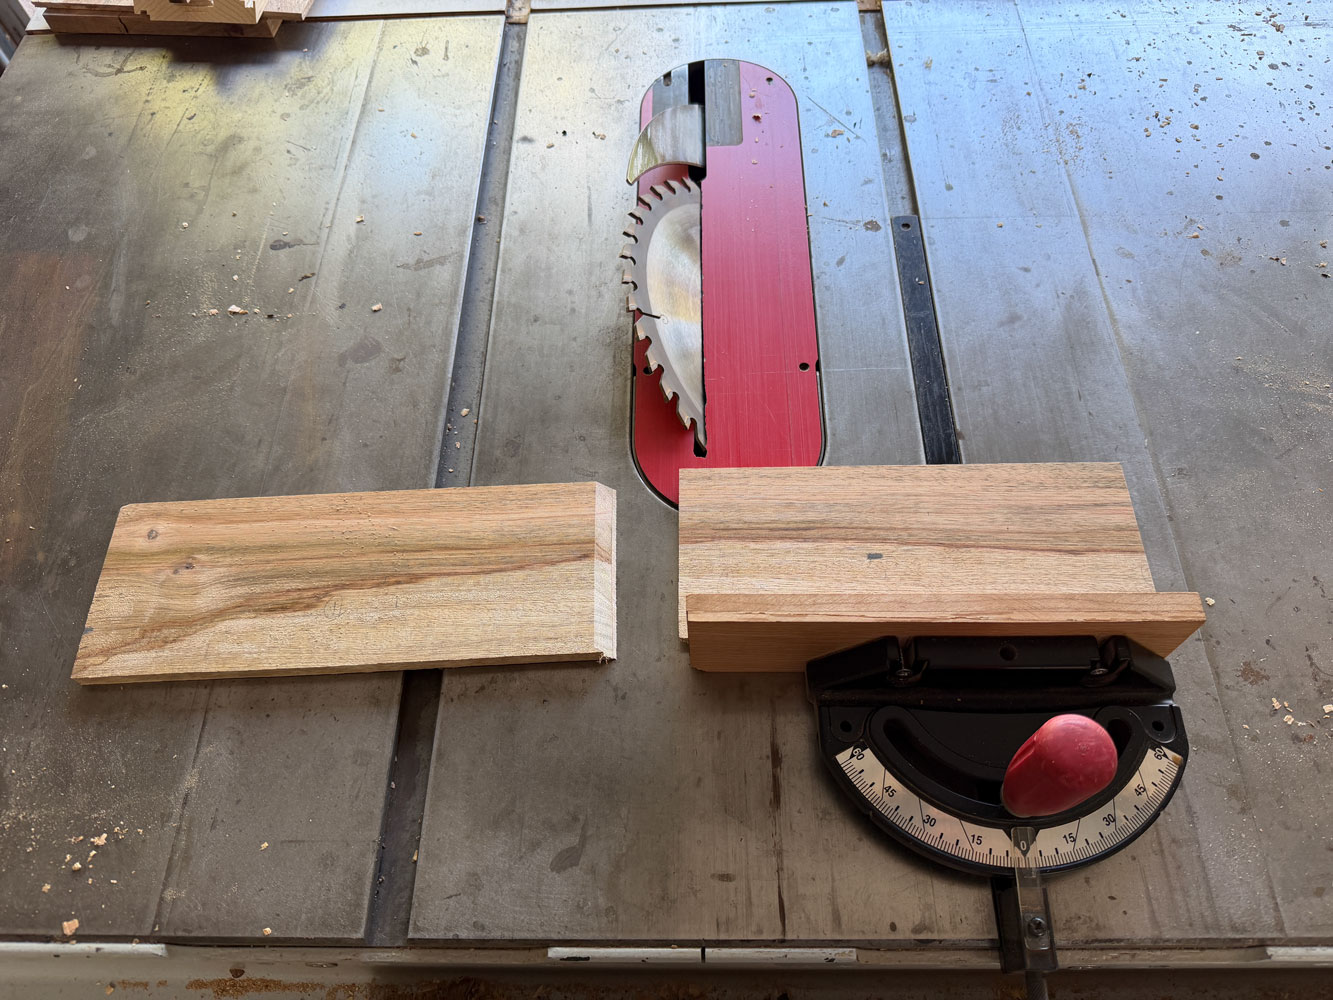
I used that extra piece of wood as one of the long sides, and cut the original piece of wood at the place where I wanted to match the two pieces. Then working back from that cut, I cut a short side, then a long side, then the final short side.
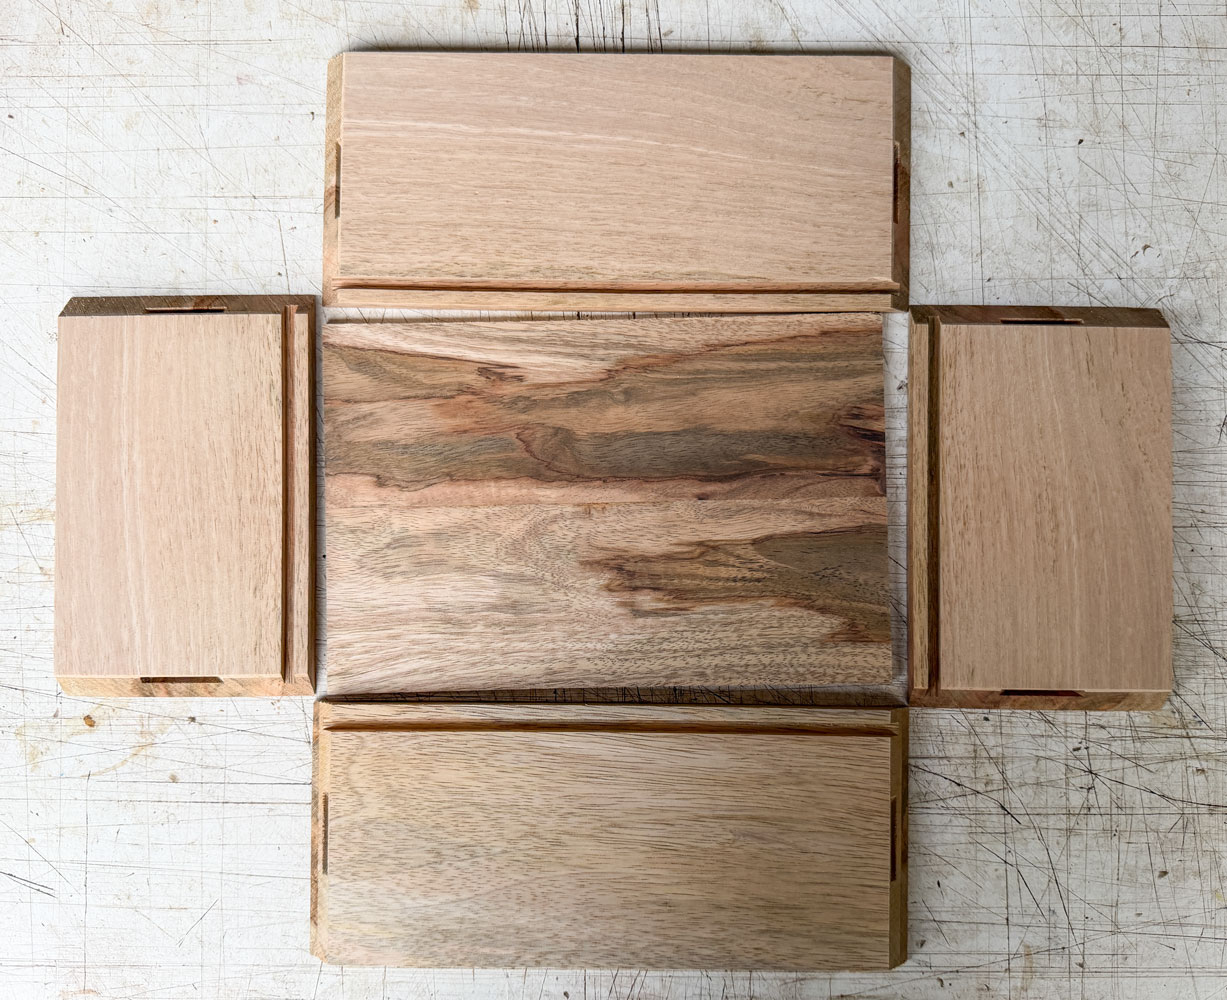
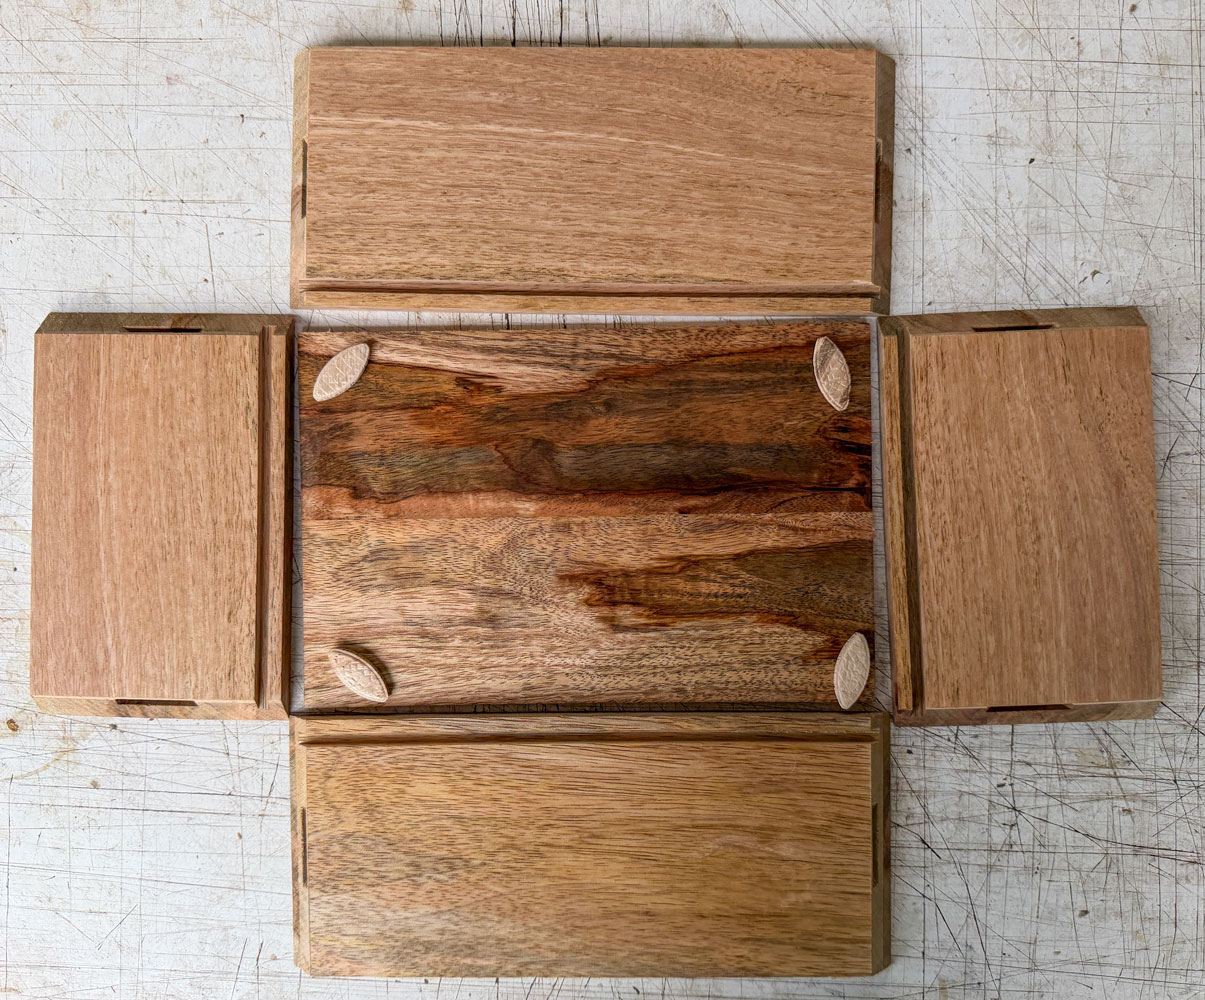
Here are the four pieces cut. The match between the "extra" piece and the first short side (on the left side of the picture) is not too bad. It's better than what would have been there. It's a bit difficult to see the cut lines in the picture. Note that I've marked "up" with chalk. That's just to help keep me from making a mistake when I cut the grooves for the bottom. It's easy to make a mistake. (If you do make a mistake, remember that the mistake will be inside the box. Cut a piece of matching wood the right size and glue it into the groove you put in the wrong place. Then recut the groove in the right place.)
I made the bottom earlier - it's a piece about 3/16 inch thick. I'm going to cut a groove in the lower part of the sides to let in the bottom. The groove will be about 3/16 deep and about 3/16 wide. I'll also place it about 3/16 inch from the bottom of the side.
I set my fence on the table saw about 3/16 inch from the blade (I returned the blade to upright position). Now, I'm going to use a piece of scrap to set the depth of the cut. It's best to start too shallow and then raise the bade until you get to 3/16 inch.
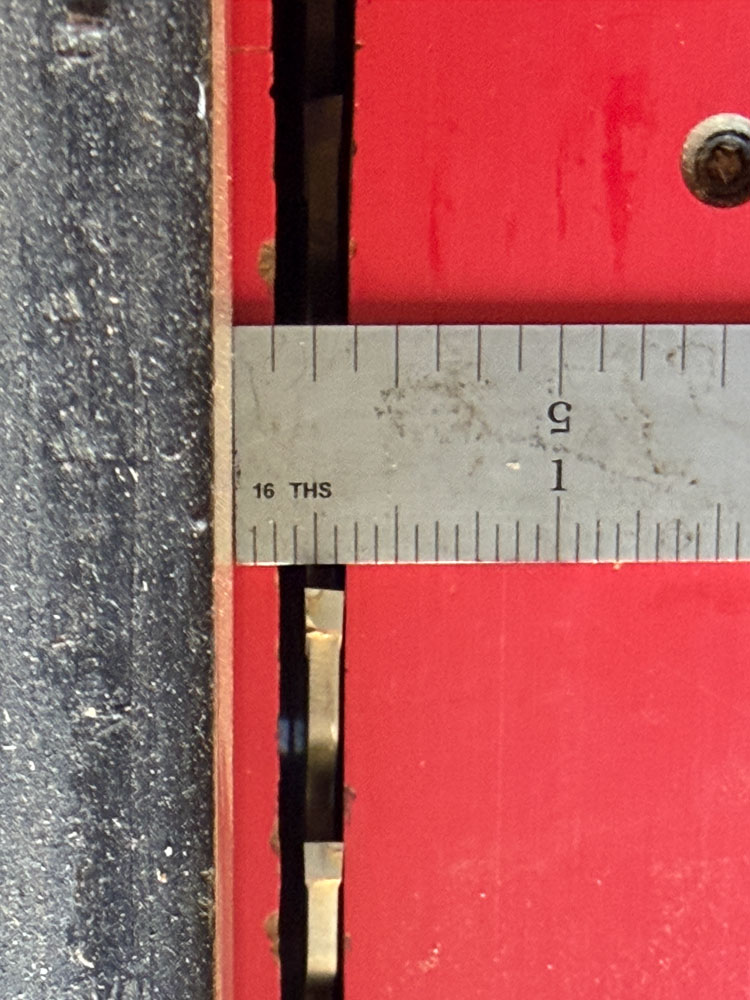
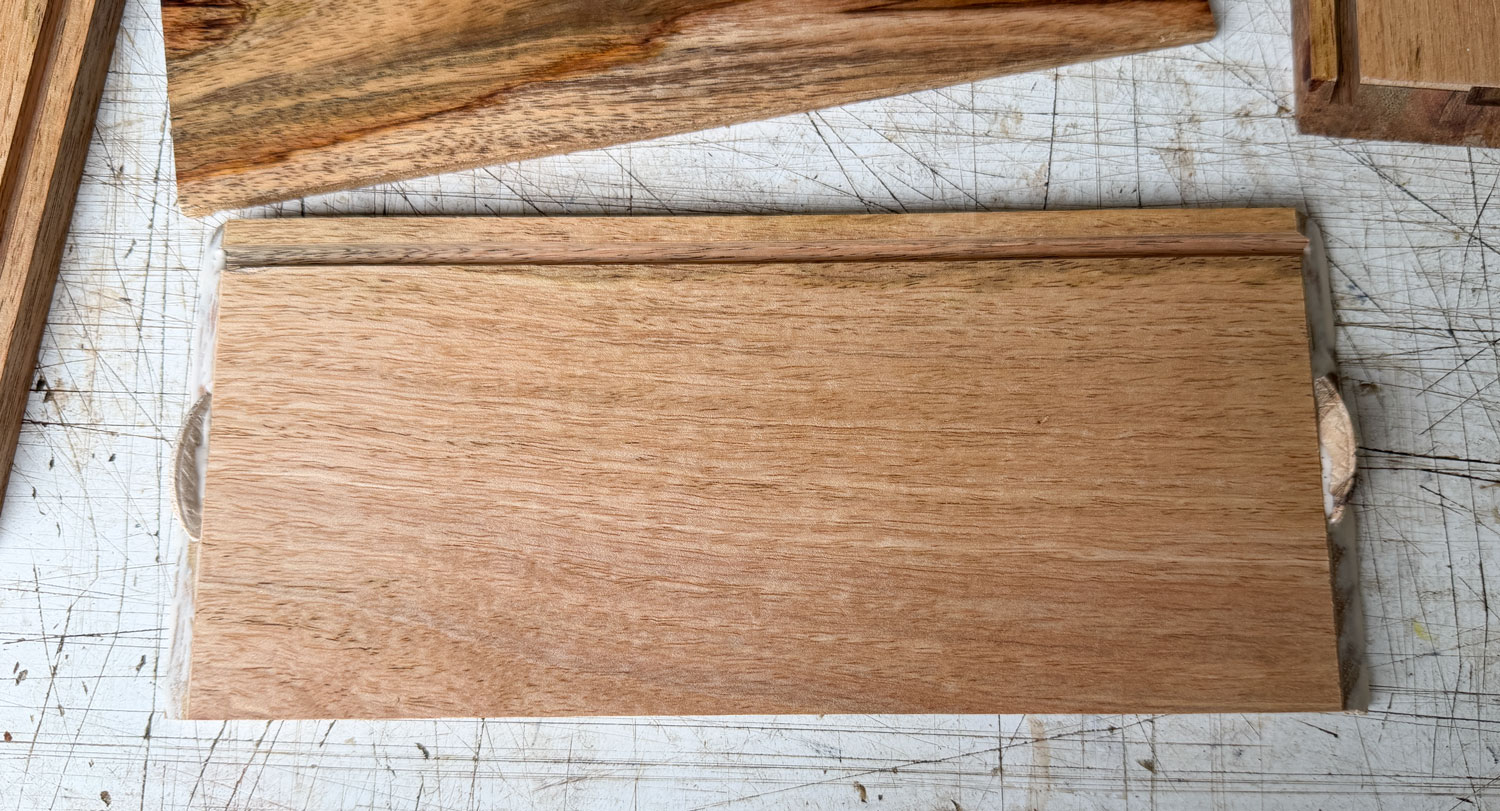
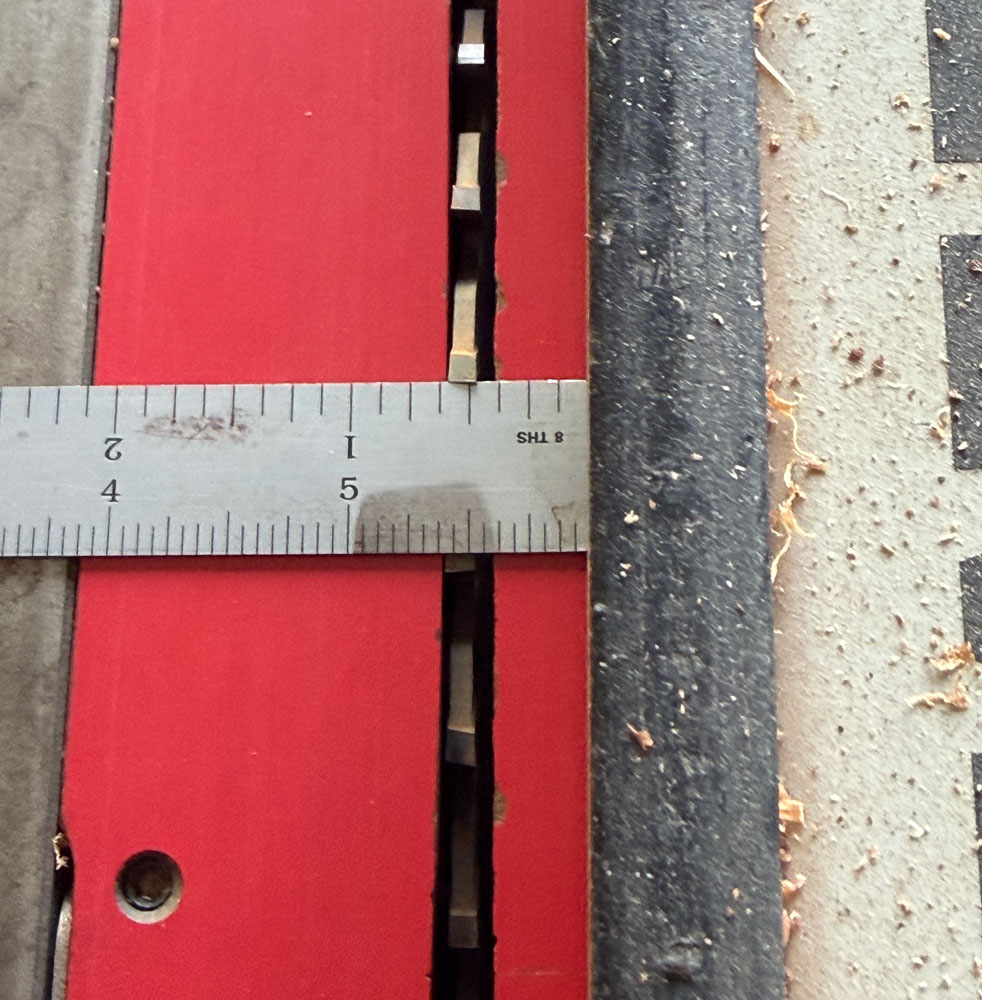
I didn't take any pictures of the scrap piece, but here's a picture of the depth of the groove in one of the sides - 3/16 inch.
Now you want to adjust the fence to widen your groove. Sneak up on the proper width. It's better to be a bit tight than too loose. If you're too tight you can sand the edges of the bottom to make a good fit. You don't want a loose fit that rattles when you shake the box.
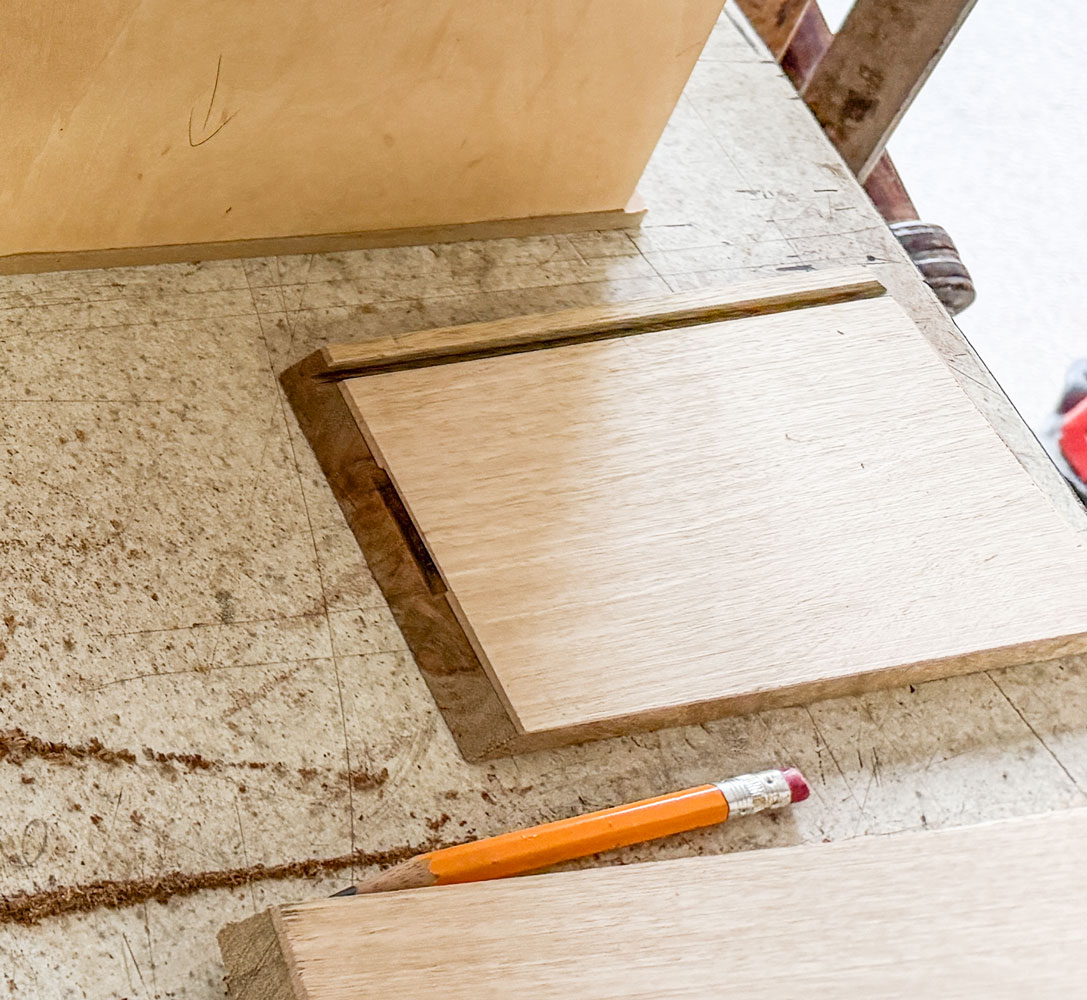
Next we have to trim the bottom to fit the box. Place the bottom into the groove in one of the long sides (long-grain to long-grain). The bottom is actually square - the camera distorts it and make it look trapezoidal and a lot larger than it is.
On one side, place the bottom about as shown in this picture - not all the way to the end of the groove.
Then mark the other side, and cut the bottom.
I made the bottom by gluing two pieces together and I want that seam in the middle of the bottom. I take one of the short sides and mark the middle of it, and align the seam with that mark.
I place the bottom into the groove with the glue line aligned with the center mark, and then mark the width of the bottom as shown previously. Then I cut the bottom to fit.
Now's a good time to do a trial fit to make sure the sides will close tightly (that you didn't cut the bottom too big).
You can get away without doing this next step, but I find it very worthwhile. I put small splines in the miters. I use ff biscuits. There are a couple of advantages of doing this. For one, it strengthens the miters. Years ago, I built some boxes without any splines. I dropped one and one of the miters came apart. Since then, I've put in splines.
The second advantage is that when you glue up the box, the splines align the sides and make the glue-up easier. Without them you have to be very careful to keep the miters in place so one side of the miter doesn't stick out.
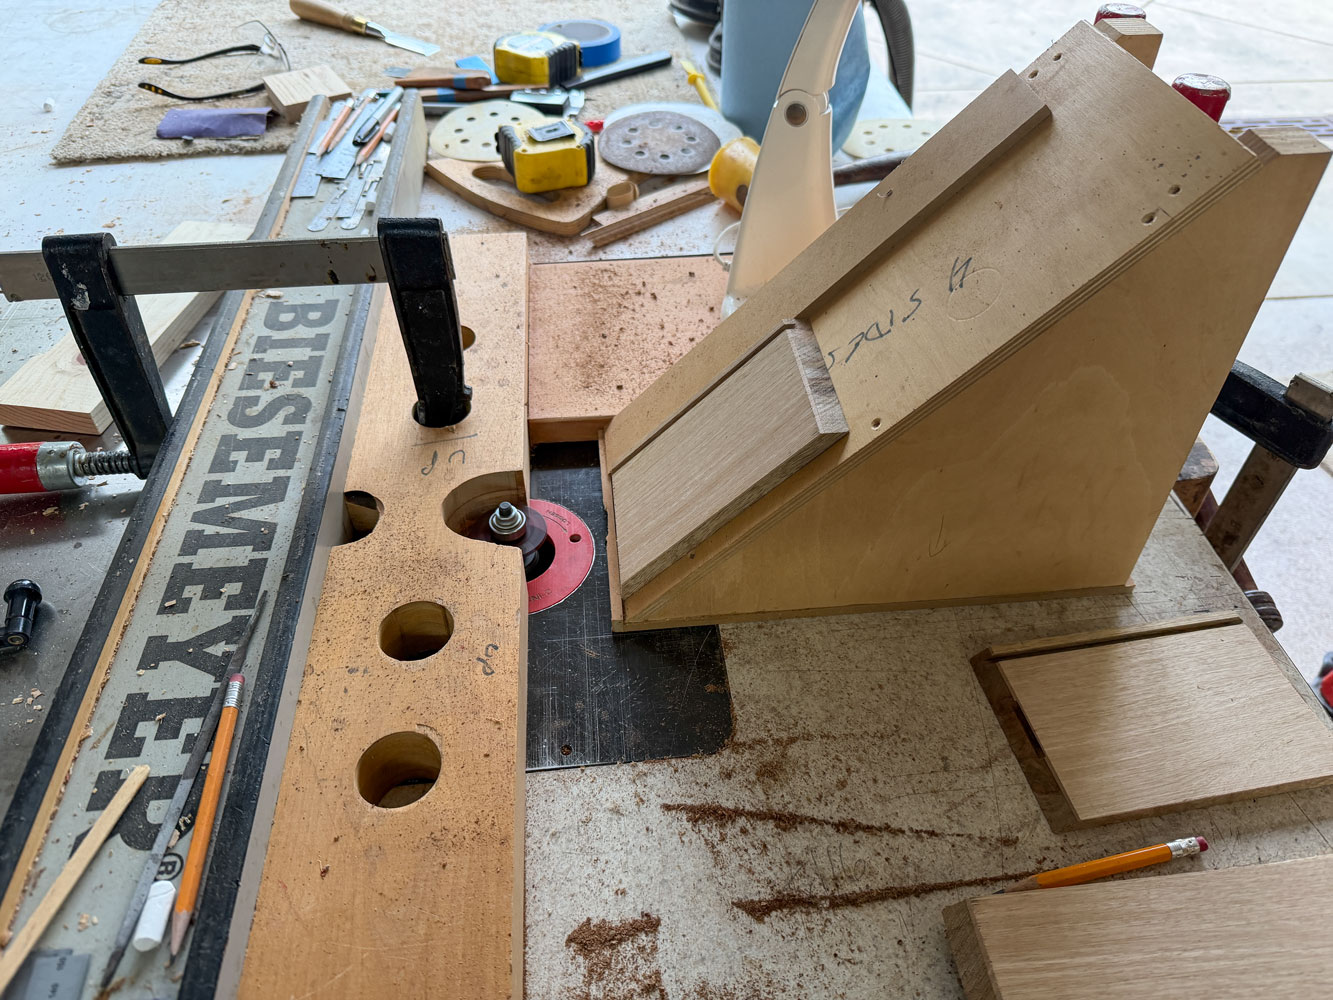
I made a jig that holds the side at 45 degrees. This presents the miter face square to the slot cutter. The slot cutter is 5/32 inch, which is the thickness of the ff biscuit. You want the slot in the middle of the side. Don't put the slot too low in the miter or it will go all the way through the side. I put the slot fairly high on the miter. I use the cutoff from the original piece of wood to get everything set up. The piece you use for the setup must be the same width and thickness as the box sides.
If you make a jig, note that you only have to support the box side, and the jig, on one side because of the rotation of the slot cutter. The slot cutter pushes the jig and the box side to the right.
Here's a picture of where I put the slot. It's actually a bit higher than necessary.
Now we can prepare to put the box together.
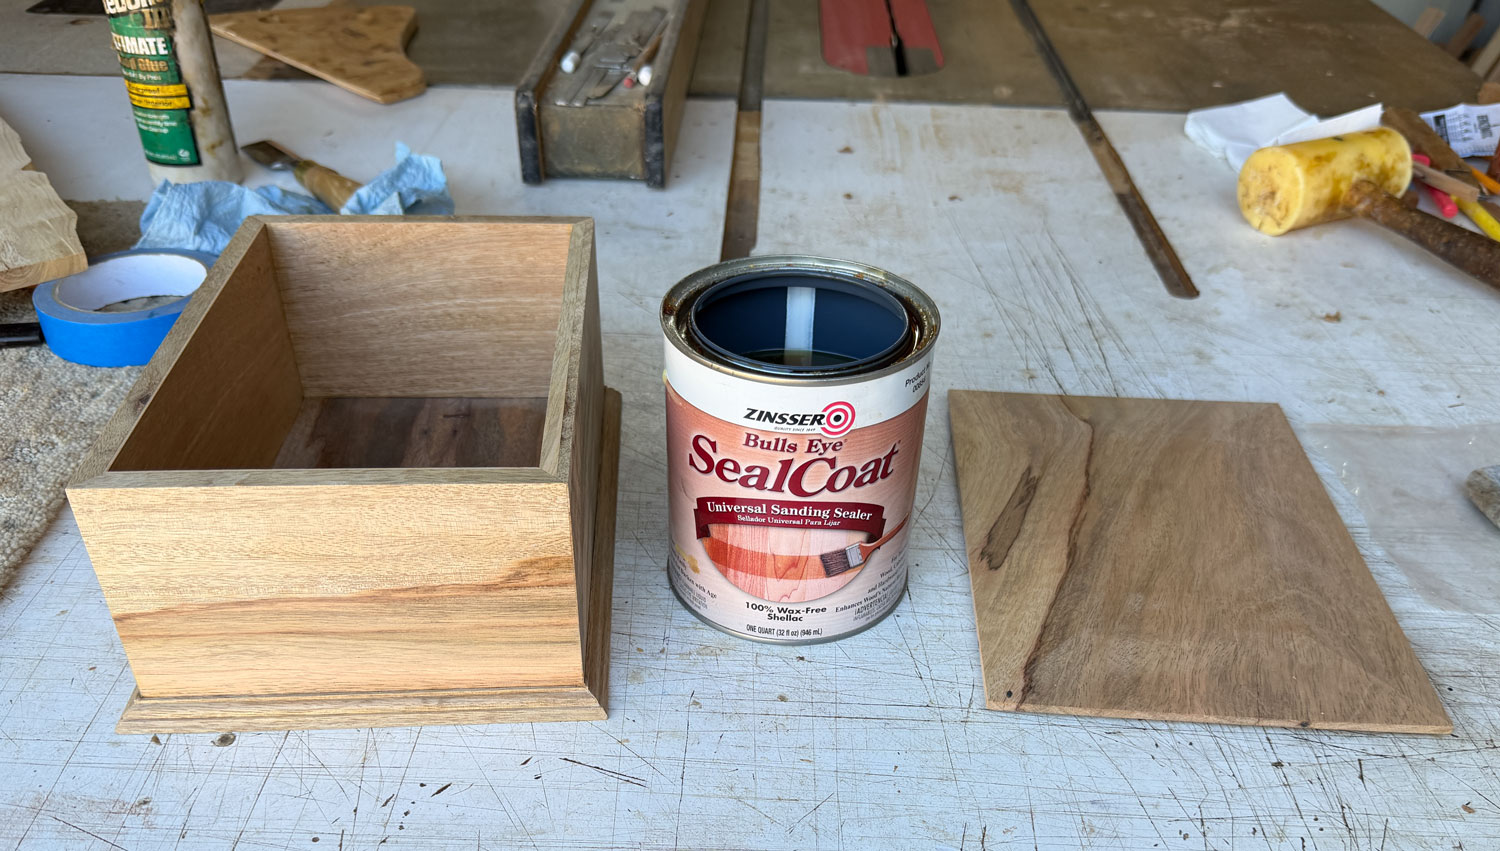
But it will be hard to finish the interior of the box after we assemble it so I'm going to finish all the interior faces before I glue it up I use shellac as a finish. Here it is with the shellac on the inside surfaces. Also note the four ff biscuits.
Before you start your glue up, MAKE SURE the sides are in the right order. You want the grain to flow around the box. If a couple of sides are out of order that won't happen. I number the pieces on the outside so they go 1, 2, 3, and 4.
I start with one of the long sides and put glue on the miter faces, making sure to get glue into the spline slots. I also put glue on the biscuits.
Put the bottom into the slot on that long side.
Then take one of the short sides - making SURE it's in the right order - and put glue on the miter face and well into the spline slot. Put it in place and do the other side.
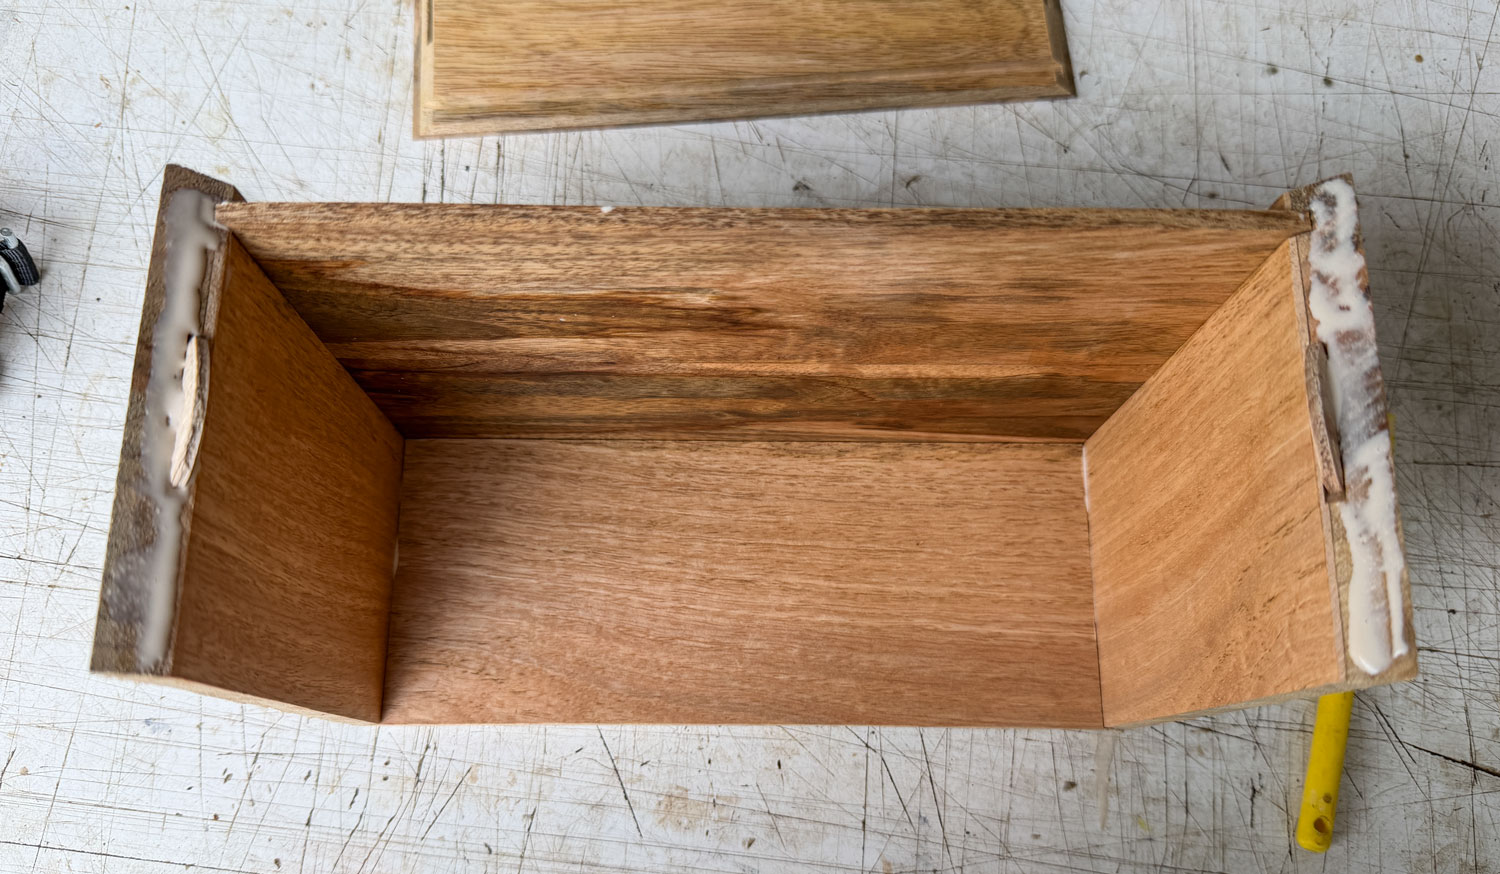
Then put glue on the miter faces on the other side of the short pieces, again making sure to work glue into the spline slots. This is what it will look like.
Finally, take the other long side, put glue on the miter faces and into the slots and put it in place.
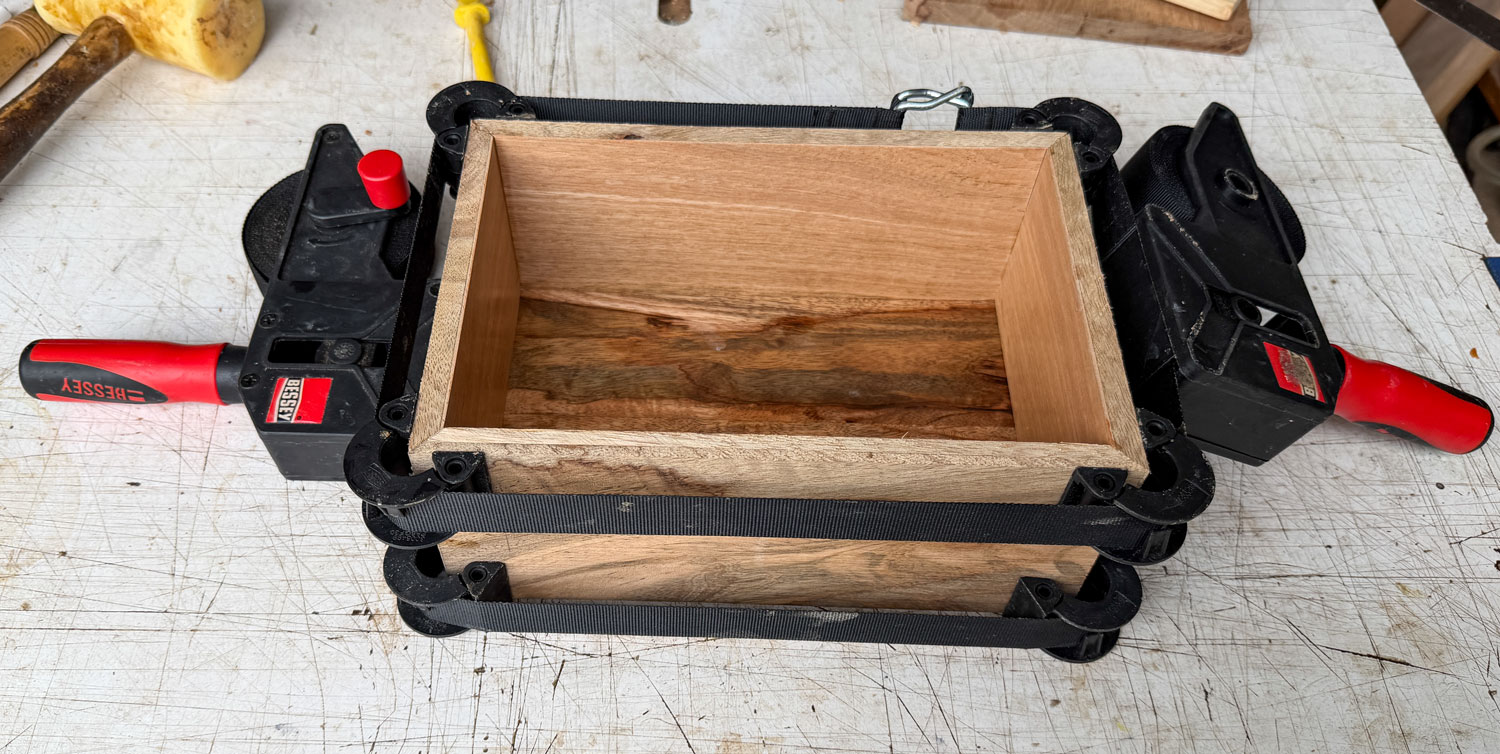
Now we can clamp the box. Strap clamps work very well for this - one on the bottom of the sides and one at the top of the sides. Wipe any glue squeeze out with a wet paper tower and a sharp knife. Use the point of the knife to draw the wet paper towel along the seam. Measure corner-to-corner to make sure the box is square.
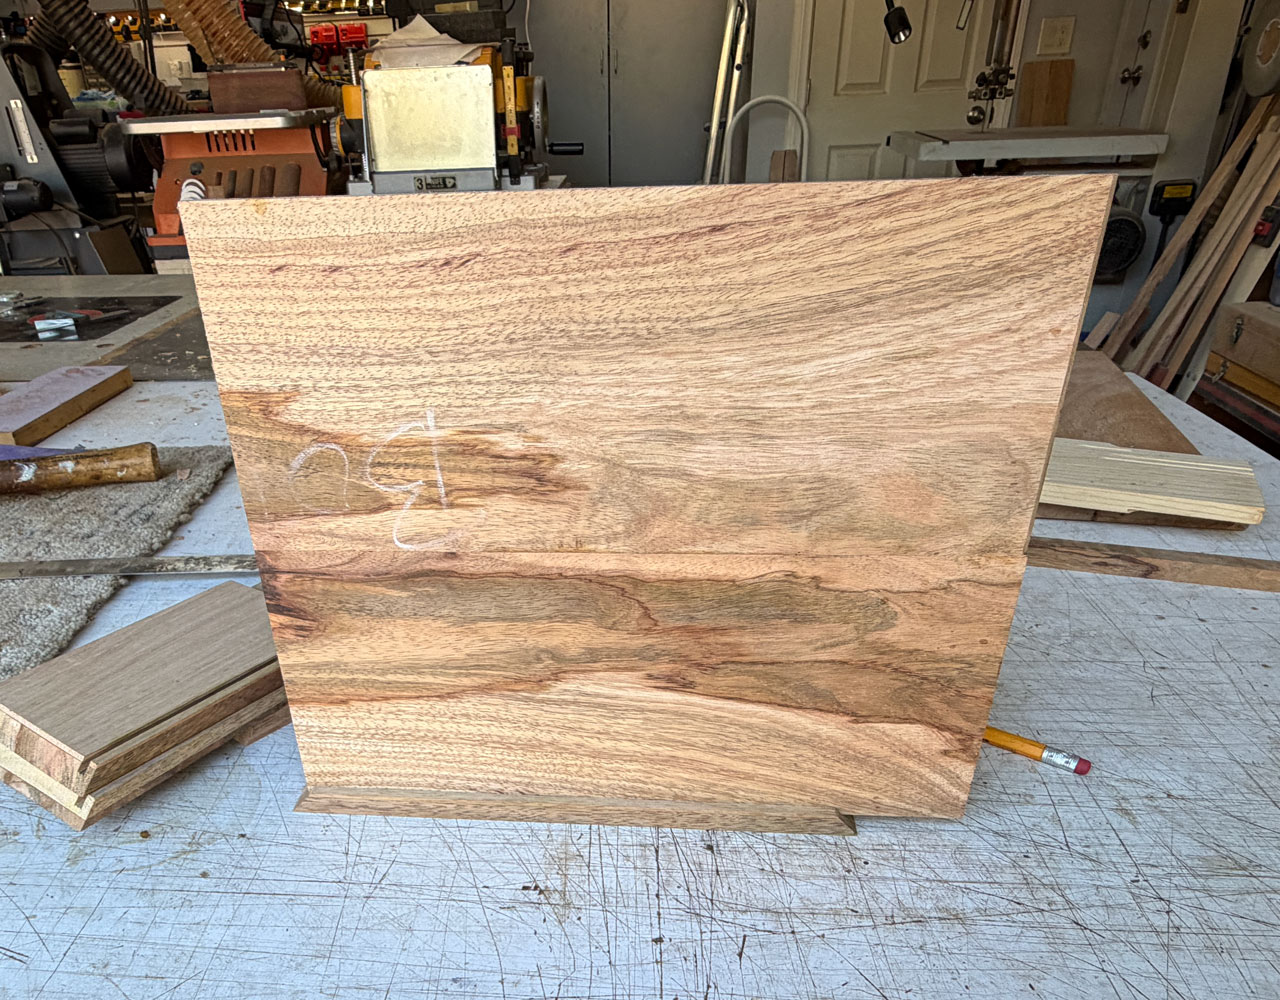
After the glue is well cured, we have a box.
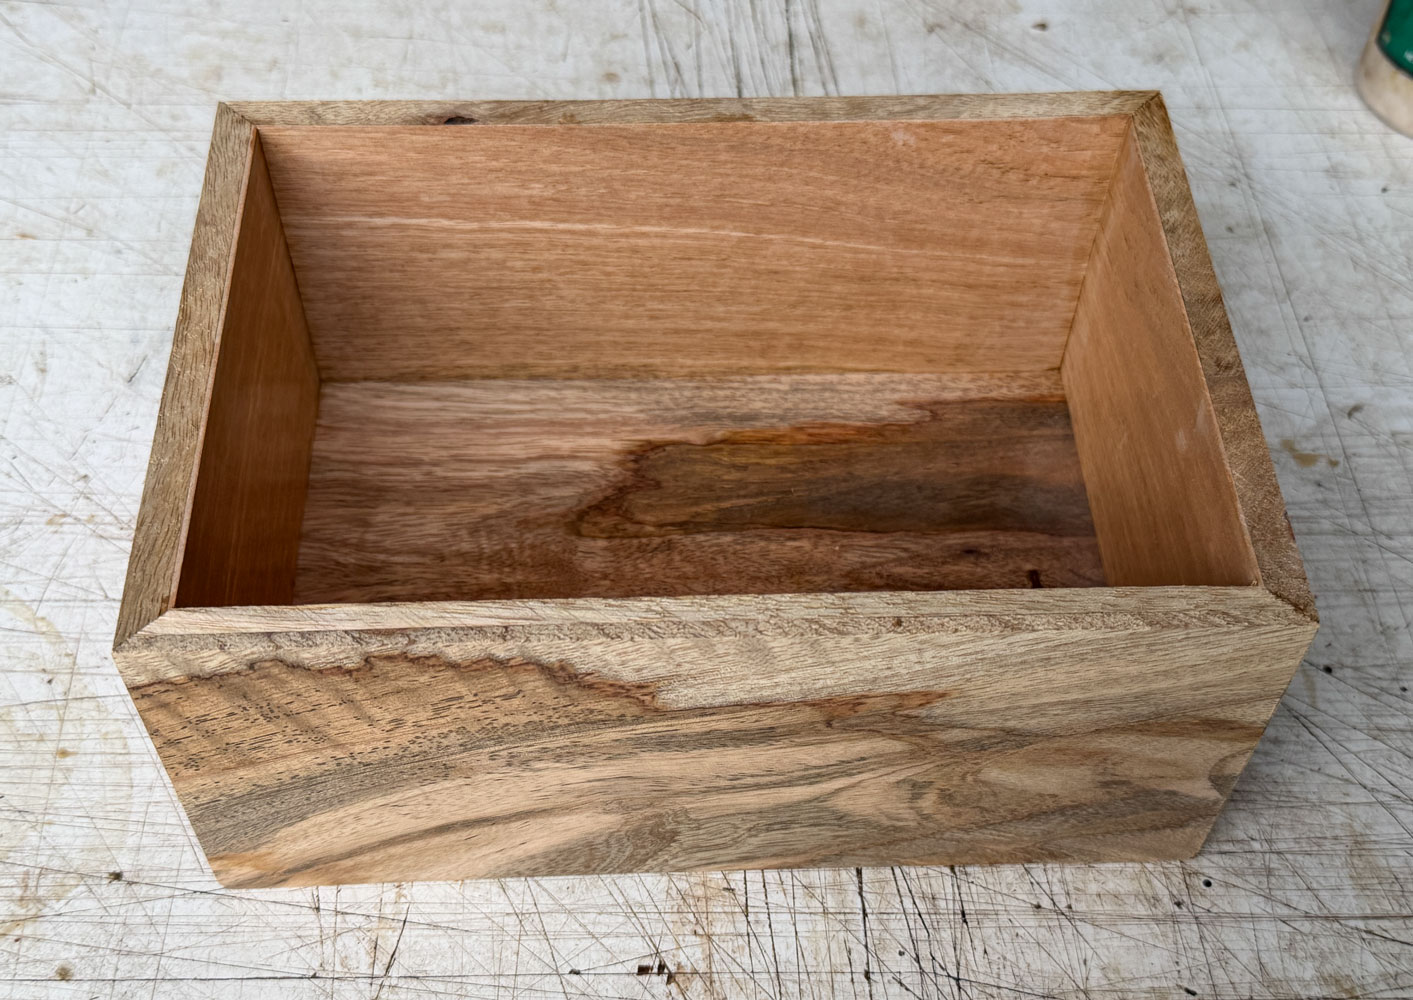
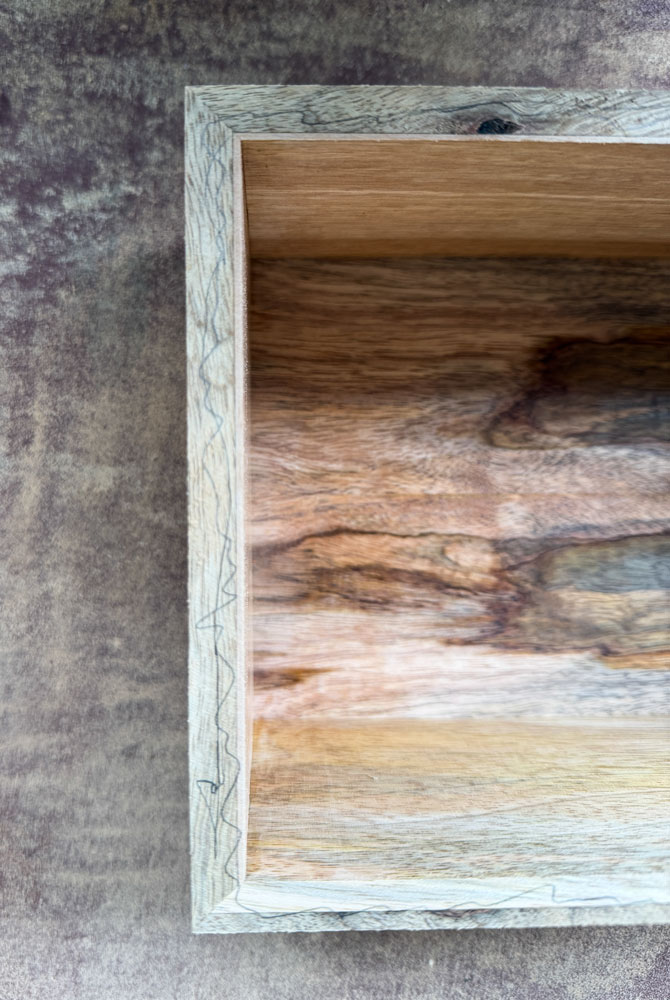
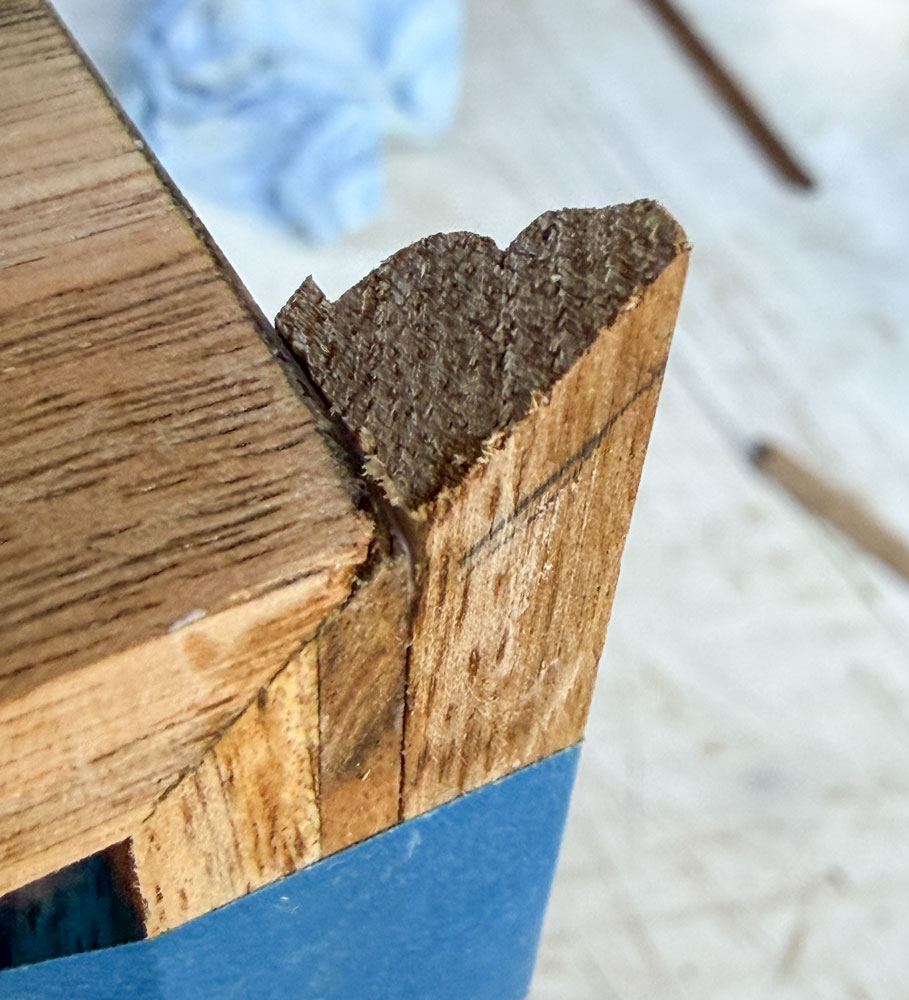
Here's that mismatched corner - where I used a piece from a previous project to match to the piece of wood for this project. Not too bad a match.
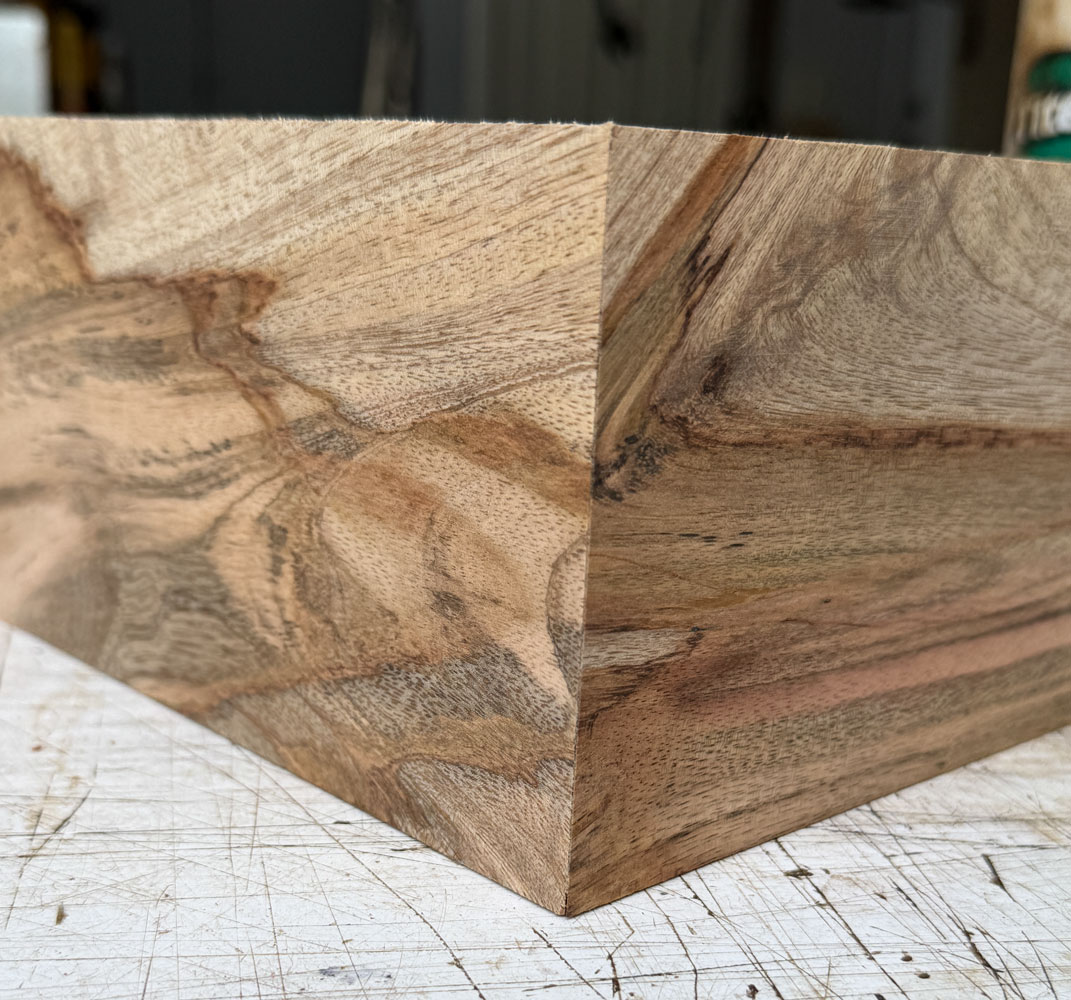
And here's one of the other corners showing how the grain flows around the box.
Now, I want to make sure that the top of the box is FLAT so I take a sanding board and run the box against it. The sanding board is a piece of MDF (because it's flat) with a piece of large sandpaper (taken from a piece for a wide belt sander) glued to it with glue that has no water in it (water will warp the MDF). I use 3M 77 spray glue. 3M 90 spray glue is also good.
A good thing to do is to take a pencil and scribble along the top of the four sides. When the pencil marks are gone you've sanded enough.
Sand the bottom, also, just to have a clean, flat bottom.
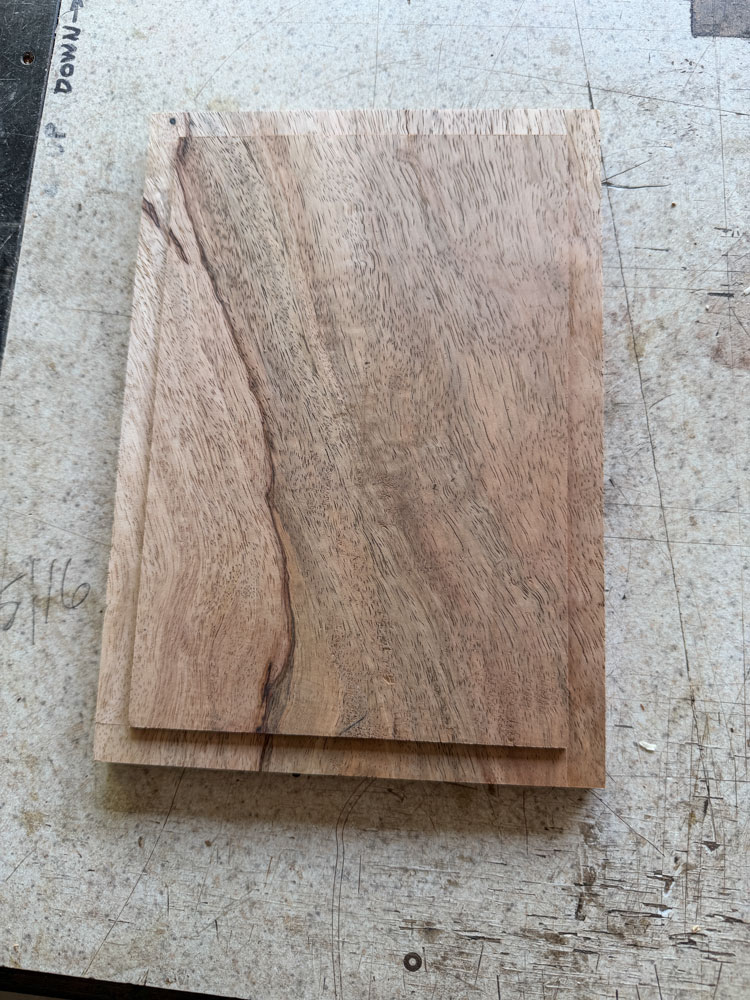
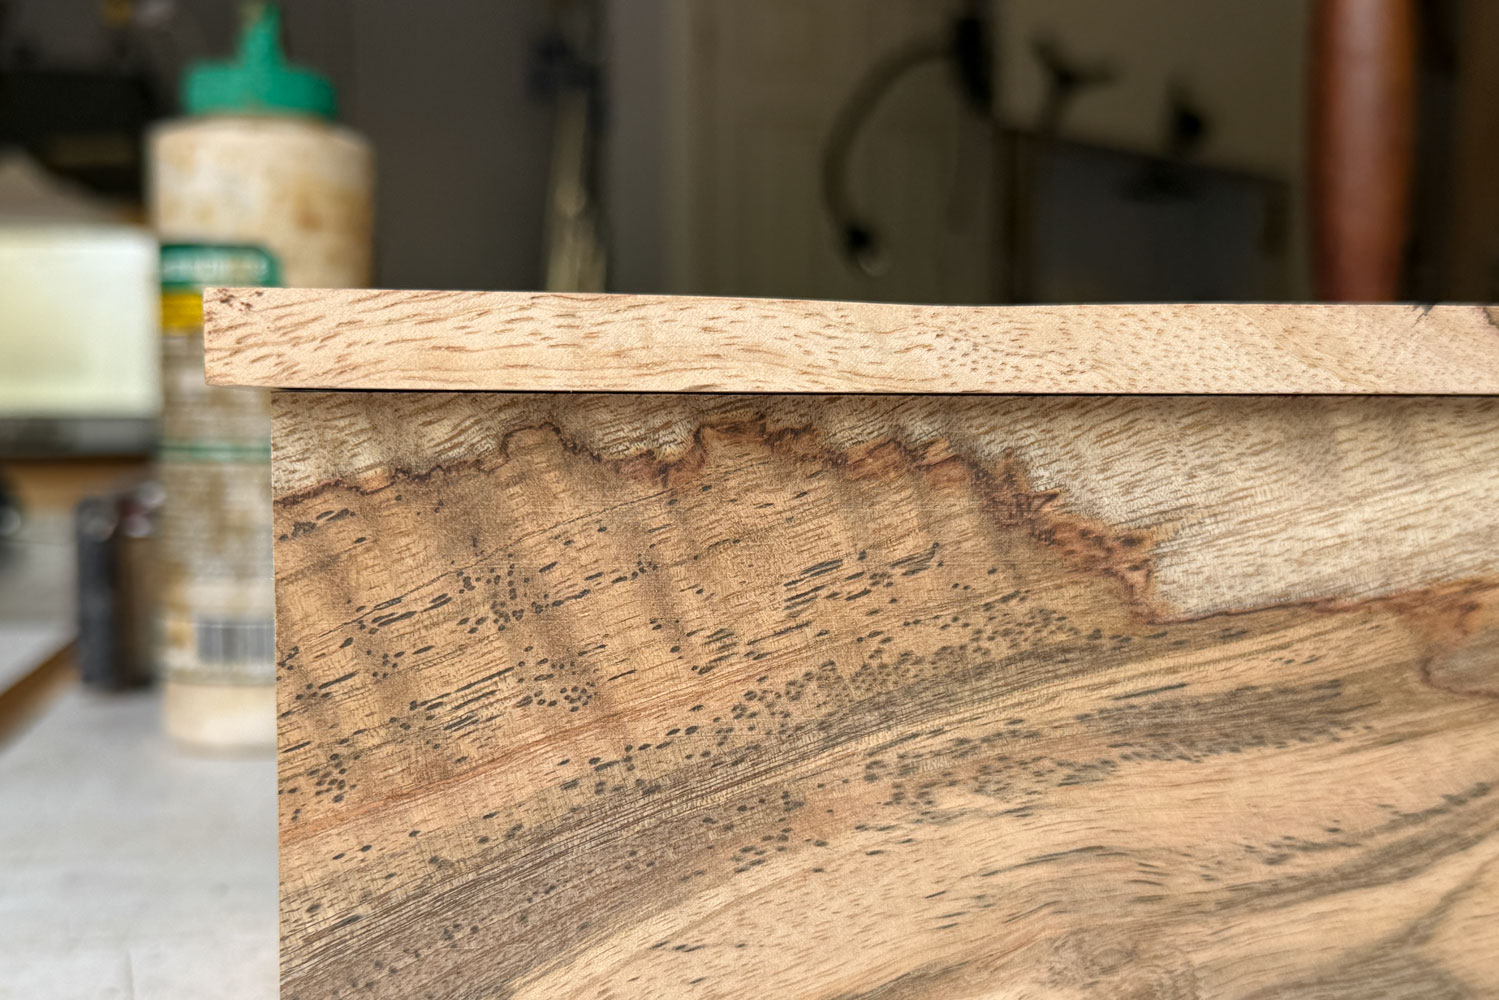
Next we'll work on the top. I'm using a piece of matching wood about 9/16 inch thick. The first thing to do is to make sure the bottom of that piece of wood is FLAT. If it isn't flat, the top will rock on the box. I ran the top on my jointer, and then tested it on the top of my table saw (which I know is flat). It had a small amount of rocking which I fixed by sanding the high corners.
I need to cut the top to size. I want a 1/4 inch overlap all around. Since the box is 9 1/4 inches by 6 3/8 inches, the top needs to be 9 3/4 inches by 6 7/8 inches. Don't cut it too small - sneak up on the size. Put the top on the box and check for 1/4 inch all around. Trim if necessary.
Since we're not going to use any hinges, I want to cut a rabbet all around the top, about 1/8 inch deep, to fit the top to the box and hold the top in place. To do that I'm going to use the same slot cutter I used to cut the slots for the splines.
However, the smallest bearing I have for the slot cutter only allows me to cut 1/2 inch deep. Since I have a 1/4 inch overlap, and the sides are a bit over 3/8 inch, I would need to cut a bit more than 5/8 inch. But I'll start by cutting the rabbets 1/2 inch into the top, and about 1/8 inch deep.
To cut the rabbet, I drop the slot cutter way down. Using a piece of scrap I adjust it to cut a rabbet about 1/8 inch down from the bottom of the top. With the bearing I have on it, it will cut 1/2 inch into the top.
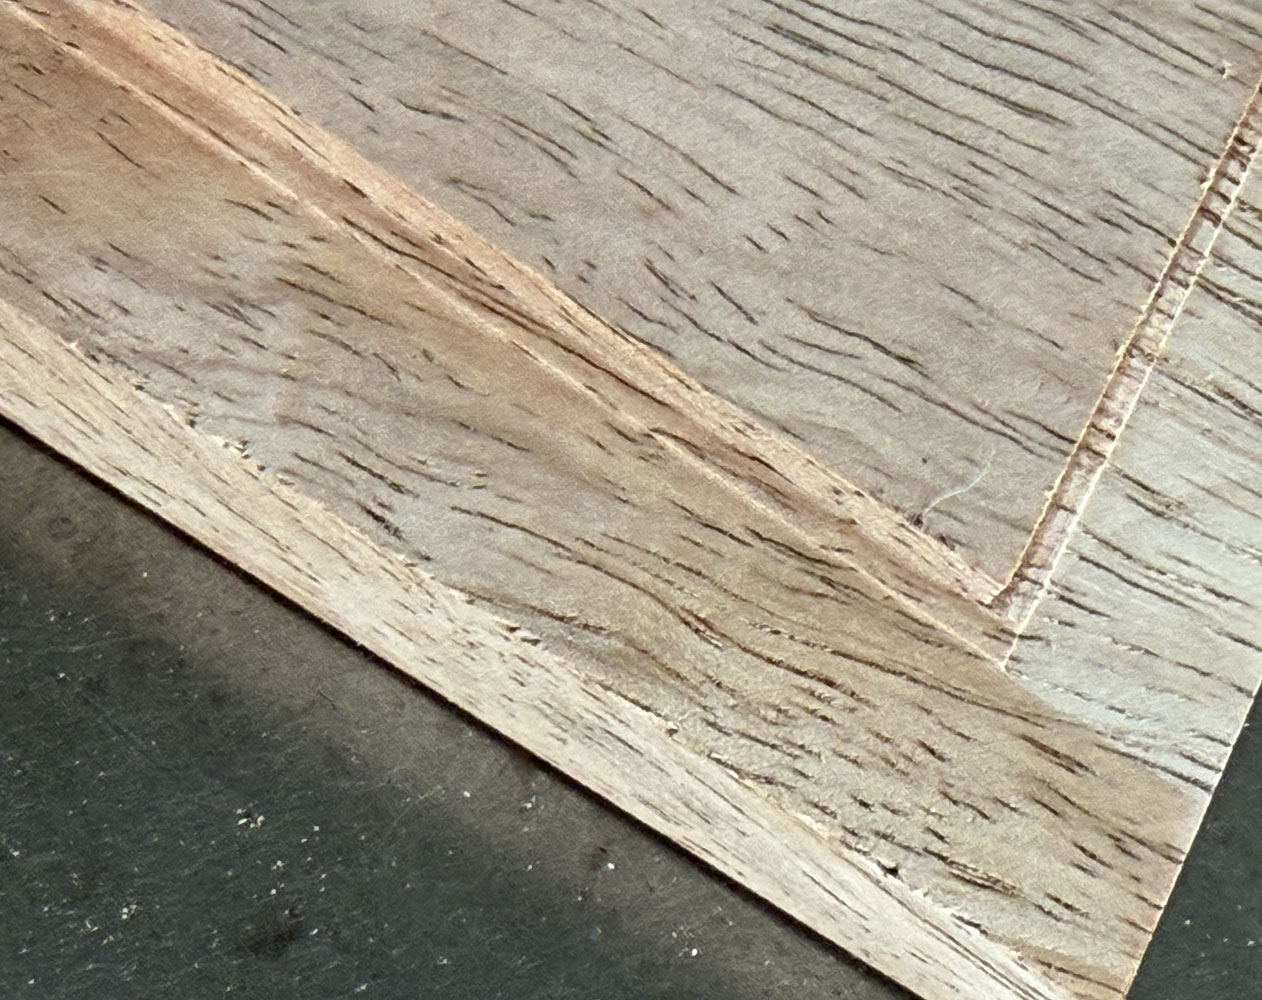
Here's what the bottom of the top looks like with the rabbet all around.
Of course, the top will not fit into the box. I need to make the center part smaller until it fits into the box. I've done it in various ways in the past, but the simplest is the technique I'll describe now. I have a table saw blade with a flat top raker every three or four teeth, so it cuts a fairly flat groove. It used to be better but I sent it to Ridge to have it sharpened and they took too much off the rakers so the bottom of a groove is no longer completely flat. But it's close.
Using the piece of scrap that I set up the slot cutter with, I adjust the height of the blade to be just less than the depth of the rabbet and I move the fence so that the blade is just over 1/2 inch.
I then run all four sides of the top over the blade. This leaves a bit of wood higher than the rabbet. I'll trim that off with a chisel later.
Now I have to be very careful in how much I move the fence on the table saw. The reason is that I will reduce the size of the center part of the top by twice the movement because I cut all four sides. It's easy to go too far. I carefully sneak up on the right fit.
However, you don't want too tight a fit. The wood of the top will expand and contract with changes in moisture so make it a bit loose to accommodate that wood movement.
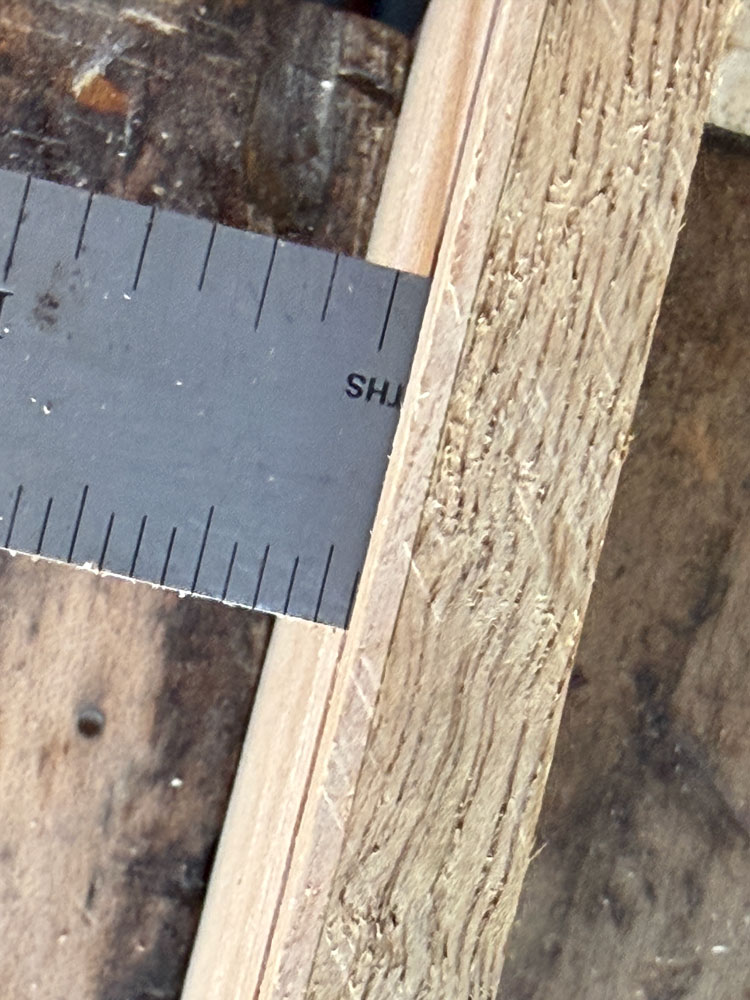
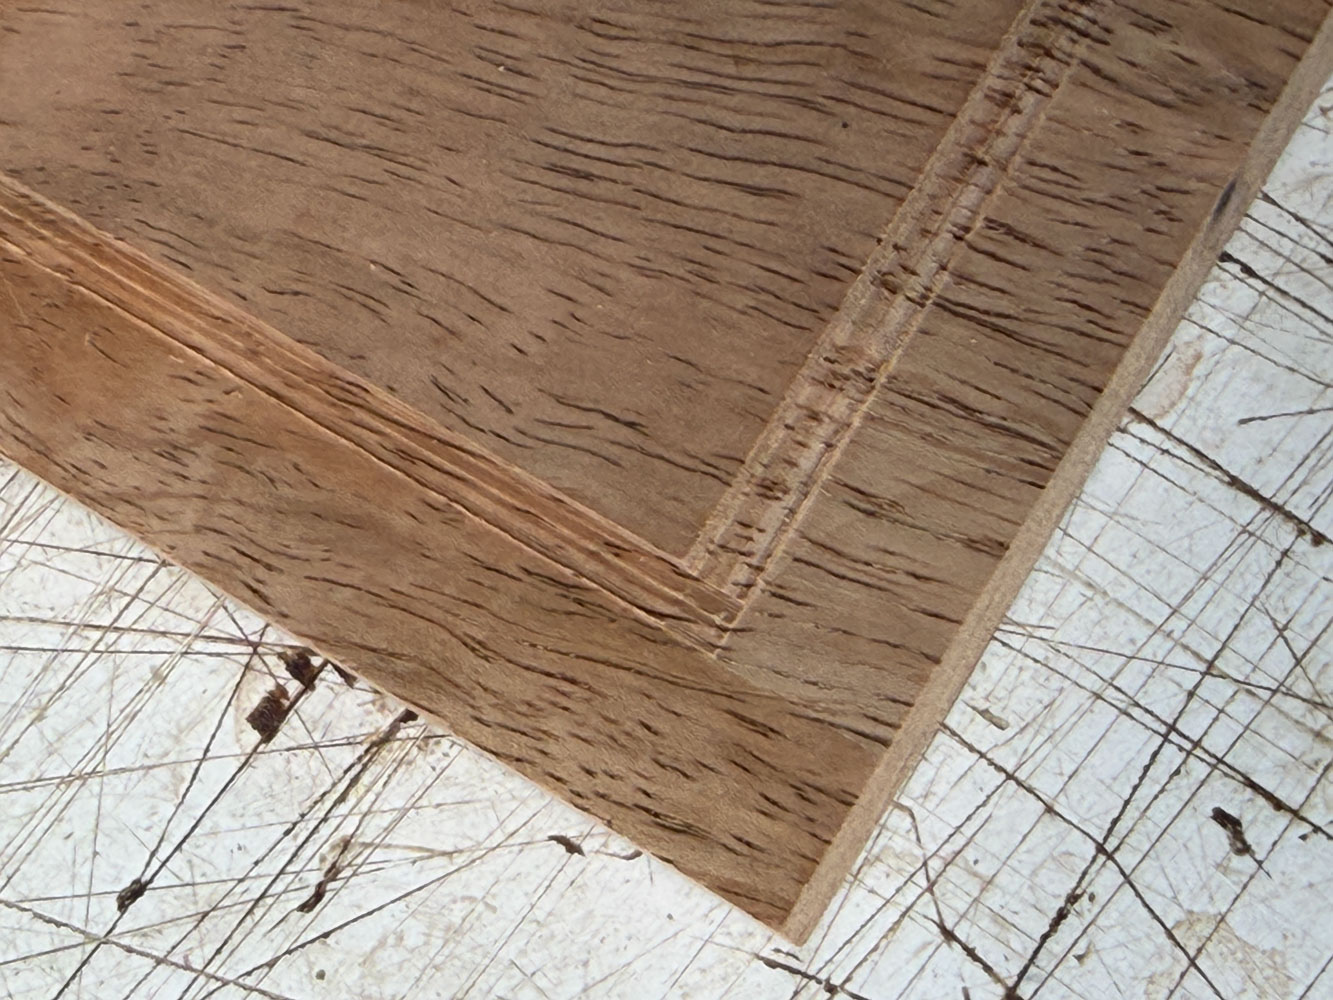
Here's how much I cut to get the fit I wanted.
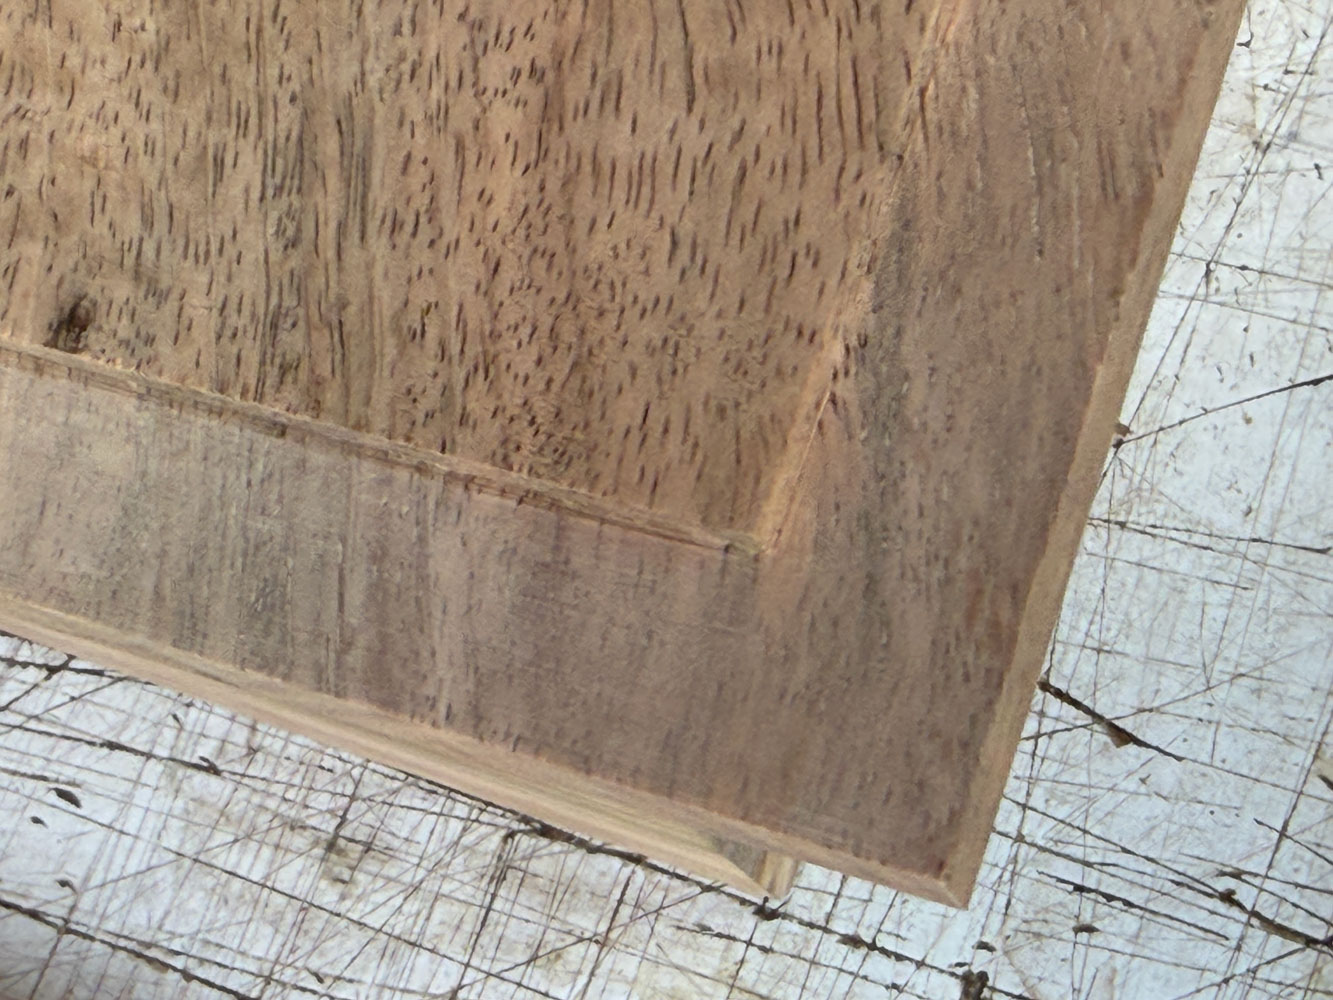
Then I used a chisel to smooth down those ridges, and sandpaper to finish it.
The top now fits into the box.
But that flat top doesn't look very good.
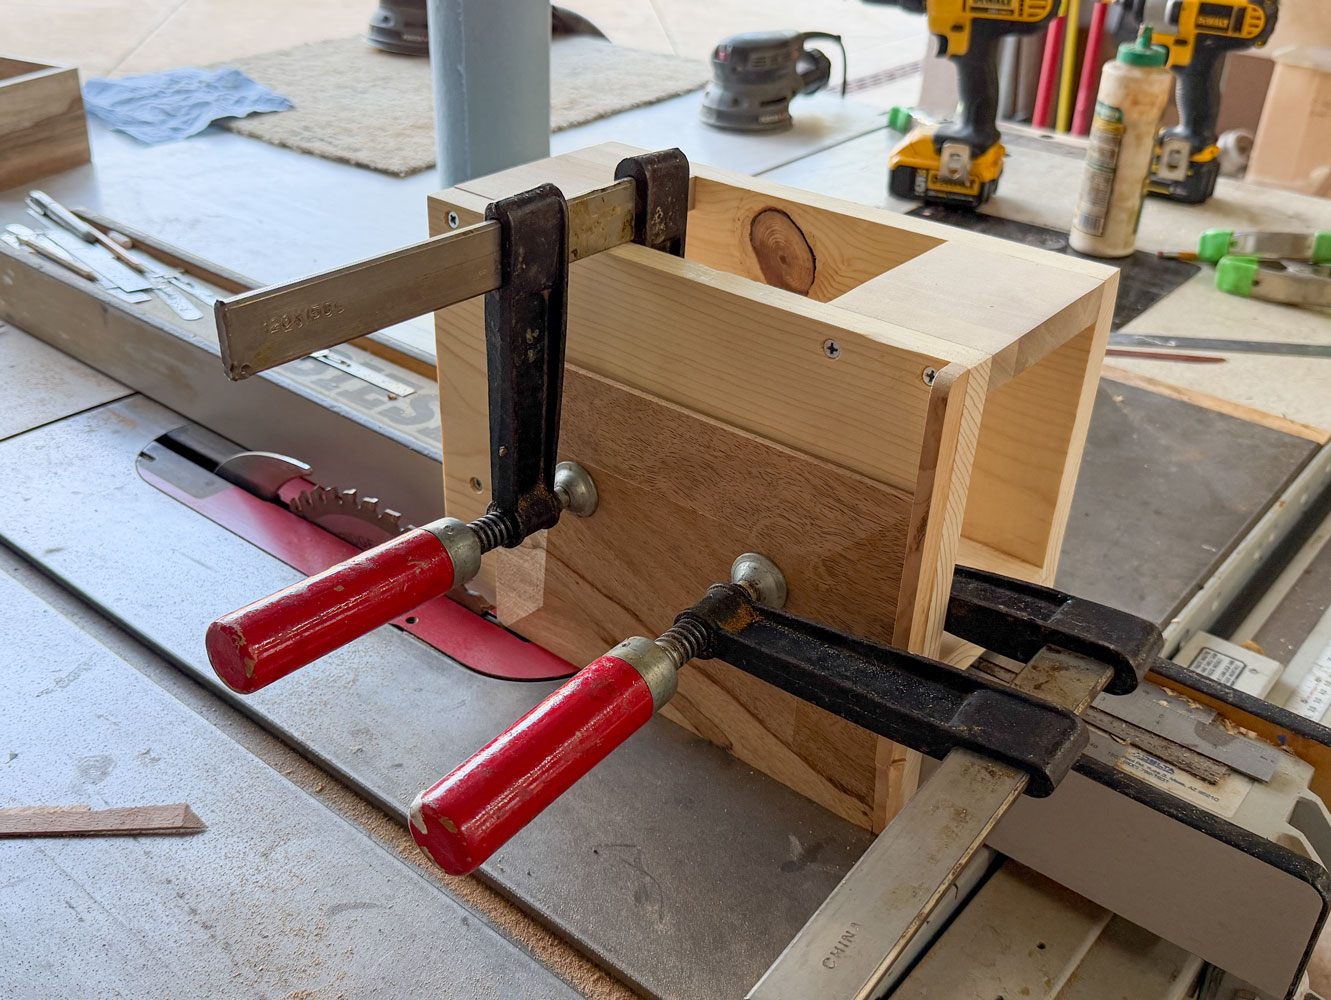
I'm going to put some bevels around the top. To do that I made a jig to hold the top while I cut the bevels. The jig rides on the table saw fence and holds the top upright. I can adjust how far I want to bevel to go into the top by adjusting the angle of the blade. If you make a jig, use plywood, rather than the solid wood that I did. The face of the jig needs to be FLAT and I had to work to get that piece flat.
I also found that it worked better with two clamps, rather than just one.
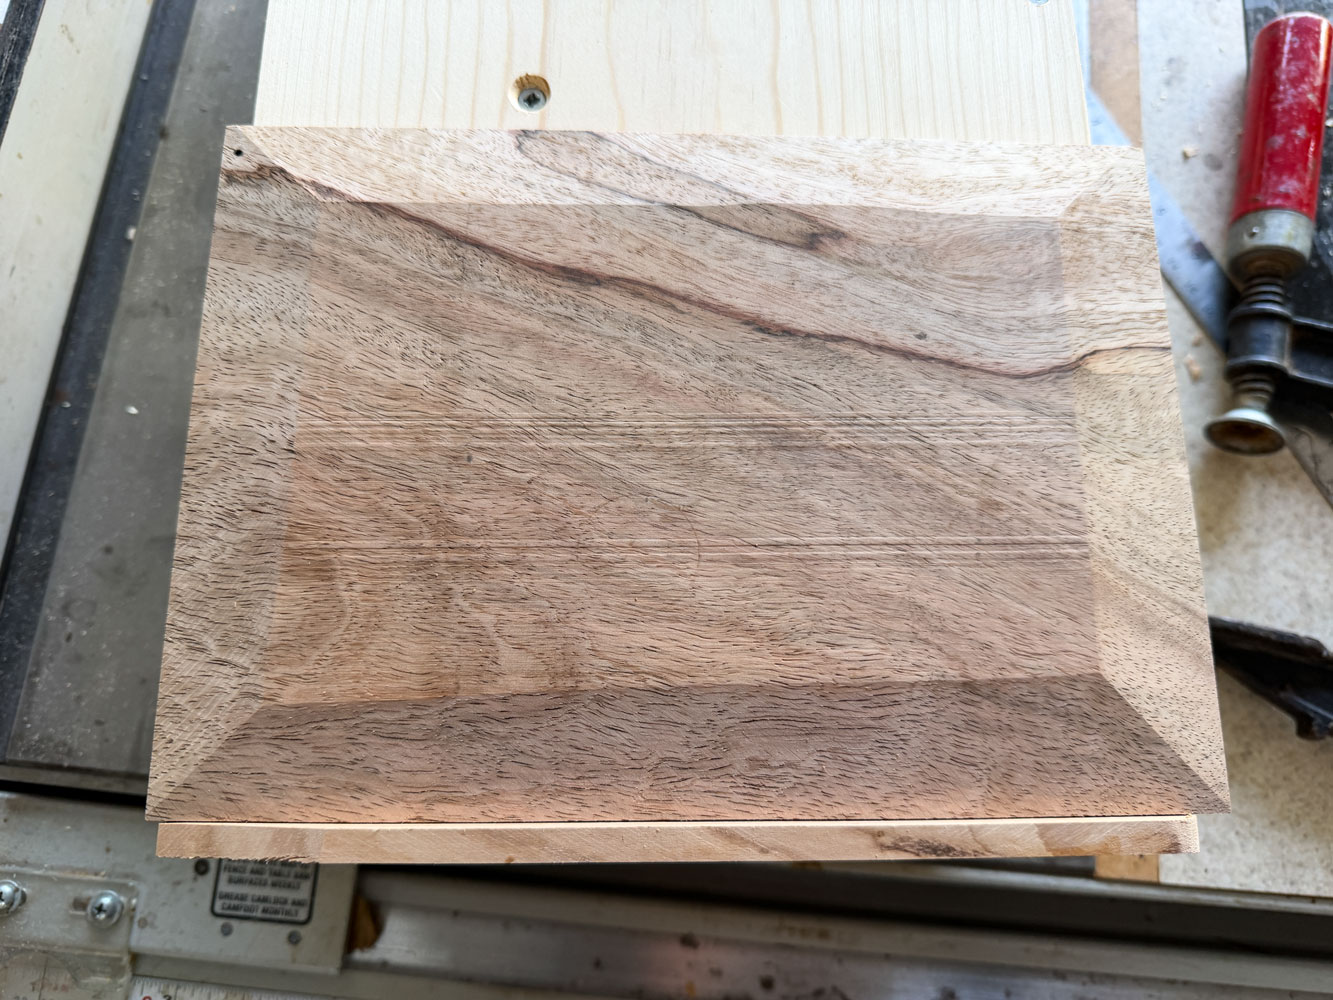
Always start with a higher blade angle - I started with 9 degrees. If you think that's too narrow a bevel, you can reduce the angle and everything is fine. But if you start with too low of a bevel angle (too straight up), there's no way to go back. (The bevels on the top in this picture are 8 degrees - I took this picture late in the work.)
Here's my first cut at 9 degrees. I wanted the bevels to be a bit longer so I changed the angle to 8 degrees.
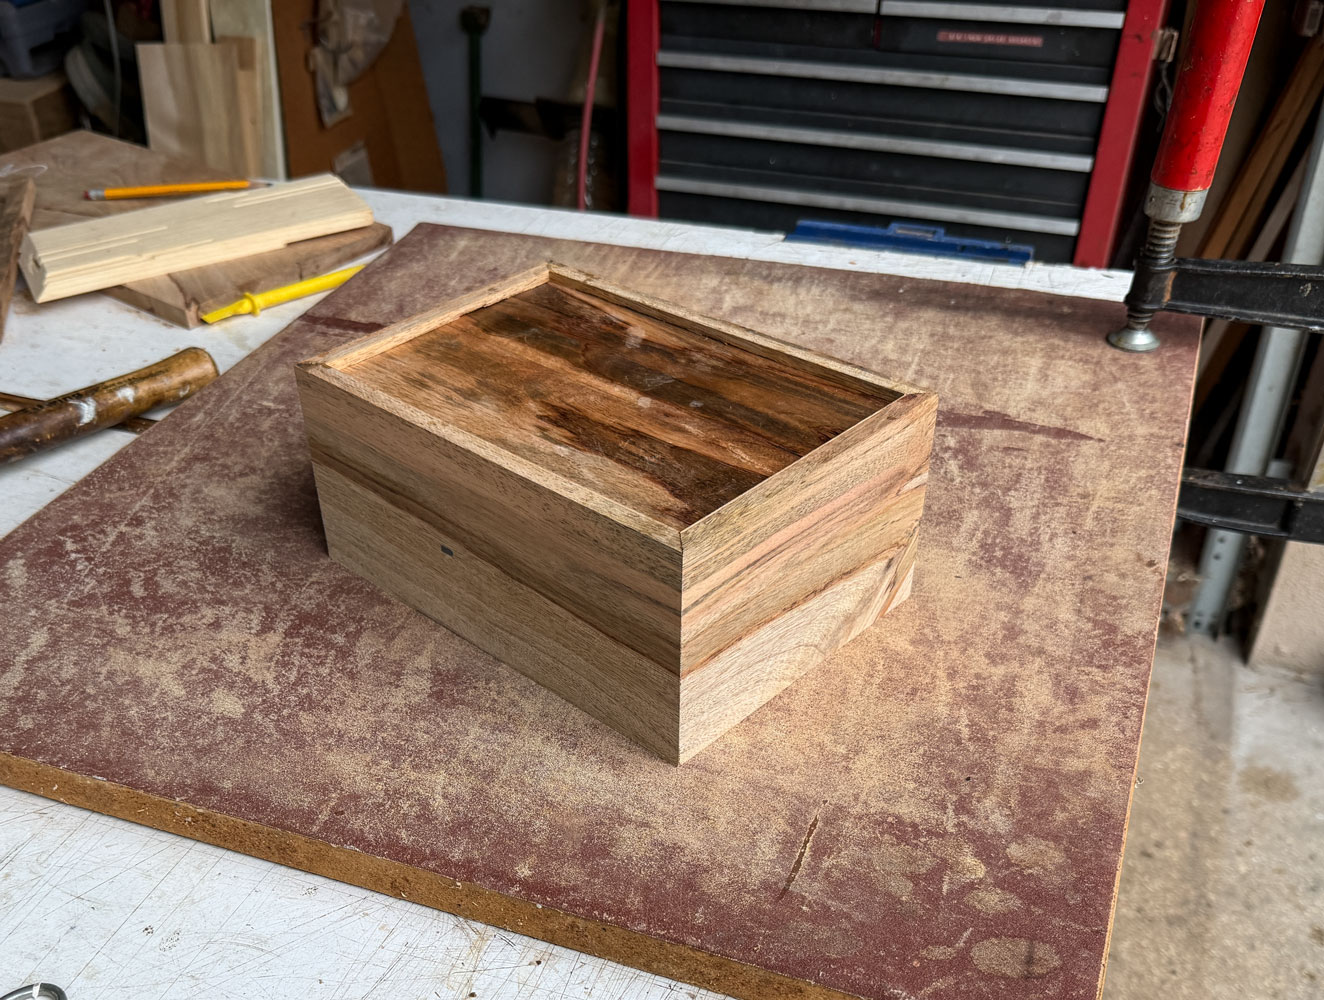
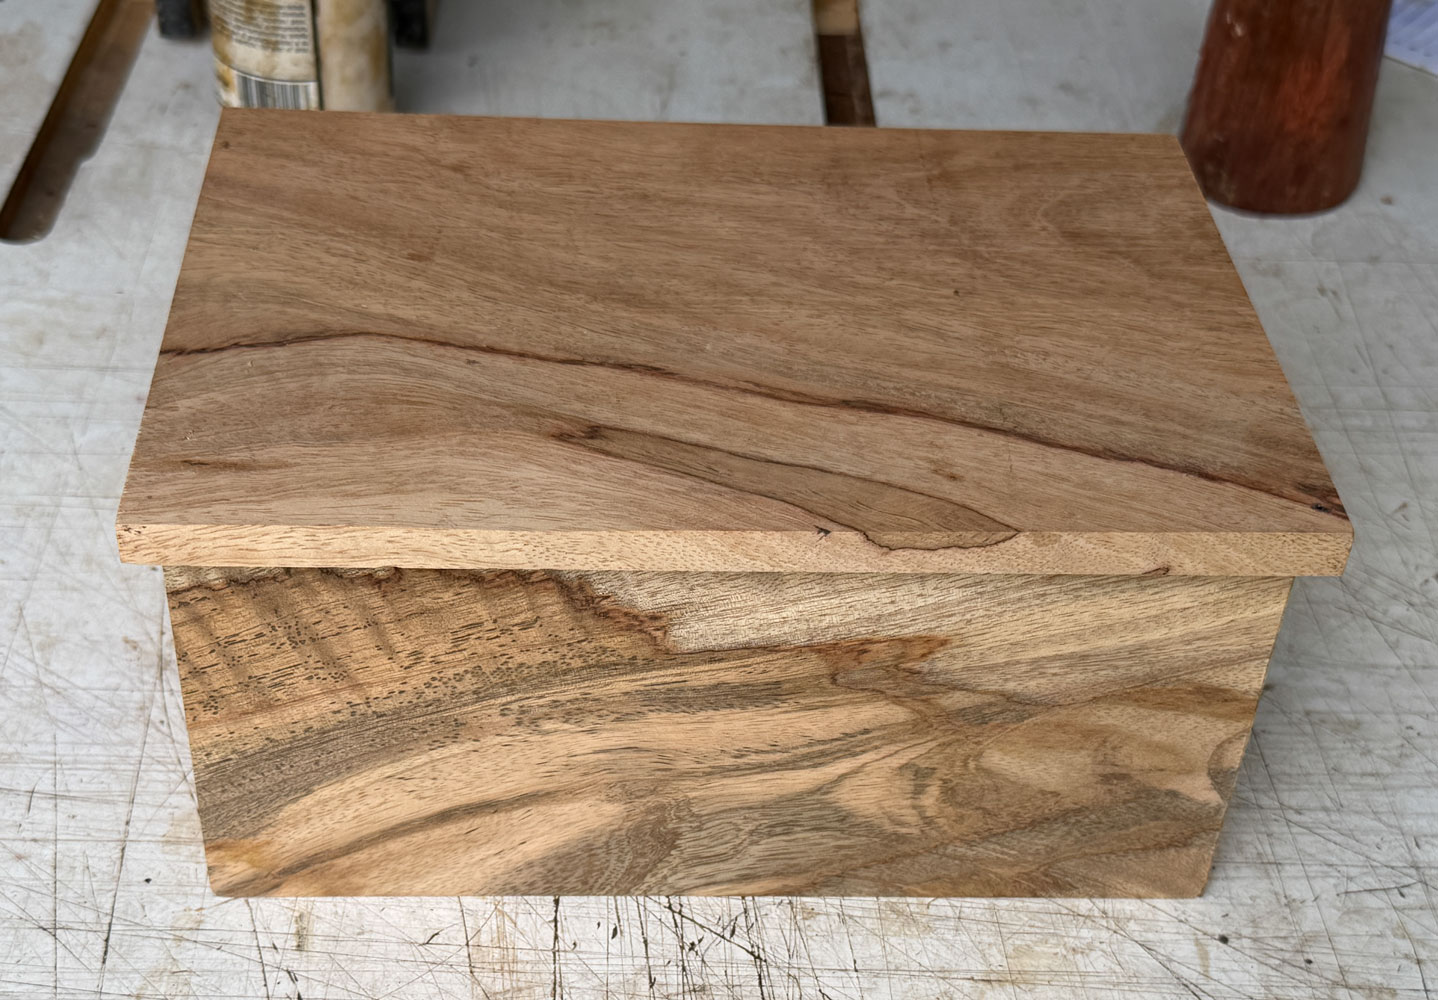
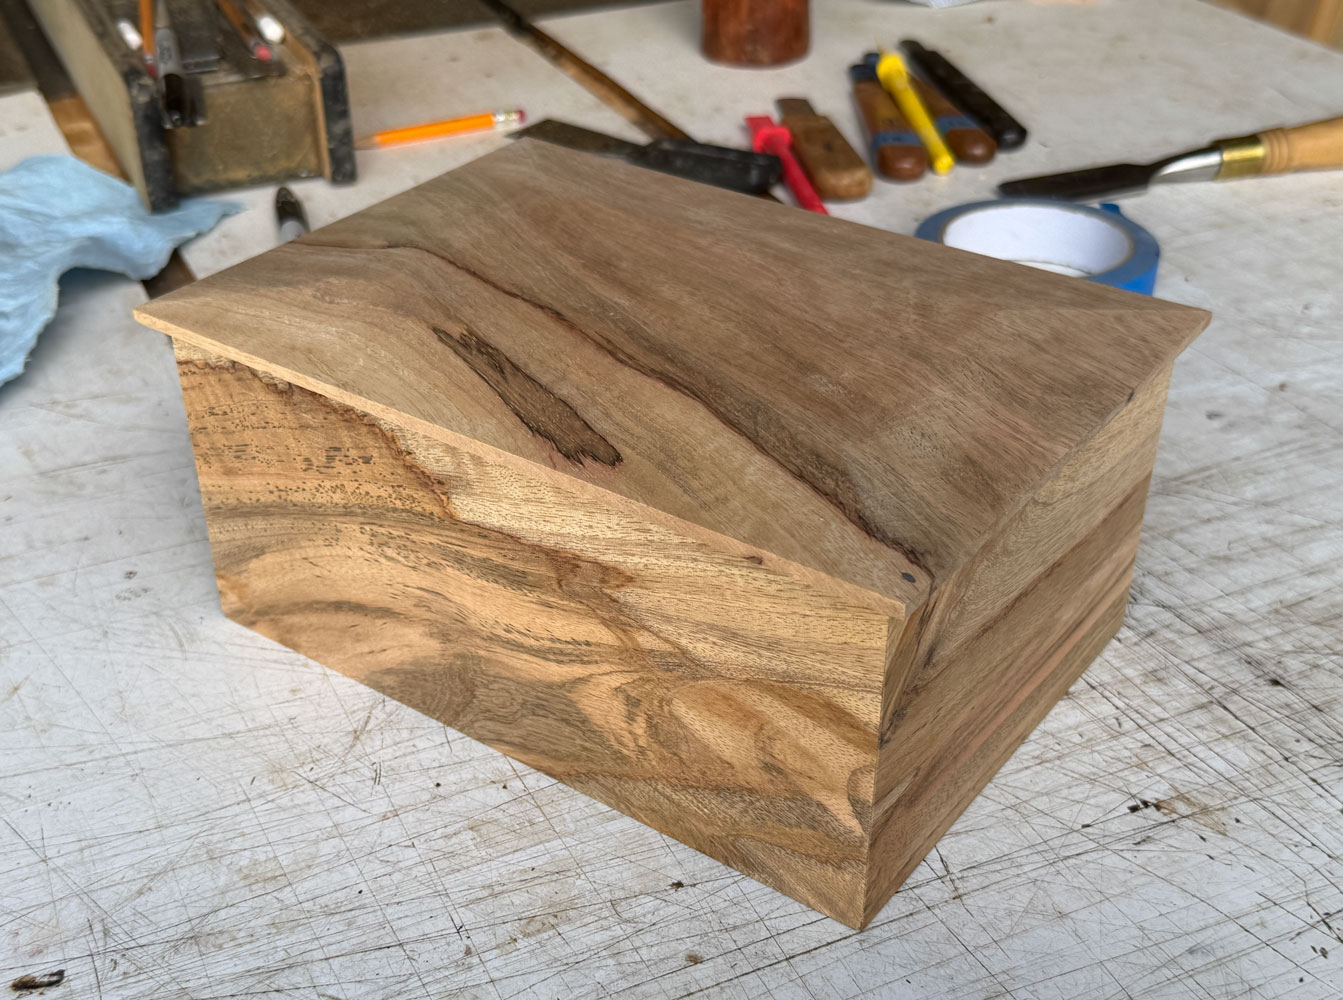
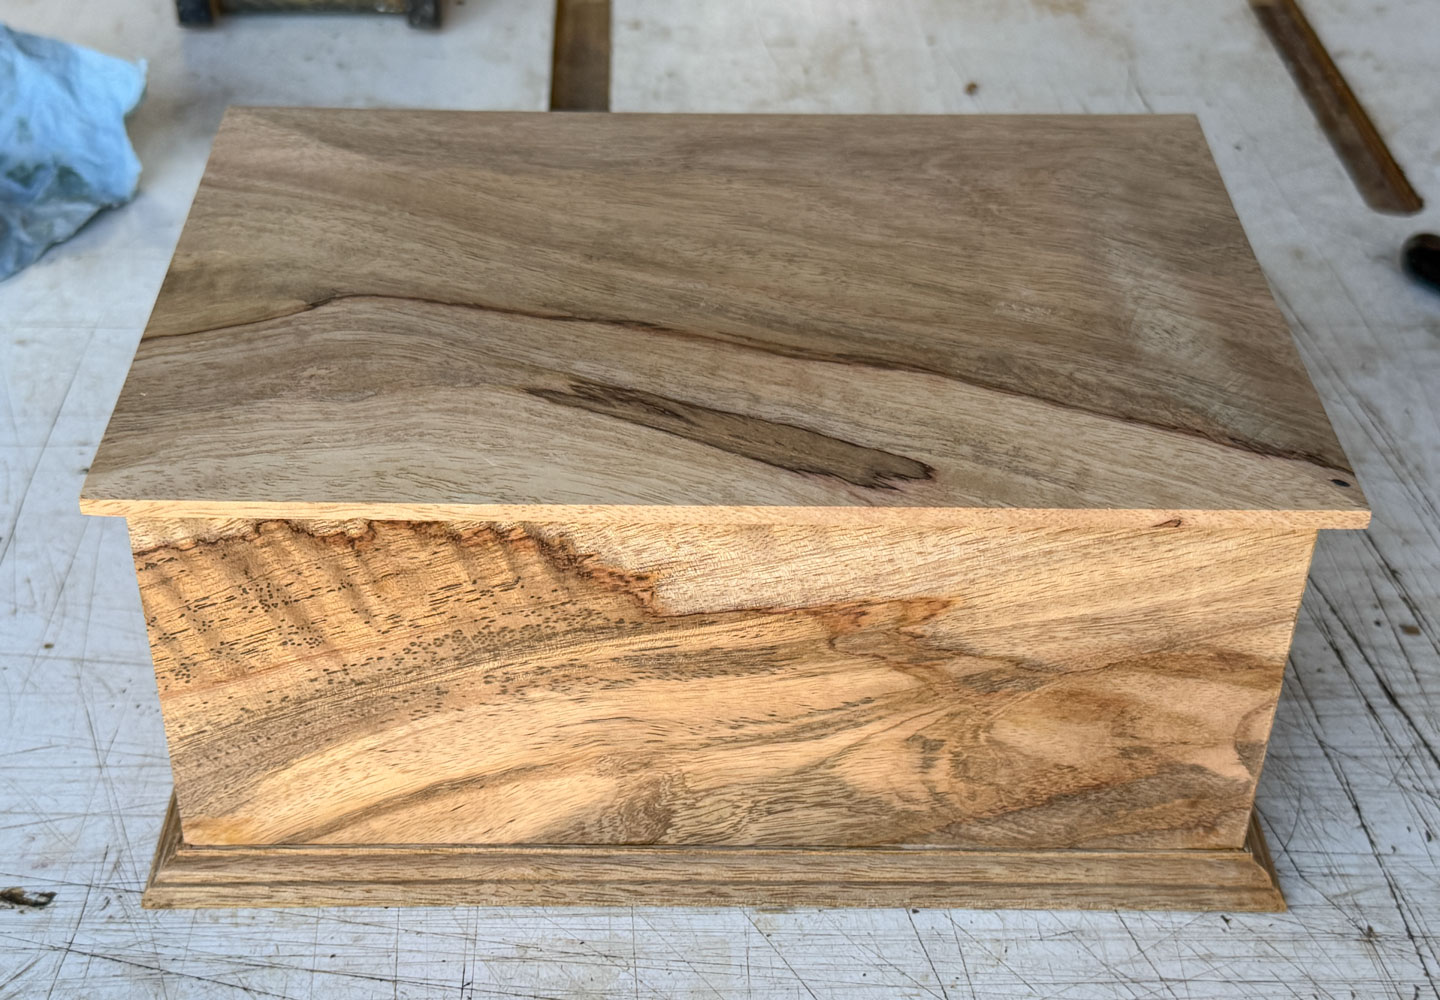
Here's the completed top on the box. In this first picture the top has not been sanded.
The top has been sanded in this picture.
While this looks okay, the box is unbalanced because of the overlap of the top. I'm going to make some molding to put around the bottom. Now is the time to sand the box (and the top). Sanding the box will be too difficult after you apply the molding.
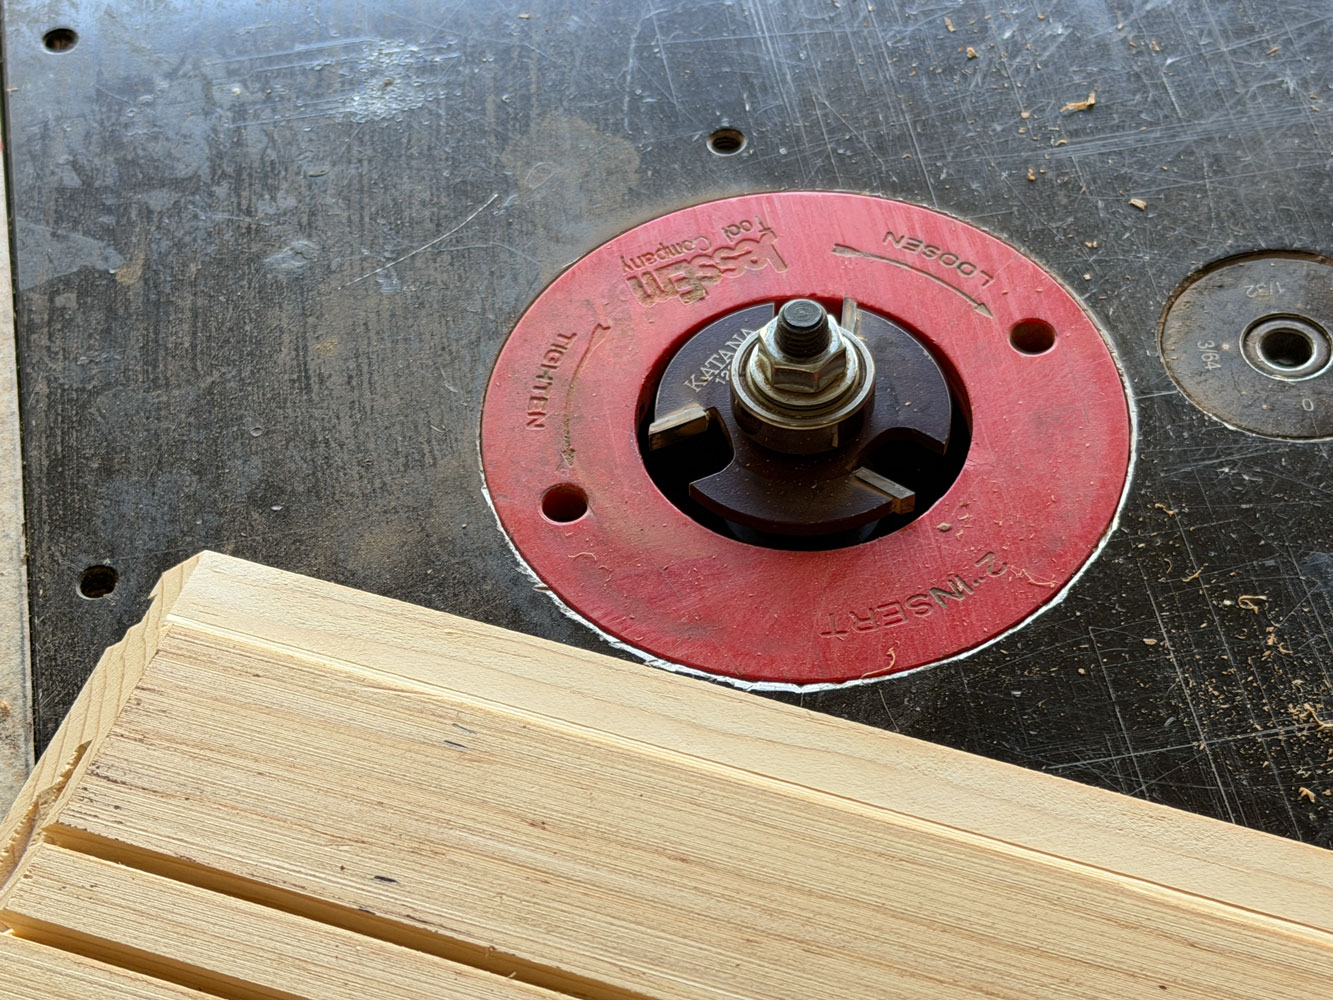
I have a router bit that makes a small molding.
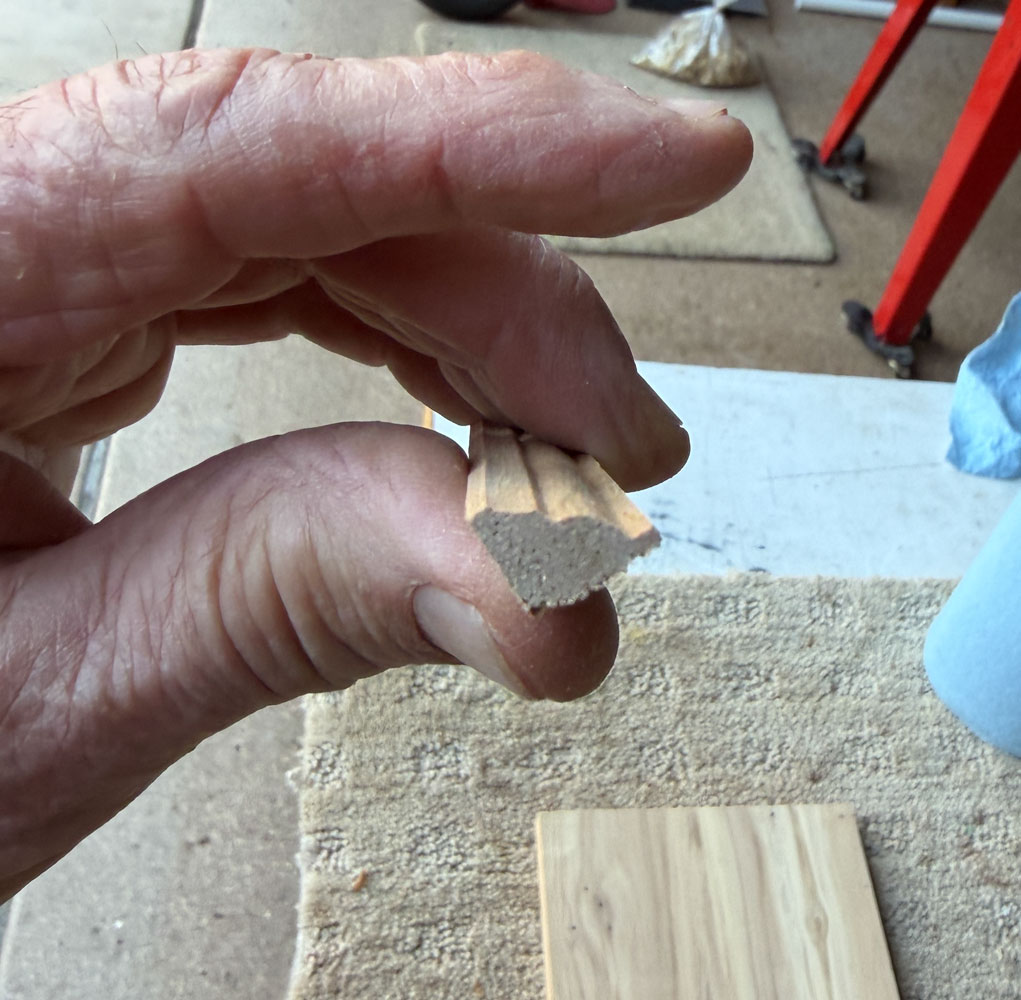
I take a piece of wood of the same general character and color and cut it to about 3/8 inch thick. I didn't show these steps but the piece of wood should be reasonably wide so that you can run it against the router bit and not have the wood deflect. Also, you want it big enough that you fingers don't get close to the bit. After routing the edge of the board, I take it to my table saw and cut the routed edge off. That's my molding. Here are a couple of pictures of it.
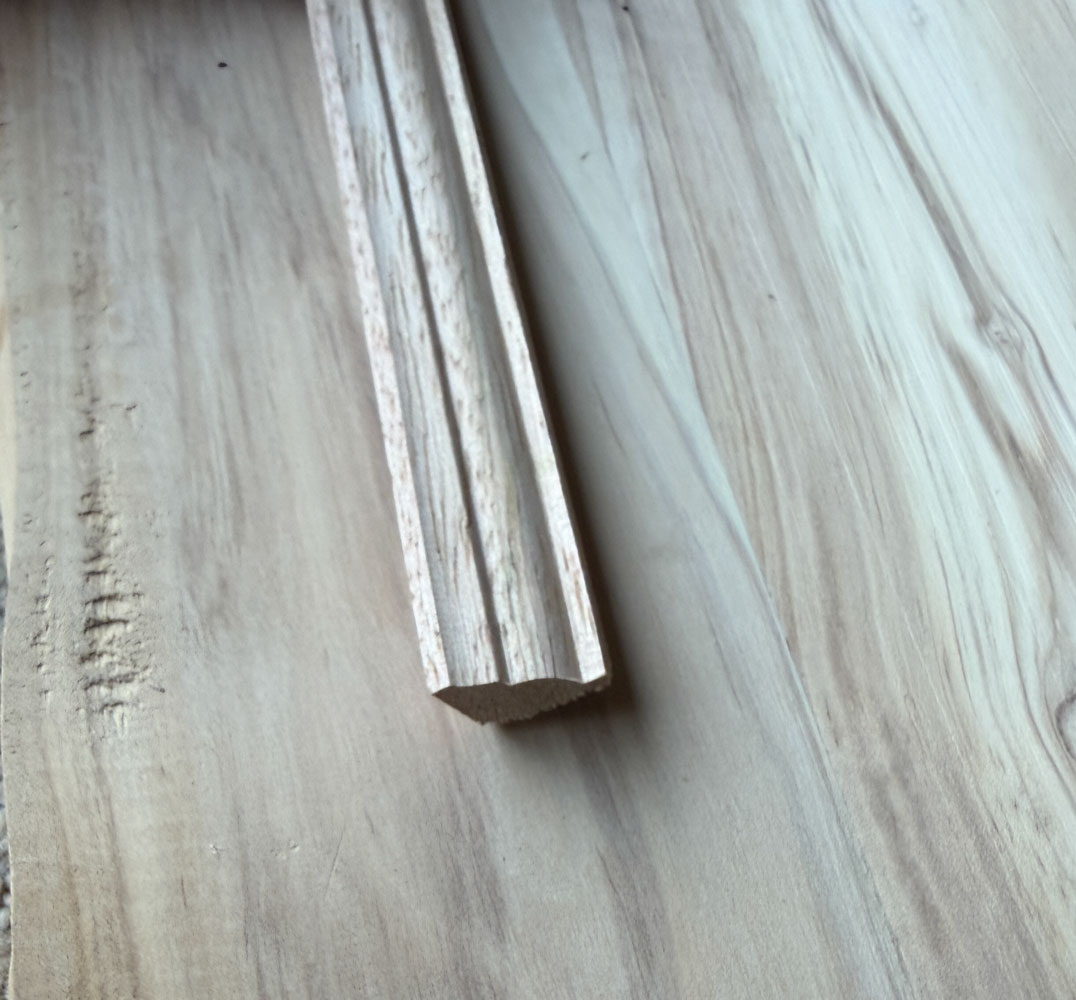
This picture shows the profile from the end.
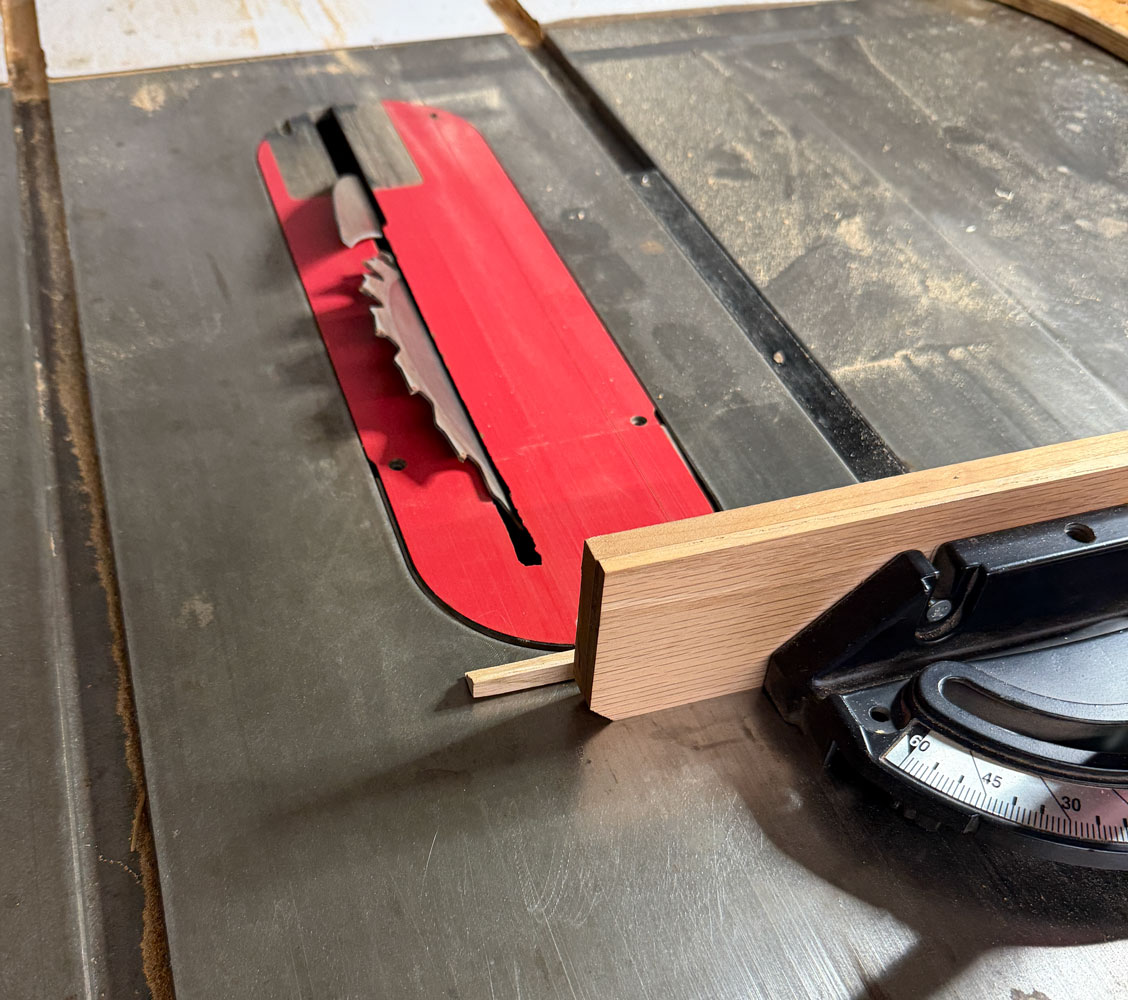
I cut the molding on my table saw with the blade tilted to 45 degrees, just like I did to cut the sides.
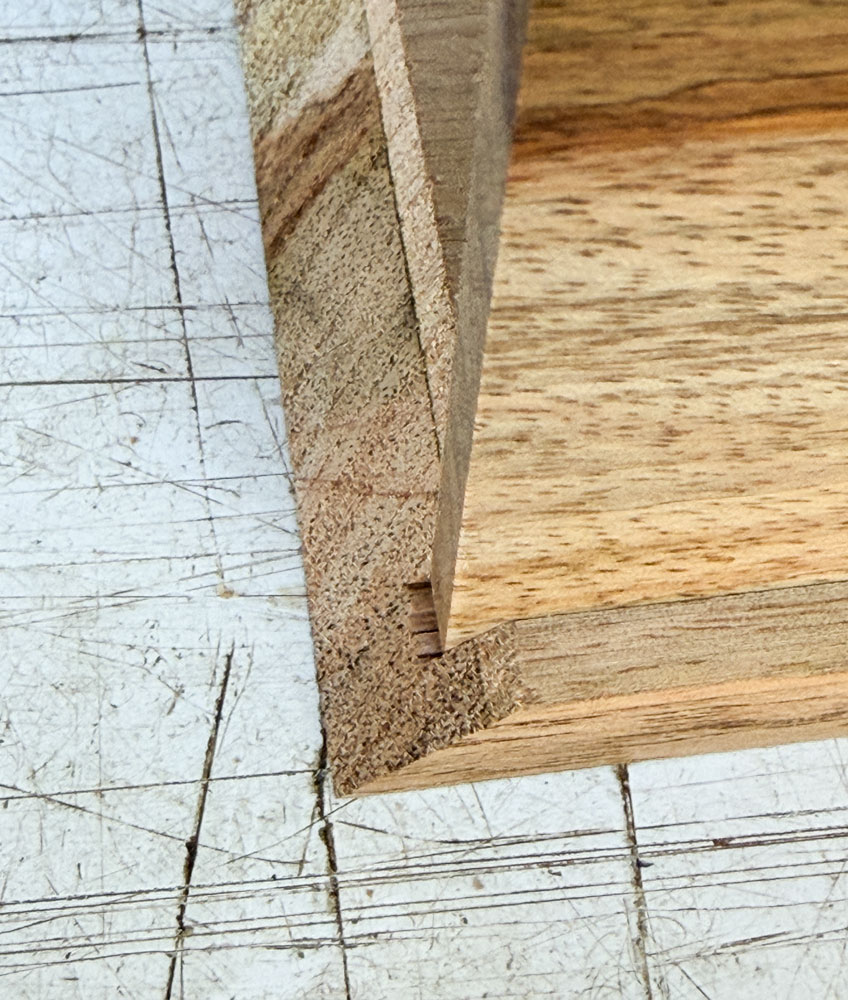
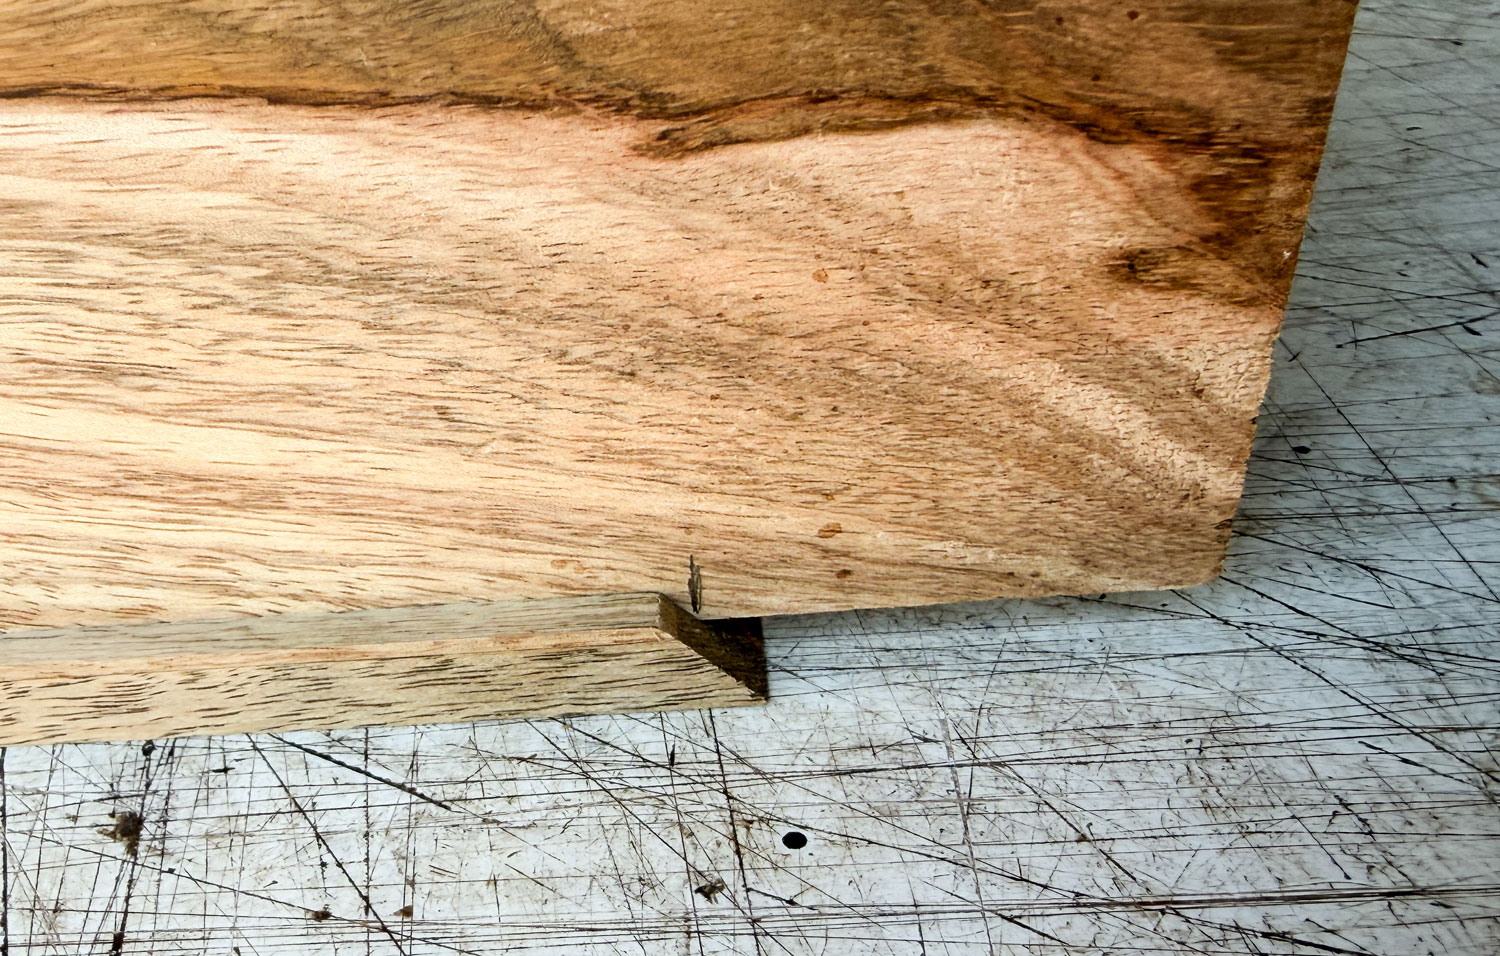
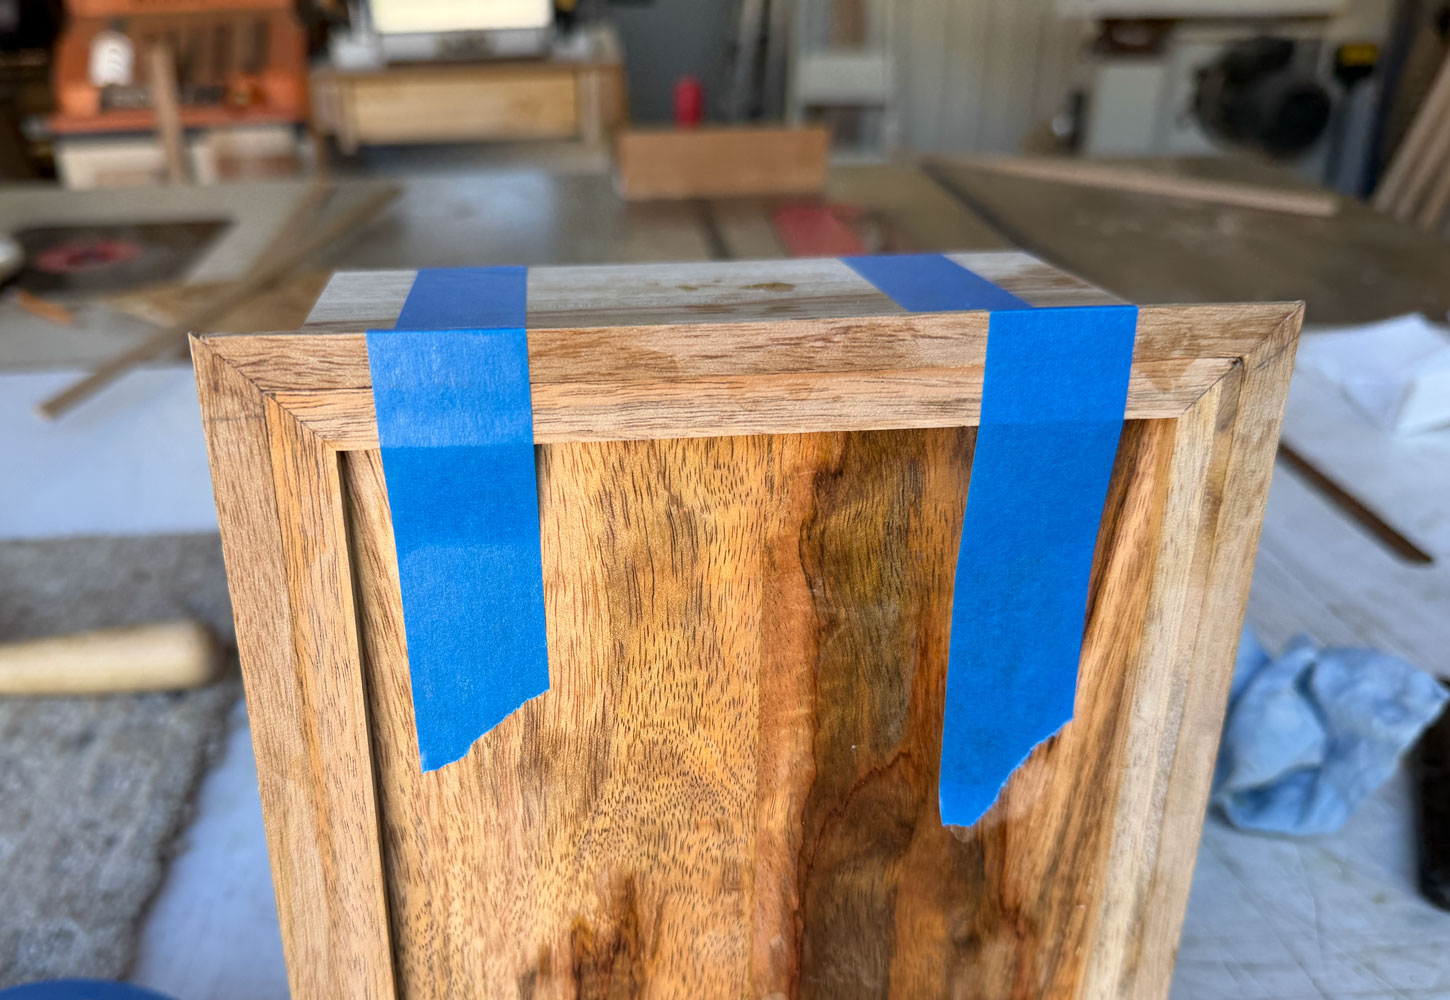
The first piece I cut is for one of the long sides. There's no way to clamp this so I use blue tape to hold it until the glue cures.
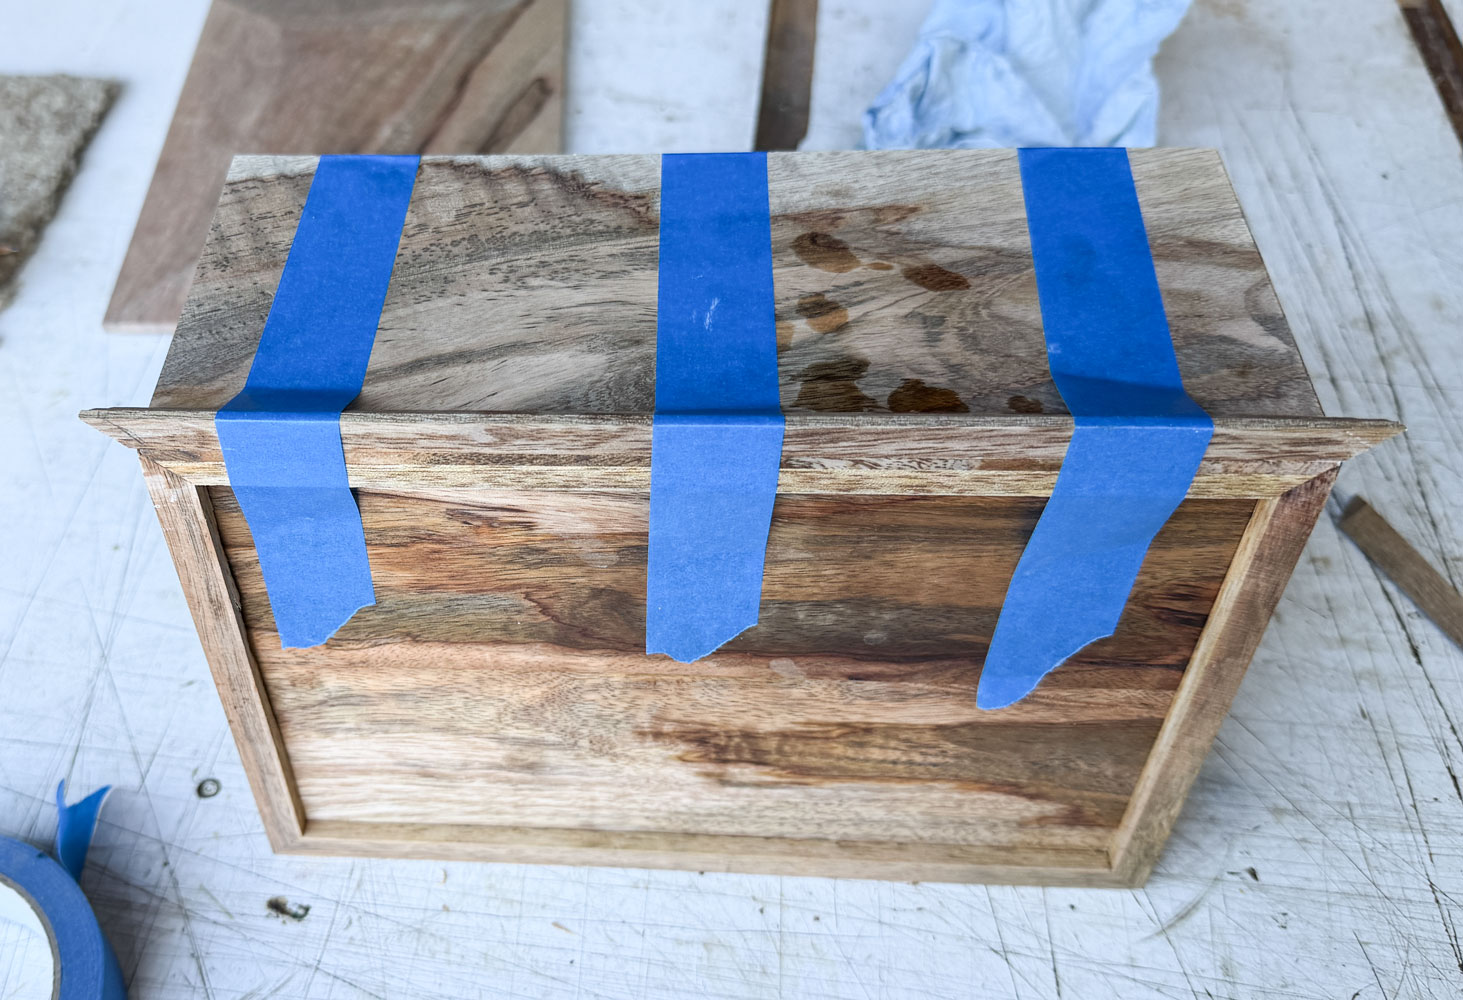
This is what it looks like on both sides. The bottom of the miter cut is "exactly" lined up with the end of the box.
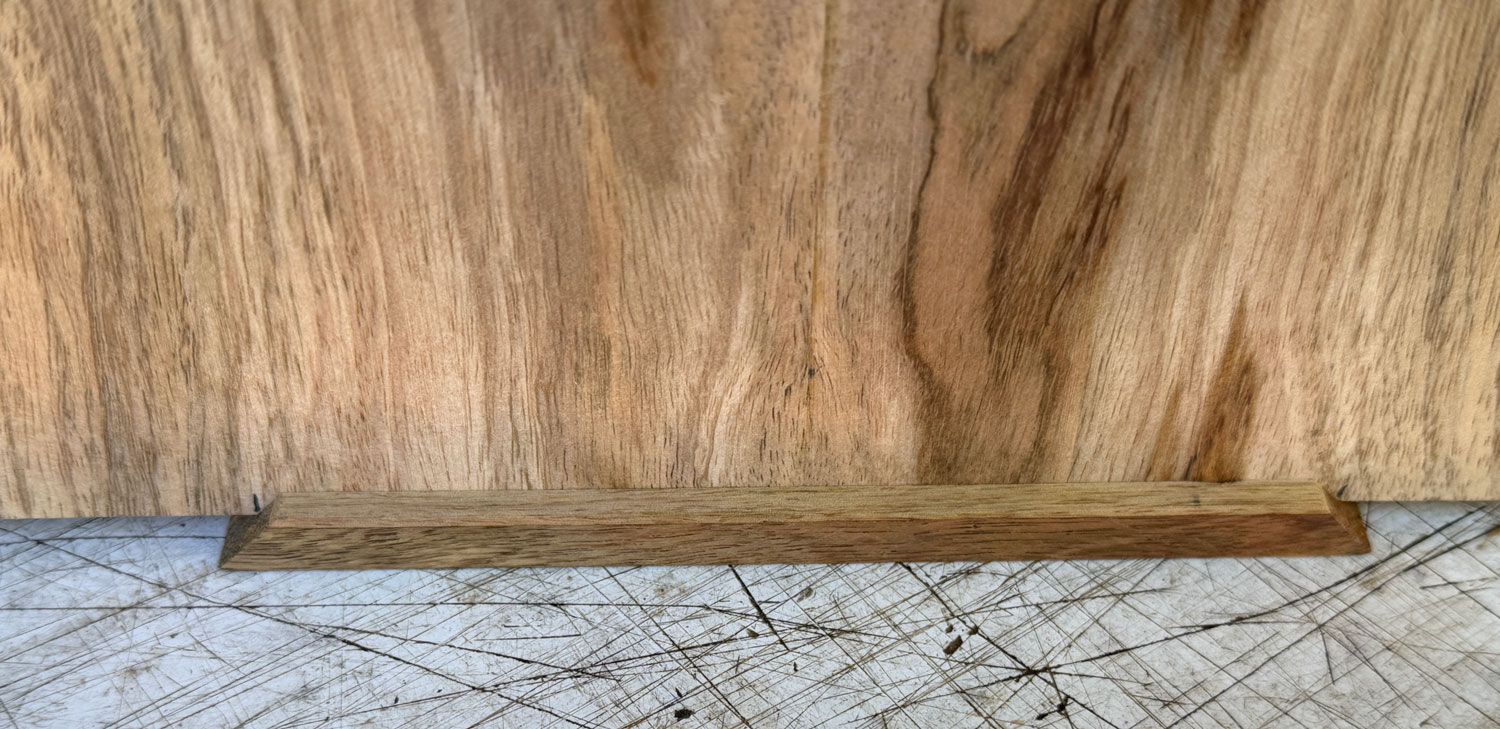
Do the two long sides. After the glue is well cured on those two sides, cut the pieces for the short sides.
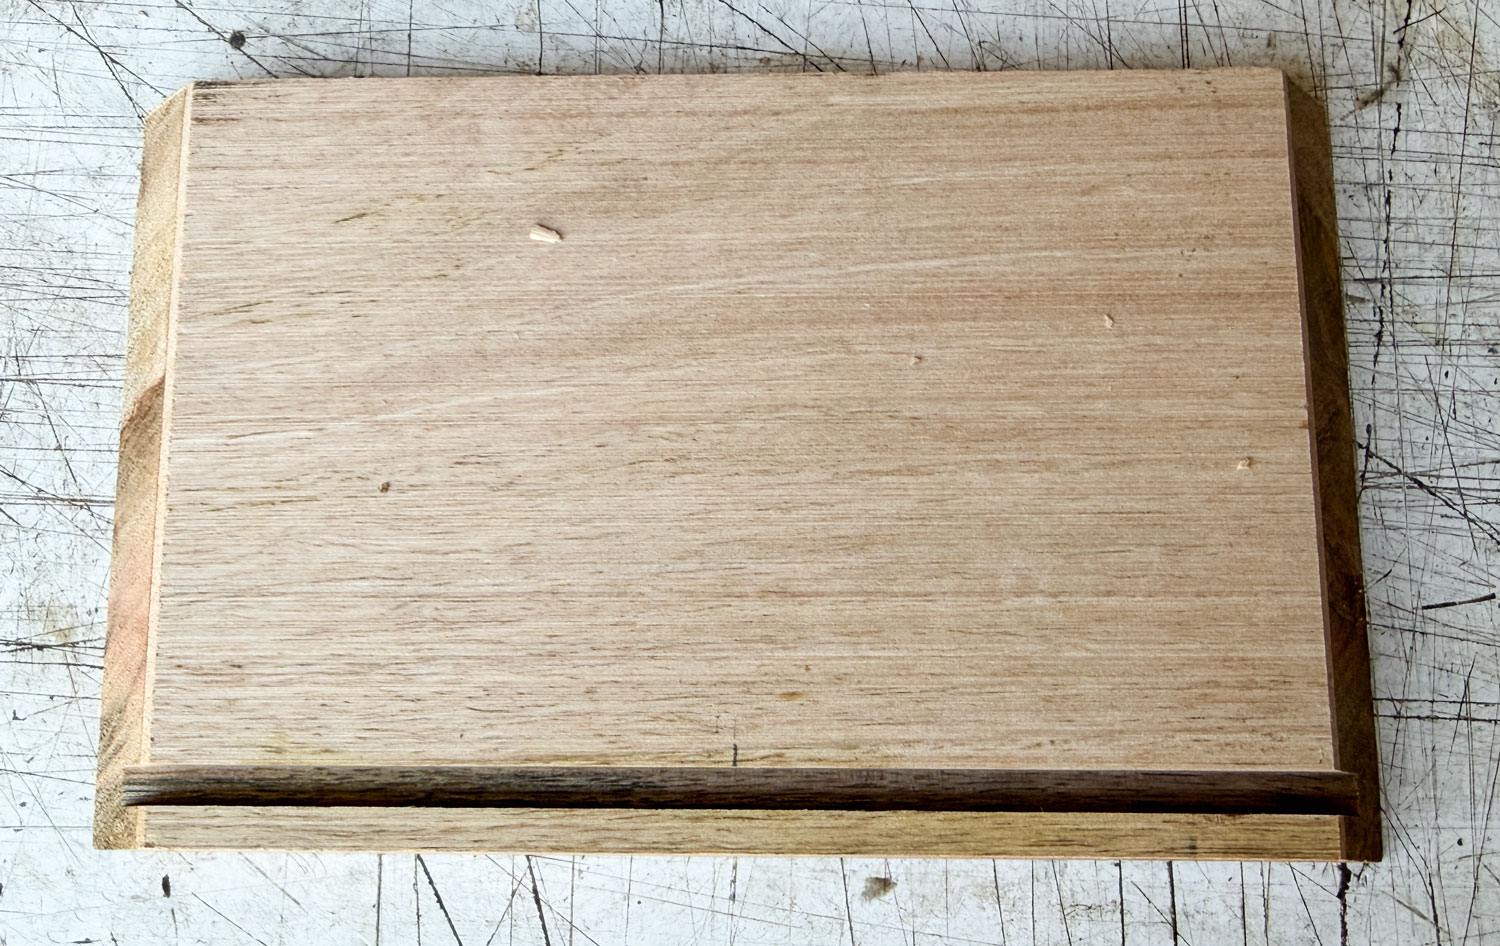
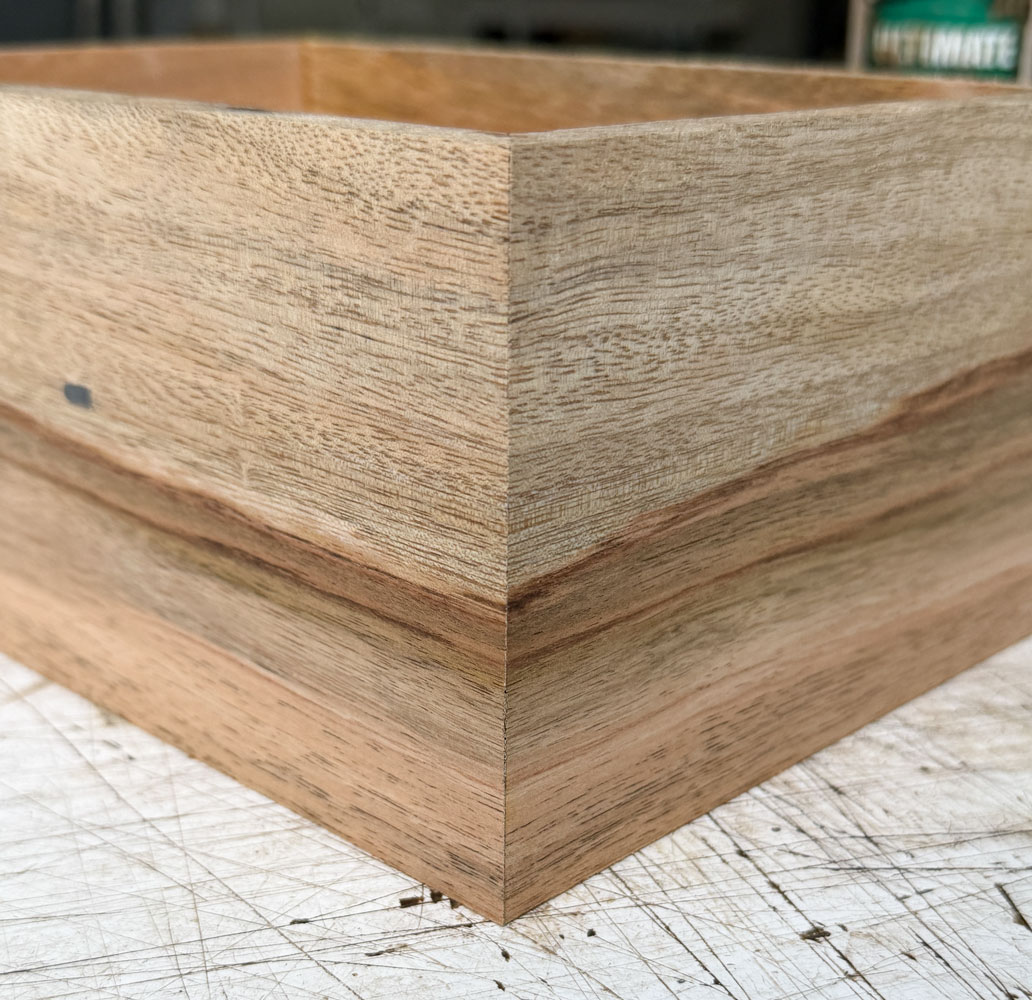
Once you have all four pieces of molding glued, here's what it looks like.
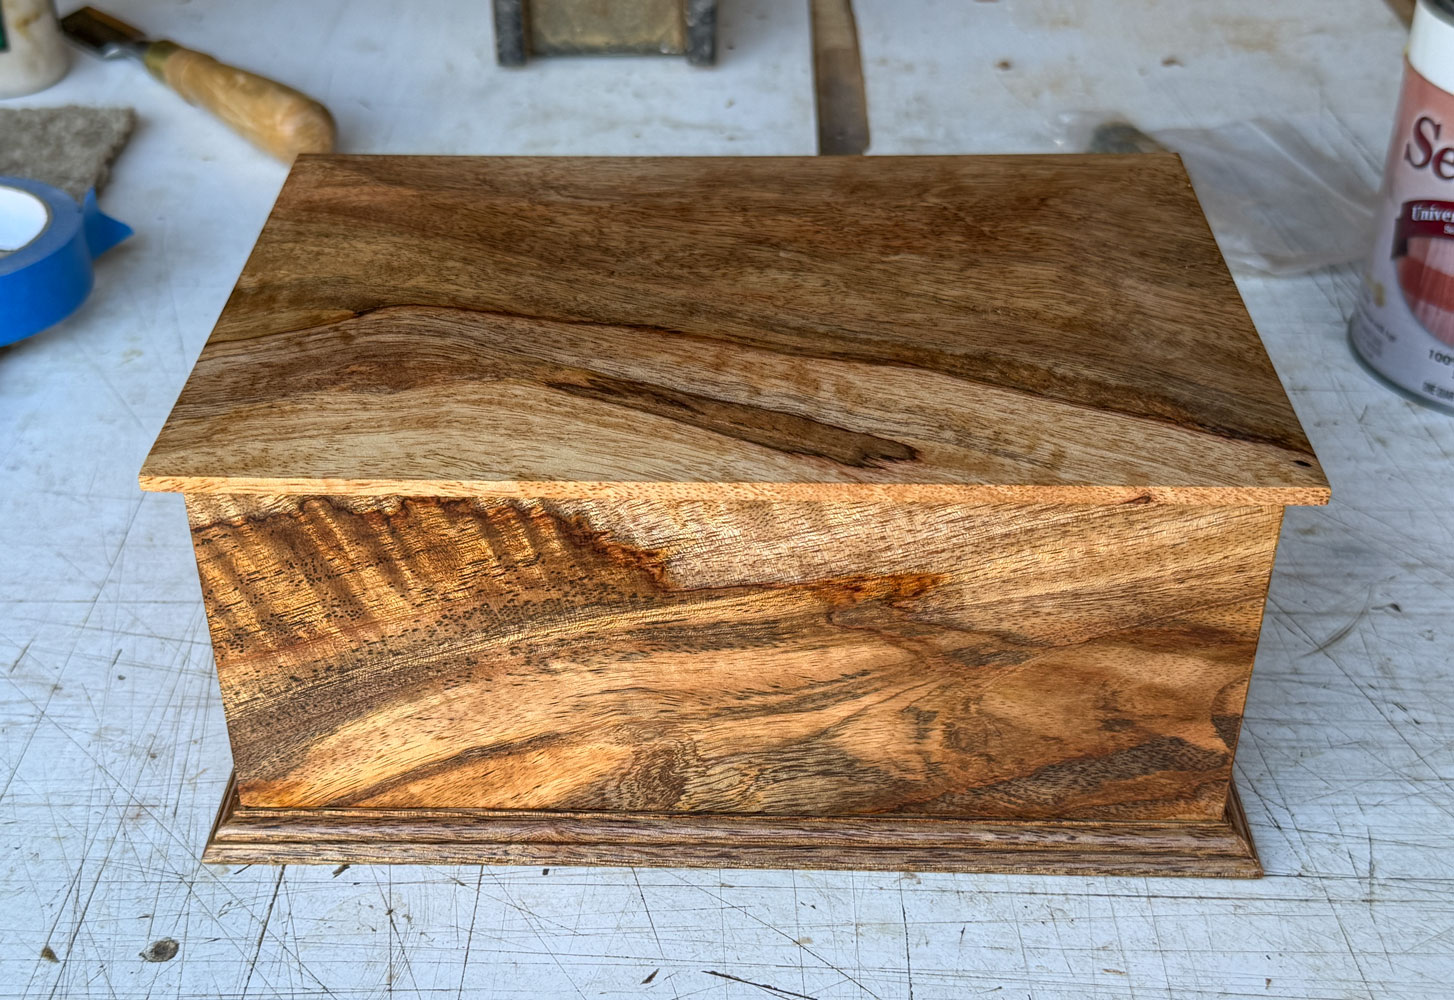
Sand the molding, especially on the corners where two pieces come together. That completes the construction portion of the project. Now we have to apply finsh. I'm going to apply shellac.
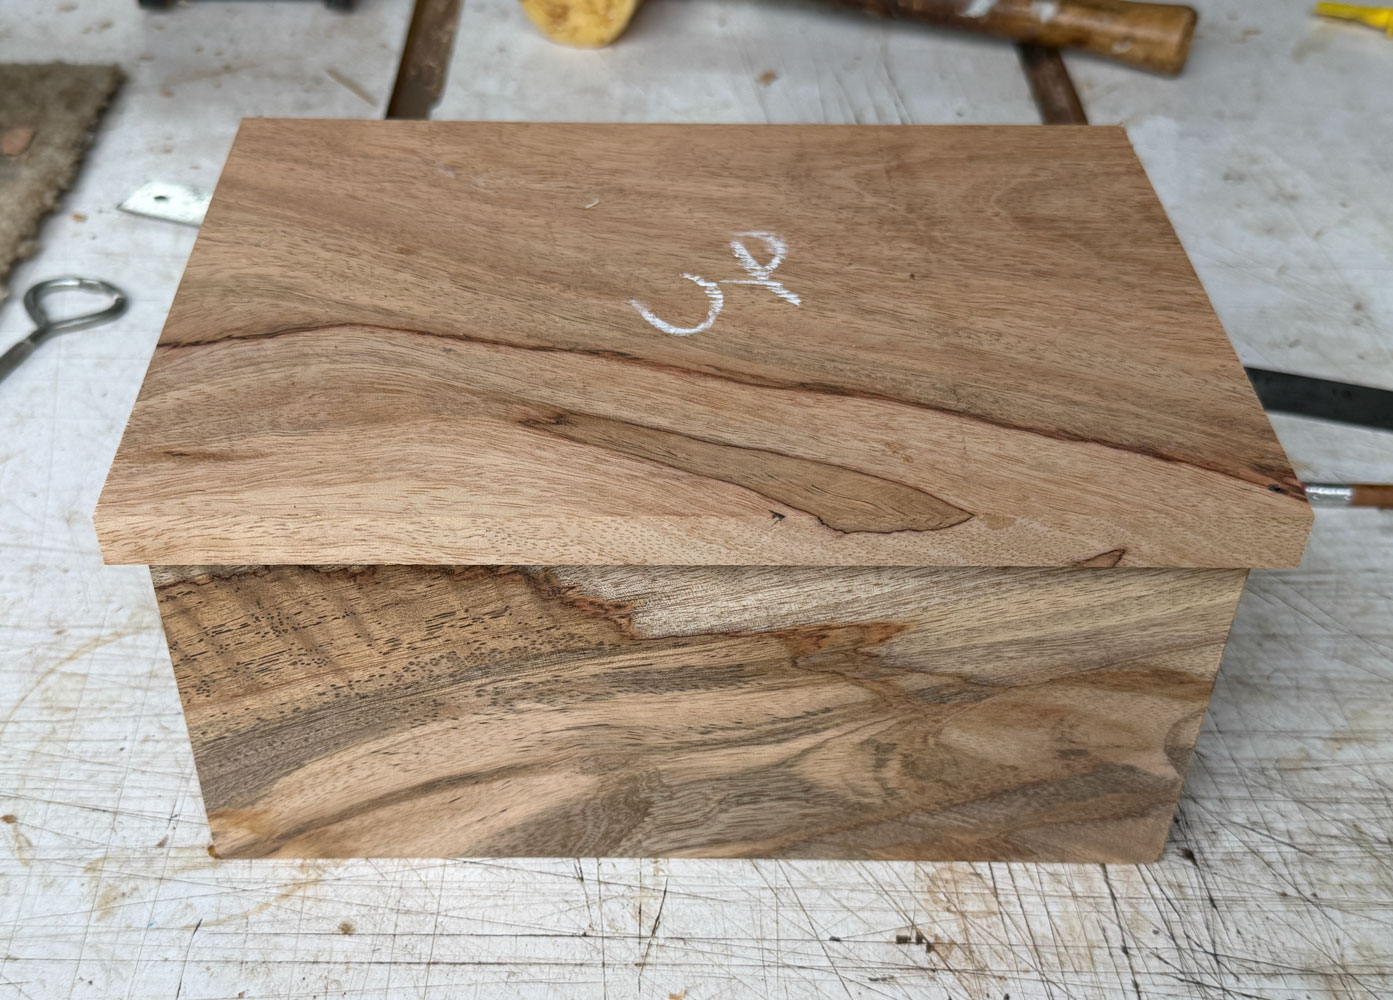
And here it is with the shellac applied. It really brings out the grain structure.
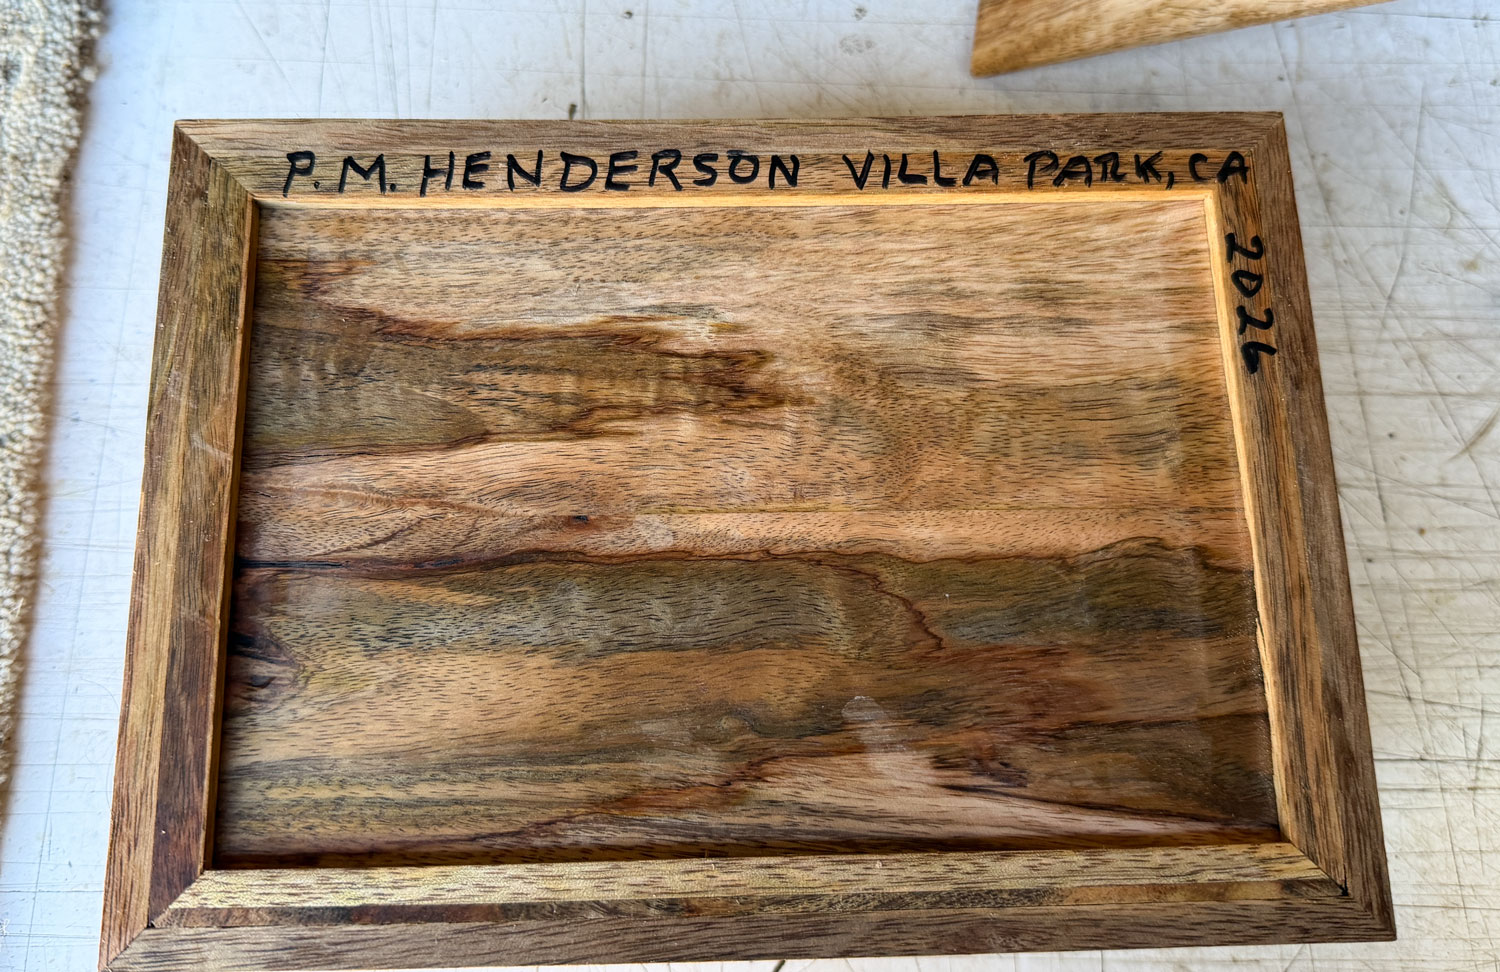
Then, turn the box over and sign it.
We could stop here (just add some felt feet) but I'm going to polish the box and apply wax. At one time, years ago, I did a fair amount of turning and have a Beall buffing system. I use the Tripoli compound and the Carnauba wax buffing wheels.
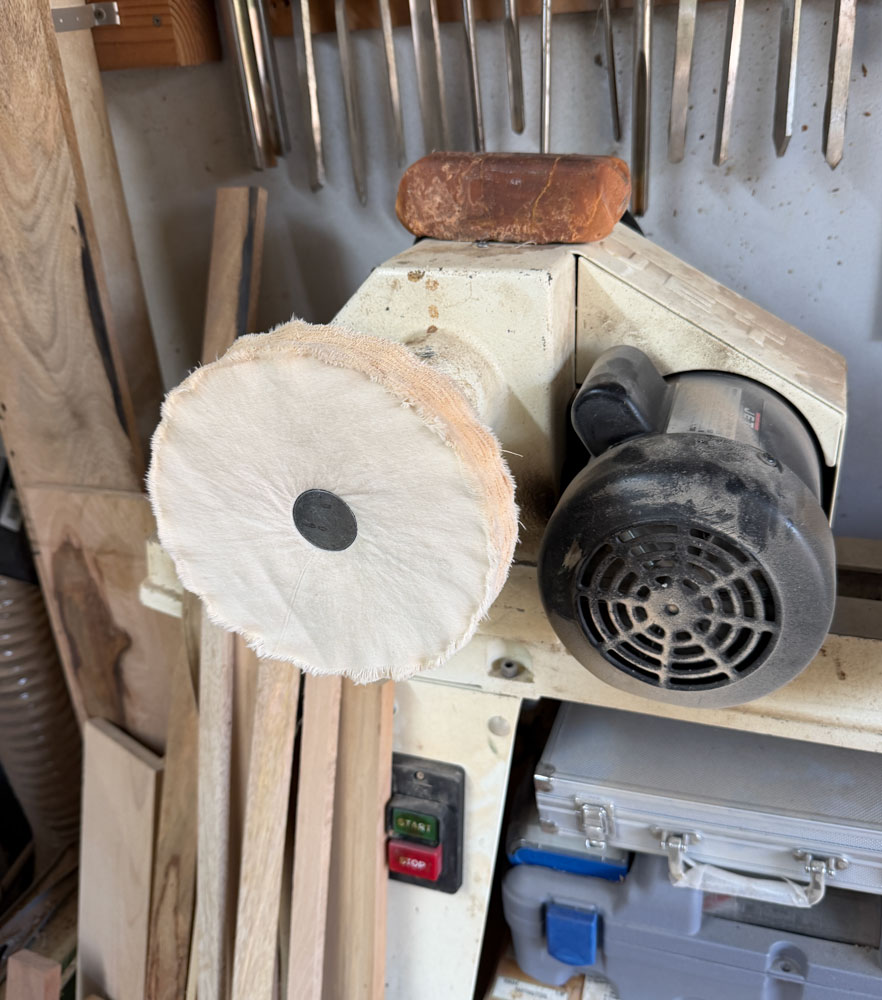
After buffing the box and the top, I put felt pads on the four corners of the bottom.

That's the end of the project. Here's a picture of the box polished. The other advantag of polishing the box is that it makes the box smoother to the hand. When someone picks it up, or touches the top, it feels nice and smooth.
Click here to go back to my main page.