

Secret Miter Dovetails
P. Michael Henderson
There are many different varieties of dovetails: through, half-blind, full-blind (AKA double lap), and the secret miter dovetail. Everyone who has done hand cut dovetails has done the through dovetail and most have done the half-blind. The full-blind dovetail hides the pins and tails and is not used a great deal, probably because it shows some end grain in the completed joint The secret miter dovetail, the subject of this tutorial, also hides the pins and tails and looks like a miter joint when assembled.
You might ask, "If the pins and tails are hidden, why do a dovetail joint? Why not do some other type of joinery?" The only answer I can give is that all dovetail joints are very strong joints. While you could do a regular miter joint, perhaps with a spline between the two pieces for strength, the secret miter dovetail joint is going to be stronger.
Since no one will ever be able to see that the joint is a secret miter dovetail (it will look like a miter joint), the maker would only choose it for its strength.
This tutorial will show you how to make the secret miter dovetail joint so that you will have this joint in your arsenal when designing your furniture. While it has the reputation as a difficult joint to make, it really isn't that hard to do.


For this tutorial, I'm going to use two pieces of clear pine about six inches wide. I chose clear pine for this tutorial because the grain is straight and the wood is fairly easy to work. When working with your wood, make sure there are no knots in the area where you'll be cutting the pins or tails. It'll be much more difficult to shape the pins and tails if there are knots.
And, as usual, make sure your wood is flat, square and of even thickness. Especially important is that the ends are cut square.
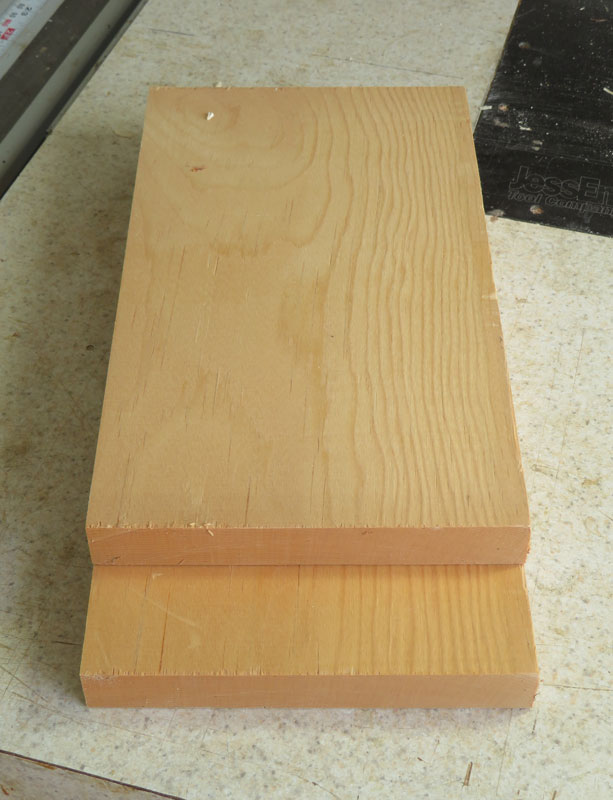
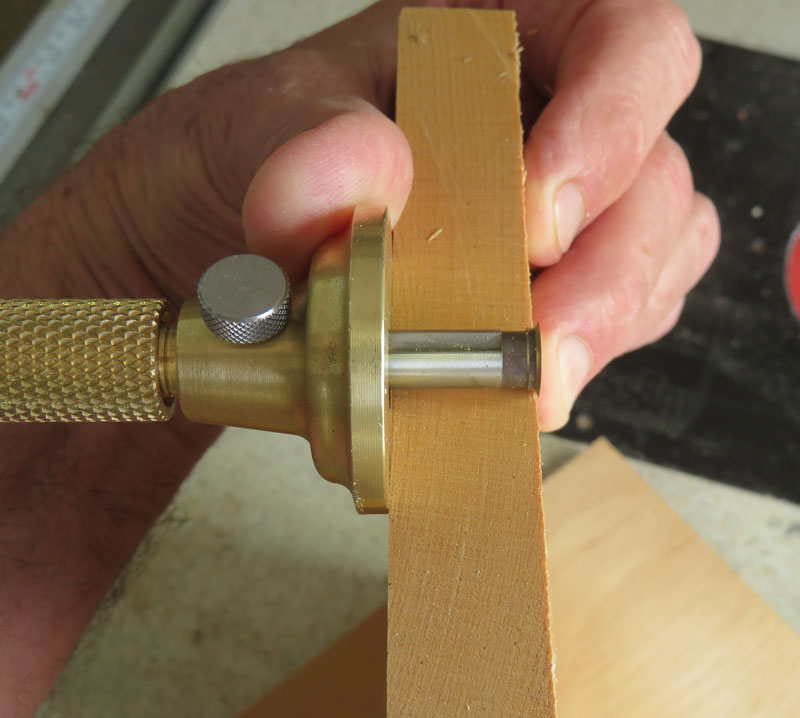
To begin, I'm going to use two wheel marking gauges. I'm setting the first one to the thickness of the wood.
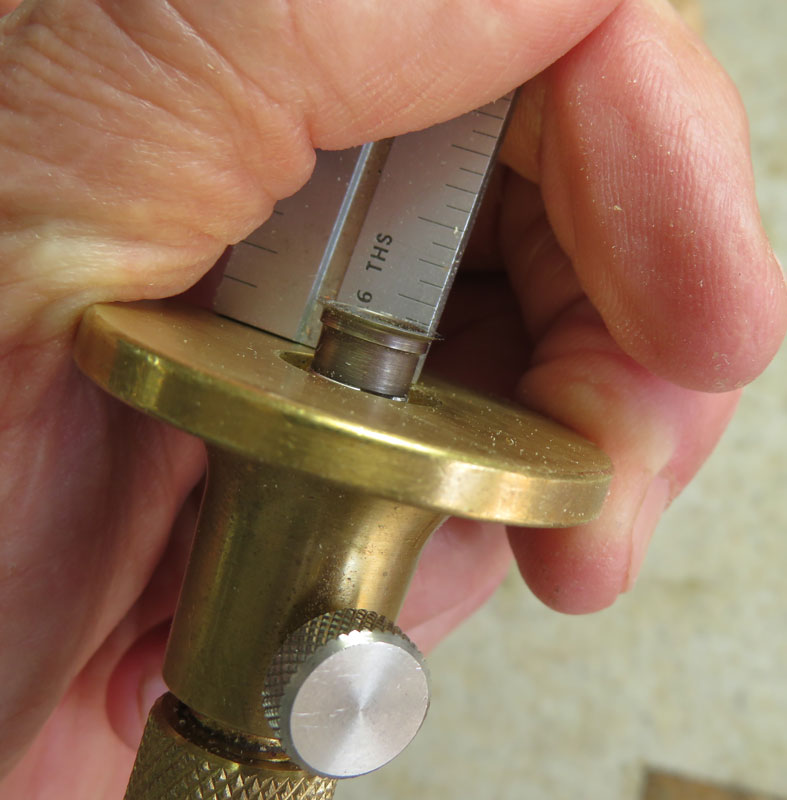
The second marking gauge is set from a scale, and I'm setting it to 3/16 inch. You could use 1/8 inch, if you wish. The 3/16 inch just gives you a bit more safety. BTW, the first marking gauge is made by Taylor Tools and the second is the Tite-Mark by Glen Drake. Both work essentially the same.
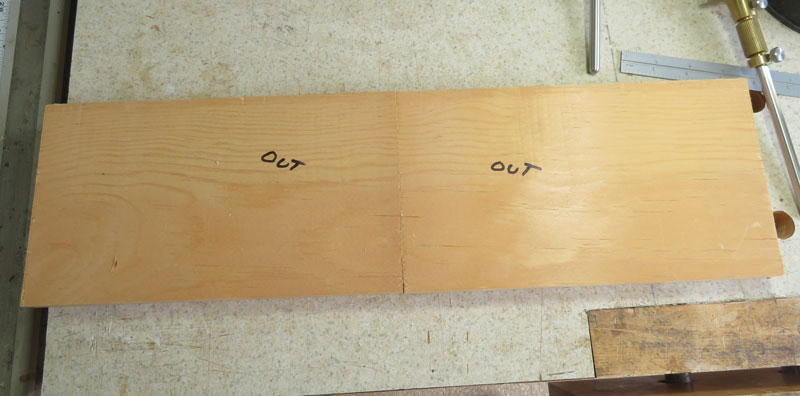
I next lay out my wood. Here, the two pieces I have were cut together so I can match the grain. I've labeled the pieces to indicate the inside and the outside.
Using the first marking gauge, the one with the thickness of the wood, scribe lines on the inside of each piece.
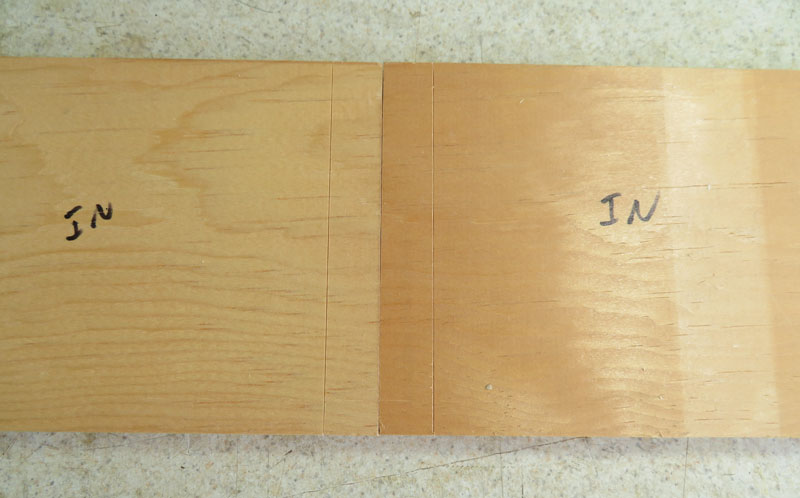
Take the scribe lines around the sides, but not on the outside face.
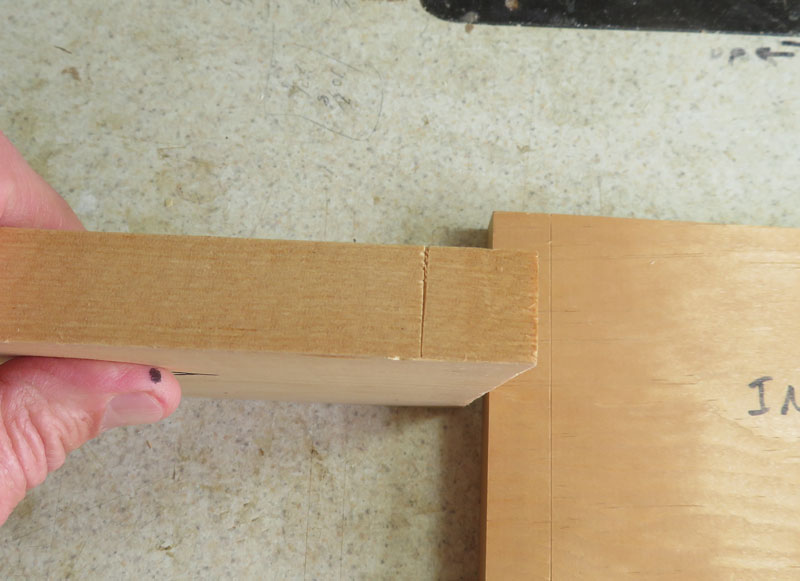
Now, take the 3/16 inch marking gauge and scribe a line on the inside face of each piece.

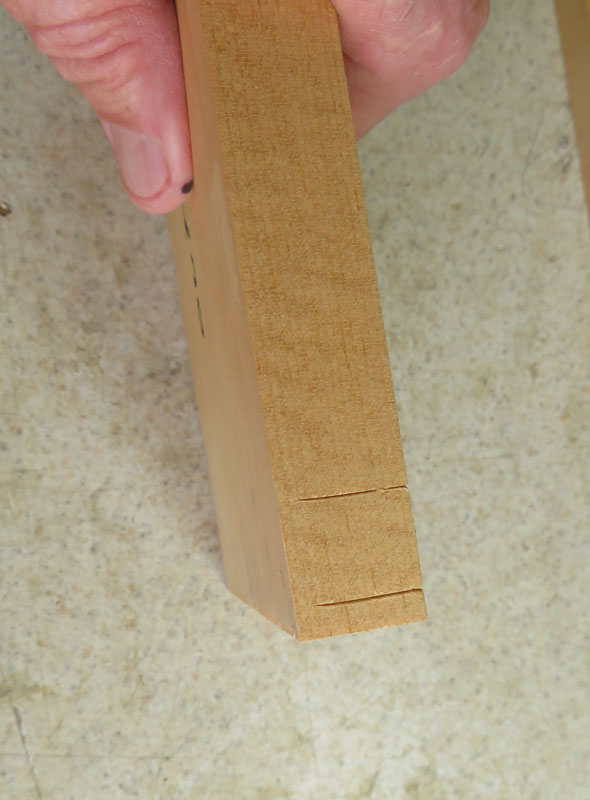
Using the same marking gauge, scribe a line on the end of each board, off the outside. This marks the rabbet that we need to cut on the end of each board.

Take the scribe line around the sides, just to outline the rabbet.
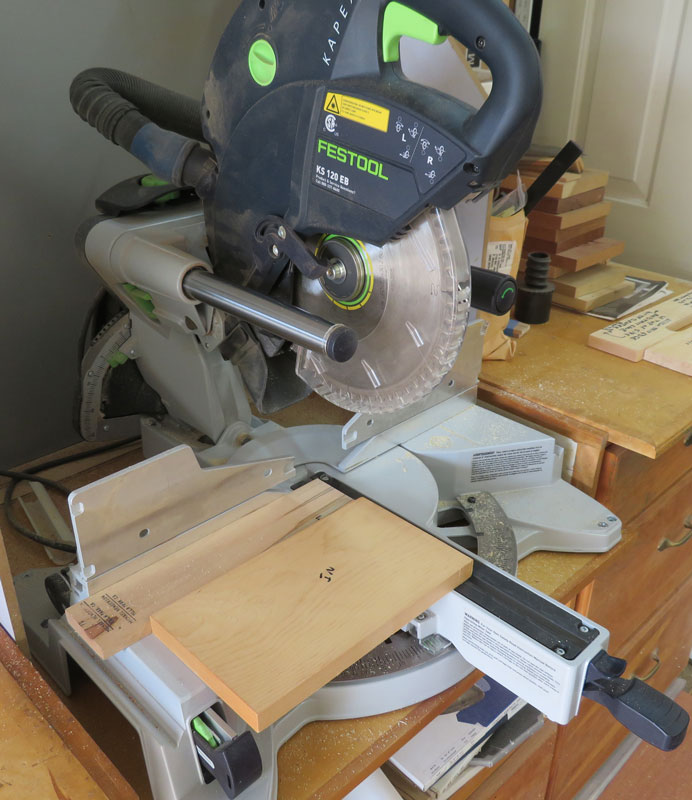
The problem is how to cut this rabbet easily and accurately. I have a Kapex miter saw and the Kapex can be adjusted to not cut all the way through a board. Using some scrap I adjusted the Kapex so that it would leave the 3/16 at the bottom of the rabbet. Note that I have a piece of wood behind the piece I'm cutting the rabbet in. Since the blade is round, and is not going all the way through, it would leave some uncut wood on the end if I didn't do this.
You should be able to do this same rabbet on your table saw with a miter gauge or sled. If your blade does not make a flat bottom cut, don't cut all the way to the line. Then clean up the bottom of the rabbet with a chisel or router plane. If you're really into hand tools, you can saw to the line with a hand saw.
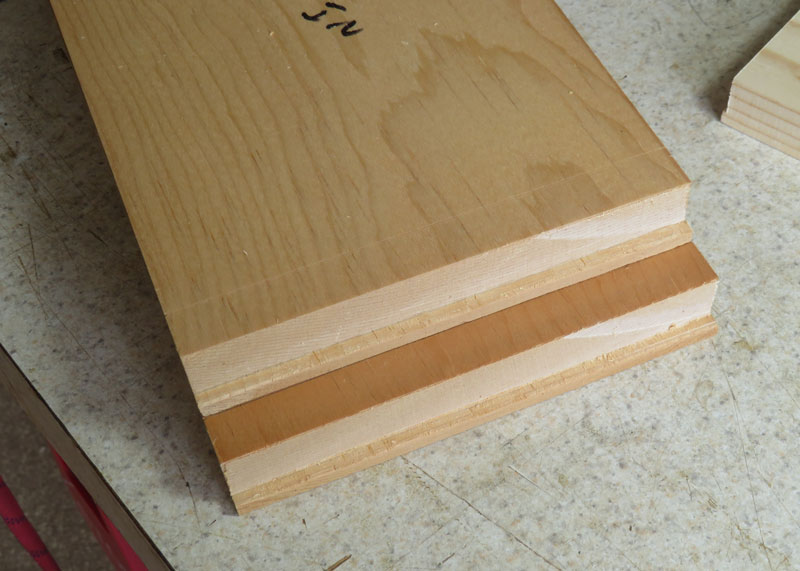
After cutting the rabbets, this is what your pieces should look like.
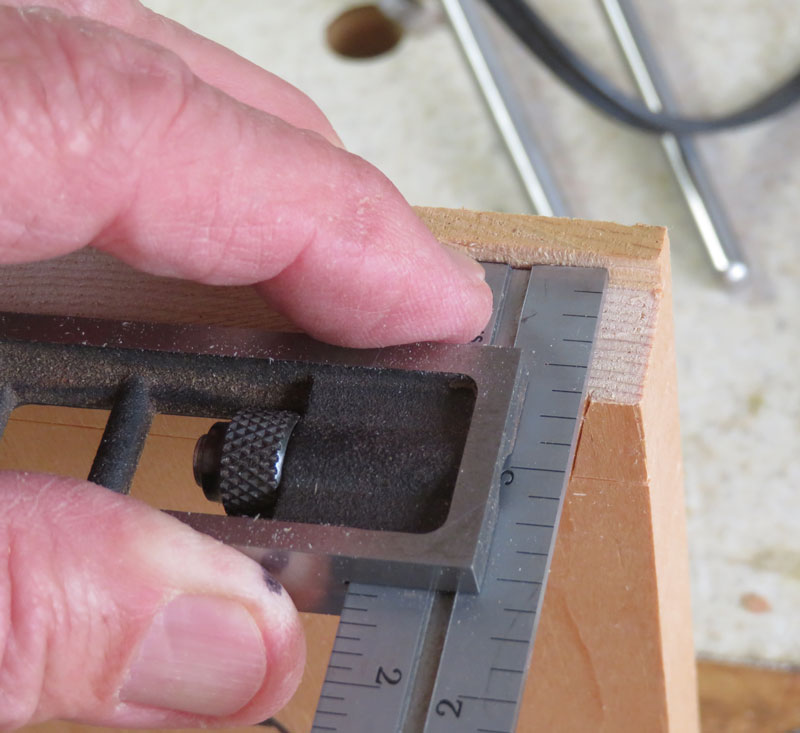
Now I'll mark the miters. Using a small combination square, I want to scribe a line on the side of the wood from the corner of the board to the first scribe line.
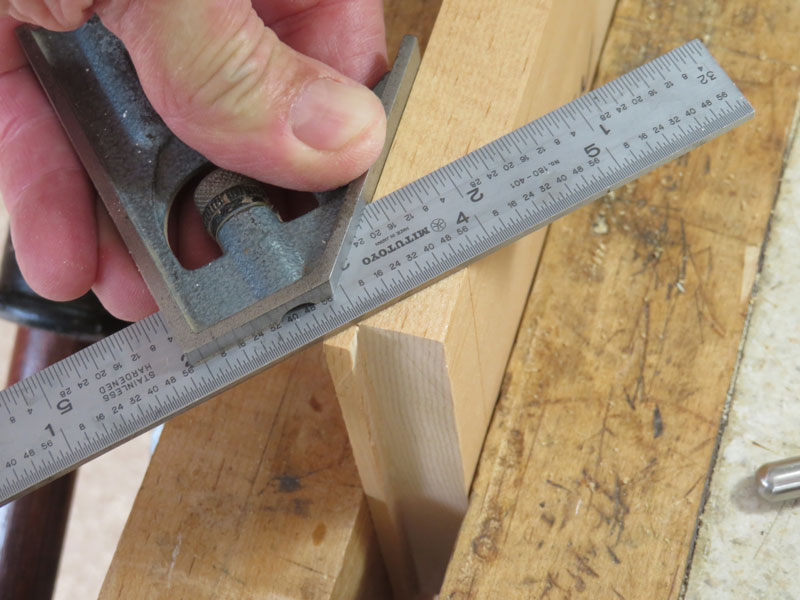
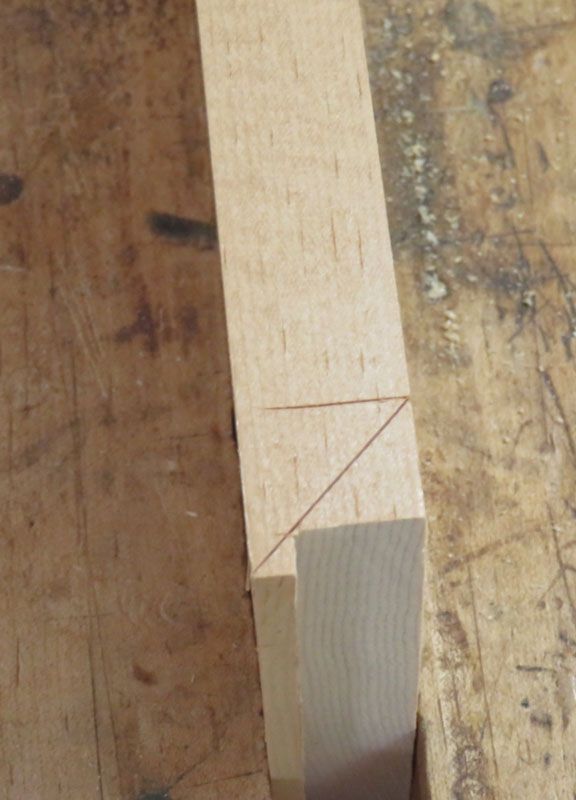
And here's the line.
I'm next going to mark out the dovetails. I'm going to do pins first because it's easy to transfer the pins in this joint to the tails. It doesn't work to do it the other way.
I start by making a mark about 3/16 inch from each side.
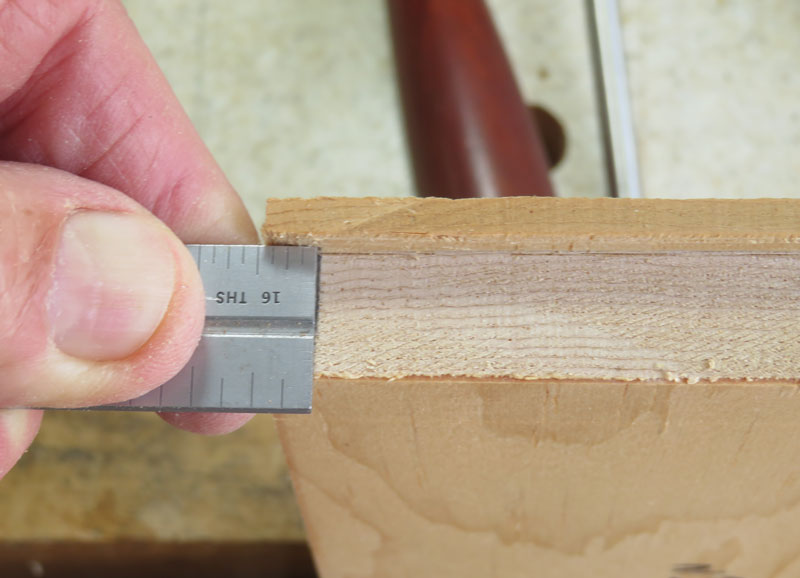
Then I work out the layout for the pins. Here, I have two pins in the middle, with the two half pins on the ends. These sizes worked for this width of board. You'll have to work out you own layout.
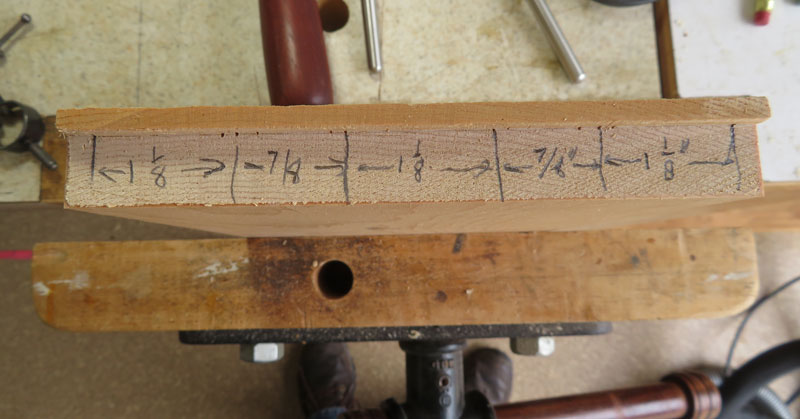
Using a dovetail saddle marker, I'm going to lay out the pins. Since I have all that other writing on the end of the board, it's going to be hard to see the lines for the pins but I can keep them straight.
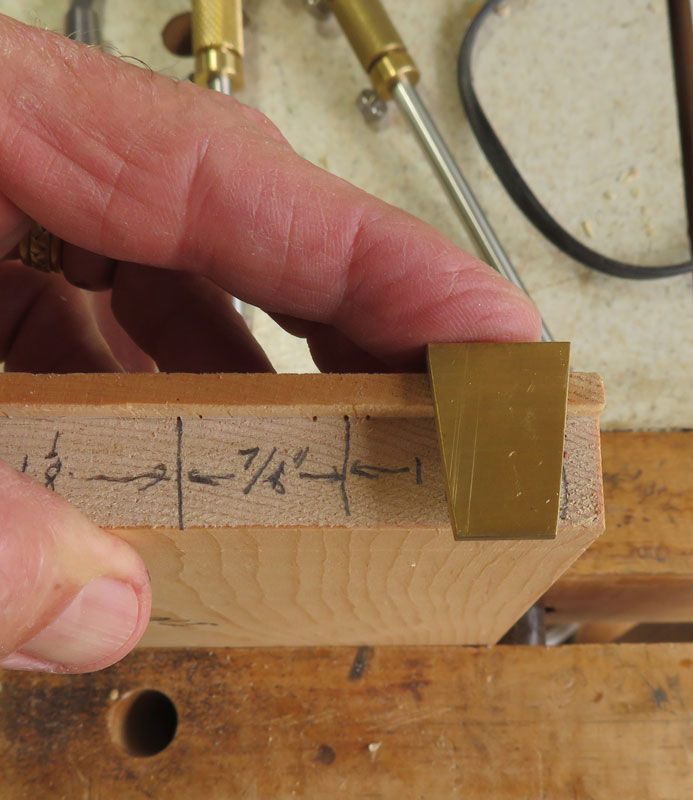
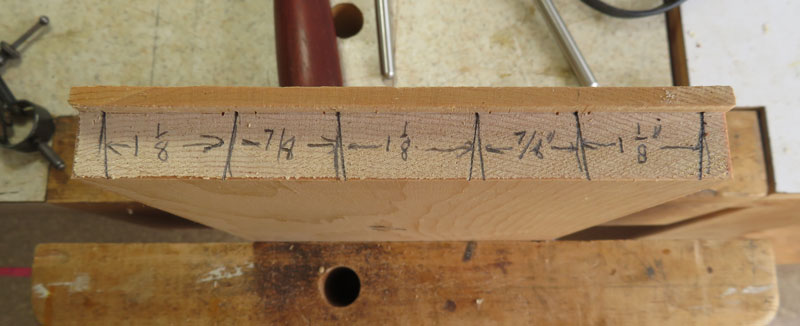
Here's the pins laid out.
Now, I want to scribe a line on the inside face of the wood, from the end of each line of the pins, to the scribe line on the face. I use a double square and a knife.

This is what the scribe line looks like.
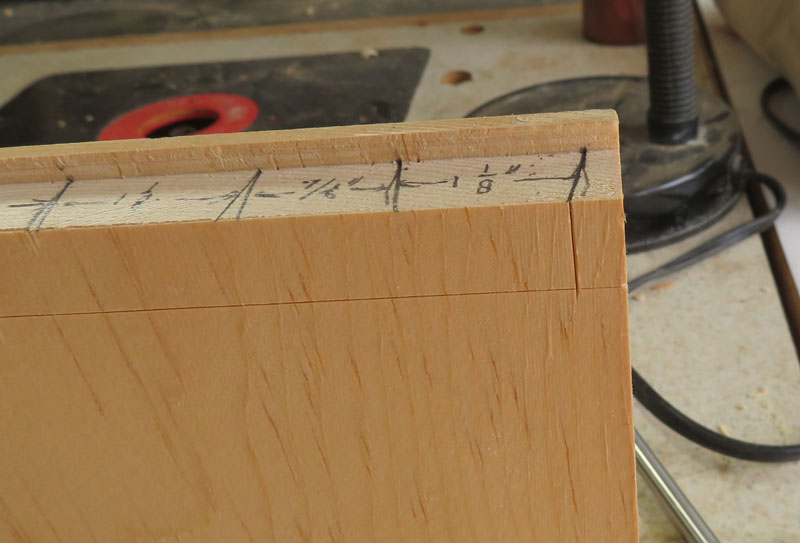
All of the lines are scribed in this next picture, and the waste has been marked.
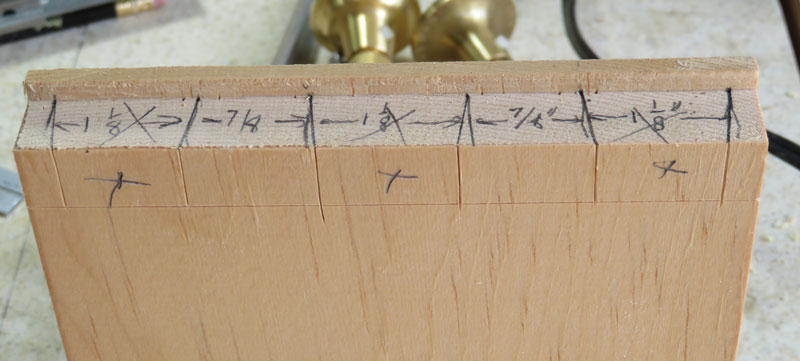
Saw along each line, on the waste side.
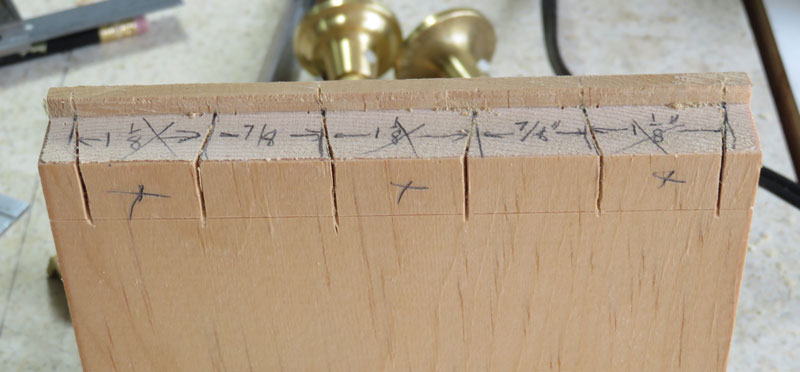
Chop out the waste, the same way you would for half blind dovetails.
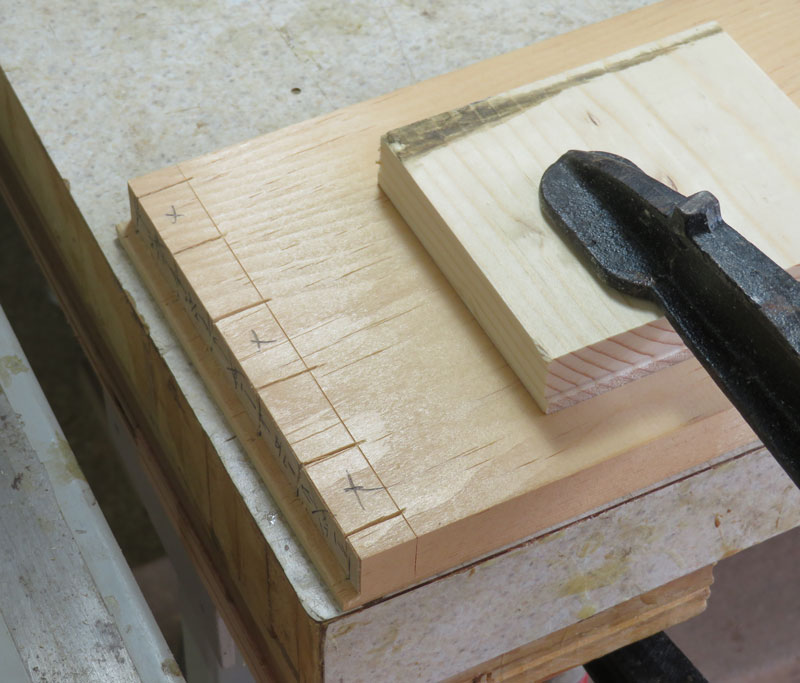
Take the sockets down to the bottom of the rabbet.
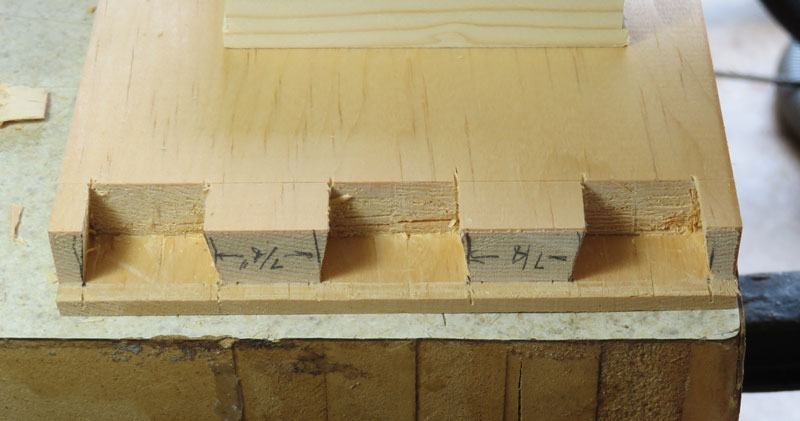
Now we have to transfer the pins to the tails. This is done in the usual pins-to-tails layout where the tail board is laid on the bench and the pin board is on edge against it. I use a clamp to hold the pin board in place.

This is a close up of the pin board against the tail board. You can see how the rabbets line up. If you need to adjust things, you can tap the pin board with a soft hammer to get it exactly in position.

Using a knife, transfer the pins to the tails.

This is what the tail board will look like after the transfer.
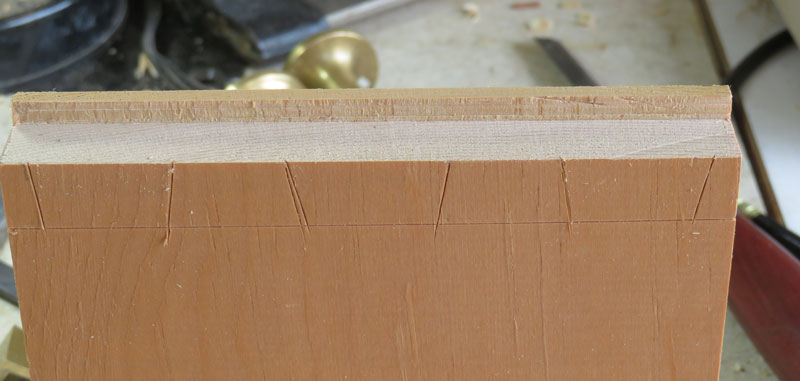
Now take those marks back to the rabbet. I use a double square and knife them.
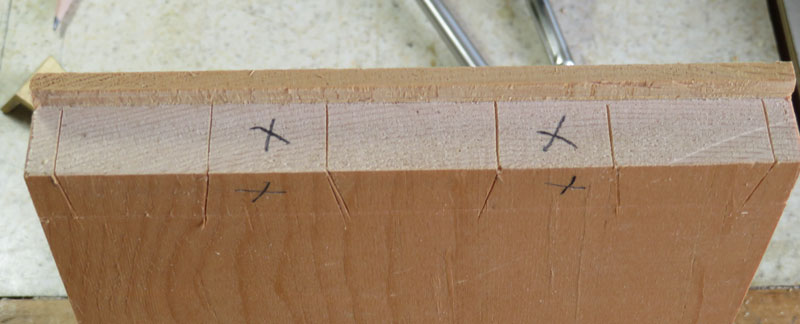
Here's the tail board after marking and with the waste indicated.
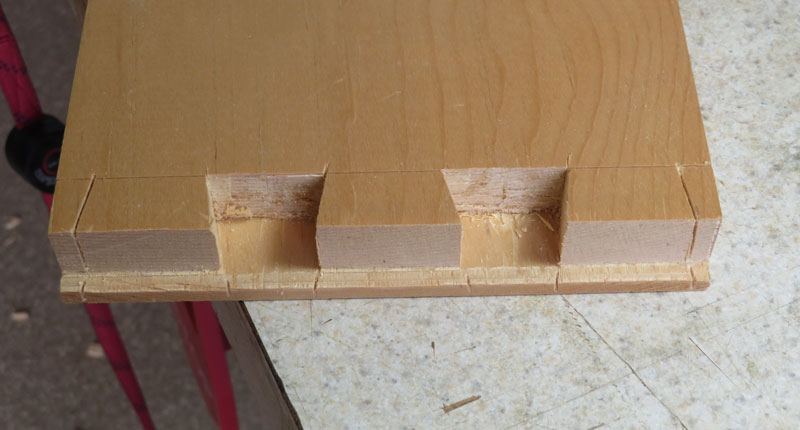
Saw to the line on the waste side.

Then chop out the waste.
Now we have to trim the miters. Start with one side - I used a chisel from the bottom and cut to the top but I've also used the saw and sawn along the line. The saw is a bit quicker. This is the tail board.

Then use a very sharp chisel and trim along the edge of the rabbet to cut it back to a 45 degree angle.
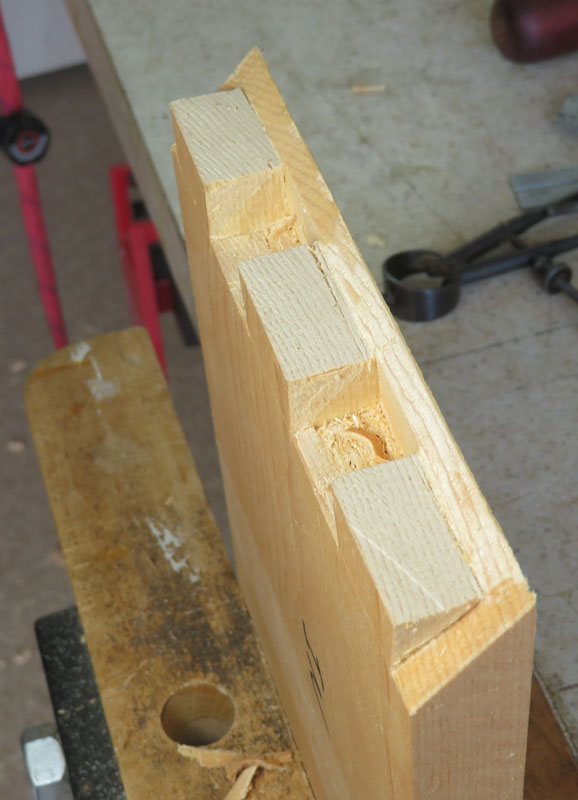
Here's an edge view to show it better.
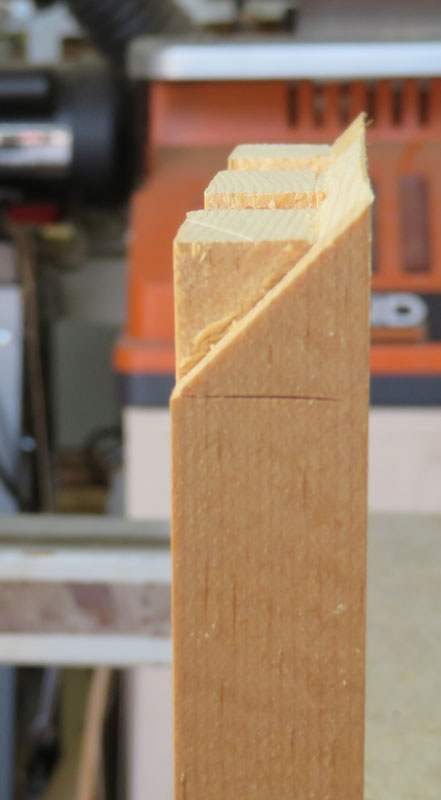
And here's the pin board trimmed the same way.
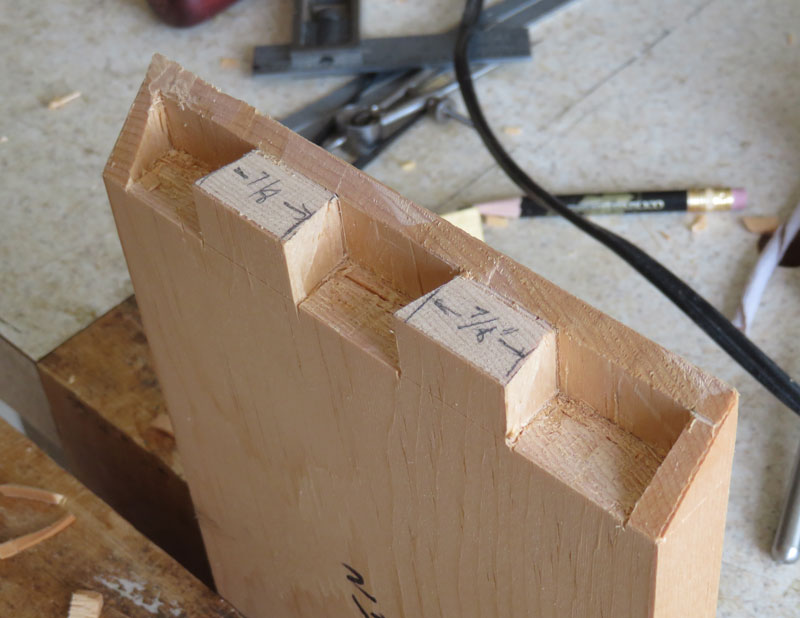
And now, it's time for the trial fitting.

Not too bad. Once it's clamped and glued it'll be great.

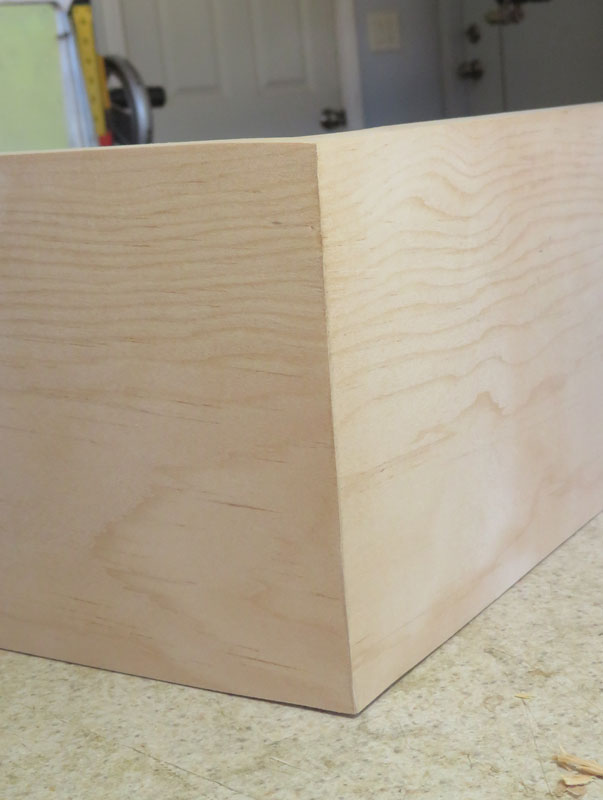
Here's the joint after gluing and a light sanding of the joint to remove the glue marks. No one will ever know there's a dovetail inside this miter joint!
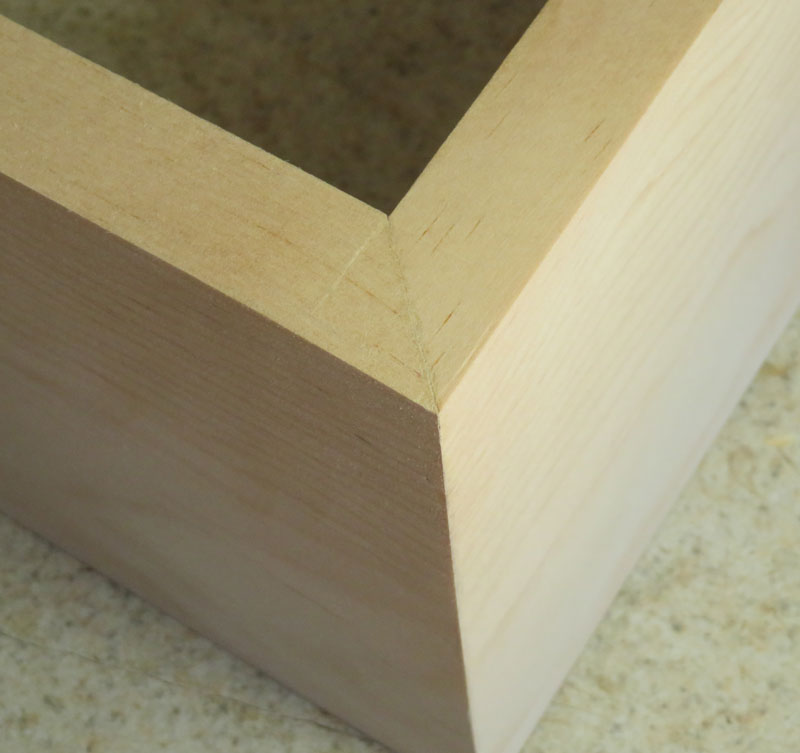
Note how the grain flows around the corner of this joint.
Click here to return to my main page.