Carving Your Second Shell
P. Michael Henderson
January 1, 2009
After you get enough practice with the Simple Shell, it's time to try a more difficult shell. This shell builds on the Simple Shell but adds the complexity of curved flutes (which have to be drawn by hand) and very close spacing of cuts at the bottom.
If you find this tutorial useful, I'd really appreciate if you would send me an e-mail with the subject line of "Second Shell" so I can get some indication of how many people are reading it.
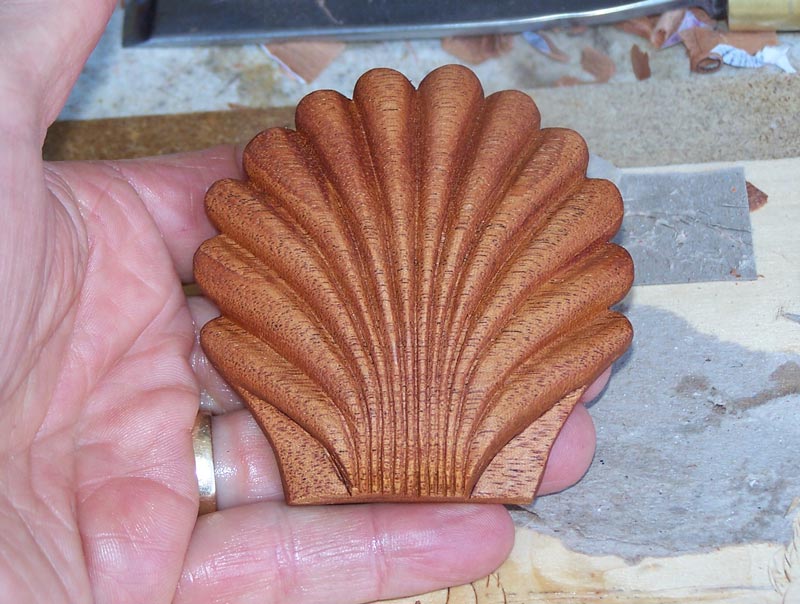
Here's a picture of the finished shell you'll be carving in this tutorial.

I'm not going to start from basics here - you need to review the Simple Shell Tutorial to see how to prepare the carving blank and mount it.
Note that I use the Swiss system when describing carving tools in all of my tutorials.
I had prepared this blank long ago and just pulled it out for this tutorial. Note the red marker on the top. I usually do this when I want to remind myself that there's something unusual about this blank - maybe the wood has streaks in it, or I had glued up wood to make the blank, or something. Problem is, I can't remember why I put that mark on the blank. It turned out the blank was fine.
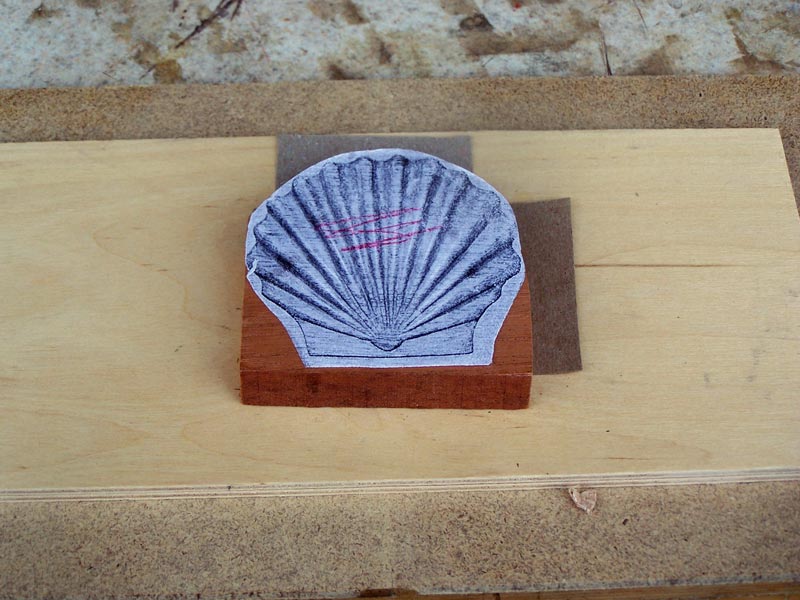
For some reason, I didn't completely rough out this blank on the bandsaw. Maybe
I was planning to do something else with it. But since we have sharp carving
tools, the blank is fine.
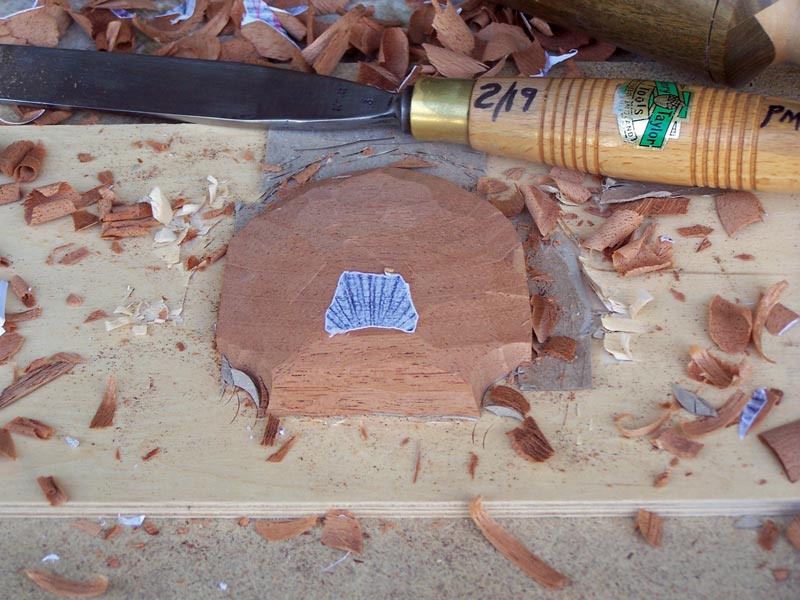
To begin, I use a #2/19 and start to rough out the shape of the shell.
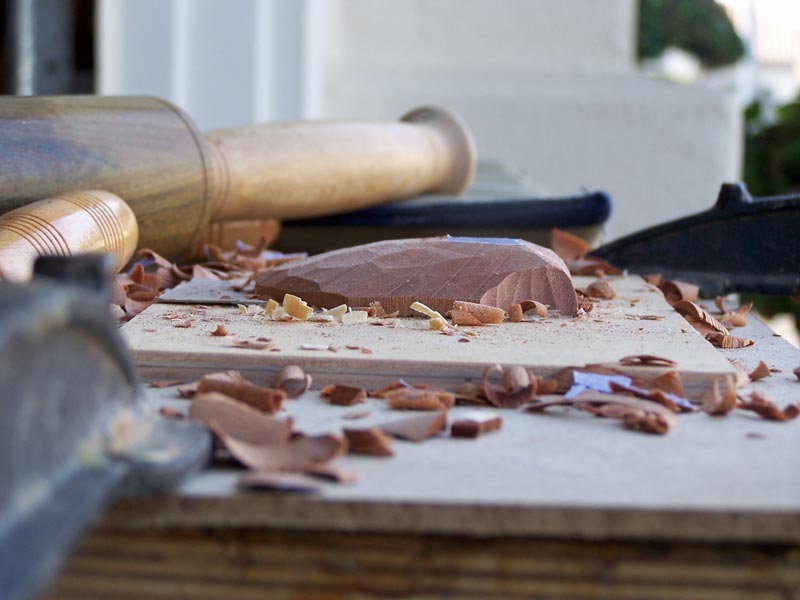
Here's a view from the side to show you the profile of the rough shape.
Once you have the blank roughed out, draw a vertical line that approximately divides the blank in two.
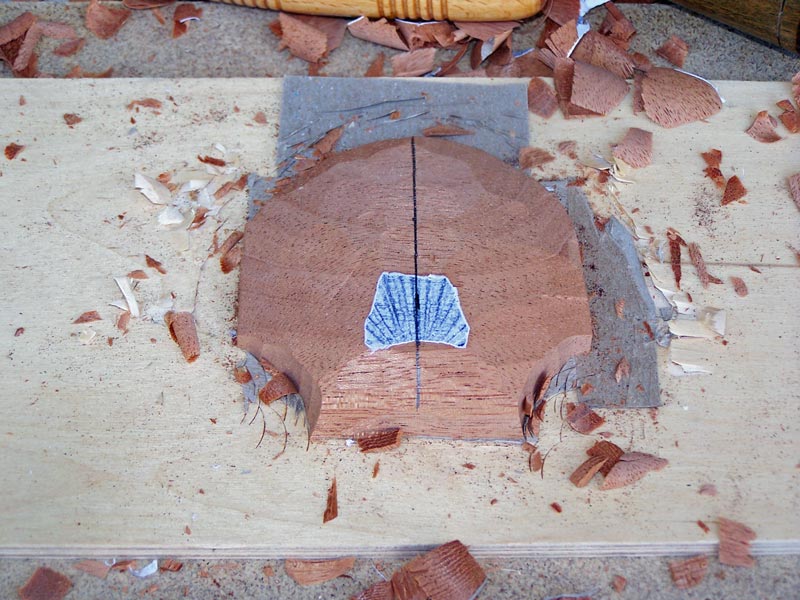
Next, use a pair of dividers and lay in five lines to the left and right of the center line. You have to think about the flutes which are outlined by these lines to get the width of dividers but by now, you should be able to do that easily.
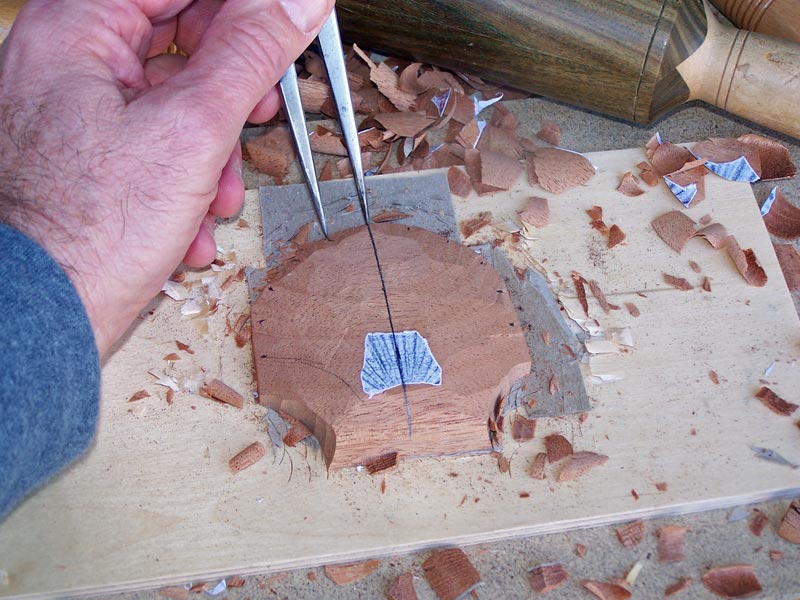
The next step is the first "complexity" - you need to draw curved lines to outline the flutes. You pretty much have to do this by hand - I don't know any "mechanical" way to do it. Draw some lines and see how they look to you. If you don't like what you did, use sandpaper and erase the lines and do it over. One difficulty is to get the two sides looking alike.
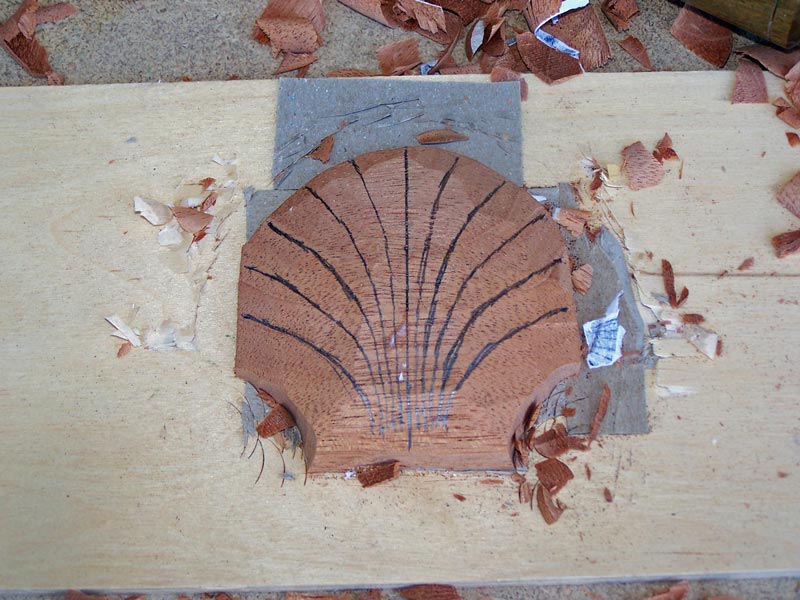
Using your V-tool, make a V-cut on the center line. You can start your line at the highest point of the shell - you don't have to take the cut all the way down the bottom/front yet.
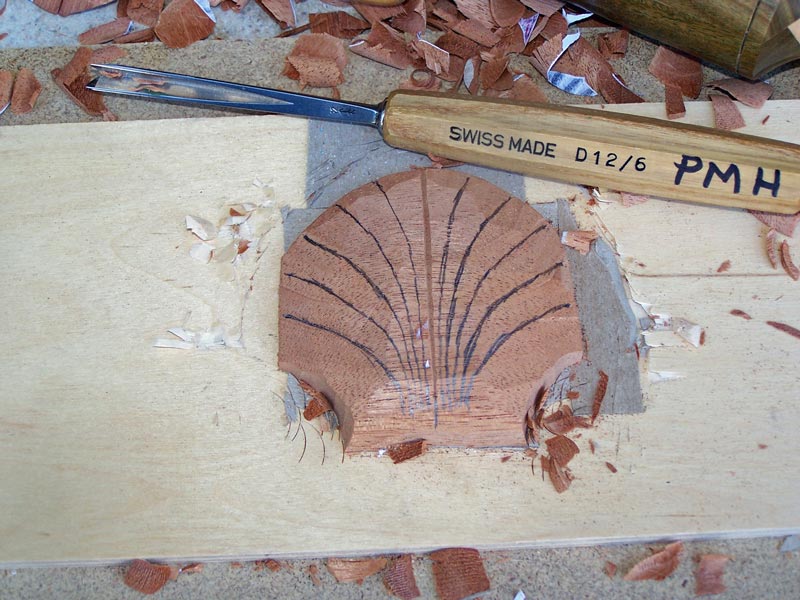
Now, do the same with the rest of the lines. Just take a light cut along each of your lines. Don't try to take the cuts down the front yet.
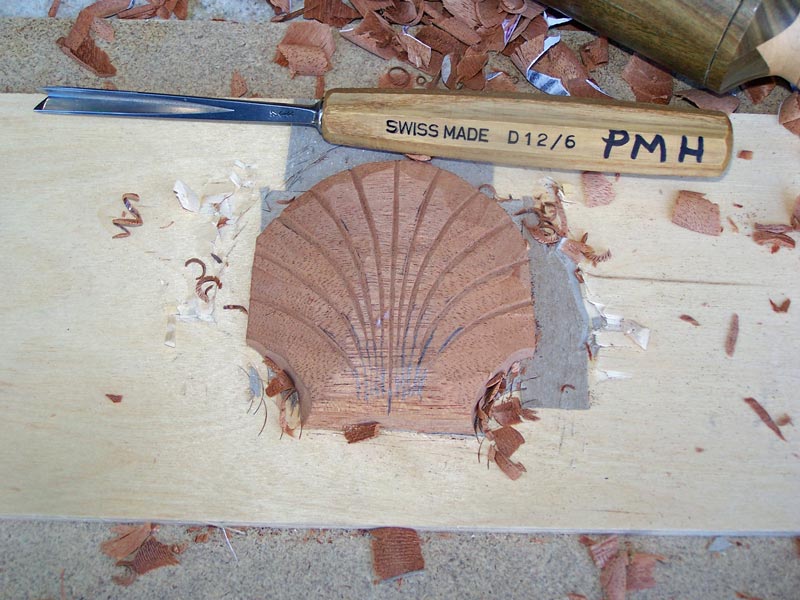
Go back and deepen your V-cuts, especially at the ends of the flutes. Note that I haven't taken the cuts down the front yet.
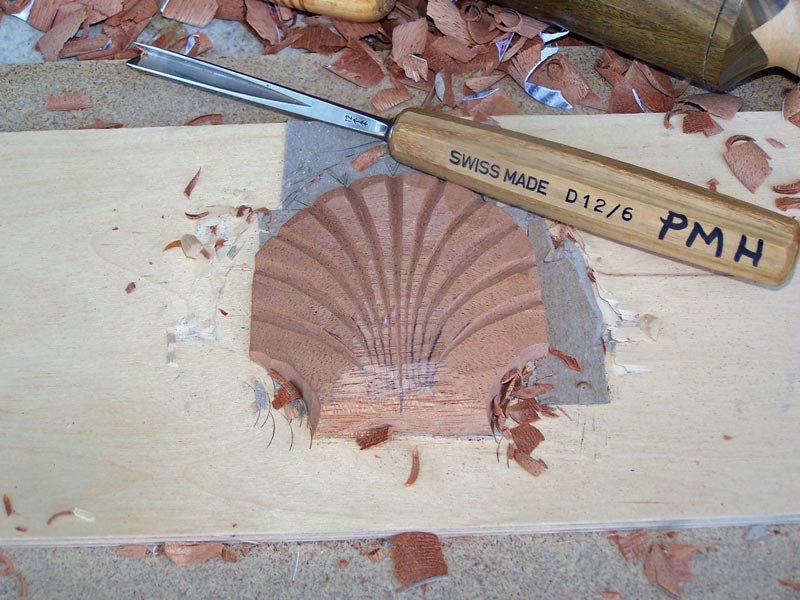
Now comes the second "complexity" - take the V-cuts down the front. Start with the center cut. Then do the two cuts on either side. Cut lightly and try to space the two cuts close and equally on both sides of the center cut.
Then make the next two cuts moving outward on both sides. Continue this until
you've done all the cuts. It's easy to "jump" a cut so be careful that you get
each one in order.
When you make these cuts, start at the top and go down the bottom. Do not try to
start at the bottom and go up - you won't be able to meet up with the existing
cuts well.
If you mess up, just carve your cuts down and try again.
Make all the cuts end in a straight line - that is, take all of them down the
exact same amount. The ends of all of the cuts should line up.
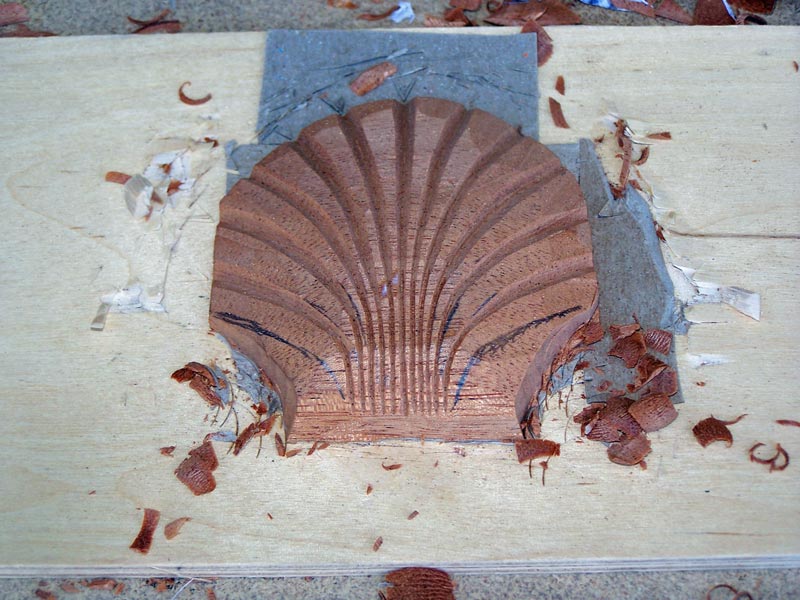
Once you've completed those cuts, we'll lay in the hinges. Draw lines to outline the bottom of the lowest flutes on each side (see picture above). I think I used a #3/8 to clean cut in the hinges.
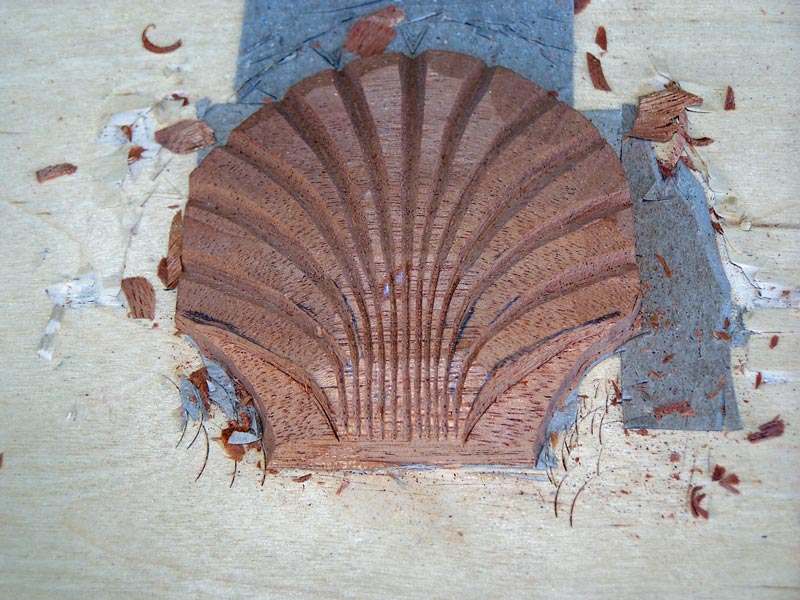
The next step is to round over the flutes. You have to be careful with this step because you need to go one way (from outside to inside) on one side of the flute and the other way (from inside to outside) on the other side of the flute. A very small amount of experimentation will tell you which way to go. If you go the wrong way, your gouge will dive into the wood and you'll take chunk out - more than you wanted to.
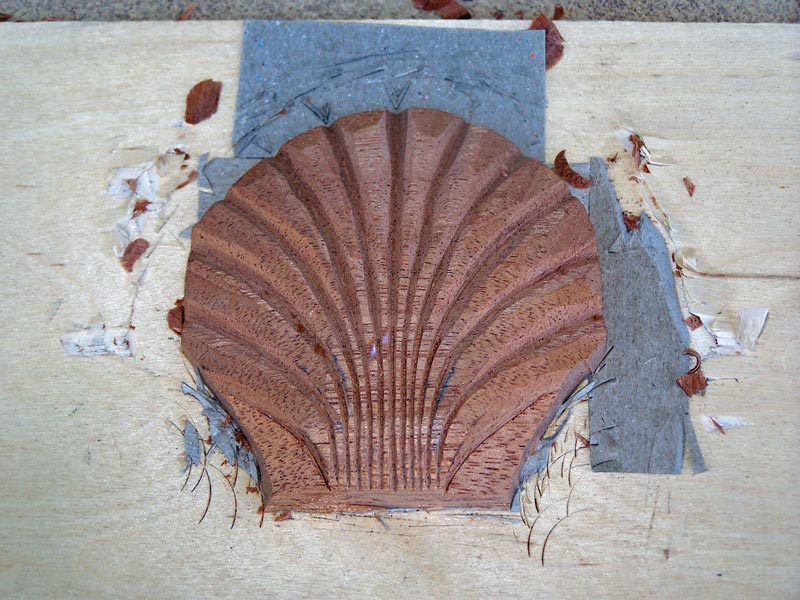
Now we can shape the end of the flutes. I used a #7/10 to make those cuts but a variety of gouges could be used successfully.

We're ready now to use a bit of medium sandpaper to smooth out the flutes. I use P150.
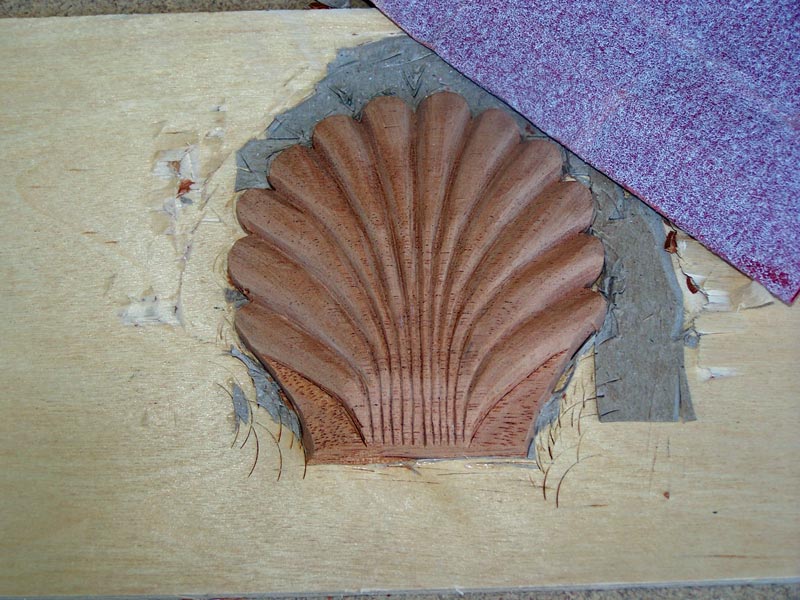
You're now ready to remove the shell from the backer board. See the Simple Shell Tutorial for how to do this. With the shell removed, you can complete the sanding. Use P150 until all the tool marks are gone, then use P220 to get the flutes smooth.
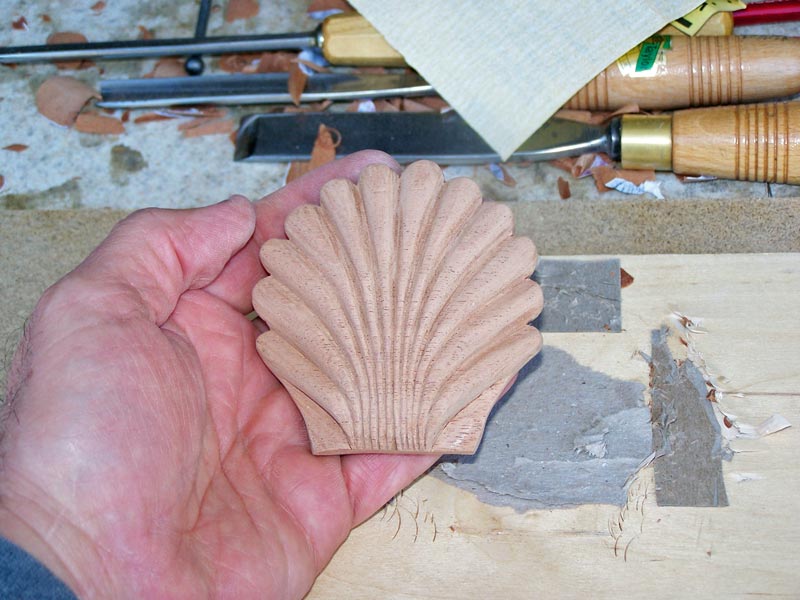
Once you get it sanded to your satisfaction, you can mount it on your furniture. I used a bit of oil finish to show you what it will look like finished.
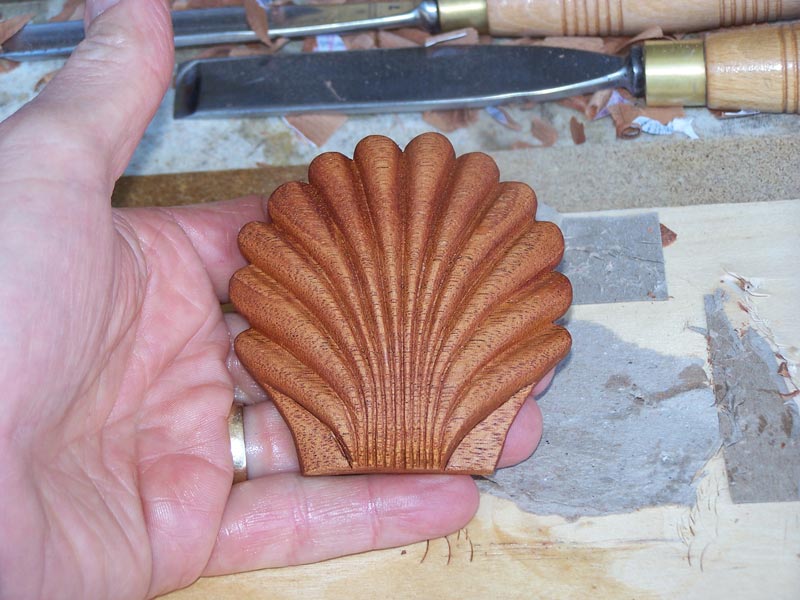
You can see my woodwork here.