Installing Quadrant Hinges
without a Router
Continued
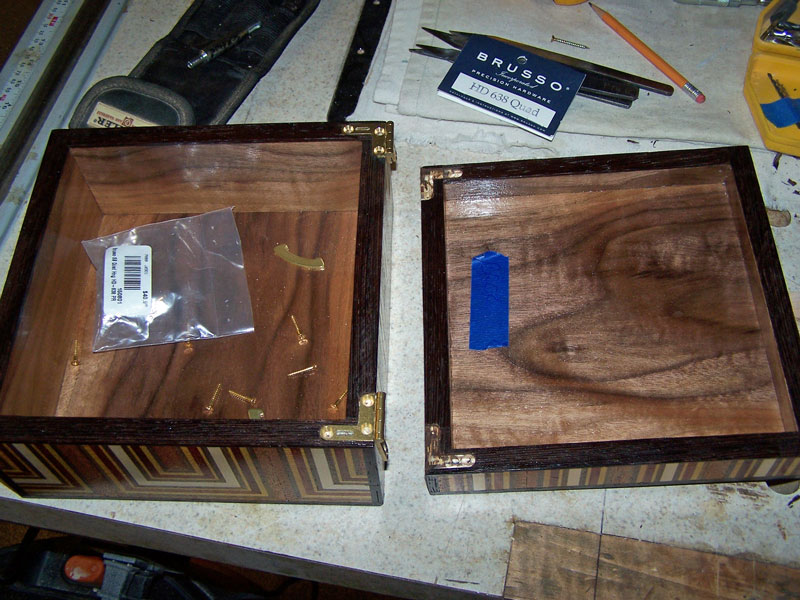
At this point, I have all four mortises cut, and I'm satisfied with the depth of the hinge wings. We're now at the moment of truth - (1) will the hinges line up in the mortises? (2) will the top be aligned with the bottom (and for this box, will the veneer pattern be lined up)? and (3) will the top fit to the bottom without gaps, either in front or in back?
I'll begin by attaching the hinges to the top with one screw. The reason I only use one screw is because if the top doesn't fit, I'm going to have to move one of the hinges. I can then use one of the other screw locations to position the hinge in its new position. If all is well after the move, I'll fill this first screw hole and re-drill it.
I start by holding the hinge in position and using a Vix type bit to center the drilled hole in the center of the hole in the hinge (I had my wife take these pictures so I could use two hands).
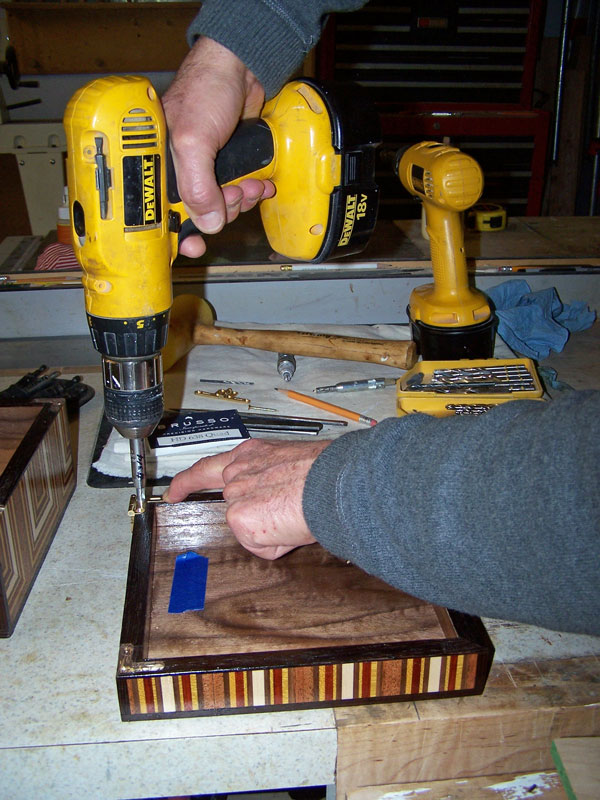
The screws supplied with these hinges are quite long, longer than the hole drilled by my Vix type bit. To avoid any chance of splitting, I next drilled the hole deeper with a standard drill bit.
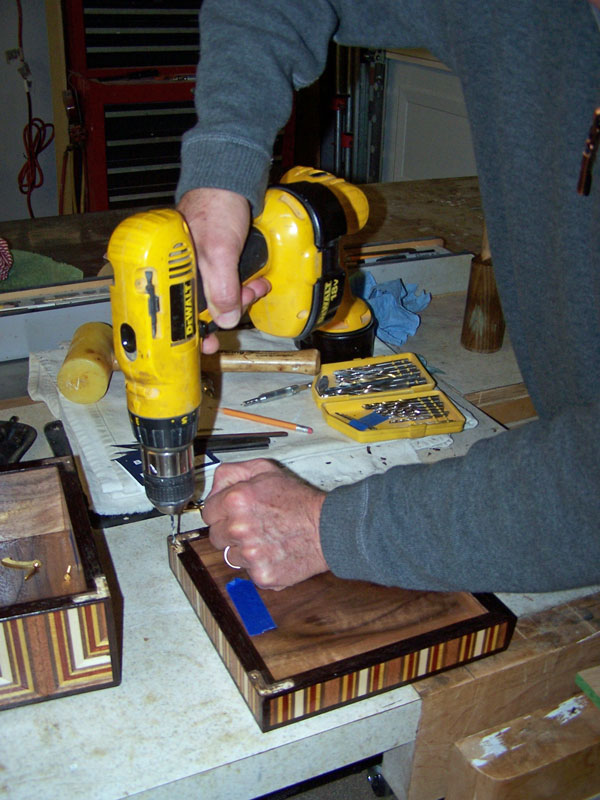
The screws supplied with the hinges are brass, and brass screws break off more easily than steel screws. To avoid the possibility of having one break off, I use a steel screw of the same size and screw it in and out before using the brass screws. If you've ever had to try to take out a screw that broke off, you'll understand why I'm so careful about putting in these brass screws.
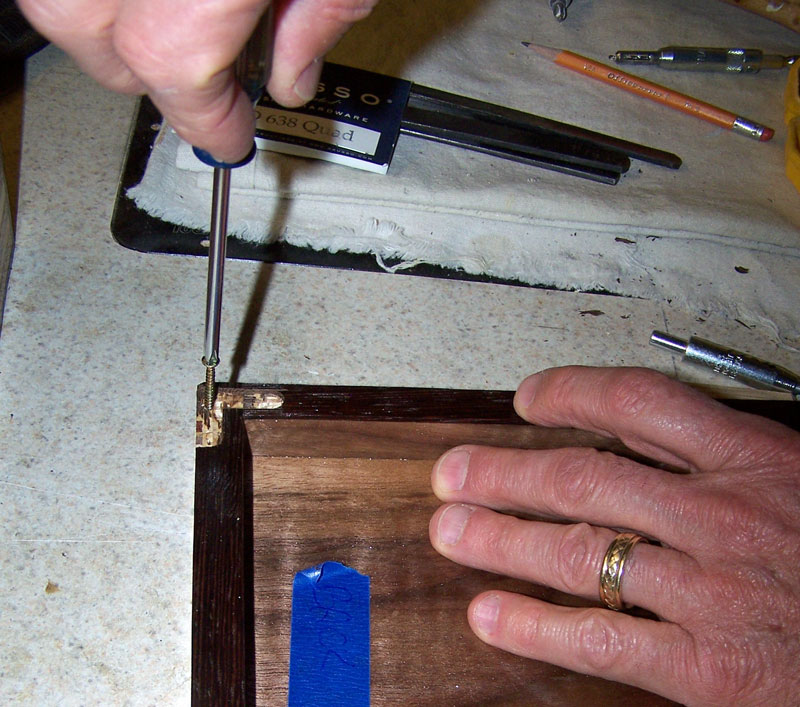
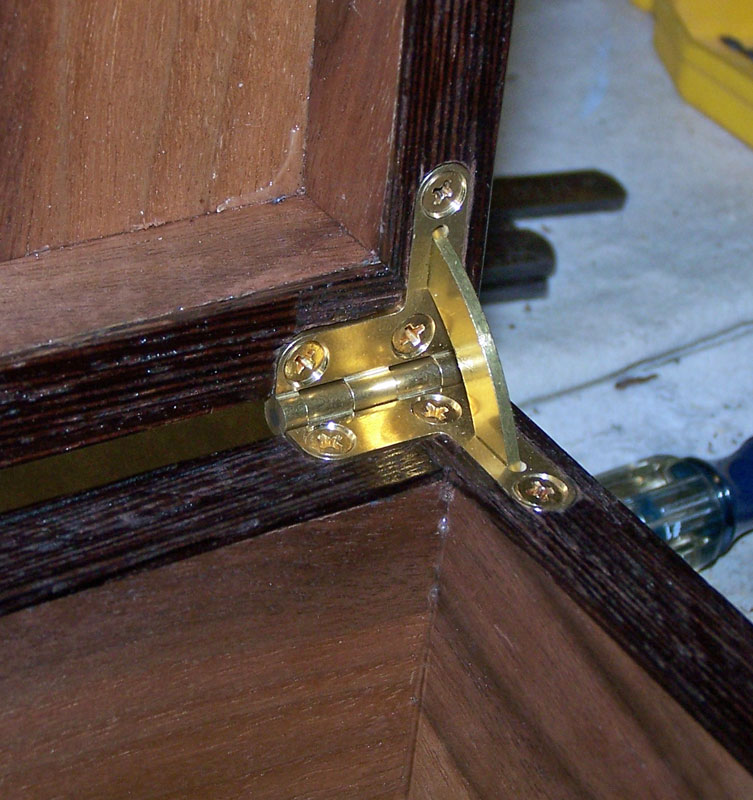
I put in the one screw per hinge wing in the top two mortises. It's now time to see if the mortises line up.

They're tight but they line up and fit into the mortises on the bottom of the box.
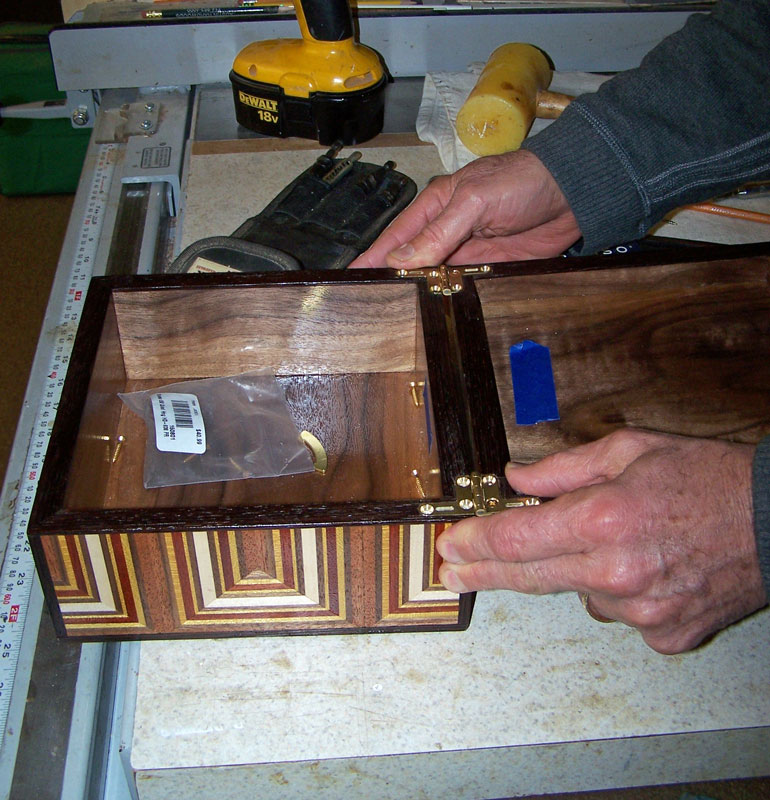
I install one screw in each hinge, using the same technique as described earlier.
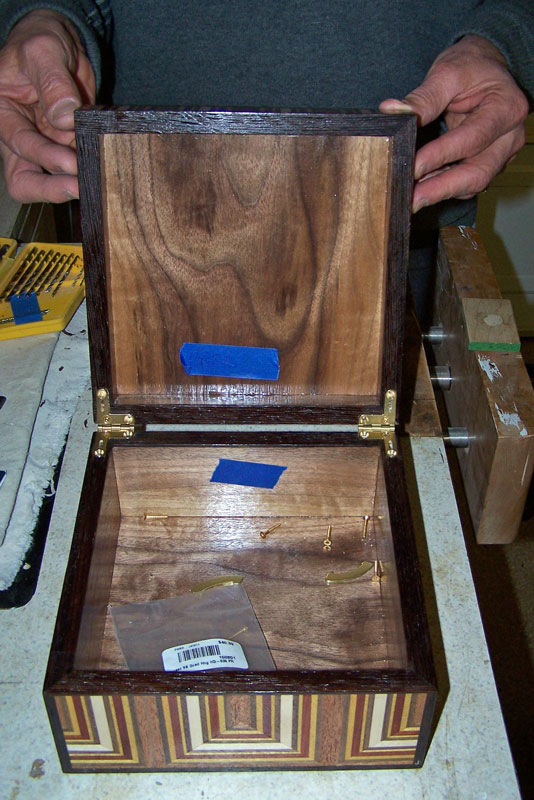
The fit's pretty good. Here's a view from the front.
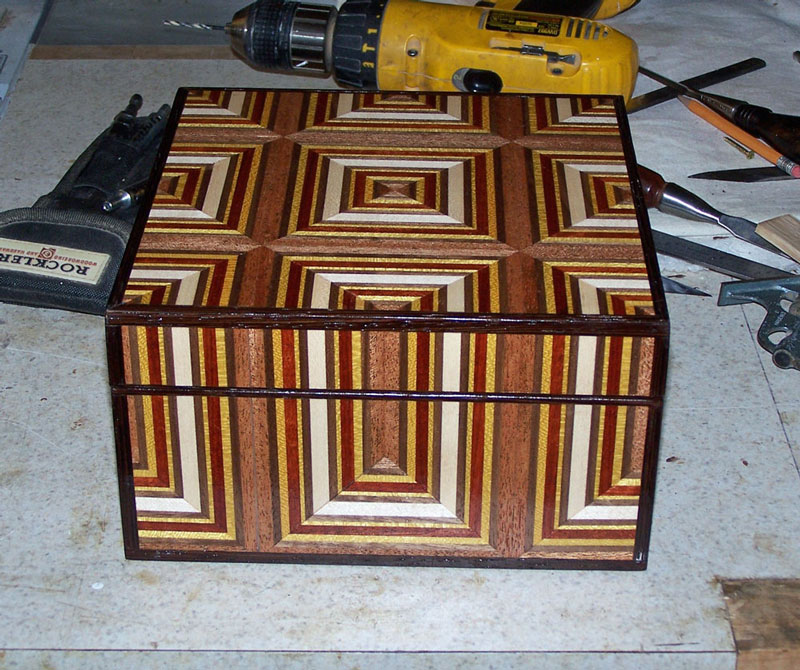
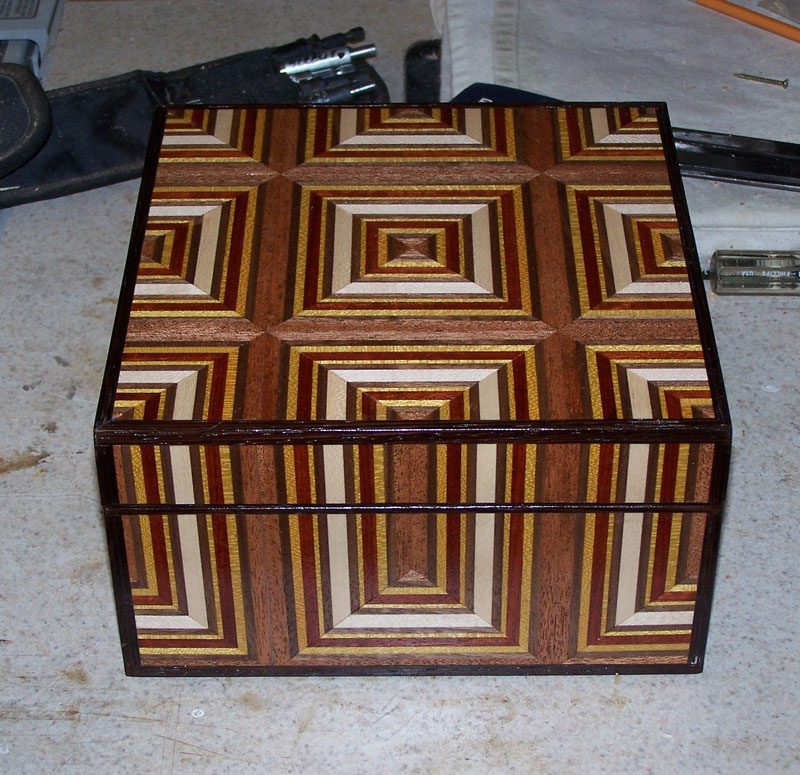
And a view from the rear. I'm satisfied with the fit. The top is aligned with the bottom, the veneer pattern is aligned and there are no unacceptable gaps along the mating surfaces.
Since I'm satisfied with the positioning of the hinges, I'll now put in the holes for the other screws and drill out the slots for the support arms. When drilling the holes for the other screws, make sure you do it with the hinges installed with the one screw. That way, the holes will be in the proper place, just in case there's some possibility of slight movement of the wings in the mortises.
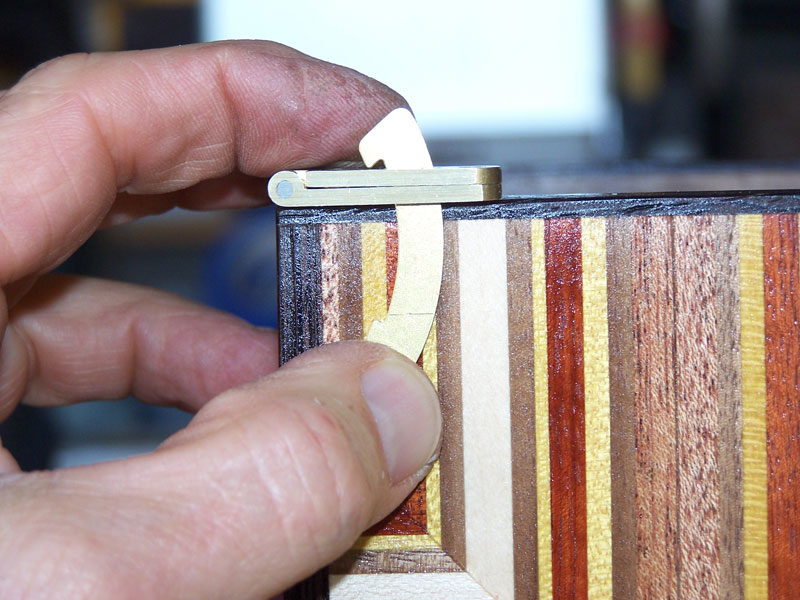
The final step is to make the mortises for the support arms. The support arms are about 1.25" long. When the top is closed, the support arm must be fully contained within a mortise in the bottom and in the top. You can divide the arm between the top and the bottom or you can mostly contain it within the bottom. If your top is very thin, you'll want to contain the arm mostly within the bottom.
Here's a couple of pictures showing the length of the support arm and how deeply it would go into the sides.

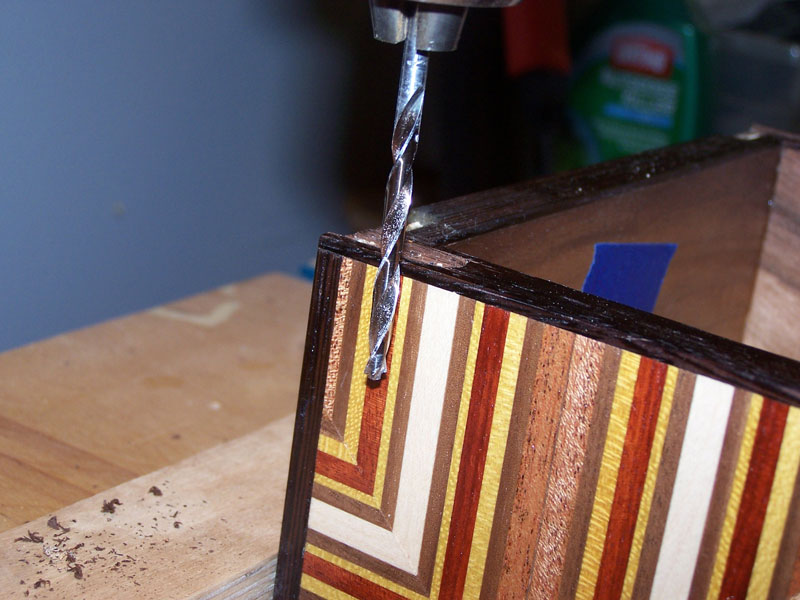
I drill out the mortises for the support arms. Before you remove the hinges, mark the location of the slots for the support arm in each wing.

The size of the drill bit is not critical. You want to stay less than 5/16" (the width of the wing) but you want to be large enough so that you don't have to be so precise in the placement of the mortise. I didn't even look at the size of this bit - I just looked at the bits and selected the one I used. I think it's about 3/16".
Put it in the drill press and set the depth to about 3/4" to 1". The top on this box is fairly high so I can use a fairly deep mortise in it. Use the marks you made for the location of the slots in the wings as a guide for drilling out the mortises.
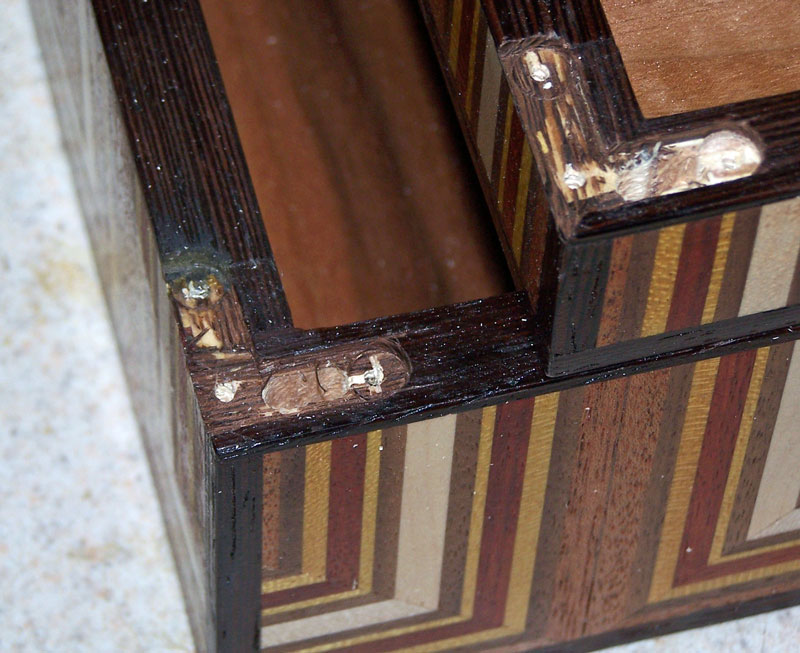
I drilled out each mortise, making sure that I went back far enough - that the mortise extends further towards the back of the box than the slot. The support arm is curved so it needs more space at the back of the mortise than the back of the slot in the wing. This next picture shows the mortises, but it's somewhat hard to see them - there just isn't enough contrast in the picture.
Install the support arms into the hinges. One end of the support arm has a shorter "barb" than the other. That short barb end goes down.
Now, install the hinges with the support arms in them. Raise and lower the top a few times listening and feeling for any binding. If you have any rough spots, you'll probably have to chisel out the support arm mortises a bit. Often the mortise does not extend back enough and the arm rubs on the front of the slot in the wing.
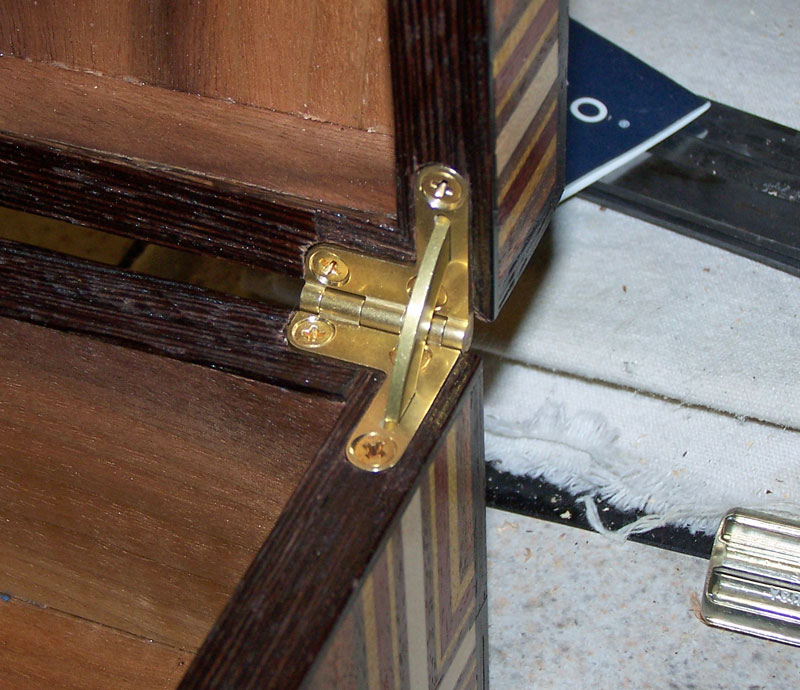
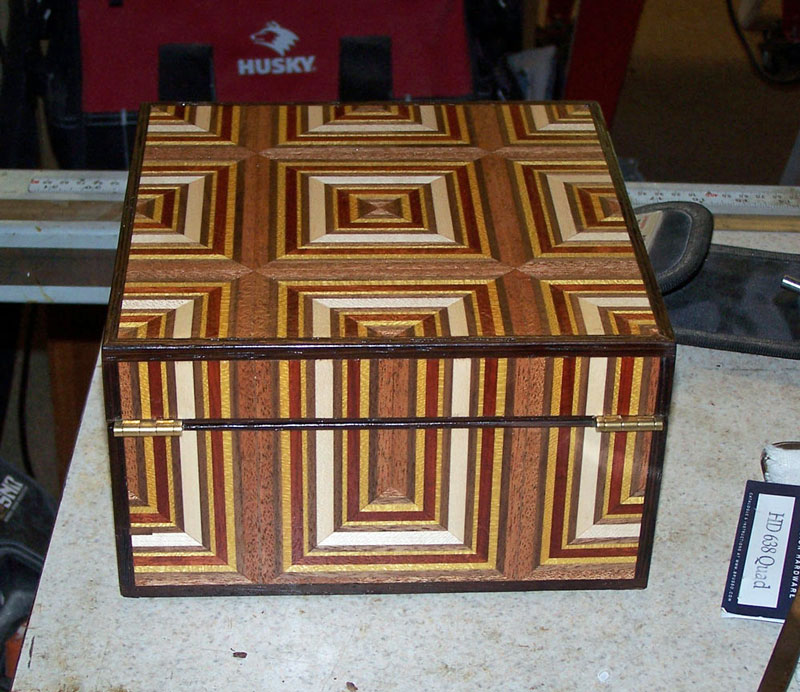
And that completes the installation of the quadrant hinges. Nice looking box, isn't it? Scott did a good job building it.
If you have any comments or questions, please contact me at mike@mikes-woodwork.com
You can see my woodwork here.