Making an Eight Sided Serving Tray
P. Michael Henderson
Before starting to cut the sides, a good thing to do is to put a number on the side of the substrate where each side piece will go. Because of the way I cut the pieces for the sides, I number in a clockwise direction.

Since this is an eight sided tray, each corner is 45 degrees (360/8). When cutting a miter, the miter angle is half the included angle, so I set my miter saw at 22.5 degrees. Most miter saws have a detent at that angle.
It's also a good idea to use a backer board to minimize tear out. Here, I'm used a piece of scrap MDF. Keep your cutoffs! You'll need them for setups later on.
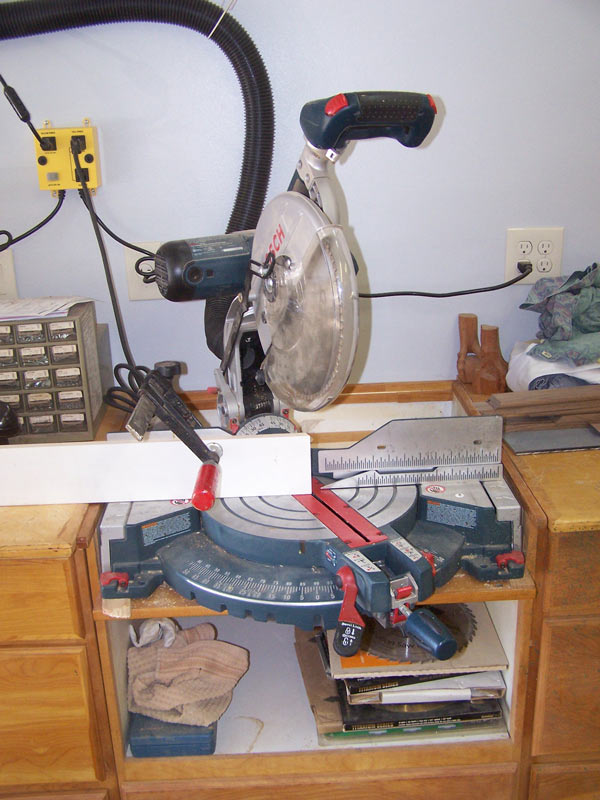
When cutting through the sides, make your cut slowly and you'll reduce the tearout at the bottom. After making the first 22.5 degree cut on one end, take your wood and set the tray into the groove, with the end of the tray at the end of the groove.
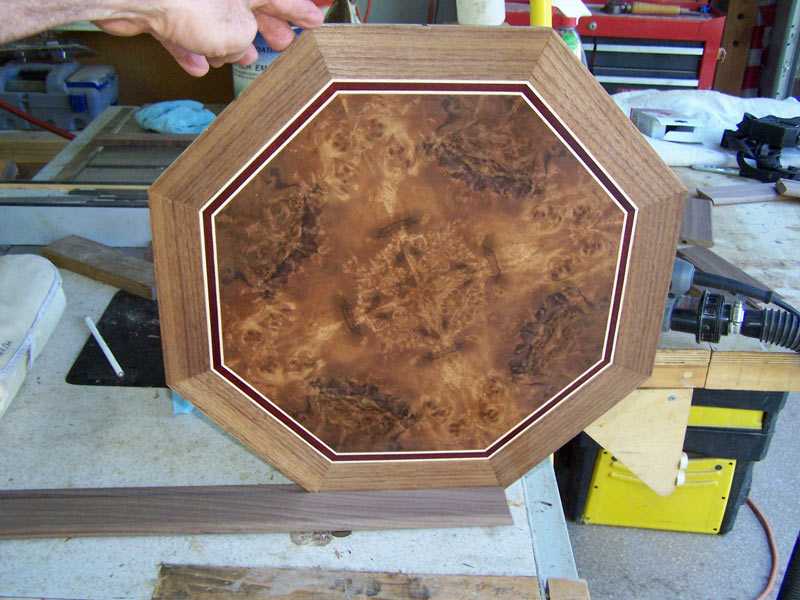
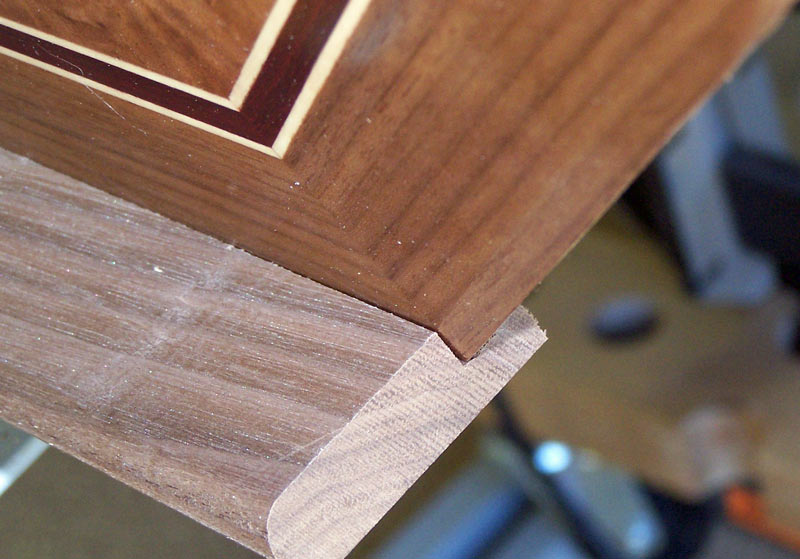
Mark where the end of the tray is on the sides. This is to be the other end of the groove, not the end of the side. I take a pencil and mark down in the groove, then transfer the mark to the outside of the wood so I can see where to cut.
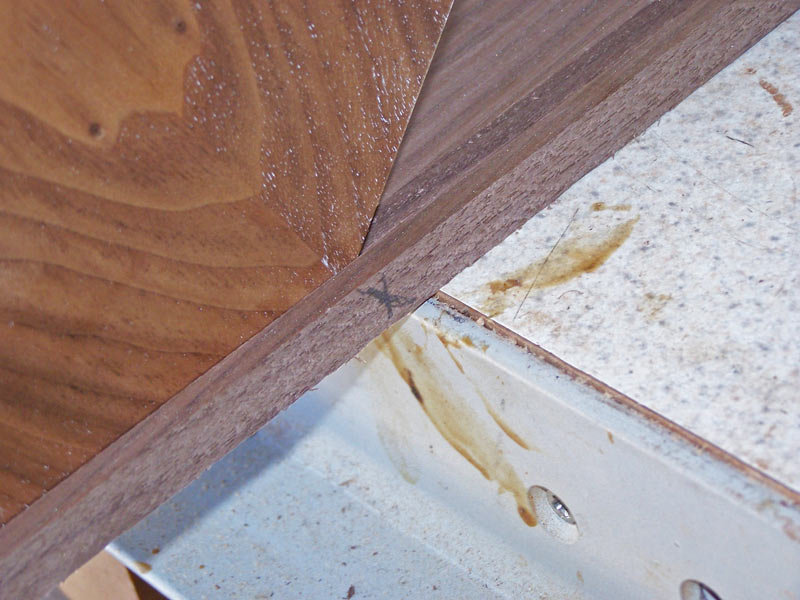
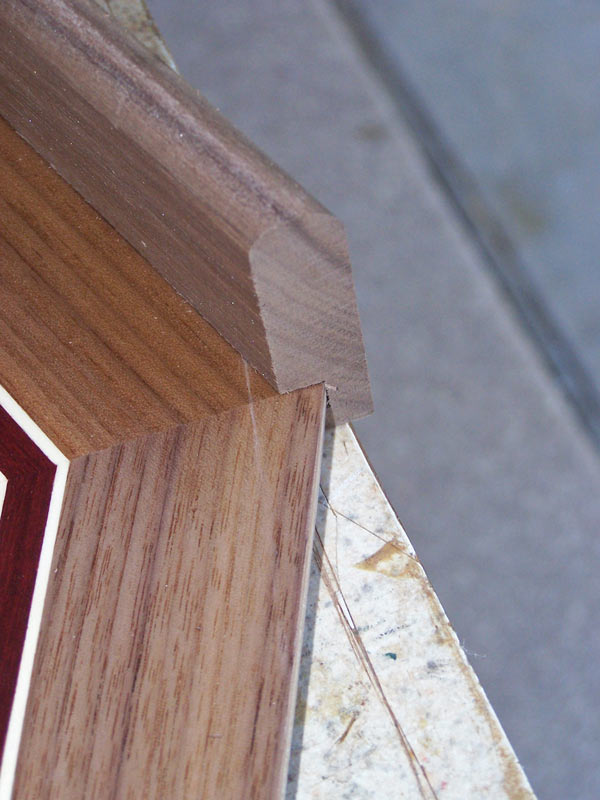
It's hard to get this cut exactly in the right place, so I always err on the long side. I'd rather have a slight mismatch in the grain match than have to throw away a piece of wood because it's too short. Do a trial fit and if the side is too long, trim it to length. A good fit will align with the seams in the veneer, if you were accurate in your veneer work.
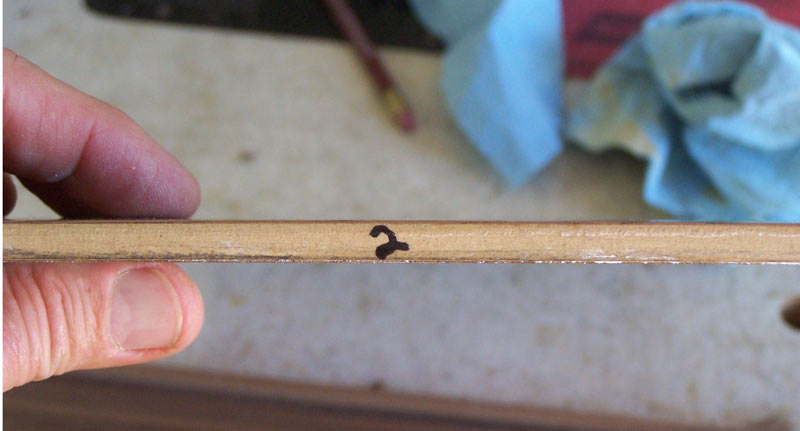
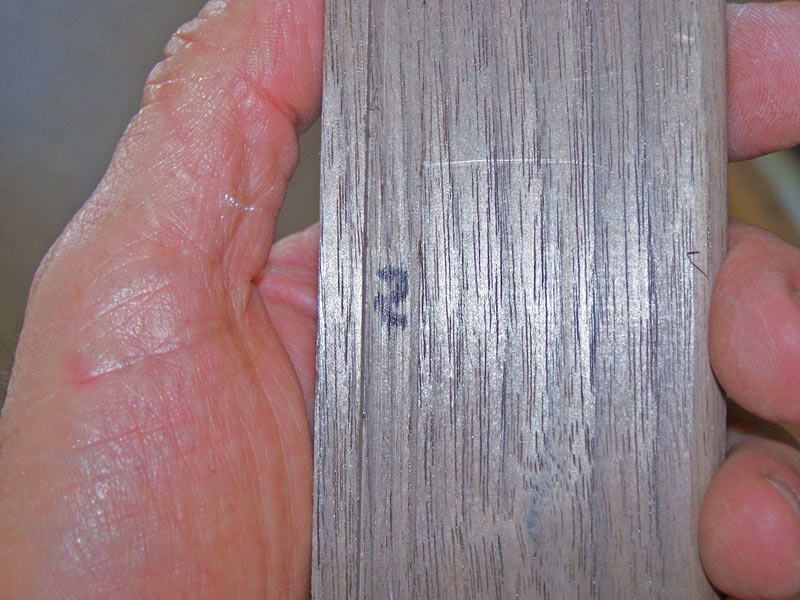
Mark the number of the piece to correspond to the side you fitted the piece to, so you can put the sides back together the same way you measured everything. Here, you see the number two piece with the numeral "2" in the groove. You can't put the mark anywhere else because you'll sand the rest of the side. Do the same with each piece, as you cut and fit them.
Do all eight pieces the same way. Once you have all of them cut, they'll go together as the picture below shows. Beginners often cut each piece a bit too long. Then when they go to assemble the sides, the sides don't close up enough and the tray bottom will slide from side to side. In a worse case, there will be a gap on one side when the tray bottom is moved to the other side. The only solution is to go back and trim the pieces closer to the proper length.
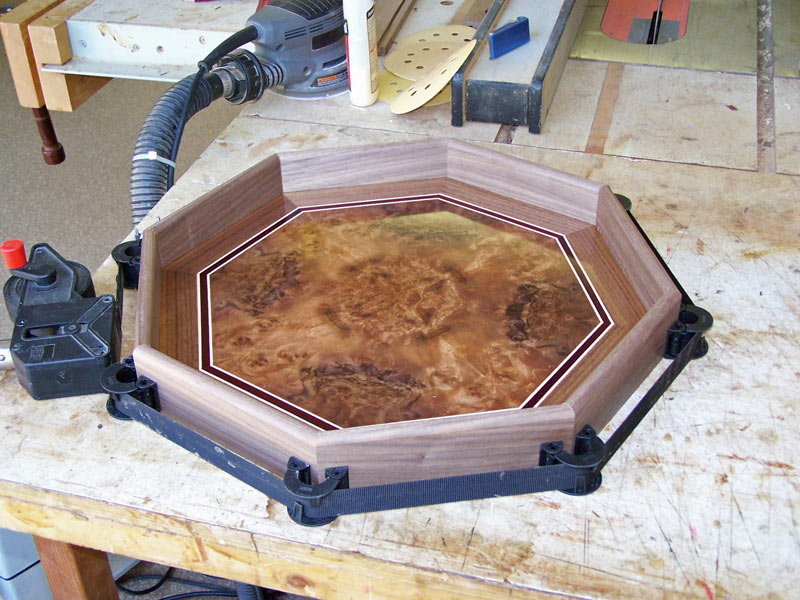
Note how the grain flows around the tray because we cut the pieces, in order, from one long board. There's only one mismatch where the first and eighth pieces meet.
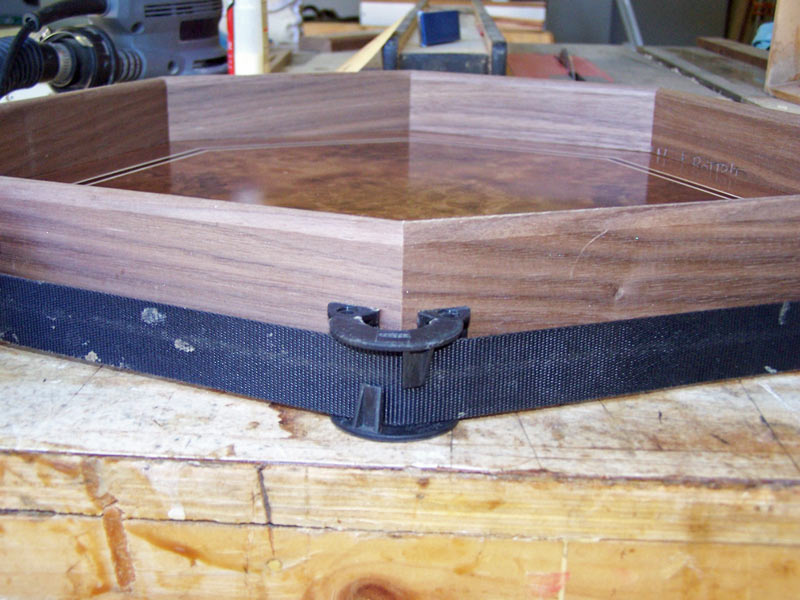
We're making progress but still have more to go. Next we're going to cut the holes for the handles, then we'll cut slots for FF biscuits in the corners, and we'll finish the inside of the sides. After we glue up, we'll finish the outside of the sides.
The tutorial continues here.