Restoring a Draw Knife
P. Michael Henderson
June 20, 2021
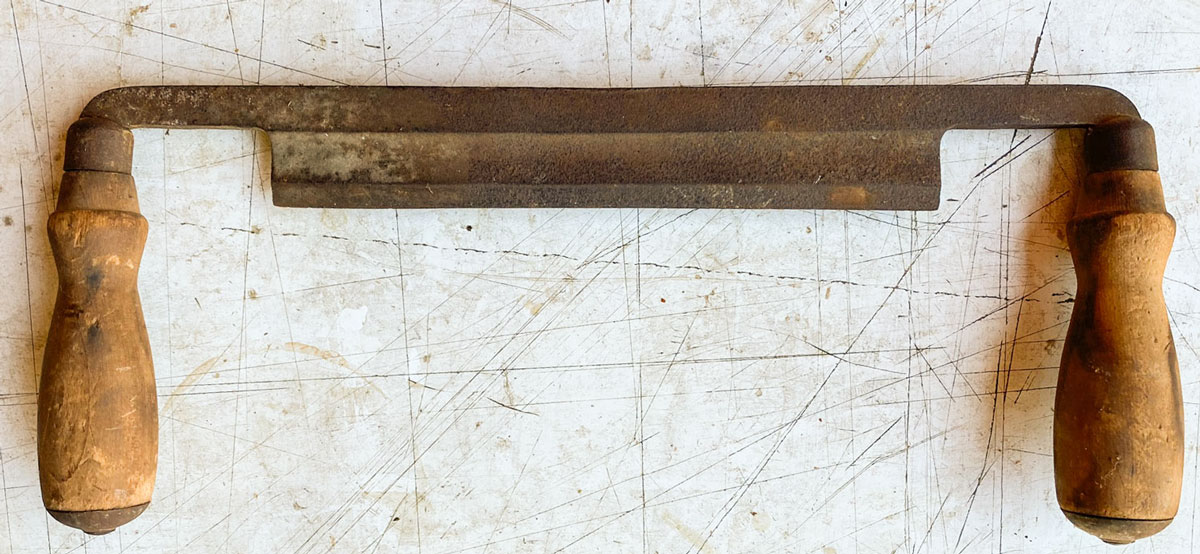
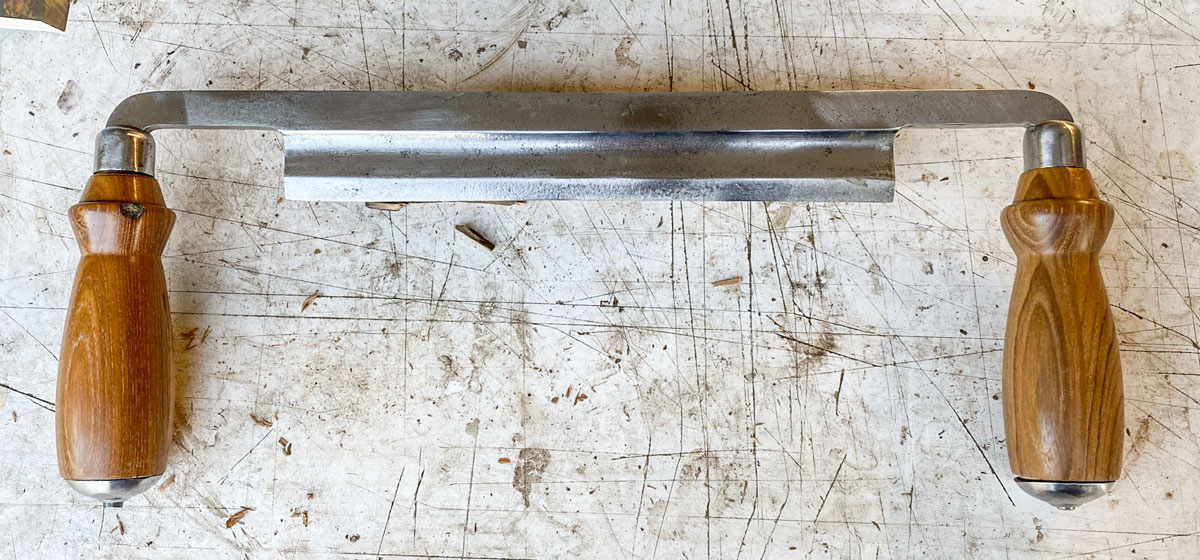
Sometime back, I obtained a draw knife in fairly poor condition. The primary reason I got it was to see what was involved in making new handles for a draw knife. This is what the draw knife looked like to start.
The process, as described by others on the Internet, is as follows:
1. Split the handle to remove it.
2. Heat the end of the rod to anneal the steel which might have been work-hardened when it was peened.
3. Hammer the peened part of the rod so that you can remove the metal cup that was at the end of the handle.
4. Heat the end of the rod again to anneal the steel which might have been work-hardened by your hammering to remove the peening.
5. Turn a replacement handle on the lathe.
6. Install the replacement handle.
7. Peen the end of the rod to hold the cup on at the bottom of the handle.
Sounds simple enough, doesn't it? Of course, the devil is in the details.
I started off by soaking it overnight in EvapoRust. That helped but didn't really remove the rust so I used deburring wheel to abrade the rust. Since I had never replaced a handle on a draw knife before I did one handle before I took pictures.
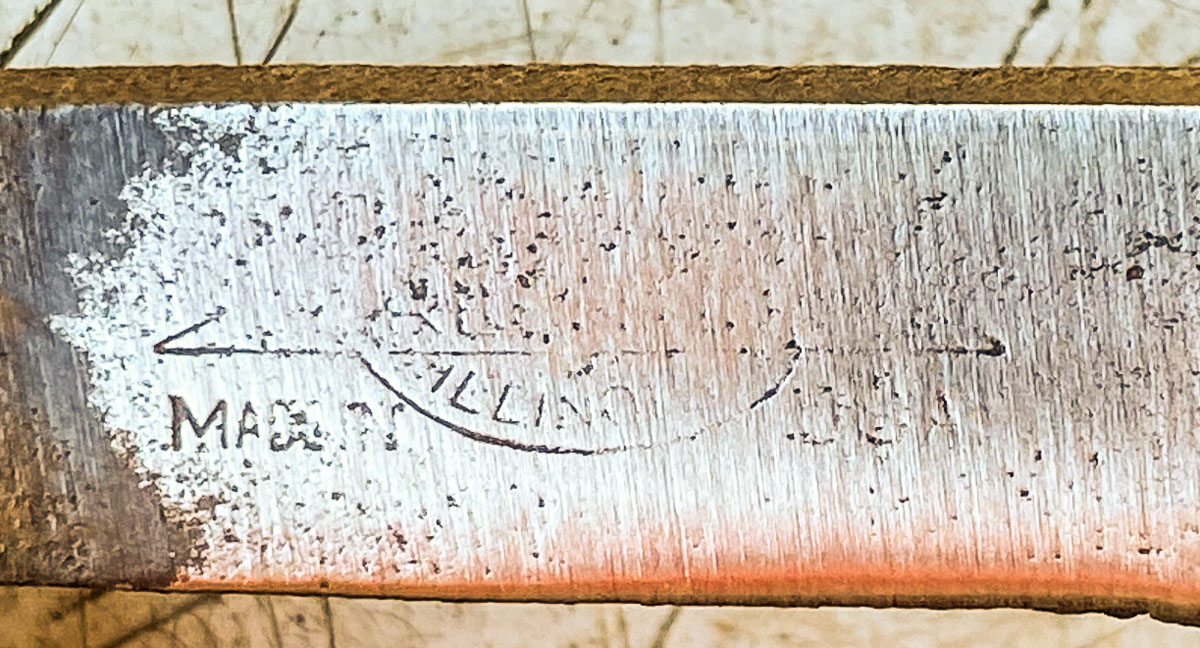
I found the logo but it was pretty faint. The rust and my deburring had obliterated a good bit of it - but it was still recognizable as a Greenlee.
Here's what it would have looked like when new.

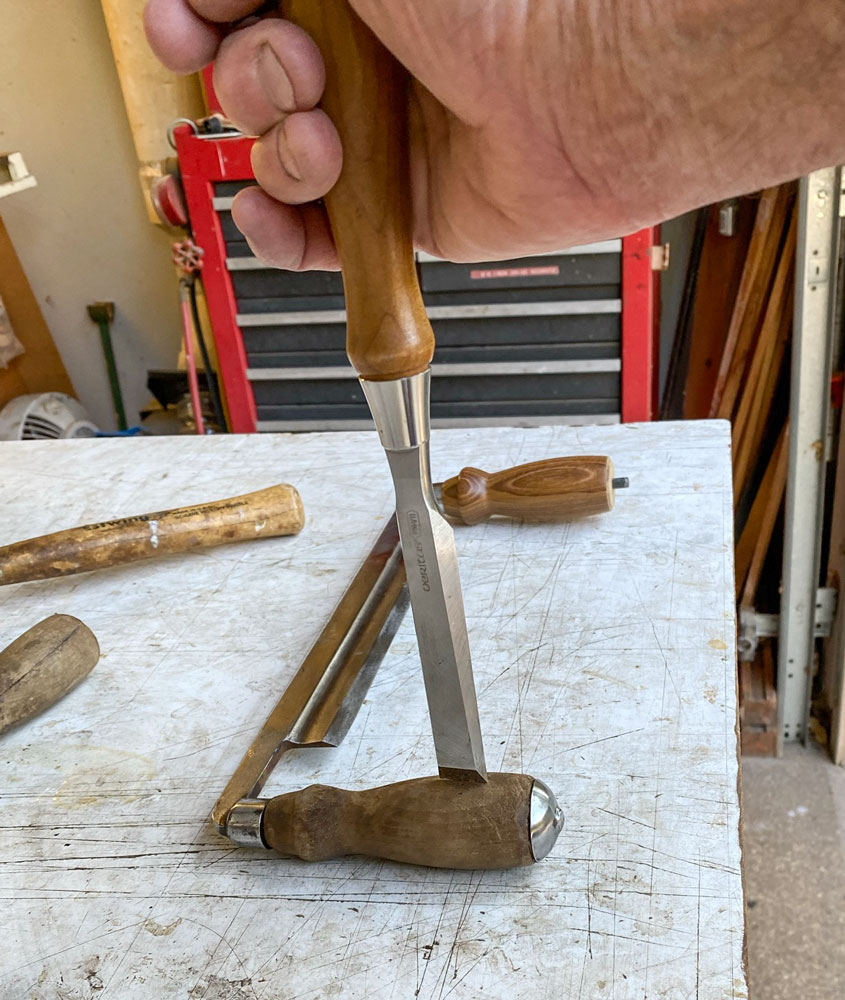
I started by using a chisel to split the handle. You can see in this picture that the other handle has already been done. I did one to learn what to do before taking pictures.
Here's the result of the first split.
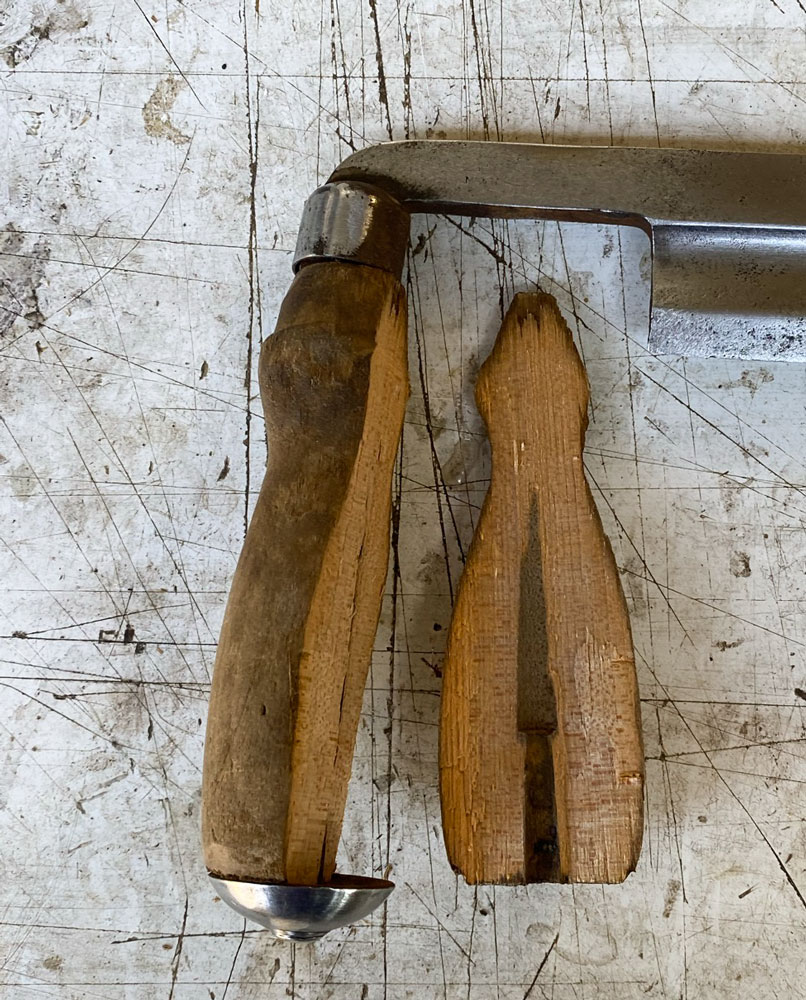
With a bit more chiseling, I was able to remove the whole handle. The handle is captured by the bell (at the top) and the cup (at the bottom) so you have to break the pieces of the handle to get them out. The rod is 1/4 inch. I expect other makers of draw knives might use other sizes for the rods, or even use square "rods". You won't know until you split off the handle.

Next, push the cup up on the rod, close to the bell. I'm going to heat the end of the rod to anneal it.

I have a MAPP torch and that's what I used to heat the rod.

I heated the end of the rod until it was red-hot and then I let it air cool.
After it was cool, I used a hammer to hammer out the peening on the end of the rod. What I should have done is hammer it while it was red-hot, rather than letting it cool. It would have been easier to shape the metal.

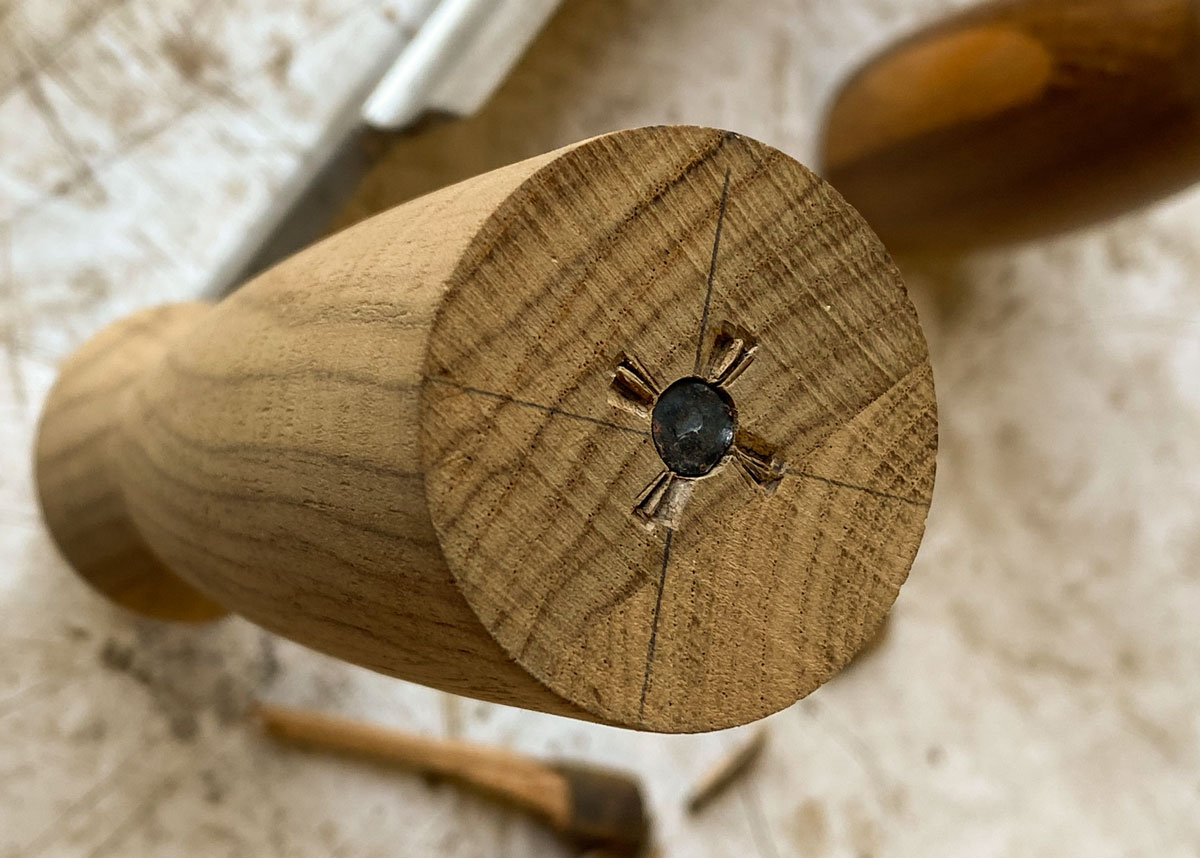
You need to hammer it until you can remove the cup. The hole in the cup "just fits" the rod so the hammering has to be quite good. Here's a progress picture. There's a little "spur" on the side of the rod which will keep the cup from coming off. I went to the grinder and ground this off. I heated the rod again to anneal the steel so that I'd be able to peen it later.

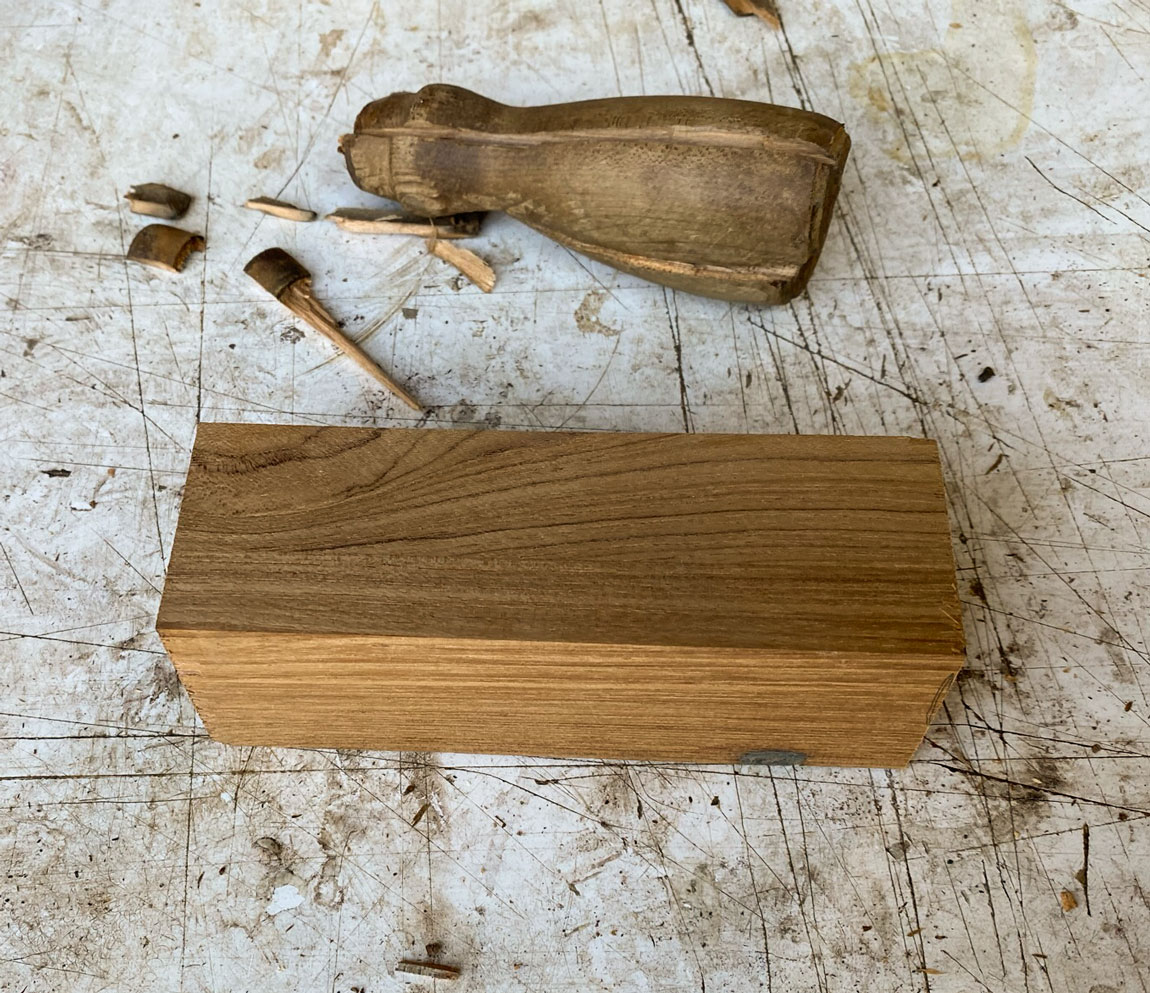
Once I got the cup and the bell off the rod, it was time to start making the handle. Here's the blank of teak.
I mark the center on both ends of the blank and then chuck it in my lathe.

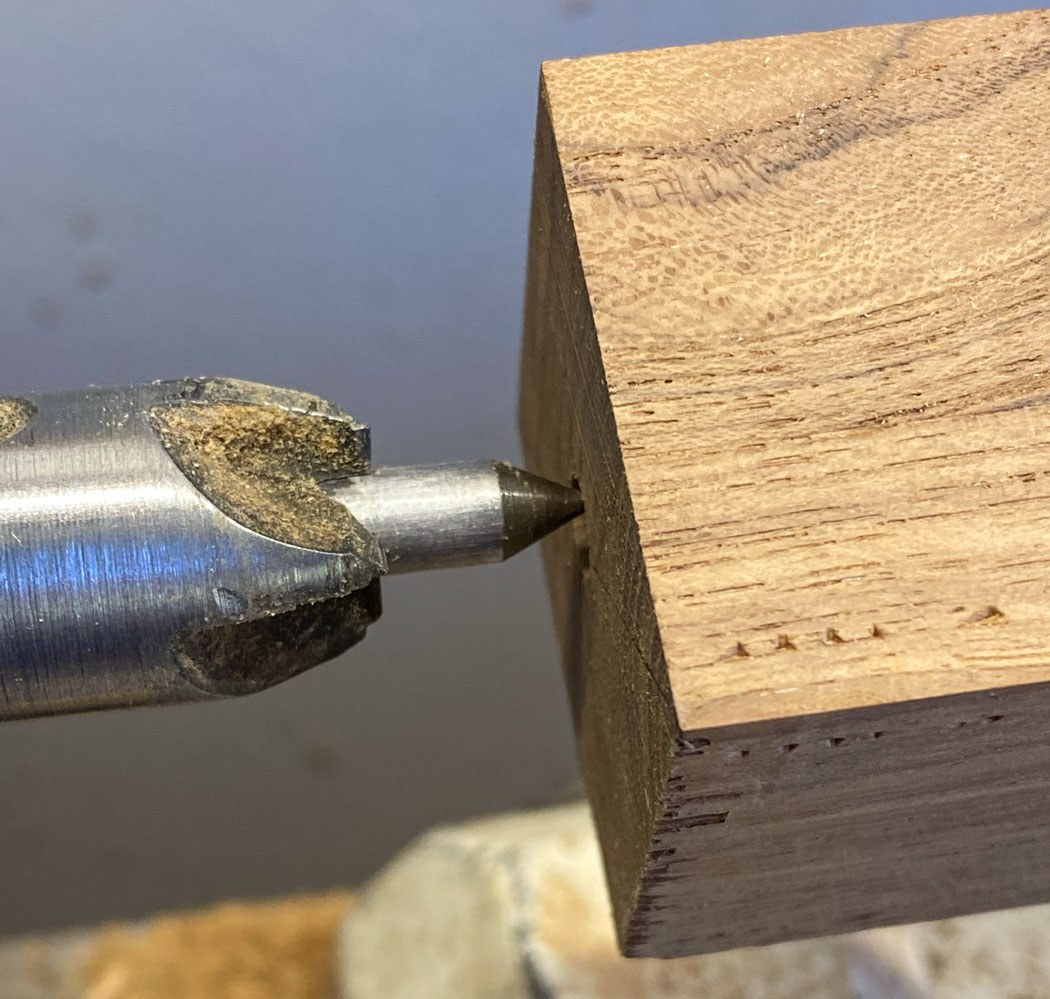
With a drill chuck in the tailstock, I use a long 1/4 inch drill bit to drill a hole through the blank.
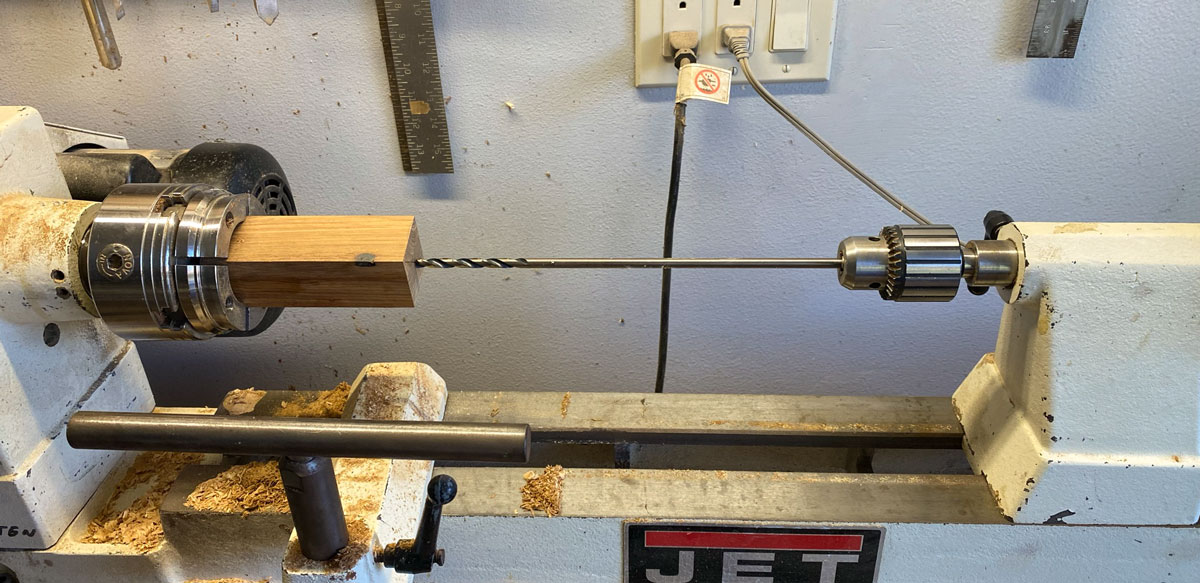
The drill almost never comes out exactly on the center on the far side, but it's close enough.

My drive center on my lathe is 1/4 inch which fit tightly into the hole. Just a lucky happenstance.
I can't teach lathe work here, so I have to assume you know how to turn a handle.
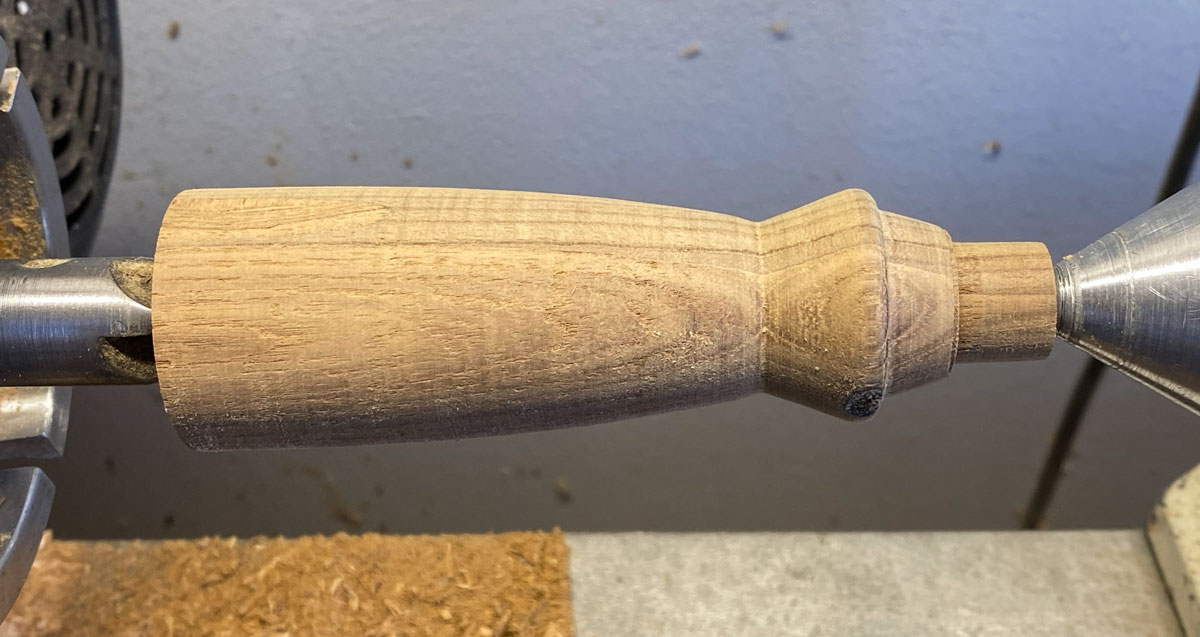
Here's the handle roughed out.
Slide the handle on to the rod of the draw knife. If we didn't do anything, the handle could rotate. What I'm going to do it cut a notch in the end of the handle so it slides up on the drawknife. I orient the handle the way I want it to look, and mark where I need to make the cuts.
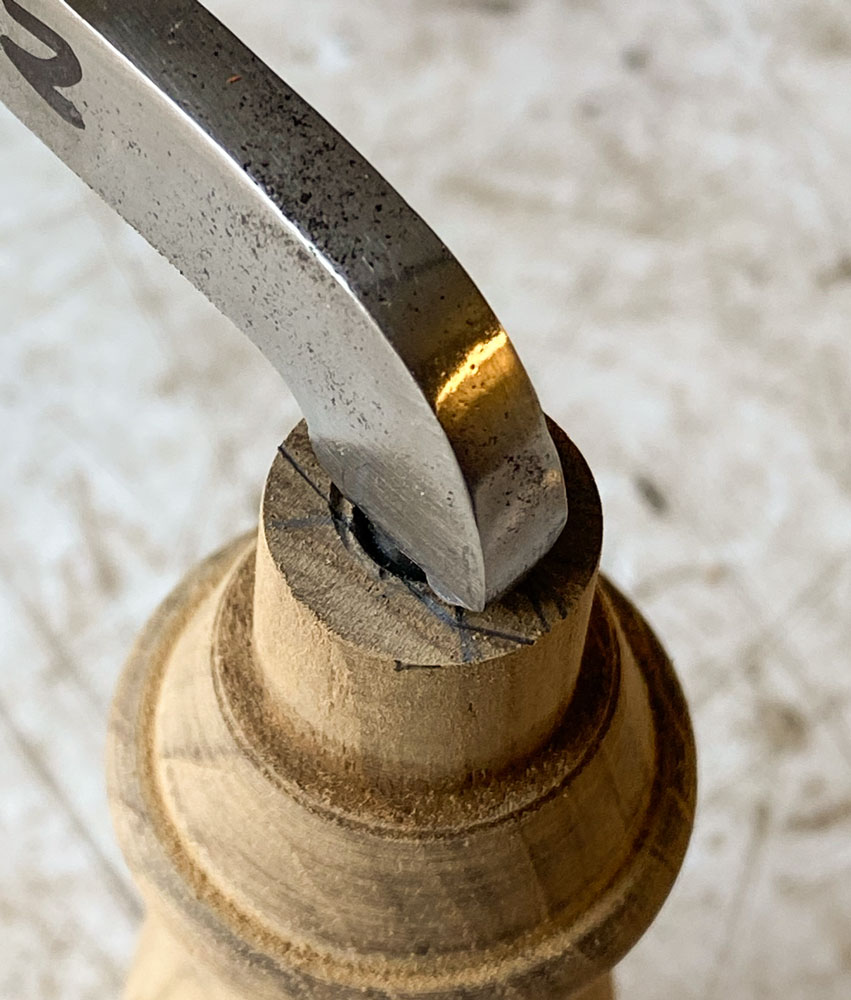
I cut down the handle with a saw. Note: The notch needs to be TIGHT on the drawknife. If it's not tight, the handle can be turned a small about back and forth. You want the handle to be solid on the drawknife, with no "wobble" at all.

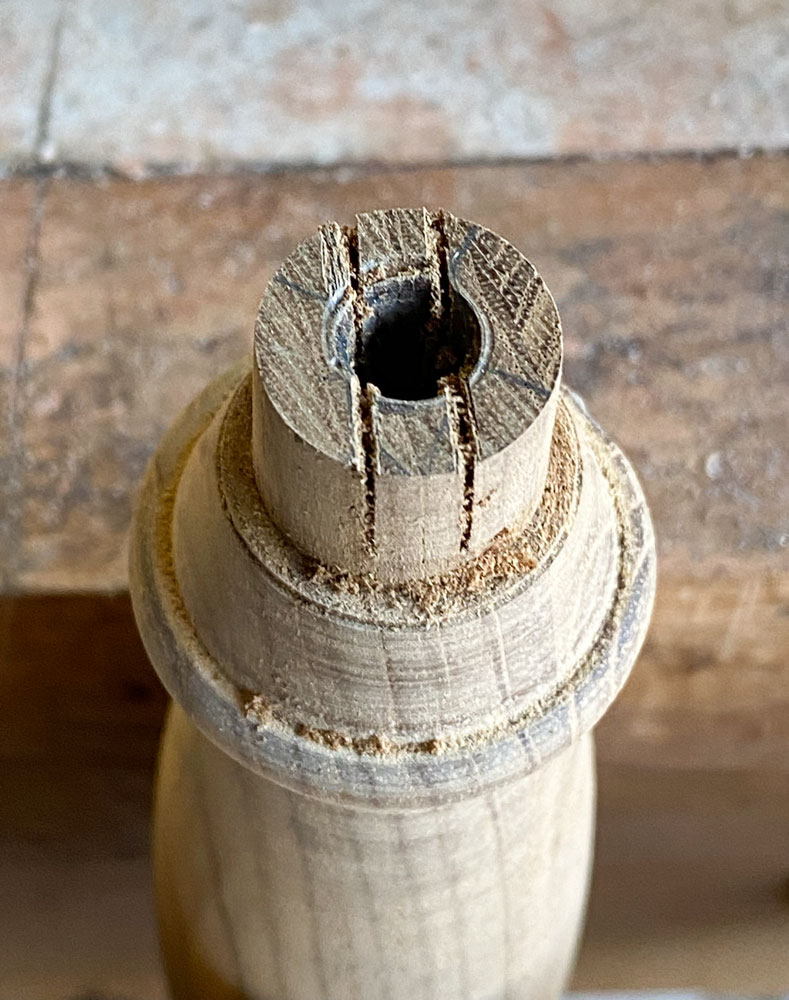
Here's the end of the handle with the cuts.
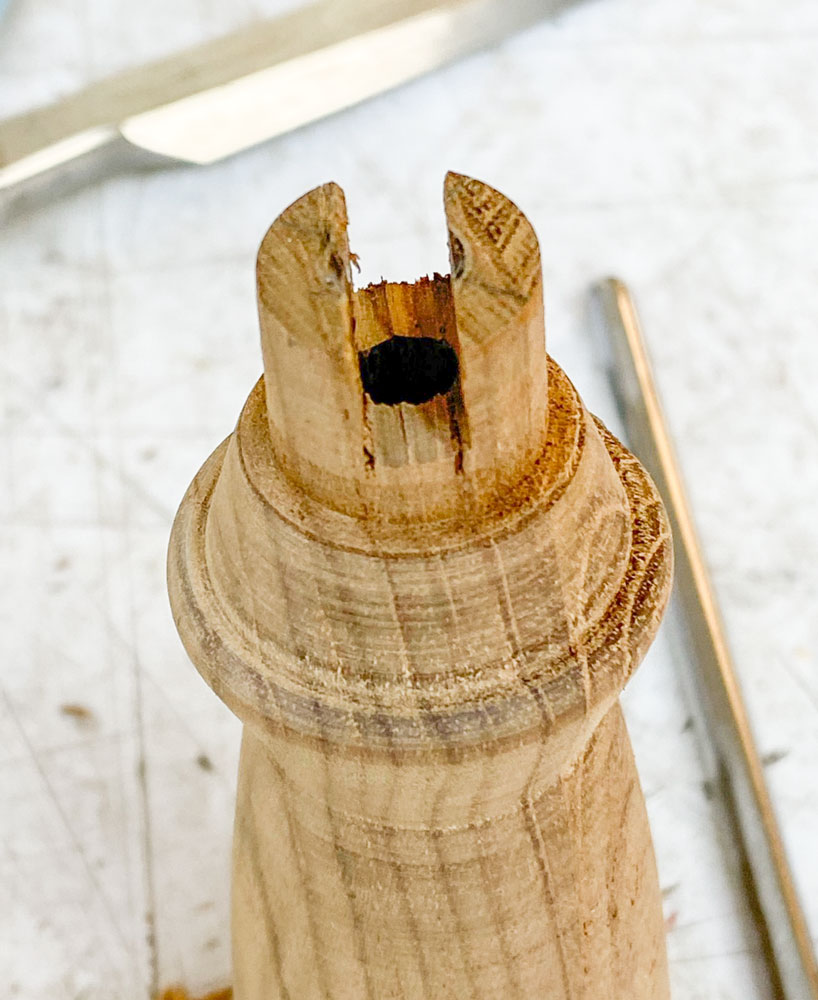
Next, I take it to my bandsaw and use the bandsaw to remove the waste between the saw cuts. Just make a few cuts into the area with the bandsaw and the waste will be removed.
Here it is on the draw knife. You don't have to worry about the sides of the handle breaking. This part of the handle will be inside the bell which will support it.

Looking at the other end, the handle is too long. I made the blank too long on purpose. You can see that the rod is flush with the end of the handle.
I cut the handle and then turned a short tenon for the cup.

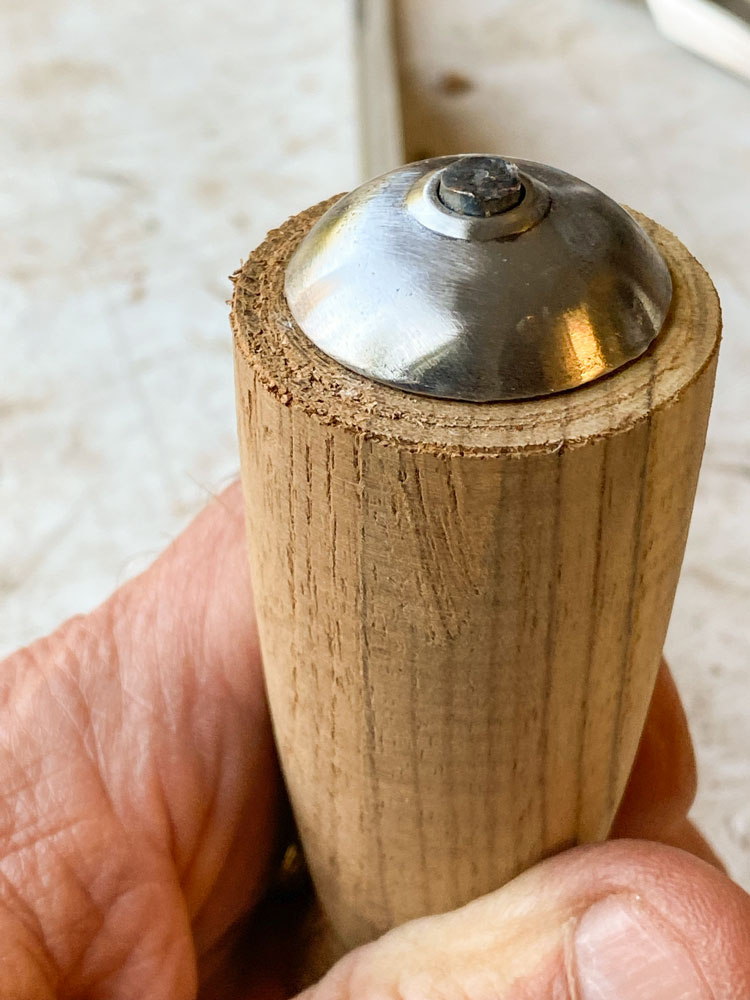
Here it is with the cup fitted. Just enough of the rod sticking out so that I can peen it. [Update: it turned out that this was too much of the rod sticking out. It needs to just protrude past the cup. I had a hard time getting the rod peened over sufficiently, and the rod stuck out too far after I did peen it.]
Then it's back to the lathe to shape the handle to just match the cup, sand it and apply some finish.

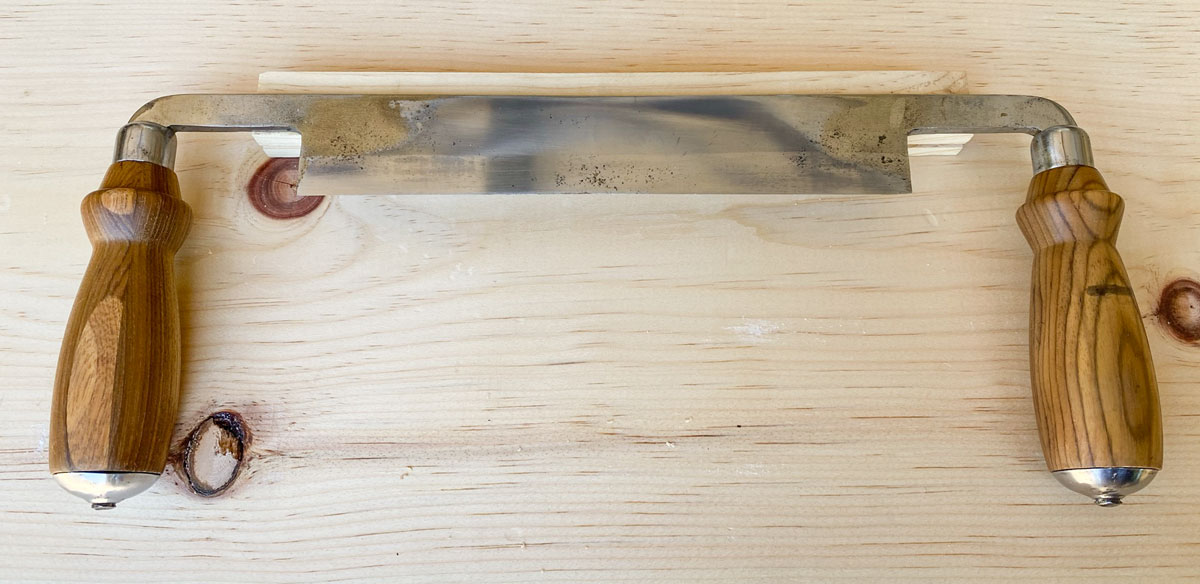
Here's what the draw knife looks like with the new handles. The rods have not been peened at this time.
I removed the handles and clamped the draw knife to my bench for sharpening. I started with diamond plates and went up to an 8000 grit stone on both the front and the back.

I worked through the grits to my 8,000 Shapton stone, front and back. Here's how it came out. First the front. The rods have been peened. You can see that they're sticking out too far. The handles are usable but it would be nicer if the peening was flush with the cup.

And then the back. There's still some pitting on the back. I just ran out of energy to keep working it. At least there isn't any pitting at the edge.
You can go back to my main page here