Bee Vacuum Tutorial
P. Michael Henderson
Now that I completed the main box of the bee vacuum, I need to make the top and a plug for the vacuum port. I'll start with the top.
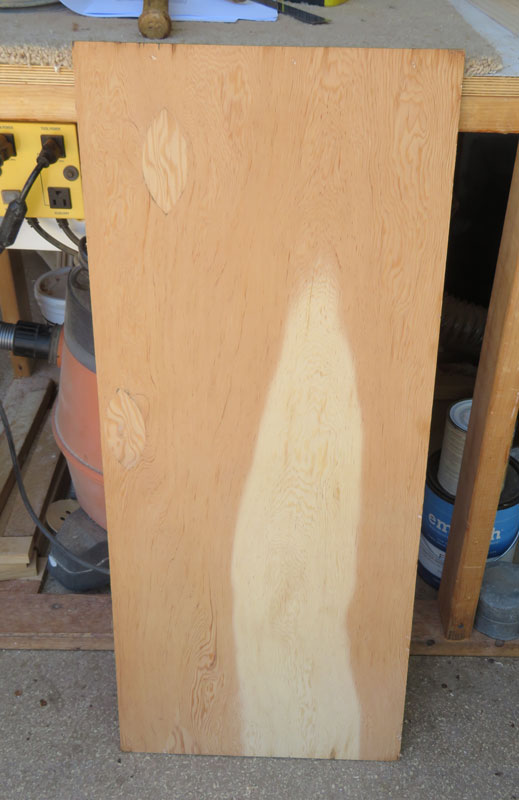
I have some scrap 1/4 inch plywood in the shop and I'll use that to make a frame and panel top. Of course that plywood is not really 1/4 inch - it's a bit less.

I'm using some of the pine for the frame. The pieces are an inch and 3/4 wide.
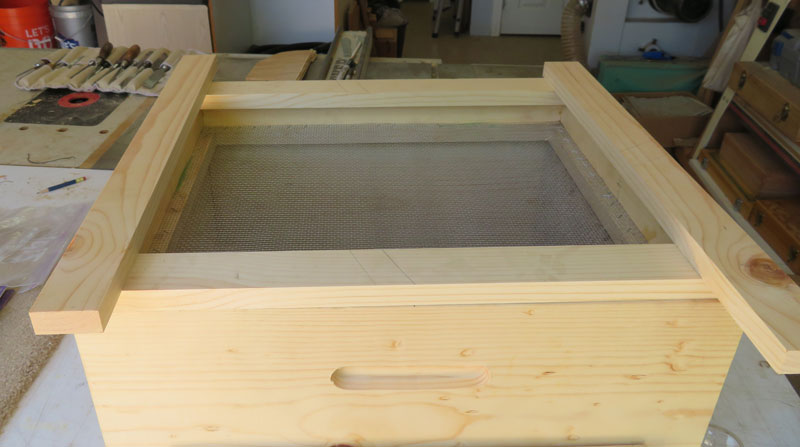
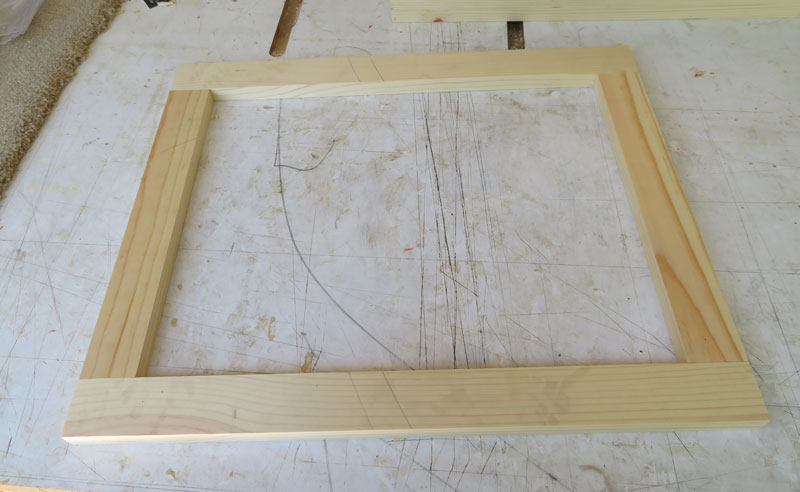
After I trim the pieces to length, this is what they look like.
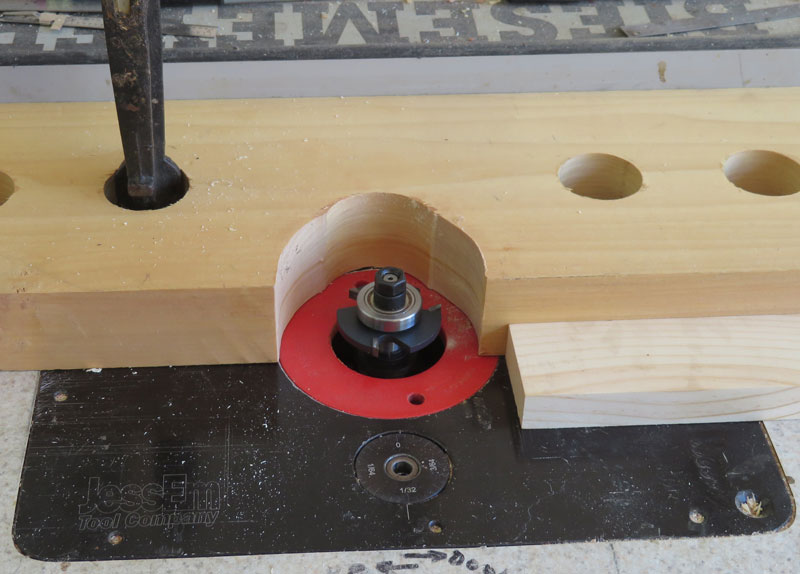
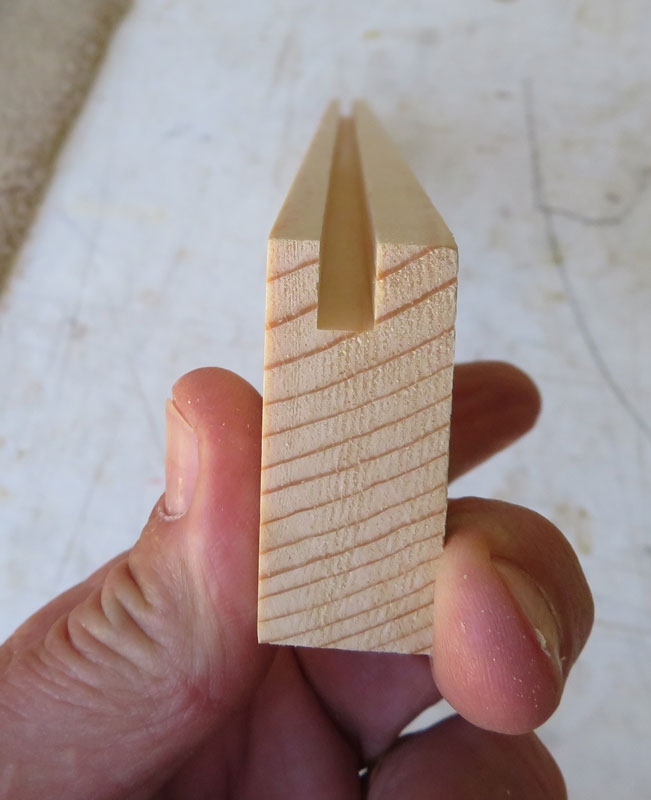
I'm next going to cut the slot to set the plywood in. Since the plywood is an odd size, but close to 1/4 inch, I'm going to use a 3/8 inch slot cutter bit in my router table. I'll adjust the height of the slot cutter after the first cut to get a good, but tight, fit.
Here's the way it came out. I wanted the slot off center. I'm going to put the large side down to increase the size of the diffuser area. The plywood is a tight fit. Since we're making a vacuum, we don't want any air leakage.
Next, I cut the plywood to fit tightly inside the frame. Since it's plywood, it won't expand or contract so I don't have to leave space for it to expand in the grooves.
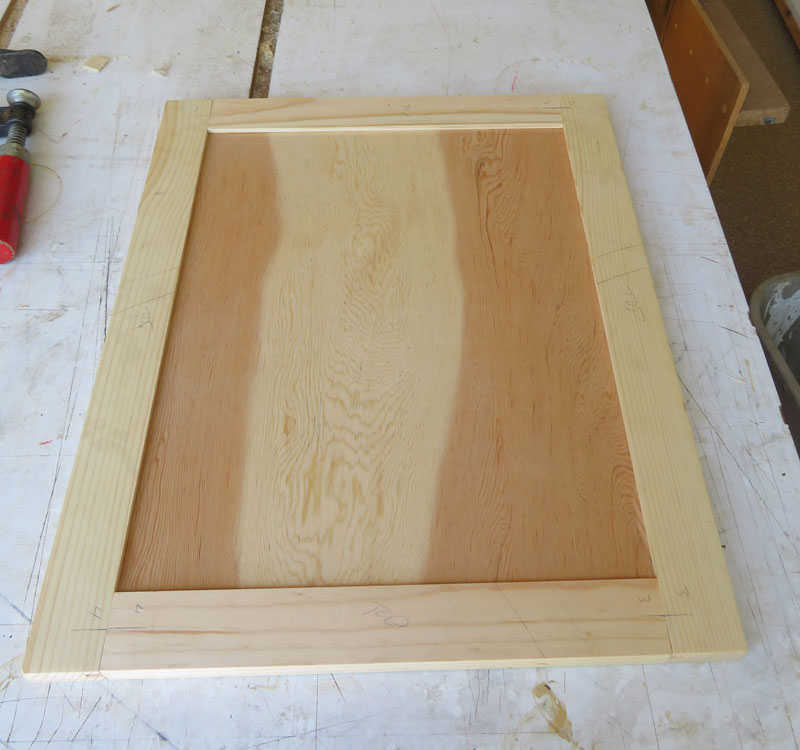
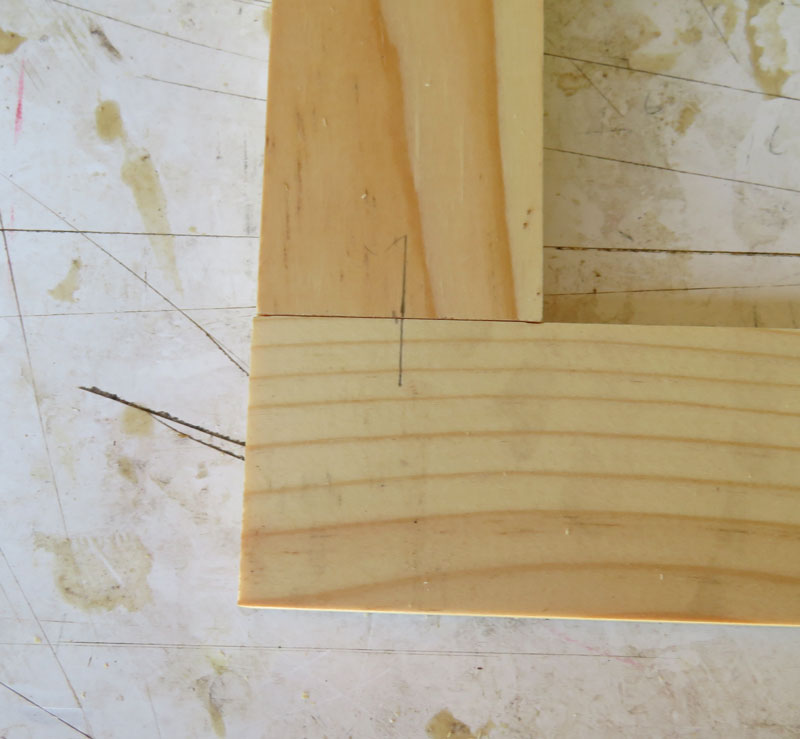
I'm going to attach the frame pieces with Festool dominos. If you're not familiar with dominos, they are loose tenons. I mark where the mortises will be cut.
After cutting, I insert the dominos with glue, and clamp.
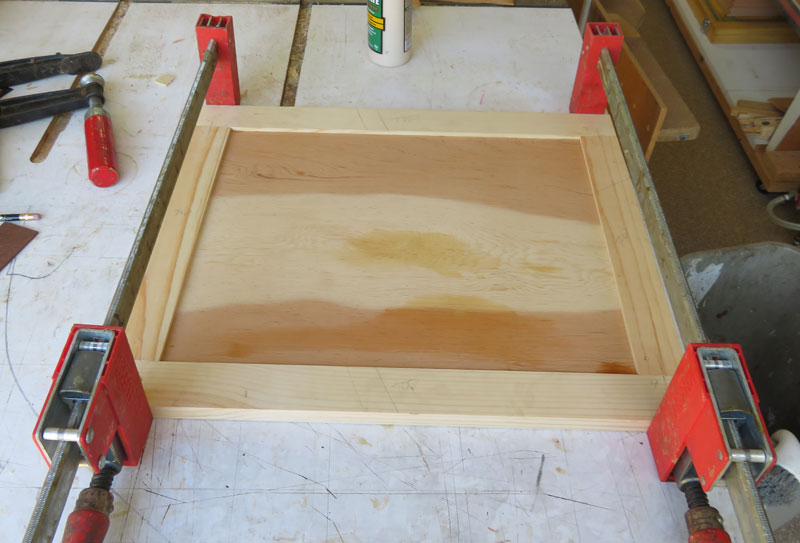
Here's the fit after the glue set. I'm satisfied with this.
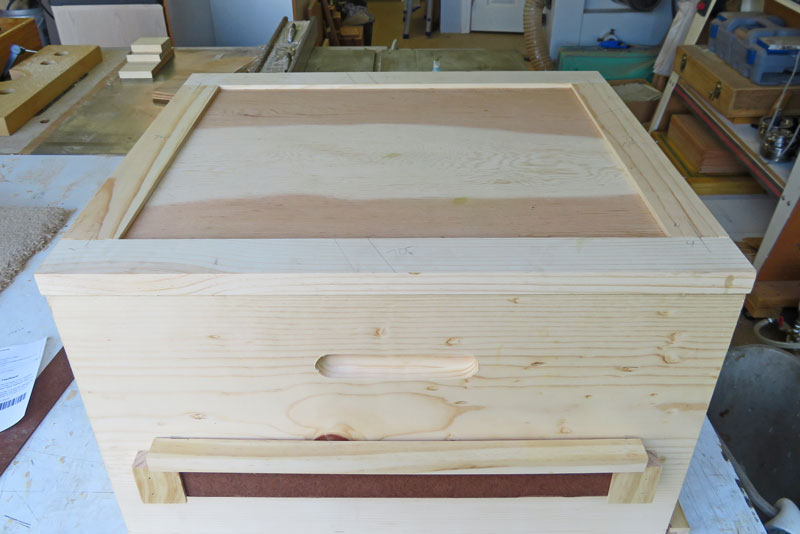
Now I'm going to attach the end pieces on the top. I had some scrap pine but it was just a bit short for the ends. I used it anyway. You can see three marks where I'm going to put the dominos.
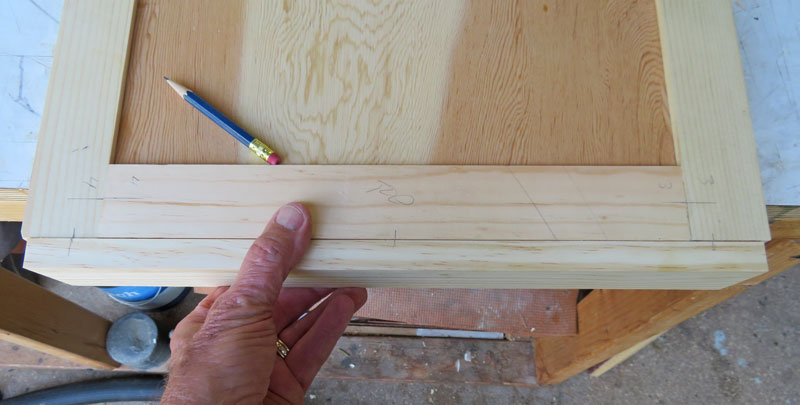
Here's the end piece with the three mortises cut into it.
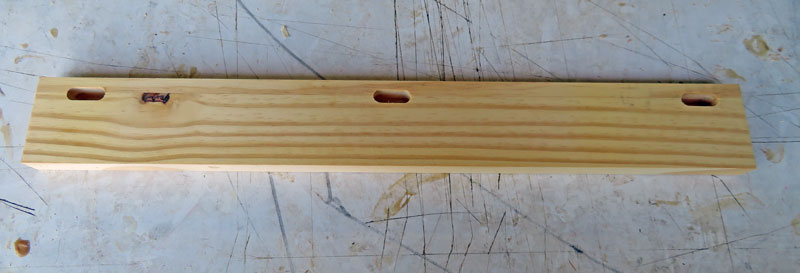
Then the end of the top, with the corresponding three mortises.

I put the dominos in the end piece (with glue) as the first step.
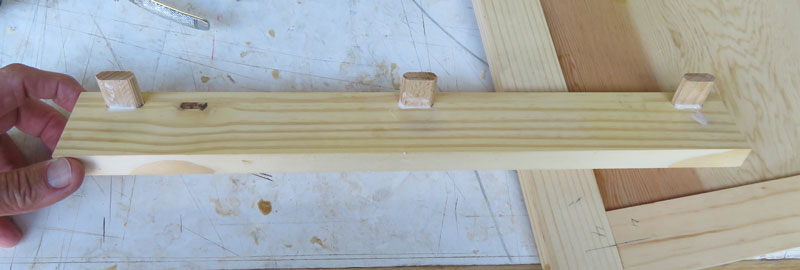
Then put glue on the edge of the top, tap the end piece in, and clamp. This is a good fit. There's just a small amount of space on the ends.
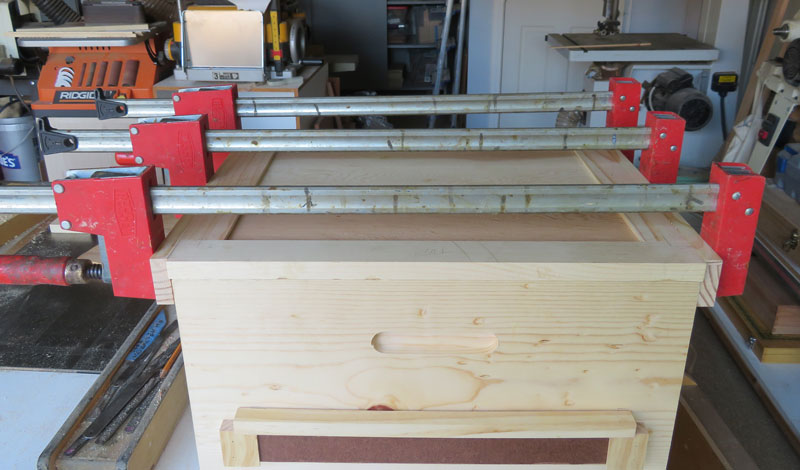
The next steps are to make the port for the vacuum hose, and make an adjustable air bleeder so the vacuum at the hose can be adjusted.
Here's the vacuum with the top sanded and ready for some additional work.

I plan to use this DeWalt model DCV517 portable vacuum to drive the bee vacuum. I found that a 5ah battery will last a long time with the vac. If you're worried about running out of power, bring a second battery with you.
The way this vac is made, the hose can be removed from the pickup built into the vac - as you can see in the picture.
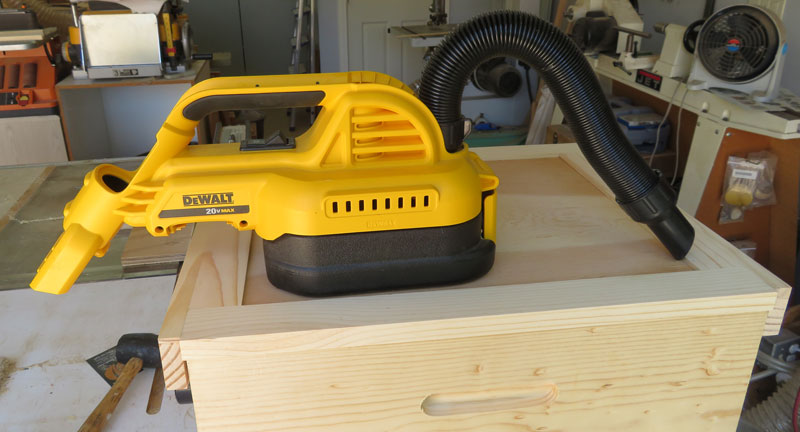
The nozzle on the hose is about 1 1/4 inch and tapers slightly, getting larger as you move away from the end.
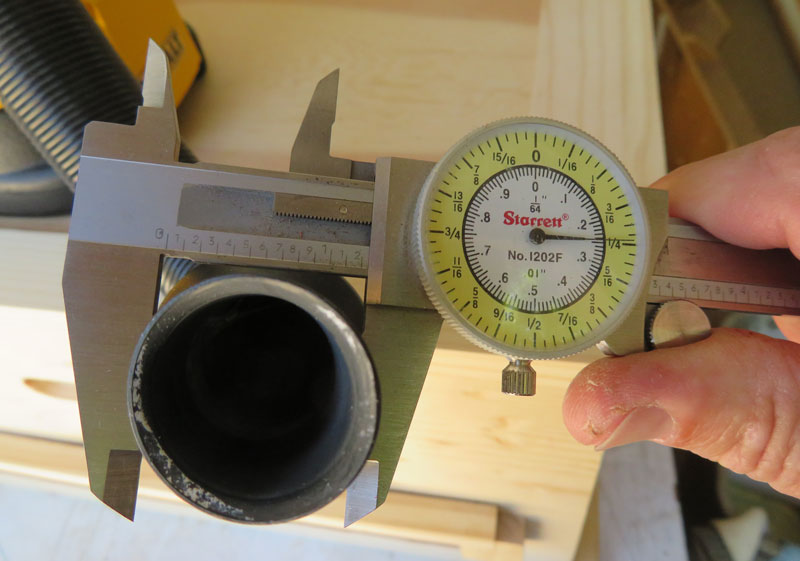
I drilled a 1 1/4 inch hole into a piece of 3/4 inch material of appropriate size. The hose fits nice and tight.
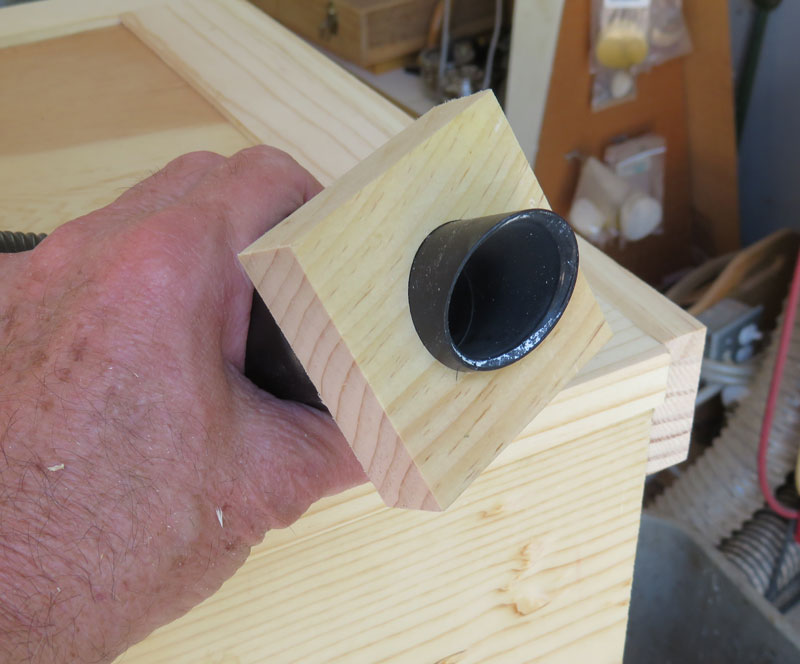
I'll glue this down in the middle of the rear end of the top.
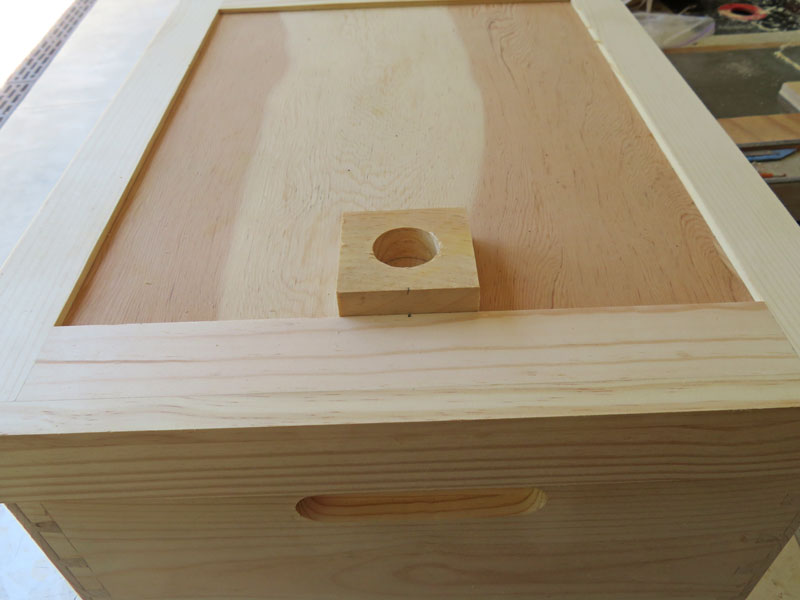
Here it is, glued and clamped.
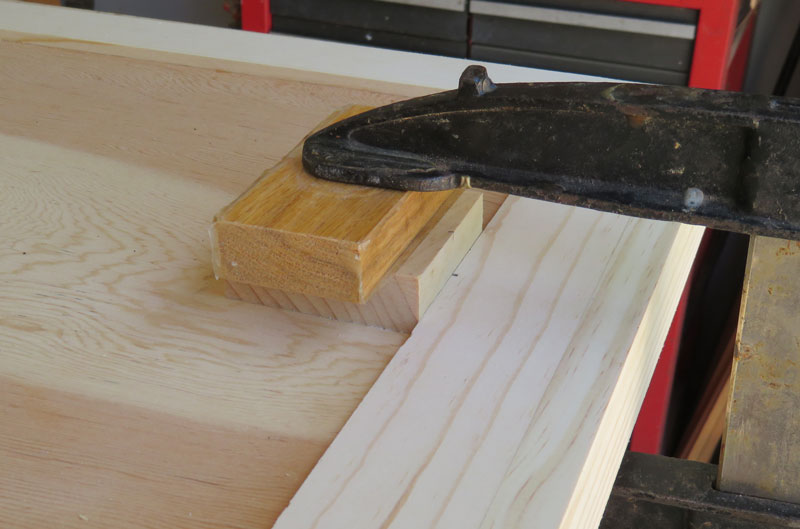
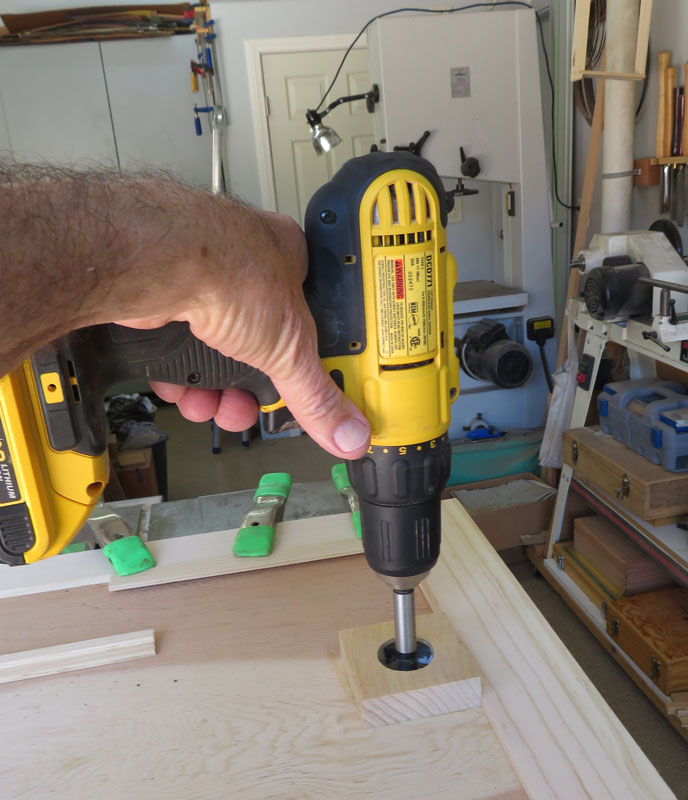
I'll use a cordless drill with the 1 1/4 inch Forstner bit to drill through the plywood.
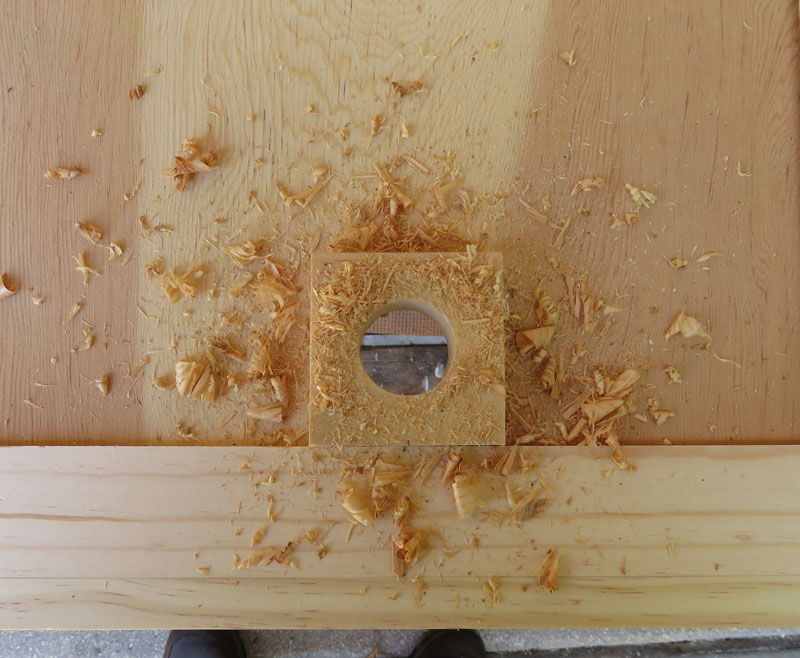
And there it is.
Next, I'm going to make an air bleeder. The DeWalt vacuum draws a lot of air, more perhaps than you'd want to suck bees. You want to just gently pull the bees into the box and that doesn't take a lot of suction. Too much suction and you might injure or kill some of the bees. Start with minimum suction and increase it as needed.
I make a couple of pieces of wood with a rabbet the thickness of the hardboard.
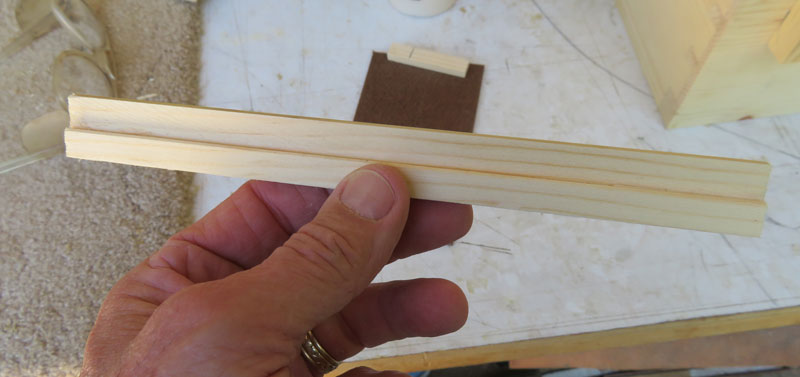
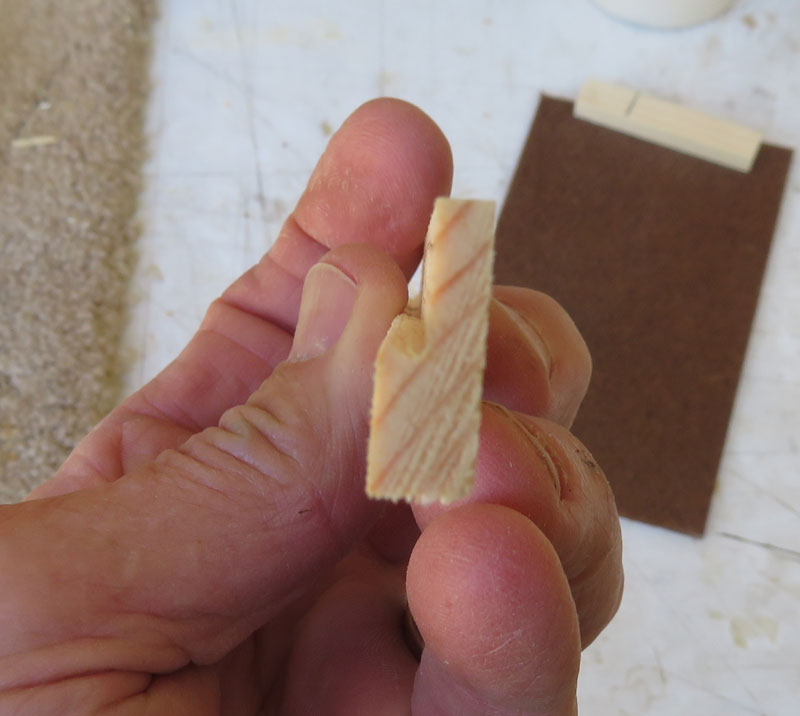
Here's what it looks like after gluing and with the slide closed.
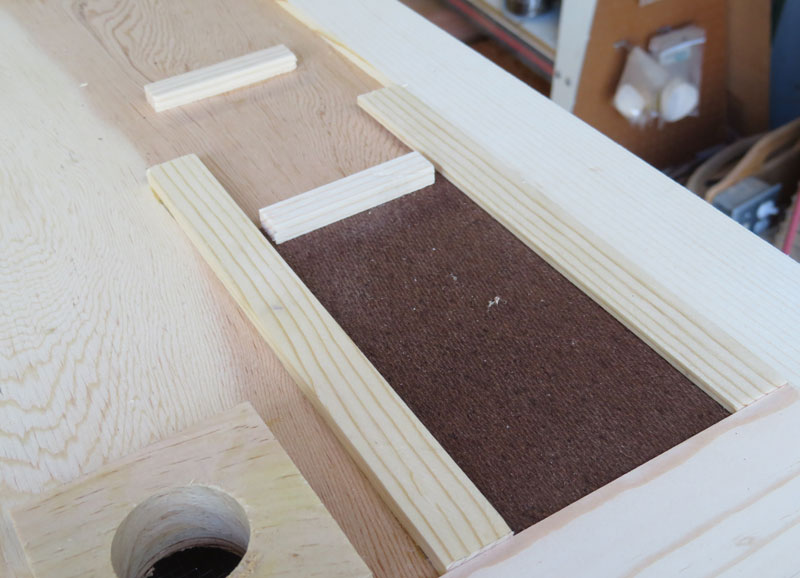
And with the slide open. The stop is there just to keep the slide from coming out completely and getting lost.
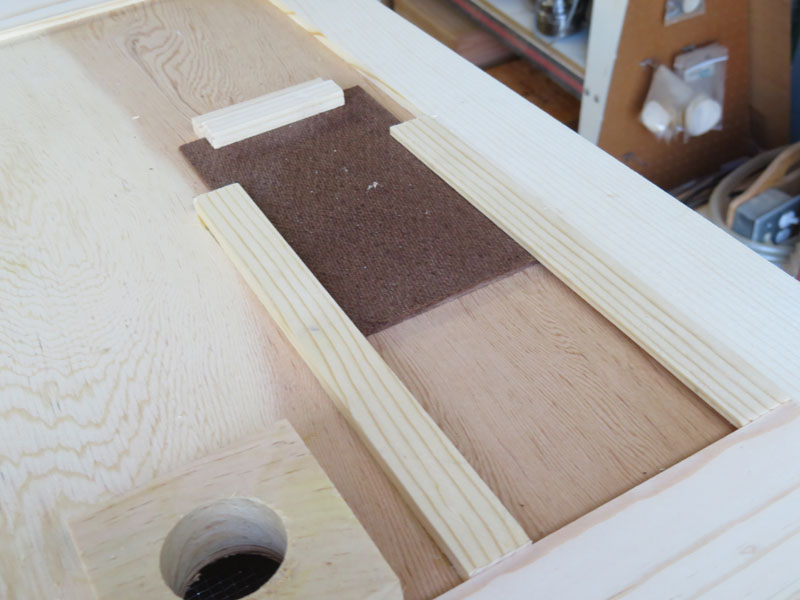
I did some experimenting with holes and wound up with three rows of 1/4 inch holes, 1/2 inch apart.
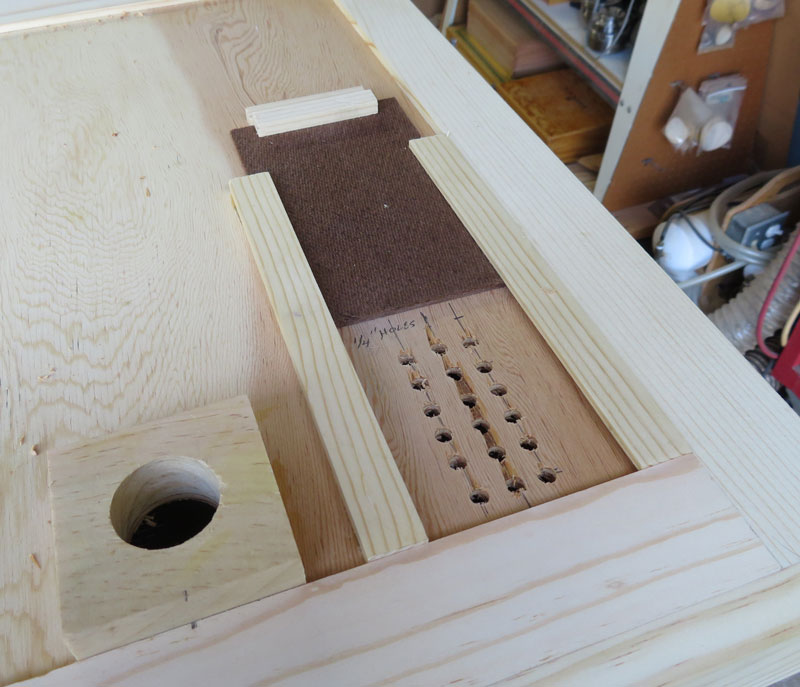
This is how you'd use it in operation, with only some of the holes uncovered.
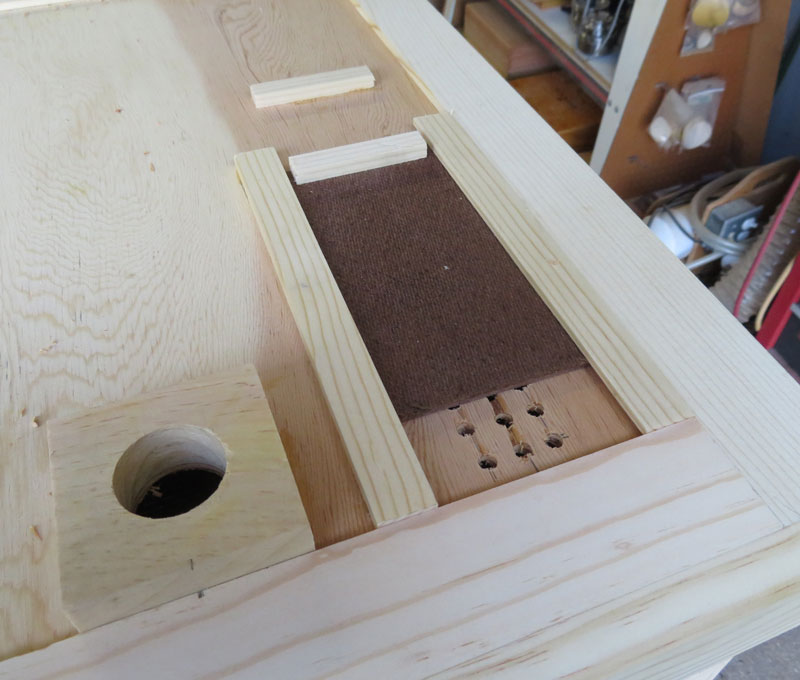
Here's a picture of the completed unit. That completes the build of the bee vacuum.
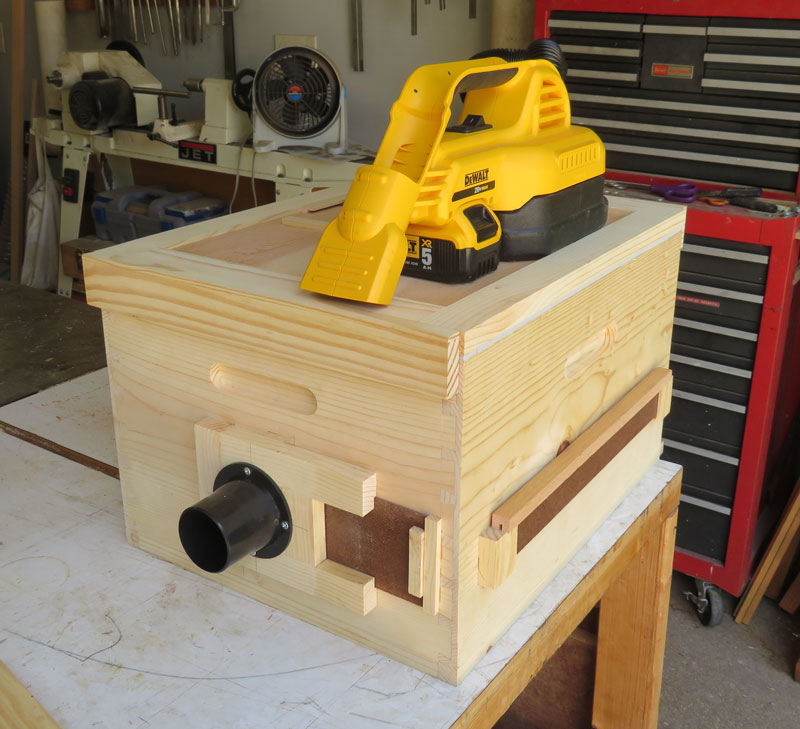
After I used the bee vacuum, I found some issues and made improvements. You can see the continuation of the bee vacuum build here.