
Repair of an Arch
May 15,2020
P. Michael Henderson
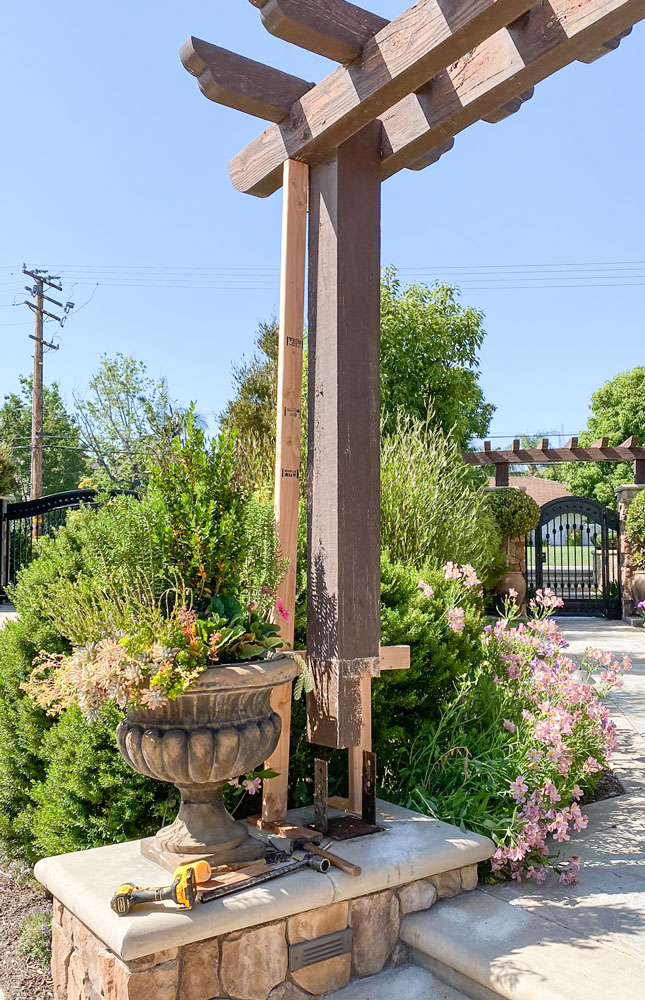
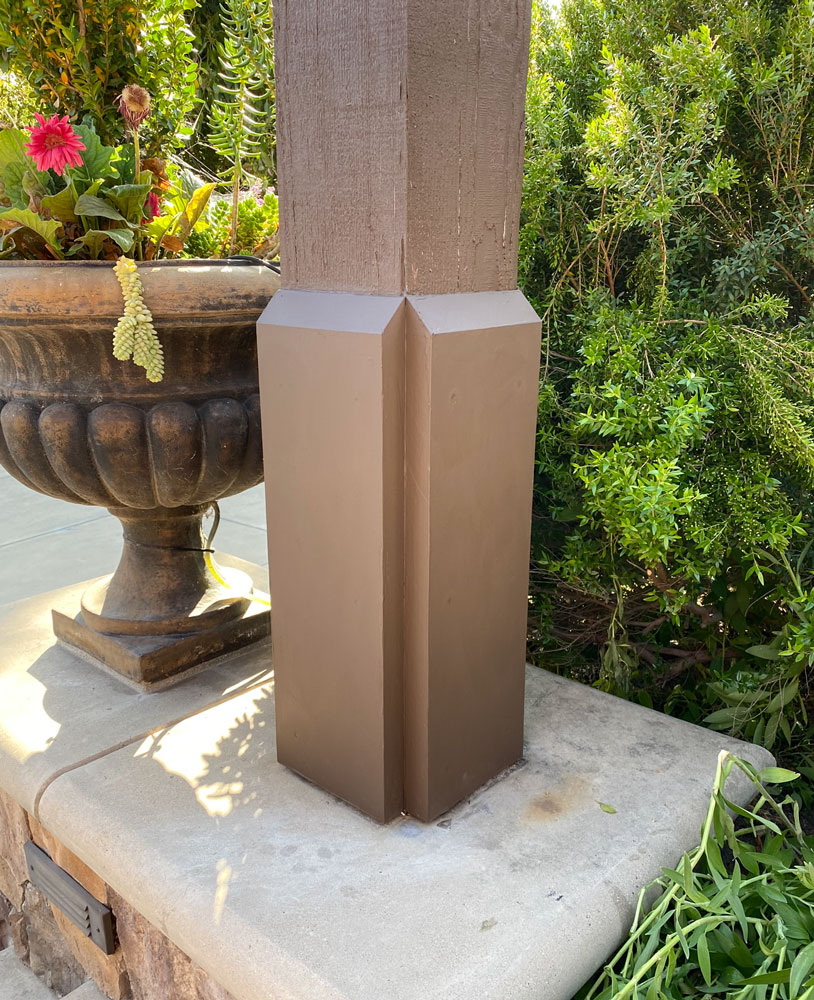
We have a decorative wooden arch in our yard, part of the walkway into our house. The bottom of one of the post was rotten, perhaps because a sprinkler was keeping it wet. With the CoVid-19 lockdown I decided it was time to repair it. I didn't set out to document my repair so i don't have step-by-step pictures. Here's the arch - actually taken after the repair. The post repaired is on the left side of this photo.

The post had four decorative covers at the base, one on each side and I began by taking those off to examine the post, itself. It was pretty rotten at the bottom. So I took two 2x4's, propped up the arch and cut out the rotted part.
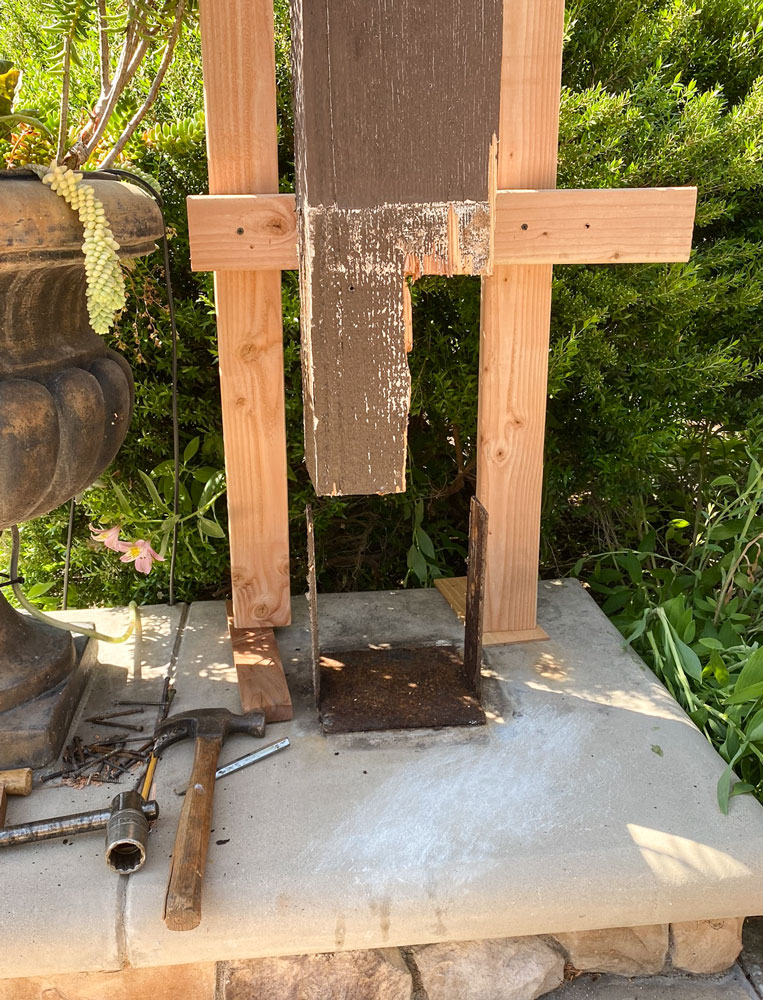
Here's a closer view of the bottom of the post after I cut the rotted part off. I also cut upwards to create a lap joint to join the repair to the post. I used a chain saw to make the cuts.
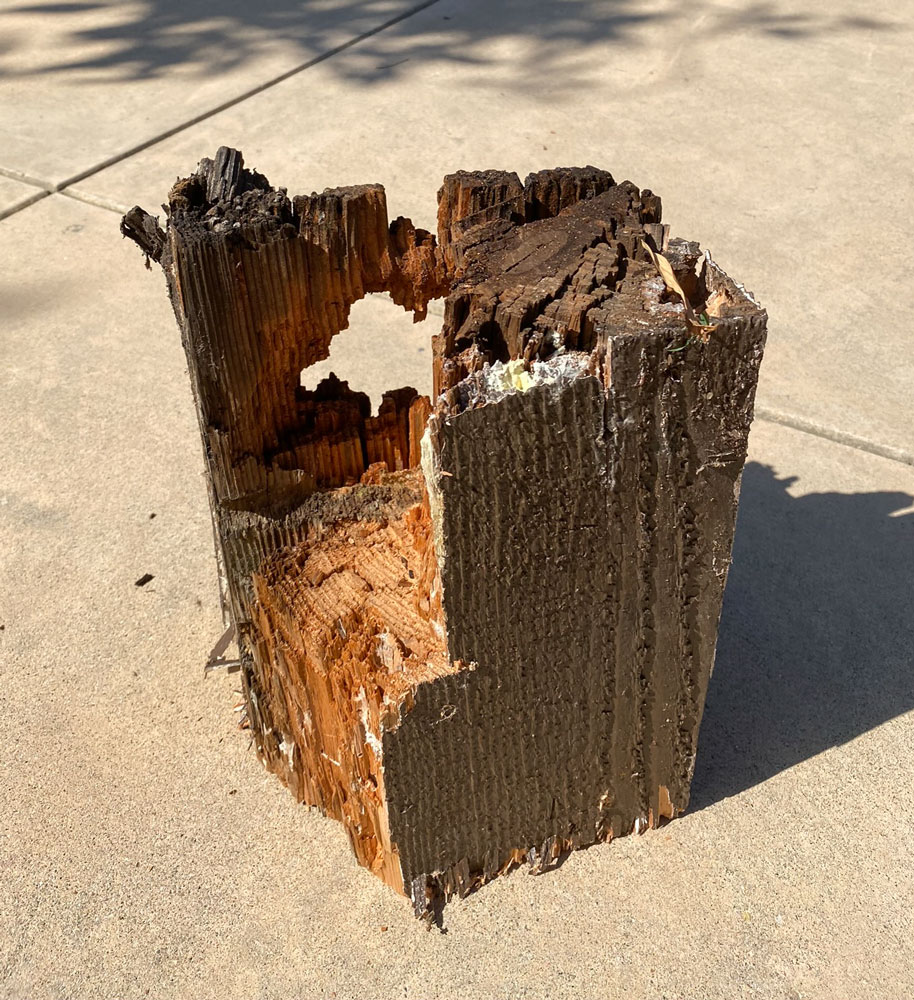
Here's the rotten part of the post that I cut off. You can see how far gone it is. This is upside down compared to the way it was at the bottom of the post.
I removed as much rust as I could from the steel bracket and painted it with metal primer. Then I took redwood 2x6's and glued them into the gap with waterproof glue. I put four threaded rods through the lap joint area to reinforce the glue.
There are two large bolts that fasten the post to the bracket and I had derusted them earlier. The difficult part was drilling the holes through the post to put the bolts in. I drilled from each side and the two holes had to meet in the center. Eventually got it done.

Next, I painted it with primer.
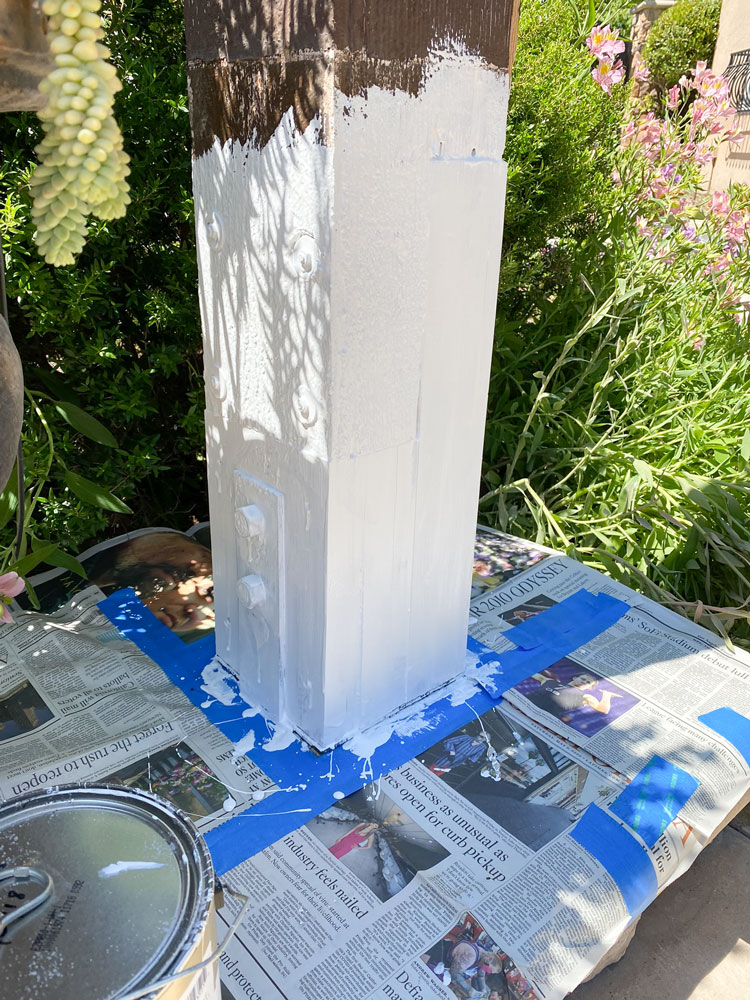
I took a paint sample to Dunn Edwards and they matched the color exactly. I painted over the primer with that paint. Then I had to fabricate the four decorative covers that went around the post. On two sides, I had to cut a relief where the cover went over the bracket and bolts. I primed them and painted them with the color exterior paint.
I attached them to the post and used caulk to seal the gaps between the covers and the post. Then I applied a final color coat to the covers and the post.
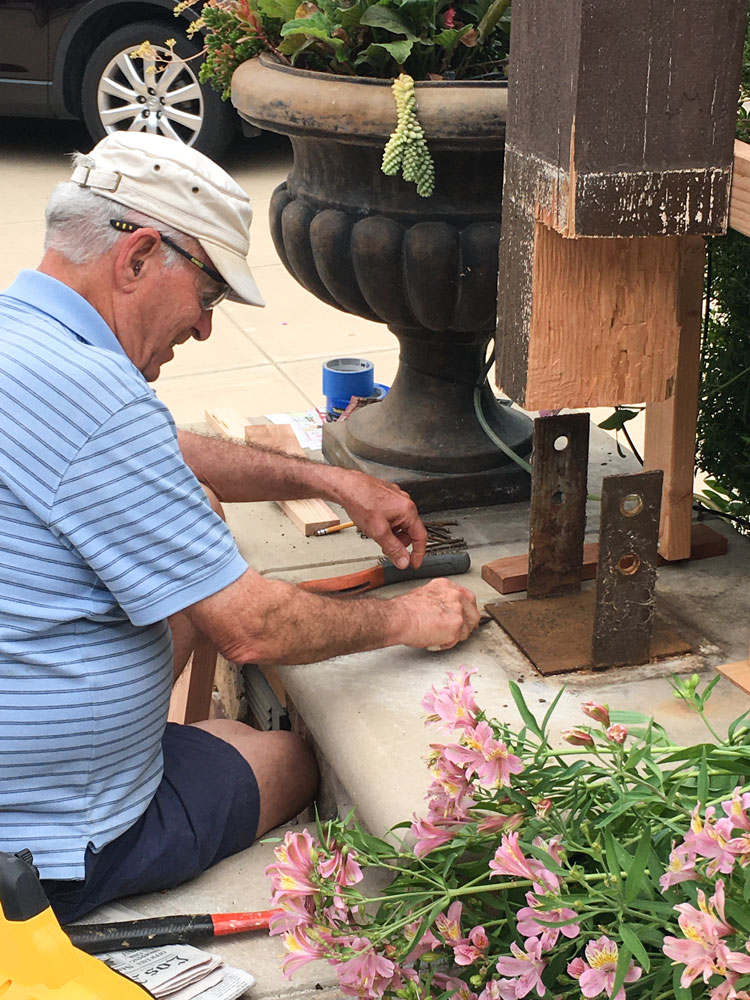
A friend took a couple of pictures of me working on the post. Here I'm cleaning the rust off of the bracket.
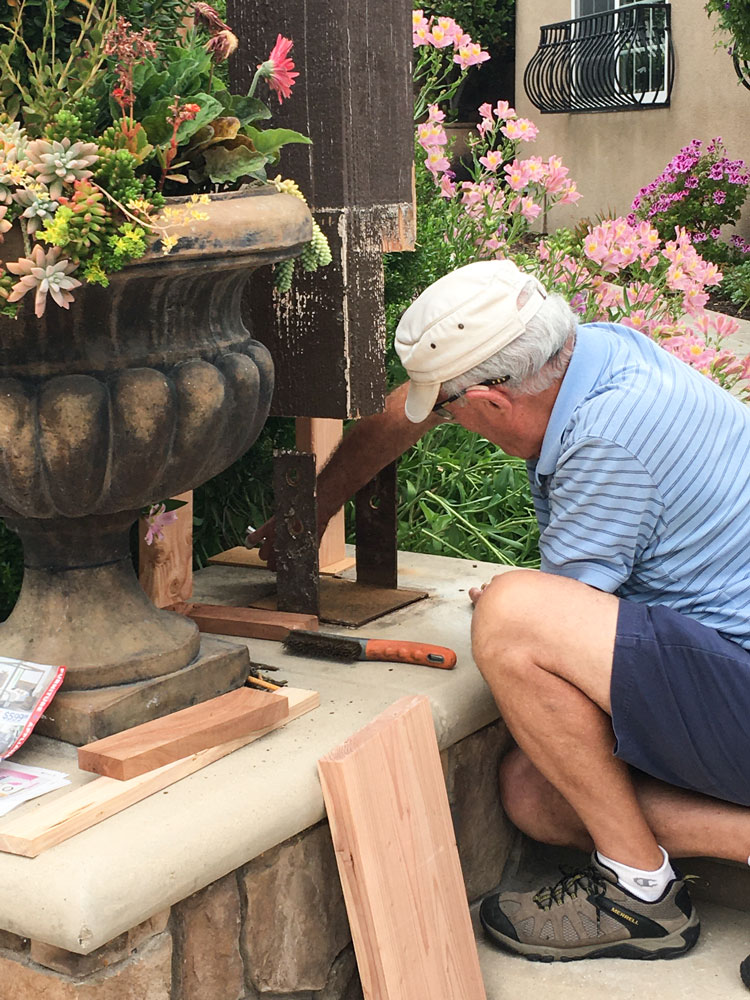
Another shot of the same thing. You can see the wire brush I used to remove some of the rust. The first piece of redwood is waiting to be put in place.
Return to my main page here