
Wahoo Board
(Continued)
May 4, 2020
P. Michael Henderson
The next step is to route the dimples in the board. I'll use a 5/8 inch cove box bit in a trim router with a plunge base. I'll put in a plug for this cordless DeWalt trim router. It's powerful and has an "instant" stop of the bit when you turn it off. Has lights by the bit to help you see your work. It's nice not to have to deal with a power cord.
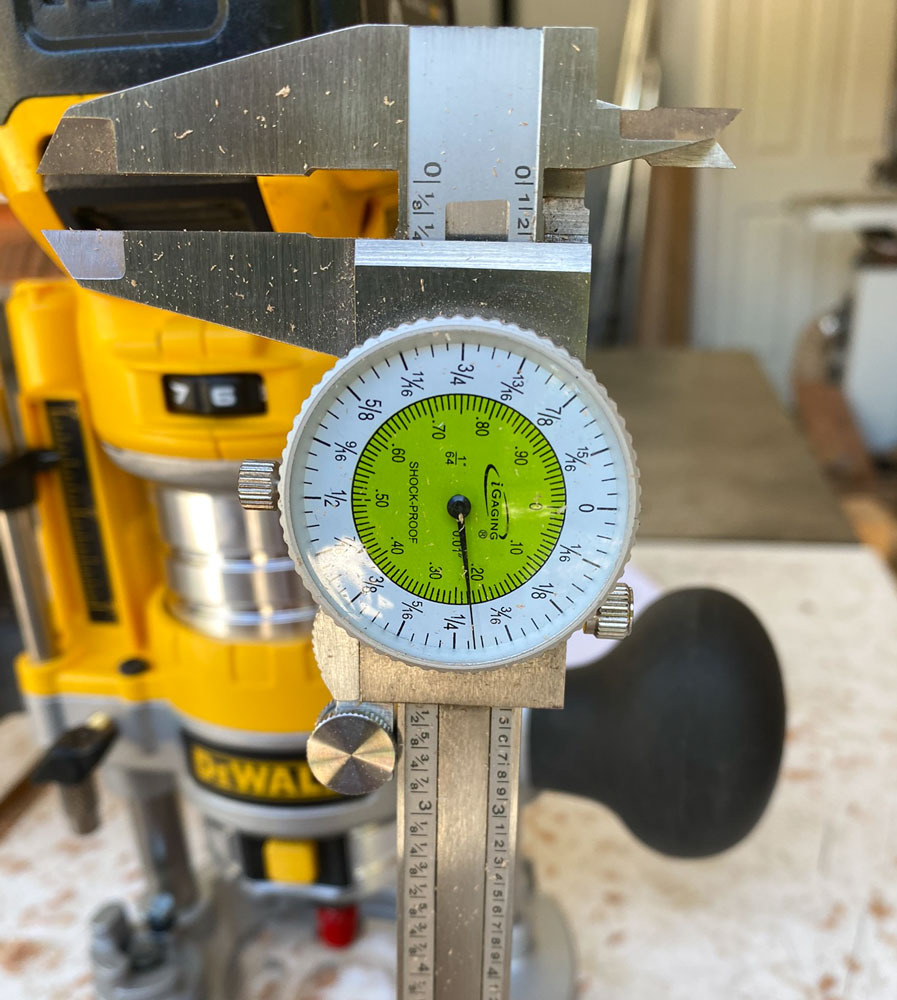
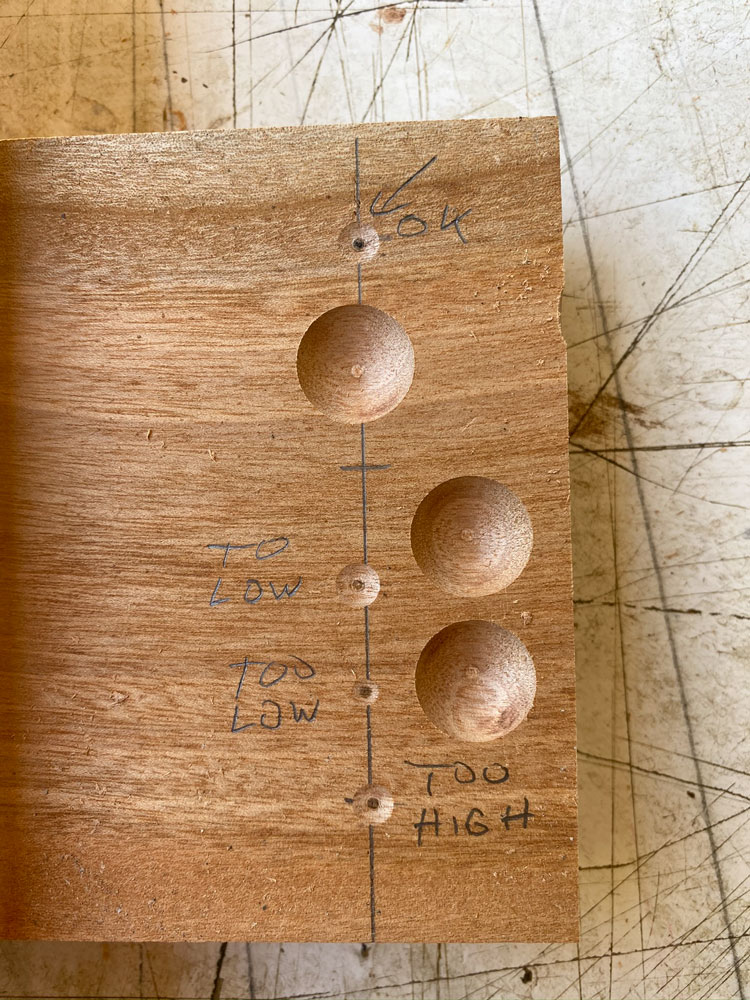
The first task is to set the depth of the plunge. I estimate the amount of plunge and then plunge a dimple in some scrap wood. I check the depth with calipers and make adjustments to the plunge base so that the depth is between 3/16 and 1/4 inch.
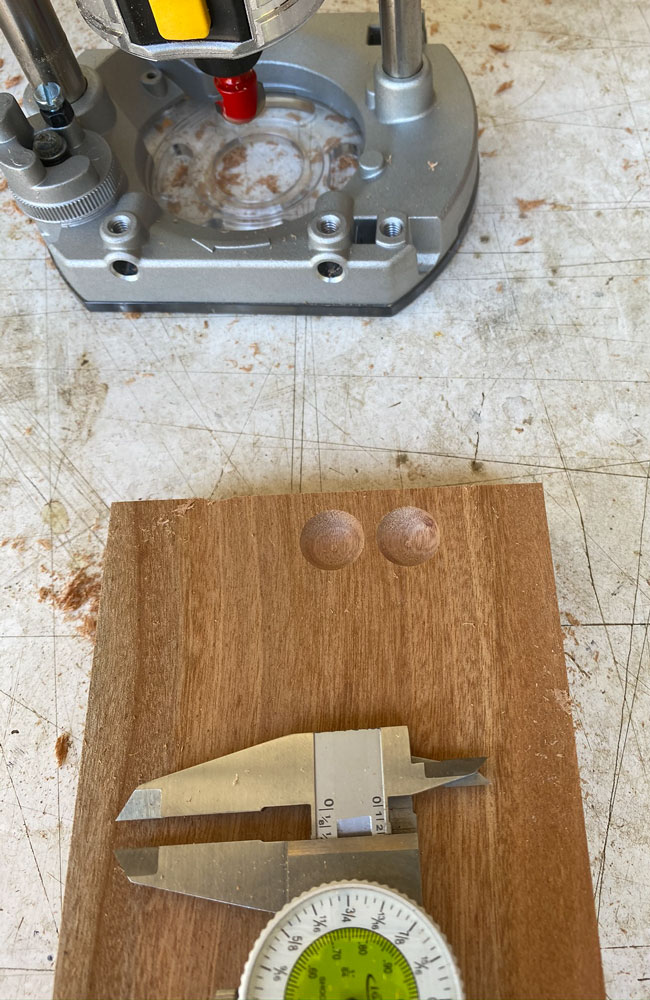
Here's how I check the depth.
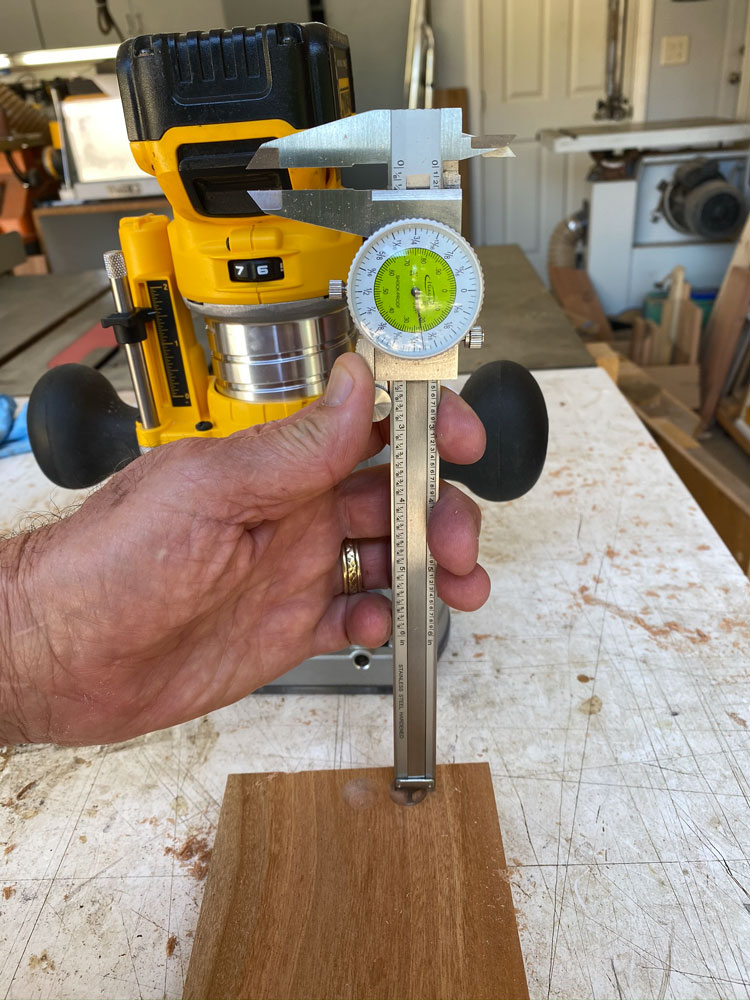
The depth is not critical. You want the marble to stay in the dimple and not be so deep that it's hard to remove. For a standard sized marble, I've found that 3/16 or 1/4 inch depth works well.
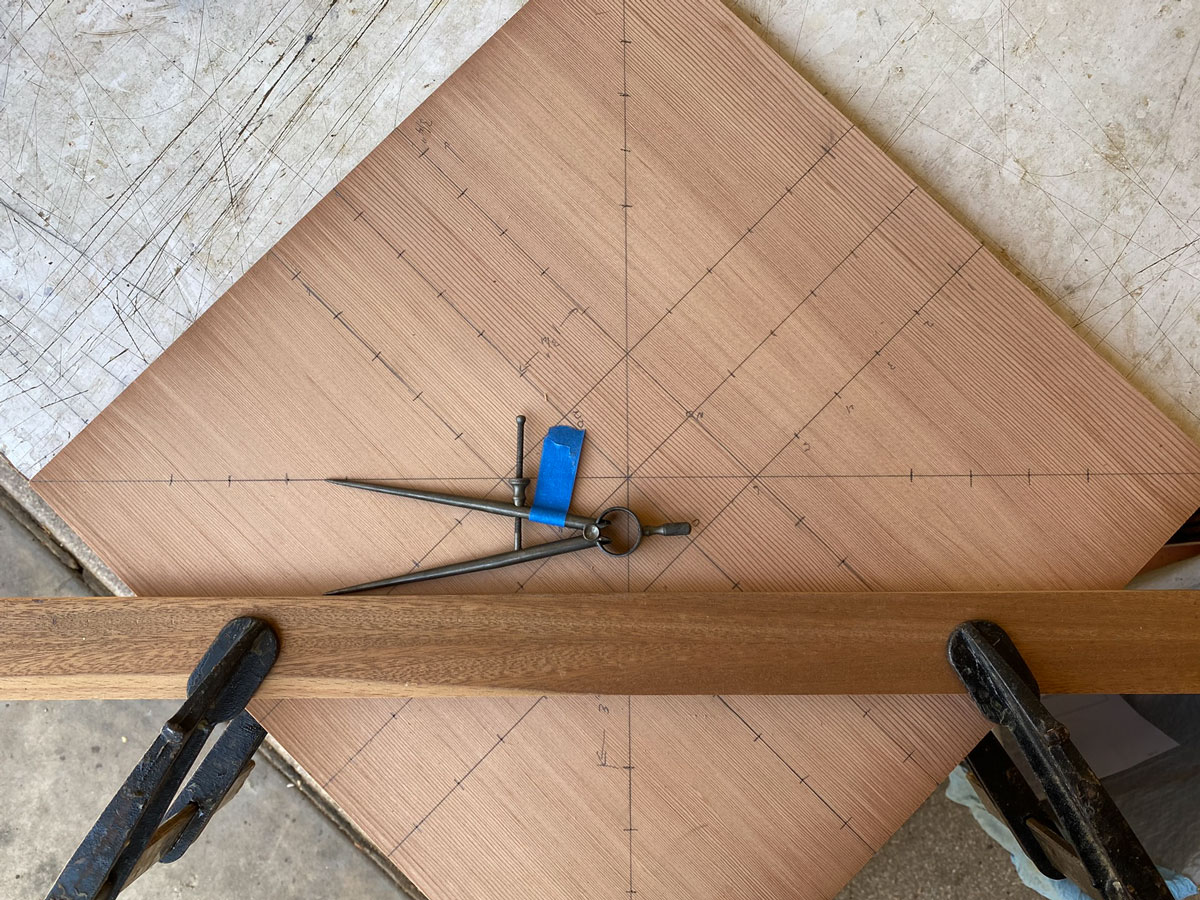
Now that I have the depth set correctly, I want to set a pair of dividers for the distance from the bit to the side of the router base.

To fine tune this setting, I draw a line on my scrap and get another piece of scrap to act as a guide for the router. I use the dividers to set the distance from my line to the position of the guide board. I jointed the guide board to make sure it is straight.
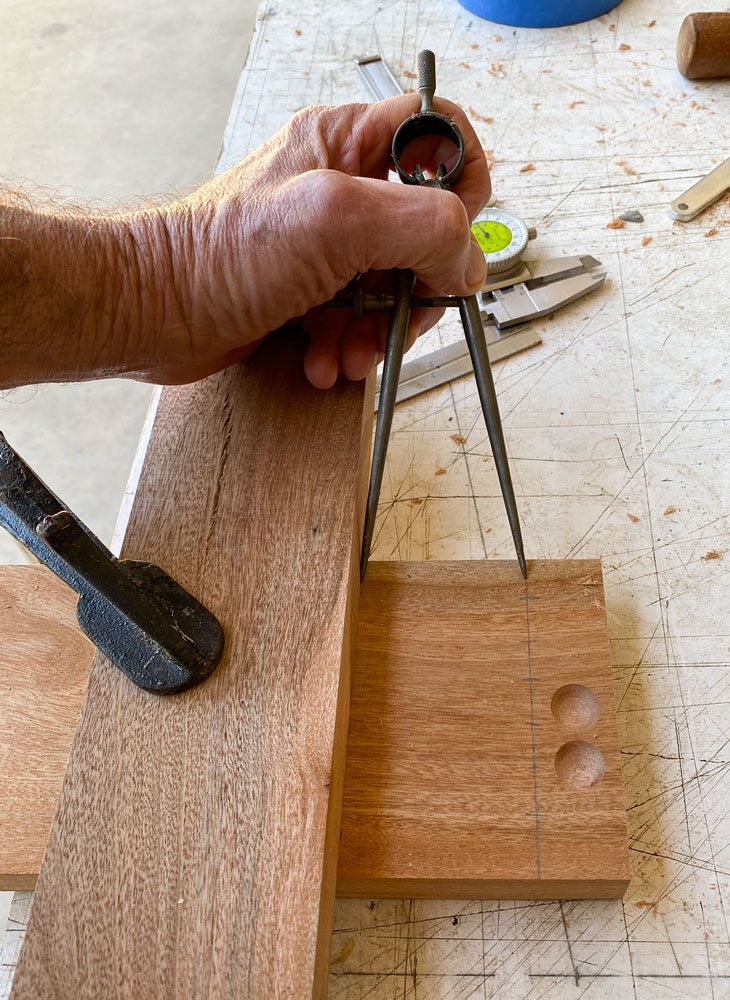
With the router base against the guide board, I plunge the bit to just touch the line. This allows me to see if the distance between the guide board and the line is correct. I adjust the position of the guide board until I'm satisfied that the bit is plunging directly in line with the line I drew. I adjust the dividers to this distance.
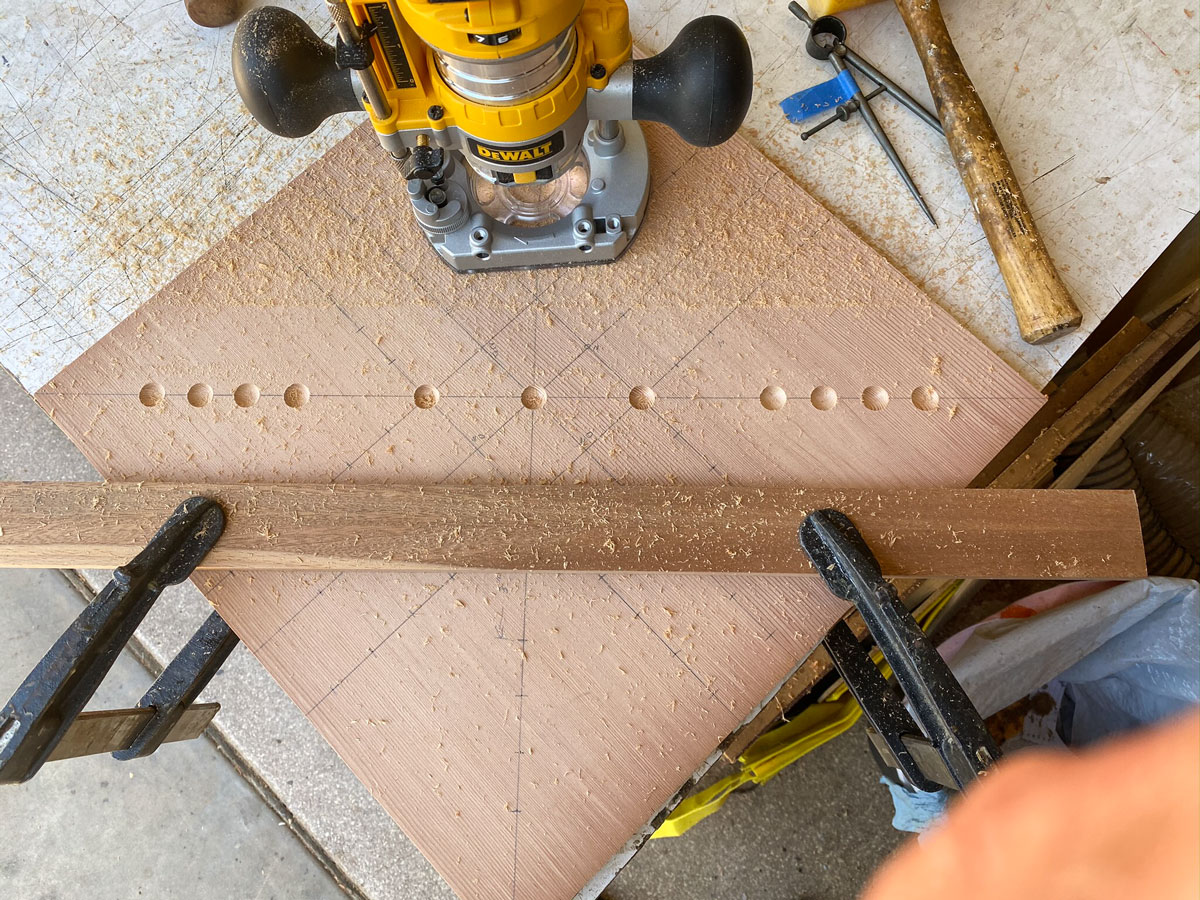
Now it's time to make the dimples on the board. I'll start with one of the diagonals. You can see here that I've clamped the guide board in place with the distance set by the dividers.
Then I put the router against the guide board, adjust the position so that the bit aligns with the first dimple mark, and plunge the bit into the work. When you do this, you want to make sure that you don't move the router while the bit is plunged or you'll get an oblong hole. Also, don't leave the bit in the dimple any longer than necessary or it could burn the wood. Sanding out a burn is a real pain. Cherry is especially susceptible to burning (but we're not using cherry here).

Here's what the first line looks like.
Then I do the other diagonal.

And then the other lines.
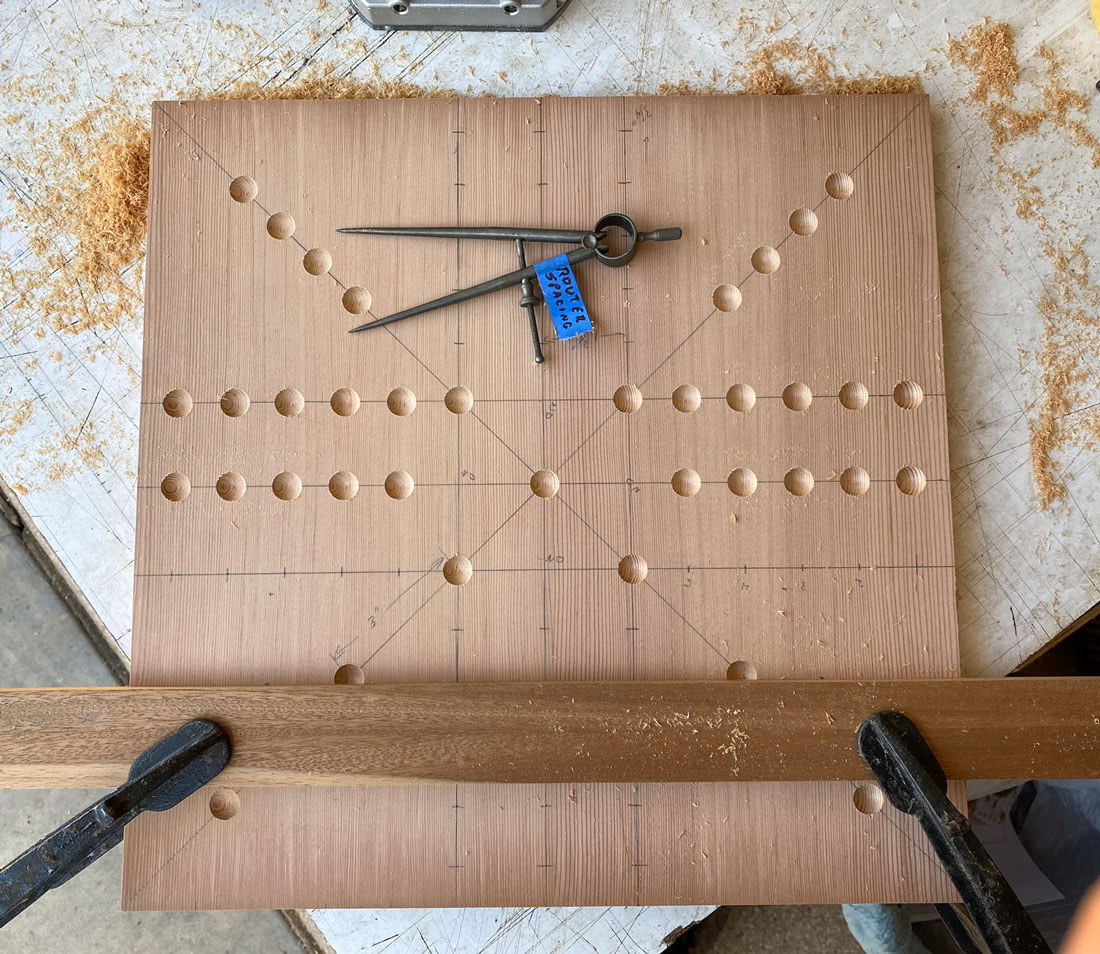
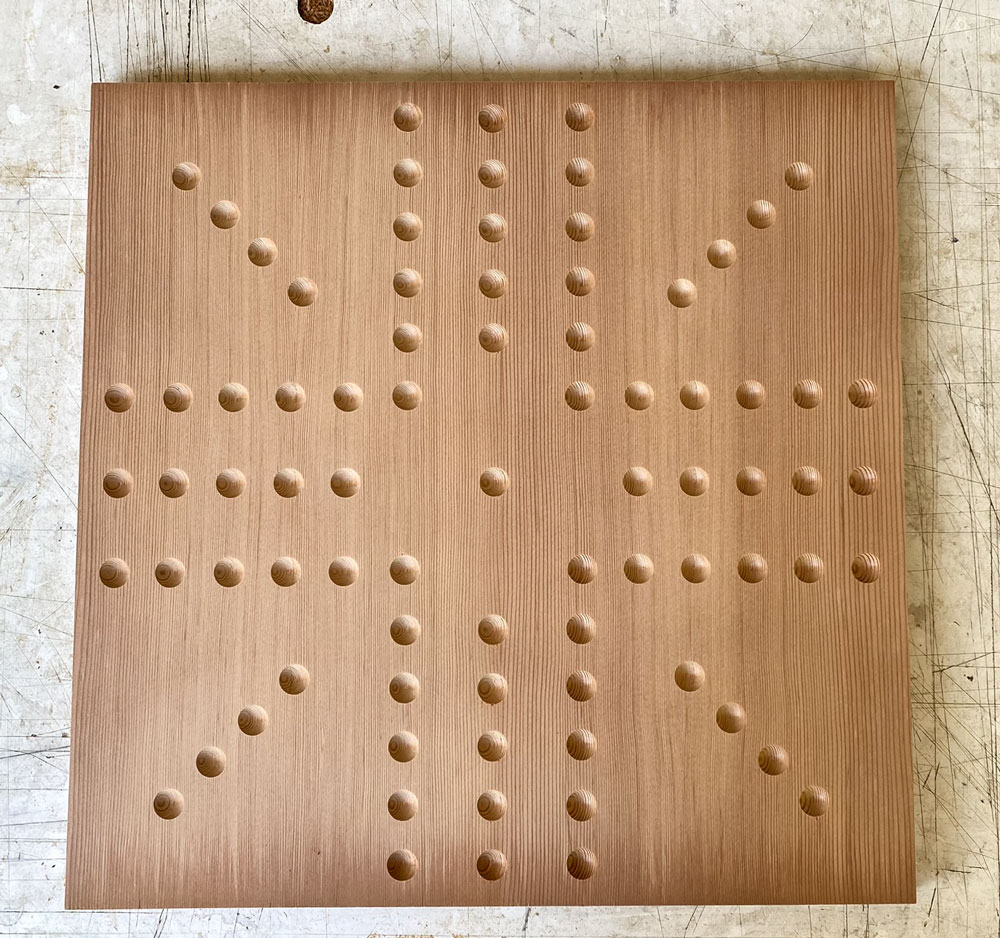
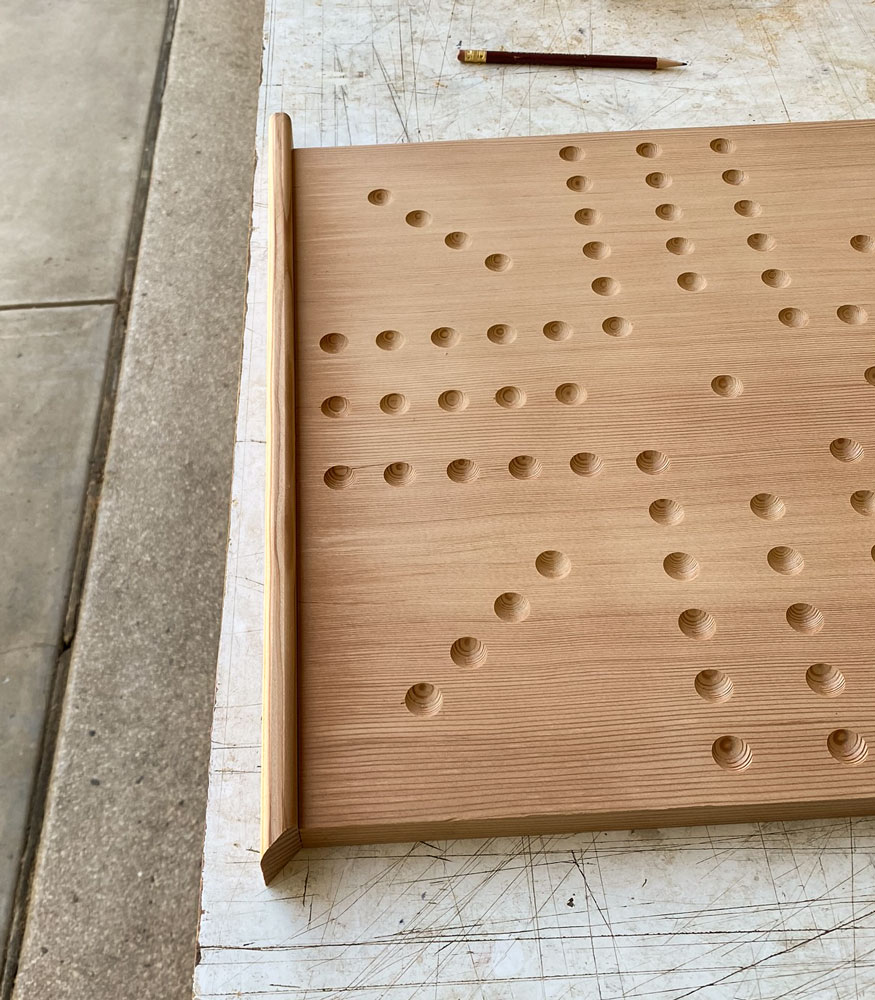
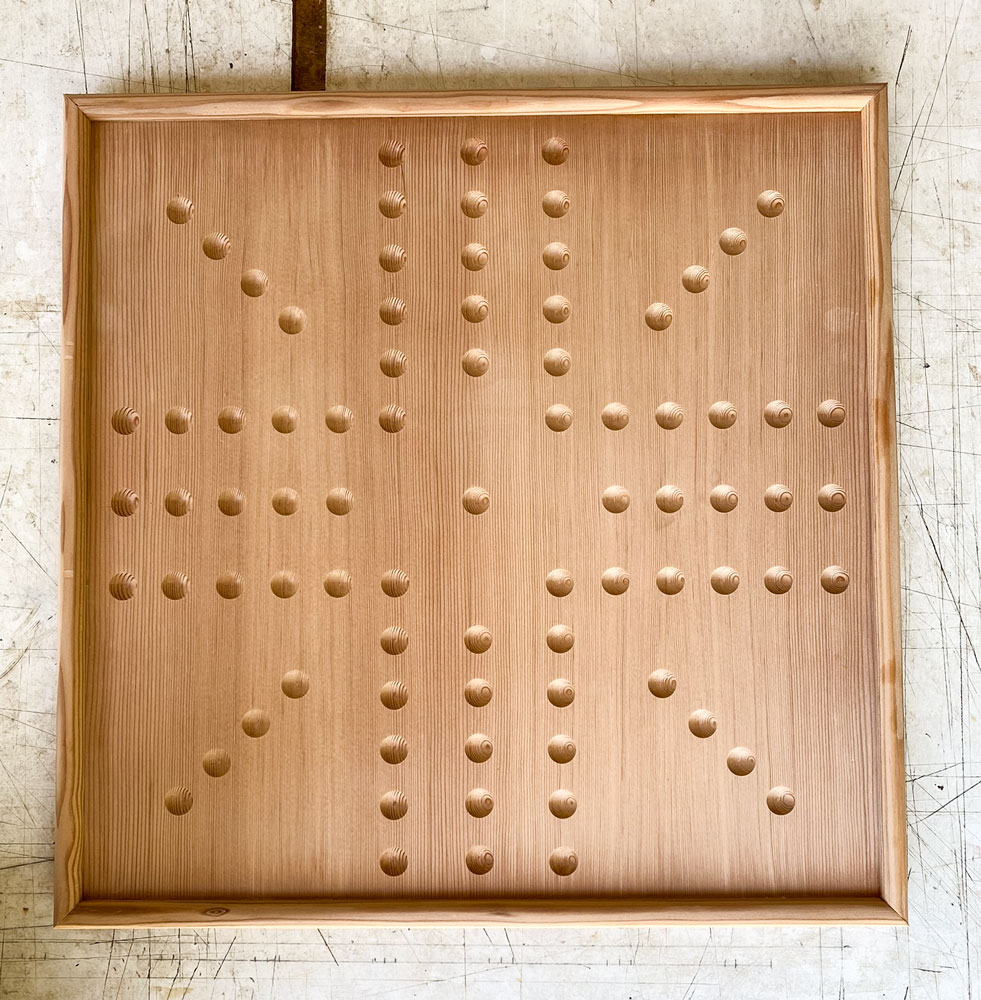
Eventually, all the dimples are routed.

Now we're going to put a border on the board so that marbles don't roll off the board. First, I sand the board to remove the pencil marks.
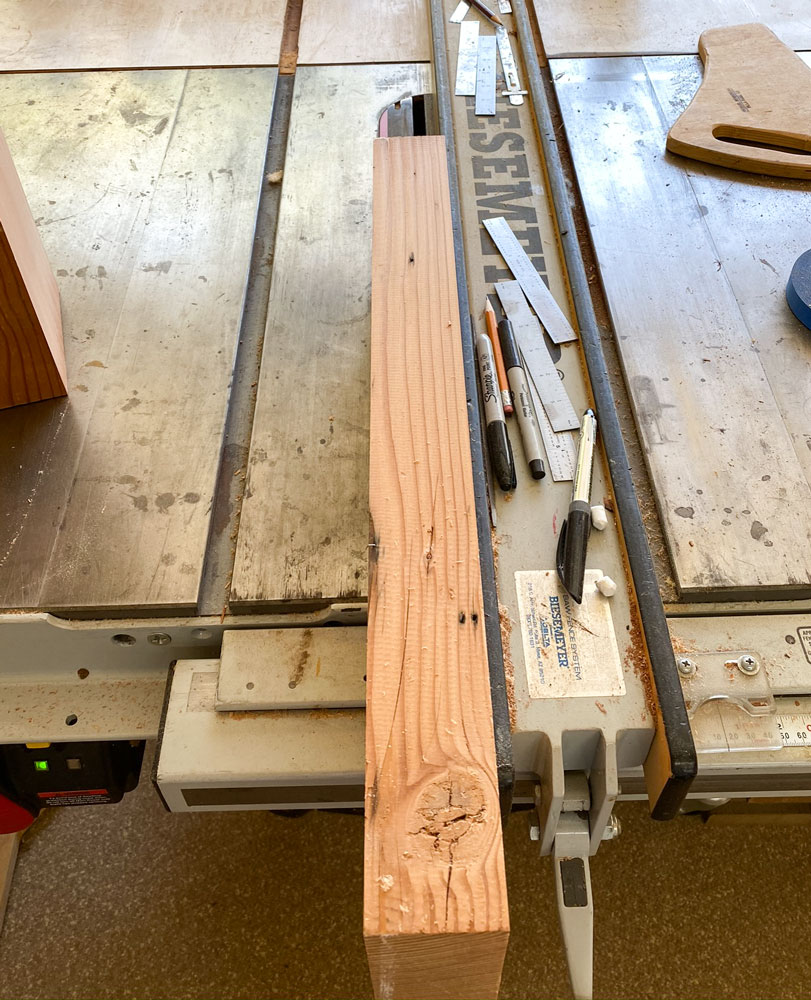
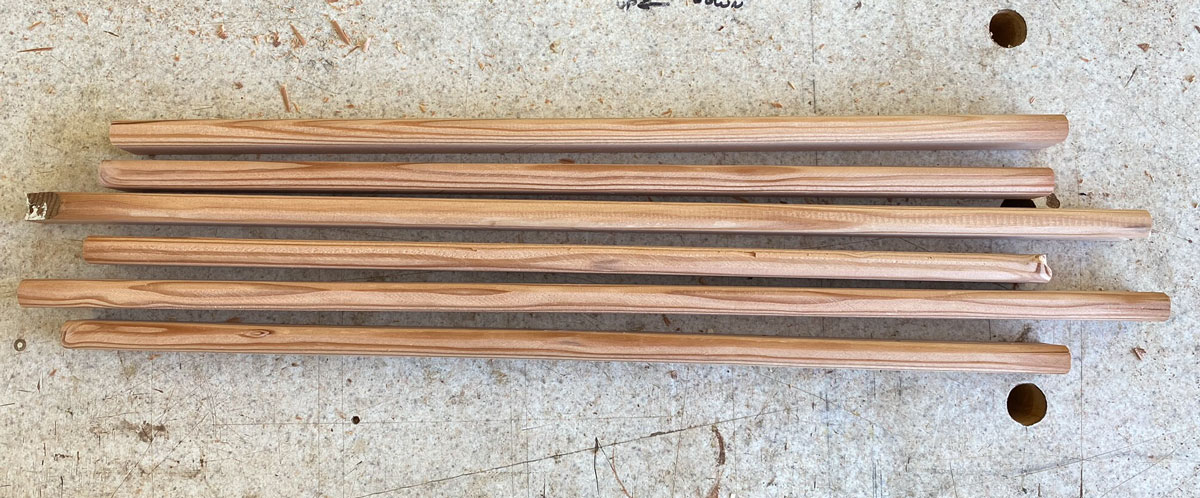
For the border, I need four pieces of fir that are 1/2 inch thick, about 1 inch wide, and at least 17 1/2 inch long, preferably longer. I can't use the fir block that I cut the pieces from for the board because it's only about 16 3/4 inches long. I have another piece of fir, longer but not as nice as the first one.
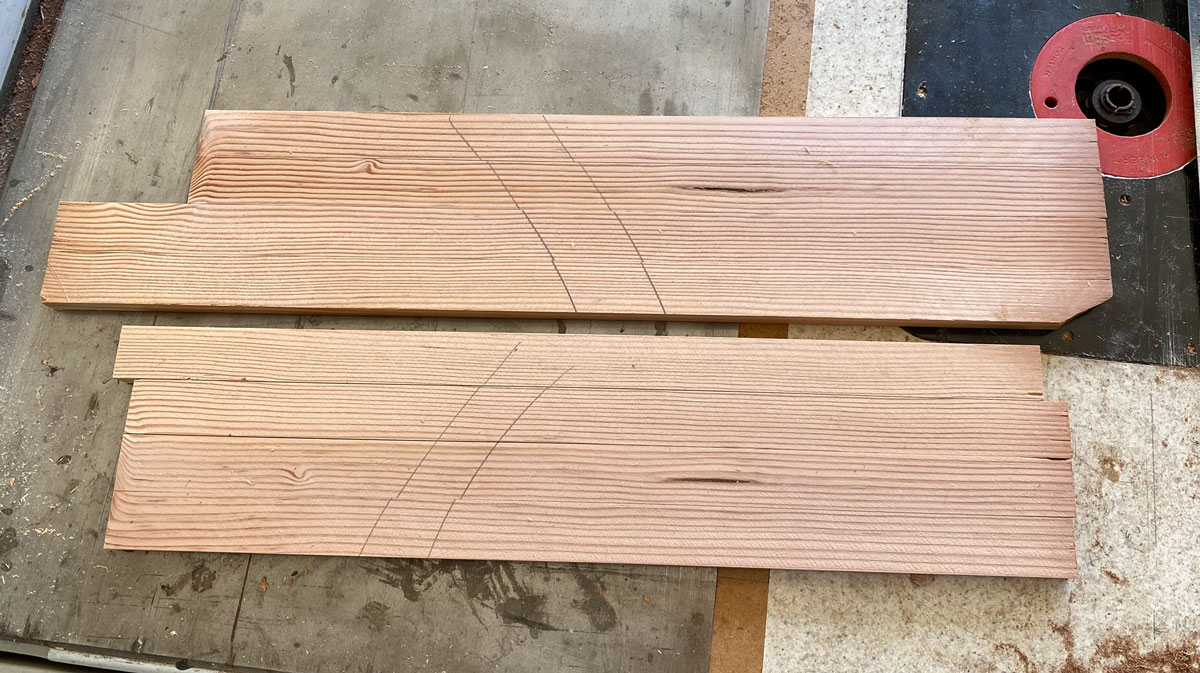
I cut two boards 1/2 inch thick off the block. Then I cut the boards into pieces a bit over 1 inch wide. It gave me 8 pieces. The reason I did 8 pieces is that the wood from this block has a lot of imperfections - I hope I can get four good pieces.
Then I set up my router table to put a 1/4 inch roundover on these pieces.
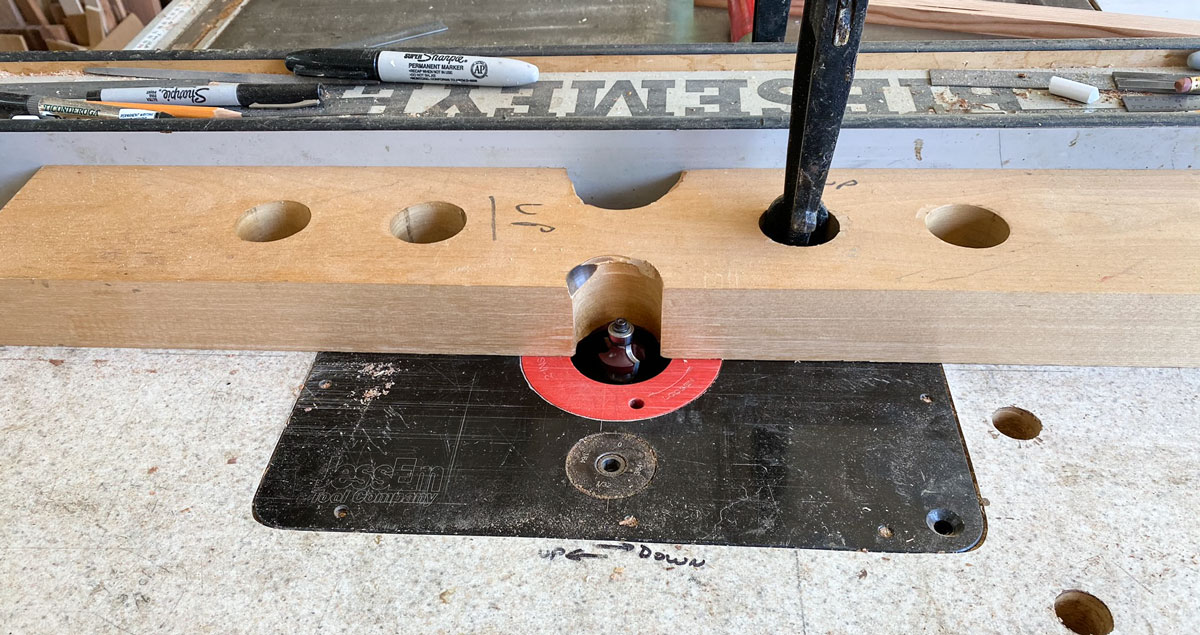
Here's the result - I have 6 decent pieces but had to cull one because of a split, giving me 5 to work with.
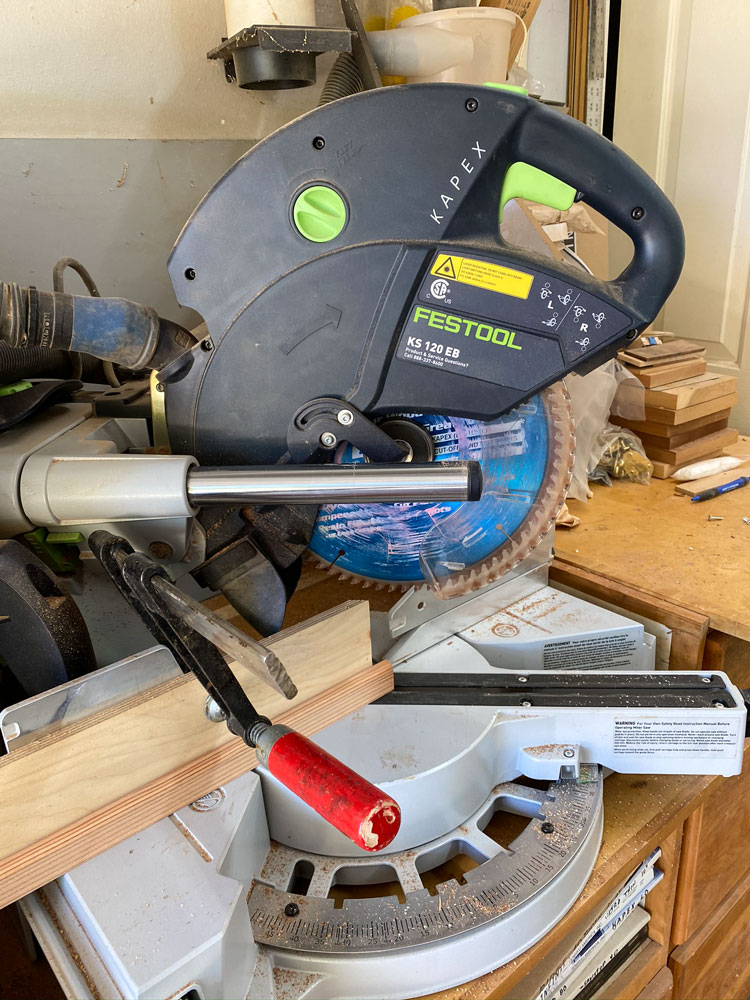
I'm going to miter the corners of the border so I set up my miter saw for a 45 degree cut. I use a backer board to reduce tear out.
Then lay the piece against the board at the end grain.
I trim the piece until it fits exactly, as shown in this next picture.

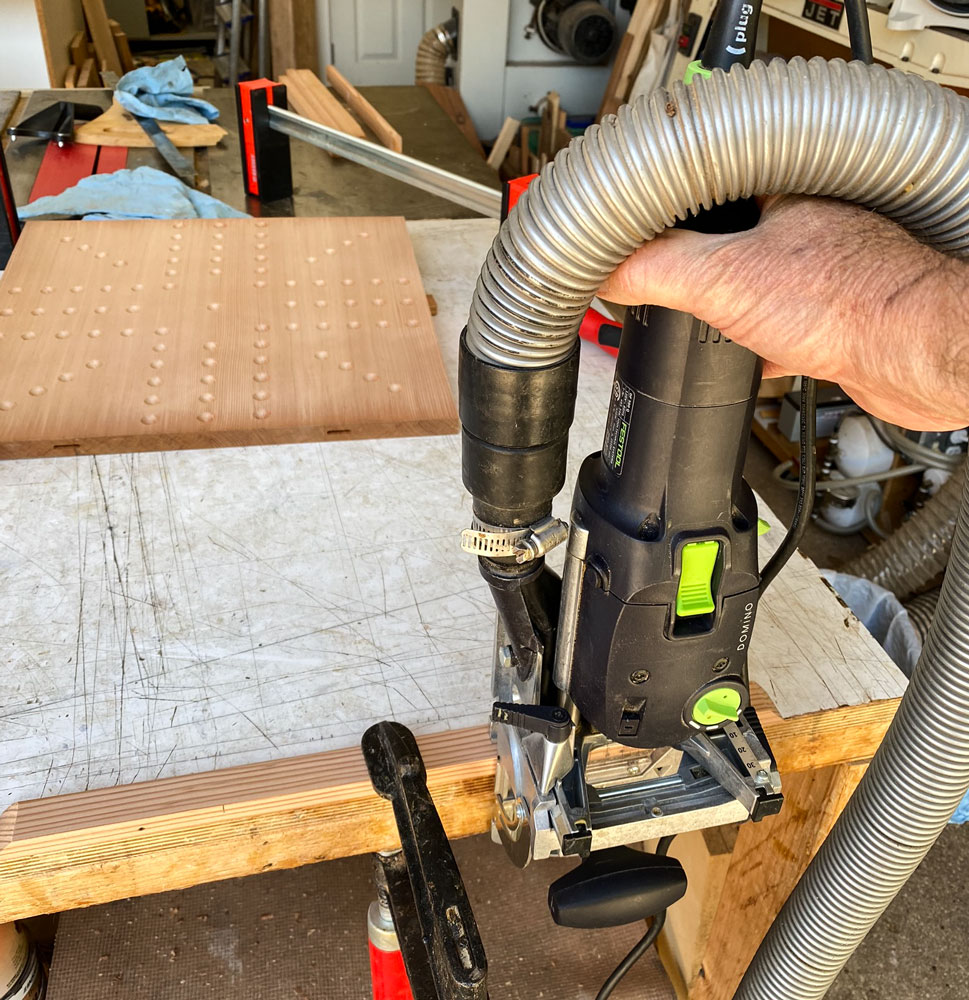
The problem with the two pieces of border that are facing the end grain is that end grain does not produce a good glue joint. So I'm going to put a couple of small dominoes between the border and the board. I clamp the border to the board.

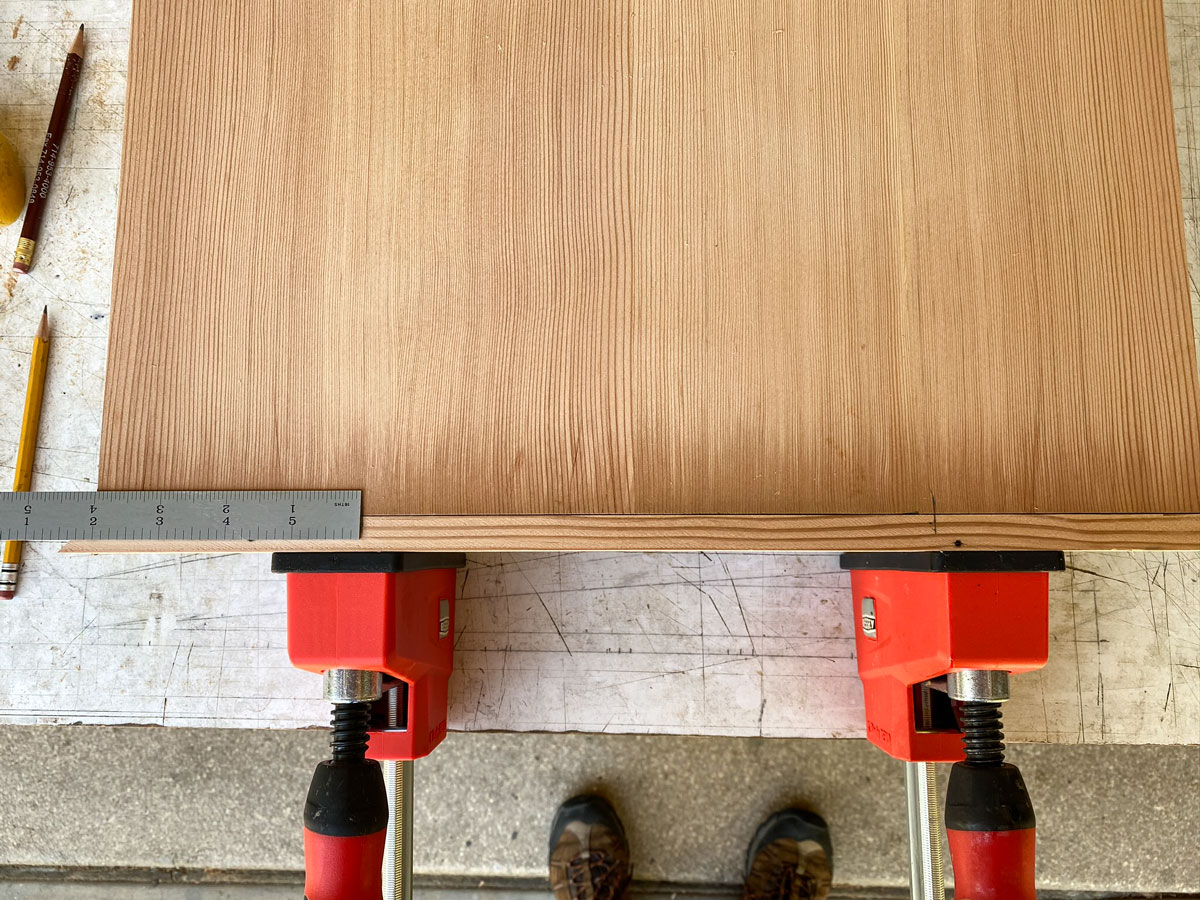
And then flip it over so that I can mark where the dominoes will go. There's no right answer here but I come in 4 inches from each side. You could put 3 dominoes, one in the center and two towards the outside. You can see my pencil marks in the picture below.
Then I use the Domino to cut the mortises, first in the end of the game board. When I make these mortises I make them a bit wider than the minimum. This allows me to shift the border piece from side-to-side for perfect alignment. To do this, I use the smallest slot setting and plunge just to the side of my mark, then plunge just to the other side of the mark. So the mortise is just a small amount wider than the minimum.

And then in the border. I do these mortises with a single plunge, and set to the minimum width setting. The dominoes will be tight in these mortises.
I realize that not everyone may have a Domino so an alternate technique is to cut a groove on your router table with a 5/32 inch slot cutter. Cut the groove in the end of the game board and in the border piece. Then put FF biscuits in the grooves as you glue the border onto the game board. They will provide the extra grip need to keep the end grain glue up from coming apart.
The first thing I do is glue the dominoes in the border piece. Make sure that you spread the glue all over the inside of the mortise and put glue on the domino before inserting it. I clean up the excess glue and then set it aside for a few minutes until the glue sets.

Then glue it to the game board. Again make sure you coat all sides of the mortises and put glue on the dominoes. Of course, spread glue on the rest of the contact area. Then clamp.
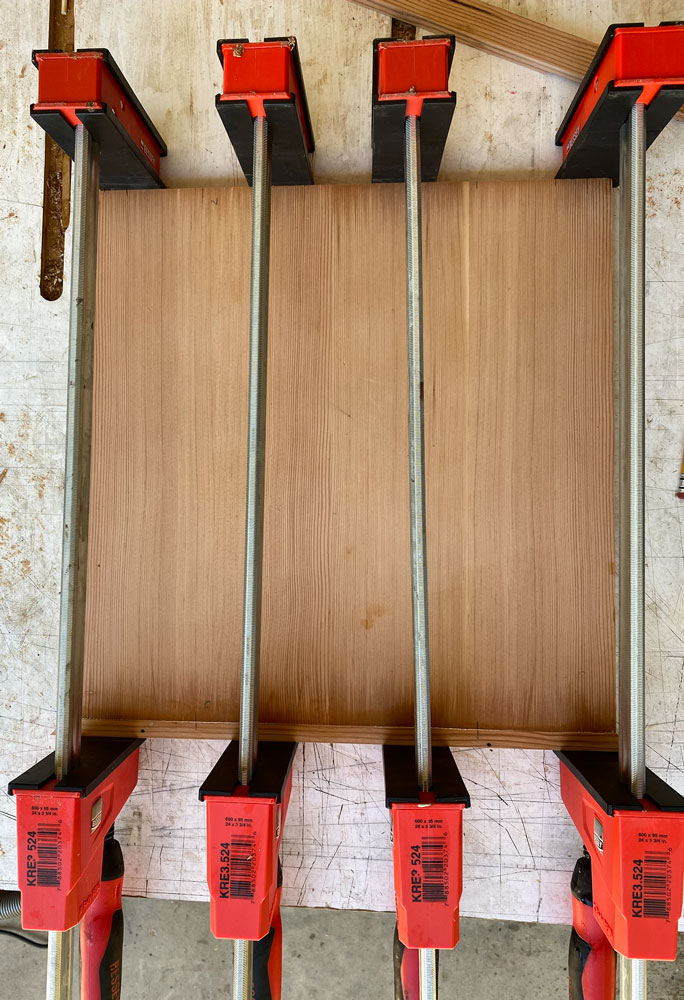
Do the other side the same way when the glue is well set on this one.
Now we have to fit border pieces on the sides - the long grain area of the game board. Since this will be long-grain-to-long grain contact we don't need dominoes. If you cut the border piece accurately, it will fit tightly against the two end pieces. I'd prefer to cut it a bit long and then force it in than to have is short. If it's short the miters won't be closed up.
Here's the glue up.

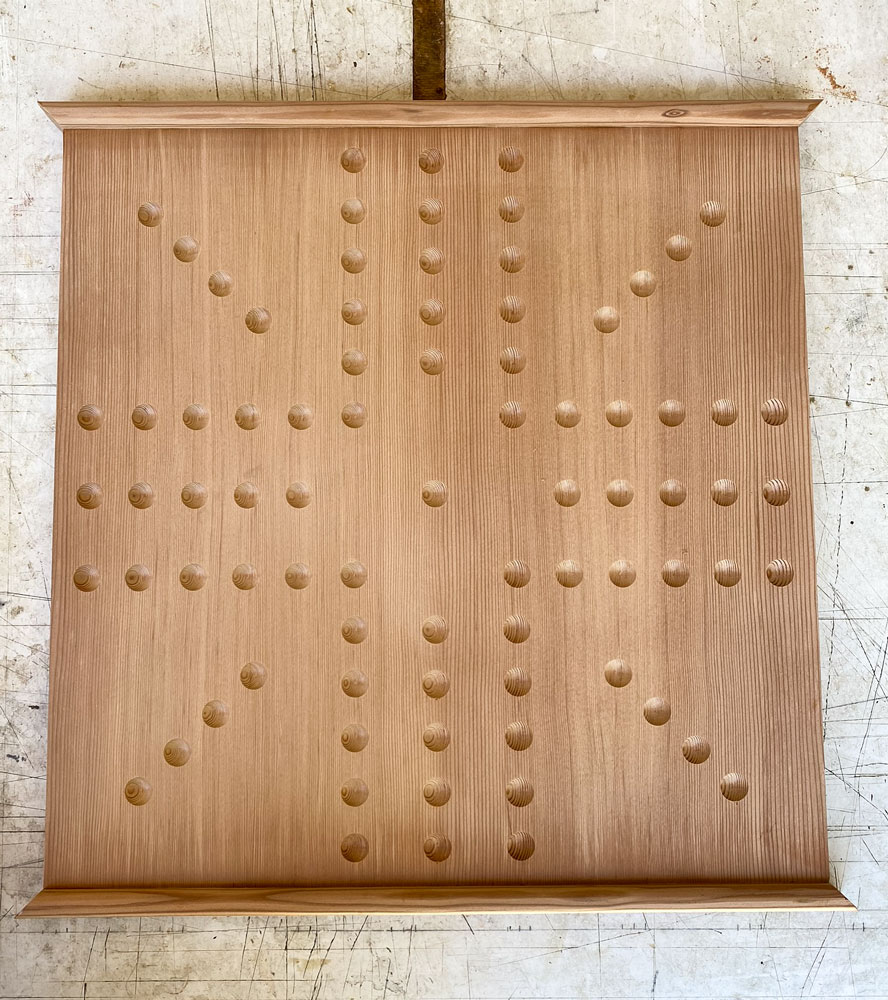
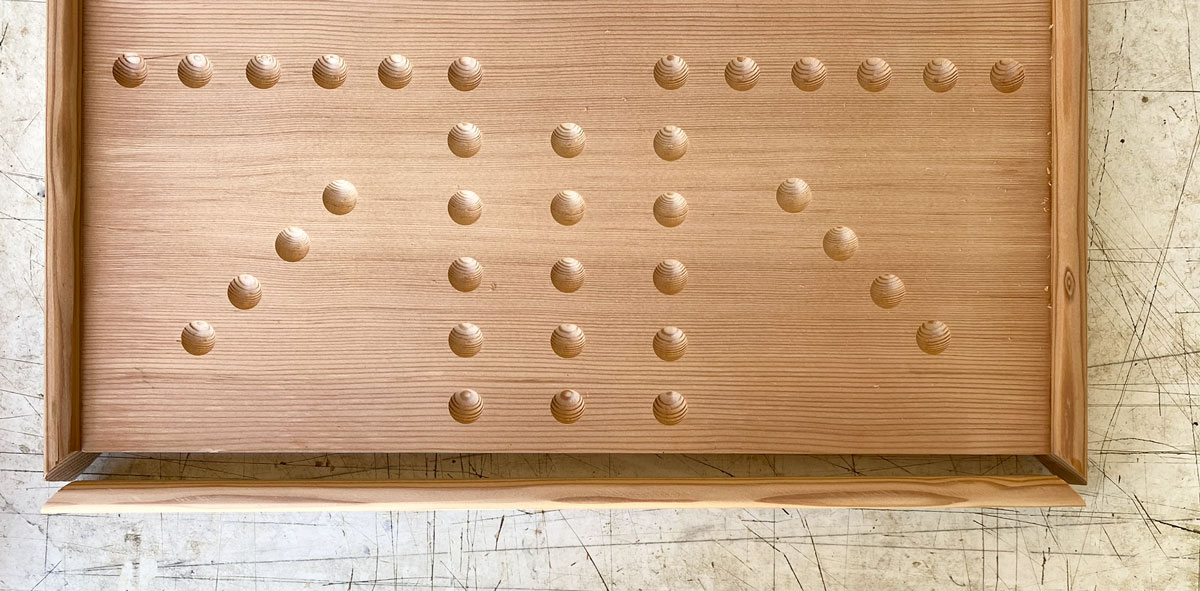
Then do the other side exactly the same way. Here's what it looks like after all four sides are glued.
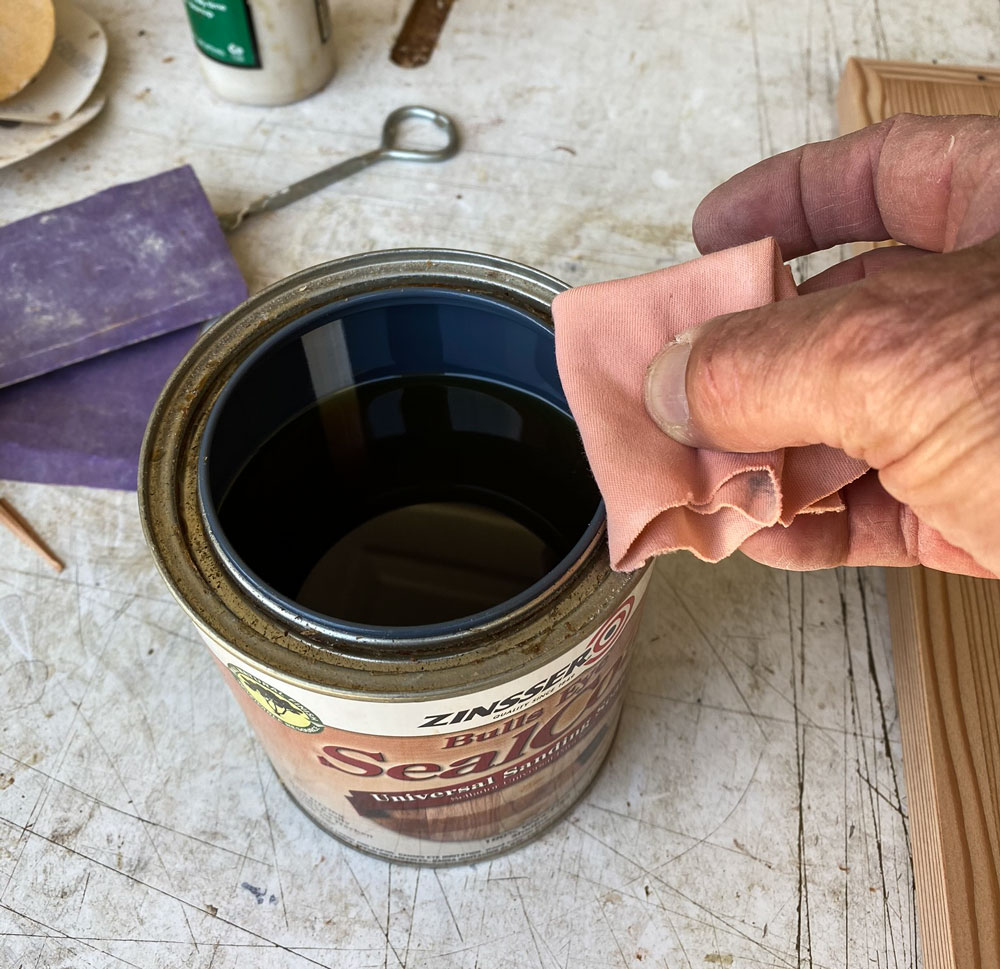
Now, I'll do some final "clean up" sanding and move to the finishing step. The first thing I do is put a coat of shellac on the board. Here in California we can only use water based finishes and they are extremely clear, which makes the board look strange - we're accustom to seeing wood with a bit of "orange" in it. The shellac warms up the final product just enough.
I would normally shoot the shellac but for something this small, I'll pad it on.
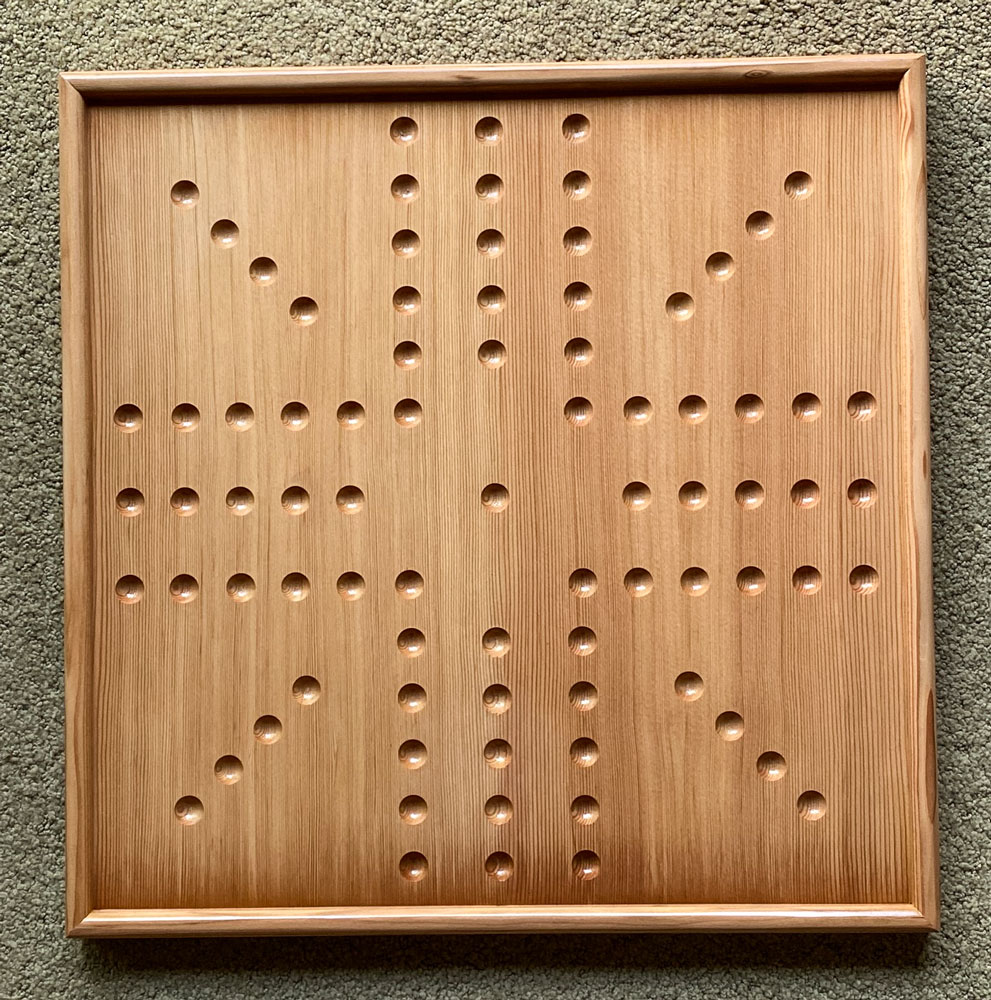
Here's what the board looks like with just the shellac on it.

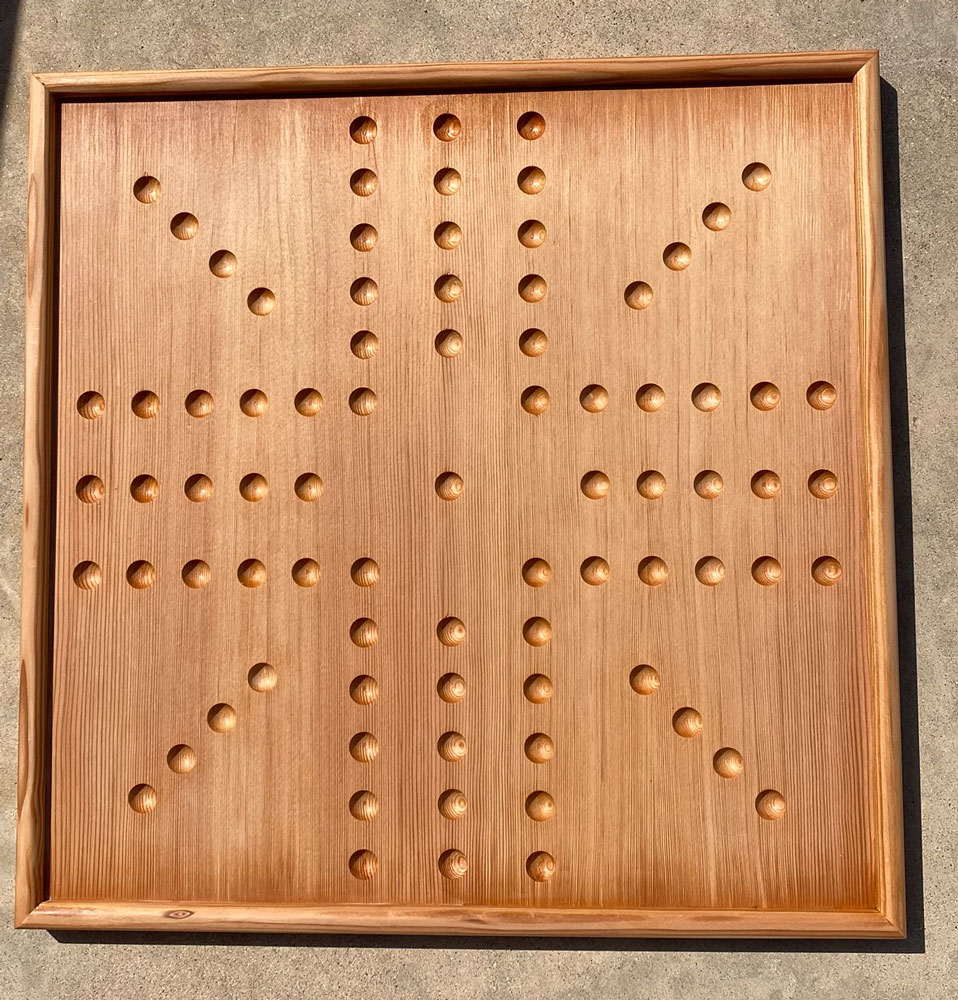
Now, I'll shoot several coats of water based finish, put felt pads on the back, and sign it.

And that's it.
You can return to my main page here