Carving a Simple Shell
P. Michael Henderson
January 1, 2009
I did some carving tutorials for a woodworking forum a while back. What I've done here is to take the same pictures and text and convert it to a web page so that others might benefit from it.
If you find this tutorial useful, I'd really appreciate if you would send me an e-mail with the subject line of "Simple Shell" so I can get some indication of how many people are reading it.
Note that I use the Swiss system to describe carving tools in all of my carving tutorials.
Initial Discussion of Applied Carving
First, why do applied carving? Why not just carve your design into the wood
directly?
It's possible to carve a design into wood and have the design stand proud of the
surface by cutting back all of the wood except that of the design (this
technique is known as "carving in the solid"). But there's some problems with
that approach.
The first problem is that it's wasteful of wood. Let's say you want your design
to stand proud by a half inch. That means you have to buy thicker wood, which is
more expensive.
The second problem is the amount of work required to work the wood down (the
area that is worked down is called the "ground", perhaps a short hand for
"background"). It's also very difficult to get the ground flat with carving
tools. Additionally, if the design is one that required cutting downward to
outline the design, it's very easy to slip and put a "gouge mark (or ding)" into
the ground. It takes very good tool control to carve things "in the solid".
The third reason is that applied carving allows for mistakes. Let's say you have
multiple things to carve, such as the multiple shells on a Townsend chest. You
want to carve it "in the solid" and you complete one of the shells. But on the
second shell, you make a bad mistake. You now have to start completely over. You
not only have to re-carve the second shell, you have to also re-carve the first
shell. This puts a lot of pressure on the person doing the carving so they're
less likely to carve fast or with abandon (which might be more creative).
And, in general, there's no real advantage to carving "in the solid". It's true
that the grain will be continuous but with carved elements and the wood that's
generally used for carving, you won't see the grain to any great extent.
Our woodworking ancestors of the 18th Century almost always used applied carving
- there's only a few examples of "in the solid" carving. Our woodworking
ancestors were business people who needed to minimize costs and labor in order
to make a living.
Okay, so we're going to do an applied carving - what wood do we choose for the
carving. [Answer] We should use a cutoff from the wood that the carving is going
to be applied to. That cutoff needs to be selected well - you can't just take
the scrap. You need to carefully select a cutoff that matches in grain and
color. You want that piece of cut off to look like it's part of the wood where
you will apply the carving. As the wood ages, it will change color. By using the
same piece of wood, you have a greater chance that the carving and the ground
will "age" the same. If you use a piece of wood from another board, there's a
good chance that it will age differently and will "stand out" from the ground
and not look like it is part of the ground. You may not see this problem for
years. It's really discouraging to see a piece that you put so much work into
look worse with age, instead of better. So when you buy a piece of wood that
will be used for applied carving, make sure you buy enough that you can get good
carving blanks from the same piece of wood. And make sure you can get a couple
of carving blanks from it. If you make a mistake in your carving, you want
enough wood that you can start over and not have to buy a whole replacement
piece.
The next question is "Which way should the grain of the applied piece run -
vertically or horizontally?"
The answer is "it depends on the way the grain is running on the wood you will
apply the carved piece to". That is, you want the carved piece to have its grain
running in the same direction as the ground. There's a couple of reasons for
this. The first is that it looks better to have the grain all running in the
same direction. If someone can see the grain and the carving is applied cross
grain, it looks odd and it's an absolute tip-off that the carved piece is
applied. You want your applied piece to look like it's part of the ground - you
want it to look like it's carved "in the solid."
The second reason is that the applied piece will stay attached longer if it is
not applied cross grain. Wood moves and if the carving is applied cross grain,
the two pieces will not move together but will always be moving opposite each
other. Over time, there's a good chance that the glue may give out because of
this movement and the applied piece will fall off.
So when you're doing an applied carving for furniture, take your carving blank
from the *exact* same board as it will be applied to (and choose the piece
carefully), and orient the grain on the carved piece so it will align with the
grain of the wood that it is applied to.
These considerations do not apply to the wood you use for this tutorial. You're
probably not going to use the shell you carve - it's just a learning project. If
you have one you want to use, it should probably be the next one you carve.
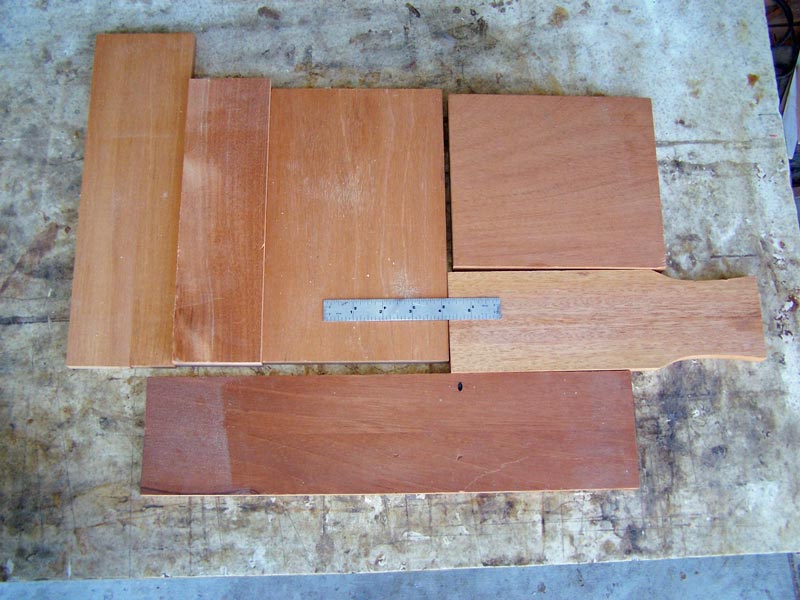
All, right, now we're ready to do some actual carving. The first thing we have to do is prepare the carving blank. I found some scrap mahogany in my shop. Some of it is 3/4" and some is 1/2" and one piece is between. I think 3/4" is a bit thick, although you can thin it down during the carving. The 1/2" is a bit thin and doesn't give the amount of relief that I want.
So I chose the piece that's about 5/8" (it's actually a bit less than 5/8"). Note that this piece consists of two pieces that I glued together some time in the past. I wouldn't use this for a piece I was actually going to apply, but since this is just used for this tutorial, I'm going to use it.

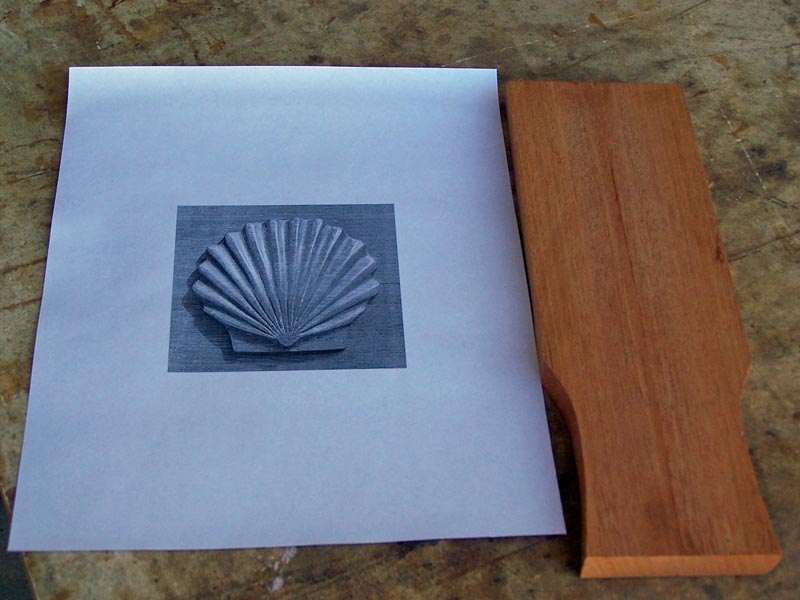
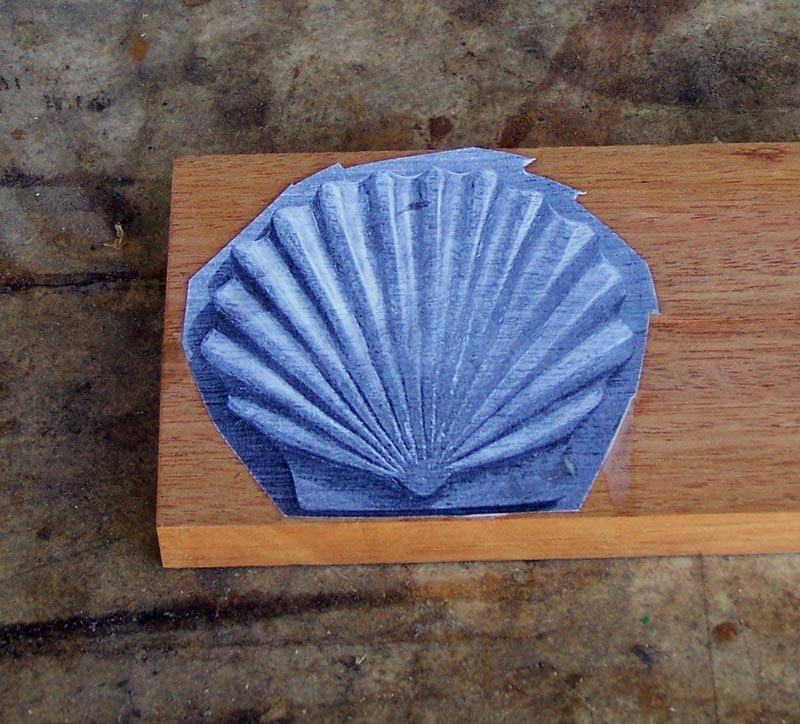
We need something to give us the approximate shape of the shell. The thing I did
for the first shell I carved is to get a picture of a scallop shell from the
Internet. You find that real scallop shells are not symmetrical - they're bigger
on one side than the other. Using photo software, I cut the picture in half,
created a duplicated of that half and flipped the duplicate. Then I put the
original half and the flipped half back together to get a symmetrical shell, and
used that for my first outline.
After that, I used a picture of my previous carving and just worked from that.
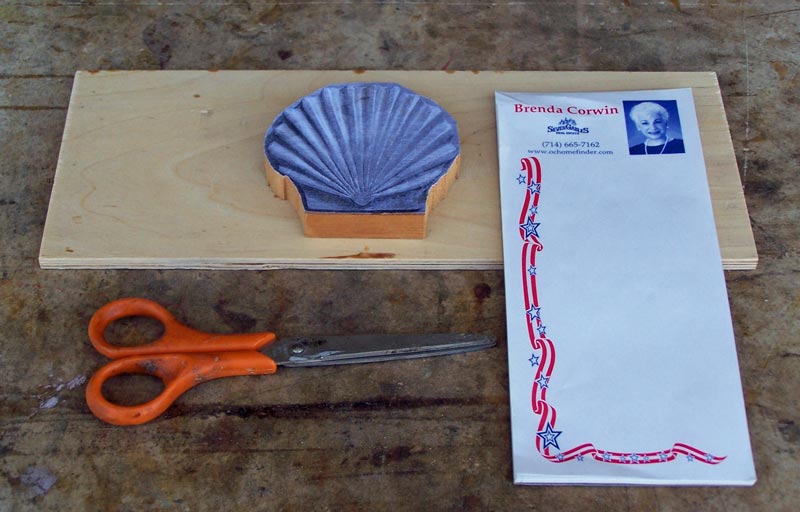
Roughly cut out the picture of the shell.
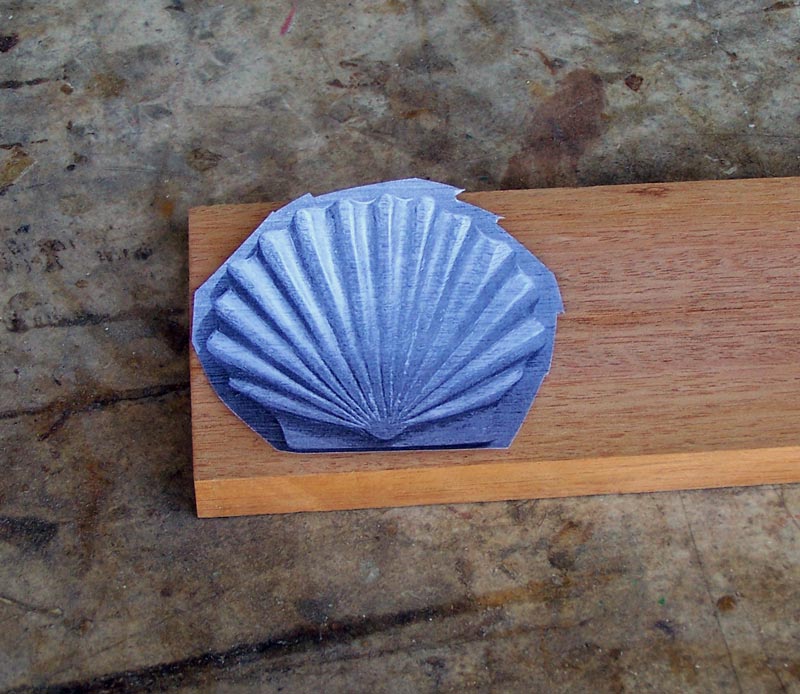
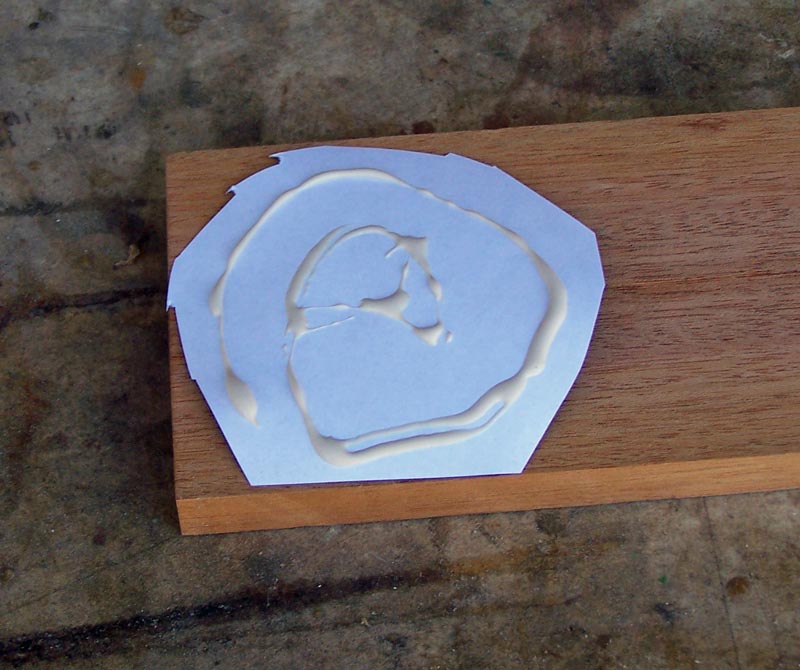
Put glue on the back of the paper. Don't use too much - you just want to hold the paper to the wood.
Here's the wood with the template glued to it. Next, we'll cut the blank out on the band saw.
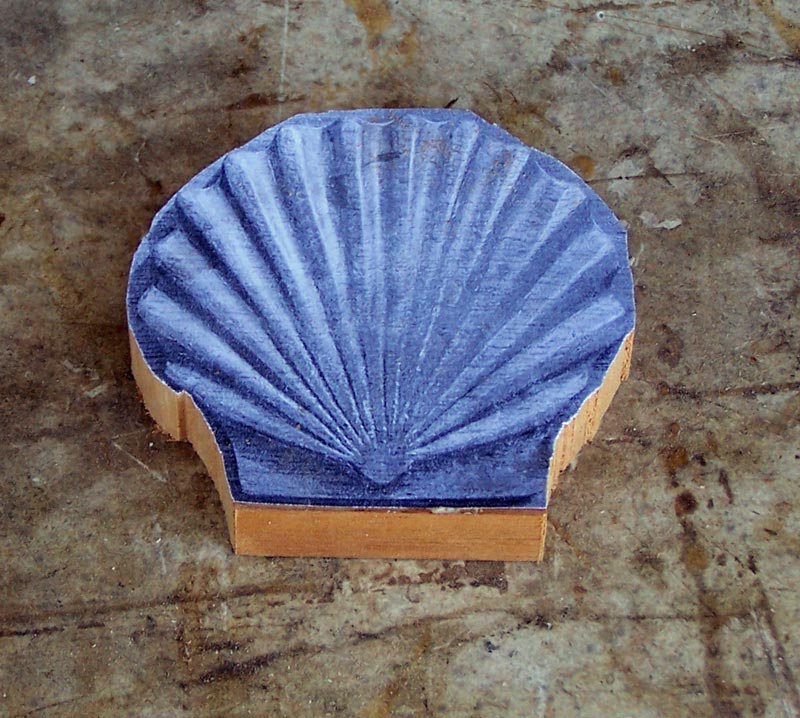
When cutting out the blank, don't try to cut it exactly to the line. You just want to remove a lot of wood so you don't have to carve it away. The final shaping will be done with carving tools.
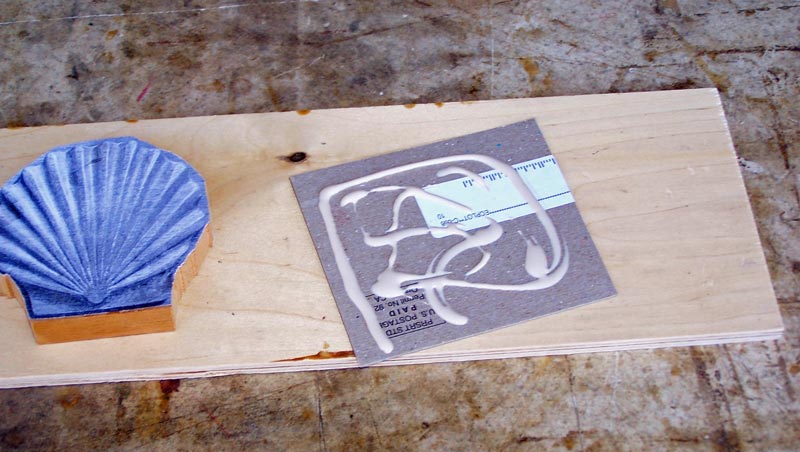
Now, we need to fasten the carving blank down so that we can carve it. To do this, we glue it to a larger board with cardboard between that board and the blank. One thing that works well for me is the cardboard at the back of those realtor pads that they keep sending you to keep their name in front of you.
The cardboard must be larger than the carving blank. That is, you don't want any of the carving blank "unsupported" around the outside. There are two problems if the carving blank is unsupported. As you cut around the outside, you are creating a lever arm and the carving blank can come loose (this is a low probability event). The more common thing is that as you cut around the outside, the bottom of the carving blank "tears out" since the wood is unsupported. That is, you make a cut downward and as you complete the cut, the wood breaks on the back of the carving blank. So make sure the cardboard is larger than the blank. If the cardboard is smaller, use two pieces of cardboard to make a large enough support for the blank.
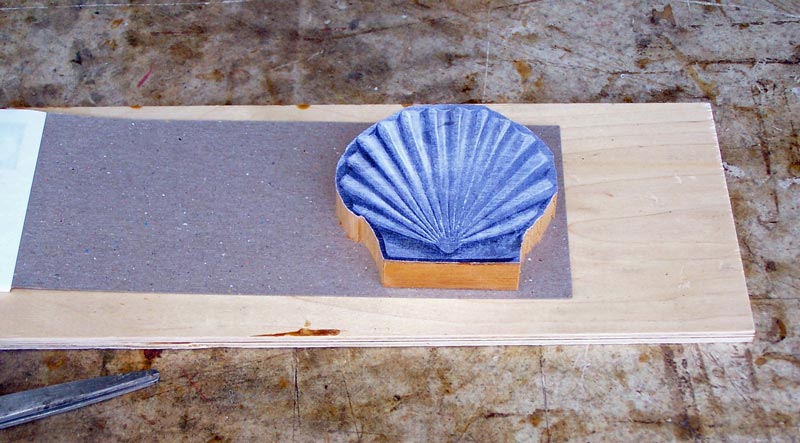
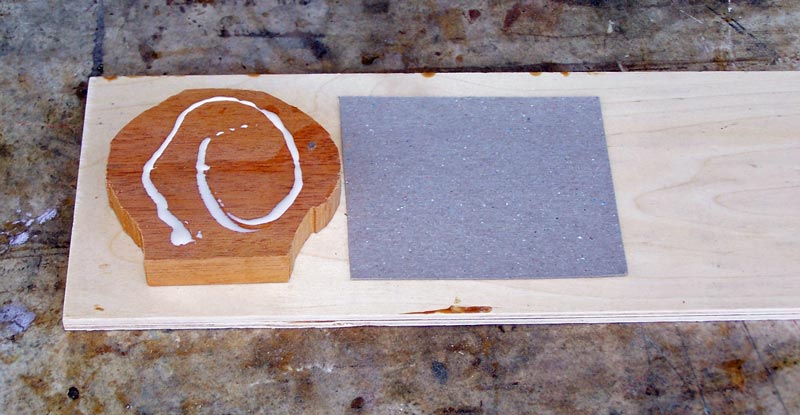
Put glue on the back of the cardboard and press it in place in the center of the board.
Next, put a small amount of glue on the back of the carving blank and press the carving blank on top of the cardboard. Don't use too much glue - you don't need it and all it does is squirt out around the outside and make a mess.
Use a clamp and clamp the blank in place for 30 minutes or so (for PVA).
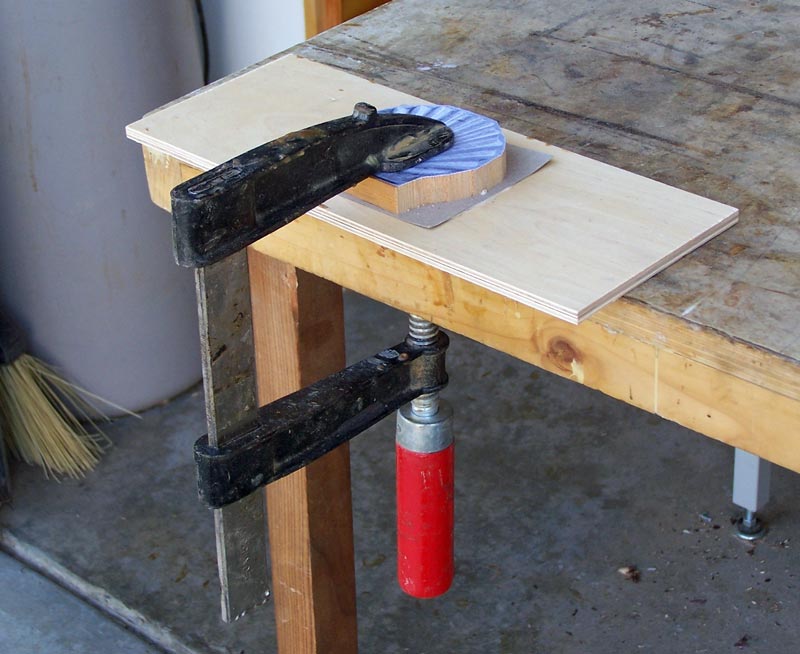
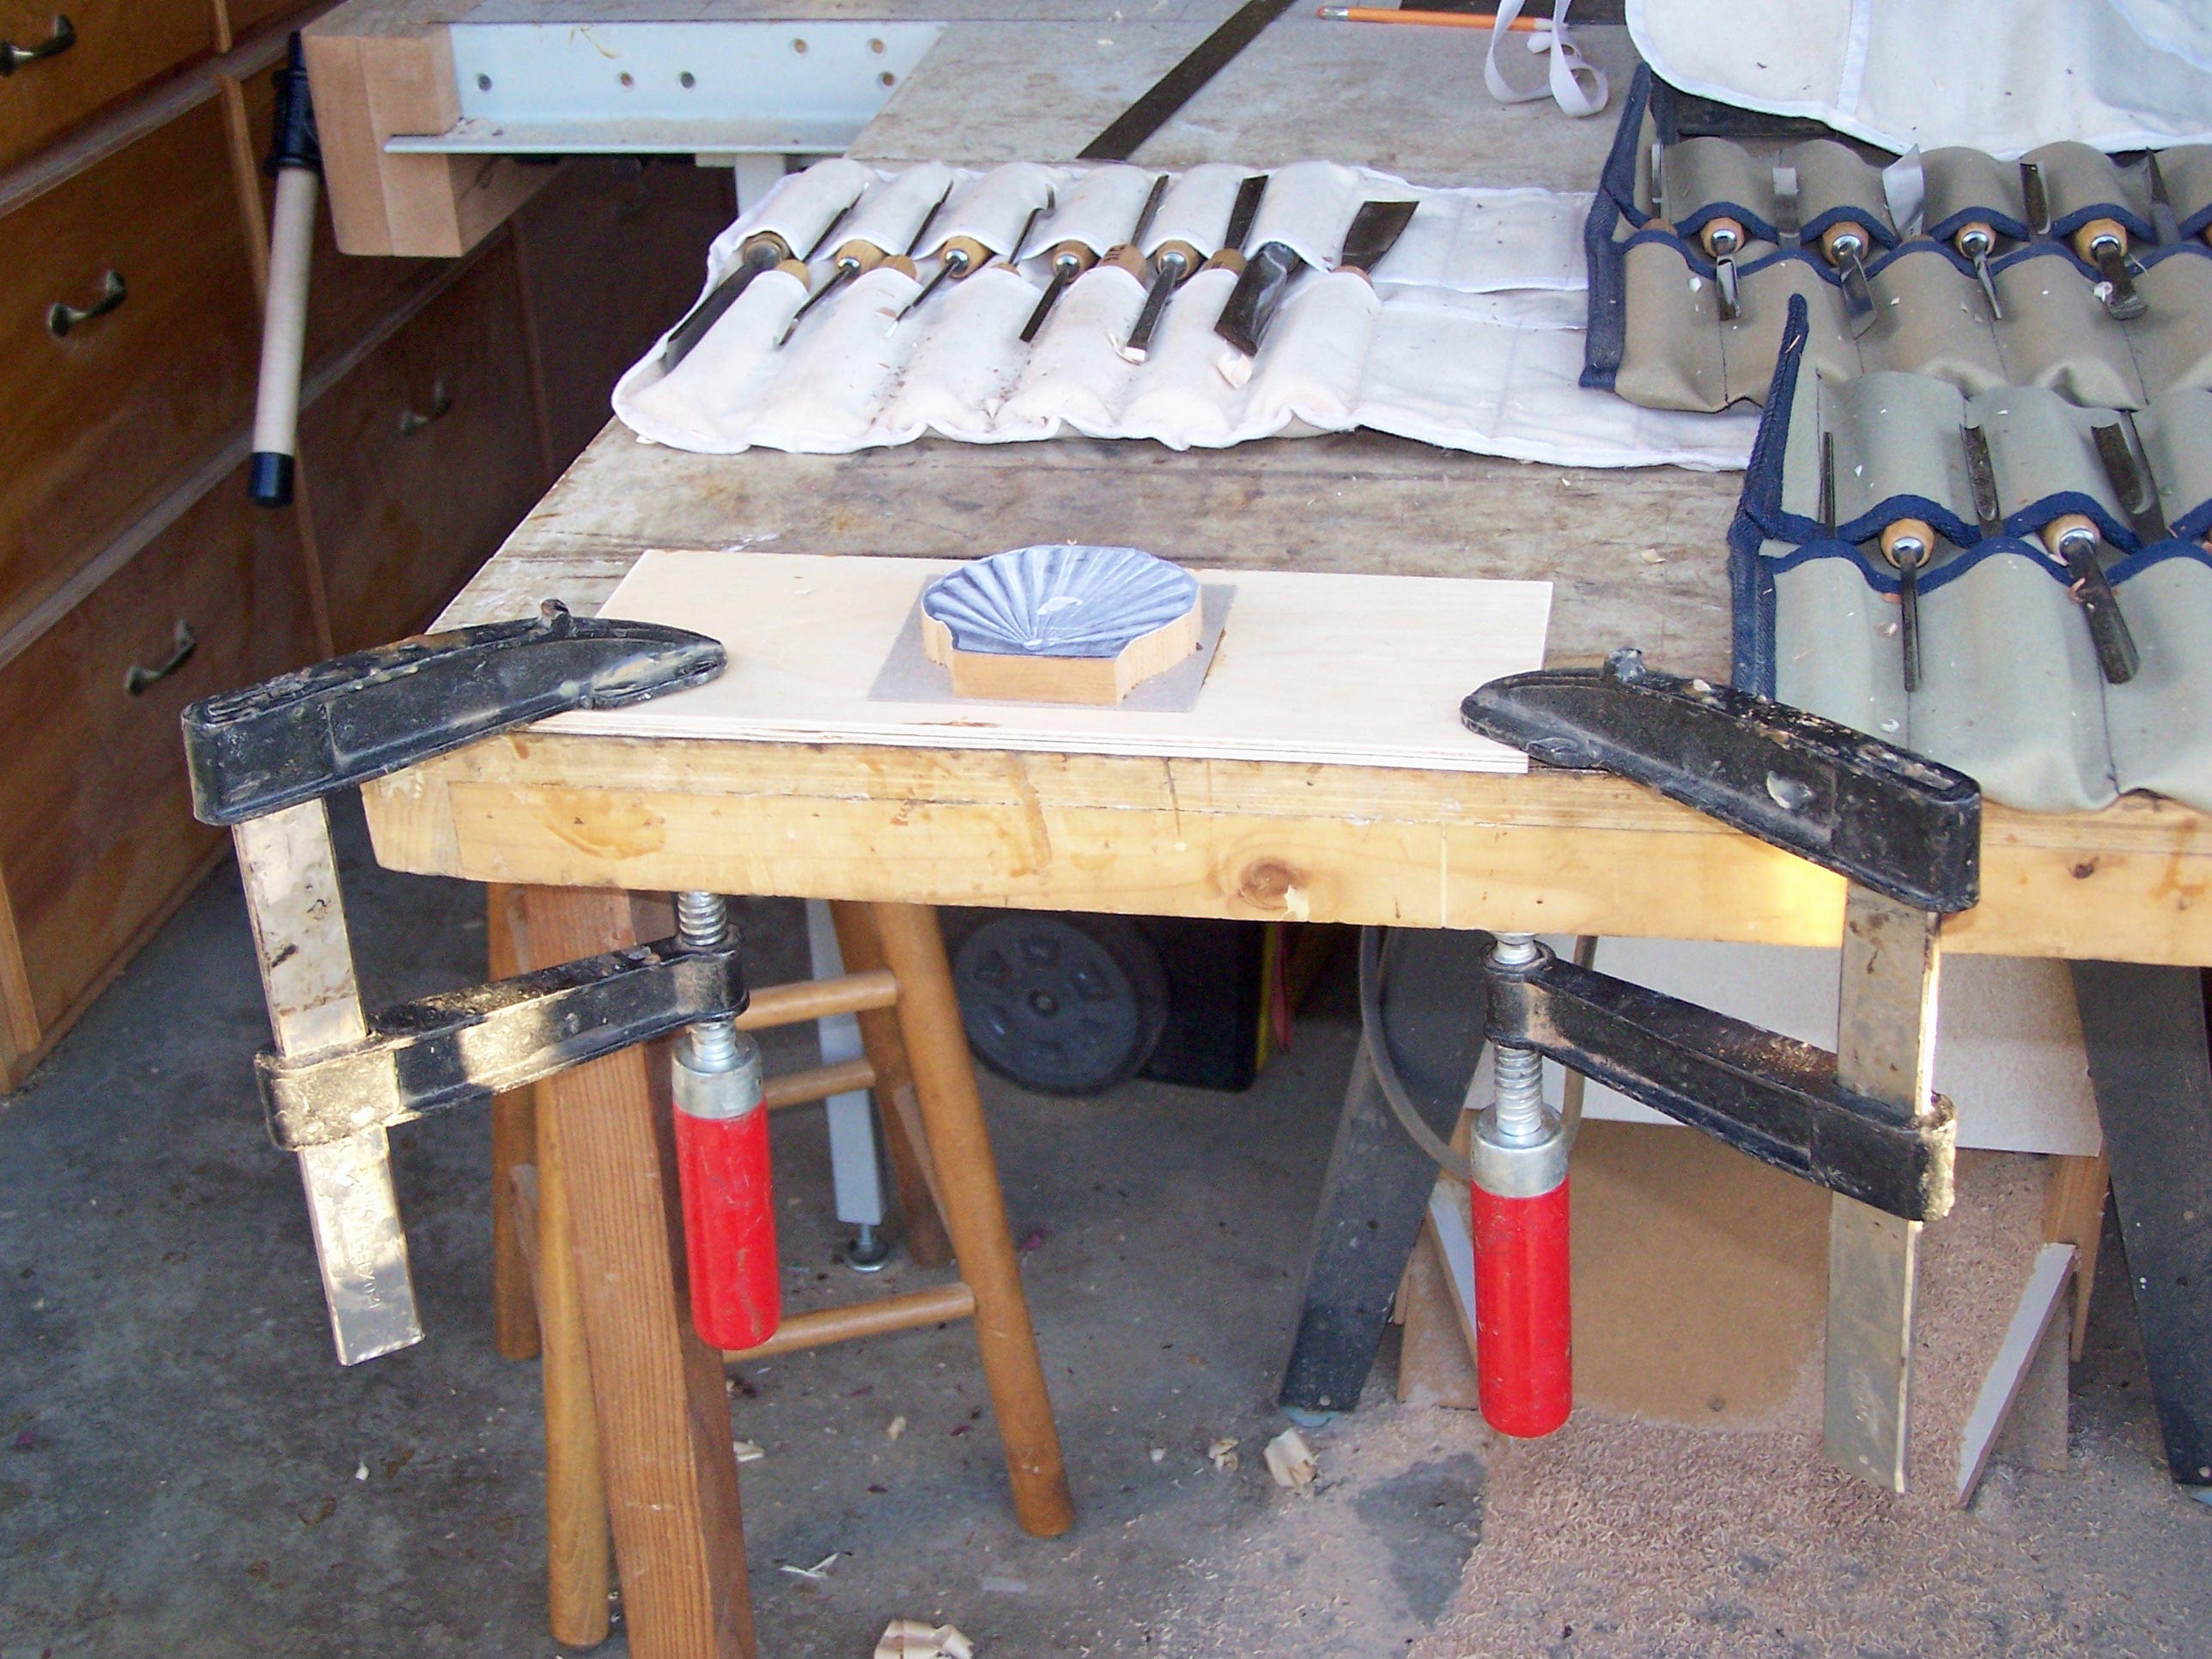
When the glue is dry, clamp the board down and you're ready to start cutting wood (carving).
The tutorial continues here.