Making a Sharpening Disk for Sharpening Carving Tools
P. Michael Henderson
November 11, 2008
I'm often asked how to sharpen carving tools. I'm a big believer in a power sharpening system because it allows you to sharpen your tools quickly - which means you spend more time carving and less time sharpening. In my carving classes, I demonstrate the use of a sharpening disk mounted on a lathe. The advantages of this system are that the disk can be made for little money, and it works well, as long as you have a lathe.
But a lathe is a good investment compared to a dedicated sharpening system, like a Tormek. You can purchase a mini-lathe for maybe $200 if you catch them on sale (Jet was offering their mini-lathe for $200 at the last woodworking show here, and there was a $25 rebate on it.) If you purchase a Tormek, all you can use it for is sharpening. If you purchase a lathe, you can use it for sharpening, and you can use it as a lathe.
I'm not
going to demonstrate how to use the disk in this tutorial - it's best learned
from a hands on demonstration. What this tutorial is about is how to make
the disk. So
+++++++++++
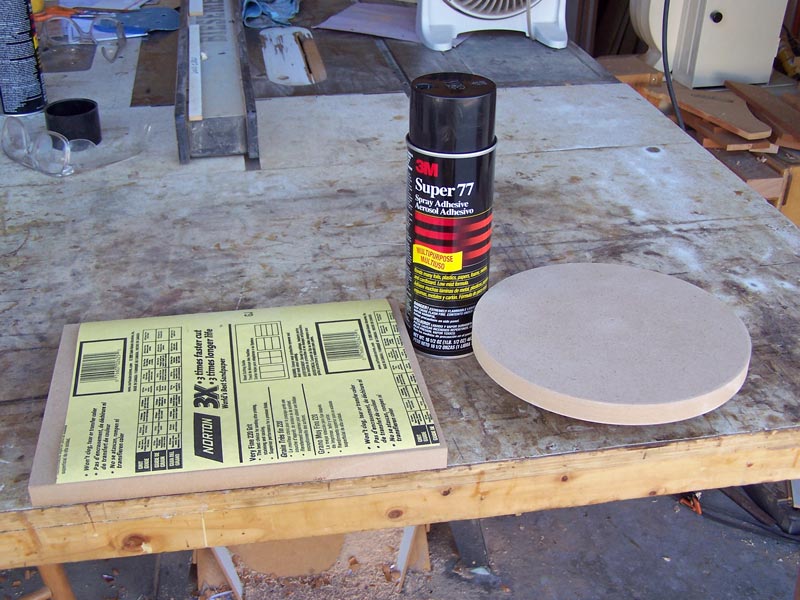
A sharpening disk has sandpaper on the face (I use P220 grit) and leather around the rim. The sandpaper is used for shaping the edge, or repairing damage, such as when you drop a tool on the concrete floor. Otherwise, all you'll use is the leather around the rim to hone the edge. I use a green honing compound that's available in almost any woodworking supply store - I bought mine at Woodcraft. It's inexpensive - I don't remember the exact cost, but I'm sure it was less than $10 - and that will last you a very long time.
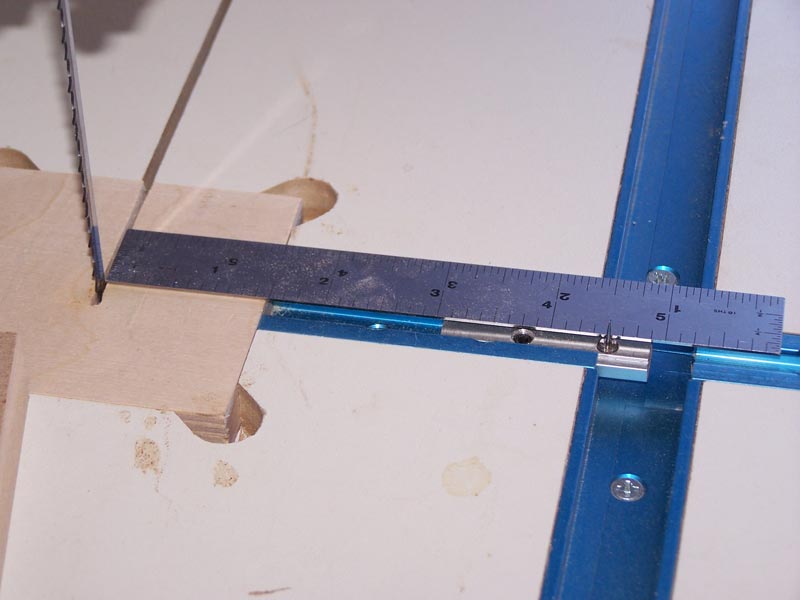
I'm going to make the disk out of 3/4" MDF. You can make your disk almost any size, but I'm going to make it the width of a sheet of sandpaper, about 9". I have a circle cutting attachment for my bandsaw table and I set it a bit more than 4.5" because I want some extra material so I can trim to size.
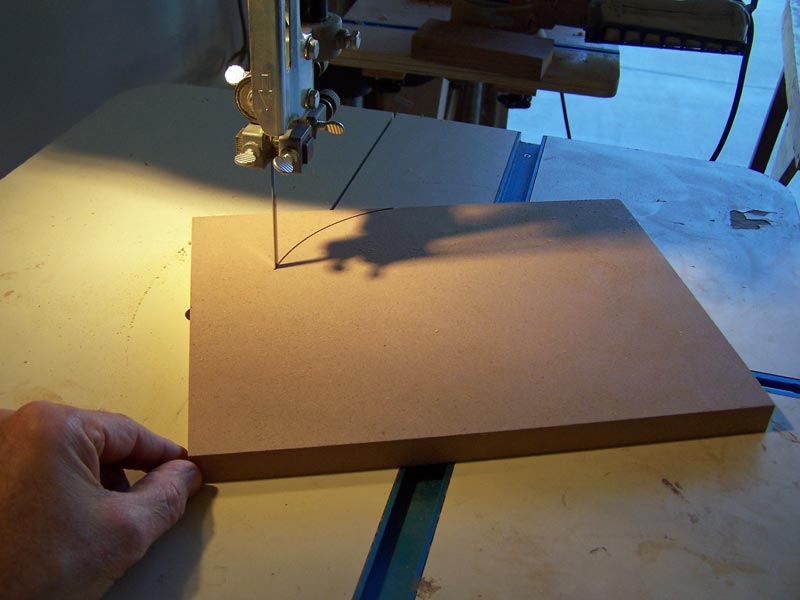
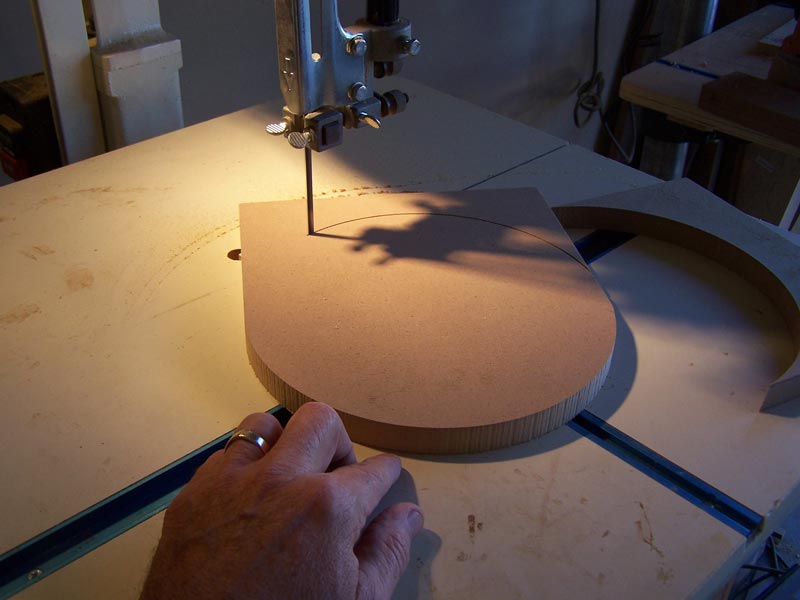
I put my MDF on the pin, and cut by pivoting the MDF.
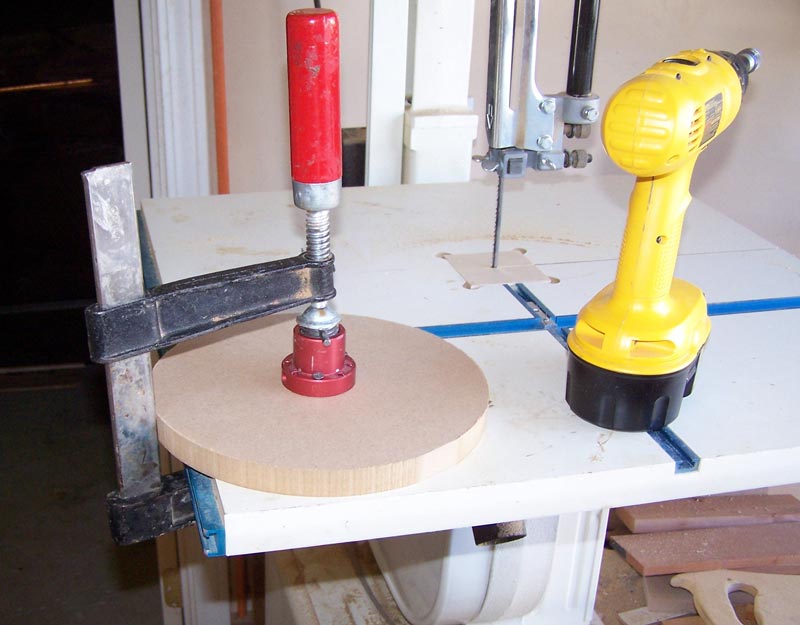
I'm now going to mount the faceplate to the MDF. I
use the faceplate center and align it with hole from the pivot pin.

I get the faceplate centered using the centering device, and clamp the faceplate so that it won't move when I put the screws in. If you don't clamp, the faceplate can move because of a screw that's not exactly centered in its hole.
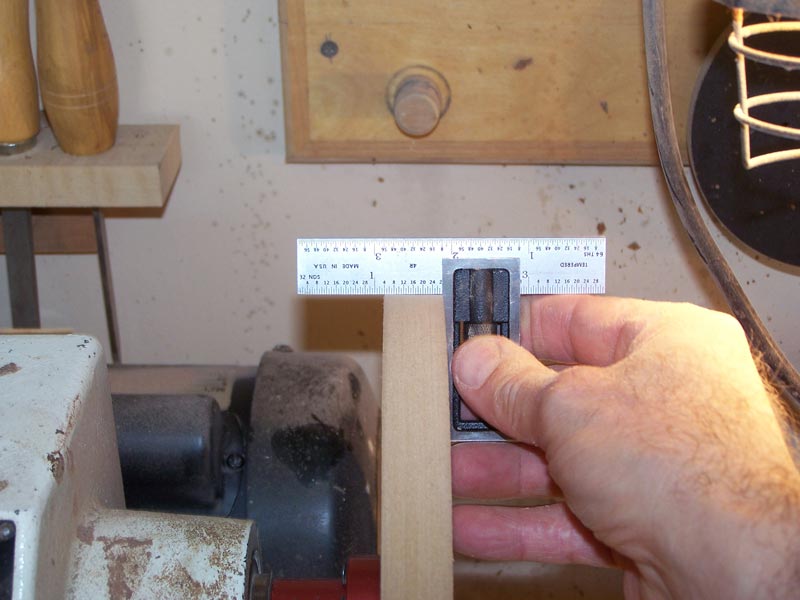
Put the disk on the lathe and true the rim.
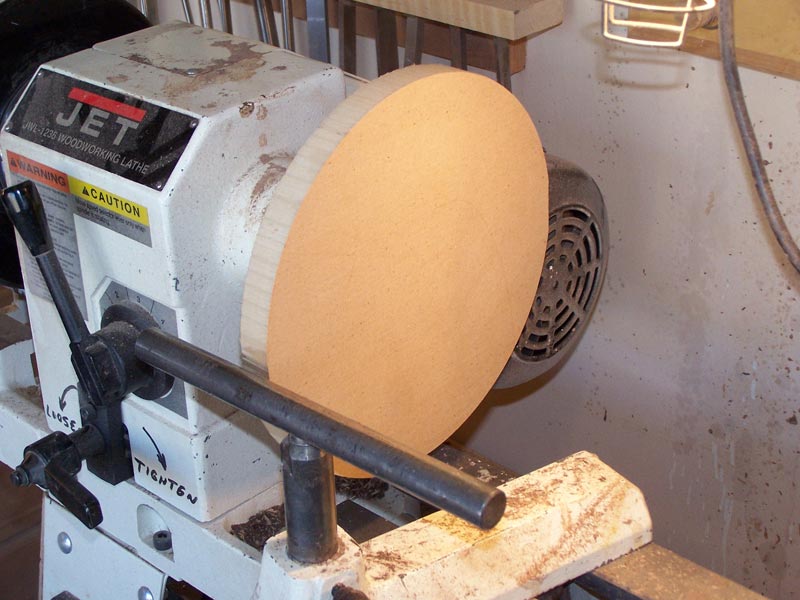
Make sure your cut is square across.
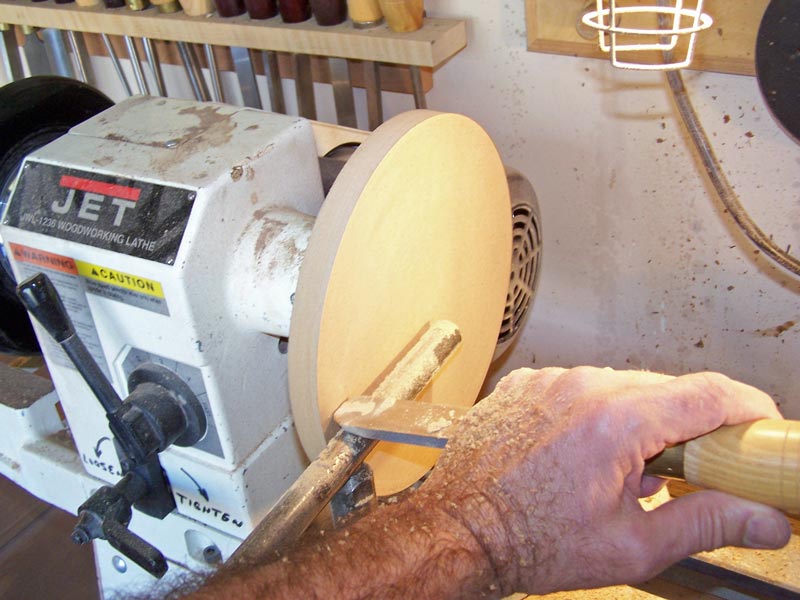
Next, take a cut
across the face so the face is true. You want to see that the cut is being
made completely around the face - that is, no low spots.
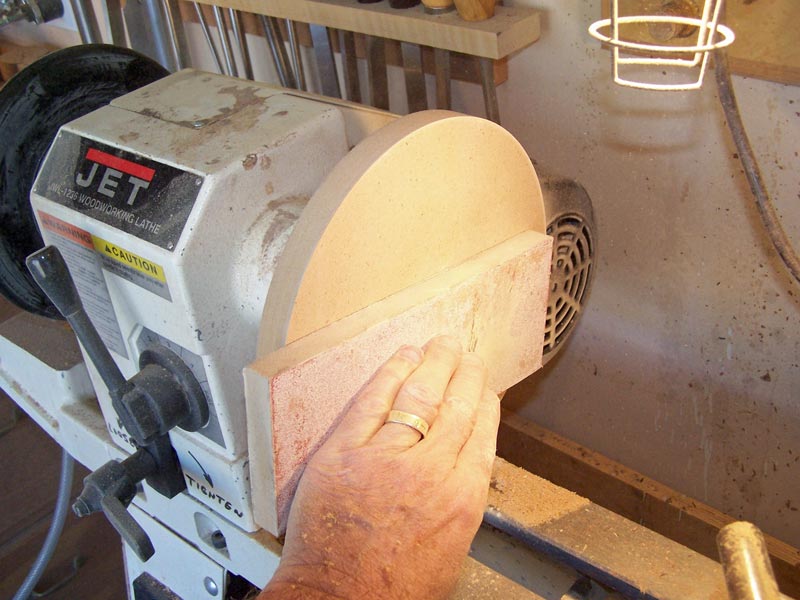
After you make your cut across the face, use a piece of MDF with sandpaper glued to it to sand the face flat - with the lathe runnning. It's likely you went a bit deeper in places when you made the cut with the turning tool and this gets the face flat.
The next
step is to glue the sandpaper to the face of the disk.
I use 3M 77 spray adhesive but you can use almost glue. I'm going to spray
the glue on the face, and on the back of the sandpaper, then I'm going to clamp
the disk down until the glue dries. I'm using another piece of MDF to
clamp against so I get even pressure over the sandpaper.

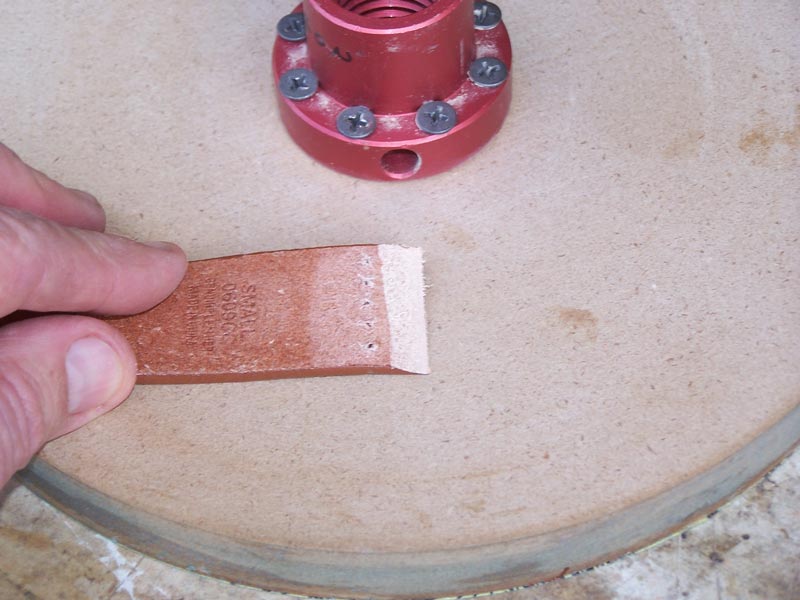
Once the glue has set somewhat, we need to trim the
sandpaper, using the disk as a guide.
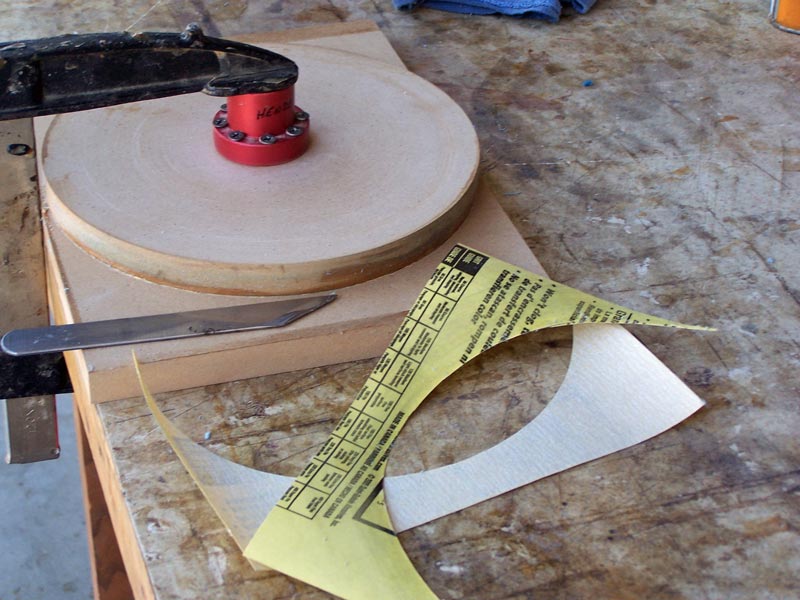
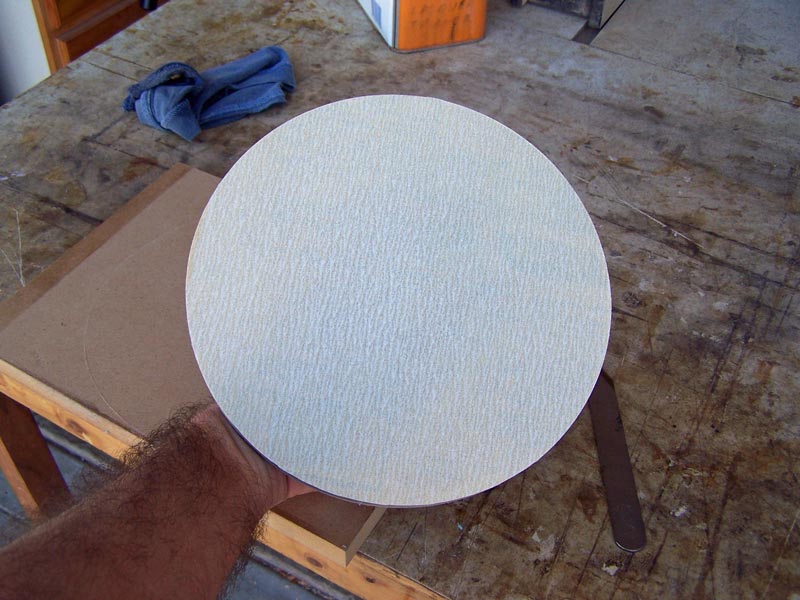
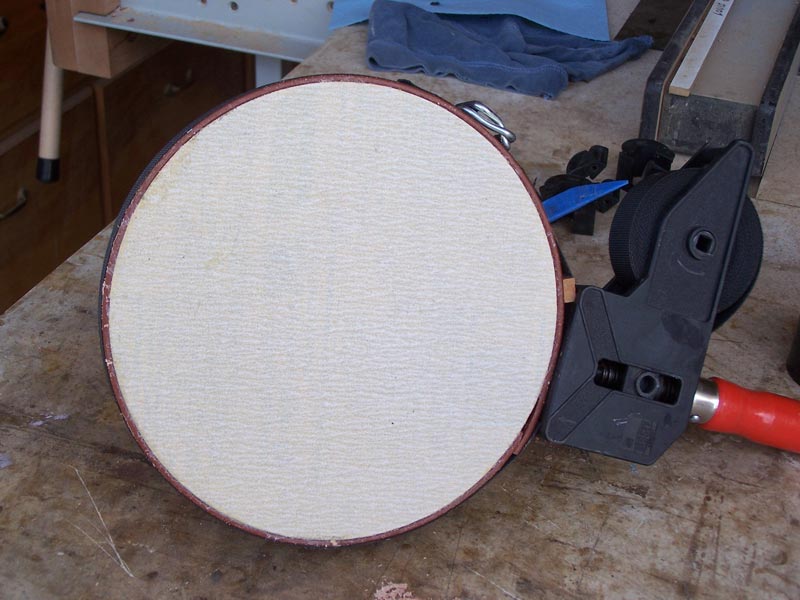
This is what the face looks like after trimming the sandpaper.
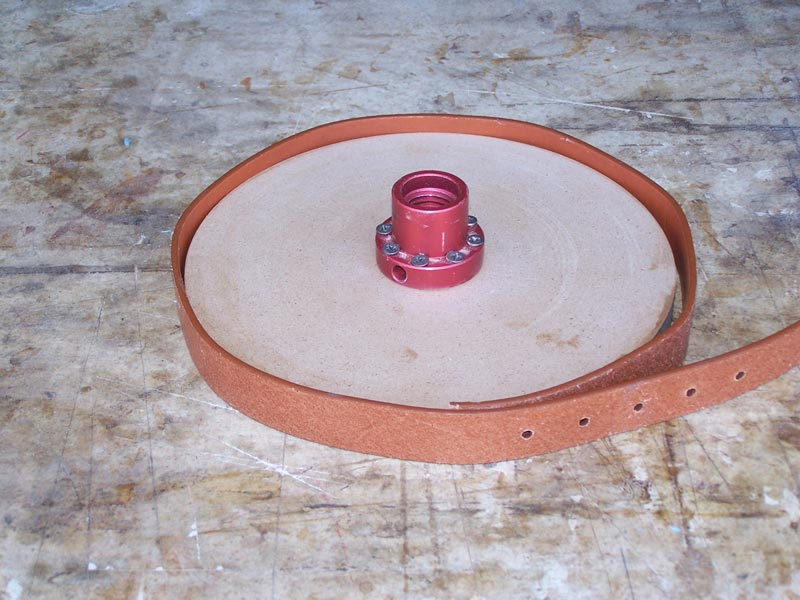
We need
to put some leather around the rim.
Some belts are made from two pieces of leather glued together (laminated). Those are not good for this application. You want a belt made from a single piece of leather.
We're going to join the two ends of the belt with a scarf joint. The direction of the scarf needs to be such that the overlap is pushed down over the inner piece of the scarf as the disk turns. You can look at the way I scarfed these two pieces if you can't figure out which way it should work.
What I do is cut the inner piece at an angle, first, before I glue the belt to the disk.
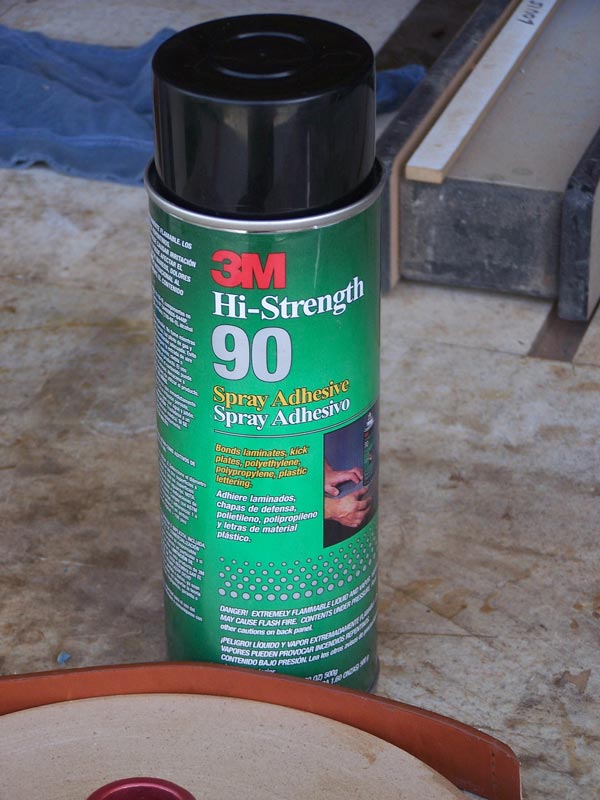
To make sure the belt stays on, I use 3M type 90 adhesive. You could use a number of different adhesives - this one works for me. It may seem like I'm a 3M shill but I have no relationship with the company - I just like their adhesives.
Cut the belt to a long length. You're going to trim it later.
Now, we glue the belt around the disk, except for the last couple of inches on the end of the belt. The reason for doing this is that it's very difficult to cut the belt to exact length before gluing - only when you clamp it down do you see the actual length around the disk. So by gluing everything except the last two inches, we get the belt tight to the disk and can cut the length accurately.
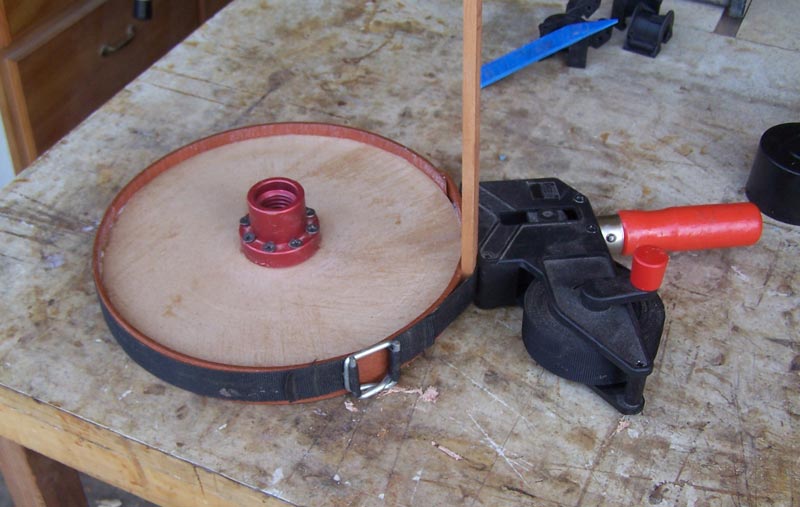
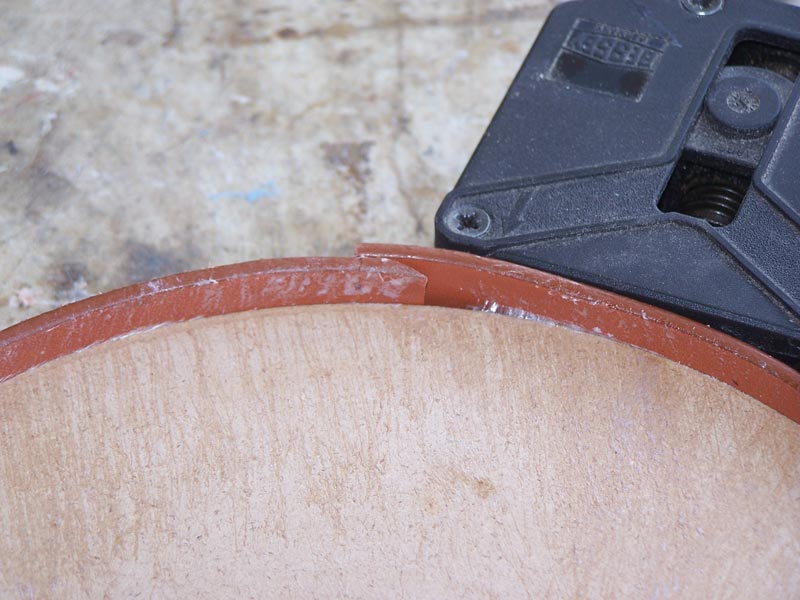
This is what it looks like clamped.
You can see that the scarf joint is not made yet.
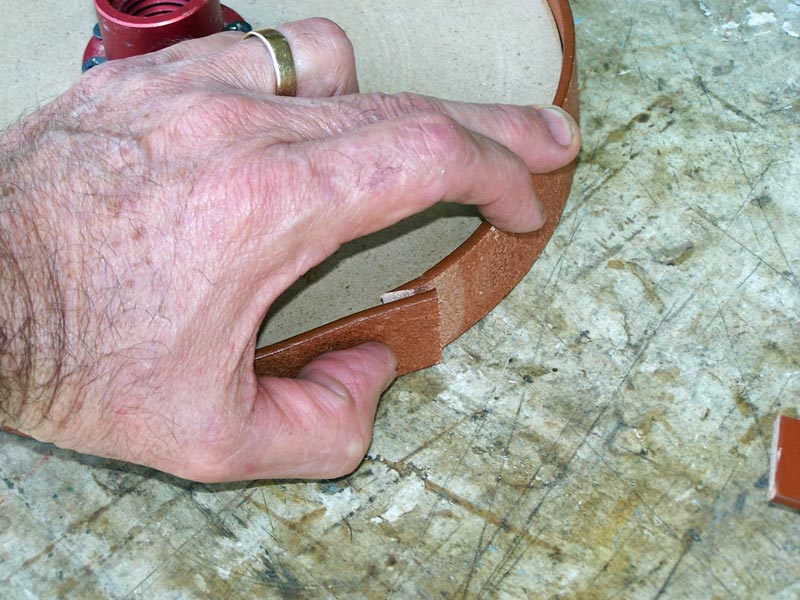
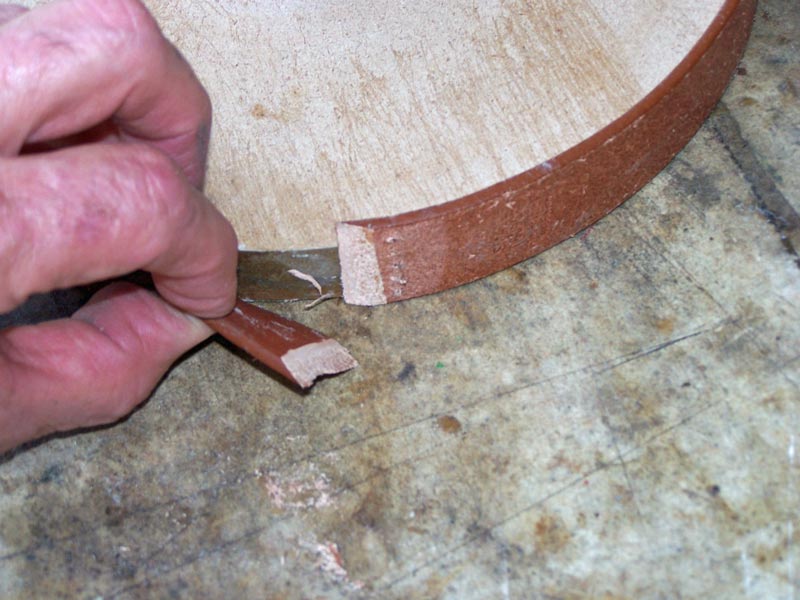
After the glue is set, I peel back the end of the leather and cut the other side of the scarf joint. I cut this one a bit short because the belt usually stretches when clamped, but I was a bit too short (see later).
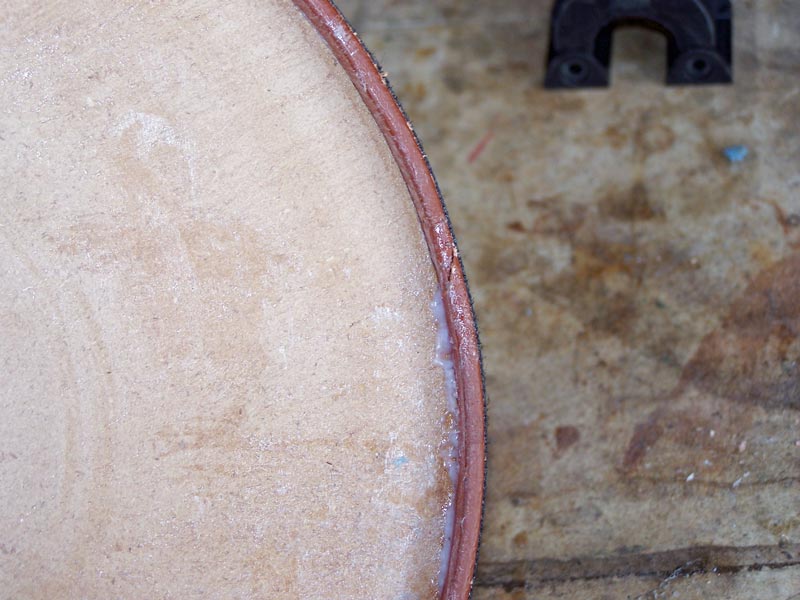
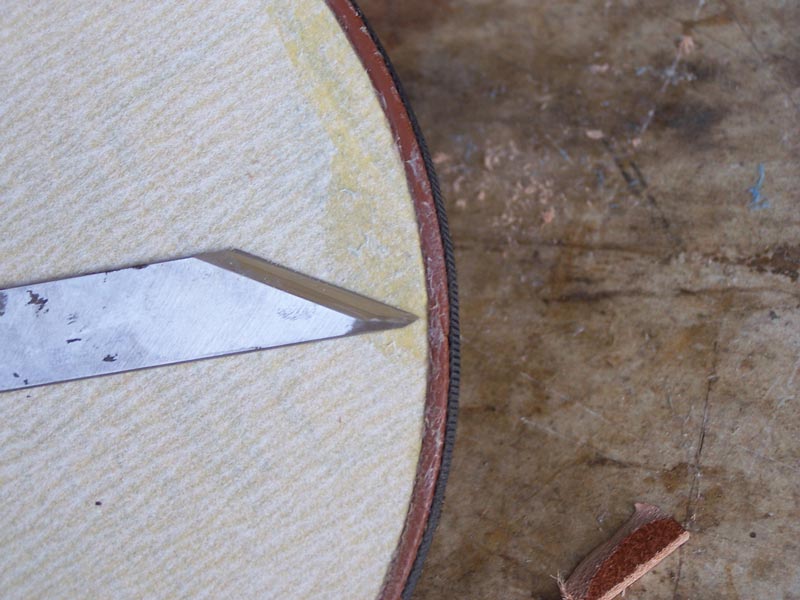
Apply more of the 3M 90 glue and clamp. It looks like a pretty good scarf joint (but see later). This is the back side of the disk.
And this is the front side of the disk. The knife points to the joint.
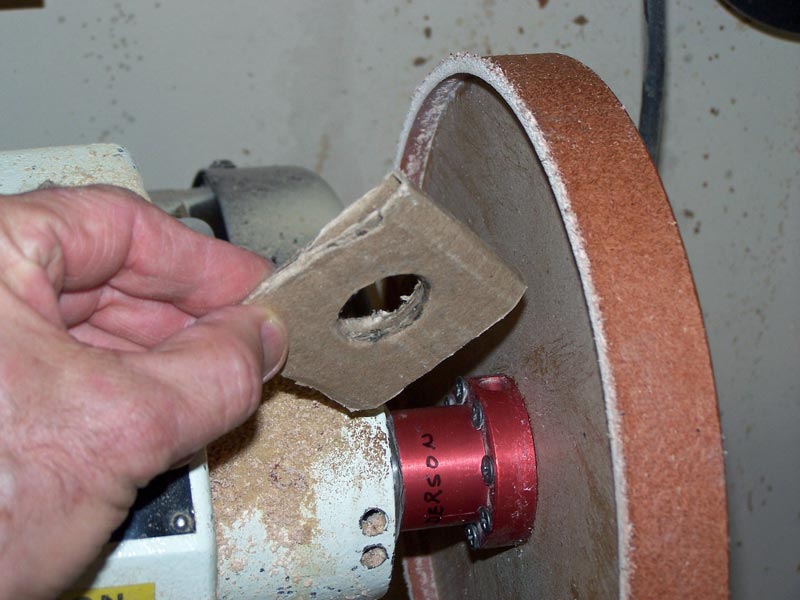
I'm now ready to mount it on my lathe for trimming but the
leather sticks back too far and hits my motor.

I made a spacer of cardboard so the faceplate wouldn't
screw on fully.
I used the spacer and trimmed the leather sticking back until I could mount the disk without the leather hitting my electric motor. I also took a cut across the face of the leather to make sure it was flat. I didn't want my tool bouncing when I hone it.
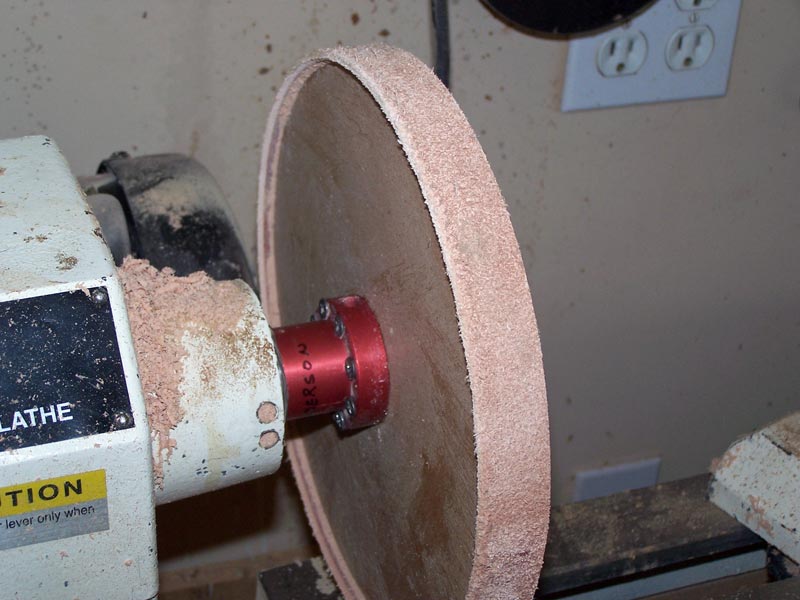
You can see that the leather just clears the motor now. But a miss is as good as a mile.

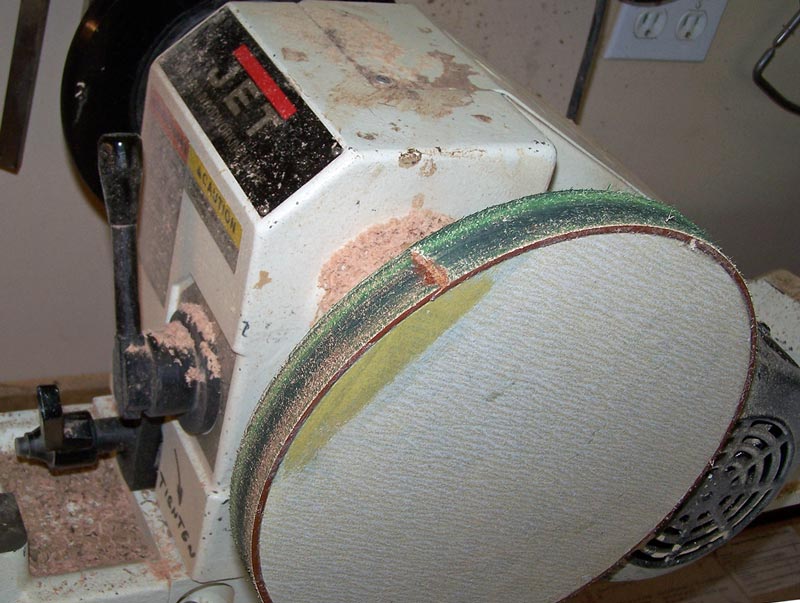
In preparation for using the disk, I charge the leather with green honing compound. Note the joint. There's a small low spot at the joint but when I use the disk to hone, I can't feel any bounce in the tool - and that's what's important.
Note that I've turned the head of my lathe so that the disk is facing away from the rails. If your lathe head will not pivot, the best way to use this disk is to stand "behind" the lathe and use the top of the disk. You want the disk turning away from you - never put your carving tools "into" the direction of rotation of the disk.
BTW, the discoloration of the sandpaper comes from using lacquer thinner to clean the glue off the scarf joint. The thinner didn't hurt the sandpaper, but it discolored the area. I wasn't careful when I used it because I thought it would just evaporate away and not show.
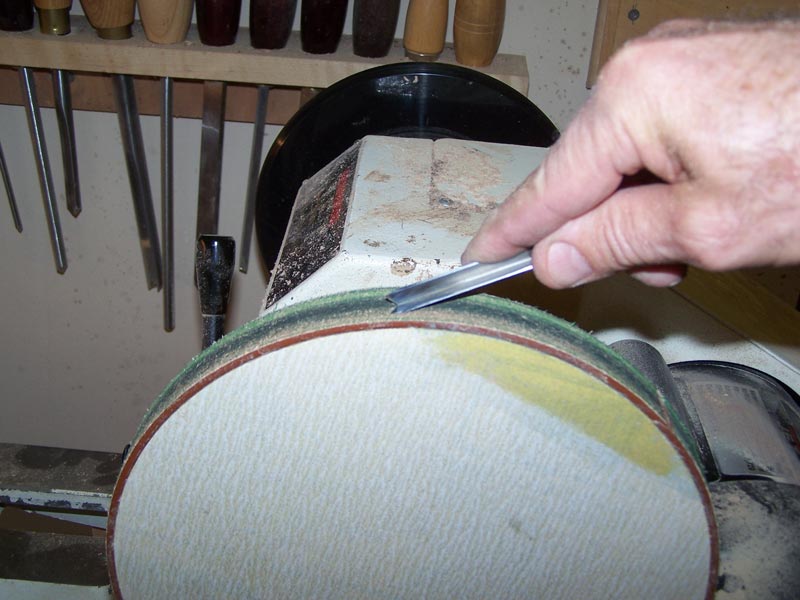
And here's the disk in (pretend) action sharpening a V-tool. The leather sticking back on the disk is used to hone the inside of tools like this V-tool or gouges with lots of sweep.
And that's all there is to it. The disk and the leather will last a long time and will do an excellent job of honing your carving tools. And it's cheap to make - the most expensive component is the faceplate.