SawStop Setup
P. Michael Henderson
March 1, 2010
I bought a SawStop Professional saw and am in the process of setting it up. I'm going to document the process here for others who have to set up the same saw. The process will be in reverse chronological order, somewhat like a blog.
++++++++++++++++++++++++++++++++++++++++++++++++++++++++++++++++++++++++++
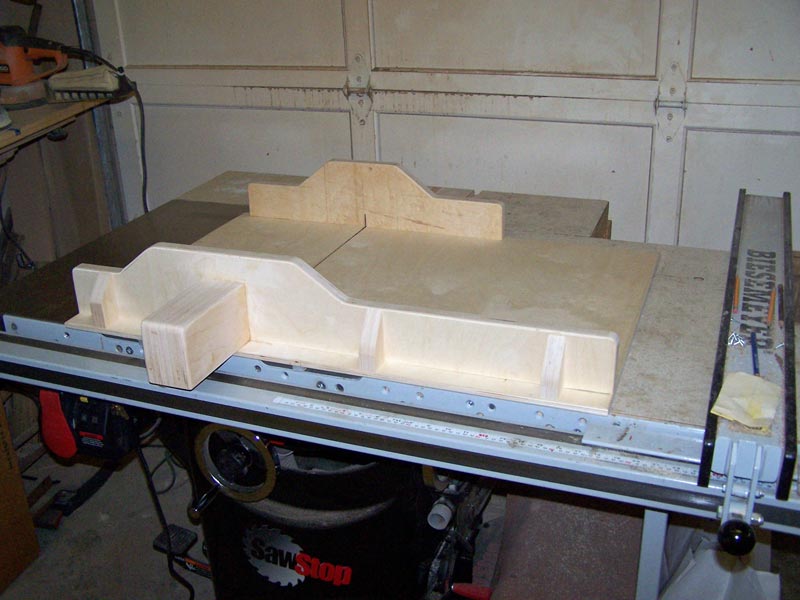
03/14/2010 I made a new crosscut sled today which pretty much finishes the set up of the saw. I should apply a finish to the sled to keep from getting dirt and stain in the wood. Next time I have the HVLP out, I'll shoot it.
++++++++++++++++++++++++++++++++++++++++++++++++++++++++++++++++++++++++++
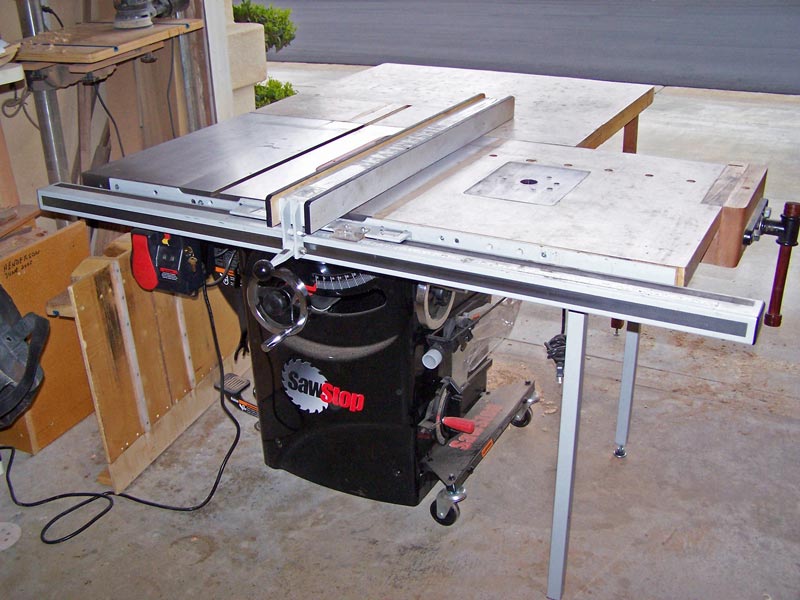
03/06/2010 I'm pretty well finished with setting up the saw. I put the legs on under the wing, and attached the out feed table. I still need to modify my crosscut sled but that's for another day.
++++++++++++++++++++++++++++++++++++++++++++++++++++++++++++++++++++++++++
03/05/2010 No work yesterday, but I have the multifunction wing installed. I even tried to scrape some of the accumulated glue and crud off the top. I used MDF to fill the gap I had. Next, I need to do the outfeed table and put the legs under the wing.
++++++++++++++++++++++++++++++++++++++++++++++++++++++++++++++++++++++++++
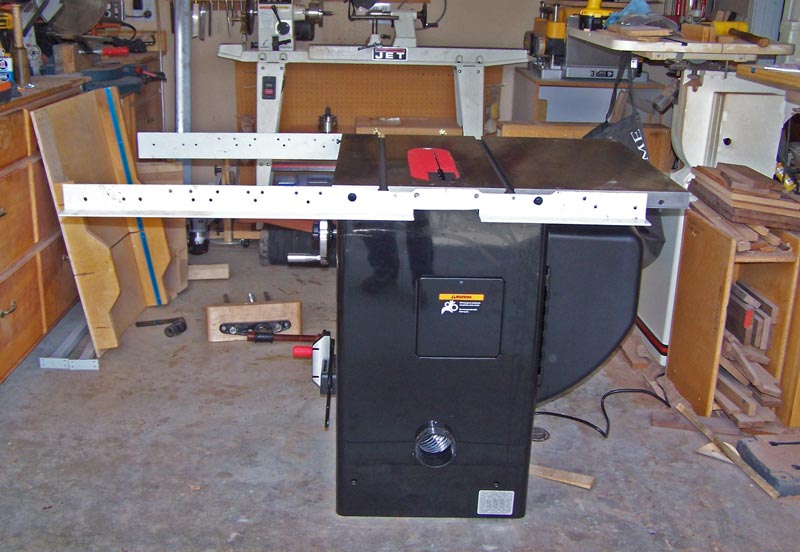
03/03/2010 My goal today is to get the fence installed and the multifunction wing. I started with the rails for the fence.
Since I'm putting my old Biesemeyer fence on the SawStop, I didn't expect the holes to line up - and they didn't. I carefully put the fence in position and clamped it in place. You can see a couple of holes almost line up, but not quite. What I did was drill holes through the rail and the cast iron top. The Biesemeyer screws have tapered heads so they don't stick out, so I then had to countersink the holes in the rails. No major issues, just took some time.
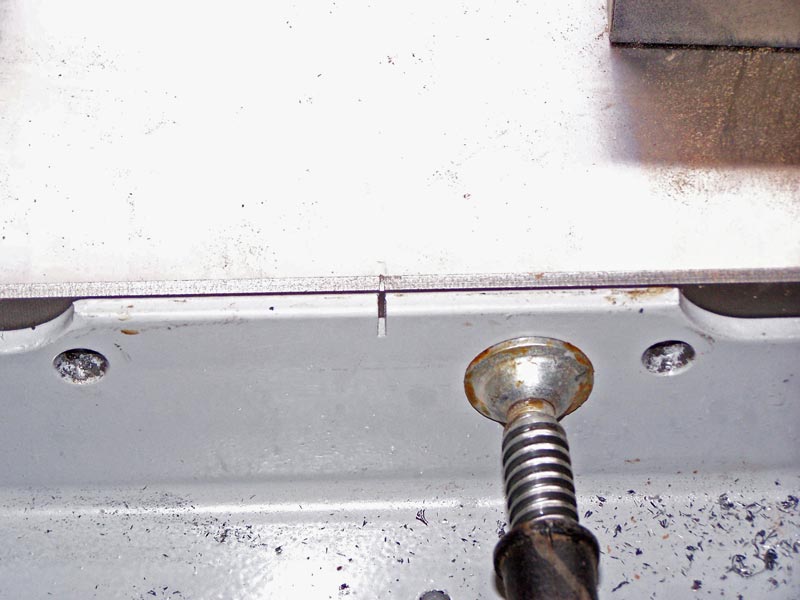
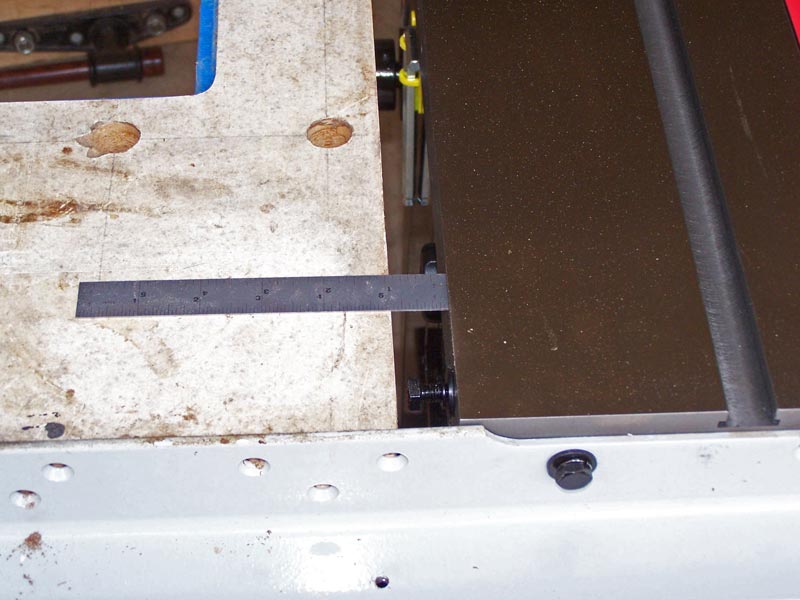
To align everything, I laid a straight edge along side the blade and marked the line of the saw cut. I used a file and cut a small V on the front and rear of the table so I'd know where to align the rails to.
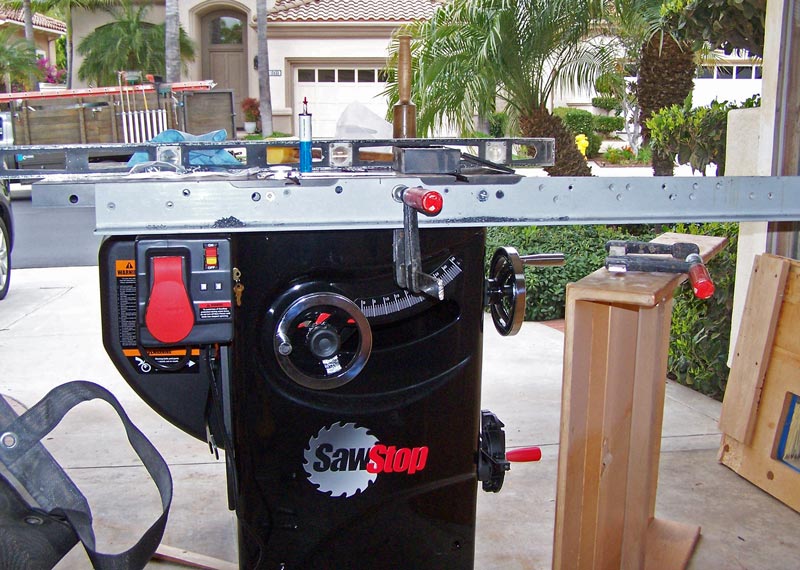
Attaching the rear rail was a bit more of a problem. On the front, I just drilled a hole through both the rail and the cast iron top and put a bolt through with a nut on the back. But in the rear, you can't get your hand behind the cast iron top. And the way the mechanism is inside the saw, I don't know if you could have a bolt protrude into the space. The cast iron top has some threaded holes (8mm by 1.25mm thread pitch) so I had to make holes in the fence rail that would align with those threaded holes. It actually wasn't that hard. I used a couple of bolts that would have held the right cast iron wing on.
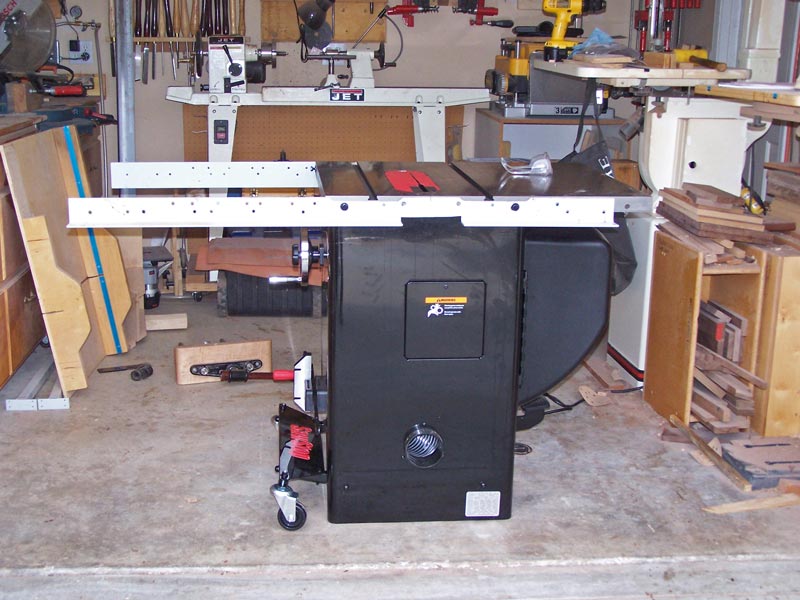
The next thing is to install the integrated mobile base. To gain access to the bottom of the saw, SawStop recommends tipping the saw over, supported by the fence rails.
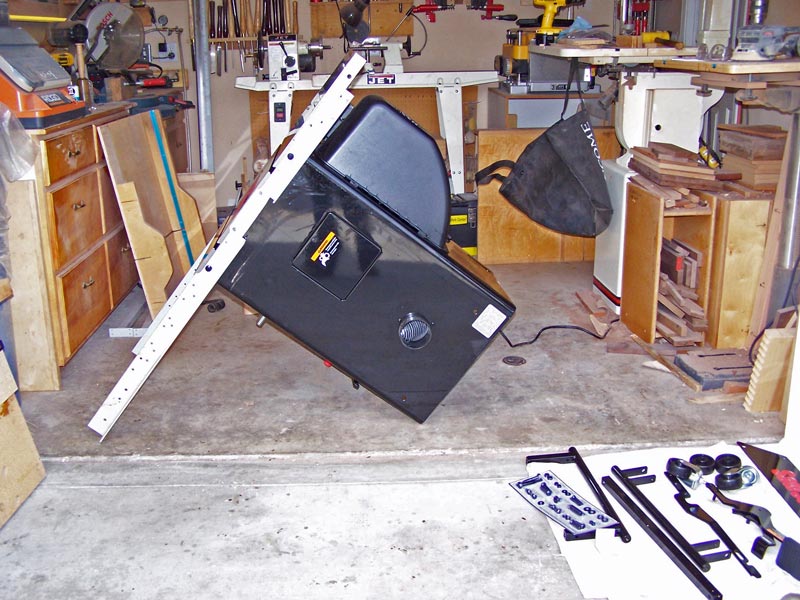
Installation of the mobile base is straight forward but takes some time. It really works nicely, except that I'm still dropping the saw when I release the lift, rather than letting it down slowly. I think I'll get the hang of it soon.
I then did a trial fit of my multifunction wing. The SawStop is 27" deep, just like the Craftsman saw, but the blade of the SS is a bit further over compared to the Craftsman. This means that the rails stick out a bit more to the right (facing from the front), so my wing is about an inch short.
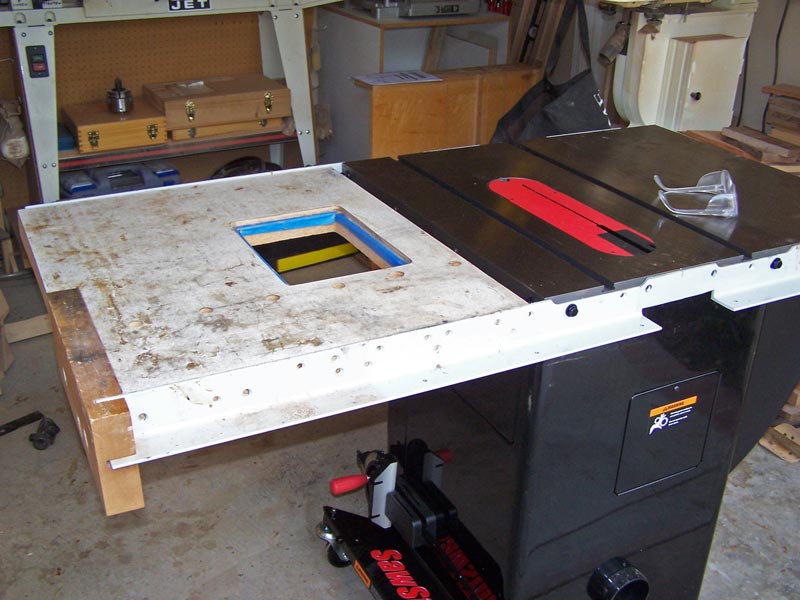
I'll glue some MDF to the wing to fill the space. I have the MDF cut and will try to get the wing installed tomorrow or Friday (I have some other commitments tomorrow).
Then, I have to design and build an outfeed table. The table will have to have a drop down portion so that I can close the garage door, and it has to be able to be lifted when the mobile base is raised. I'll have to see what I can come up with.
++++++++++++++++++++++++++++++++++++++++++++++++++++++++++++++++++++++++++
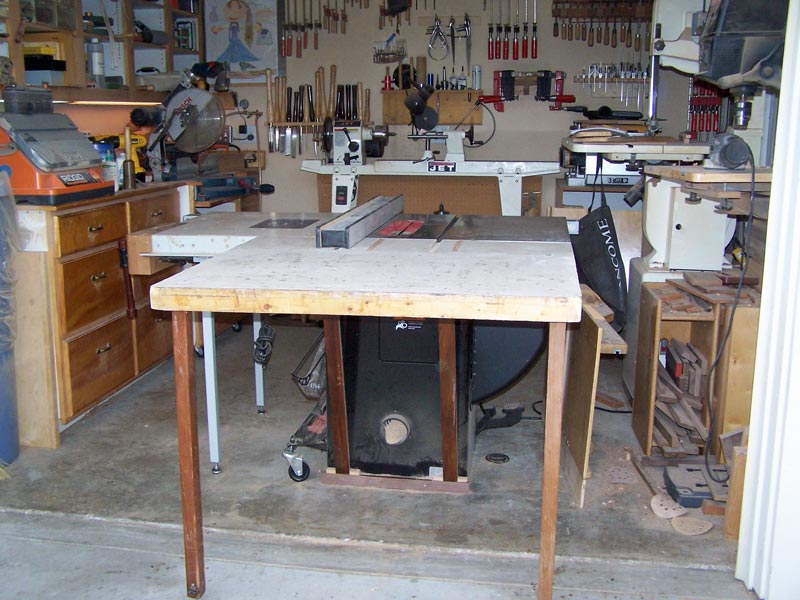
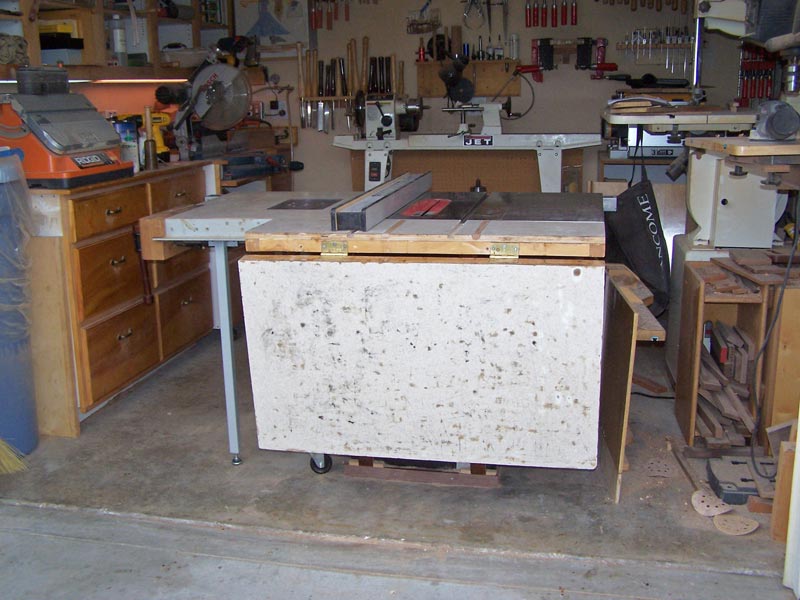
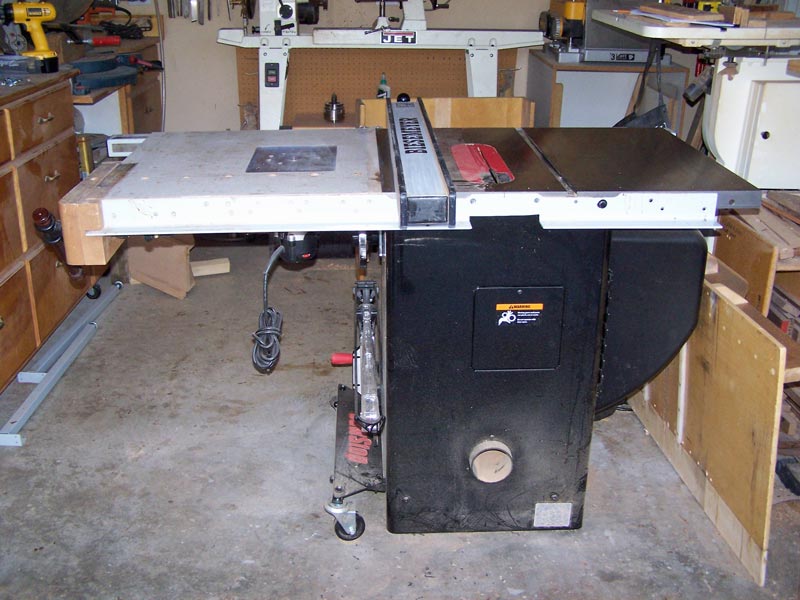
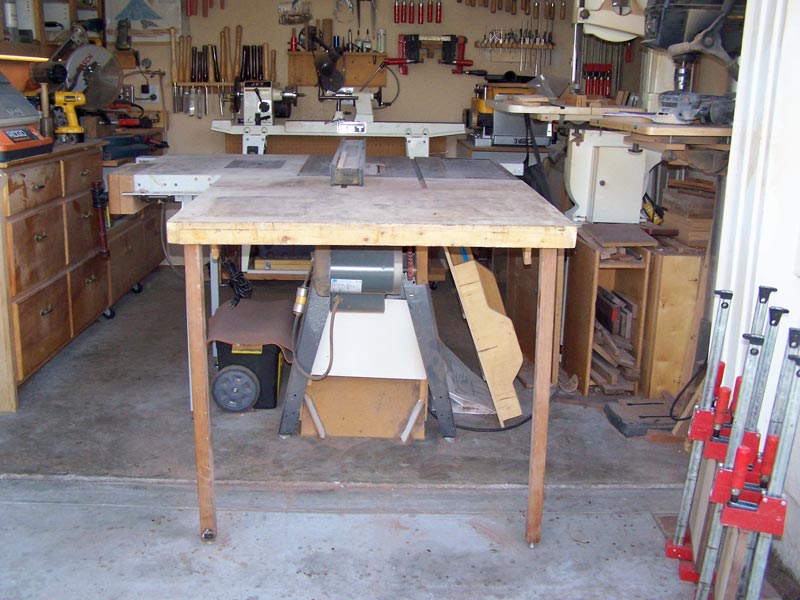
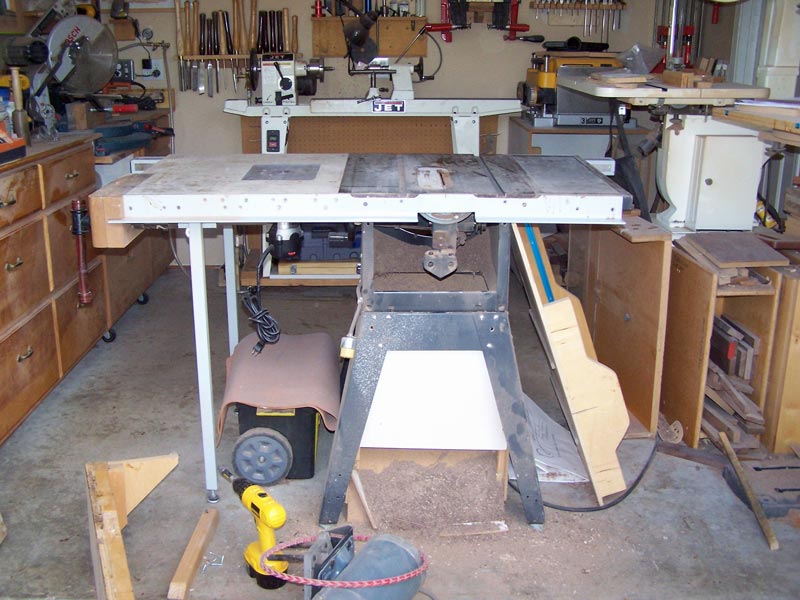
03/02/2010 Today I take everything off my old Craftsman saw. Here's some pictures of the setup I've been using, first from the front and second from the rear. I have a fold down outfeed table - it has to fold down so I can close the garage door.
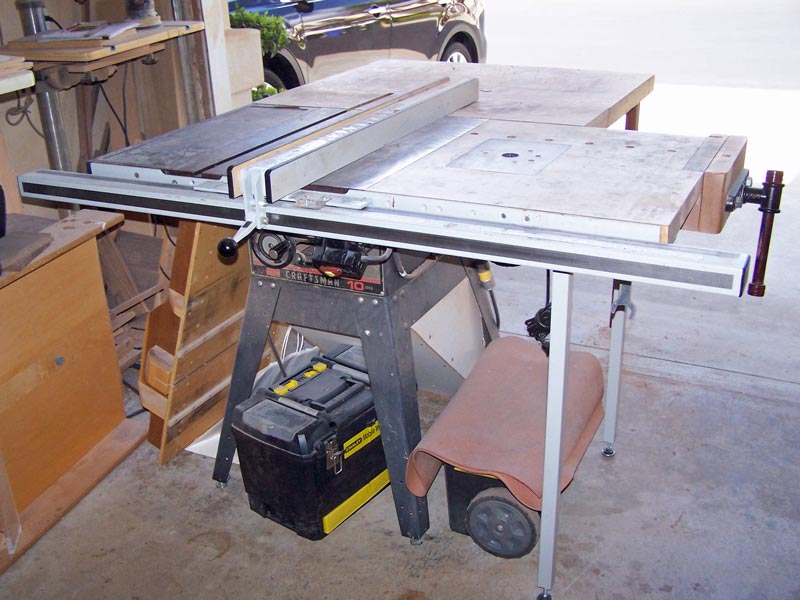
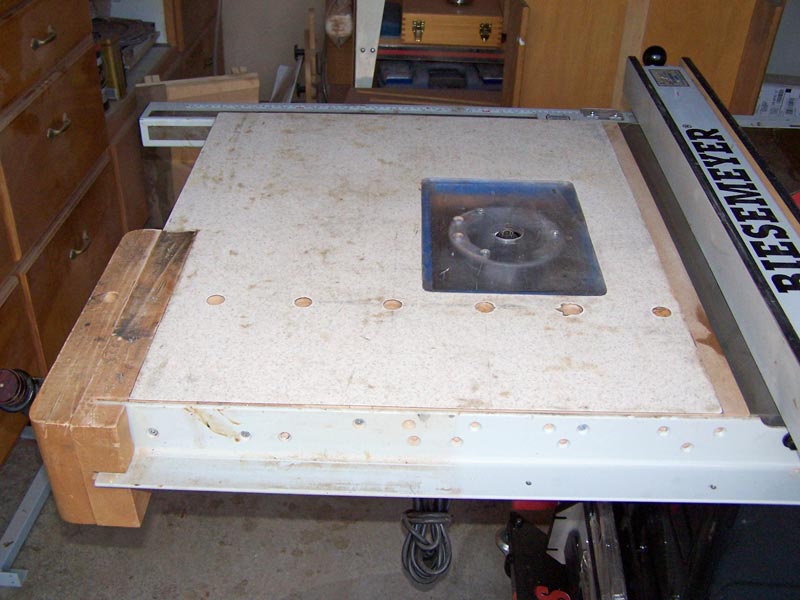
One wing is a multifunction wing - I use it as a router table, and have a vise on the end, with dog holes for clamping work.

To begin the disassembly, I first removed the blade and then the fold down outfeed table.
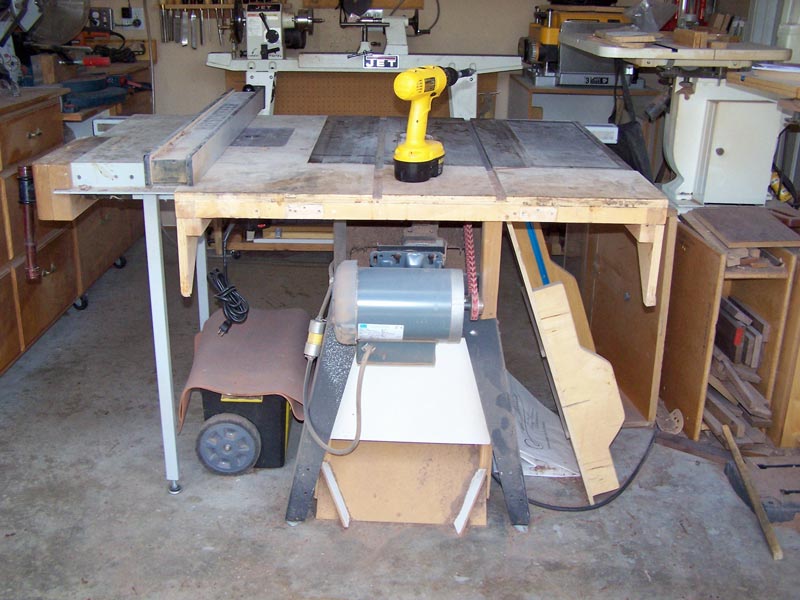
Next, I removed the support for the outfeed drop down, the motor, and the movable part of the Biesemeyer fence.
Then, I took the router out, the dust chute, the wing support legs, and part of the vise (to lighten the wing).
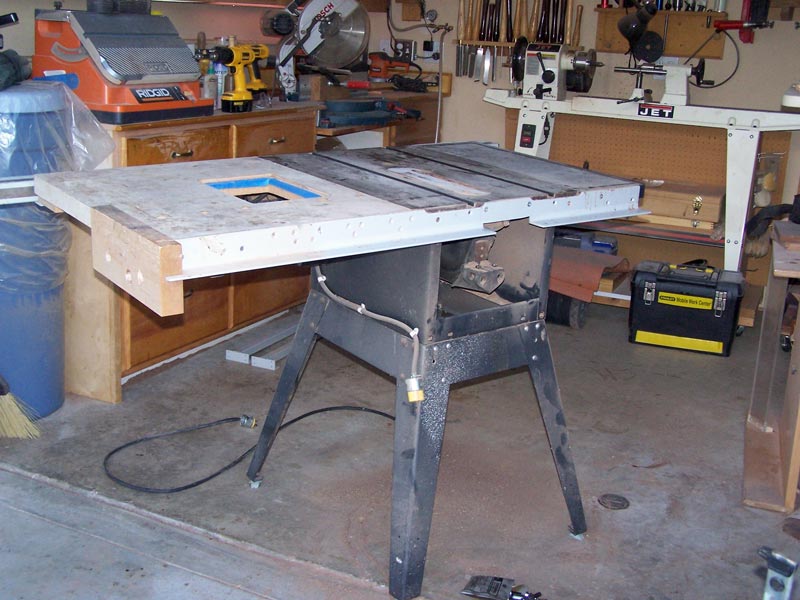
Here, I've taken off the Biesemeyer tube and angle iron from the front of the saw, and the multifunction wing,
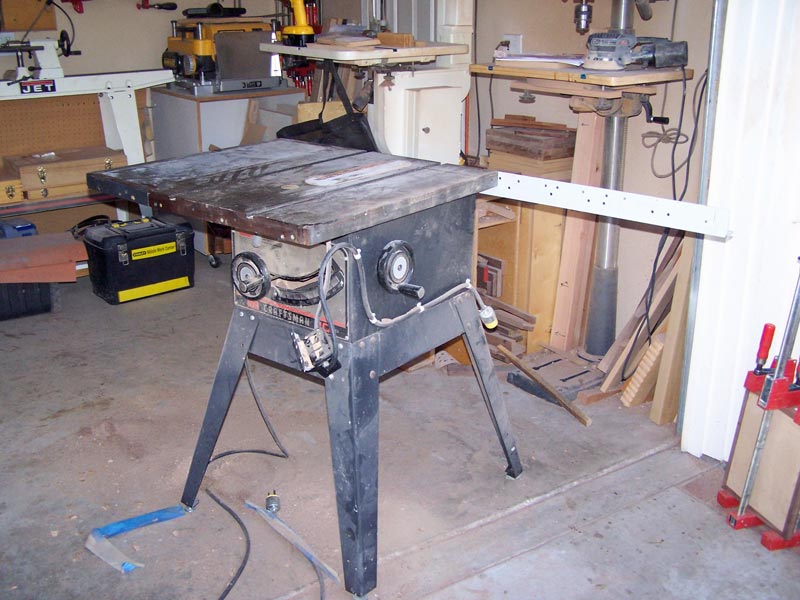
Now I removed the rear Biesemeyer angle iron. The saw is ready to go to that big shop in the sky. Goodbye old friend - you provided good service for many years.
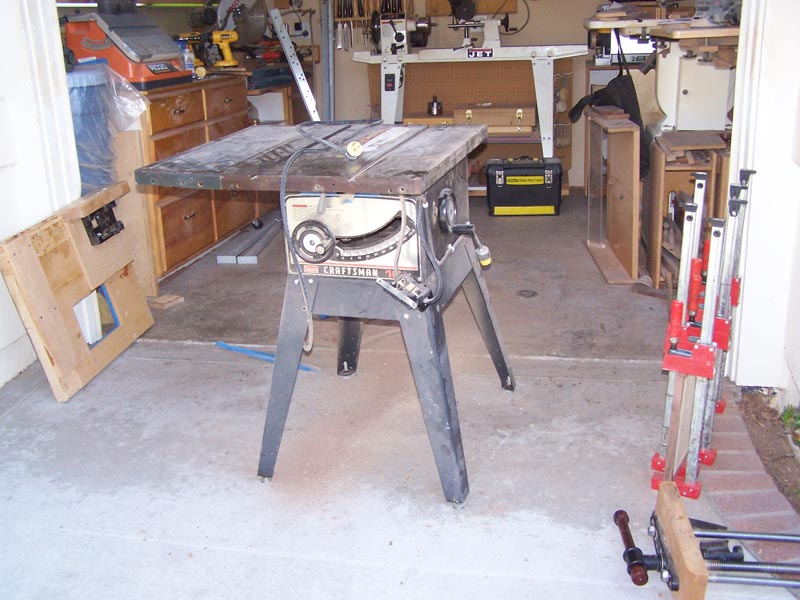
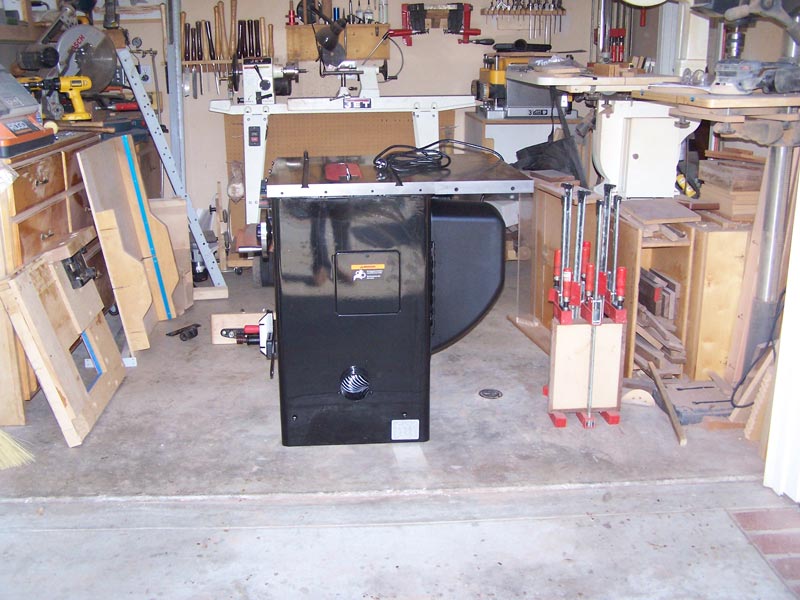
And here, the SawStop has moved into the shop. I got it wired up after this picture and cut a piece of wood with the miter gauge.
Tomorrow, I have to start figuring out how to attach the multifunction wing and the Biesemeyer fence. Once I get that done, I need to redesign my drop down outfeed table and build that.
++++++++++++++++++++++++++++++++++++++++++++++++++++++++++++++++++++++++++
03/01/2010 I unpacked everything and laid out the parts. Not shown are the wings and the integrated mobile base. I didn't buy the fence since I'm going to use my Biesemeyer fence from my old saw. I won't go through all the parts - if you have a saw you'll recognize them.
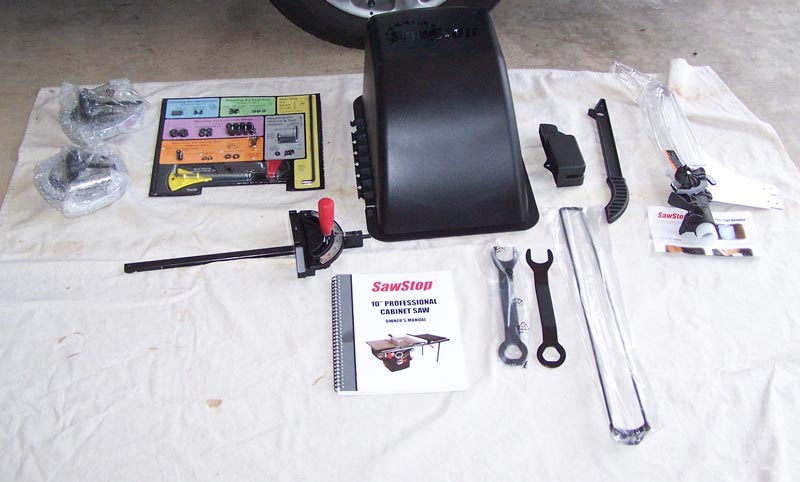
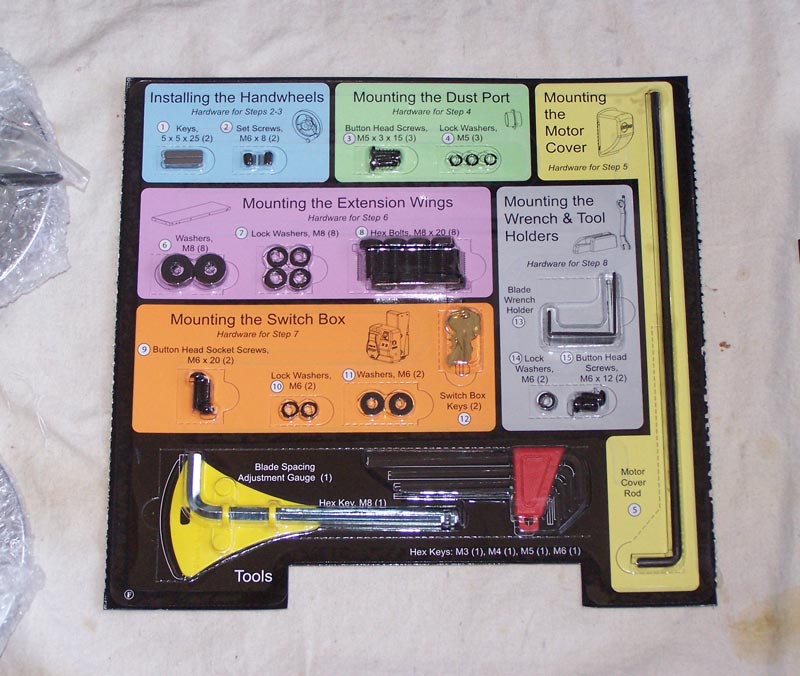
A very nice thing is the package of hardware. It's color coded and the numbers by each item correspond to the reference numbers in the Owner's Manual set up section. Note the tools at the bottom of the blister pack. Those tools are never mentioned in the manual, so when I started working on setting up my saw, I used my own tools because I didn't notice them there. There should be a note in the manual that tells you to remove the tools before beginning work. I know I should have noticed them, but I didn't. I have a lot of tools so I didn't expect any in the package.
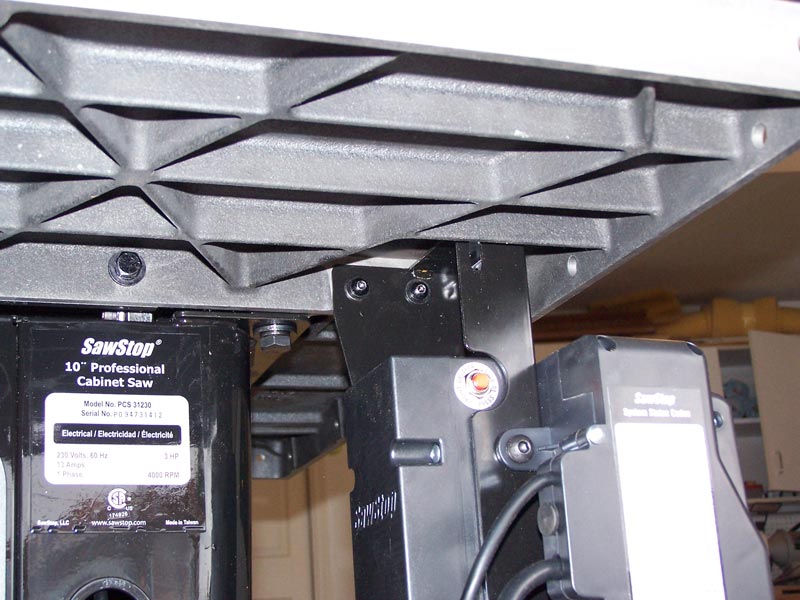
The first thing to do is to remove all the packing plastic and take everything out of the cabinet. You have to cut some cable ties to get the cord and the control box out, and remove some cardboard. The top has oil on it so wipe it off with a paper towel.

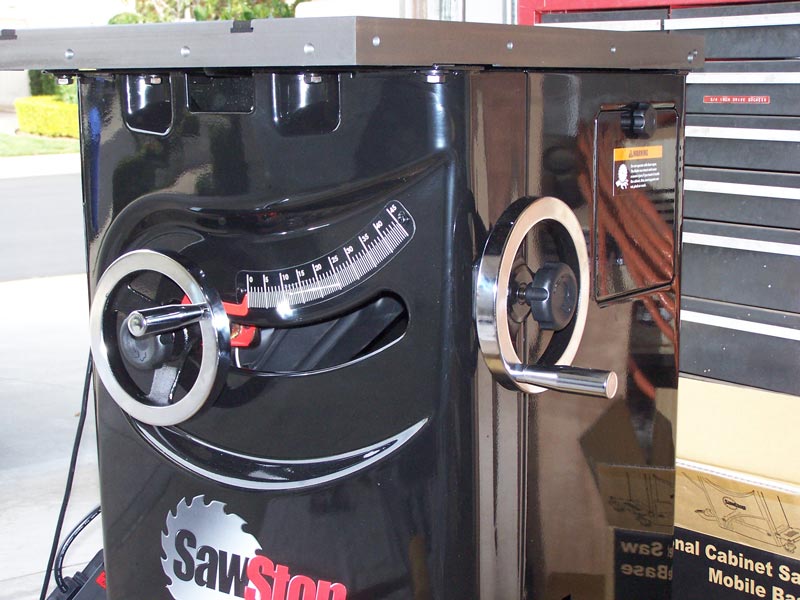
Next, put the handwheels on that control lift and tilt. Very easy to do.
I didn't take any pictures but the next things you do are to attach the dust collection port at the back, and the plastic bubble that covers the motor. Nothing special or difficult.
Next is to attach the wings. I only attached one because I have to put a special wing on the other side of the saw for my router "table". Attaching the wing is a bit difficult to do by yourself because of the weight of the cast iron wing. But once you get a couple of bolts in, the rest goes fairly easily. You just have to carefully line up the wing with the top of the table.
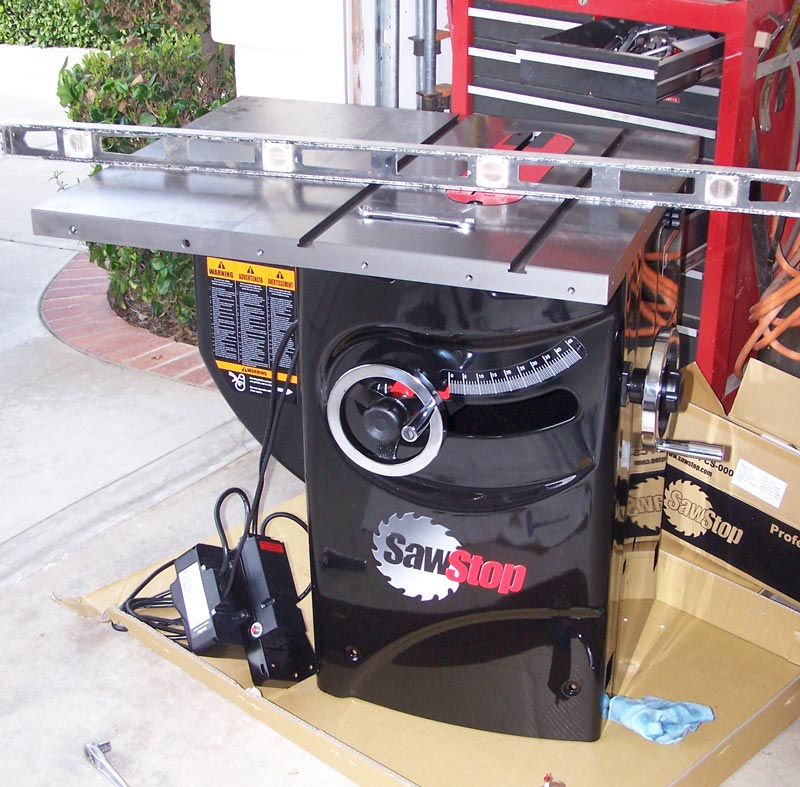
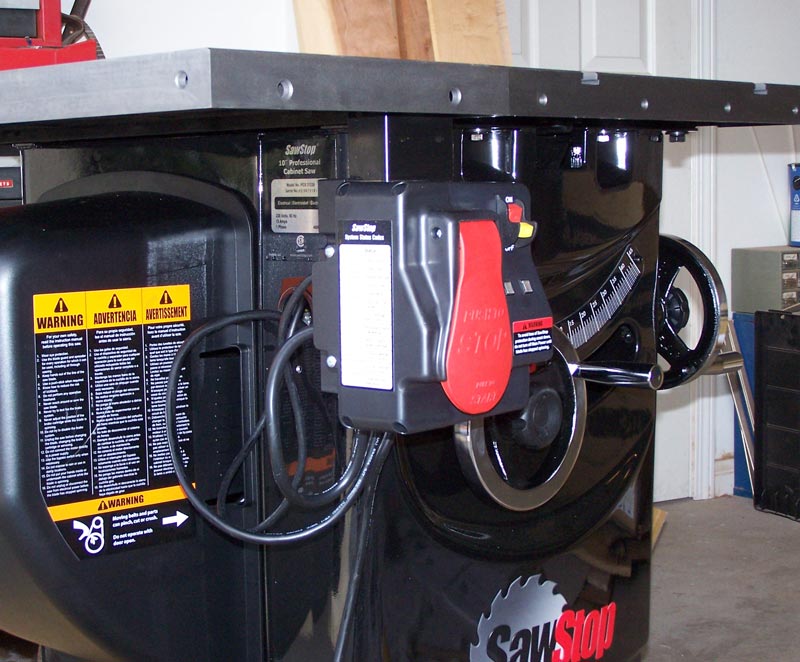
Then you need to attach the control box. Surprisingly, this is fairly difficult. Because of the tight space, it's fairly hard to get the screws threaded in, and it's really hard to get the 4mm Alan wrench in to tighten them up.
I'll take the fence off my old saw tomorrow and install it on the SawStop.
Click here to return to my main page