.jpg)
Compass Rose
P. Michael Henderson
August 24, 2008
A while back, I published a tutorial on making a compass rose which was later published by Highland Woodworking in their newsletter. That compass rose was easy to do but required a special 22.5 degree template, which many people probably didn't have. After thinking about the problem, I came up with a slightly different compass rose which can be done with a standard 45 degree triangle. While this compass rose doesn't require any special tools, it's a bit more tedious to do - but anyone with some experience working with veneer should be able to do it.
If you find this tutorial useful, I'd really appreciate if you would send me an e-mail with the subject line of "Compass Rose 2" so I can get some indication of how many people are reading it.
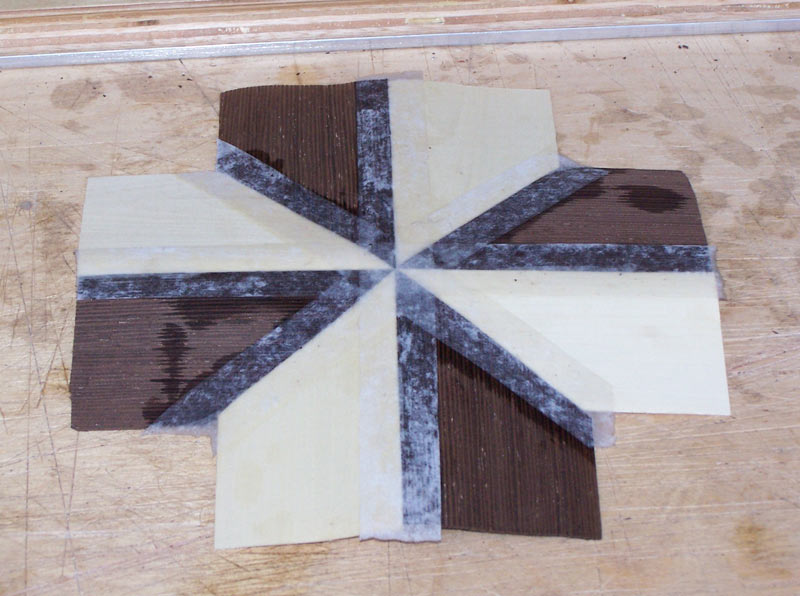
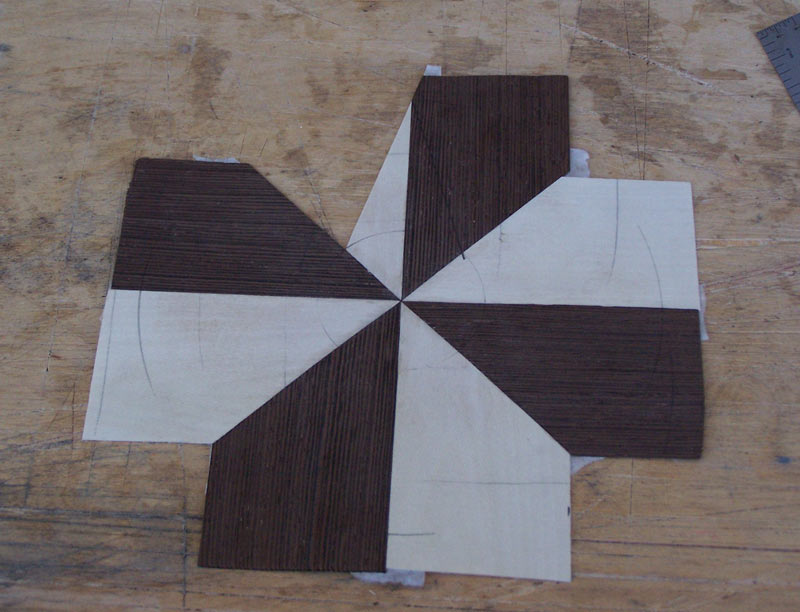
Here's a picture of the original compass rose and the compass rose of this tutorial.
The original Compass Rose which requires a 22.5 degree template
.jpg)
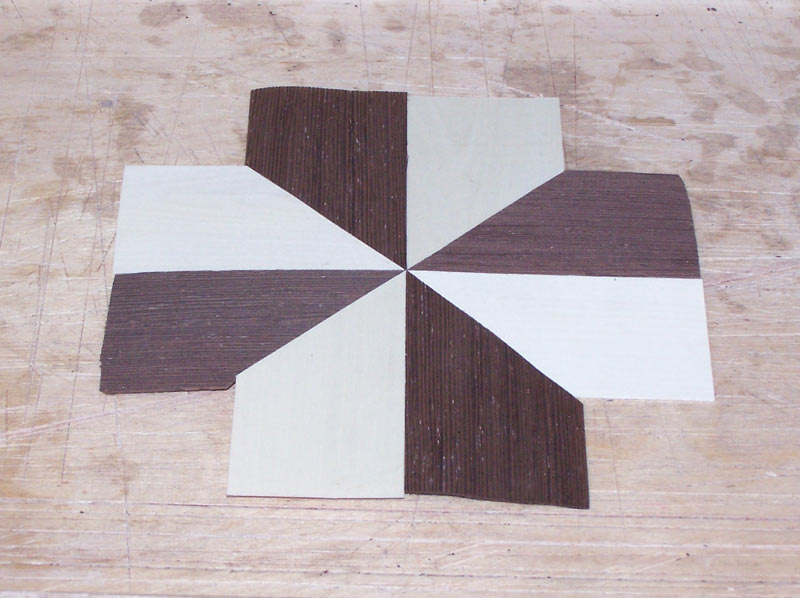
The new Compass Rose which only requires a 45 degree triangle
I'll start, as I did before, by reminding you of the two primary rules of veneer work:
1. Always work (cut) from the glue face.
2. Veneer tape only goes on the show face.
We'll start by looking at the tools and supplies required for this project:
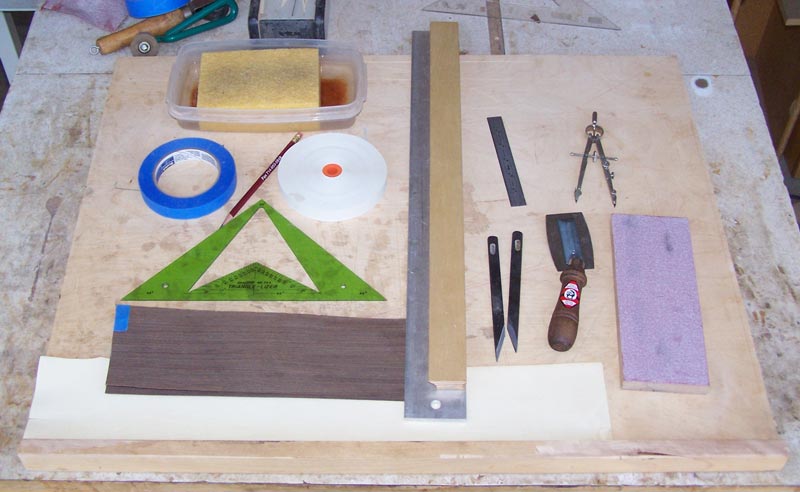
From the left we have:
1. Two different colors of veneer. Here, I'm
using holly and wenge.
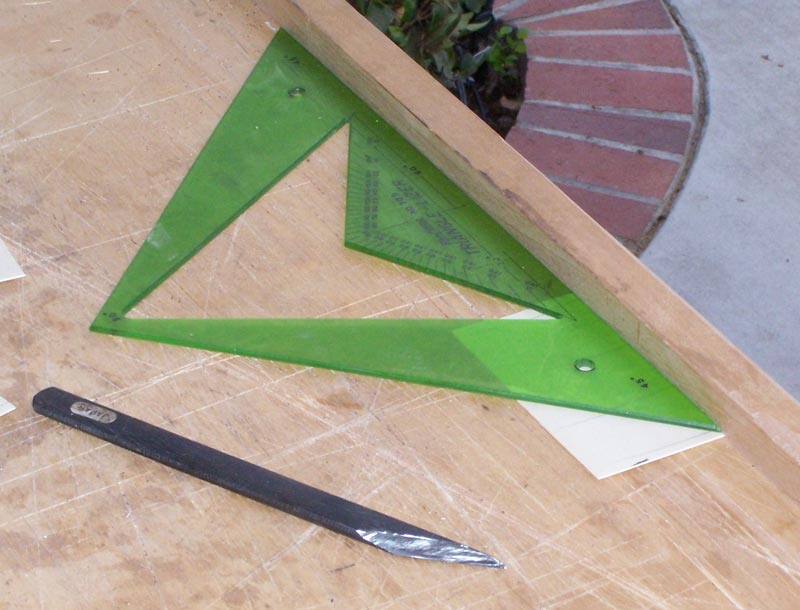
2. A 45 degree triangle.
3. Blue painter's tape. I mostly use 3/4" tape.
4. A pencil.
5. Veneer tape.
6. A sponge in water to wet the veneer tape.
7. A straight edge.
8. Two Japanese marking knives. You can use almost any knife of your
choosing.
9. A veneer saw.
10. A sanding block. This is a piece of MDF with P150 sandpaper glued to
it.
11. A 6" rule. You can use a 12" if that's what you have.
12. A compass for drawing circles.
13. And, of course, a cutting board.
While I chose wenge veneer for this rose, I want to warn you that wenge is a "difficult veneer". It's hard to cut and splits easily. If you've never worked with it before, I recommend using something like walnut instead.
The Compass Rose I'm going to make here will be about 6" in size. To begin, cut the dark and light veneer in strips about 2.5" wide. Then cut the strips into pieces about 3.5" long.
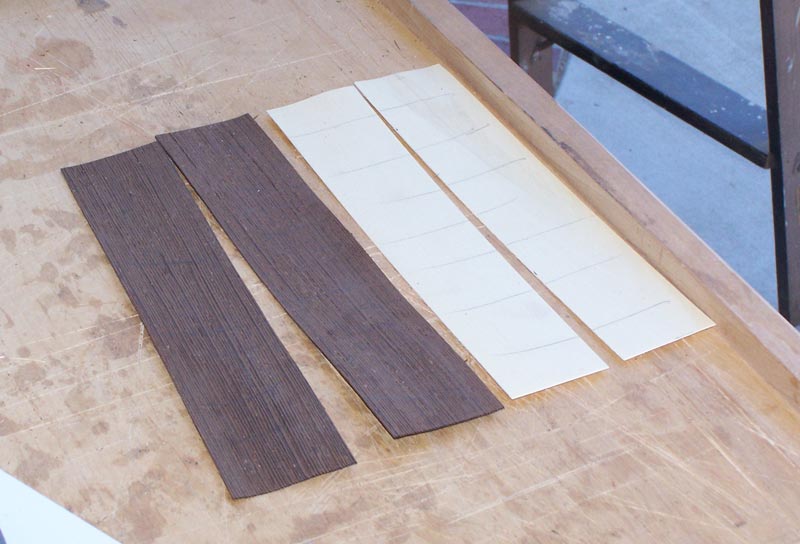
Note that I've marked all the pieces with pencil lines to indicate the glue side. I want the same side up on each piece so there isn't any subtle color differences in the pieces which make up the rose. Holly doesn't show much difference between the two sides but wenge does, not so much in color but in surface texture.
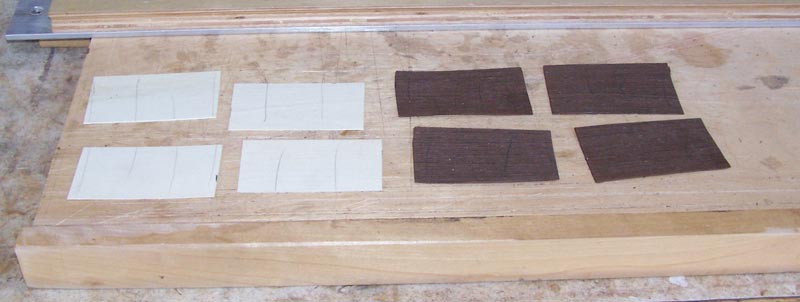
Take your 45 degree triangle and cut each of the pieces. You'll need to think before you cut. First, what color do you want on the upper side of the left (west) facing arm? I prefer a light color there - even though the pictures above have a dark veneer there (maybe that's why I came to prefer a light color!). It doesn't make that much difference so if you mess up, don't worry about it.
The other thing is to cut the pieces so that the pencil lines are on the glue side. The long sides of the veneer will go together so you have to think about how it will fit together and make your cuts so it winds up with pencil lines on the glue side.
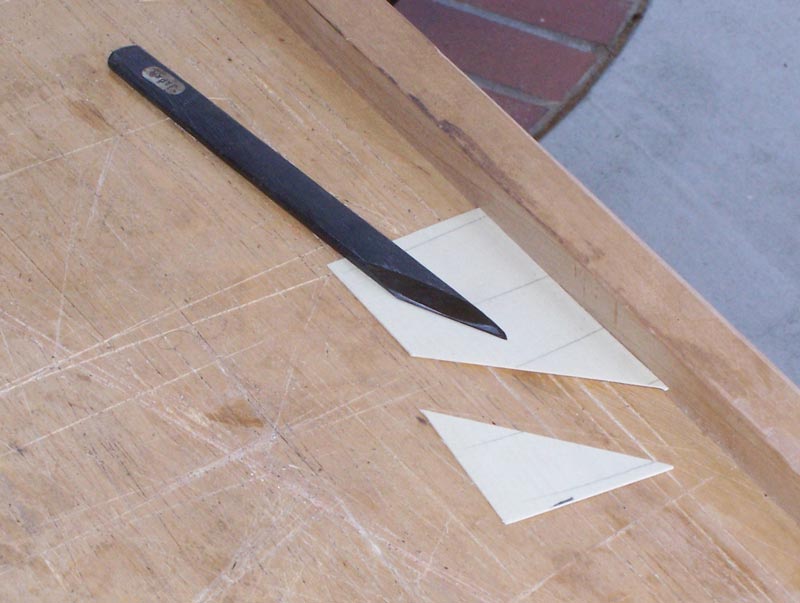
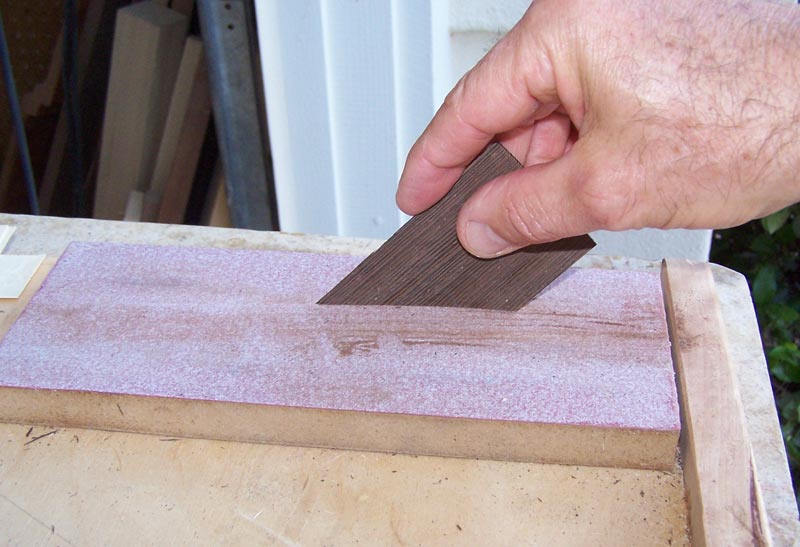
A good thing to do is to sand the cut edge, especially the wenge since it's so hard to cut cleanly. You can also sand the long edges so that they fit together well.
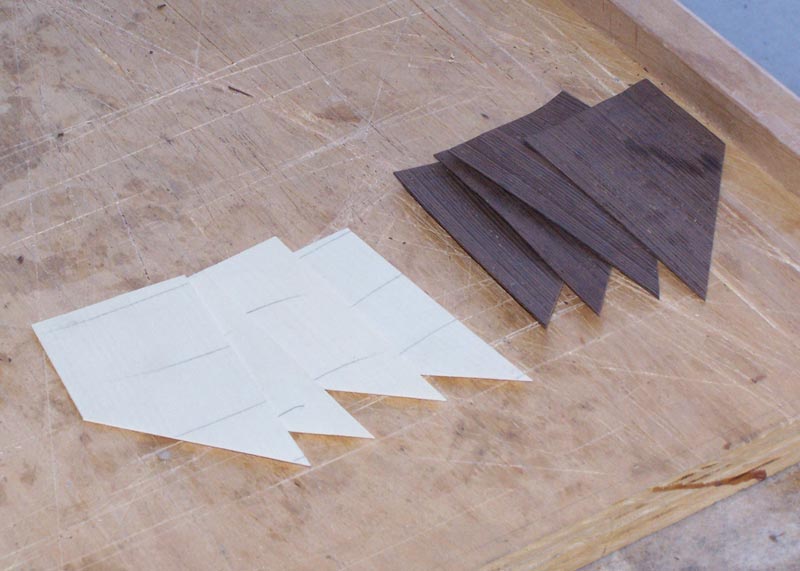
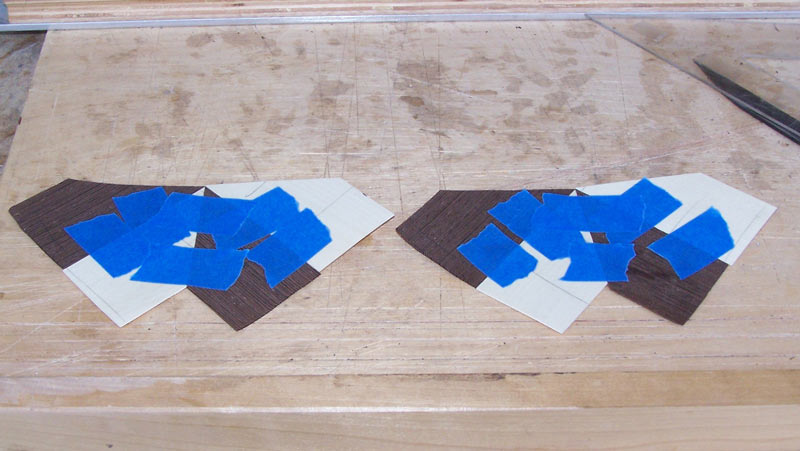
You'll need a minimum of four pieces of each color.
Put a dark and light piece together, with the points aligned very accurately and tape with blue tape.
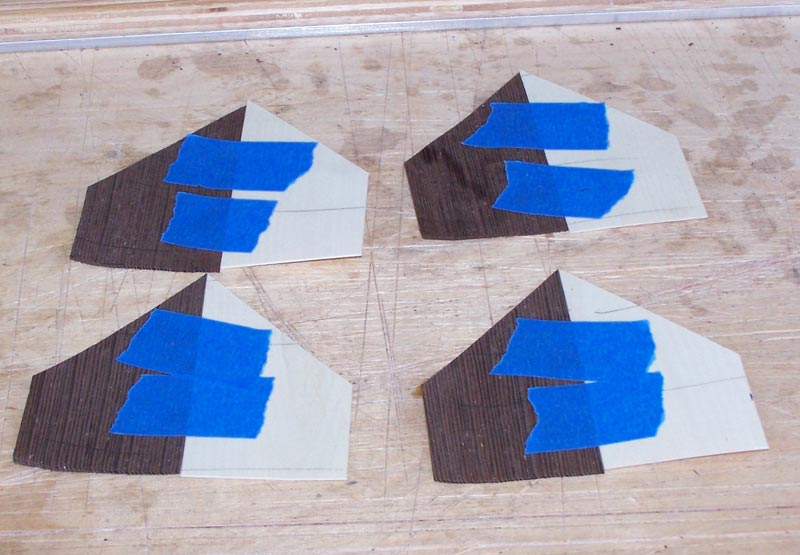
Now, take two of those pieces and tape them together, being careful to align the points very accurately.
If you were to try to put these two halves together, as is, they probably wouldn't fit well. We can improve the fit by sanding each half to get them flat. This only works if the halves are a bit more than a half. If they're less than half, when you sand you'd be removing the points - which wouldn't look good. If your halves come out less than half, you'll have to go back and cut at least one piece larger so that each half is exactly a half or a bit more than a half.
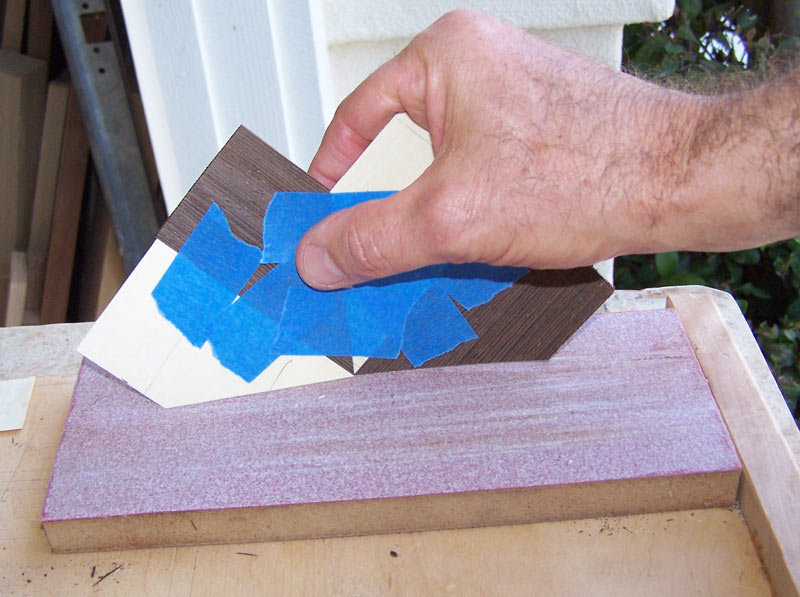
When the halves are flat you can put them together.
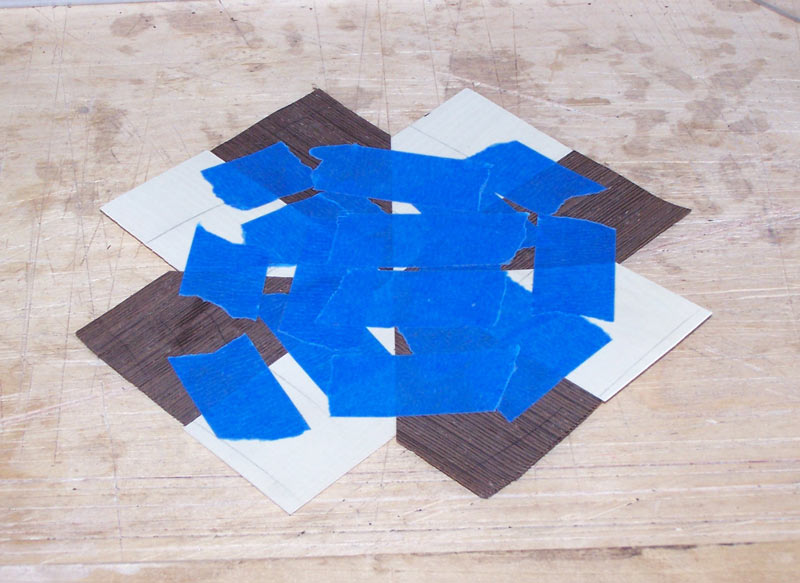
Now turn the veneer over and put veneer tape on it.
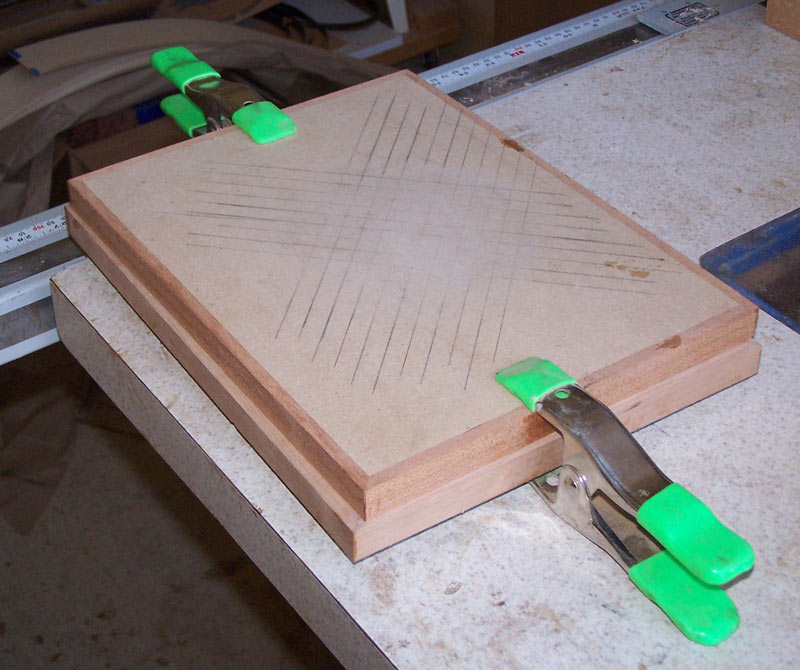
I like to put the veneer piece between two pieces of MDF until the veneer tape dries. It helps assure the veneer tape will be pressed tight against the veneer, and it keeps the veneer piece flat. The water on the veneer tape can cause the veneer to warp sometimes.
You may find when you take the MDF apart that the veneer piece has stuck to one of the pieces of MDF because of the glue on the veneer tape. Don't panic. Just take a thin piece of metal - a ruler works well - and work it between the veneer and the MDF and it'll come apart with no damage. Just go slow and be careful.
Once the veneer tape is good and dry, take it out of the press and begin removing the blue tape from the glue side. The tape was not completely dry when I took it out - I was in too much of a hurry. You can see the veneer is still wet in places.
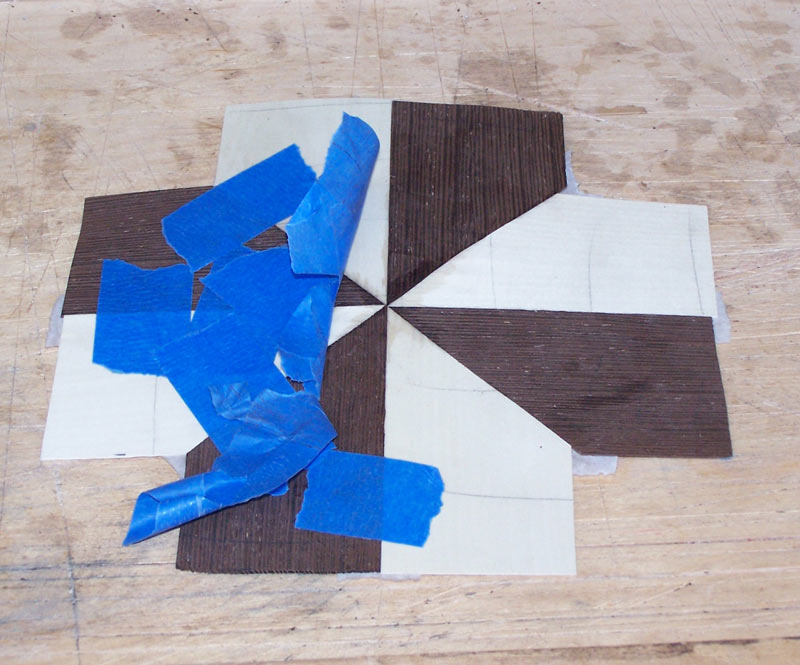
The glue face at this stage of the work
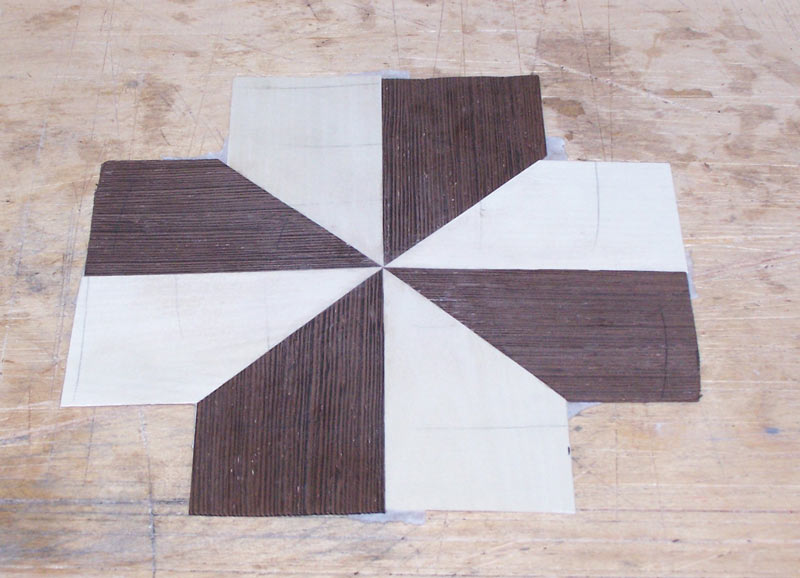
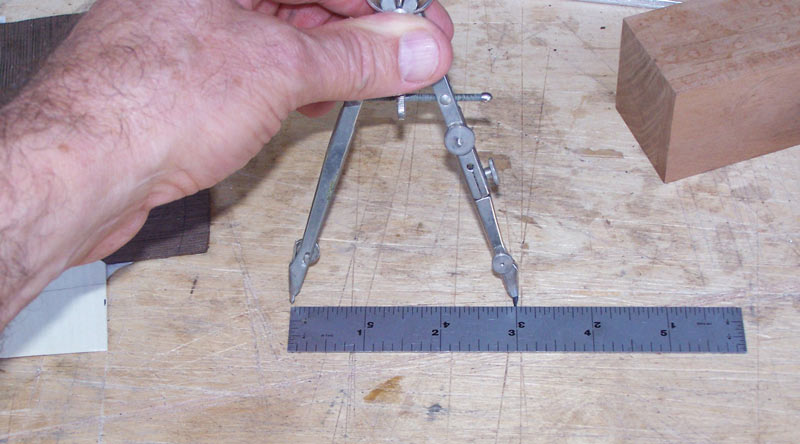
I want to make this rose 6" in diameter, so I'm now going to set the compass at 3" radius and mark off a circle on the veneer - with the points as the center.
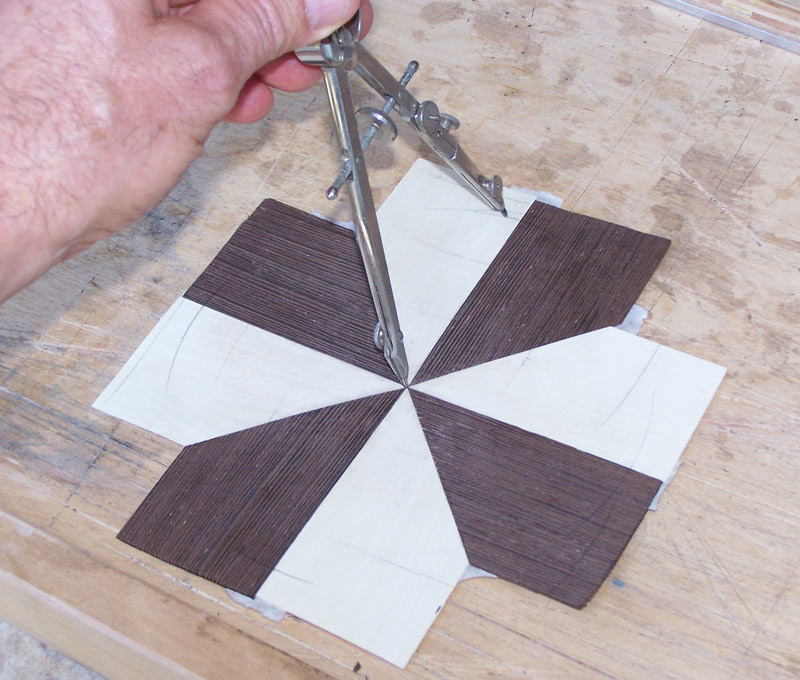
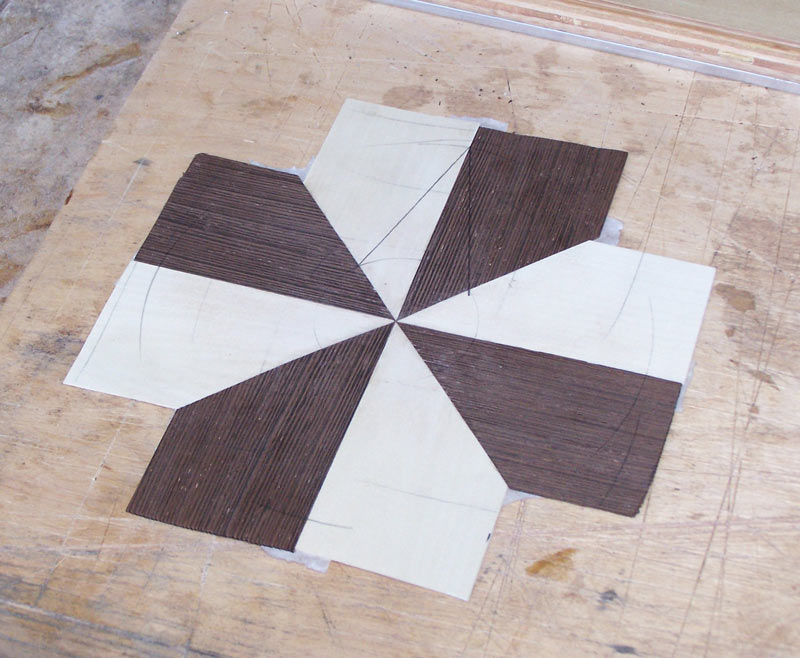
We now need to mark off the diameter of the "center" of the rose. There's no rule to go by - you just have to look at the layout yourself and see what it looks like. I tried 1" (just because it was a round number) but later decided that the rose didn't look good and reduced it to 3/4". So the next few pictures show the cuts being made to a 1" inner radius. I'll point out where it changes to 3/4".
You can draw the point(s) to see if the geometry is what you want. But it's hard to tell until you cut it. The mistake most beginners make is to make the inner radius too large and the rose comes out looking "odd". So look carefully and make sure it looks okay to you before you go too far.
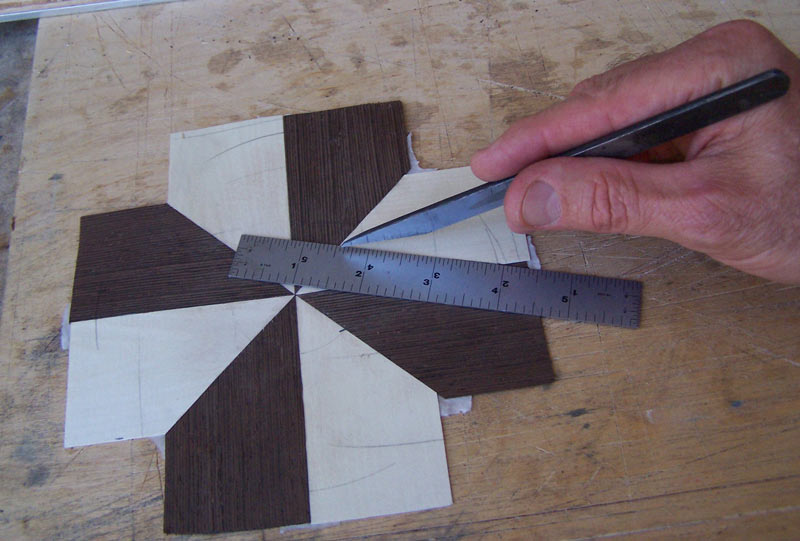
Make a cut from the intersection of the veneer joints to the place where the circles intersect those lines. Of course, you need to hold the ruler down, but I didn't want my hands in the way.
The tutorial continues here.